Showing posts with label Thrifty. Show all posts

Wednesday, May 11, 2016

The Reupholstered Storage Cube ANYONE Can Do


Do you love DIY'd home decor?  Doing makeovers on stuff in the house?  I love the idea of revamping things to pretty up my house, but execution-wise, I always feel like I'm flailing around.  Stuff ends up looking like I cobbled it together myself.  Blindfolded.   Is that better than just buying something new?  Not really.  Except with today's project.  Which tells me if I can make it look good anyone can.


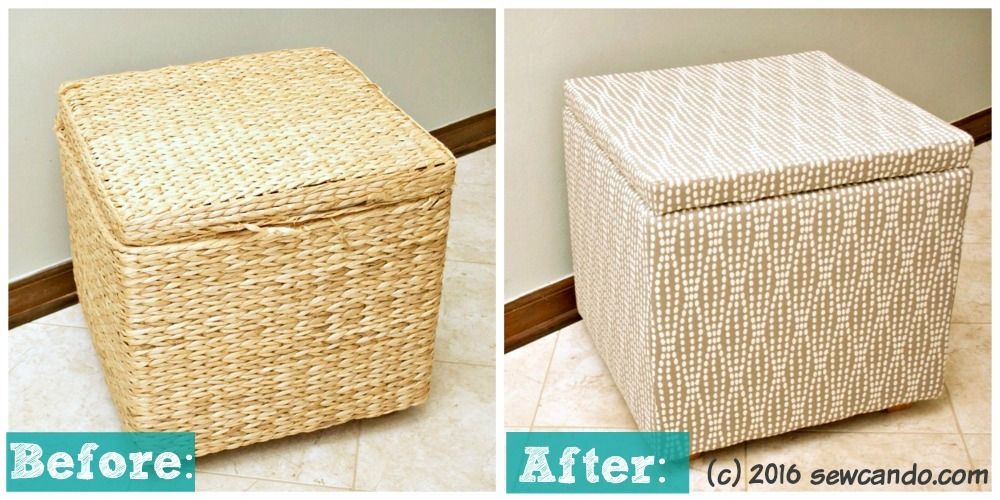
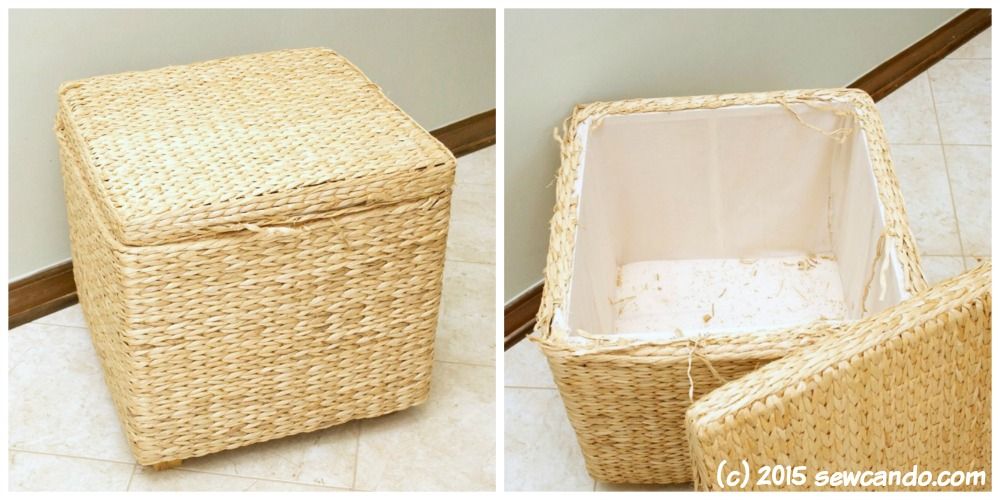
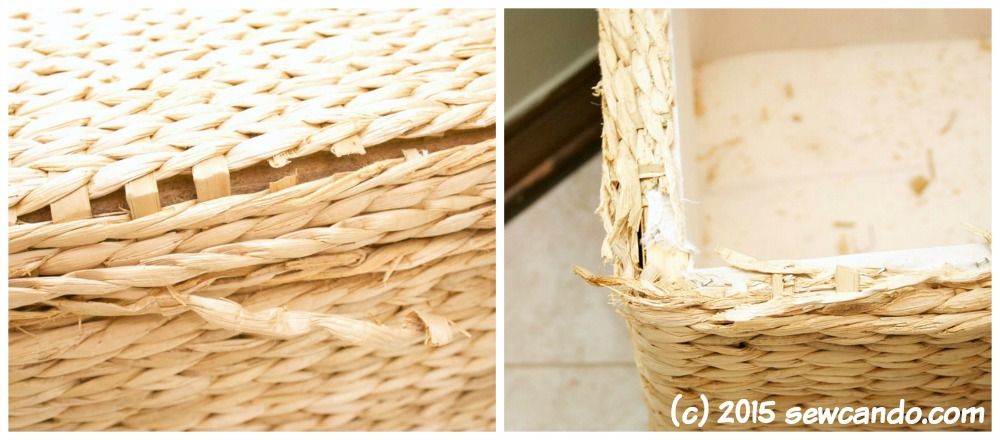
We had this rattan cube for years.  The kids stored their dress-up clothes in it and helped keep our family room from totally being taken over by kid stuff.  I'd loved it, but it started to show its age and look worn out:


We found a bigger basket hamper to replace it, but I still couldn't bear to throw this guy away.  His bones were still good, just looking superficially rough.  There was no way I could repair his woven exterior, but I could give him a total body lift!     


Added bonus: it cost me $0.  That's right: FREE.  I had some old batting and this really nice Waverly Home Decor fabric in my stash crying out to be used:


I'd won the fabric as a prize in a design competition a few years back - when I'd created this fabric clock project:  


Knowing I wasn't out any money really helped.  If things turned disastrous, it wouldn't be a loss, right?  I tend to get paralyzed with indecision when tackling a new home project, because I'm afraid I'm going to mess up and waste valuable materials.  Great mentality for a crafter, right?  Ha.

Materials:
- Ratty storage cube
- Home decor fabric ( I used about 1 1/2yds)
- Poly batting 
- Staple gun
- Sewing machine
- Notions: Yard stick/ruler, rotary cutter
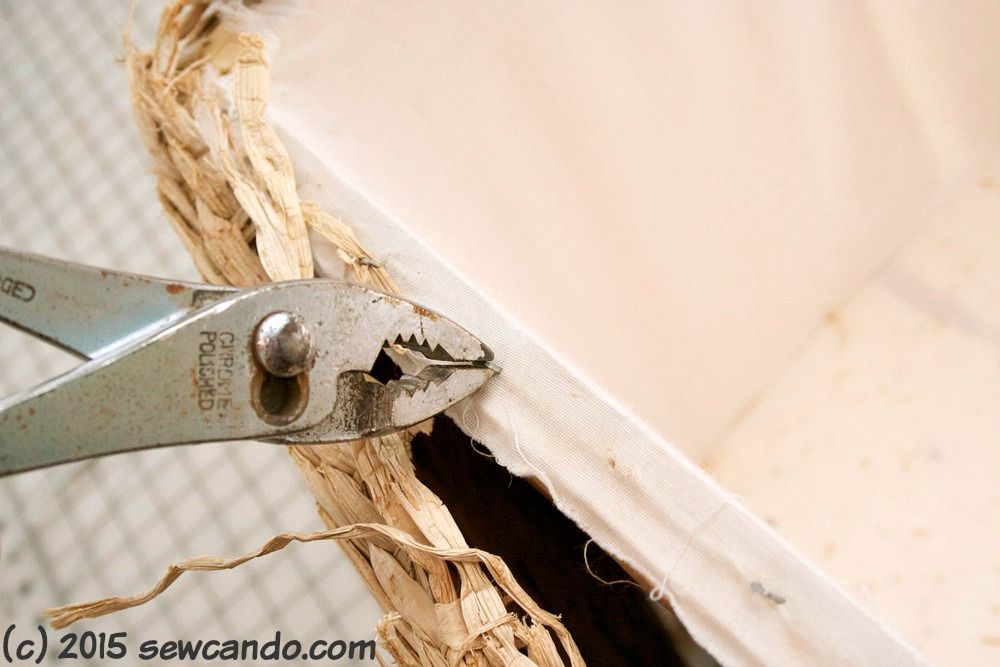
First I used pliers to pull out the staples that held the rattan on:


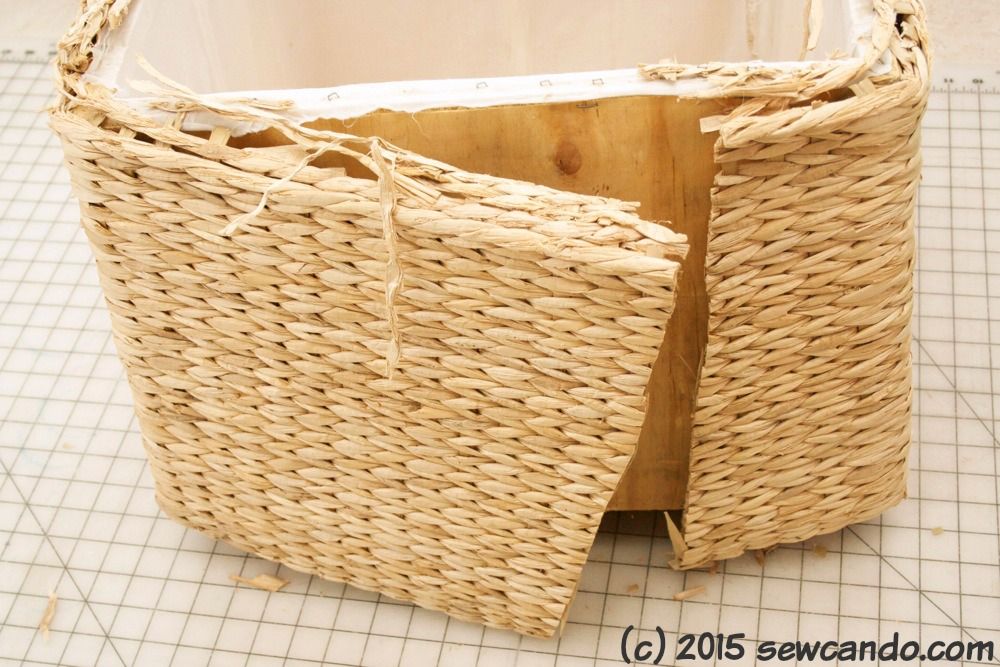
Then, I carefully cut through one side to easily take it off in one piece:  


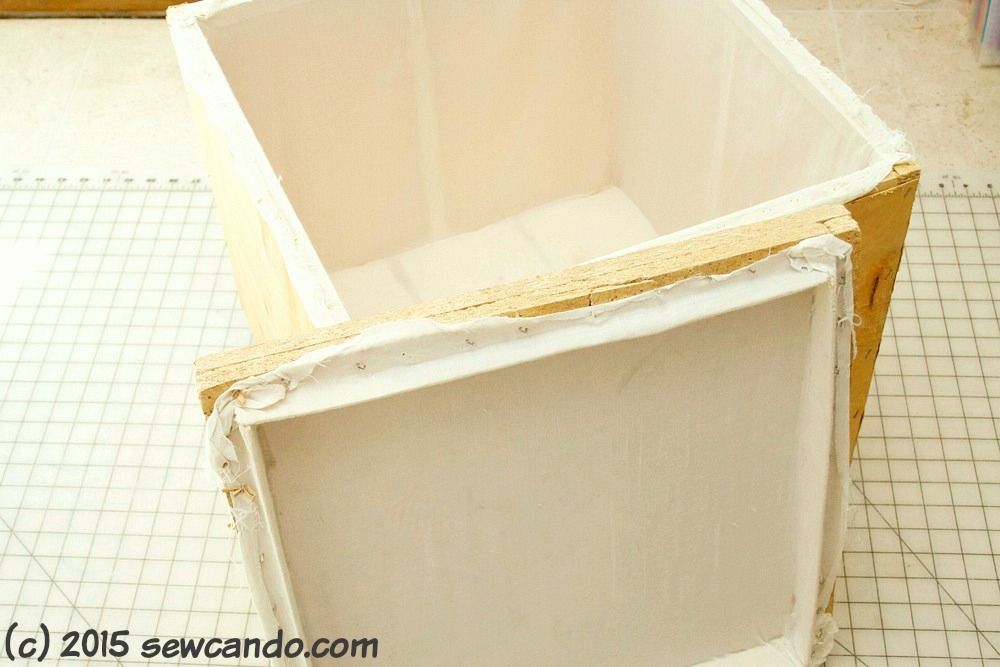
The base unit was MDF & thin wood veneer.  Not nice on it's own, but perfect for upholstering with a little padding & fabric:


I measured the sides and decided to cut four pieces that were 1/2 inch wider on either side (for the seam allowance) and 2 inch higher on top & bottom for folding in.  For the lid I added an extra 1/4 inch on all sides of the top piece and for the lid side strips, I added 1/4 inch to the short sides and 2 1/4 inches to the height.  I also cut the same pieces from my batting.
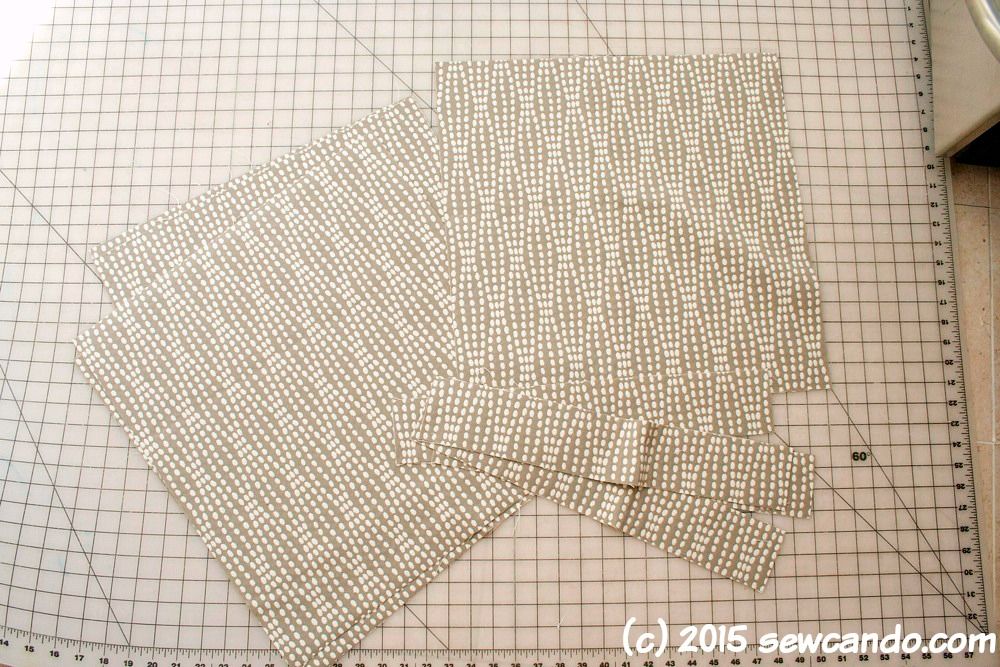


I stitched the four sides together to make the main shell and did the same with the corresponding batting.  


I slide the batting into place and then carefully pull the fabric "sleeve" over it.  It was a snug fit, so I went slowly to keep the batting from shifting.
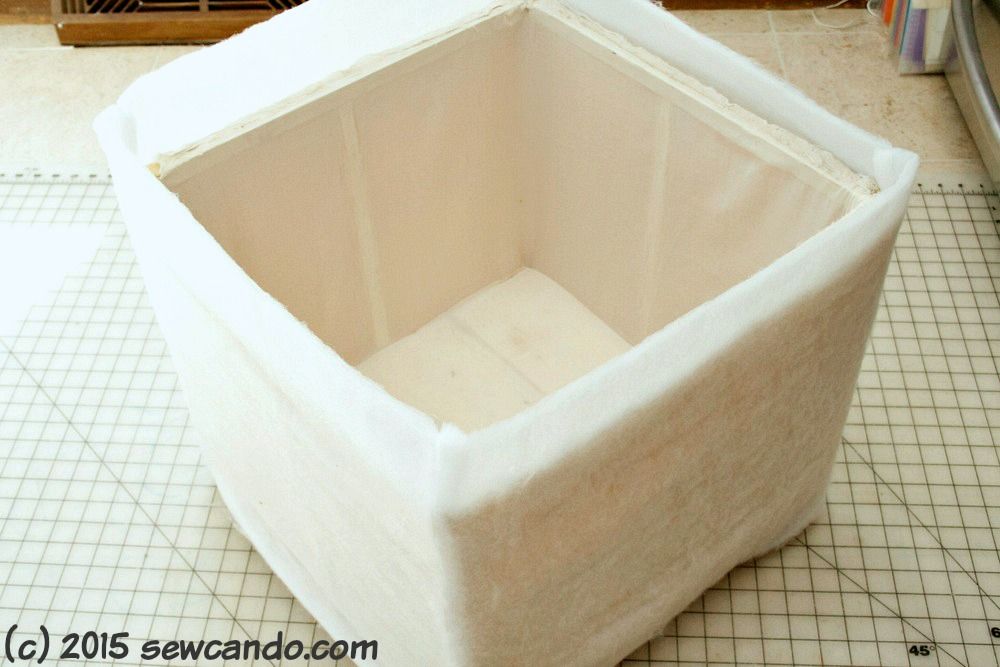


I measured my fabric sleeve all the way around and shifted as needed to make sure there was 2 inches on all sides:
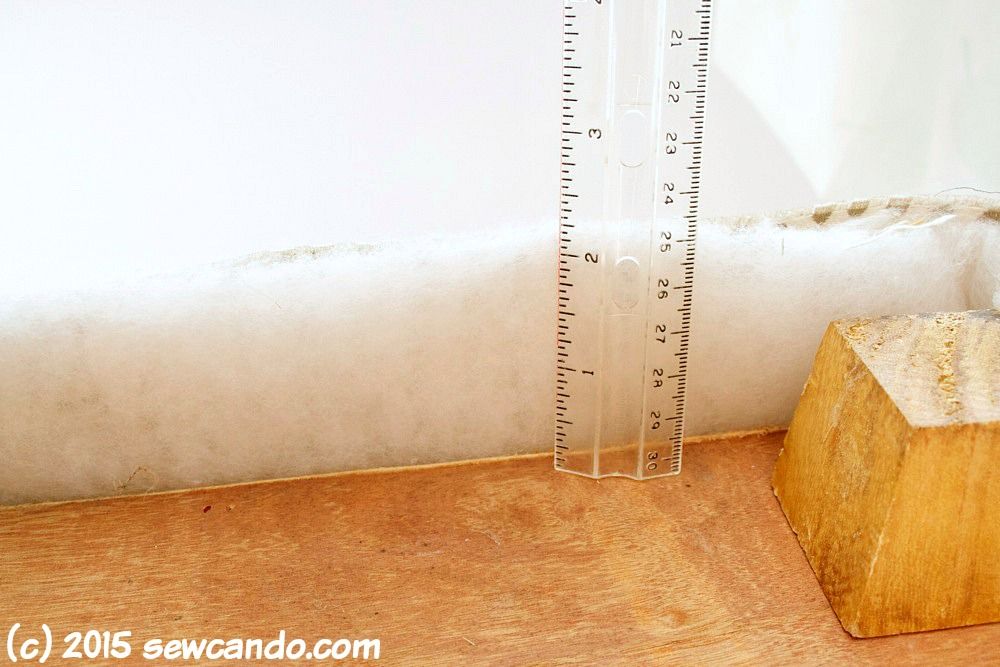


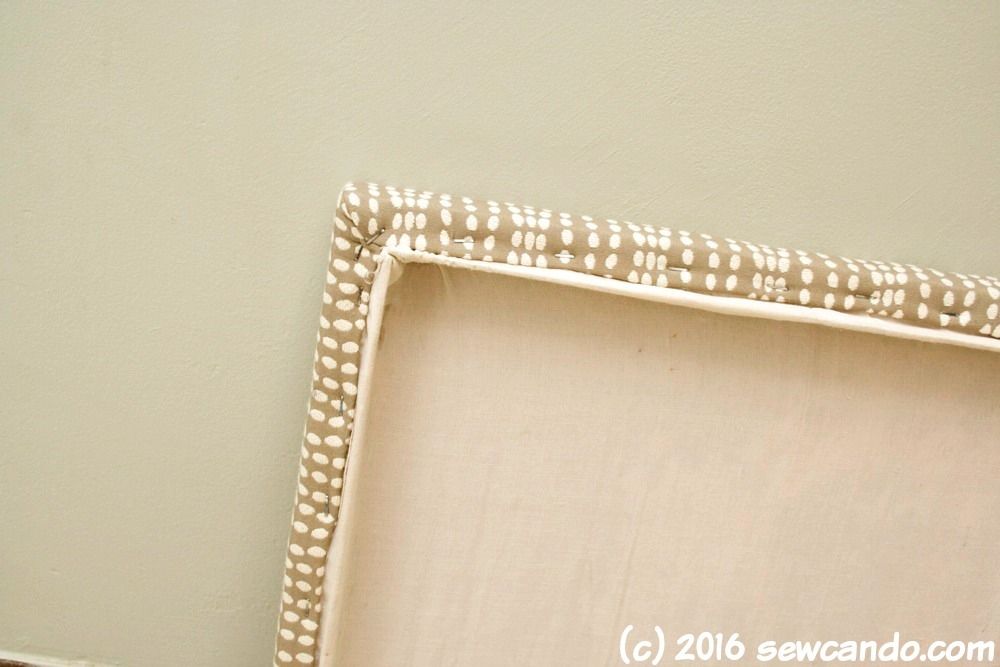
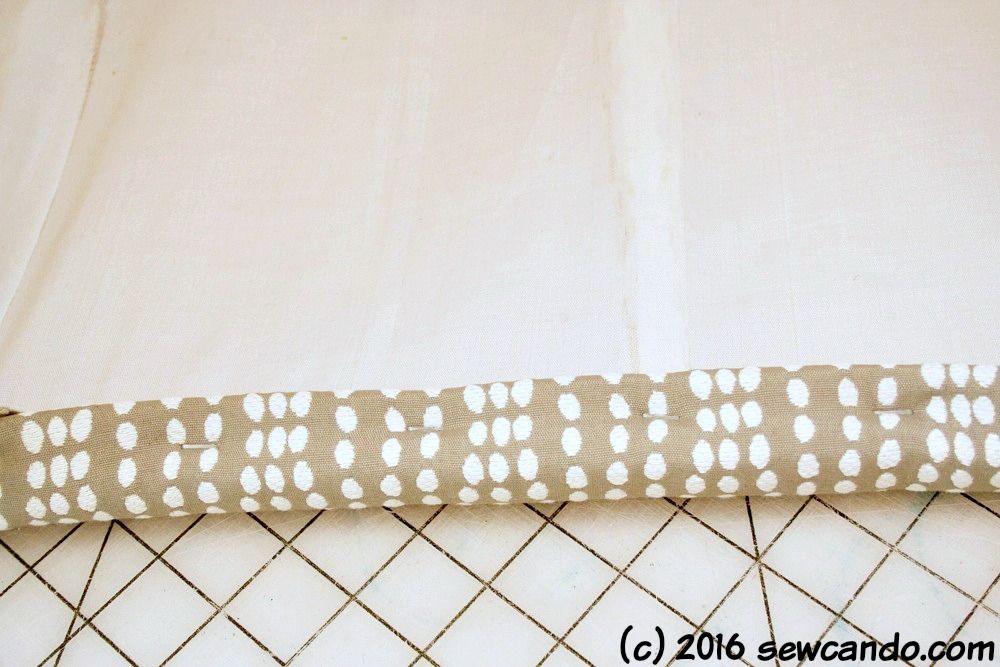
Once everything was even, I set to double folded the raw edge under and then stapling it down underneath and on the inside.  Holding it taught is key.

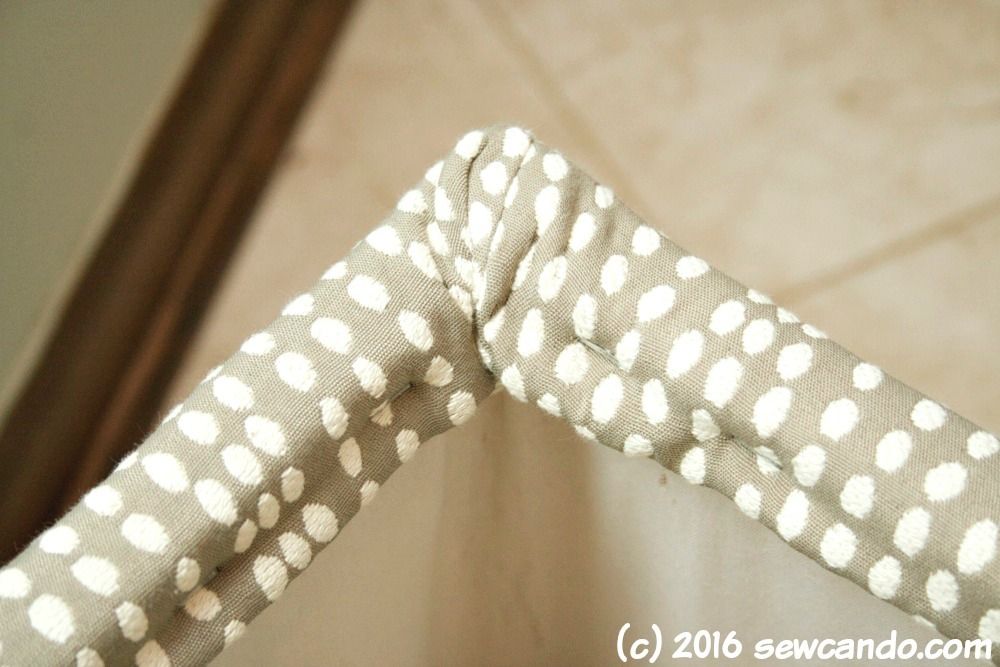
I started in the middle to anchor things and then folded the corners in, flattening them down and then stapling down the sides over them:


For the lid I stitched the thin side pieces to each of the lid top sides with a 1/4 inch seam allowance:
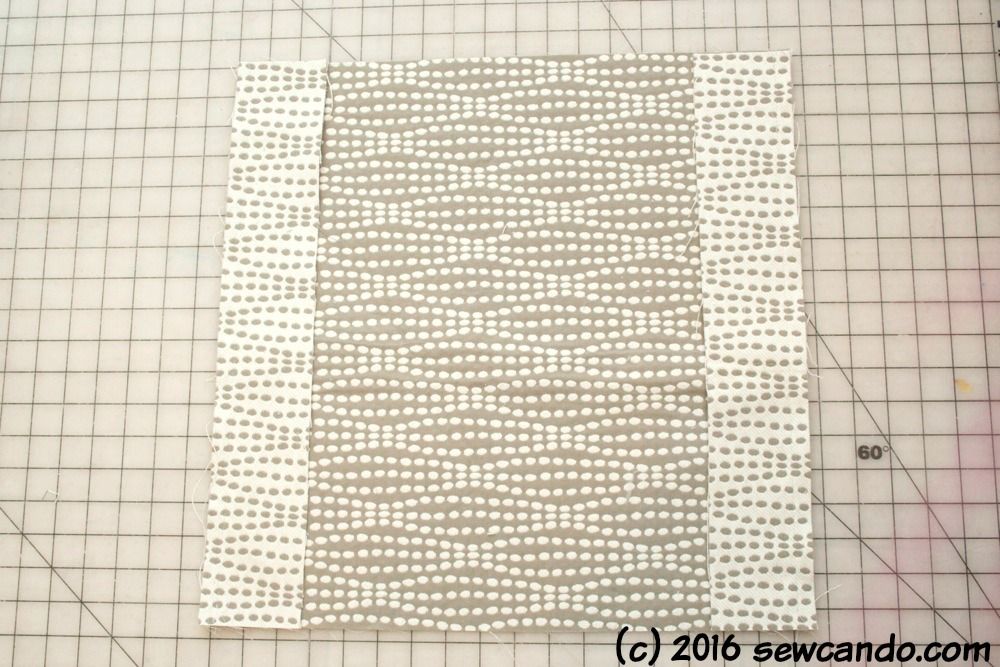

I made sure to stop stitching a little bit before the ends, so it would be easier to do the short sides:
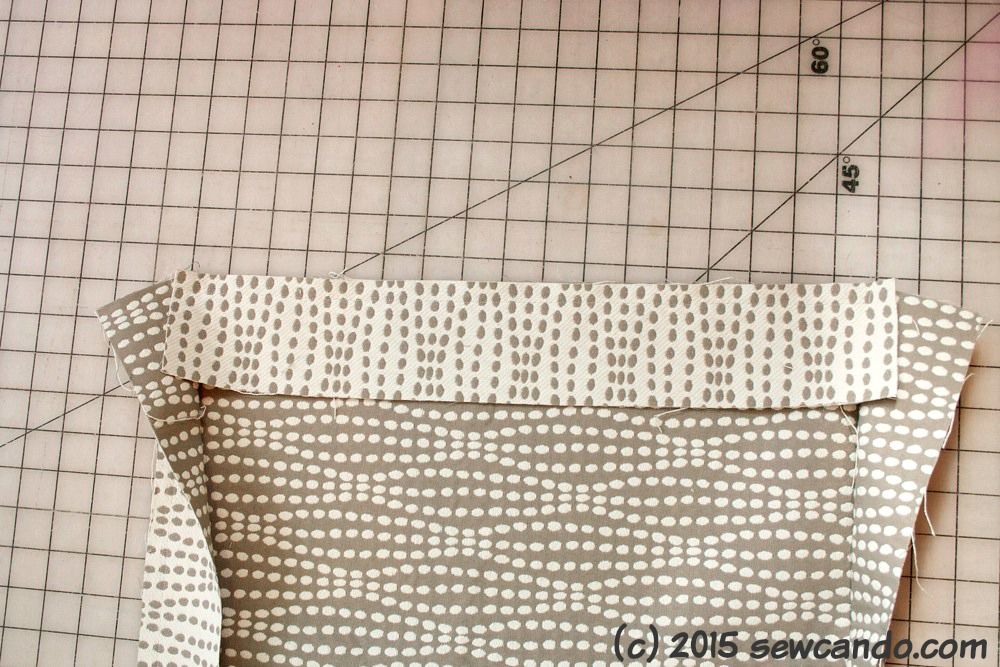


For the sides, I pulled them together and stitched down, crossing over the stitching at the top to get the corners nice & crisp.  
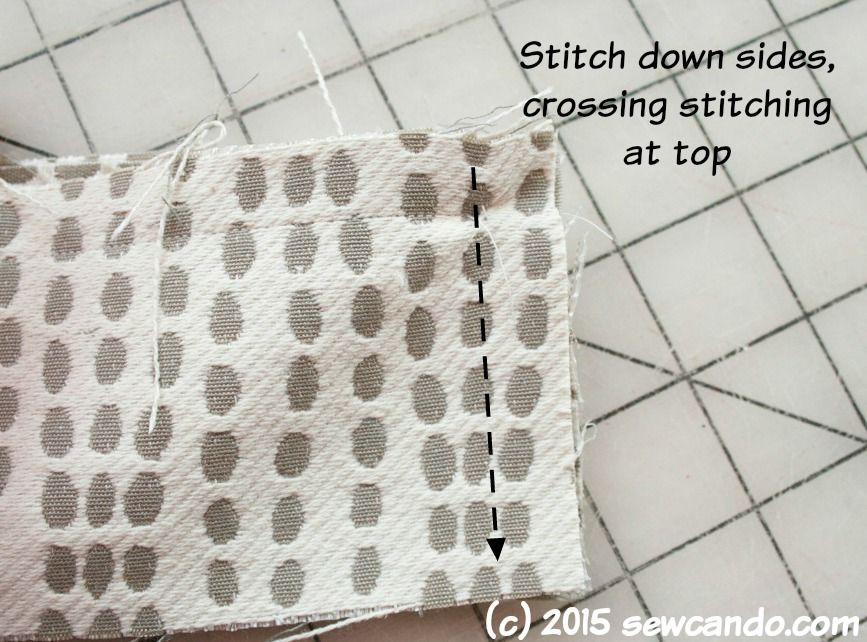


I did the samewith the batting version and then the folding + stapling to secure them to the lid.


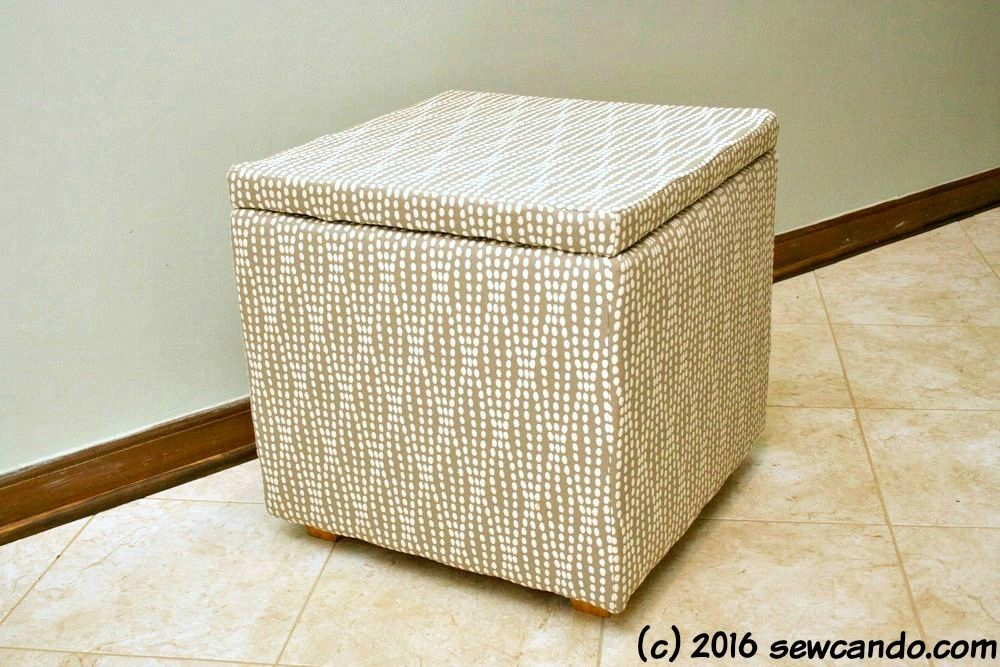
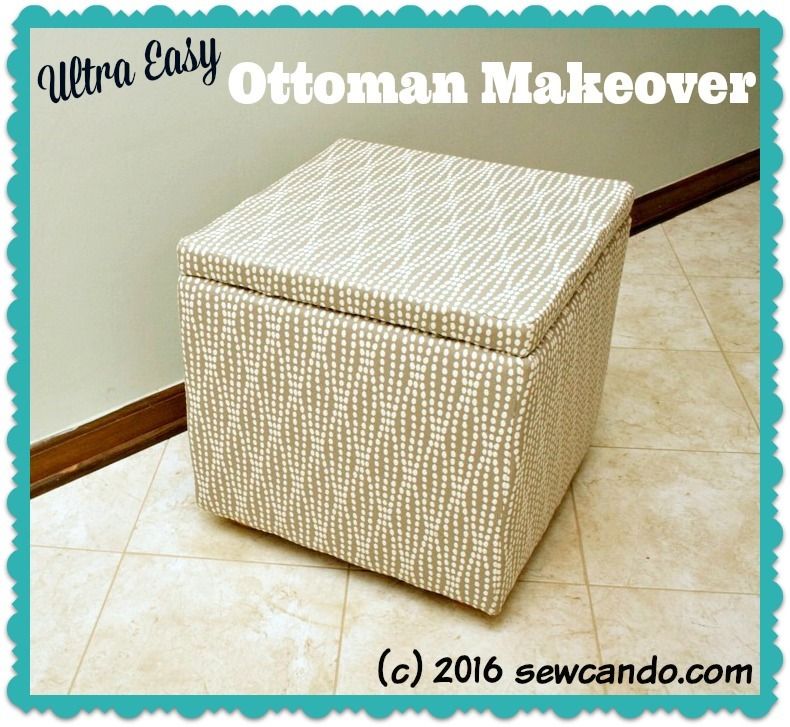
The nicest part is every time I look at it I'm pleased and like how it turned out.  This is the total opposite of most of my DIY home projects (where I notice my goofs more than anything).It looks like it came from a store - even up close - which is my "decor success" test.  


So often DIY projects look great in those far away beauty shots online, but get next to them in real life and the homemade-y quality jumps out.  Maybe I'm too much of a perfectionist, but when I'm asked "Oh, did you make that?" that always translates to "Cause it looks like it!" in my mind.  I guess this is a reminder to keep on trying, because sometimes it'll end up a winner!


Wednesday, June 24, 2015

Simple & Stylish DIY Garden Markers (On The Cheap).


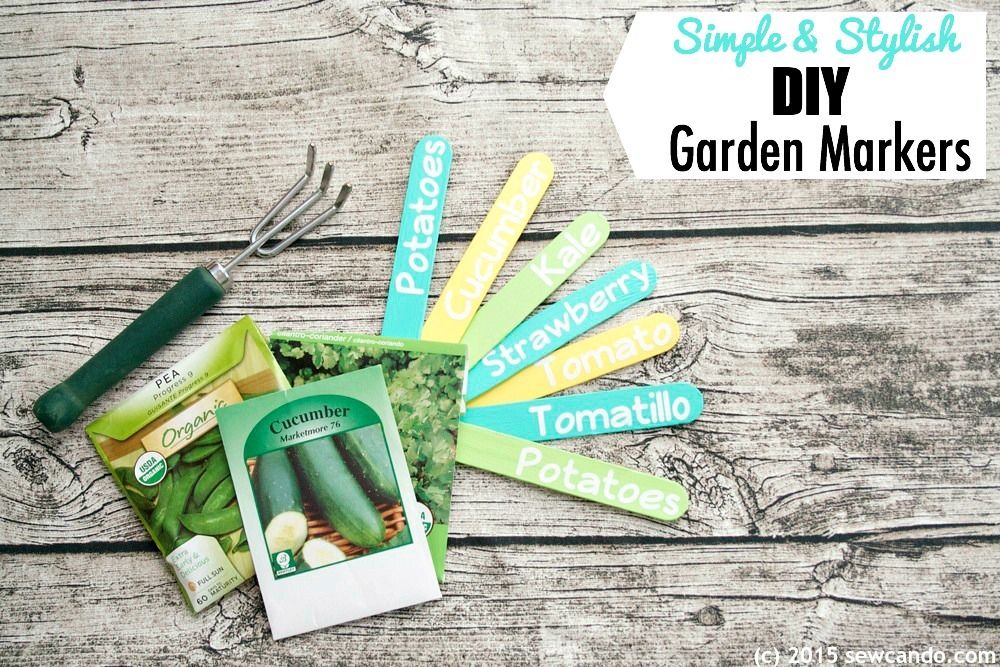
For me, summer usually means more crafting out of necessity than just what I feel like making.  Today's project is the perfect example of this kind of thing:  Simple & Stylish DIY Garden Markers. 


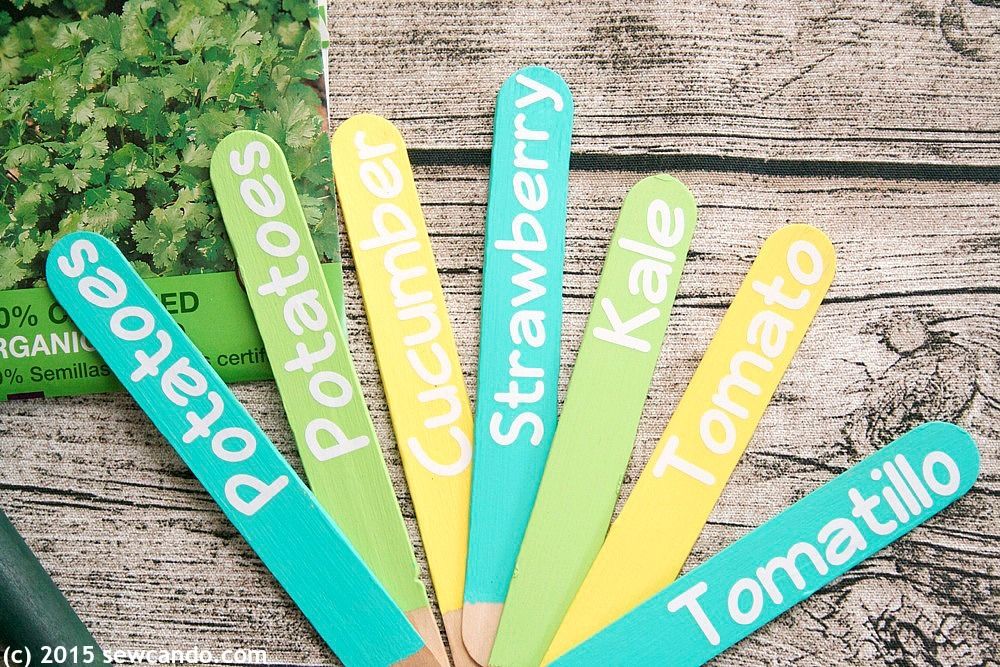
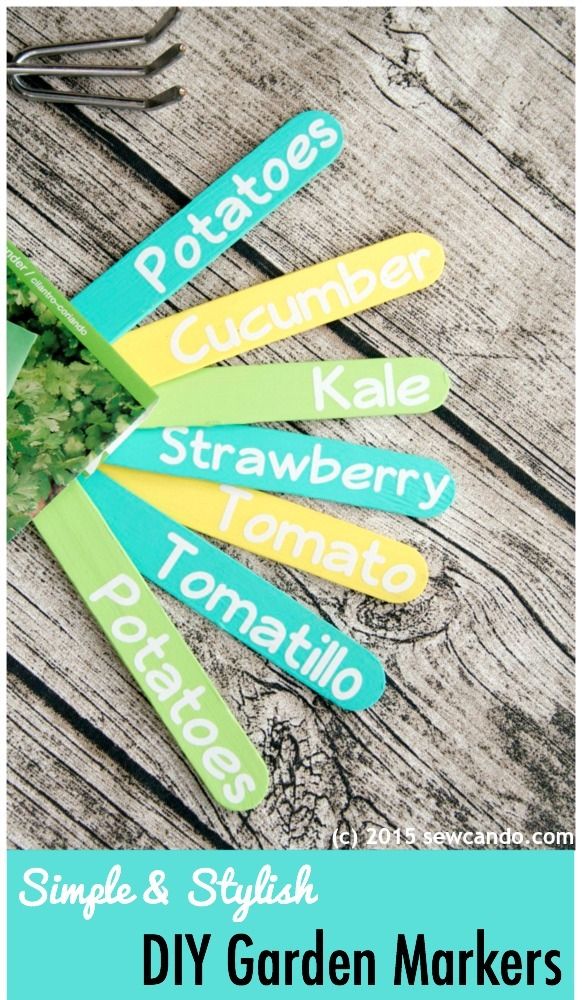
Using just what I had on hand, and a little patience, I made these simple sticks that add a splash of color & organization to my garden beds:


I've been putting in extra effort in my garden this year.  The past few years results have been pretty underwhelming, so this time around I've been pulling out all the stops: using grow lights on my seedlings, lasagna-style layering the garden beds, making tripod trellises, etc. Heck, I even ordered a giant bag of worm poo as the ideal soil enrichment.  I'm in it to win it this year.  We will grow decent vegetables this summer! 


That being said, labeling my miscellaneous herbs & veggies was stumping me.  Cute garden markers can get pricey when you need a lot of them like I did.  I needed something like 25 markers.  Even the Pinterest-perfect DIY's out there involve procuring lots of materials if you're planning to make more than a handful.  I need them to be able to take the obscene amount of rain & wind too.  I saw lots of chalkboard versions, which just seemed...odd.  Are these people growing plants without water then?!?  Running outside and re-writing them once a week?  That's not gonna work for me.


My atrocious handwriting wouldn't help either.  A rummage through my craft drawers gave me this idea.  Inexpensive, fairly simple and easy to do in big quantities:


Here's how to make 'em.
Materials:
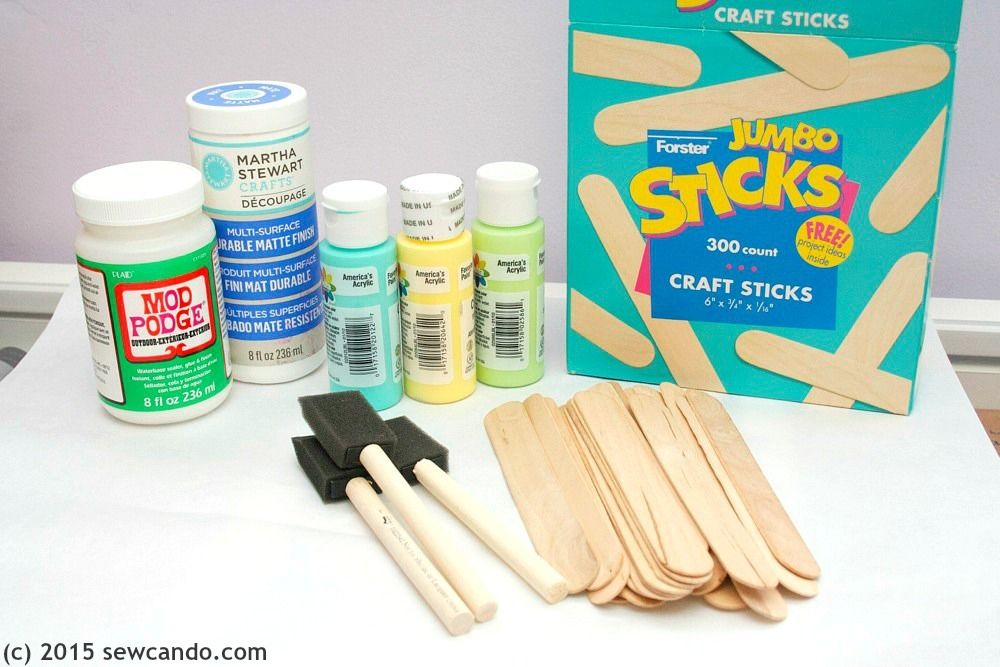
- Jumbo craft sticks (aka tongue depressors)
- Acrylic craft paint & brushes
- Decoupage sealer (make sure it's rated for outdoor use)
- Optional: Vinyl, Transfer Tape & Cutting machine

FYI- I'm not pimping any particular brands or getting paid to rave about any specific supplies.  This is what I happened to have in my stash & just decided to use:


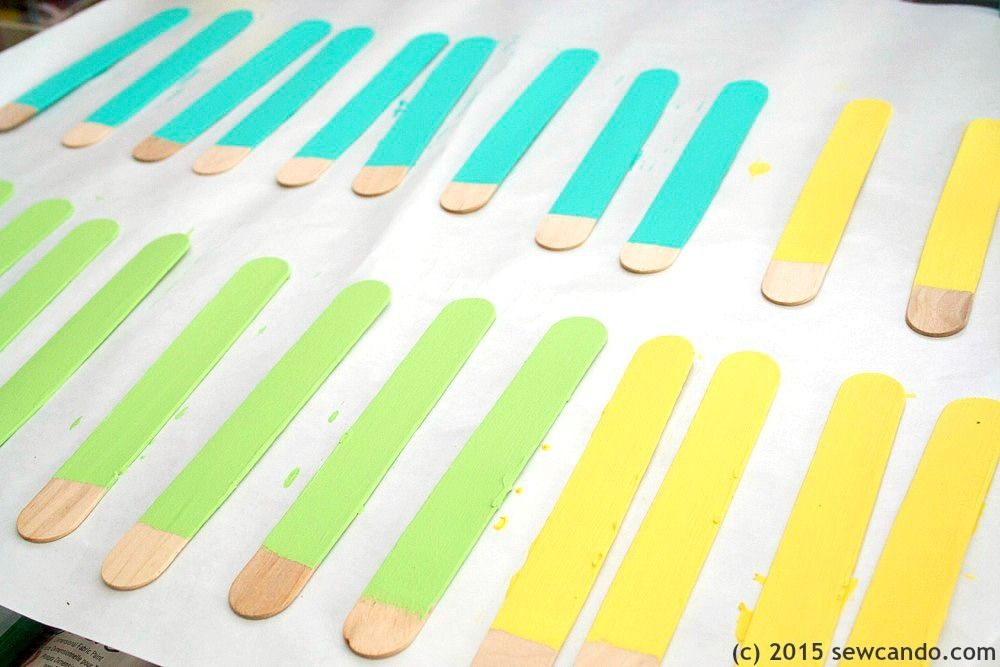
I started by painting my craft sticks.  I did 3 coats on each side, waiting the required time between coats.  I used a piece of freezer paper, shiny side up, underneath.  That worked great to keep things clean and the paint not sticking.  I left the bit at one end unpainted so it would be easy to hold while painting (it's the bit going in the ground so no one will see it anyway).


Side note: The next cutting machine & vinyl bit is optional if you have beautiful handwriting. I do not.  I wasn't about to do a nice paint job and then ruin it by writing my chicken scratch on it.

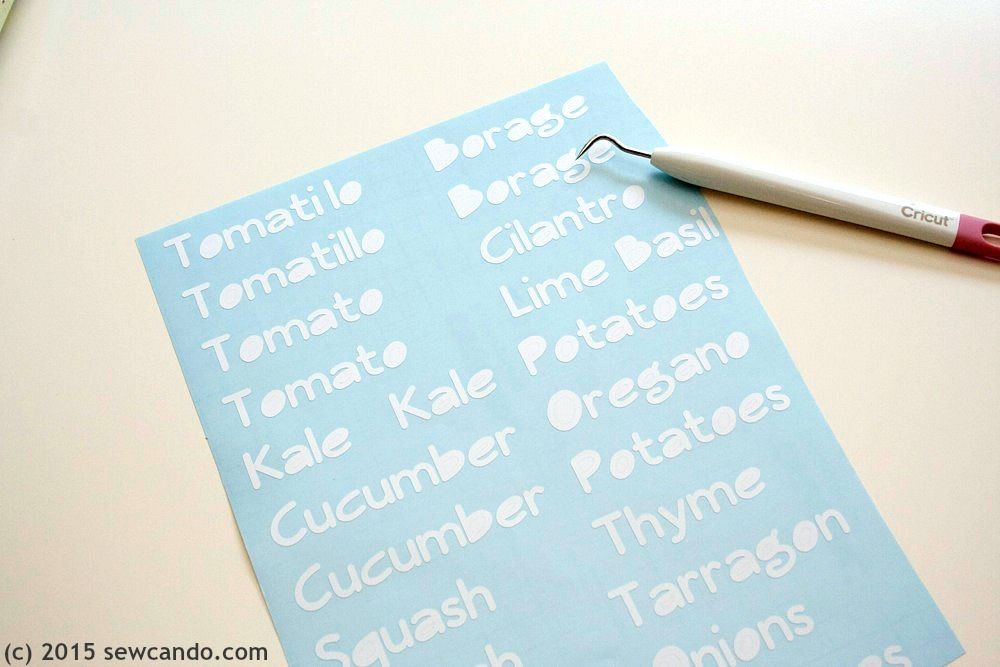
I used my Cricut Explore to do the vinyl cutting.  I choose a font I already had (Veggieburger), made it bold, and typed up all the herbs & vegetables and sized them to fit my craft sticks.  Then I cut them out from white vinyl remnants from a previous project (perfect example of when hoarding scraps can be useful!).  I weeded out the excess bits.


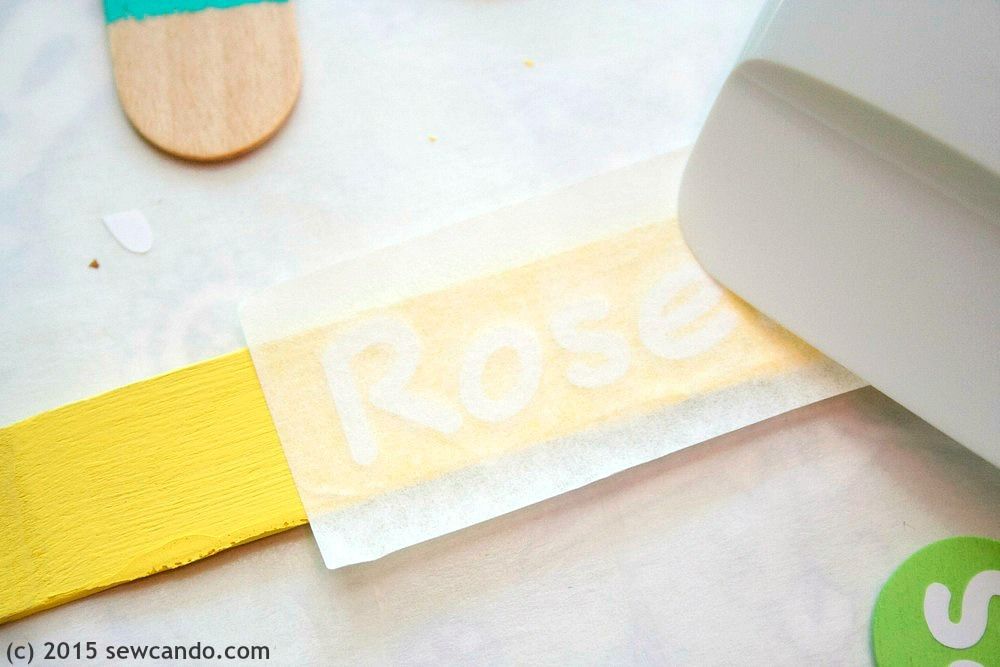
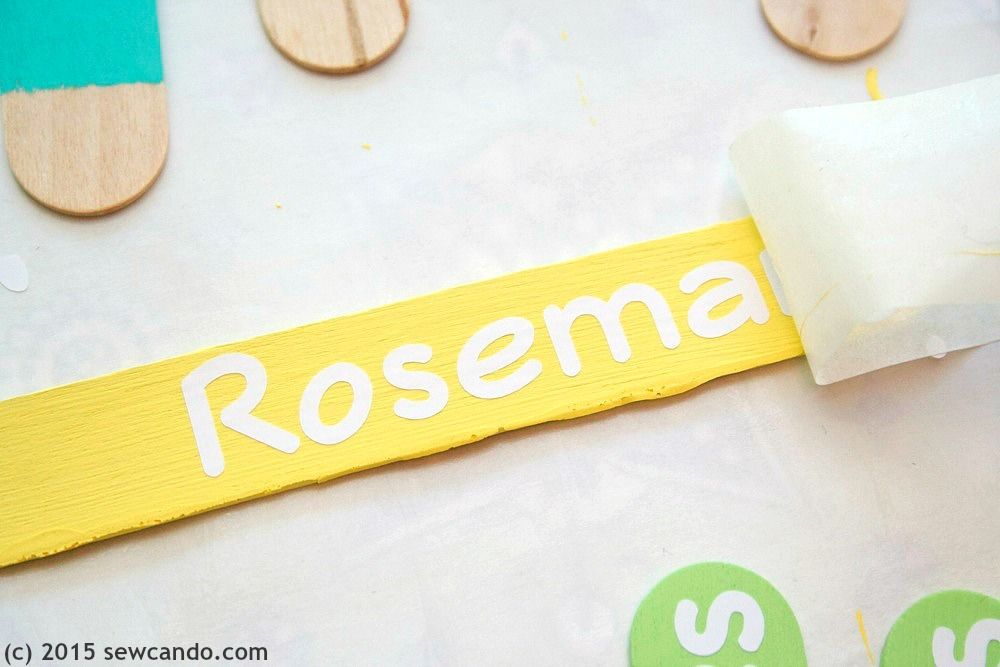
Next I cut a bit of transfer tape and used it to pull up a single word, then pressed it onto the upper end of a stick.  I rubbed it on with a scraper tool.


I peeled back the tape and repeated it all again with the next plant name and stick.  I was able to use each piece of transfer tape about 3 to 4 times, until it wasn't sticky enough to pull the vinyl off the backing, so it didn't take much tape to do them all.


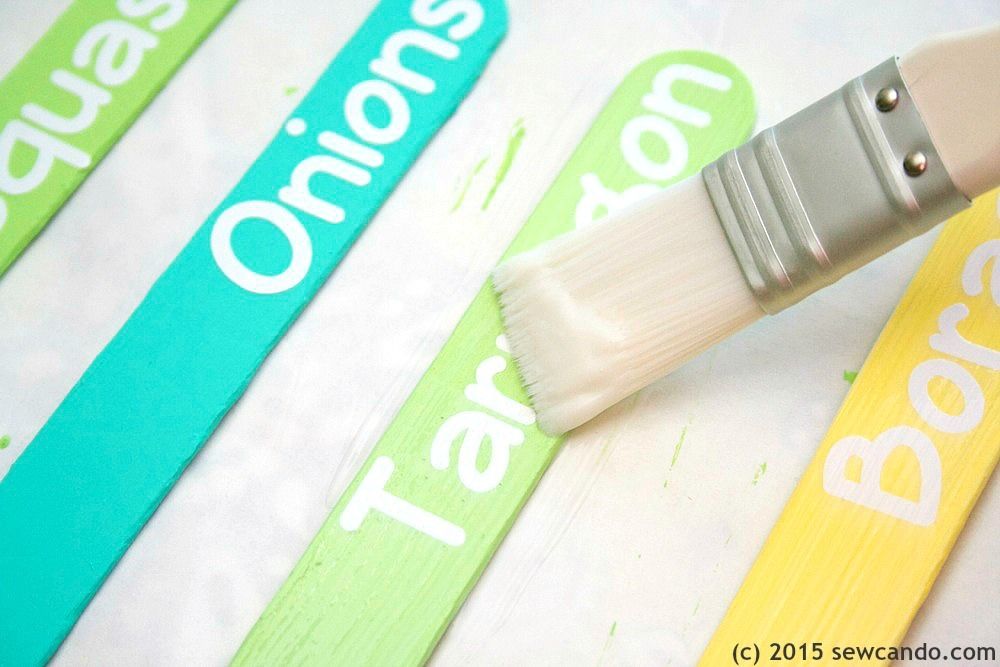
We've been getting A LOT of rain around here and I didn't want these to get yucked up right away - or for the vinyl to peel - hence the sealer.  I did 3 coats on each side with that.  I ended up only using the Martha Stewart decoupage sealer.  I'd used the Outdoor Mod Podge before, but it always felt tacky to the touch when dry, so I skipped it this time.


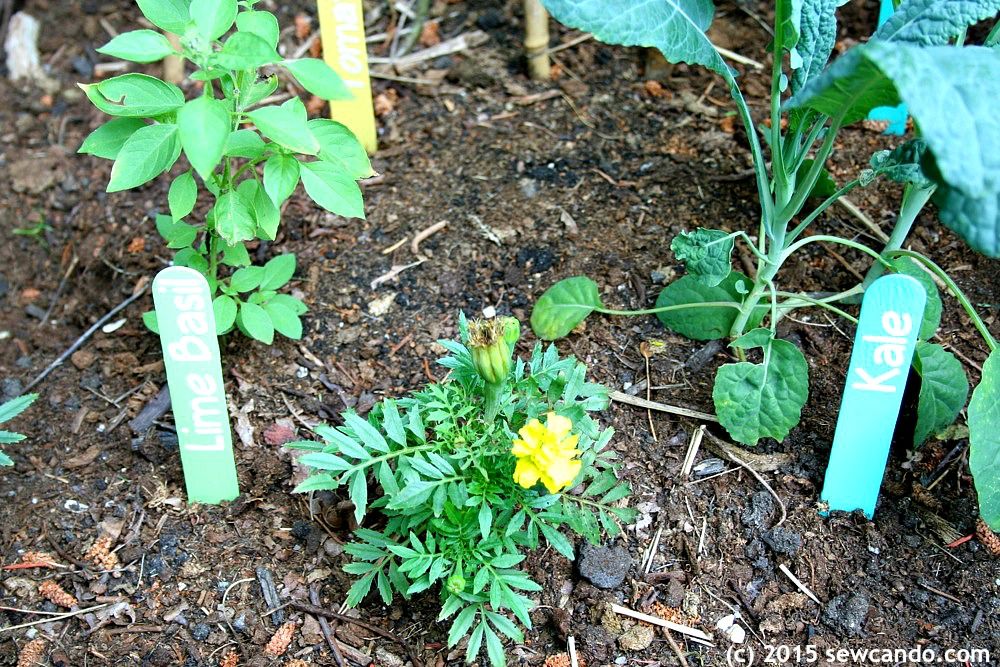
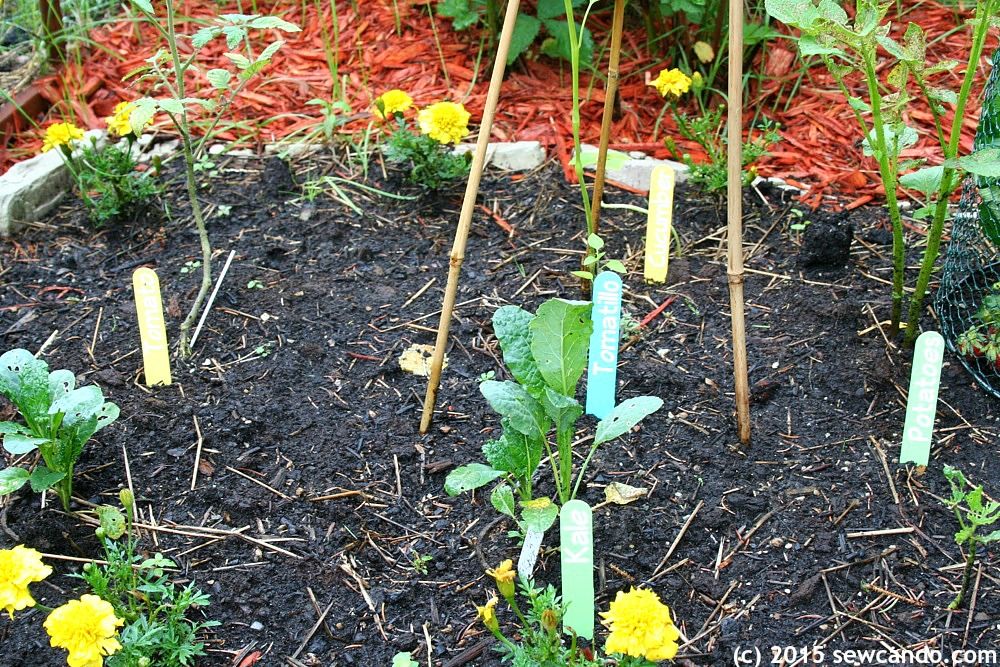
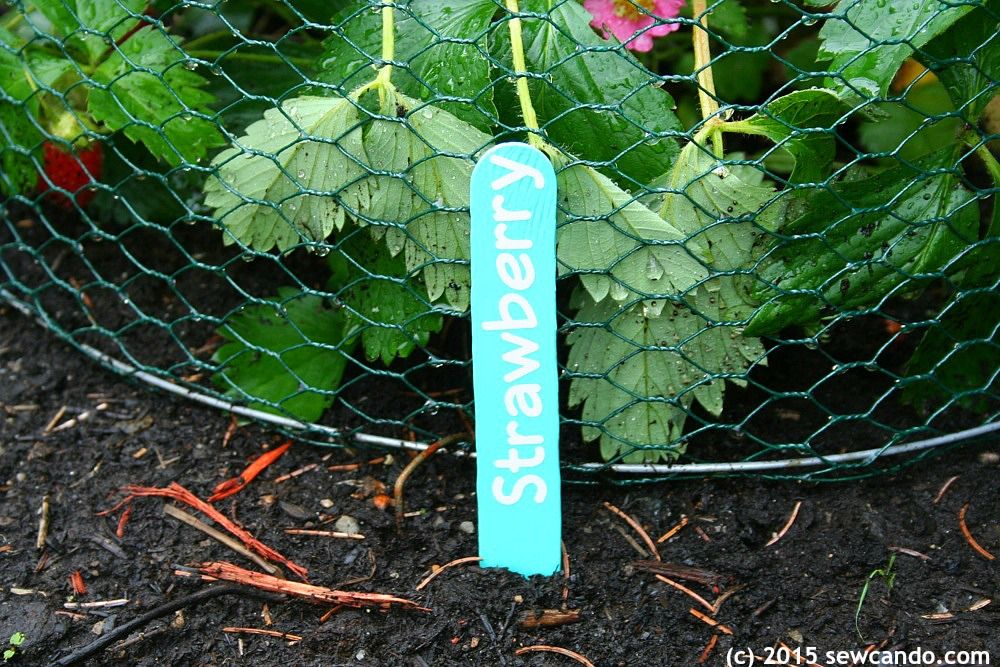
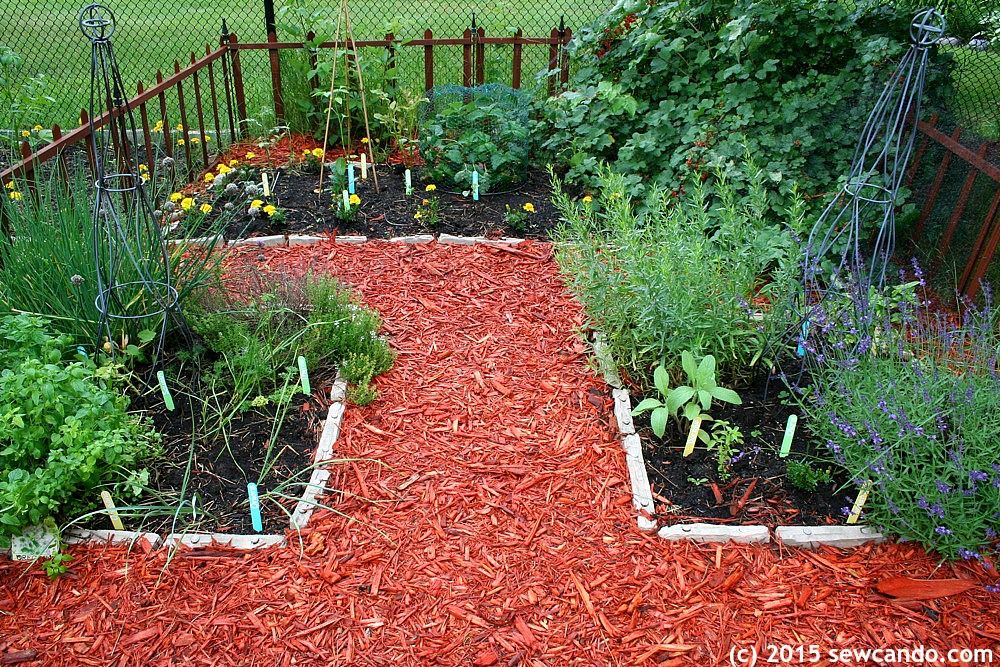
The only tough part was waiting a few days for everything to cure before setting them out in the gardens.  This is my herbs, berries & extra plants garden:


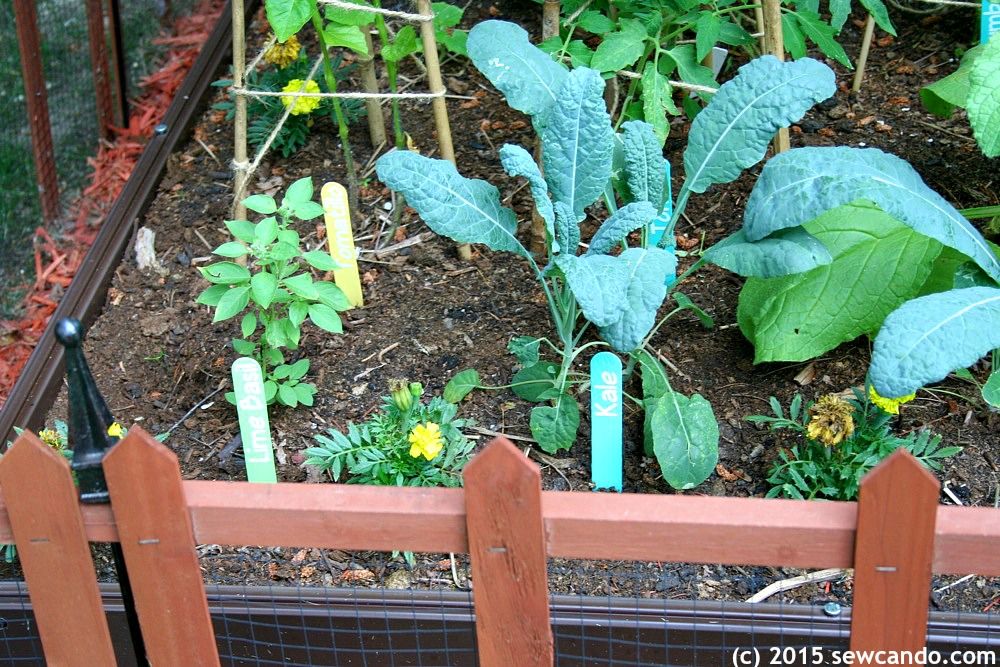
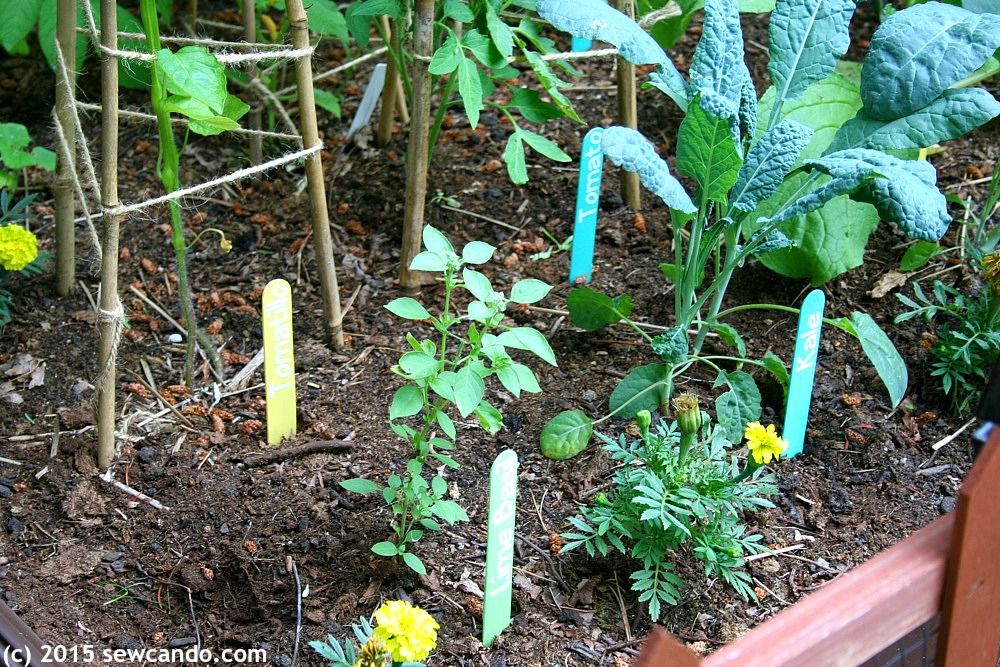
Now it's easy to find what's growing at a glance there & in my raised bed:


I'm hoping they'll hold up all season.  We'll see.  If they don't at least the price was right - $0!


Thursday, February 14, 2013

Anthropologie Style Tee Shirt aka Save Yourself A Bundle On Tops


Do you ever look at the embellished knit shirts from boutique places or stores like Anthropologie and find yourself shaking your head at the prices?  Those $48 & up prices.  I mean seriously, who wants to pay that for a t-shirt?!  I'm constantly rolling my eyes at the mark-up for a basic tee that just has a few cute details on it.  So, I decided to just go for it and do some for myself for about $10.  And it's totally do-able.  

You'll Need:
- Basic t-shirt
- Crochet/lace collar
- Wooden/antique style buttons
- Sewing notions: sewing machine, pins, hand sewing needle
- Optional: Tailor's dummy

I got a basic long-sleeved tee at Target for about $7:

If you crochet you can make your own collar, but if you're like me and don't, you can snag a ready made one pretty cheap.  Mine is from Wholeport and cost a mere $1.99.  They seem to be out of this particular one right now, but there have several other cute styles & all are bargain priced.


Start by pinning the upper and lower edges of the collar around the neckline of the shirt.   It's easiest to do this using a tailor's dummy or have someone very nice wear it while you pin it (promising not to stick them with a pin of course).  And unless the shirt buttons up (aka the neckline opens), I'd recommend setting the collar below the ribbing edge of the neck hole so you don't risk not being able to get your head through it once it's sewn on.


Now set the sewing machine to a mid length, mid-width zig-zag stitch (around 3, 3):


Using thread that matches the collar collar, zig-zag stitch around the edge of the entire collar.  Do one collar side at a time.  Remember to go slow so you don't stretch the shirt fabric (you don't want to end up with bunching or puckers).


Decide how you want to space the buttons and hand sew a small one at the center of the collar.  That little pearly pink one was from a button stash of my grandma's.  Then sew two larger ones below.

The ones I used are wooden ones and about the size of a quarter.  I love that they already had this cute colored thread running through them in a heart shape (so cute!!).  These were also from Wholeport and also nice & thrifty.    For a little extra detail I stitched one near each sleeve cuff too.


Now the shirt is ready to wear.  $10 folks.  And just as unique & hip as the fancy places.  Except with an extra gold star for being totally one of a kind and with a lot of money left in your wallet.  Consider this a little Valentine's gift for treating yourself today.  Happy Valentine's Day everyone!!


I'm also sharing this with my FAVE LINK PARTIES.
Click HERE to check them out!

Thursday, January 3, 2013

How To Make Handmade Gifts Look Amazing On The Cheap


I know the holiday season is over, but I wanted to share how I made some fabulous gift sets with minimal effort (and cost).  With more holidays on the horizon (and some serious clearance deals on Christmas stuff right now), I thought this would be handy for anyone who wants to make a marvelous handmade gift, anytime of the year, despite limited time & cash.

My main tip for success is gathering useful supplies as you randomly find them.  I didn't even know what I was going to make when I found these, but the trick is to grab things that are versatile, so you won't corner yourself with ideas or end up with stuff you can't use.

The Gear:
- The baker's boxes & tissue paper were from the dollar section at Target.  This is a great spot to get boxes, baskets & bags for any occasion and SO cheap.
- The giant spool of baker's twine was from a deal site when they offered free shipping and a huge discount at Thanksgiving. $4.95 for 450 yds.
- The baking cups were a find at Ikea - 200 for $1.99.

With these basic items you could go in a lot of directions - cupcakes, candies, handmade jewelry, small toys - just about anything crafty.  And because they aren't too holiday-themed, you can use them throughout the year.  I borrowed some plastic snowflake soap molds from my mom and mixed up some melt & pour soap and a few lip balms (making these is beyond easy - I'll be sharing some how-to's for them soon).  I placed a soap in each baking cup and nestled everything into some tissue:
I made some last minute gift tags with my Cuttlebug and tied everything up with the twine. From start to finish making 5 completed boxes took about an hour.  Seriously.  With each completed box costing less than $5.  And there are enough supplies left over to save for next Christmas or use them for some upcoming Valentine's Day ideas.  Handmade+Thrifty+Easy= WIN.


I'm also sharing this with my FAVE LINK PARTIES.
Click HERE to check them out!

LinkWithin

Related Posts with Thumbnails