
I've been putting in extra effort in my garden this year. The past few years results have been pretty underwhelming, so this time around I've been pulling out all the stops: using grow lights on my seedlings, lasagna-style layering the garden beds, making tripod trellises, etc. Heck, I even ordered a giant bag of worm poo as the ideal soil enrichment. I'm in it to win it this year. We will grow decent vegetables this summer!
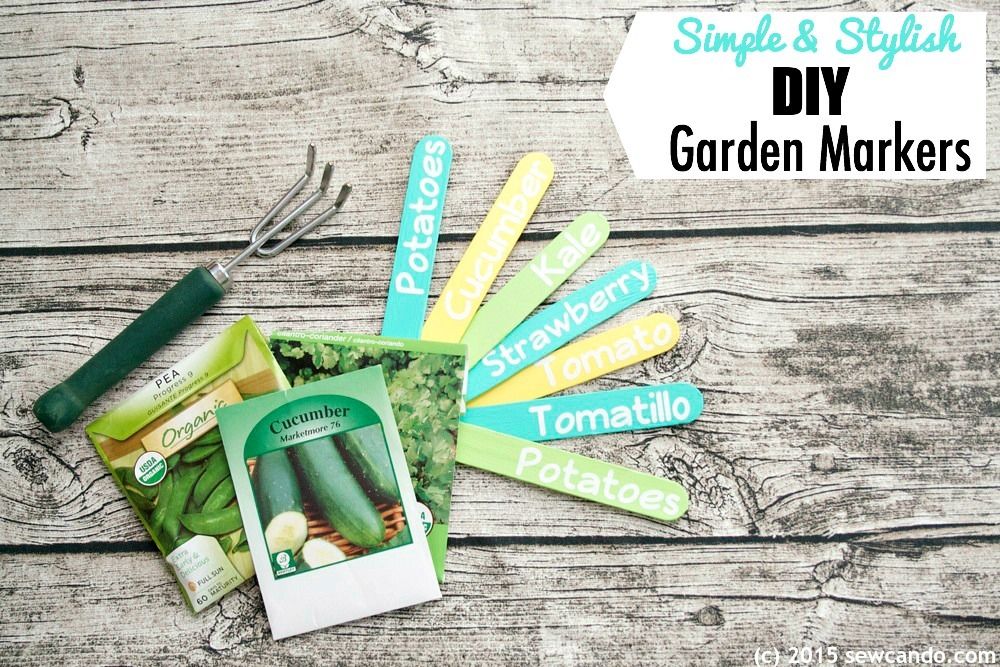
That being said, labeling my miscellaneous herbs & veggies was stumping me. Cute garden markers can get pricey when you need a lot of them like I did. I needed something like 25 markers. Even the Pinterest-perfect DIY's out there involve procuring lots of materials if you're planning to make more than a handful. I need them to be able to take the obscene amount of rain & wind too. I saw lots of chalkboard versions, which just seemed...odd. Are these people growing plants without water then?!? Running outside and re-writing them once a week? That's not gonna work for me.
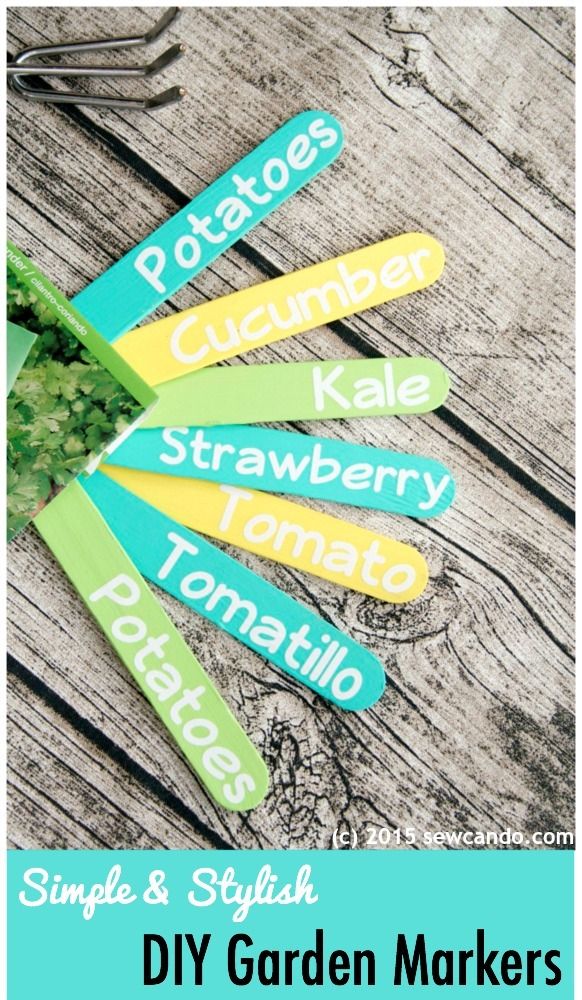
My atrocious handwriting wouldn't help either. A rummage through my craft drawers gave me this idea. Inexpensive, fairly simple and easy to do in big quantities:
Here's how to make 'em.
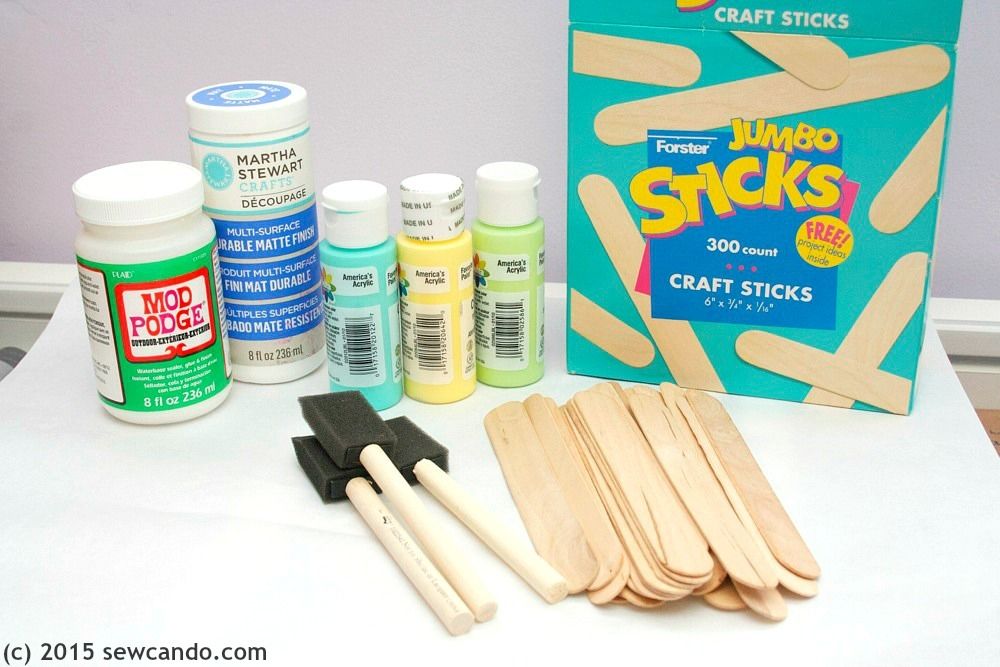
Materials:- Jumbo craft sticks (aka tongue depressors)
- Acrylic craft paint & brushes
- Decoupage sealer (make sure it's rated for outdoor use)
- Optional: Vinyl, Transfer Tape & Cutting machine
FYI- I'm not pimping any particular brands or getting paid to rave about any specific supplies. This is what I happened to have in my stash & just decided to use:
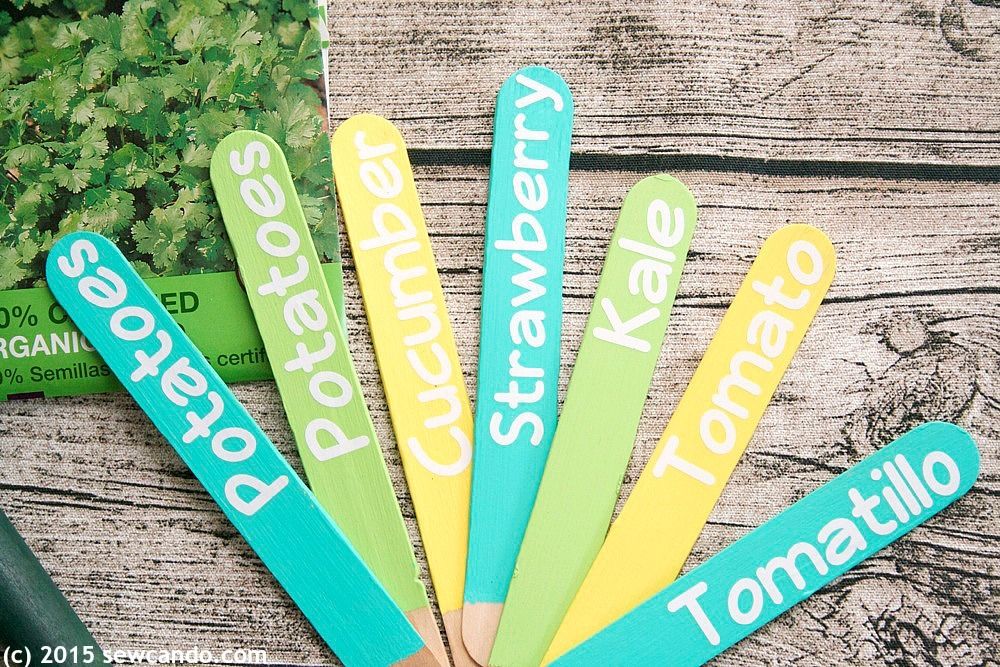
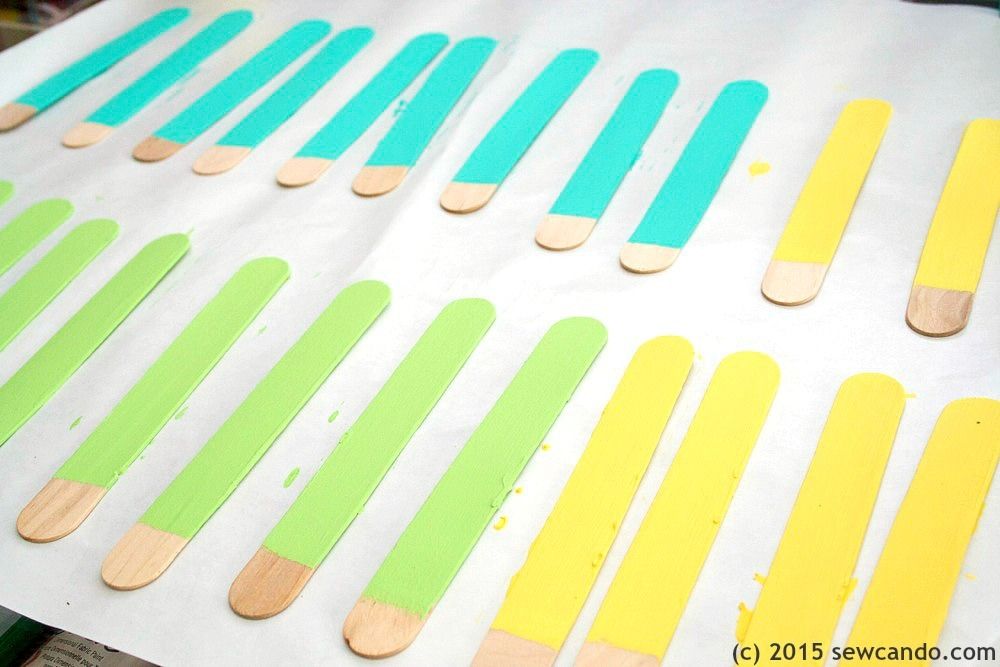
I started by painting my craft sticks. I did 3 coats on each side, waiting the required time between coats. I used a piece of freezer paper, shiny side up, underneath. That worked great to keep things clean and the paint not sticking. I left the bit at one end unpainted so it would be easy to hold while painting (it's the bit going in the ground so no one will see it anyway).
Side note: The next cutting machine & vinyl bit is optional if you have beautiful handwriting. I do not. I wasn't about to do a nice paint job and then ruin it by writing my chicken scratch on it.
I used my Cricut Explore to do the vinyl cutting. I choose a font I already had (Veggieburger), made it bold, and typed up all the herbs & vegetables and sized them to fit my craft sticks. Then I cut them out from white vinyl remnants from a previous project (perfect example of when hoarding scraps can be useful!). I weeded out the excess bits.
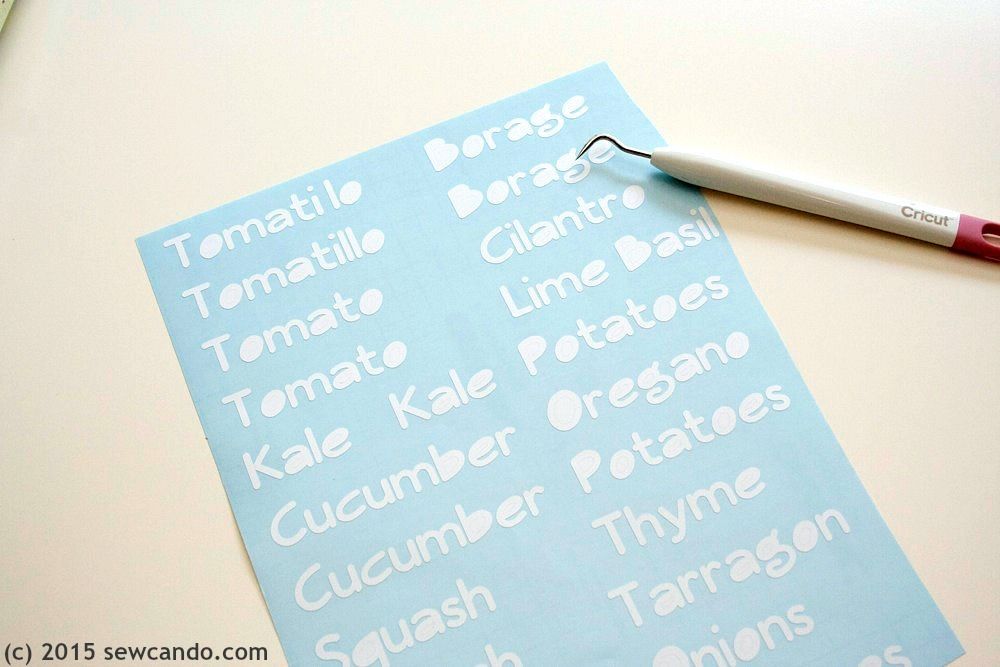
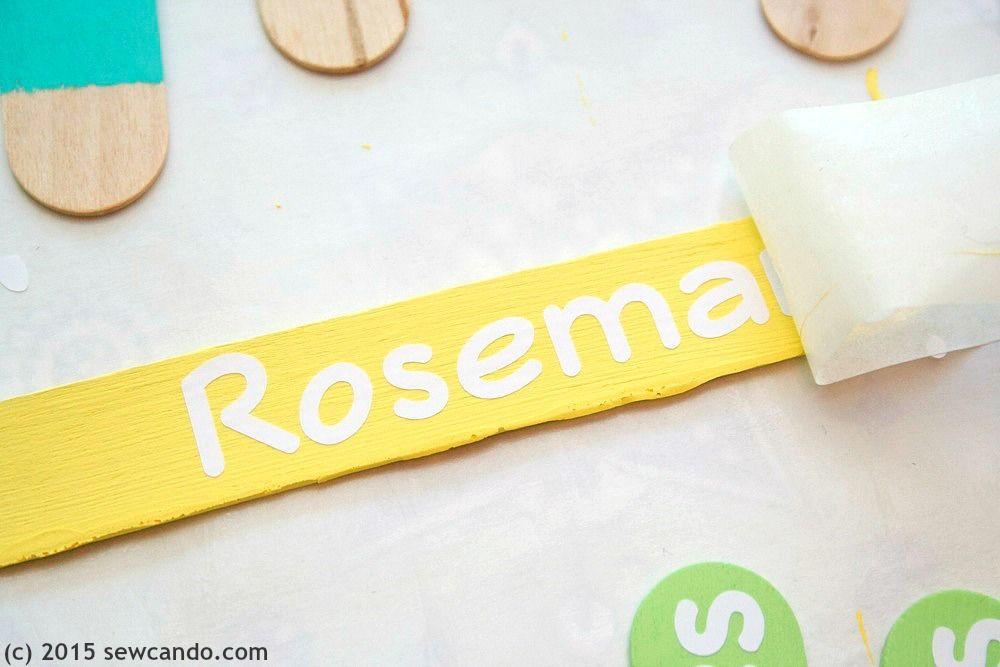
Next I cut a bit of transfer tape and used it to pull up a single word, then pressed it onto the upper end of a stick. I rubbed it on with a scraper tool.
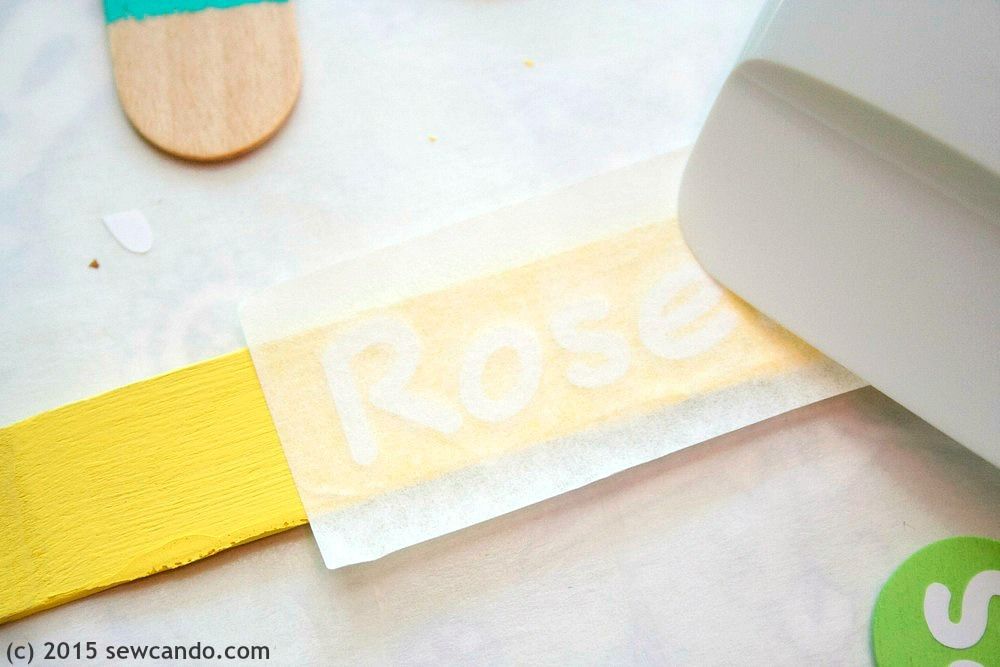
I peeled back the tape and repeated it all again with the next plant name and stick. I was able to use each piece of transfer tape about 3 to 4 times, until it wasn't sticky enough to pull the vinyl off the backing, so it didn't take much tape to do them all.
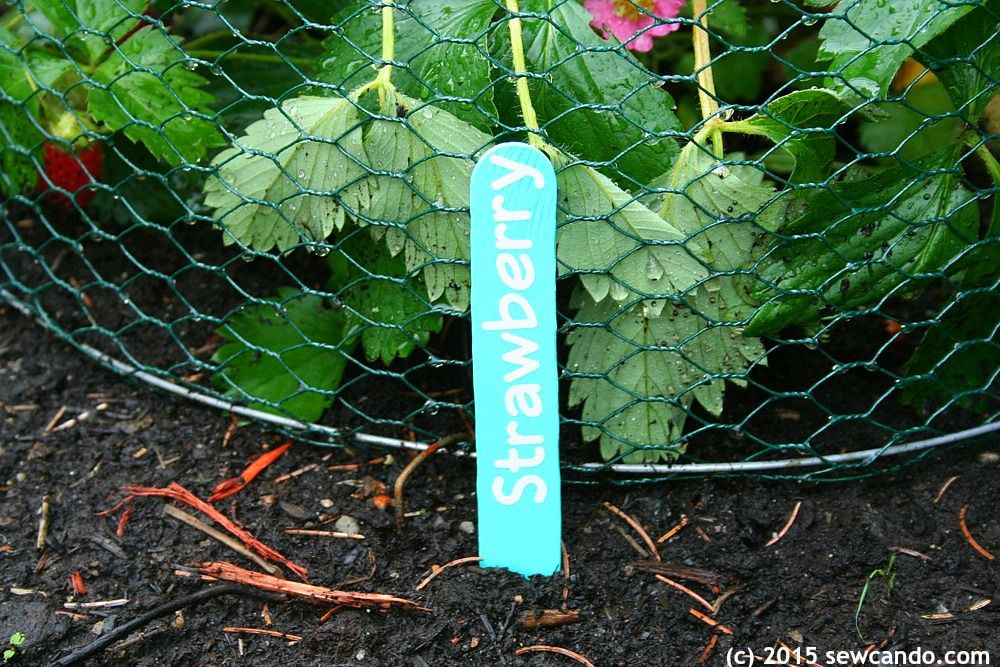
We've been getting A LOT of rain around here and I didn't want these to get yucked up right away - or for the vinyl to peel - hence the sealer. I did 3 coats on each side with that. I ended up only using the Martha Stewart decoupage sealer. I'd used the Outdoor Mod Podge before, but it always felt tacky to the touch when dry, so I skipped it this time.

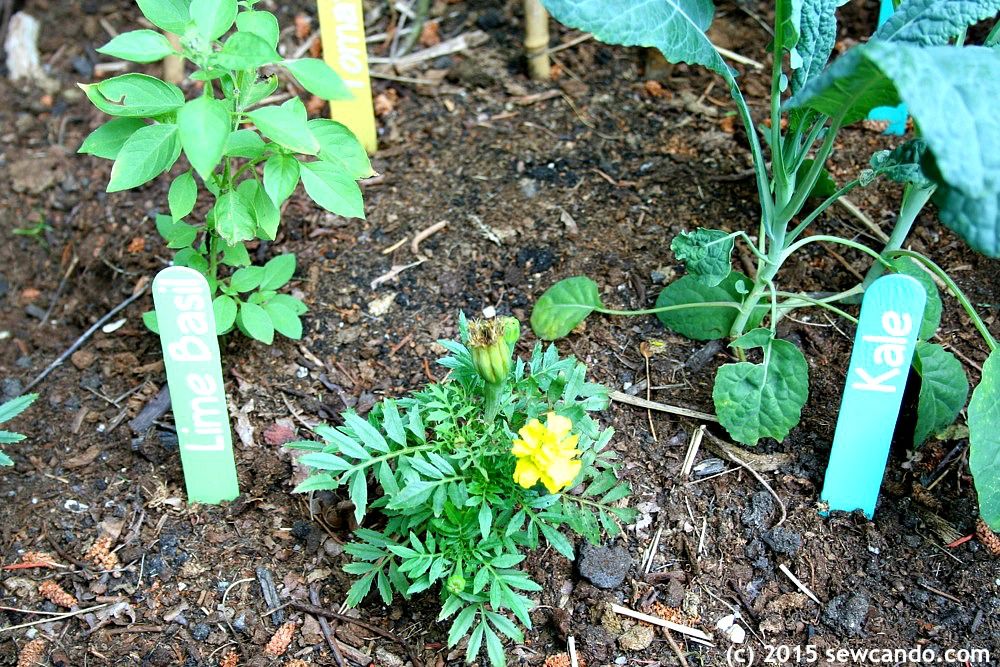
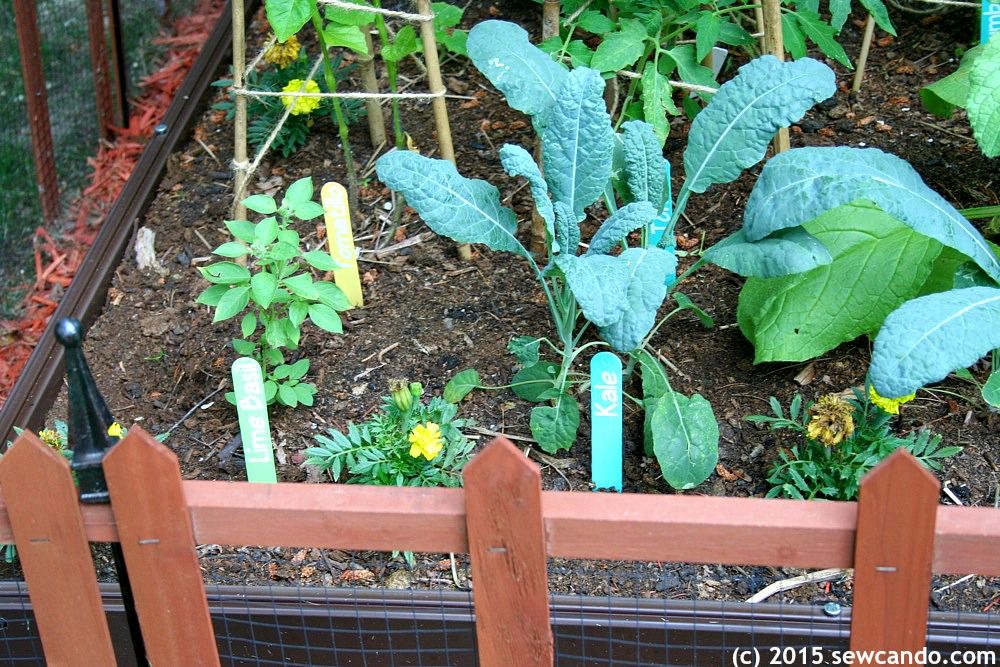
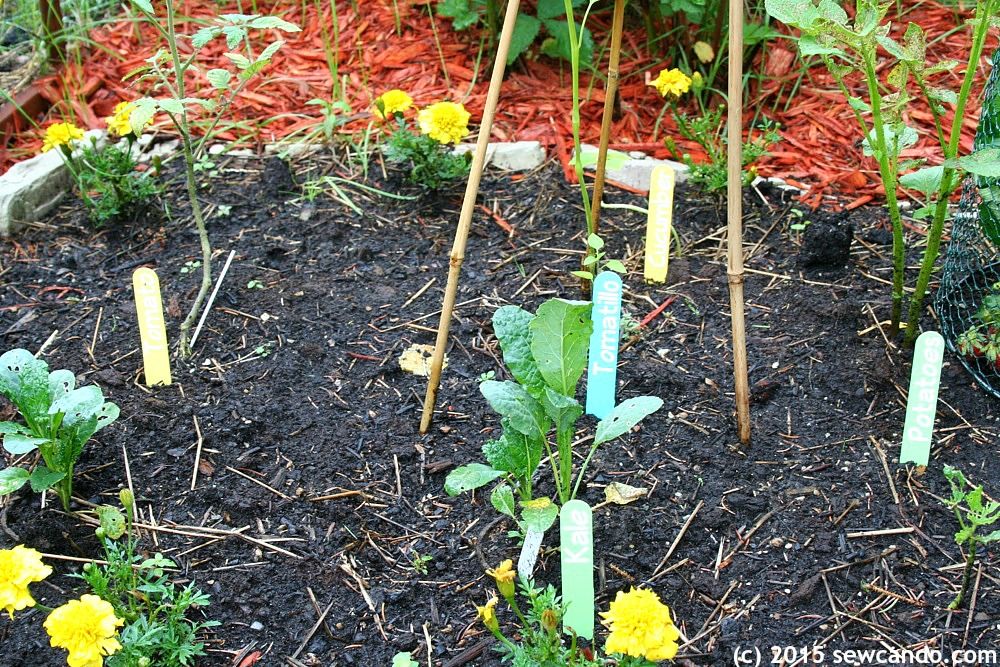
The only tough part was waiting a few days for everything to cure before setting them out in the gardens. This is my herbs, berries & extra plants garden:
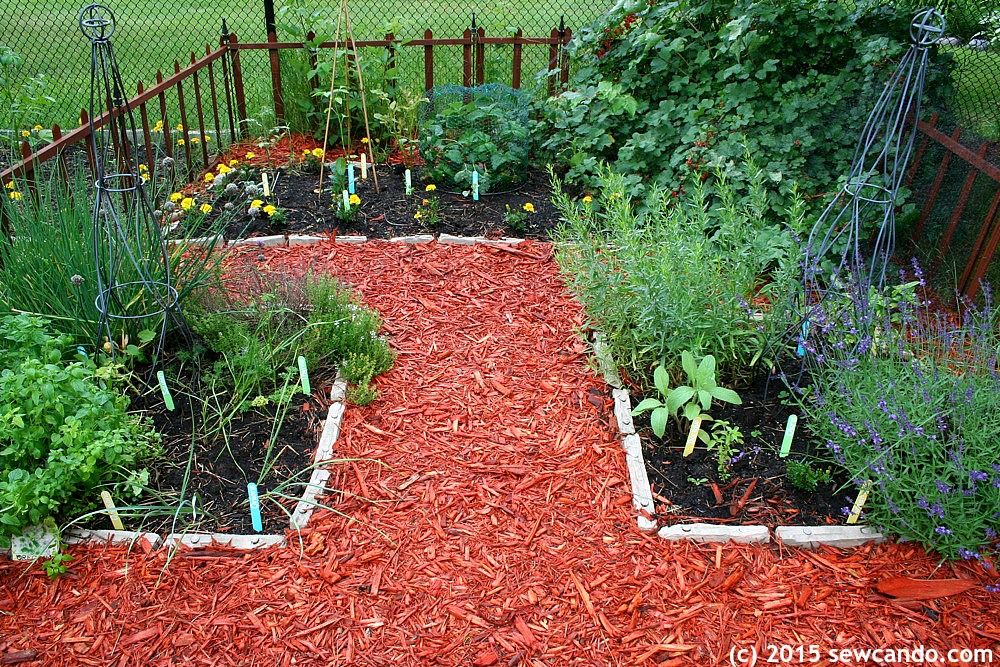
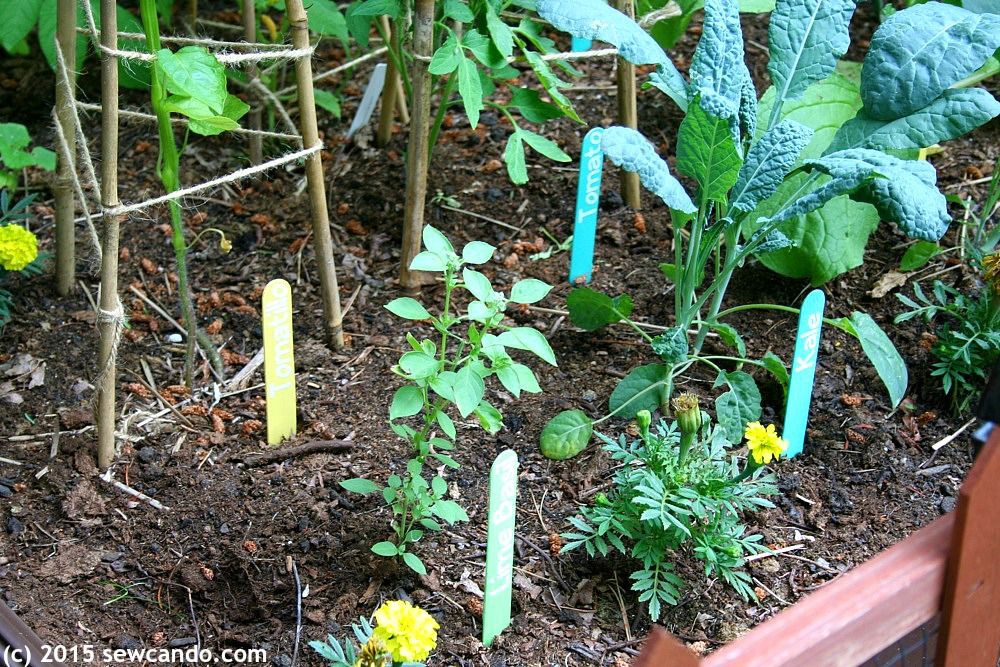
I'm hoping they'll hold up all season. We'll see. If they don't at least the price was right - $0!

What an outstanding idea! I have the paint and sticks and sealer, and I can just handwrite the words. Yours look wonderful. I like the color variety too/ Great idea!
ReplyDeleteSo glad to hear that Carole! Sometimes it's best to start a project by looking through the stash;)
DeleteMakes your garden so cute! Thanks for sharing with the Thursday Blog Hop!
ReplyDeleteHow cute these are! I love the pop of color in the garden.
ReplyDeleteBy the way, I would love to have you post on my new blog hop—the Weekend Blog Hop at My Flagstaff Home (www.myflagstaffhome.com). It begins on Thursday evenings and lasts through the weekend, if you're interested.
Jennifer