Showing posts with label Tutorial. Show all posts

Wednesday, December 7, 2022

Making Snow Globe Mason Jars


This easy DIY makes a sweet gift handmade item that is sure to delight!  Fill the jars with cocoa or cookie mix, candies, nuts or potpourri.  They make a lovely gift or sweet little decoration that can be enjoyed year after year.  The Nativity looks so heavenly nestled in the snow:


  I fell in love with this project idea last year when I discovered a tutorial for making them to gift hot cocoa mix in over at Dream A Little Bigger.  Unfortunately I ran out of time to make any so it had to wait until now.  Several of the suggested products used there are no longer available, so I found some ideal substitutes to make them work and am sharing my findings so you can too:)


To make them I used a mix of some winter mini decorations, as well as some Nativity-themed flat backs & buttons from my shop and some pretty trims from my friend Jennifer's shop: Sugar Pink Boutique.


Materials:
- Mason jars (I used standard 8oz)
- Hot glue gun
- Ruler, rotary cutter, wire cutters

* It's a lot easier to start with solid white lids, but if you only have access to the metal ring kind, glue the seal to the ring and then paint white before starting.


Begin by hot gluing the central flat backs or buttons onto the jar lid at the center.  I used A Child Is Born & Three Wise Men Flat Backs from my shop for these.  Make sure items chosen will all fit under the dome (no taller than 1 1/8in).  I had to trim down my tree a bit at the base.


Carefully use the wire cutters to clip off the hanging circle of one of the ornament halves.  It's ok if it's not perfect - the ribbon will cover this up.


Put just under a tablespoon's worth of the artificial snow in the globe half:


Carefully put the jar lid over the globe and firmly hold together.  Run a thin line of hot glue around the edges to adhere them together.  I smoothed it as I went with a silicone finger protector (but a silicone hot pad or spatula edge would work too).  Check the edge to make sure there are no gaps (add a little more glue if needed).


Use ribbon & trim to dress things up and cover the seam edge just made.  An easy way is to use a wide trim with a decorative edge, like this 1.5in wide velvet center crochet ribbon.  Just hot glue it around the lid edge and overlap the ends at the back.


The crochet edge makes a pretty little fence around the scene.  I added a topper 3/8in wide trim of metallic silver velvet to add a little extra bling that doesn't shed:


For a different finish, I used 1/2in wide grosgrain ribbon, baby pom pom and some metallic satin tree trim on my Three Wise Men version:


Glue on the 1/2in wide ribbon first, making sure the top edge overs the seam of the snow globe, then glue the pom pom trim over the lower edge (which will camouflage any of the lid that was showing).


Then add the satin trim just above the top of the pom pom:


After making a few, it starts to go pretty fast and it's a lot of fun to make a variety of versions by using different figures and trims.


Add your favorite fillings: holiday mixes, candies, potpourri, etc. and they're ready to gift.  Enjoy seeing your recipients faces lit up when they receive them!  


Thursday, December 1, 2022

Easy Folded Fabric Ornaments Tutorial


Make some show stopping ornaments to decorate the tree, or to give as beautiful gifts, using just a little bit of fabric, ribbon & embellishments and this folded fabric technique.


  I made these ornaments as a holiday project for my shop to feature fabrics & embellishments I carry there.  The original tutorial I found for this was at Think Crafts.  It's quite good and shows several design options - some using all ribbon and some with many more rows of folds.  I found this version to be the quickest & easiest, but made some of my own design tweaks and added more details in the steps to make it even easier! 


These are a great holiday craft for when you're short on time.  I actually made mine while watching tv in the evenings (since having open containers with hundred of pins out with my toddlers during the day would be a disaster).  


Both sides can be decorated too:


I used a mix of fabrics & supplies from our shop and some beautiful trims from Sugar Pink Boutique, a fellow Christian-owned small business owned by my good friend Jennifer.


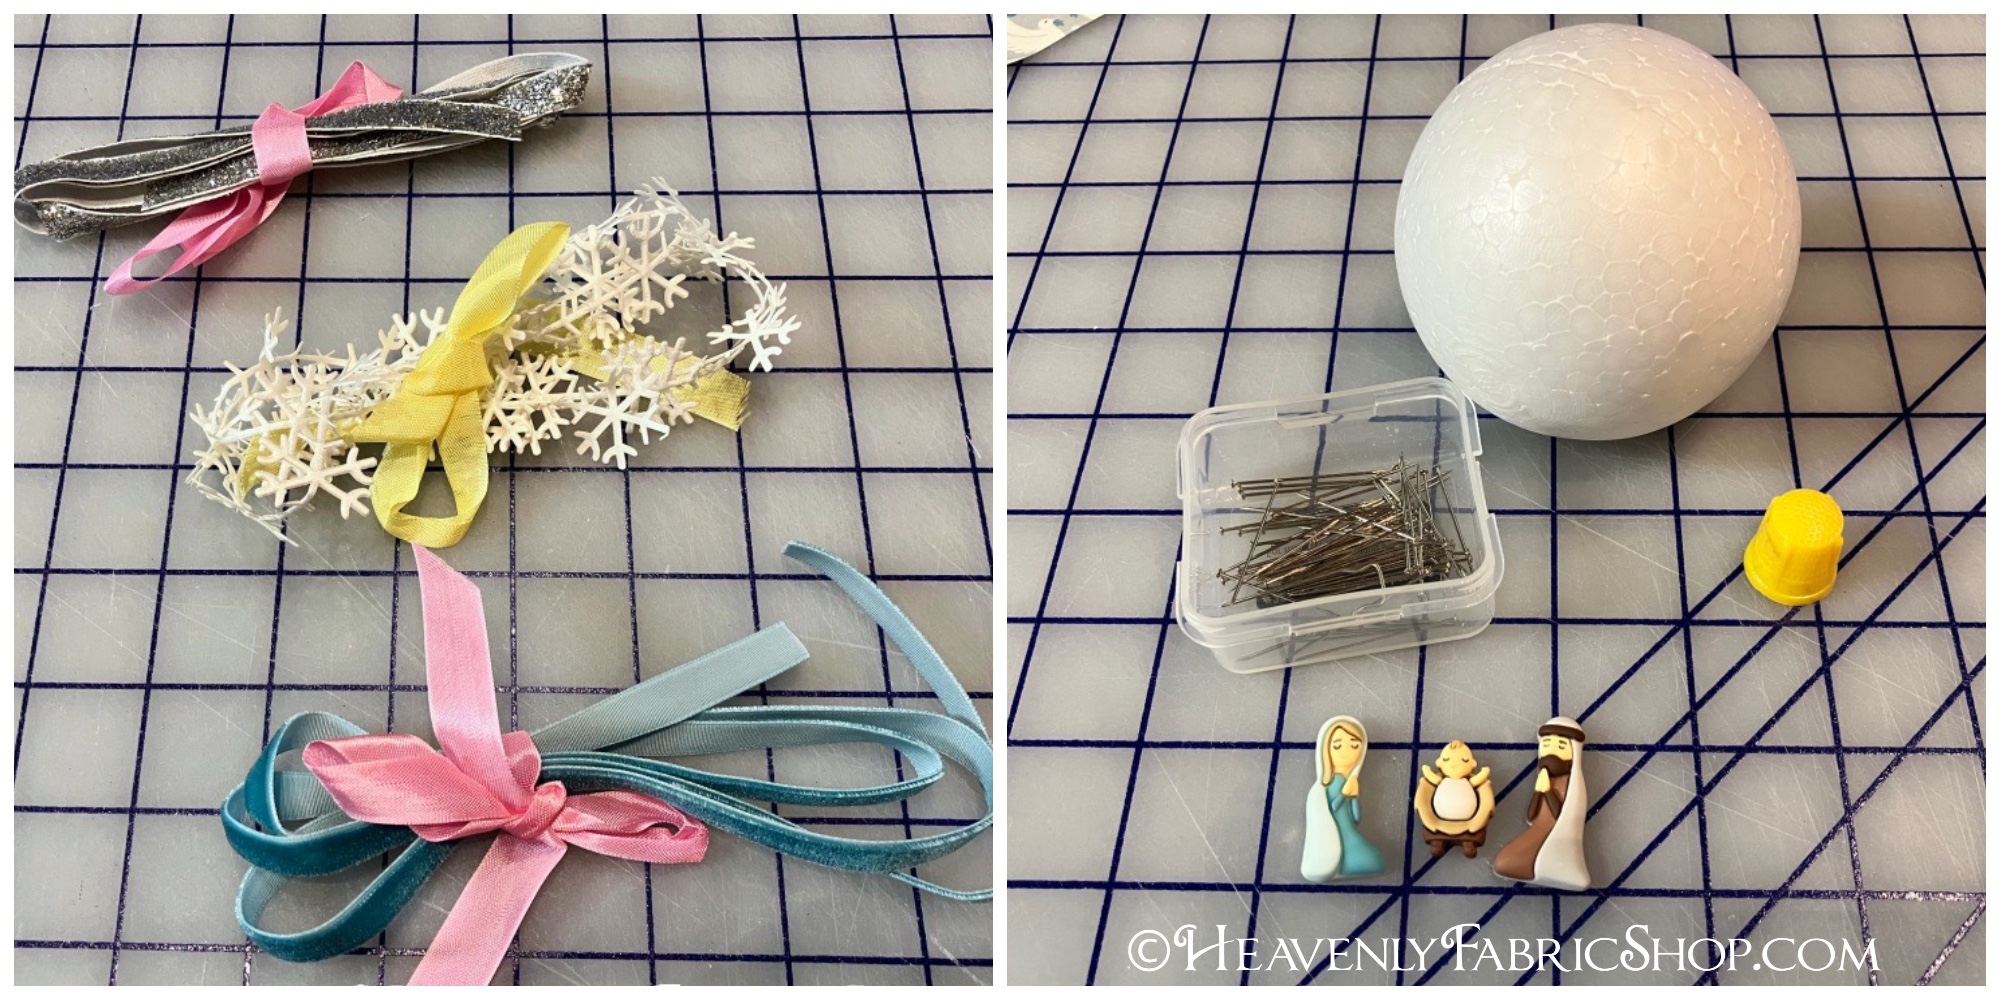
Materials:

- (2) 1/2yd or FQ coordinating cotton fabrics
- (2-3) 1yd coordinating 3/8in wide ribbons/trims
- 3in Styrofoam balls
- Straight pins 
- Flatbacks
- Hot glue gun
- Ruler, rotary cutter
- Optional, but recommended: thimble


To make the exact ornaments shown here see the links below:


You can make 2-4 ornaments, respectively, depending on if you use fat quarters or 1/2yds.  The cut amounts specified below will make one ornament.

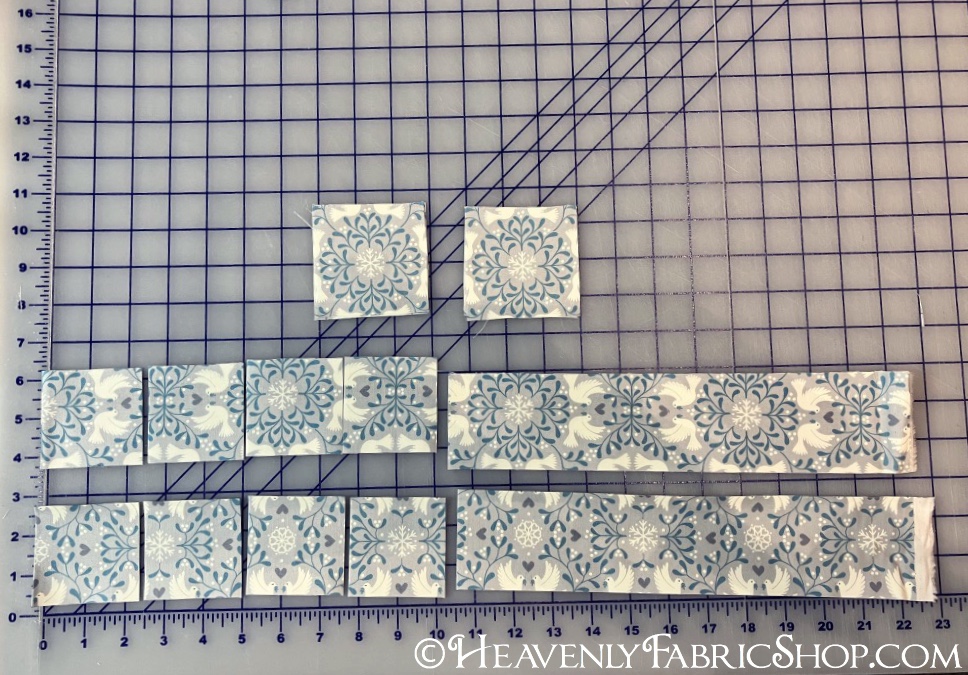
Start by cutting out (2) 3in squares and (16) 2.5in squares from the main fabric that will be your ornament's center.  Fussy cut if desired.  Also cut a single 2.5in high x 11in wide strip.


Cut (16) 2.5in squares from the second accent fabric:


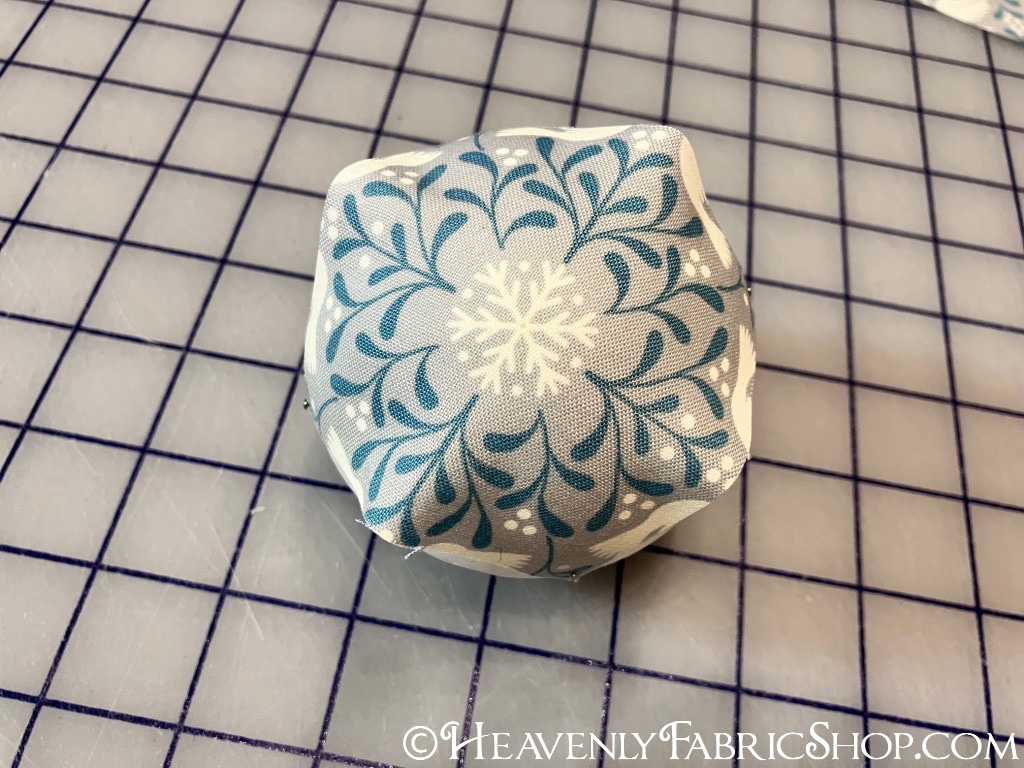
Find the center of one side of the styrofoam ball (usually there is a small circle or marking that makes this easier) and place center of one of the 3in squares over it.  Pin into ball at corners of fabric square.  


Take a 2.5in accent square of fabric and fold it into quarters, creasing it with your fingers, so when it is opened it's easy to find the center and place a pin through it on the wrong side of the fabric: 


On each side of the already pinned 3in square, find the center of that side and insert the pin about 1/2in inward from the raw edge.  Fold the fabric downward:


Then bring the top corners downward to meet at the center and pin in place to create a point:


 Once all four sides are done it will look like this:


 Take remaining four squares and place those between the points to create a second overlapping row.  Pin the lower corners of these triangles if desired.  It's a little easier with them "smoothed down", but uses more pins.


 Repeat the previous two steps with the main fabric squares to complete one side:


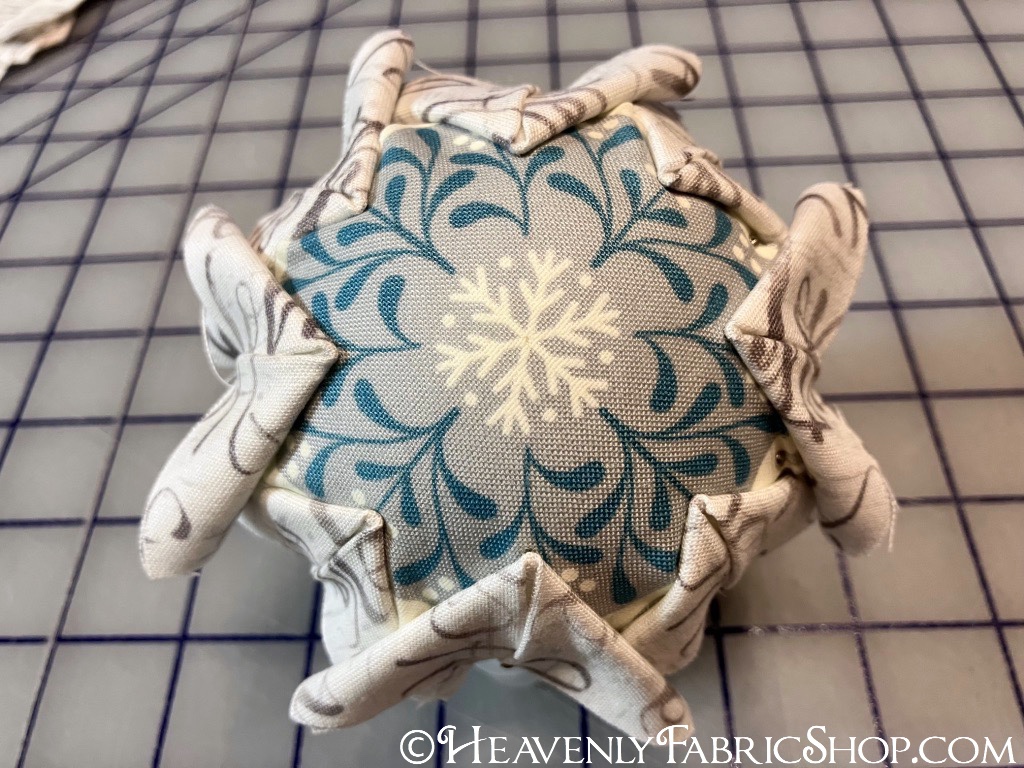
 The result will be this lovely tiered fold effect:


 Do the same on the other side of the ball, trying to line up the placement of the folds to mirror the original side:


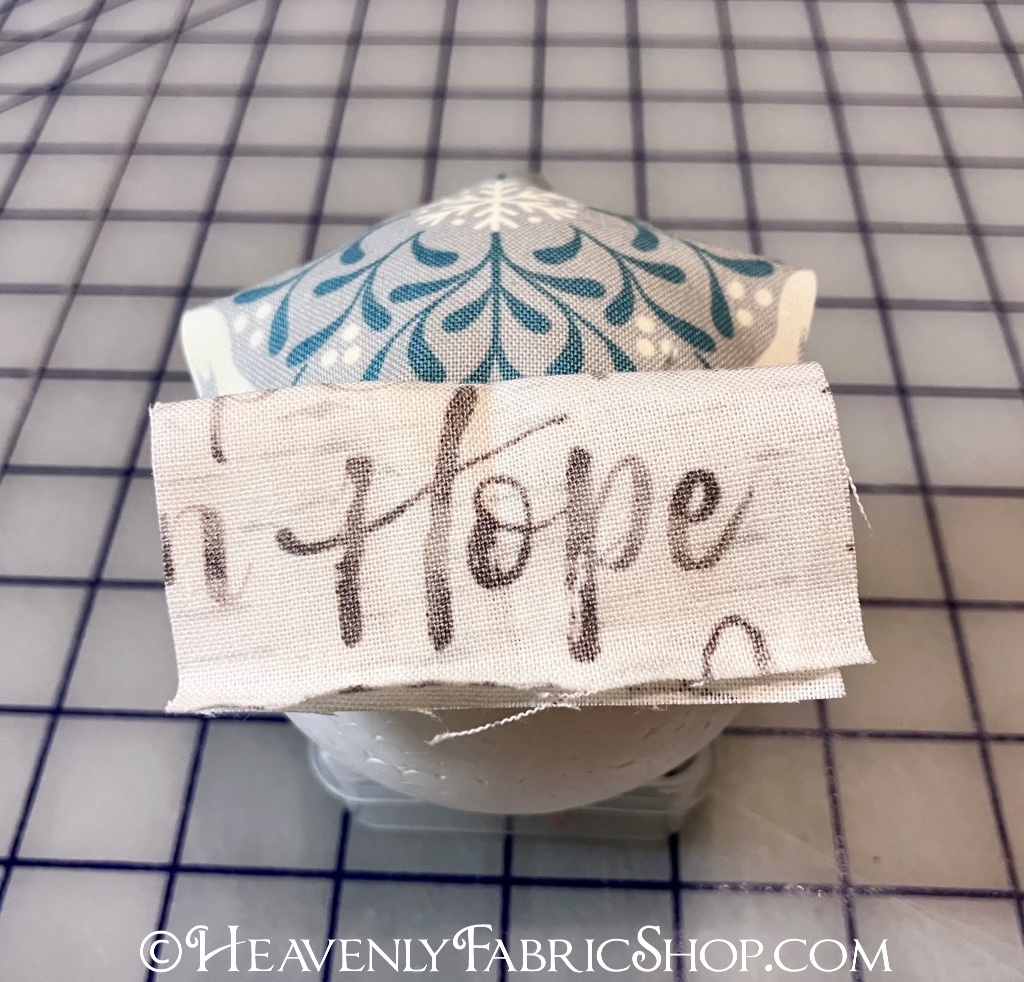
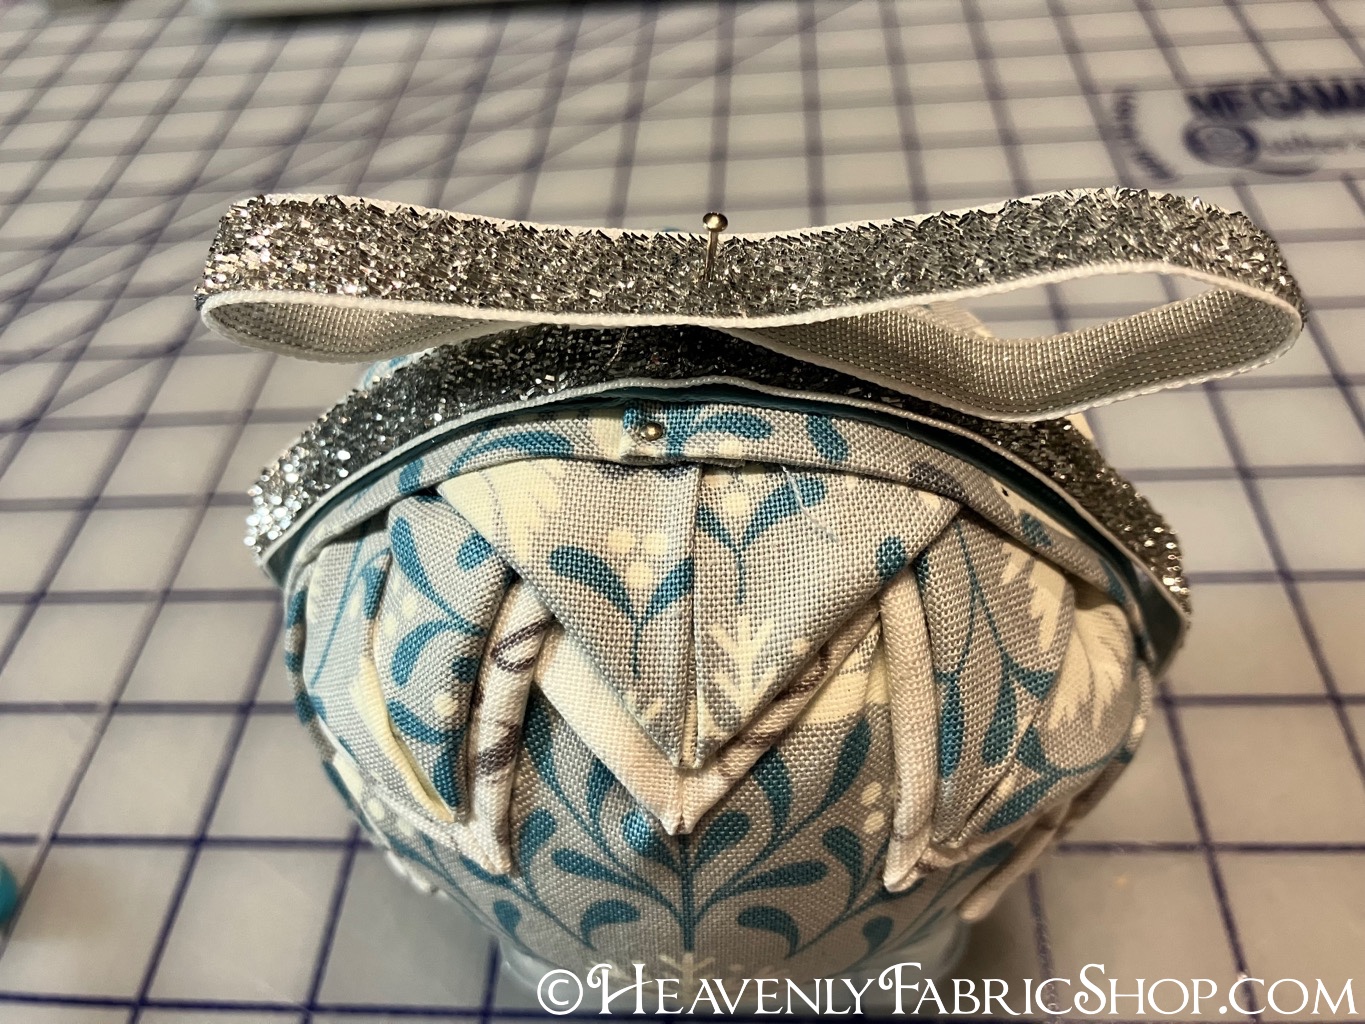
Take the long fabric strip and double fold.  Wrap around the center (to hide the raw edges of the folded squares), overlapping the short ends at the top of the ornament. Fold under the raw edge and pin into place.


Cut an 11in piece of 3/8in wide ribbon or trim and center over the strip.  We used a velvet ribbon to add texture:


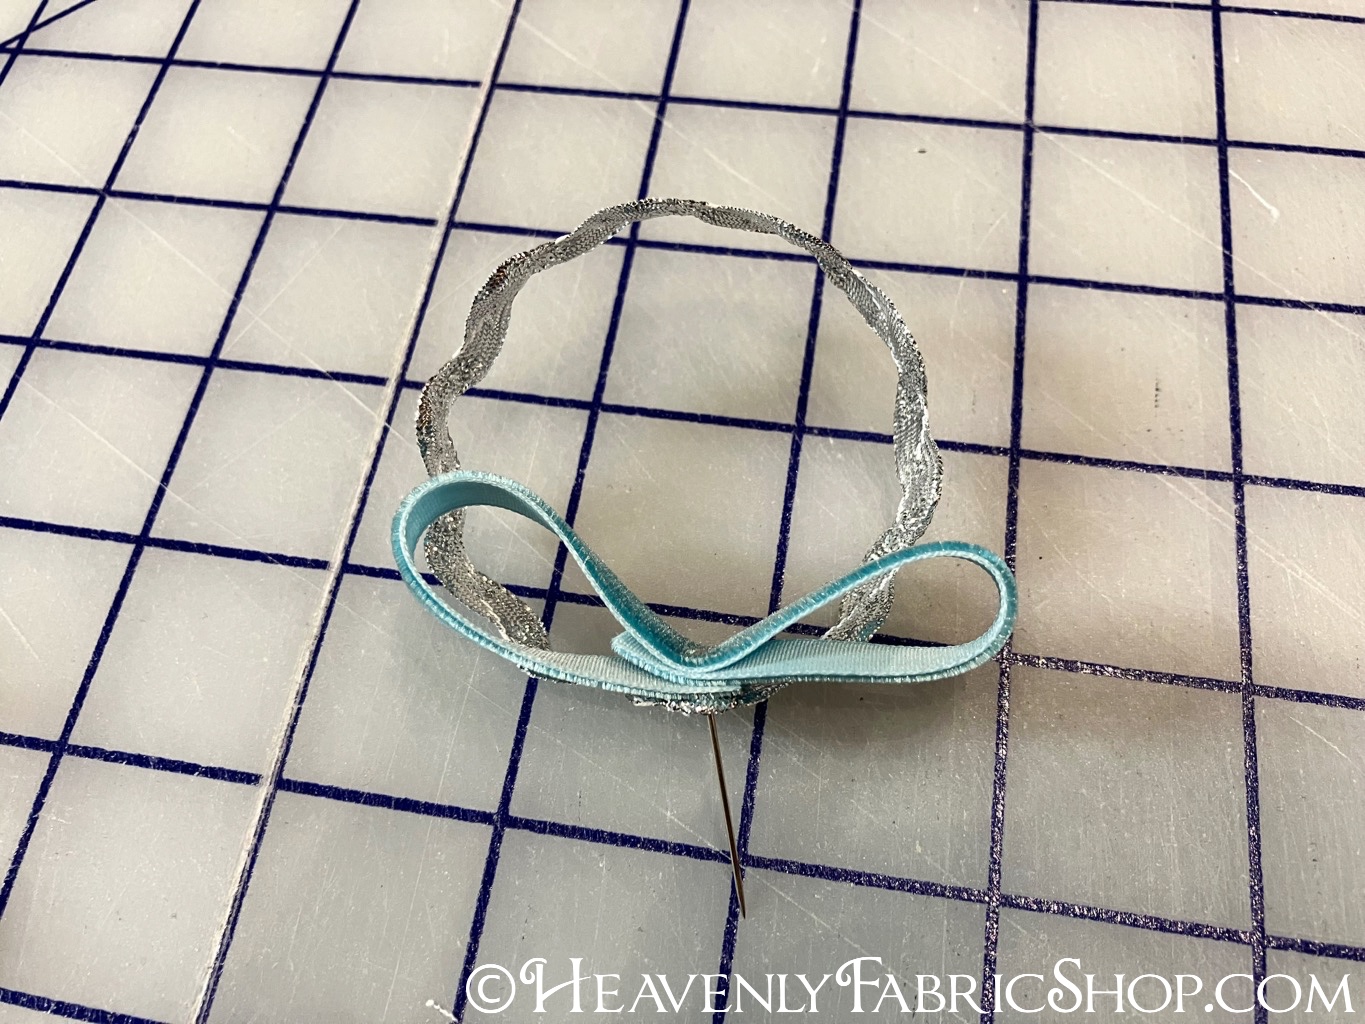
To decorate the top and add a hanging loop, Cut a 8in piece of trim (we used metallic velvet here) center it at the top.  Cut a second piece and overlap ends to make a loop and pin through the center of both to create a bow.


Cut a 7in piece of trim to make the hanging loop and a 6in piece from another trim to create a second bow loop.  Overlap as shown and pin into first bow.


Hot glue embellishments to ornament center and to center of bow to finish.  These are so fun to make & a great way to create one-of-a-kind ornaments to treasure year after year:


Merry Christmas!


Thursday, October 13, 2022

Free Little Owl Toddler Top/Baby Dress Pattern


Everything old is new again, or so the saying goes, right?  It blows my mind that it's been over 10yrs since I originally made this little pattern.  


I was still relatively new to sewing back then and did this as a jumper-style dress for my then new baby girl.  Who is now thirteen.  Wow does time fly!  The roomy fit worked well from about 3mos-12mos as a little dress.  I saved it for my next daughter who was born in 2020.  I found it at the back of the closet recently and I was thrilled to discover it also make a perfect toddler top for her size now 2T body, so this really is a grow-with-me DIY item!


It's a relatively simple sew - just 4 pieces to cut out.  Totally easy to whip up in an hour or two with basic sewing skills.  Not bad for an item that can be worn for 2yrs and then passed down to another kid!


You can use any woven fabric and it only takes 1/2yd.  I had this adorable corduroy:


And it looks so cute from the front and the back:


 Just excuse the ancient, so-so quality step-by-step photos (taken before I had a decent camera or any photo editing skills).  They're basic, but I think they do the general how-to job.

Materials:
- 1/2yd woven fabric (cotton, corduroy, etc)
- 1/2yd double fold bias tape
- 2 snaps
Notions: Iron, pins, tailor's marking pen or chalk 


Printing the Pattern:  Print at 100% (actual size) no scaling.  

Cutting: Front body (1 cut on fold), Back body (1 cut on fold), Front collar (cut 2), Back collar (cut 2)

Mark all pieces with front and back notations and start & stop points of collar.  Put the front and back pieces together with right sides facing and pin along side seams.  Stitch with a 3/8in seam allowance.  To easily keep the raw edges from fraying I trim them with pinking shears, but you could serge them too.  Press seams open. 


 Encase the raw edge of the underarms in bias tape and stitch in place:


 With right sides facing, put together the flat short end of a front and a back piece of the collar and stitch together.  Do the same with the remaining pair and press seams open.  When complete, that seam will go over one shoulder and the open end will go over the other.


 Pin those collars together (again right sides facing) and stitch together starting on the outside at one marking point and stitching all along the inside and back over the other end as shown:


Trim the seam allowance down and clip around the curves to make it easy to turn right side out.  Press the flat.  Then take the raw opening edges and press those under, toward the wrong side of the collar fabric.  Insert the raw edge neckline of the top's front and back in the collar openings and pin together.  Top stitch close to the folded edge, making sure you sandwich the top between the collar's inside and outside edges. Go all the way around the entire collar edge to attach everything together on the front and the back.


Fold the hem up 1/2in and fold again and stitch in place.  Attach the snaps and the shoulder opening.  Back then I didn't have a snap press so I did the old hammer & setting tool:


It's been really rewarding seeing this little item get a second life and for so long.  It seemed like a good one to pass onto others here so they can enjoy making some too!  Happy sewing:)


LinkWithin

Related Posts with Thumbnails