

Make some show stopping ornaments to decorate the tree, or to give as beautiful gifts, using just a little bit of fabric, ribbon & embellishments and this folded fabric technique.

I made these ornaments as a holiday project for my shop to feature fabrics & embellishments I carry there. The original tutorial I found for this was at Think Crafts. It's quite good and shows several design options - some using all ribbon and some with many more rows of folds. I found this version to be the quickest & easiest, but made some of my own design tweaks and added more details in the steps to make it even easier!

These are a great holiday craft for when you're short on time. I actually made mine while watching tv in the evenings (since having open containers with hundred of pins out with my toddlers during the day would be a disaster).

Both sides can be decorated too:

I used a mix of fabrics & supplies from our shop and some beautiful trims from Sugar Pink Boutique, a fellow Christian-owned small business owned by my good friend Jennifer.

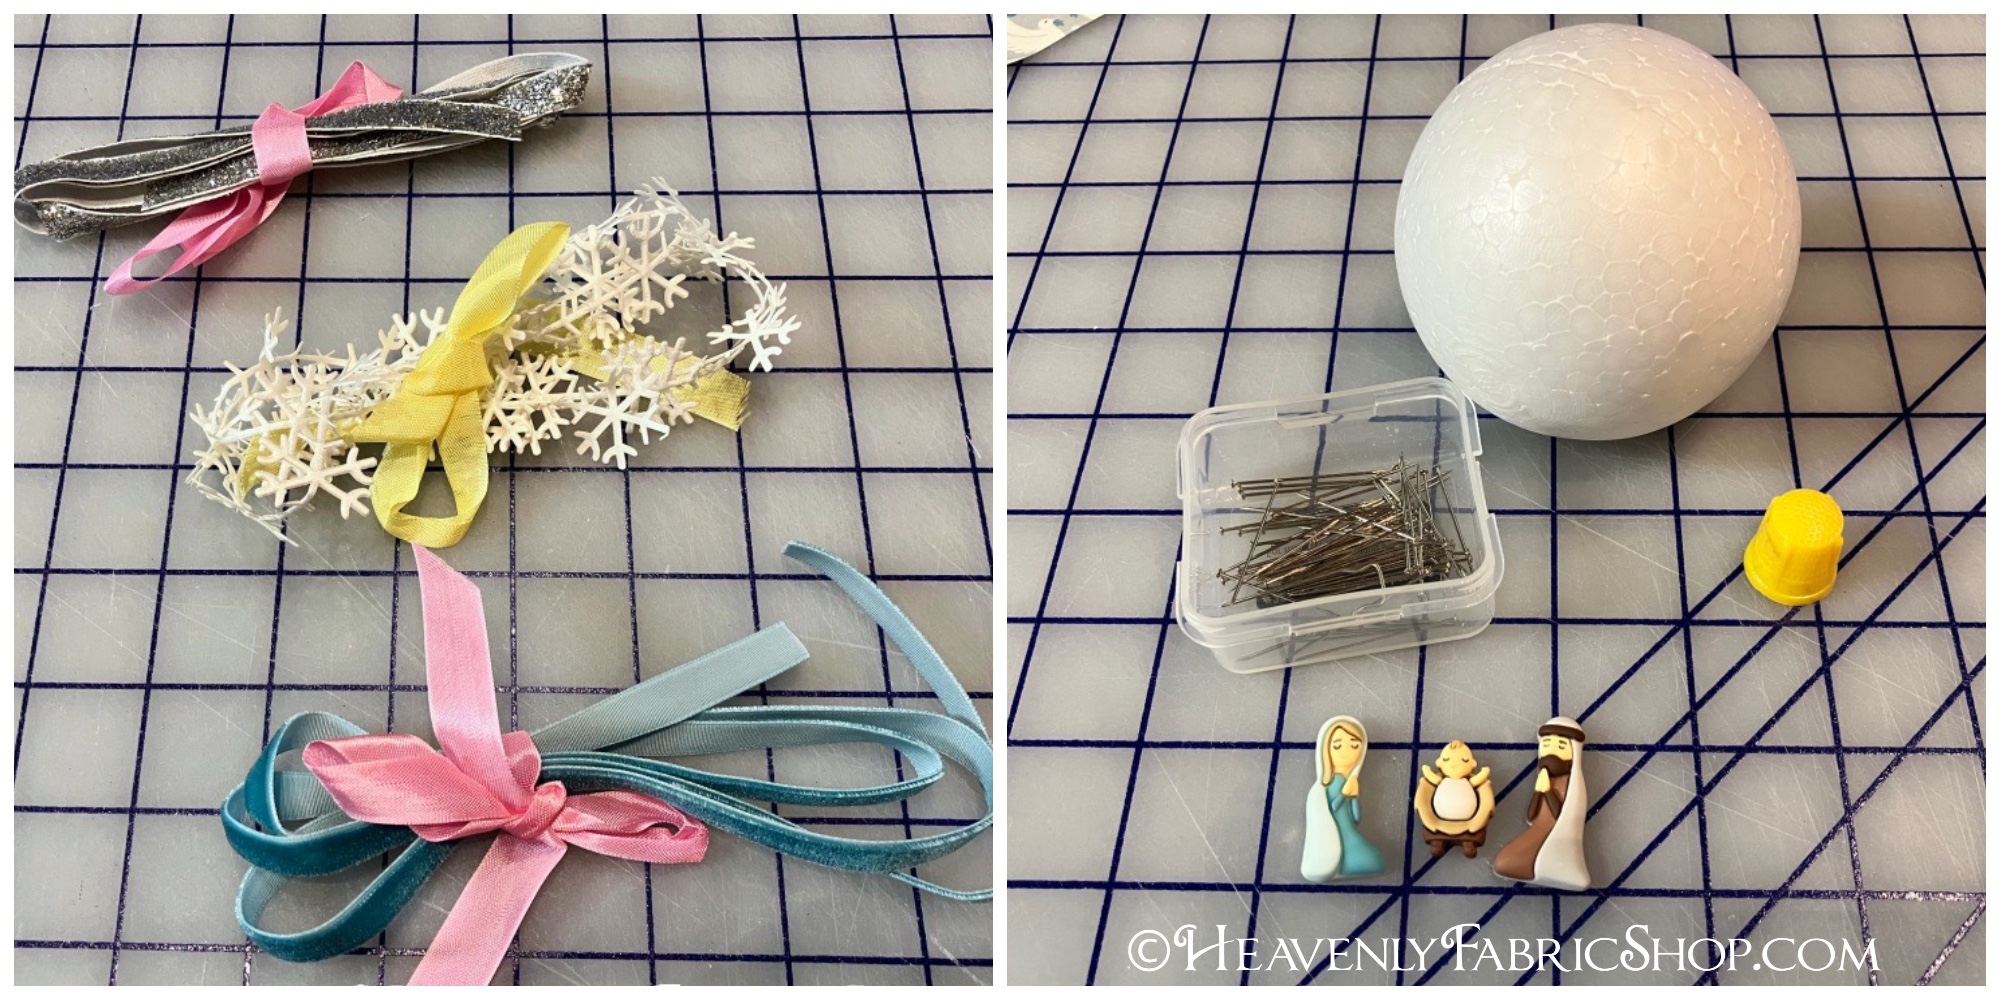
Materials:
- (2) 1/2yd or FQ coordinating cotton fabrics
- (2-3) 1yd coordinating 3/8in wide ribbons/trims
- 3in Styrofoam balls
- Straight pins
- Flatbacks
- Hot glue gun
- Ruler, rotary cutter
- Optional, but recommended: thimble
To make the exact ornaments shown here see the links below:
|
White Snowflake Satin Trim, Metallic Silver Ric Rac Embellishments: A Child Is Born Flatbacks Set |
|
Embellishments: We Three Kings Buttons Set |
|
Embellishments: Jesus Is The Reason Cabochon |
You can make 2-4 ornaments, respectively, depending on if you use fat quarters or 1/2yds. The cut amounts specified below will make one ornament.
Start by cutting out (2) 3in squares and (16) 2.5in squares from the main fabric that will be your ornament's center. Fussy cut if desired. Also cut a single 2.5in high x 11in wide strip.
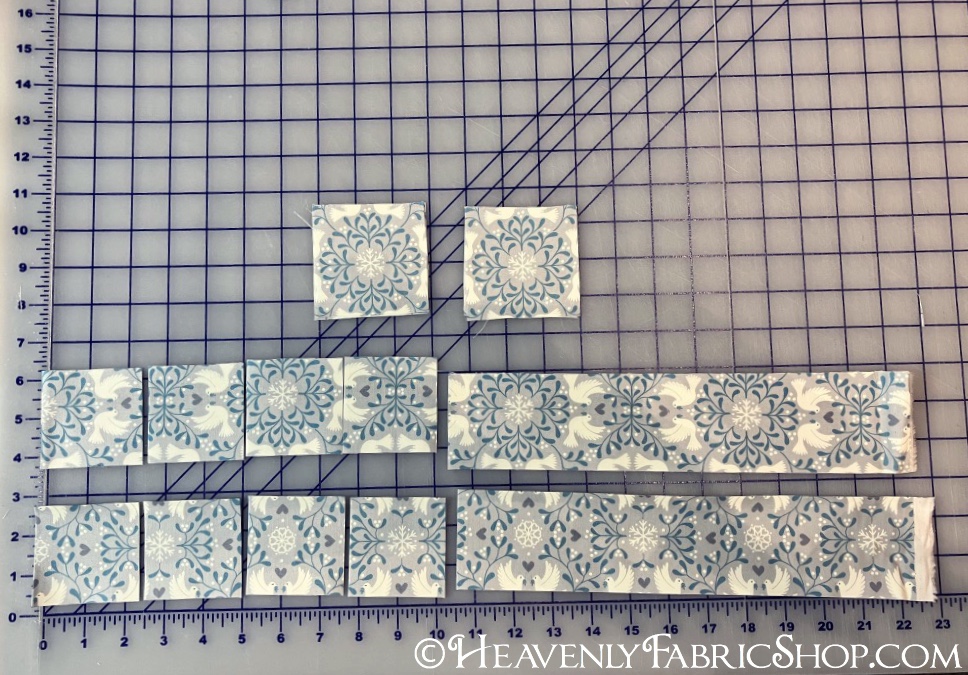
Cut (16) 2.5in squares from the second accent fabric:

Find the center of one side of the styrofoam ball (usually there is a small circle or marking that makes this easier) and place center of one of the 3in squares over it. Pin into ball at corners of fabric square.
Take a 2.5in accent square of fabric and fold it into quarters, creasing it with your fingers, so when it is opened it's easy to find the center and place a pin through it on the wrong side of the fabric:

On each side of the already pinned 3in square, find the center of that side and insert the pin about 1/2in inward from the raw edge. Fold the fabric downward:
Then bring the top corners downward to meet at the center and pin in place to create a point:

Once all four sides are done it will look like this:

Take remaining four squares and place those between the points to create a second overlapping row. Pin the lower corners of these triangles if desired. It's a little easier with them "smoothed down", but uses more pins.
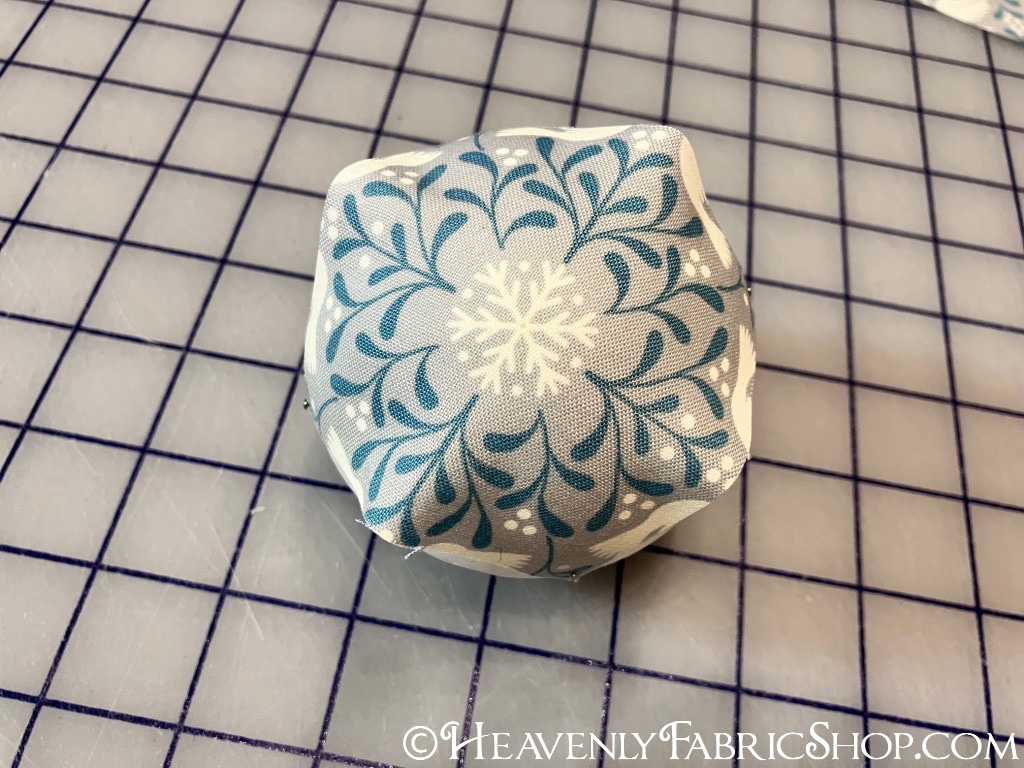
Repeat the previous two steps with the main fabric squares to complete one side:

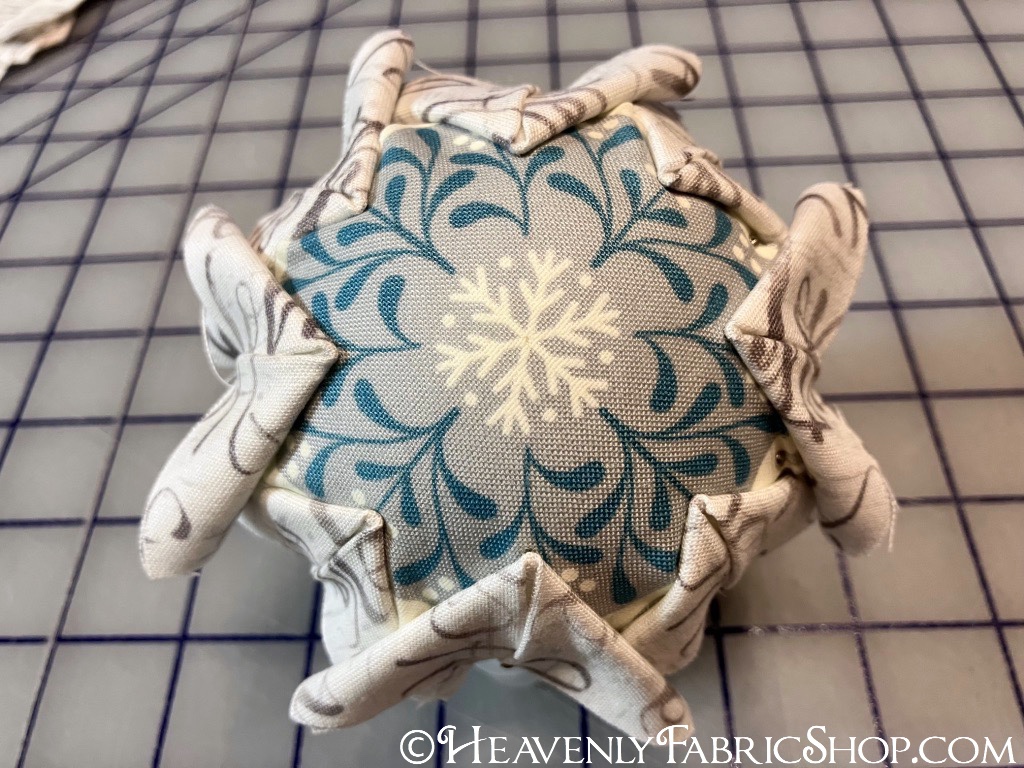
The result will be this lovely tiered fold effect:

Do the same on the other side of the ball, trying to line up the placement of the folds to mirror the original side:

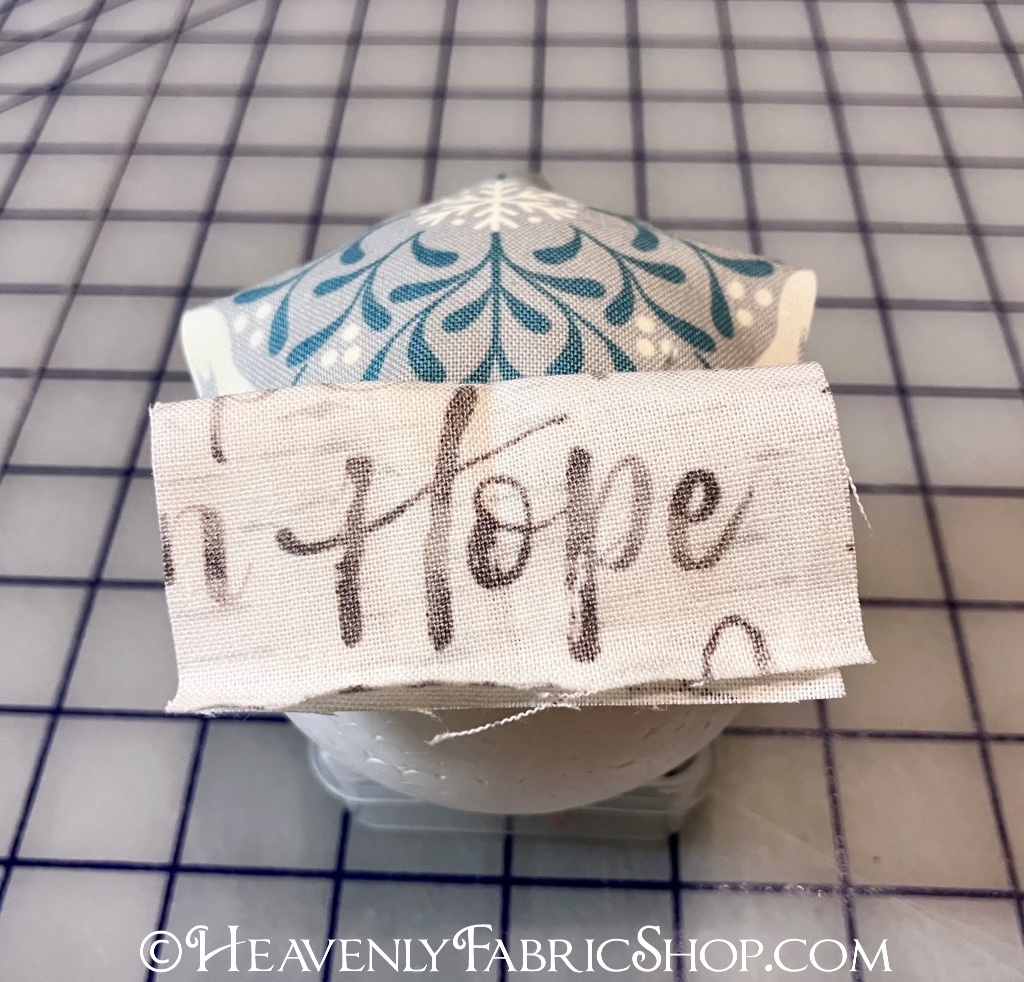
Take the long fabric strip and double fold. Wrap around the center (to hide the raw edges of the folded squares), overlapping the short ends at the top of the ornament. Fold under the raw edge and pin into place.

Cut an 11in piece of 3/8in wide ribbon or trim and center over the strip. We used a velvet ribbon to add texture:

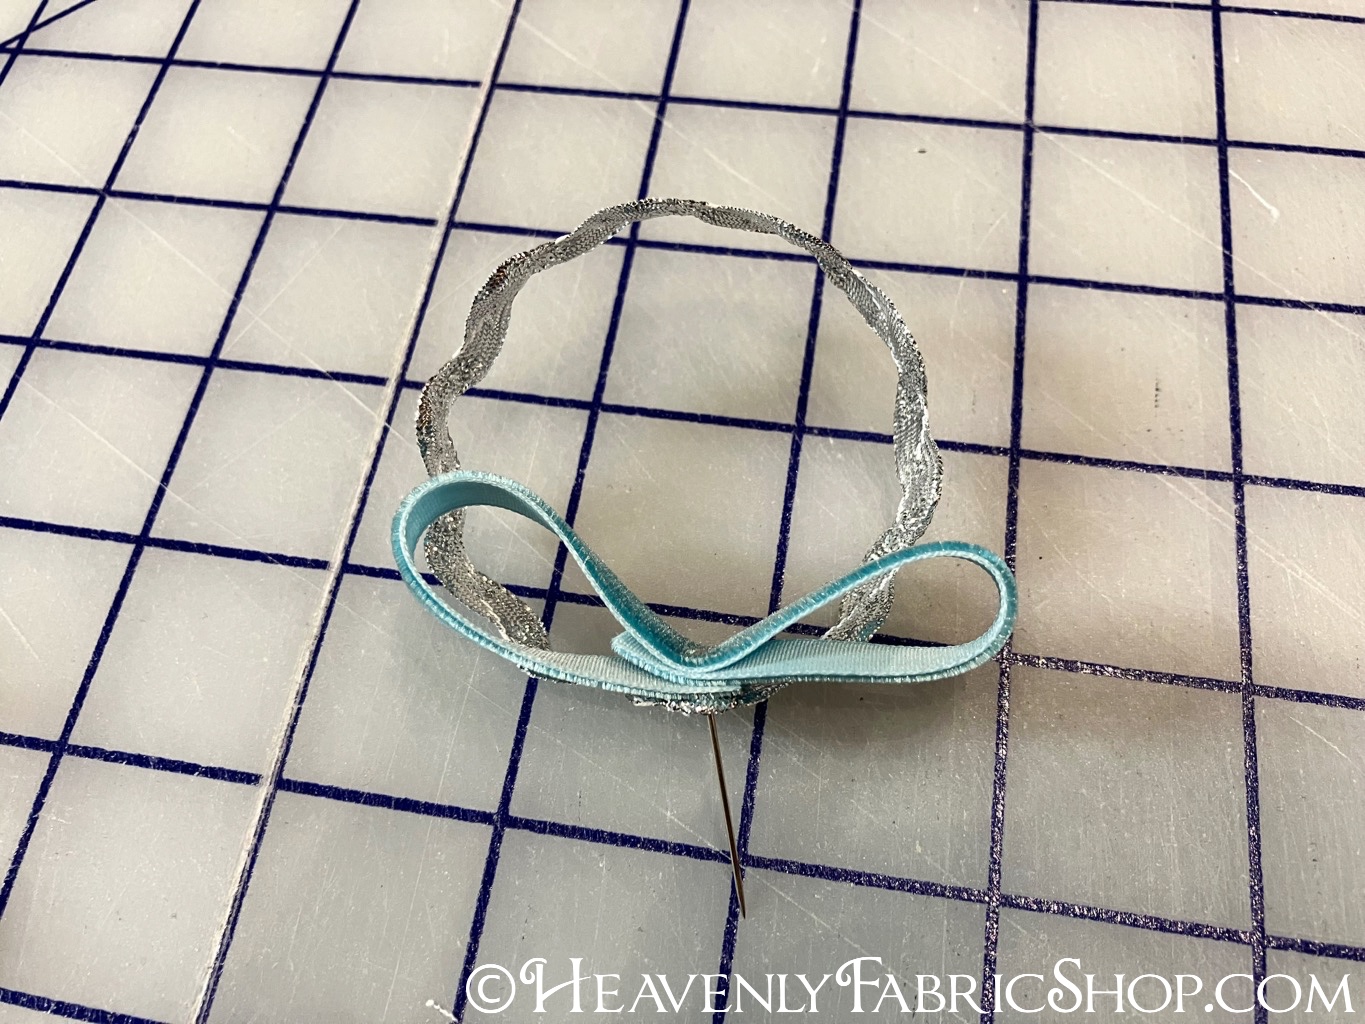
To decorate the top and add a hanging loop, Cut a 8in piece of trim (we used metallic velvet here) center it at the top. Cut a second piece and overlap ends to make a loop and pin through the center of both to create a bow.
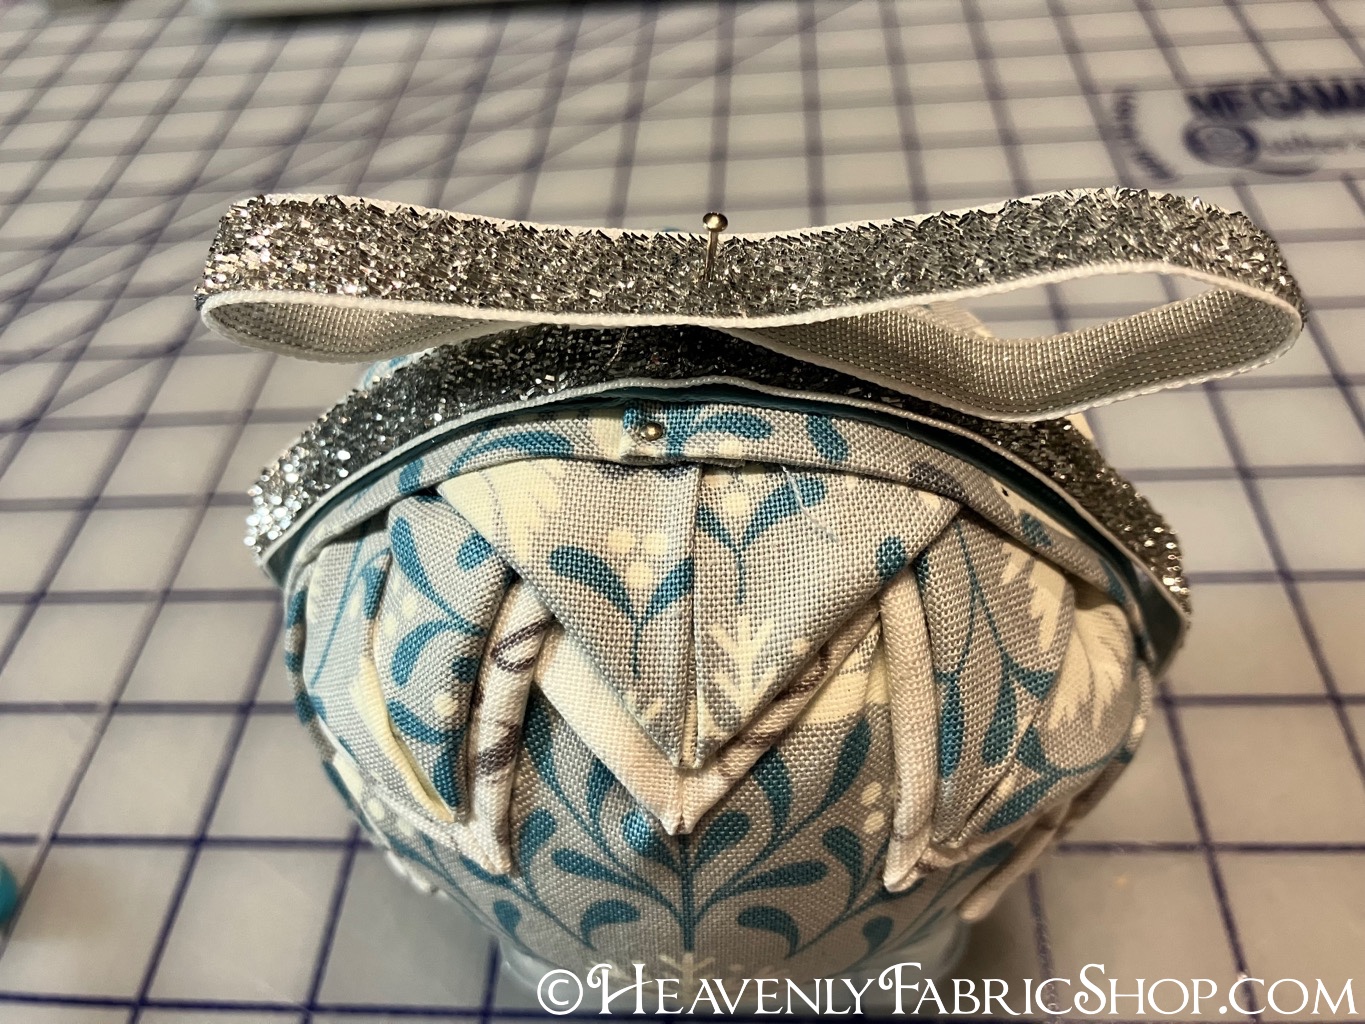
Cut a 7in piece of trim to make the hanging loop and a 6in piece from another trim to create a second bow loop. Overlap as shown and pin into first bow.
Hot glue embellishments to ornament center and to center of bow to finish. These are so fun to make & a great way to create one-of-a-kind ornaments to treasure year after year:
Merry Christmas!

These are beautiful!
ReplyDeleteBeautiful! I'll be featuring these on Thursday's Crafty Creators. Definitely trying these!
ReplyDelete