


Sick of Winter? Want to bring a little Spring into your craft room? Then be like me and create a little "pin garden" with my Flower Pot Pincushion Tutorial! Using some felt & fleece scraps and an old flower pot you can make a lovely little place to keep your pins. And did I mention it smells like flowers too??

Sewing secret reveal: In nearly 7 years of sewing I have never made a pincushion. I've made a couple things that could be used as one (like my Little Mouse pattern), but never an actual pincushion. Up to now, I'd still been using the boring red tomato one I bought in my very first trip to the fabric store. Crazy, I know. Plus, I challenged myself to only use supplies I already bought, so this makes today's project kind of a milestone for me.
Now, let's make a scented Pin Garden pincushion!
Materials:
- Small terra cotta pot
- Brown fleece & colorful felt scraps
- Scissors
- Paper, pencil, measuring tape, hand sewing needle
- Acrylic paint & foam brush
- Crushed walnut shells
- Pins (this may seem obvious!)
- Optional: Die cutting machine like Cricut, Cuttlebug, vinyl, transfer tape
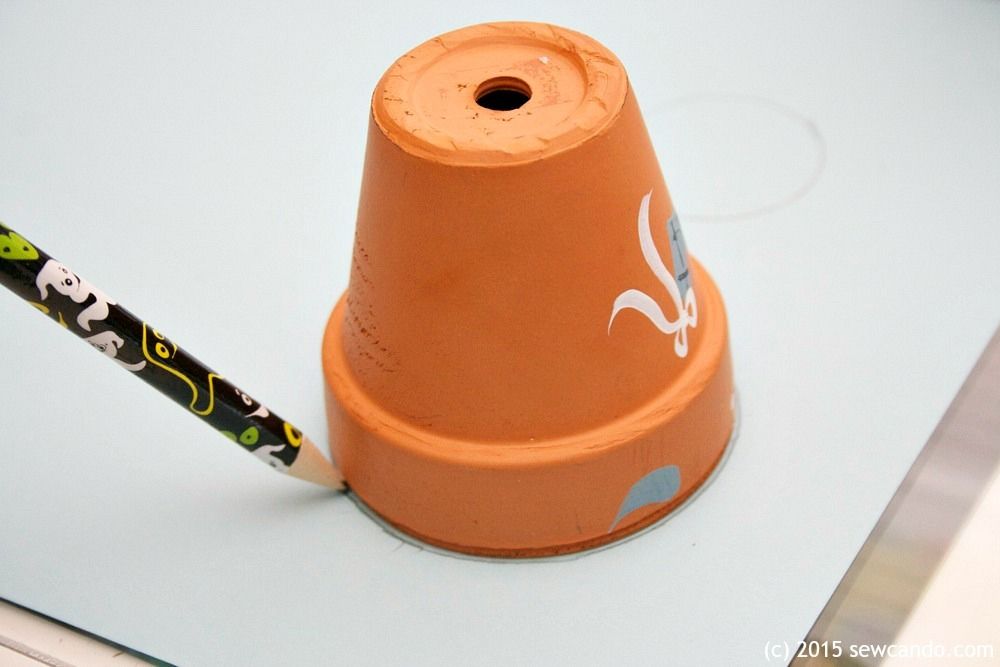
I started by making a pattern for the "dirt" portion of my pincushion by tracing the rim and bottom of my pot. Since the walls were about 1/4 inch thick, that gave me a built-in seam allowance.
To do the side piece I took the circumference of the top and the bottom, then measured the height of the pot and drew a sort of rainbow shape. To get the slight curve I used my design ruler, but a large plate would work too. I'm not a math wizard so I did a bit of trail and error trimming to get it to fit the inside of the pot perfectly. I just overlapped the ends and placed it inside and then trimmed a little here and there until it was perfect. Not very precise I know, but a lot faster than me trying to calculate curves and slopes.

Fleece is ideal for pincushions because it's got a small bit of stretch and won't show holes. With the side piece folding, right sides facing, stitch down the side using a 1/4 inch seam allowance.

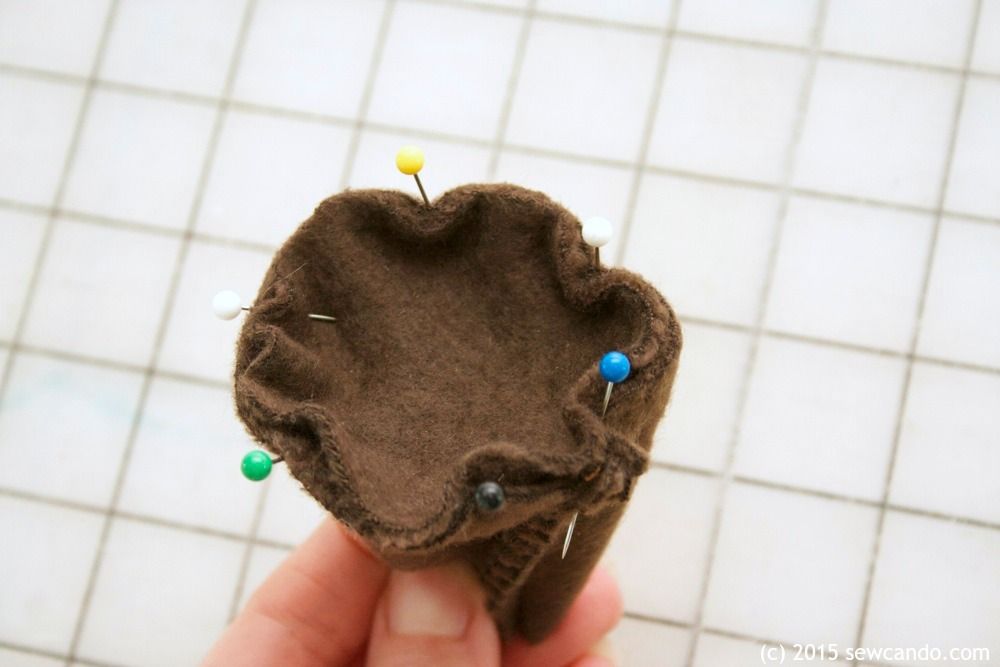
Next I pinned the top circle to the new "tube" with right sides facing. Then stitched together with the 1/4 inch allowance. Repeated with the bottom circle, but left a 3/4 inch wide gap for turning.
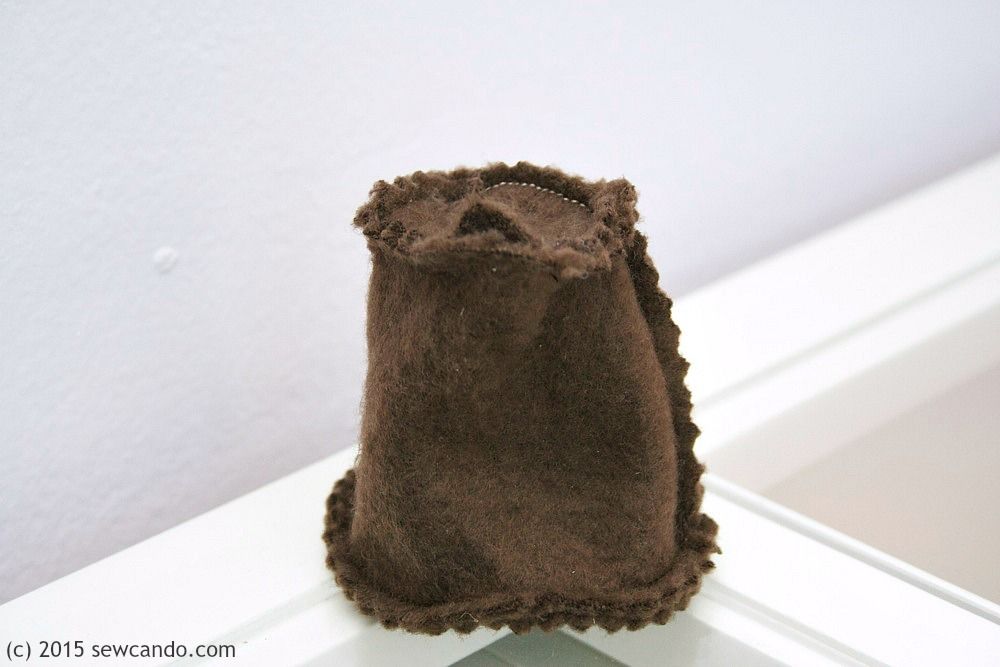
I trimmed all the seams with pinking shears since that's a bit faster than trimming and then clipping around the curves. Then I turned it right side out.
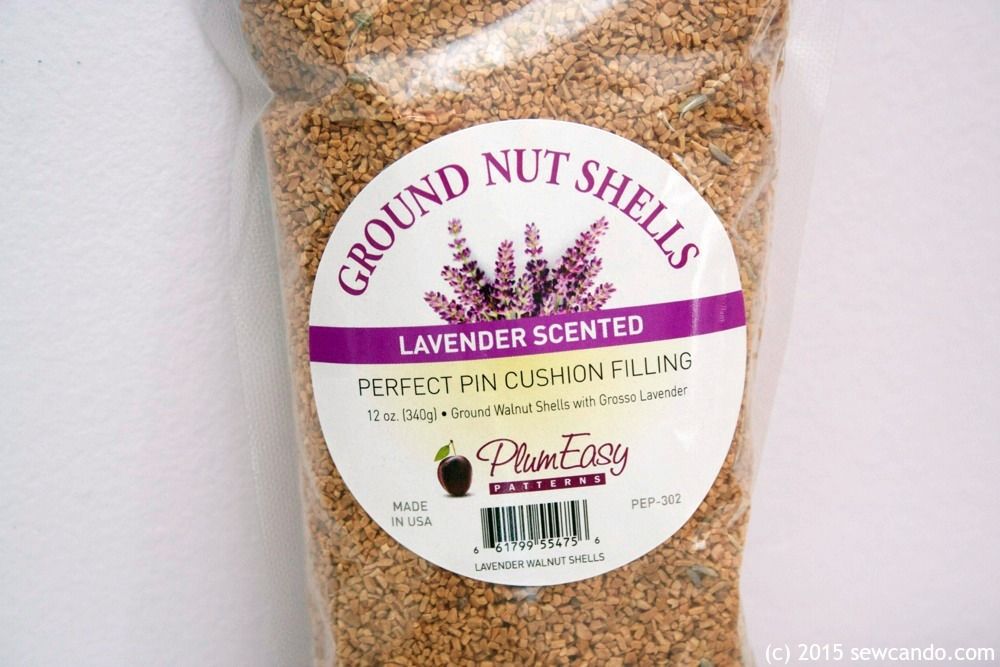
For filler I used ground walnut shells. This was my first time using them - they give a nice weight and help keep pins sharp. I'd bought the plain, but the place I ordered it from was out so they sent the one with lavender buds in it for no extra charge. They smell heavenly and is a perfect fit with the flower theme. Obviously if someone in your house has a severe nut allergy, an alternative will be needed, but otherwise this stuff is ideal.
I used a little funnel and measuring cup to pour them in. Doing a bit at a time and then tapping it lightly on the table helped really fill every cranny so it would be as firm as possible. I got a little over 1/2 a cup in it, despite it looking much smaller.

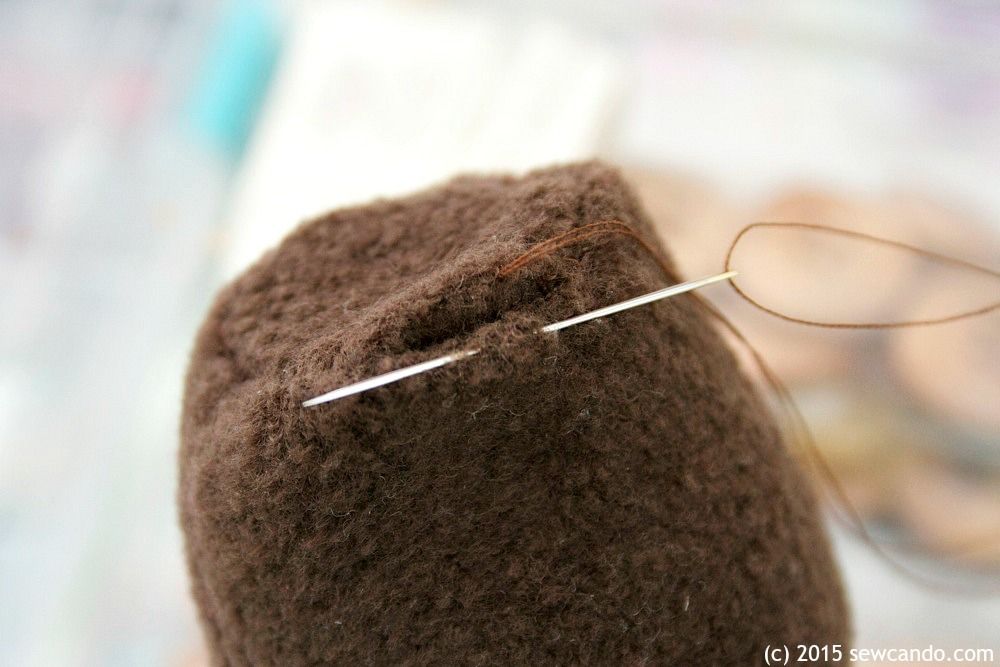
Then slipstitched the gap closed nice and tight:
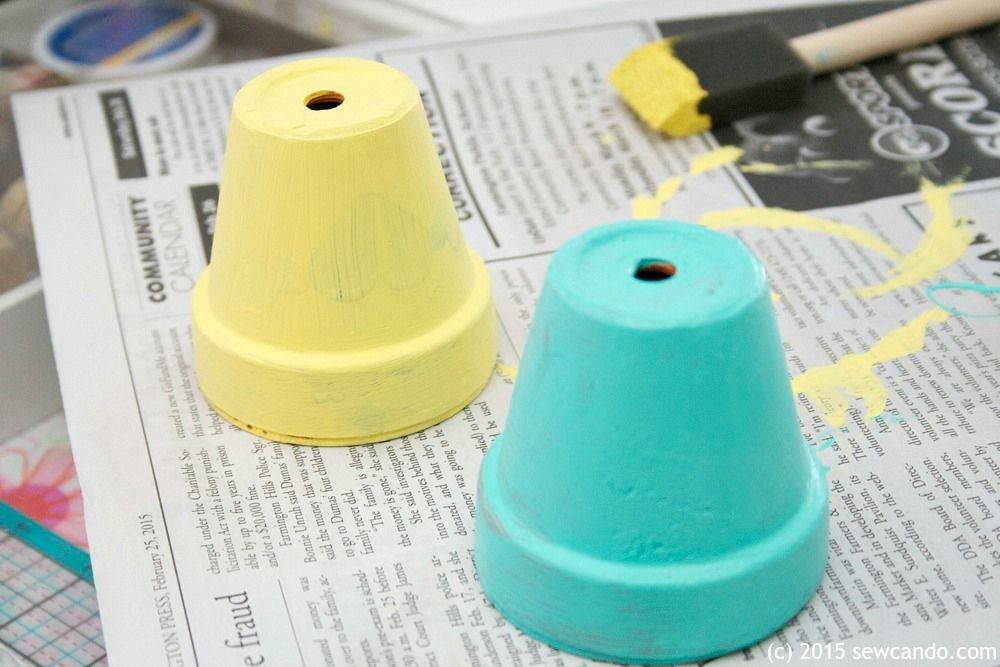
Now it was time to spruce up my pot. Since my goal was to only use things I had at home (I've been really good about avoiding the craft stores this year), I had to use a pot that already was painted. Not ideal, but I didn't let it deter me. I sanded it to remove as much of the pre-existing paint as I could. I'd tried just painting over it on another one and the design still showed through, so sanding was necessary.

I just used some acrylic paint I had in my stash. I was tempted to go out and buy some chalk paint because I've always wanted to try it, but it just didn't make sense to spend so much when acrylic would do the job and I already had it. I did 3 coats to get a nice solid color. You can see a bit of the original design still showing on the yellow pot (the one I didn't sand), so I'm glad I had two!
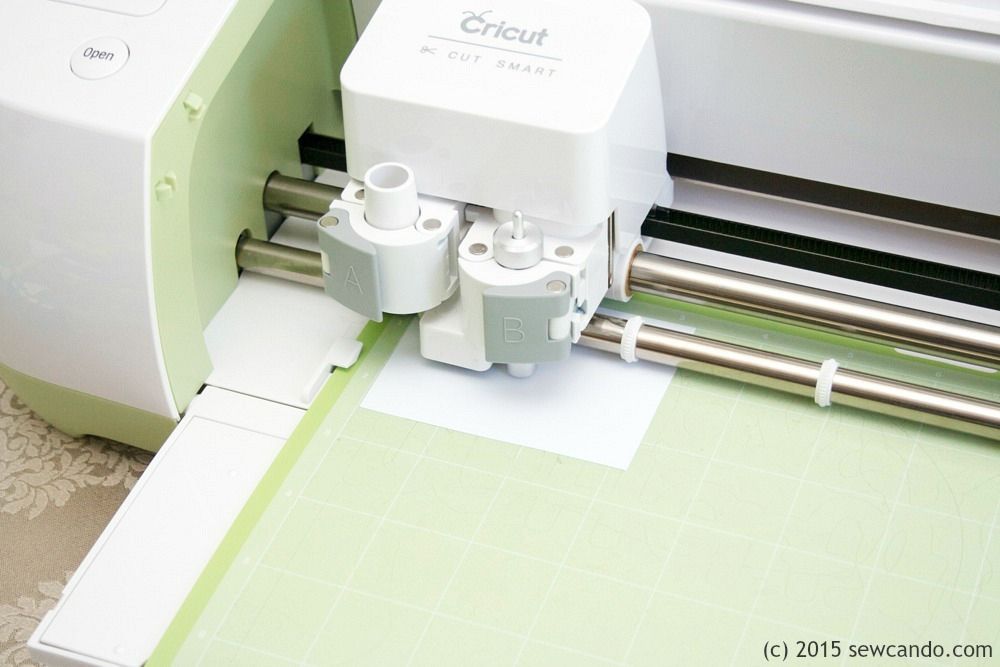
To add a little extra charm I wanted to put some lettering on my pot - using my Cricut Explore and some vinyl seemed ideal since the pot itself was pretty tiny. I used the PilGi font I had on my computer, welded it together and sized it down to 1 inch high and cut it out, all in about 2 minutes, using the Cricut Design Studio.
FYI - I'm not affiliated with Cricut. I've always bought my own machines and have no vested interest in promoting projects made with their products. I know a lot of other blogs aren't quite so transparent about that, and really play up how AMAZING stuff is because they get something out of it, so I like to be clear I'm just a regular person trying stuff out and sharing real deal opinions.
Since my lettering was pretty small it helped to weed it with a tool:

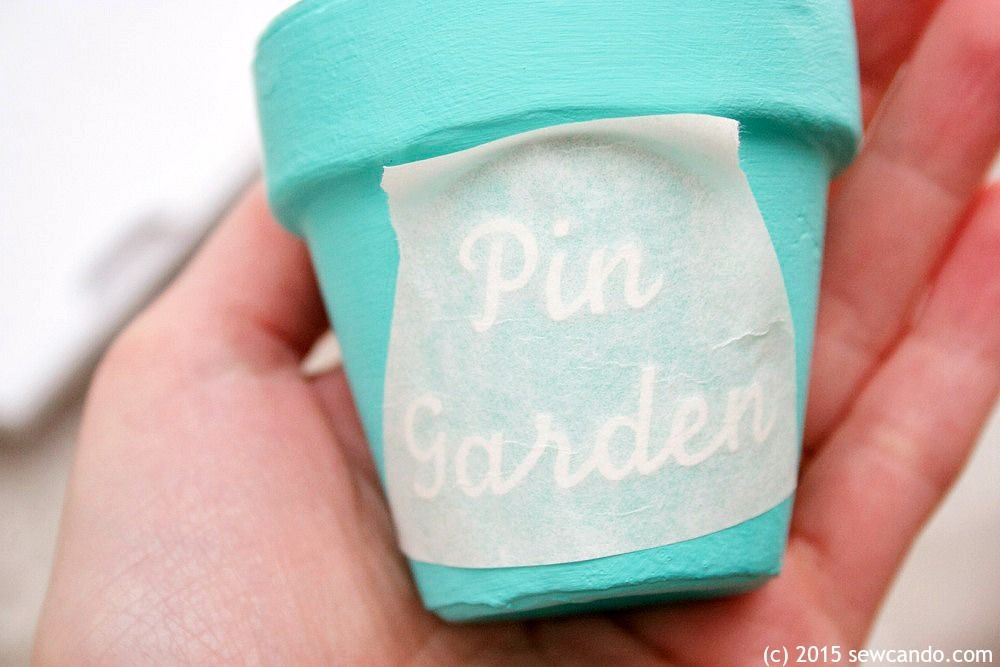
I applied it to my pot with transfer tape, which was super easy. I kind of want to dream up projects just so I can use vinyl & transfer tape more often...
Now, I could have hand cut some small flowers, but I like to be
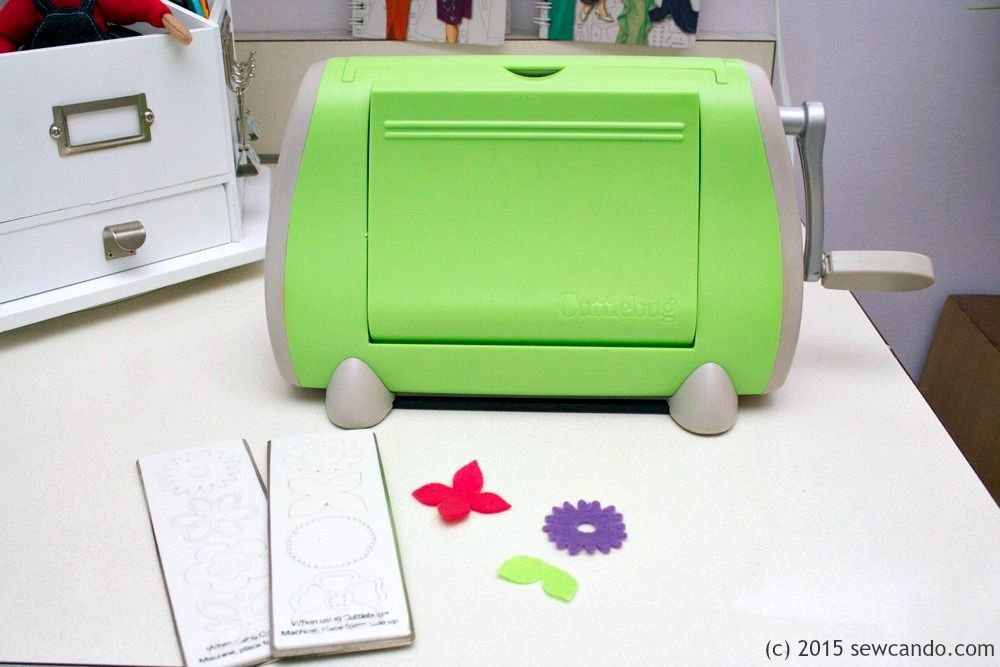
I bought my Cuttlebug years ago before all the fancy electronic machines were the rage and I still use it. Sure, it's limited by the die shapes & sizes, but the few I bought I've used tons over the years. Especially these flowers:
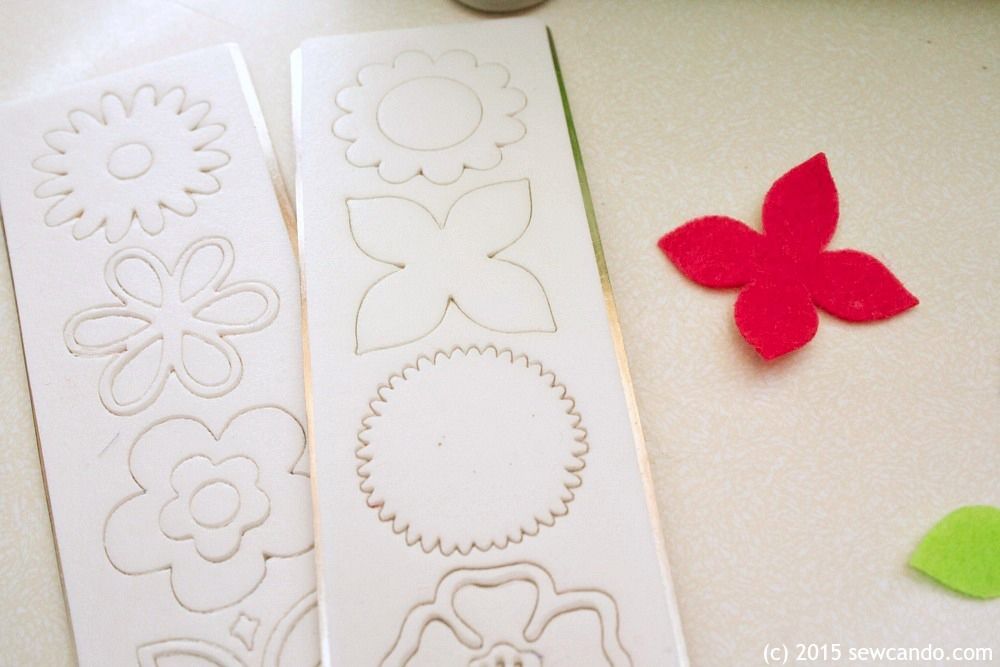
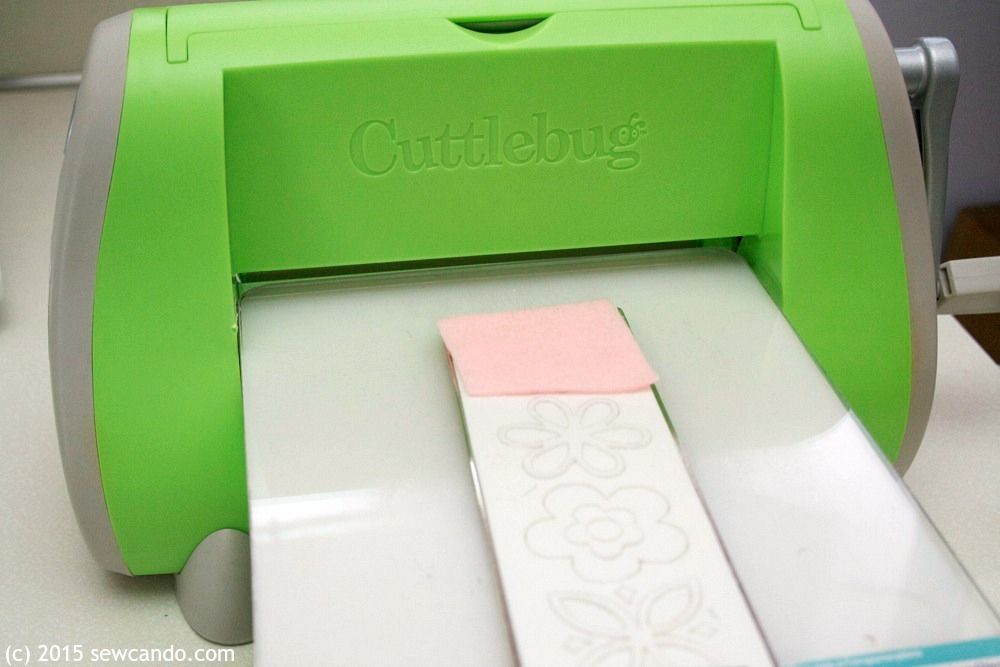
The other reason I preferred cutting my flowers with the Cuttlebug was that you have to fuse interfacing to the back of felt in order to cut it in the Explore. It cuts great, but the plasticky backing means it's harder to push pins through and leaves obvious permanent holes. Maybe it'd be fine for other stuff, but not a pincushion. So I stacked my bottom plate, die face up, felt then the carrier plate on top and cranked it though:
It cut them beautifully, as always. I snipped a few of the pointy flowers in half to make leaves and then stacked them on top of my dirt cushion and hand stitched them together in centers:
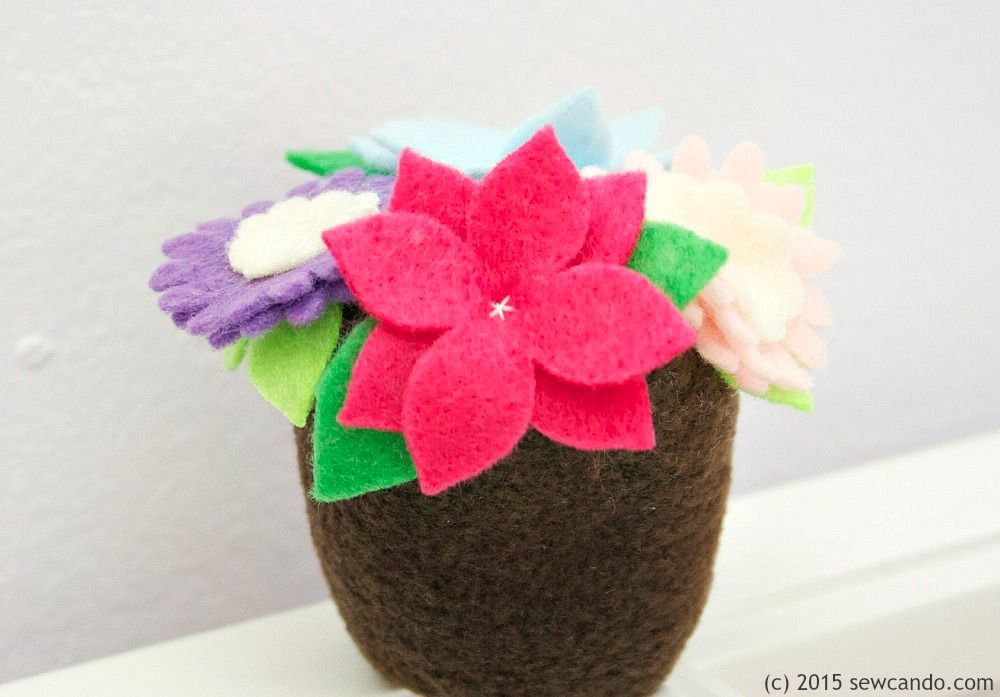
I dropped my new pincushion into its custom pot and added my pins. I used some ball shaped pins to make pretty centers for my flowers and added a few of my butterfly flat head pins too. It'll probably only look this lovely for about a day (after which I'll be sticking random pins all over the place), but at least it's gotten a moment of garden tidiness. Now I've got a charming Spring-style pincushion - and can smell the flowers in it - while I wait for Spring to take hold outside:)


I absolutely LOVE this little scented flowerpot pincushion!!!!!!!
ReplyDeleteWhat a neat idea. I'm currently waiting for my own shipment of walnut shells for some mice pincushions I'm making. Where did you find the scented ones? I found mine on etsy, but they seem pretty expensive.
ReplyDeleteI got mine at Premium Sewing Outlet. I'd ordered the plain, but since they were out they were nice enough to substitute the lavender (which was slightly more expensive) for the same price. I'm so glad they did - I'd totally buy it again. Their prices seem pretty reasonable and they often have coupon codes for discounts as well.
DeleteAwesome! Thanks for the tip.
DeleteThis is so sweet, lovely gift for a sewing buddy! x
ReplyDeleteAbsolutely - and fun to make too:)
Deletehow super cute and just an inspiration for the warm spring we are all in lure of
ReplyDeletecome see us at http://shopannies.blogspot.com
Spring needs all the help it can get right?
DeleteCute pincushion, and the smelly filler is a great idea!
ReplyDeleteIt really adds a little something special (and a touch of spring in the air while sewing too!).
DeleteSuper cute, pincushion! I love it!
ReplyDeleteHave a wonderful week!
Hugs and love from Portugal,
Ana Love Craft
www.lovecraft2012.blogspot.com
Thanks Ana - I hope you do too:)
DeleteWow, this is fabulous! Great to see you on craft schooling sunday!
ReplyDeleteThanks! And glad to have something fun to share at Craft Schooling Sunday.
DeleteCheryl, this is just too sweet! I would love for you to stop by my blog and join our Something to Talk About link party!
ReplyDeleteHave a great day!
Karen
Thanks Karen - I missed the window for this week's party, but I'll try to link up next Monday.
DeleteCreative, Clever and oh so cute! Thank you so much for sharing on VMG206 Brag About It link party!
ReplyDeleteIt definitely brings some spring color around since I can't wait for the real things outside to grow;)
DeleteCheryl,
ReplyDeleteThis came out so cute. Thanks so much for sharing with Adorned From Above's Link Party.
Have a great week.
Debi
You too Debi - hope a little Spring comes your way:)
DeleteSuch a cute project! I love all the details you added. Just wanted to let you know that it is being featured at this week's link party! http://www.thelifeofjenniferdawn.com/2015/03/a-little-bird-told-me-link-party-131.html
ReplyDeleteOh my…so cute! I always get so excited to see what you have brought to the party! Pinned and tweeted. Thank you for being part of our party. I hope to see you on tonight at 7. Lou Lou Girls
ReplyDelete