Showing posts with label spring craft. Show all posts

Wednesday, May 4, 2022

DIY Bee & Flower Garden Sensory Bin


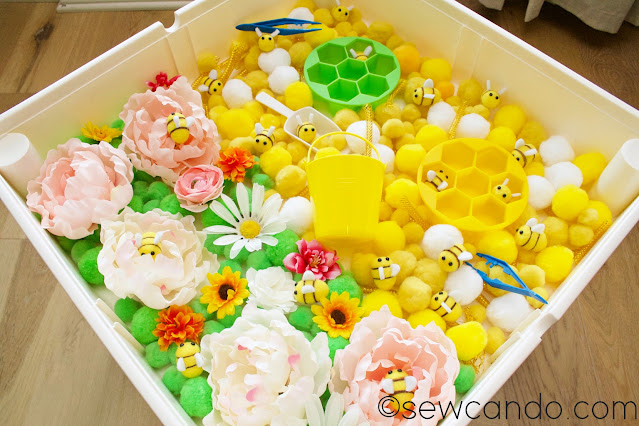
Spring is here and we're trying to make the most of it with our homeschool efforts and trying to work my crafting skills and supplies into them.  It's become a lot of fun doing themed weeks with my littlest ones and our latest sensory bin was too cute not to share - check out our DIY Bee & Flowers Sensory Bin!


We did a preschool unit learning about bees and their purpose in the world (using board books & various printable activities), so I wanted them to have the chance to do some bee-themed play and this bin was just the ticket!

For my base filler I used some extra large pom poms in green with a bunch of large silk flower blossoms, like peonies and daisies (plus a few other smaller flowers leftover from some other projects), to make a sweet flower garden section.


I used some large & extra large yellow pom poms to represent pollen and added some mini scoops and tweezers for them to pick them up with and added in a couple of little buckets for more collecting options.  I also put in some cut strips of gold deco mesh rope that I used in my previous St. Patrick's Day sensory bin for some extra texture and color.


I also found these fabulous hexagonal silicone ice trays to use as honeycombs off Amazon.  The pom poms ideally fit in each compartment.  They came with silicone covers too so we can use them for loads of other things too.  


I got some adorable felt bees (also from Amazon) that were the perfect size for our honeycombs and for "pollinating" our flowers.


My 2 & 4yr old both audibly "Oohed and ahhed" when took the top off the bin.  They loved flying the bees over to the flowers and into the honeycombs.  Everything was fun to touch and super colorful so there was lots to play with - even my older kids couldn't keep their hands out of it!  


We also used the bees, pom poms and flowers for counting and sorting activities and I expect to add them into other projects and crafts down the road.  


I'm looking forward to putting together more themes - I'm not sure who enjoy these bins more, me or my smalls! 


Wednesday, April 3, 2019

Diamond Dust Glitter Easter Eggs Tutorial


Hooray, I'm finally back on the crafting wagon again!  The past couple of weeks have been full of things keeping me away from creating and blogging, but I'm happy to say I've got a number of new spring & Easter project goodies to share starting today.

I'm staring with an easy one that is beautiful too, Diamond Dust Glitter Easter Eggs:


Ok, it's not ~ real ~ diamond dust, but it looks just as good.  So much sugary sparkle and pretty pastel for table topping or nestled into an Easter basket:


These lovelies make the perfect decoration and are more elegant than the usual glitter eggs.  The secret is in the glitter!


It's called German Glass Glitter and is exactly that - ground glass rather than the super messy little circles or squares of plastic of most glitters.  


It's coarse, easier to control when applying, and all importantly, easy to remove from surfaces.  It lets the color underneath shine through to give a beautiful sugared look.


I've used it in the past, like when I made my Spring Glitter Cottage.


It's not sharp to work with, but obviously don't squeeze it hard with your hands since it is glass (which means it's best for adults to use)!  


Making these is a snap.  Here's how:

Materials:
- Papier mache eggs
- Acrylic craft paint
- Decoupage or tacky glue
- German glass glitter (I buy mine from Sugar Pink Boutique)

I started by painting each of my paper mache eggs with some pretty pastel paint.  You could choose any colors or even designs like stripes or polka dots to get even more fun.


Since the glitter is clear the colors show through so I did a bunch of happy pastel shades:


To dry them easily, I stuck some pins through a piece of foam to give them a place to non-stick air dry.  I got the idea from Mr. Sew Can Do;)


I poured out my glass glitter into a plastic dish:


Once the paint was dry I brushed on some decoupage glue: 


Next I put my egg in the glitter filled dish and scooped some glitter over it with a plastic spoon and rolled it a bit until I got a nice & even coating:


Then I put my eggs back on my makeshift rack to dry:


Once dry, decide where to display them and admire the sparkly, sugary sweetness of these decorative eggs!


Thursday, March 28, 2019

Favorite Springtime & Easter Crafts Round-Up


Springtime & Easter projects are among my very favorite seasonal crafts.  After months of cold, boring winter, I love the sunny colors, happy critters, flowers and greenery.  What better way to celebrate the new season than rounding up my favorite makes!

This year I've been trying to work on some new projects that I've been eager to share, but some recent eye problems have meant I had to take a break from crafting & photographing. They're still in-progress though, so I'm hoping to get them up soon.   

~~ Time for the Spring Round-Up! ~~

Make a fun Bunny Eared Tote Bag:


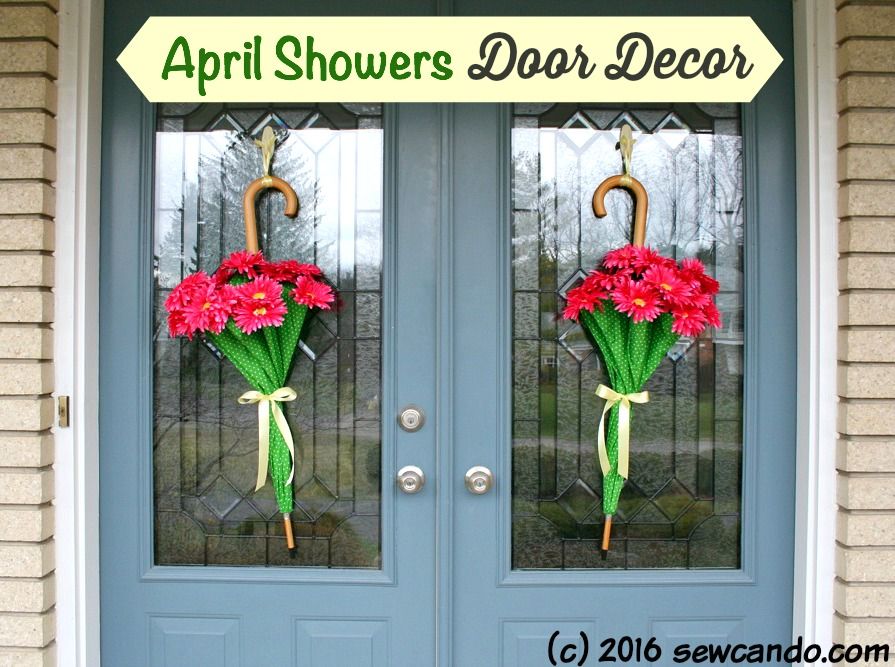
Try this fun alternative to the usual wreaths for your front doors with this April Showers Door Decor idea.  It was even featured in American Profile's Community Table magazine:


Or create this festive Ultra Easy Bunny Wreath:


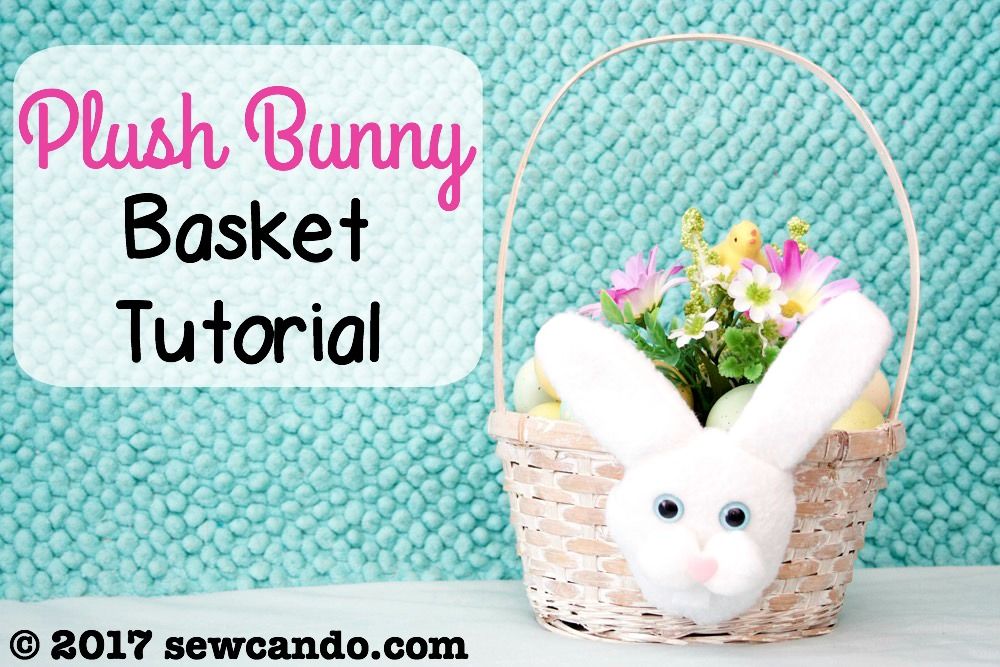
Transform a basic basket for Easter with my Plush Bunny Basket Tutorial:


Make the perfect kid-pleasing goodies for those Easter baskets with these DIY Silly Putty and Squashy Egg Tutorials:


Or create some fun flocked wearables like my Textured Heat Transfer T-Shirts:


Happy Spring & Easter crafting!


Wednesday, March 21, 2018

Ultra Easy Grapevine Easter Bunny Wreath Tutorial


With a baby arriving at any time, I wanted to get a few springtime projects done this month, but nothing that would take more than an hour to put together.  I had the idea of this Ultra Easy Bunny Wreath and it was even faster to do than I expected and so perfect for celebrating spring:


It's made from natural vines and has lifelike greenery ears:


With loads of springtime flowers and a fluffy bunny tail:


It's just what I needed to kick off the spring and Easter holiday season:


It was so quick & inexpensive to make too.  With sales, coupons and a few things already on hand, it cost me under $15 to make.  I really need more projects like this with my limited time situation.


Materials:
- Small and medium size grapevine wreaths
- Zip ties
- Wired vines or greenery
- Wired floral picks and silk flower bunches
- Hot glue gun
- Snips or wire cutter

Start by using zip ties to attach the two wreaths together, having the smaller one overlap over the front of the larger one a bit.


Cut 2 pieces of wired greenery to be 20 inches long and then make them into loops, twisting the ends together.


Weave the twisted ends to loop under a few branches of the top wreath and bend & twist.


Now the decorating!! Weave some sprigs of flowers between the vines, bending and spreading as desired.


I also clipped flower sprigs off some wired stem bundles I had leftover from other projects and layered those in too to fill things up.  Use hot glue to anchor them under leaves where it won't show.  Hot glue the pom pom tail to the center end of the bottom wreath and it's ready to hang.


Hang it out on the front door or wall inside for some seasonal decor.  Happy Spring & Happy Easter!


Wednesday, April 5, 2017

Easy Easter Craft: Plush Bunny Basket Tutorial


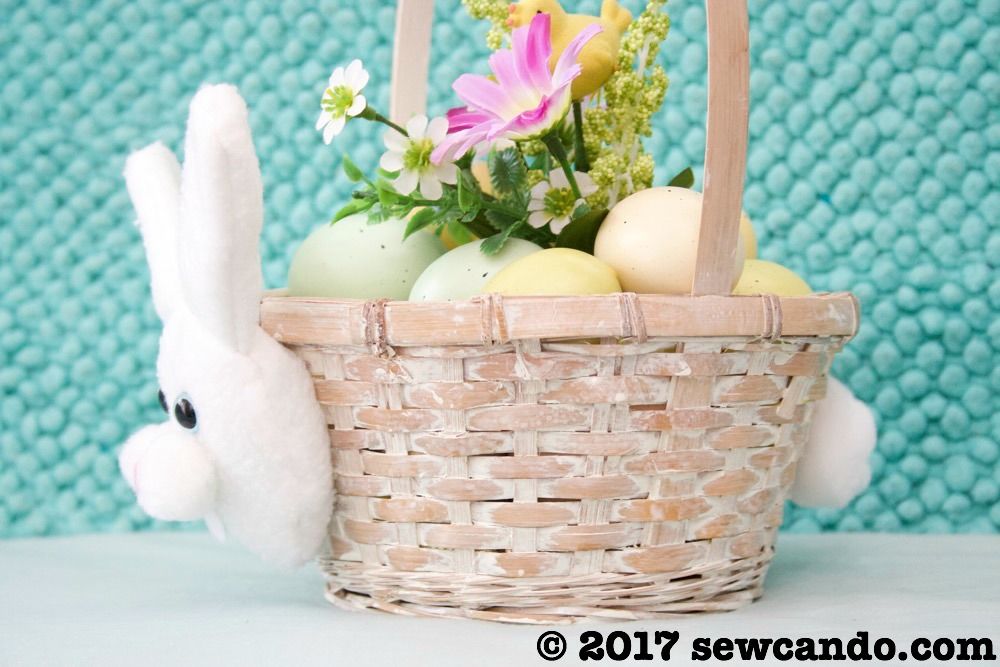
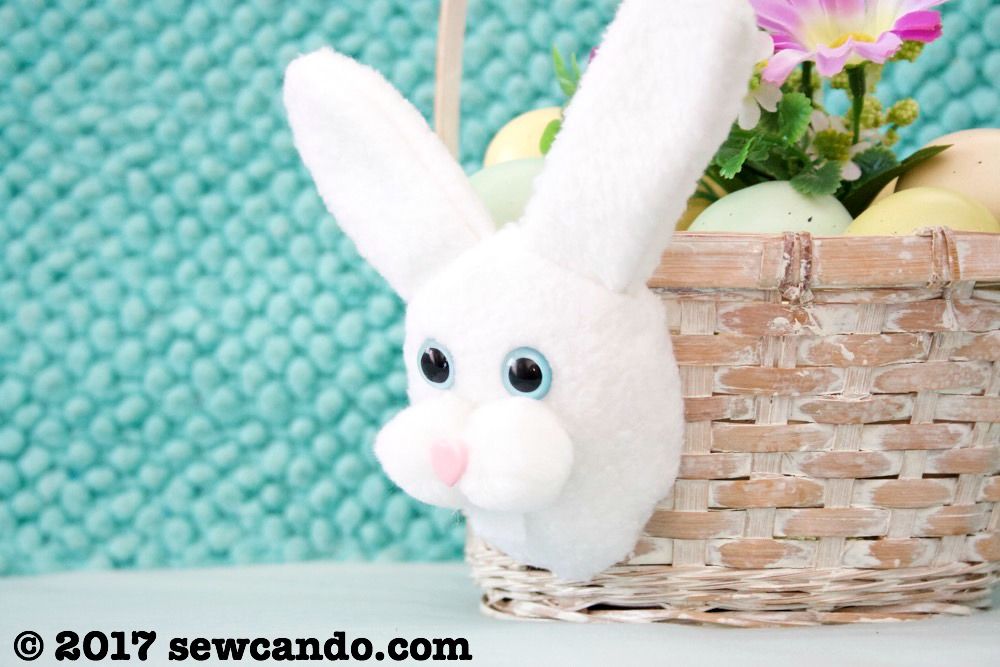
Want a great way to use up fabric scraps and make a cute basket for Easter in next to no time?  Try my Plush Bunny Basket Tutorial!


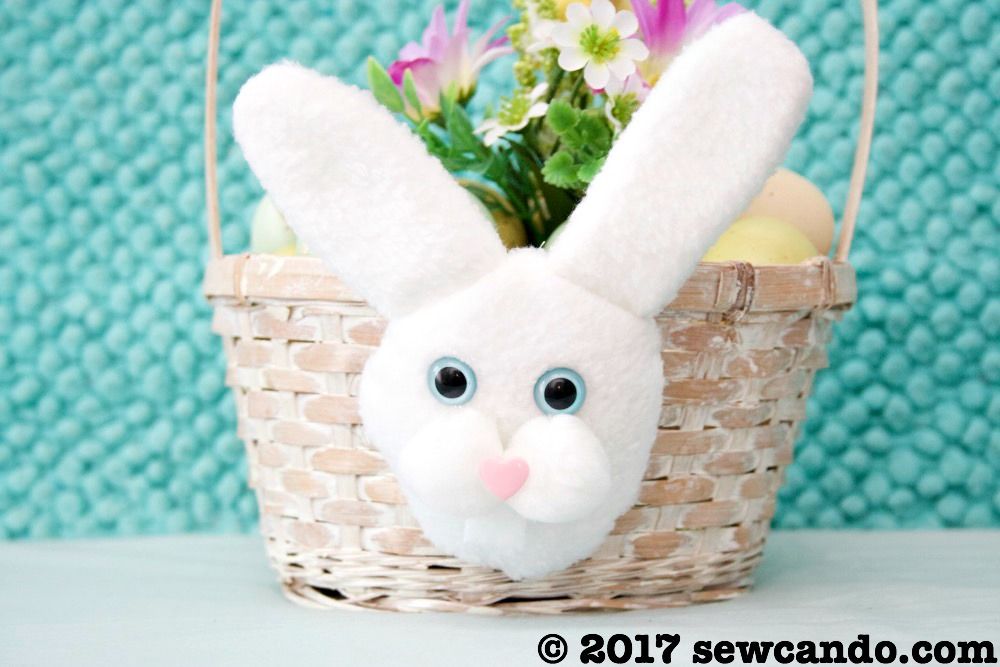
With a fuzzy tail on the back, it's got a full 3-D bunny feel:


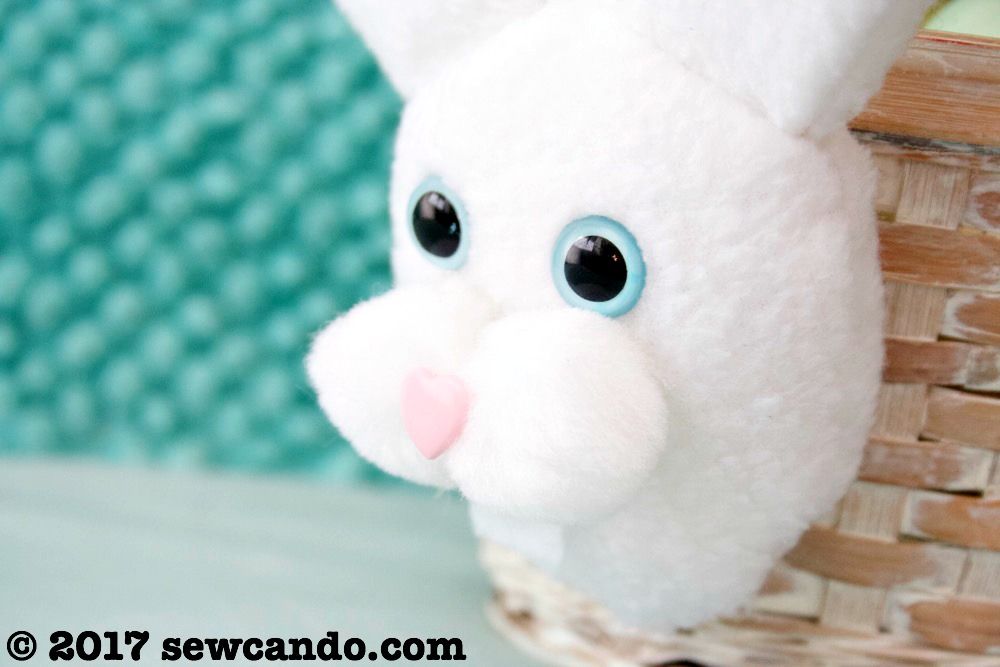
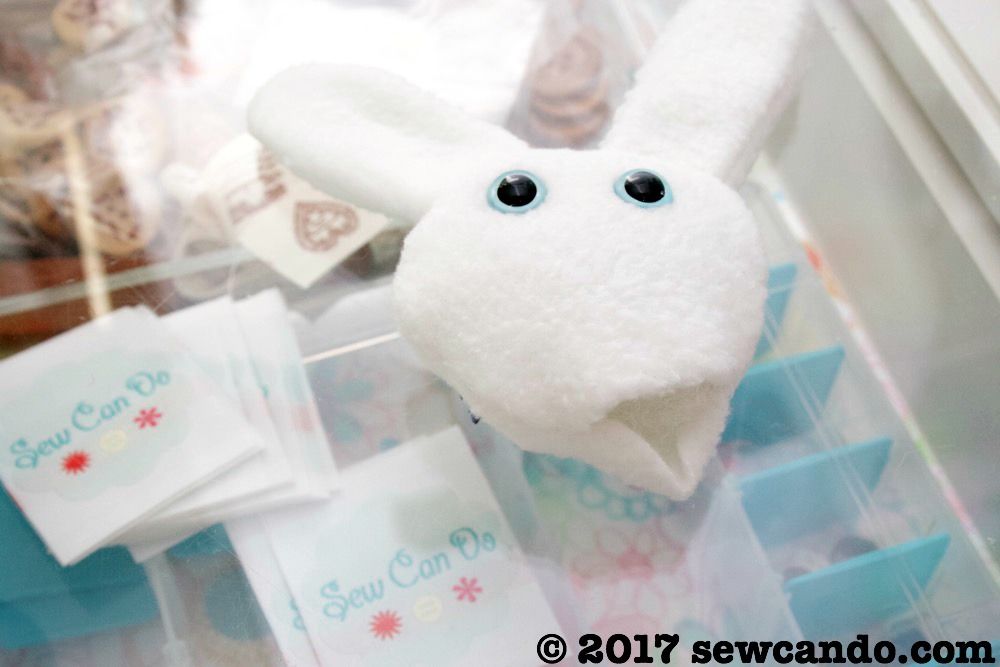
The face is super easy to do too.  My husband actually thought I bought this basket when he saw it!


Now let's make it!


Materials:
- Scraps of white fleece fabric (felt also works, but is less plush)
- White pom poms, 1 large, 2 medium
- Heart shaped plastic button or snap head 
- Safety eyes, 1 pair
- Hot glue gun
- Hand sewing needle, polyfil, pins/clips

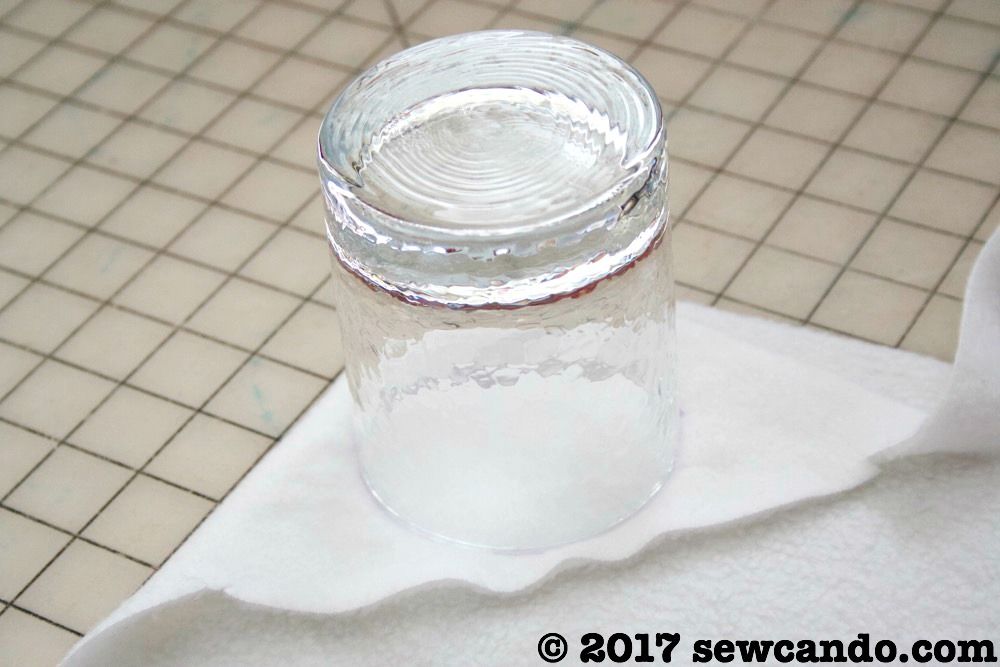
Using a wide glass, trace and cut two circles from the fleece.  Mine were 4 inches in diameter.


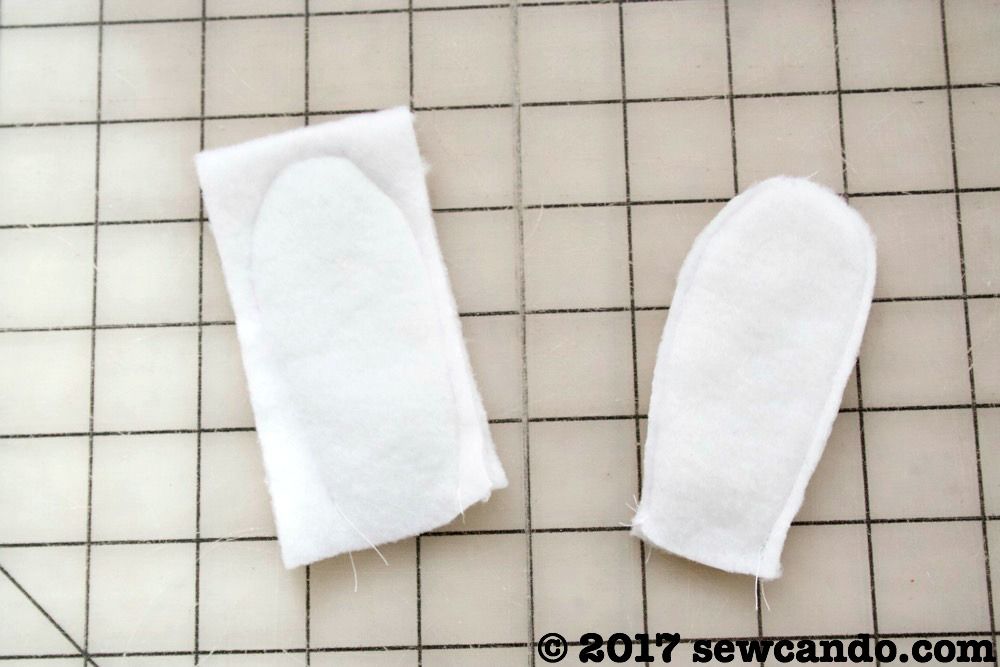
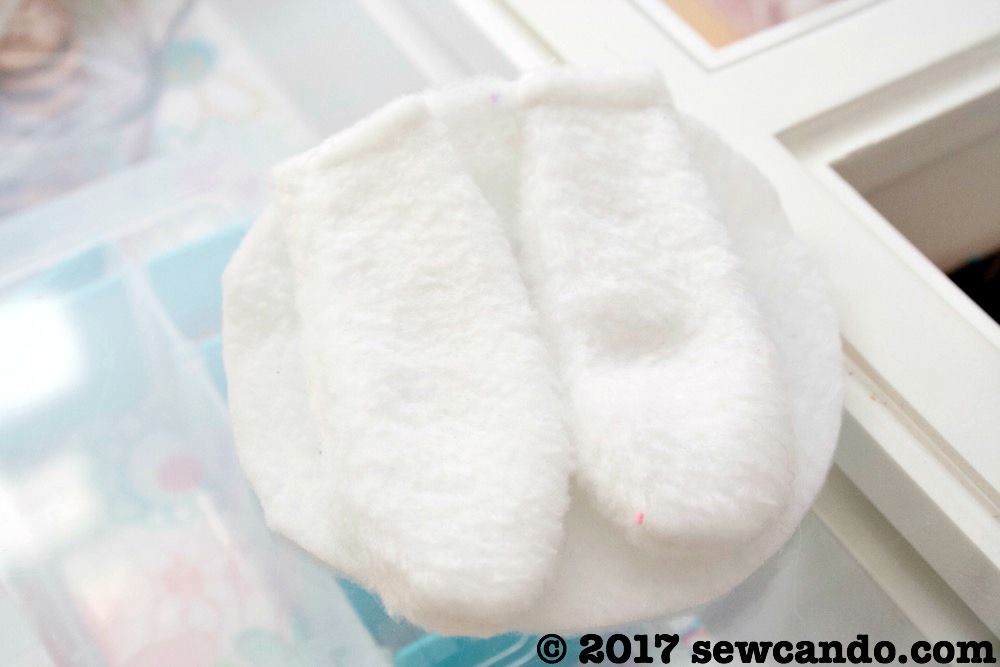
Cut two pairs of fleece rectangles 2 inches wide by 4 inches high.  With right sides facing, stitch the pairs together in a bunny ear shape, trim away excess and turn right side out. 


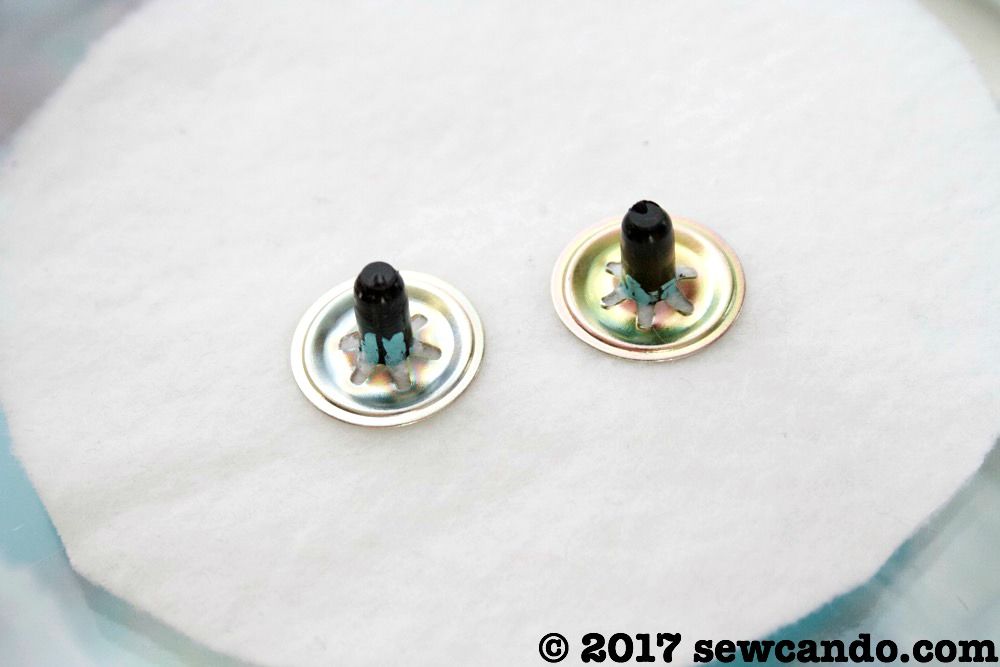
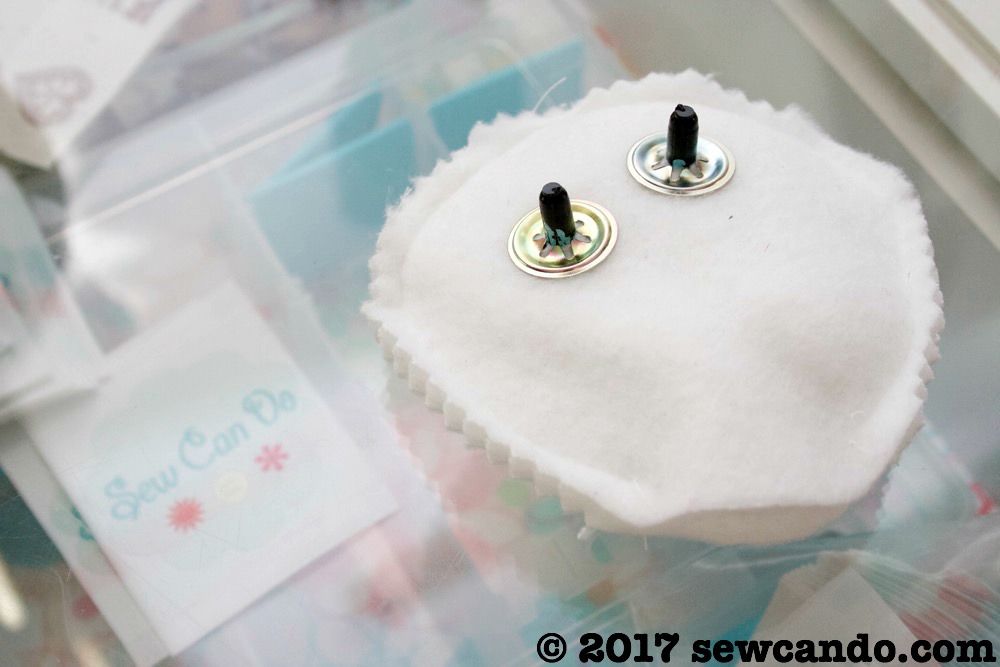
Clip tiny openings where you want the eyes to be on one of the circles and attach the safety eyes.  Mine were clear so I used some blue paint on the backs to add color.


Baste the ears to the top of the circle above the eyes:


With right sides facing, clip or pin the circles together.  For something so curved & small, find clips work best.


Stitch all the way around with a 1/4 inch seam allowance, leaving a 2 inch gap at the bottom for turning.  Clipping or trimming around the raw edge makes it easier to turn right side out.  


Turn right side out and stuff with a bit of polyfil.  Hand stitch the opening closed.


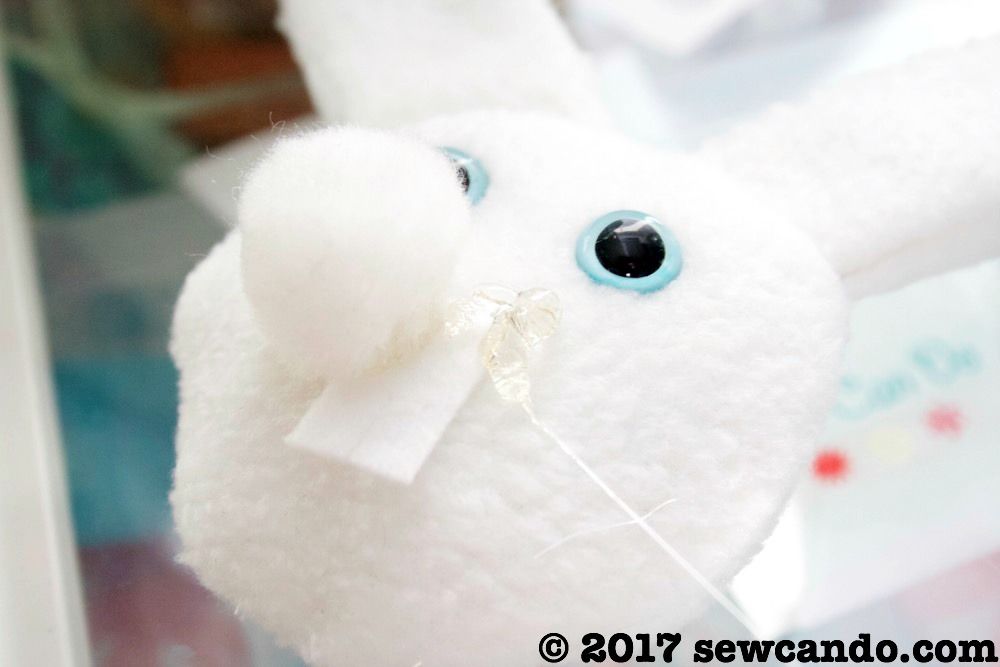
Cut a 1/2 in by 1 in piece of white felt and cut it down the middle half way to create a pair of teeth.  Grab the hot glue gun and glue the felt teeth in the middle of the face.  Hot glue the pom pom cheeks on top and the on top of those glue the heart nose.


Hot glue or hand stitch the bunny face to the outside of the basket and then do the same on the back with the large pom pom for the tail.


Time to fill the basket with goodies and get hopping!


LinkWithin

Related Posts with Thumbnails