Showing posts with label Homeschool. Show all posts

Thursday, March 9, 2023

My DIY St. Patrick's Day Preschool Unit

I put together this fun preschool unit for Saint Patrick's Day and shipped a set over to our toddler nephew who lives several states away, so he could do "preschool across the miles" with us.  Not sure if it'll be us moms or the kids will enjoy it more, but I wanted to share all the goodies I compiled so others could join in too!

I used a bunch of printables (some free, some purchased) from Pre-K Printable Fun, ABC's of Literacy, Gift of Curiosity, Simple Everyday Mom and Preschool Play & Learn.  I laminate most so we can keep reusing them and they hold up to my 3yr old's "I can wreck anything with these" hands.


I found this FABULOUS butter slime recipe that all our smalls just love.  The consistency is like taffy, but it doesn't stick to things and is very easy to make.  Better than play dough because it doesn't crumble or dry out if it's stored airtight and is easy to roll out & shape.  I made it with green air dry clay and used a green apple scented activator to theme it for St. Patrick's Day:


I cut some shamrock shapes from card stock and stuck glue dots all over them so the kids could peel off the bits of paper and stick pom poms to make some plush shamrocks:


I got some bags of holiday themed foam stickers and glittery foam shamrocks for them to add to some foam craft sheets (all found at Hobby Lobby) that can be cut into wreaths or ornaments or photo frames:


Some shamrock scratch art cards from Hobby Lobby too, since they are fun and non-messy:


I found this adorable wind-up St. Patrick foam craft kit on Amazon.  It is SO hard to find actual saint-themed projects for the holiday so this sucked me in as soon as I saw it.  He's even got a snake!! I didn't need a dozen of them, but this wasn't a project I could easily DIY given the wind-up mechanism and detailing.  I also figured it'll be fun enough to do again next year with the extra ones:


Coins and plastic pots of gold from the dollar store to use for counting/markers for the activity cards and adding...


with cut up some bits of the deco mesh rope, extra pom poms & some plastic scoops to do a St. Patrick's Day sensory bin:


I also found a nice assortment of books on Amazon that looked fun and educational (and reasonably priced).  I sent one to my nephew and got all these for my smalls.  I especially liked having some that share the real info about St. Patrick and was able to get a few in board book format so my 3yr old can't destroy them easily either.


I'm really excited for our holiday unit and having my nephew experience it with us hundreds of miles away.  I hope these ideas help keep other toddler busy too!


Wednesday, August 3, 2022

DIY Post Office Play Fun for Preschoolers!
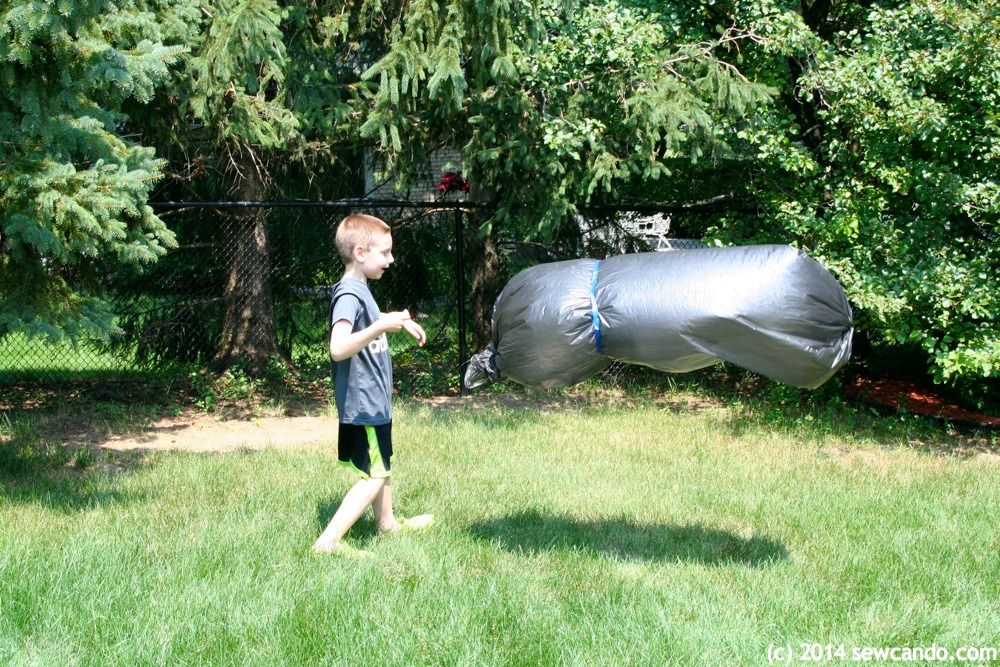

Boy has this summer been busy!  Time for crafting has been pretty short, but one area I'm trying to make time for is stuff that keeps my smalls learning & having fun.  I put together a Post Office Preschool Theme week recently that was too fun not to share!

My 2 1/2 & 4yr olds favorite time of day is when our mailman comes to bring the mail and pick up my bin of outgoing shop packages.  They hear the truck coming and immediately shout his name and come running to peek out the window and wave to him.  They even make a point of getting out a cold bottle of water to put out for him on hot days.  He is a complete superstar in their eyes (and in mine too since he's the best mail carrier we've ever had).  So naturally doing some activities all about the post office & mail carriers seemed like the ideal topic.

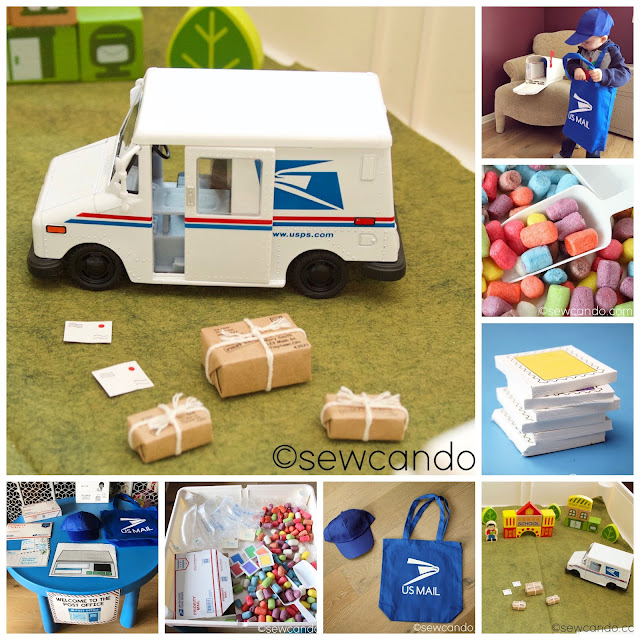
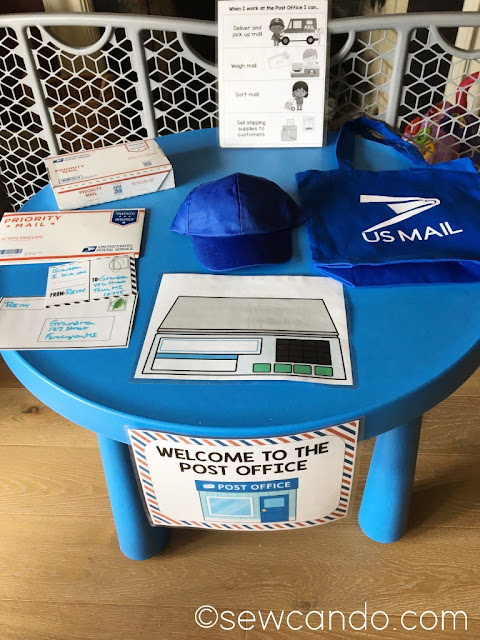
 I got some blank blue hats and tote bags at the craft store and used my Cricut & some heat transfer vinyl to make some simple DIY uniforms:


I got some fantastic little books about mail carriers & the post office (here & here) to start.  I set up a little post office station with them and some empty mail packaging and some fantastic themed pretend play printables from Pre-K Printable Fun here.  It saved me SO much time printing those and laminating them instead of trying to spend ages drafting up my own:


I did two sensory bin themes to go with it.  The first was a packaging station.  I lined it with big bubble wrap (which they love to pop), a few air pockets, and some small empty package boxes.  I also added some packing peanuts, scoops and pretend stamps.  My youngest is past the "put stuff in your mouth and on your face" phase, but just to be safe they only used it supervised.


I glued the oversized stamps page from the printable set to some thick craft foam and cut them apart so they'd have something more durable and tactile than just laminated paper in the bin:


To make the bin more colorful and fun I used these non-toxic, corn-based craft puffs that are the same thing as recyclable packing peanuts, but more interesting looking.  I bought a bag a while back and these things are great!  They go by a lot of names, but the Magic Nuudle ones seem to be the best (& the cheapest!).  I got mine here.  If you moisten them, they stick together for crafty kid's projects with next to no mess, but we just used them dry.


My little ones had a ball packing things up with them and then delivering their packages and letters:


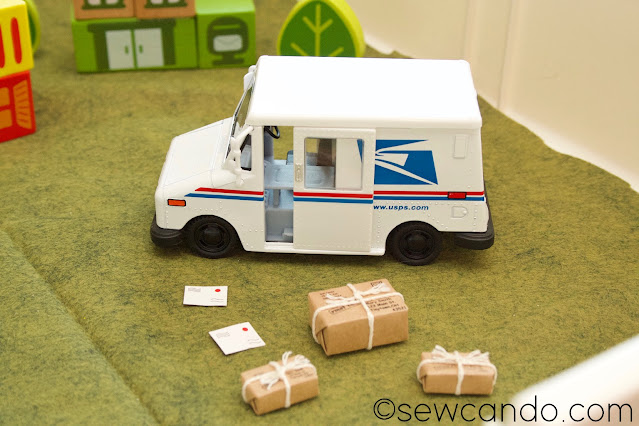
The second bin was a little town where they could do some mini mail delivery.  I used a sheet of green felt and added some town themed blocks we had for the buildings, plus a doll house mailbox from Hobby Lobby (here) and a die cast mail truck:


The mail truck is an exact replica I found on Amazon here.  I like that the doors and back gate really opened.  It was perfectly sized for the set of doll house letters & packages found at Hobby Lobby (here).  The only downside was I didn't think to buy TWO trucks and the usual sibling tug-of-war over it ensued.  Lesson learned!


I also couldn't resist getting them a plastic mailbox.  I'd seen some toy mailboxes for kids online, but a lot of reviews mentioned how tiny & flimsy they were.  My smalls are also incredible rough on stuff, so DIY-ing one with cardboard or fabric didn't seem like a good idea.  I wanted them to be able to put real envelopes and packages in it, not just some dinky play ones, so we got this one from ACE Hardware.  With their big brother's employee discount it was literally the same price as the toy ones, but this one's more durable, holds lots and can be used for actual mail if we ever need it:


As you can see my little mail guy enjoyed it and took his deliveries seriously.  Our at-home post office was a hit and seeing our mailman's face when they stood in the window in their "uniforms", waving their deliveries was priceless.  Looks like these little mail carriers will get a lot of use out of everything!   


Wednesday, May 4, 2022

DIY Bee & Flower Garden Sensory Bin


Spring is here and we're trying to make the most of it with our homeschool efforts and trying to work my crafting skills and supplies into them.  It's become a lot of fun doing themed weeks with my littlest ones and our latest sensory bin was too cute not to share - check out our DIY Bee & Flowers Sensory Bin!


We did a preschool unit learning about bees and their purpose in the world (using board books & various printable activities), so I wanted them to have the chance to do some bee-themed play and this bin was just the ticket!

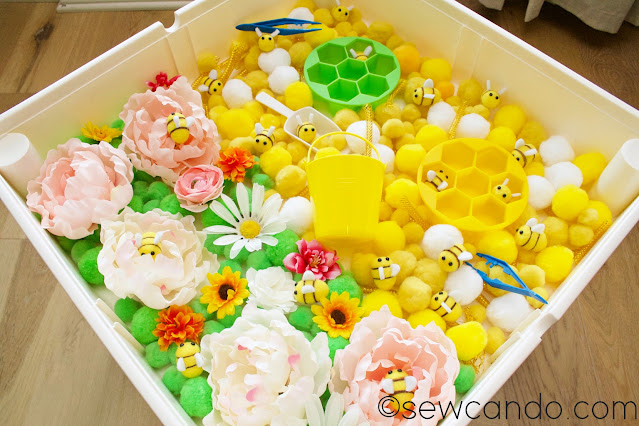
For my base filler I used some extra large pom poms in green with a bunch of large silk flower blossoms, like peonies and daisies (plus a few other smaller flowers leftover from some other projects), to make a sweet flower garden section.


I used some large & extra large yellow pom poms to represent pollen and added some mini scoops and tweezers for them to pick them up with and added in a couple of little buckets for more collecting options.  I also put in some cut strips of gold deco mesh rope that I used in my previous St. Patrick's Day sensory bin for some extra texture and color.


I also found these fabulous hexagonal silicone ice trays to use as honeycombs off Amazon.  The pom poms ideally fit in each compartment.  They came with silicone covers too so we can use them for loads of other things too.  


I got some adorable felt bees (also from Amazon) that were the perfect size for our honeycombs and for "pollinating" our flowers.


My 2 & 4yr old both audibly "Oohed and ahhed" when took the top off the bin.  They loved flying the bees over to the flowers and into the honeycombs.  Everything was fun to touch and super colorful so there was lots to play with - even my older kids couldn't keep their hands out of it!  


We also used the bees, pom poms and flowers for counting and sorting activities and I expect to add them into other projects and crafts down the road.  


I'm looking forward to putting together more themes - I'm not sure who enjoy these bins more, me or my smalls! 


Tuesday, August 19, 2014

Crafting STEM Fun: Groovy Lab In A Box Review & Giveaway


Today I've got a special crafting goody to share - a new concept for kids that is creative, educational and all about creating, exploring & inventing: 
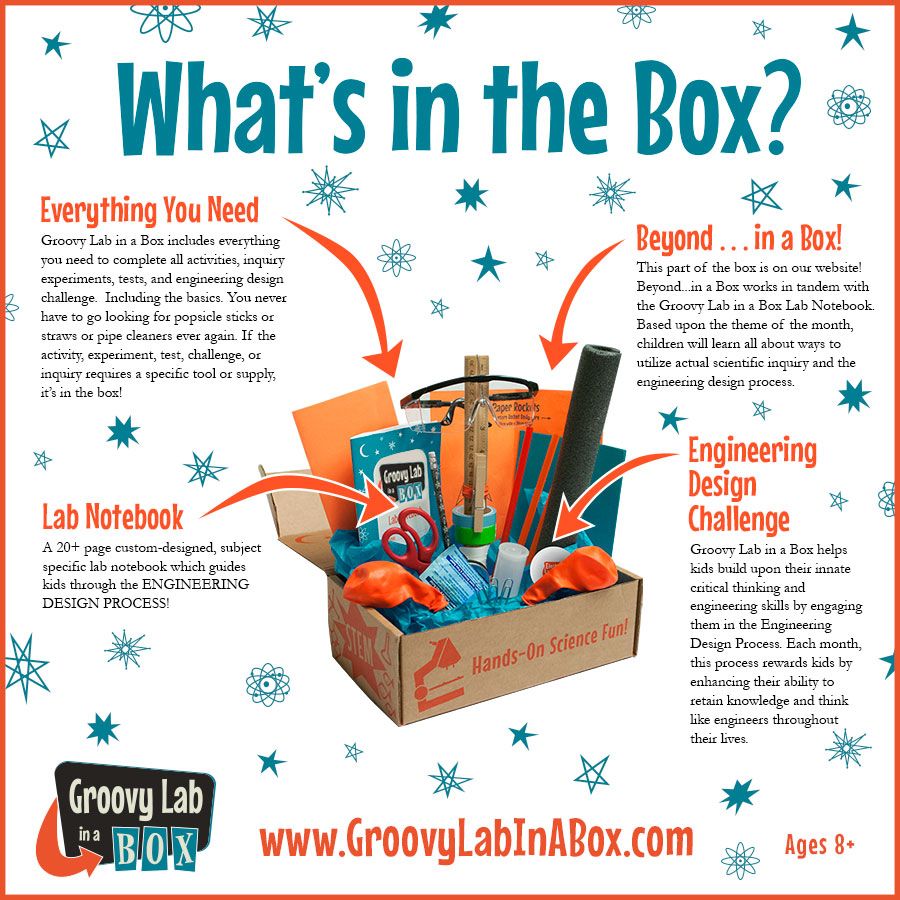
Groovy Lab in a Box is a STEM (science, technology, engineering, mathematics)-themed subscription box developed by a team of educators and scientists.  It guides kids through the scientific inquiry & engineering design process to hone their imagination skills + learn critical thinking.  In each box, STEMists receive materials for fun, hands-on projects and an engineering design challenge – all focused on that month’s topic. All STEMists receive a Lab Notebook, where they can read about that month’s topic, perform investigation activities and document their findings. They will investigate, brainstorm, plan, build, test and redesign their own creations.  


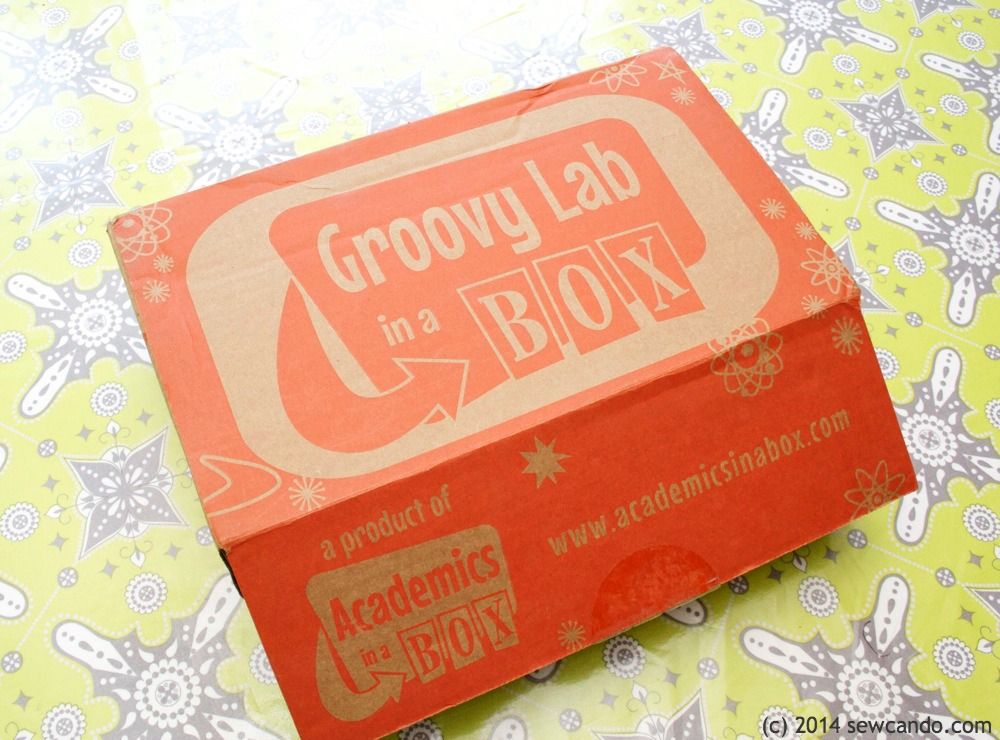
Groovy Lab in a Box asked us to try them out and see what we thought.  The timing was great since I'd been struggling with how to handle homeschooling science and creative thinking this Fall.  My oldest loves STEM-related things, but I wasn't sure I'd be able to pull things together by myself or how to encourage my younger two who aren't quite as interested.  I told them a bit about it beforehand, so we were all pretty excited when this showed up in our mailbox:


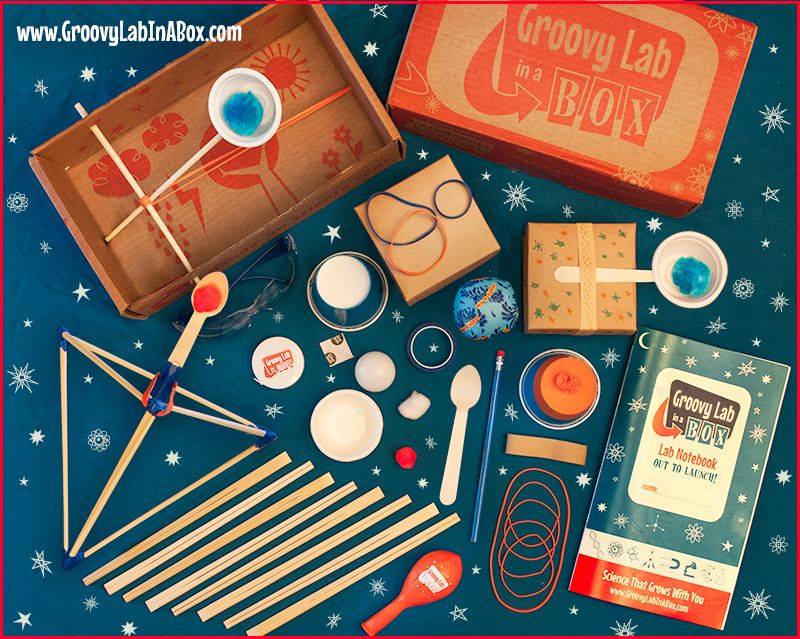
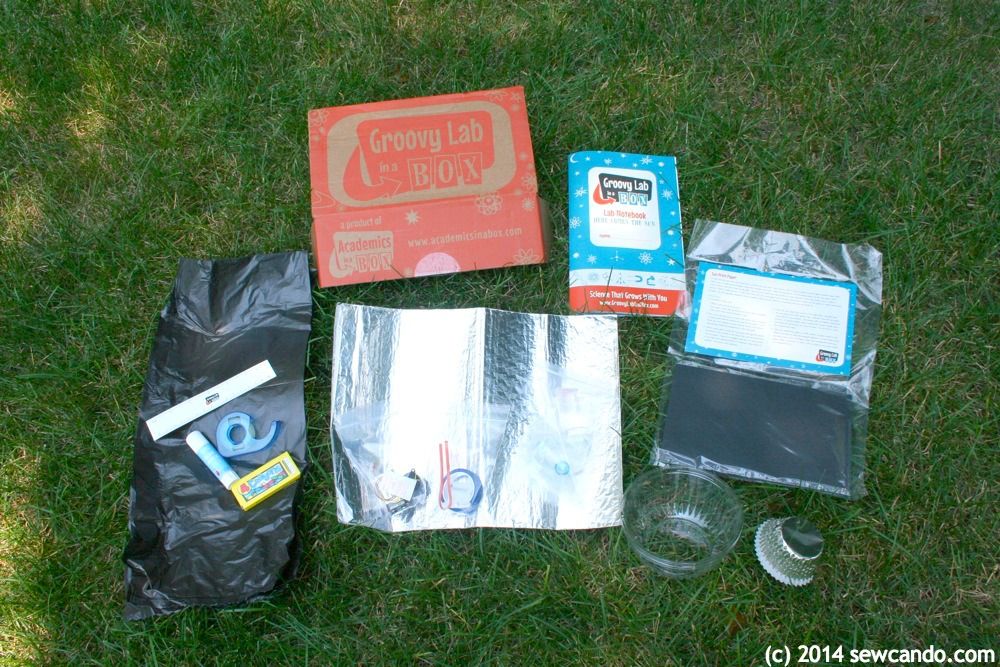
The box we tried was the "Here Comes The Sun", all about Solar Energy.  It gave us everything we needed for 4 experiments AND a bonus item (solar paper) to use as we wished:

"Here Comes The Sun" Groovy Lab Box contents
Beyond the specific lab supplies we needed, there were other materials that could be used again as craft supplies, like a glue stick, ruler and several rolls of tape.  We also discovered that all these themed boxes are put together by employees of Eggleston.  This terrific non-profit trains and employs disabled individuals to make the most of their abilities in the job force and enjoy earning their own living.  So just as much good work going into each box as is coming out:)


After reading about solar energy in the Lab Notebook, we used the special password to access the Beyond in a Box online portal.  There we could access LOADS of enrichment videos specifically related to our theme, as well as printable extension activities, a reading library with book descriptions, a themed Pinterest board - even where to find solar fashions! It would have taken me ages to try to find just a few of those things on my own, so it was fantastic to be able to have it all right there, ready to go.  We watched several videos about being an inventor, the STEM process and uses for solar balloons.  My 8 yr old doesn't always love doing science, but seeing those got him fired up to get out & make his own solar balloon and see it in action:


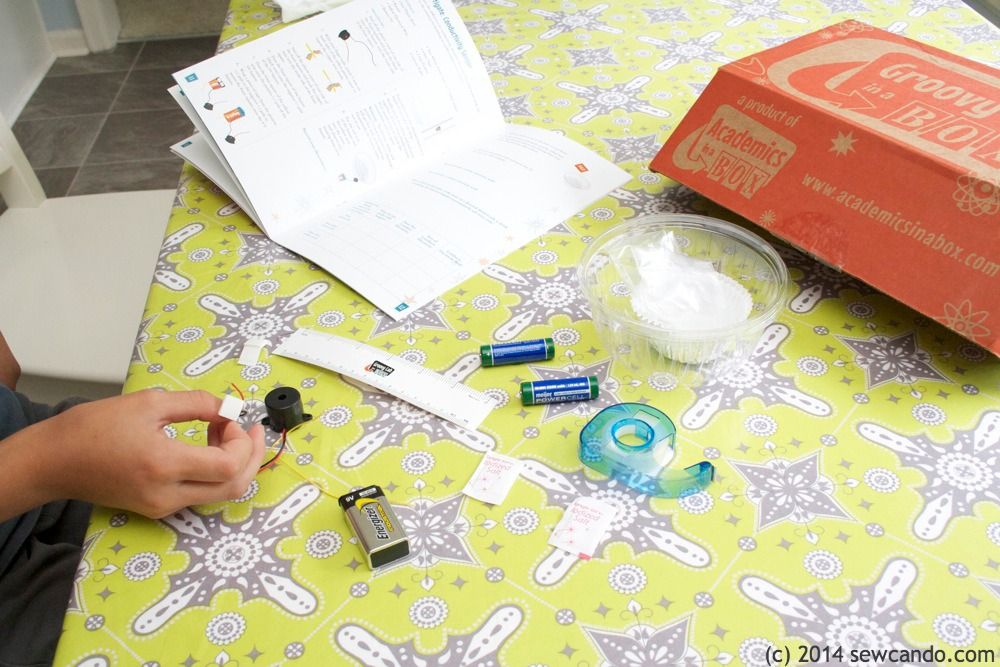
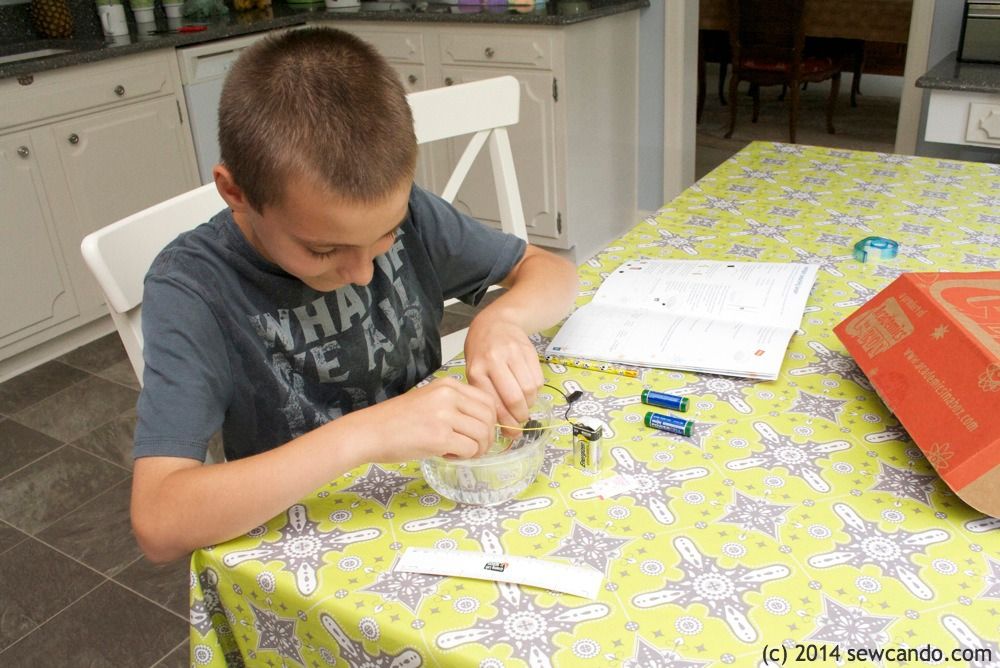
For our next activity I grabbed my 11yr old, who learned how to use these materials to make an audio conductivity sensor. I sometimes found projects like this kind of confusing back when I was a kid, but the lab notebook gave really clear, step-by-step instructions. Though the boxes are recommended for 8yrs+, I think my almost 5 yr old will be able to do a lot if they work as a team next time we do a box.  It was also nice that it gave room for the budding scientist/engineers to really think through what they were doing and understand the purpose.  I wish I'd had something like this when I was in school - I'd have enjoyed lab work a lot more! 


My big guy was excited when he got different sound results with the water samples he tested. He was pretty proud to build it by himself too.The saltier the water, the louder the result.


The lab notebook was set up to make it easy to record what we thought would happen, our actual results and what we thought of them.  My oldest loves building and doing experiments, but usually hates the writing/data portion. The question prompts and simple charts to record info made it more fun.


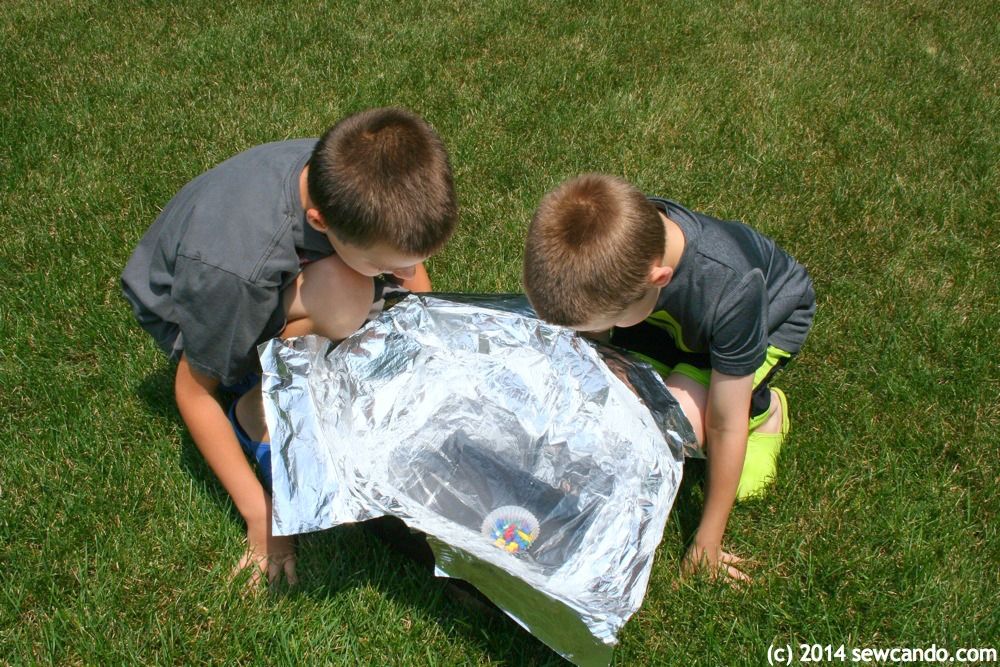
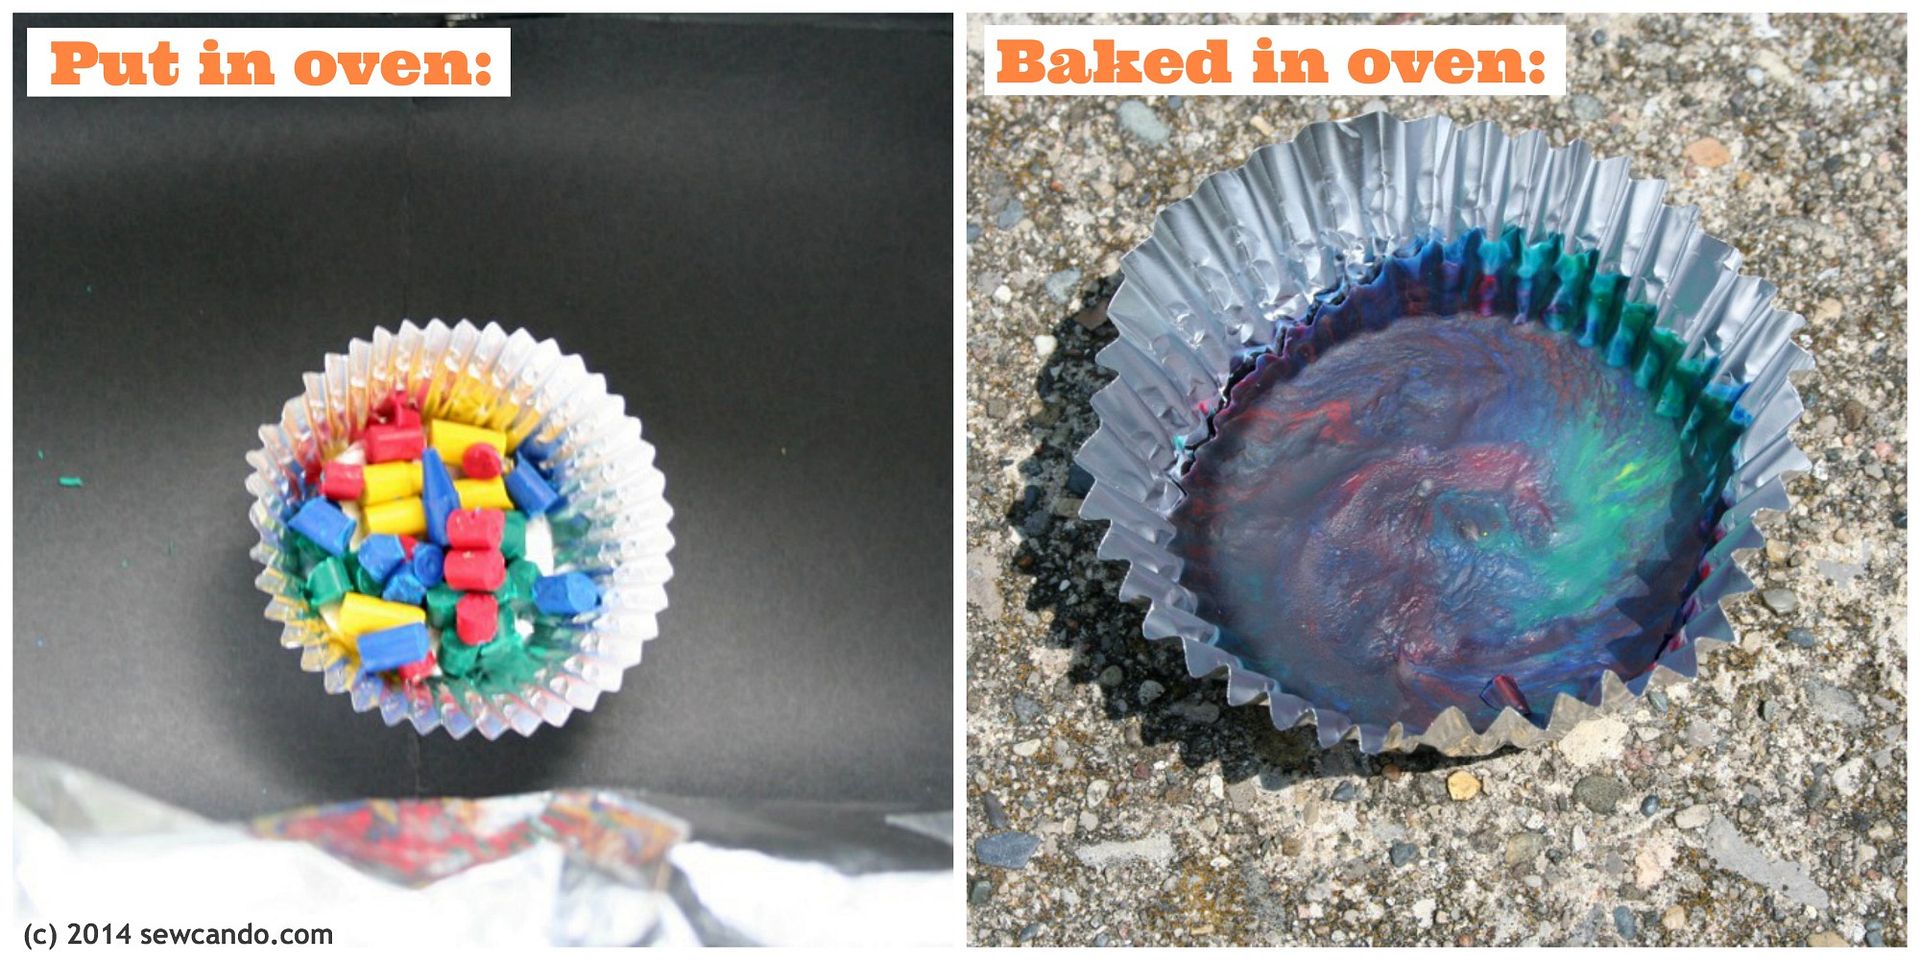
Our favorite activity was building a solar oven.  We were able to use the shipping box to make the oven framework and the color image step-by-step instructions were great.  In no time the guys were ready to cook some crayons: 


Through the portal's online videos we saw how the solar oven was invented in the 1700s, how many amazing things you can cook in one (even bread!) and how they are being used in developing countries as a cheaper and safer alternative to making fires.  We were pretty amazed at how well it worked - after just 20 minutes we turned some broken crayons from the box into a blended crayon cake.  


Our crayon "Before & After" in the DIY solar oven

All this built up to the main challenge of developing and building a mini-desalination plant with the remaining supplies.  They tested the results with the conductivity sensor they'd already made. The lab notebook & online portal taught them all about the Greenhouse Effect and water cycle.  Then they got to brainstorm and draw out on the best way to put their supplies together and record their results.  It was also nice to see the notebook reminding kids that failed results aren't something negative, but rather an opportunity to learn more and redesign an even better solution.  Instead of being disappointed their plan didn't work perfectly, they started thinking about what could make it work better.  Kids can get really frustrated when things don't work right the first time, so it was refreshing to have that built-in encouragement and confidence boosting to keep them trying.  


What I thought was most fantastic was that one box could be used just as easily with a single child or as a team - we tried it both ways.  Having several kids, at different levels, is sometimes a challenge for us in homeschooling, but Groovy Lab in a Box made it a lot easier.  It was also really nice to be able to just open the box and get to the learning, instead of me buying and having to set up a bunch of supplies ahead of time.  I've decided to buy a subscription and use this as our science for school this year.  I think it will be easier and cheaper than buying 3 totally different sets of science curricula + materials and I know it'll save time since they can all work on it at the same time.  My kids say it will be more fun since there's lots of hands-on activity and interesting things to see thanks to the Beyond a Box portal.  These boxes really offer a more rounded learning experience than anything else I've seen.    


Groovy Lab in a Box is offering Sew Can Do readers 
20% off their first monthly subscription box 
with the discount code: GROOVYNOW20


Now how about a chance at winning your own Groovy Lab In A Box?
One lucky Sew Can Do reader will win:

A Groovy Lab in a Box: 
Keep On Turning Box 
(all about hydro power)!


I was not financially compensated for this post.  I received a Groovy Lab in a Box to review.  The opinions are completely my own, based on my honest experiences.  

Wednesday, August 13, 2014

Crafting Up A Homeschool Haven: Our WorkBox Solution


Earlier this year I organized my very own Small Space Dream Craft Room and have loved the change it's made to my crafting life.  The key part to my craft space staying amazingly organized and lovely has been the specialty storage desks I bought from The Original Scrapbox:  


Now I want other parts of my house to be transformed in the same way - namely our kid areas.   I started thinking about how handy something like that could be for homeschooling. We've been homeschooling for 7 years now and every year we run into the same issue of how to keep things organized, not forget stuff we have tucked away or have the rest of the house overrun with their stuff.  I'd been using a bunch of cheap particle board shelves, bookcases and plastic bins, but they just weren't cutting it anymore.  I could kind of temporarily hide stuff when people came over, but it didn't mean I could find it again.

Contained clutter ≠ Organized
There are a lot of great things about schooling at home, but it's a real challenge to keep all the books, papers, materials & supplies under control and not have the house look like a disaster most of the time.  Especially now that I have a 3 kids full-time schooling from K-Middle School levels. If I'm honest, I was really dreading trying to keep it together this Fall. This is the kind of thing that would happen to our little "classroom" about 1 month into school time:
  
What I like to call the "Kidnado" effect

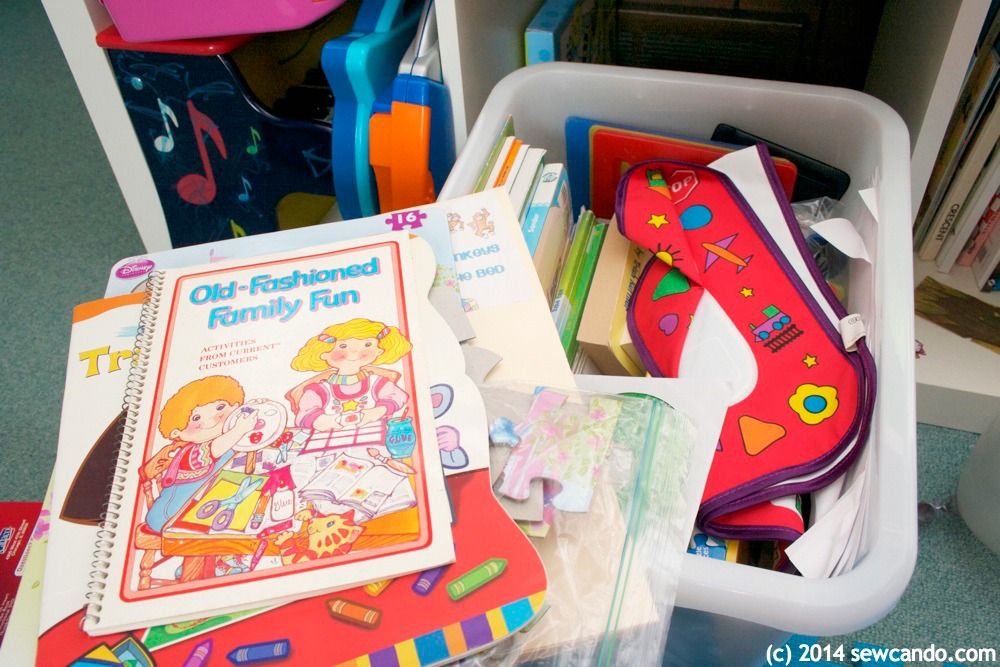
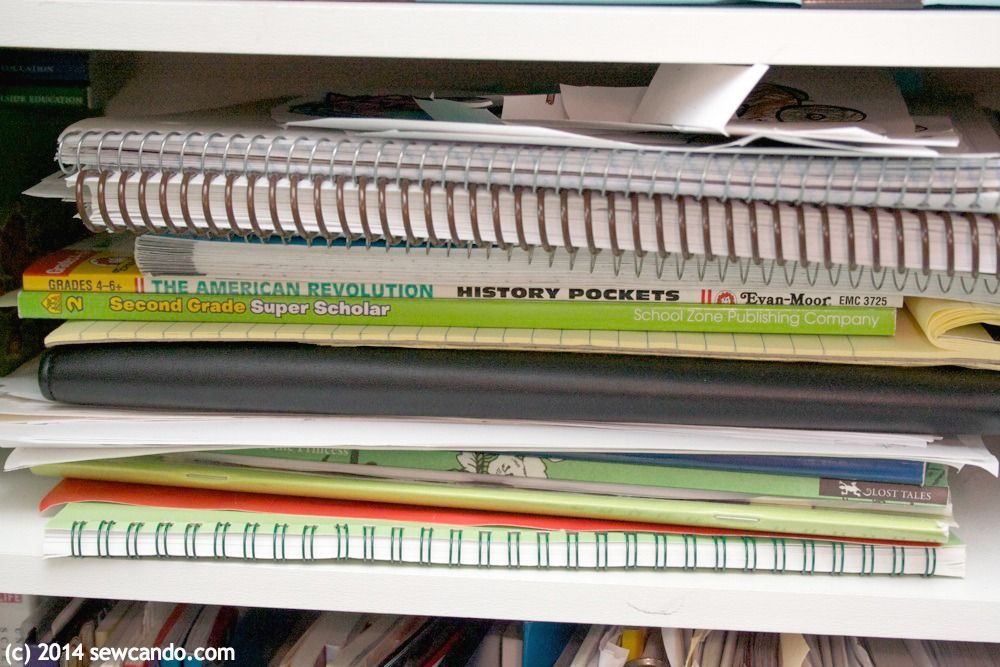
And the state of the learning materials wasn't much better.  Trying to find the right worksheet or notebook in just a few minutes was impossible:

One of many, "cram it in there" stacks

In most regular school there are whole rooms for things like art, science, foreign language, plus a library.  When you school at home, it's usually a tiny room or closet that's supposed to hold everything, so things get cluttered & disorganized quickly.  Multiply that by several kids and you're frazzled trying to be teacher, janitor and mom. 

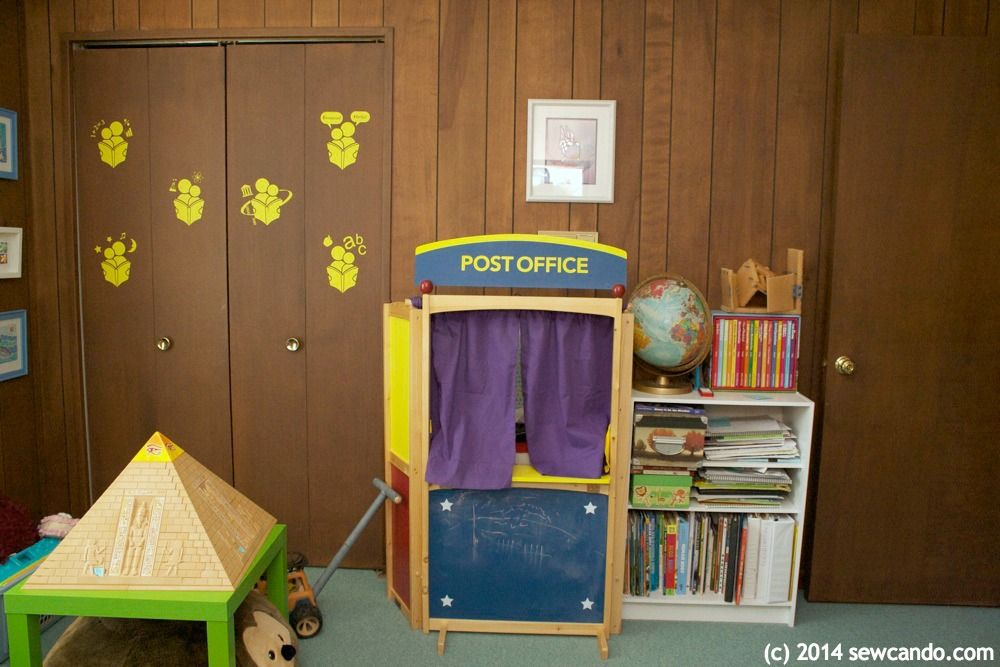
Puppet area hiding boxes + sad overstocked school shelf = can't find a thing

The Original Scrapbox loved how I customized the EZ View and Helen Sewing Desks I bought and how much their Jack & Jill Desk sorted out our toy overflow problem, so they let me test out one of their WorkBox units to see how it could work from homeschooling. 


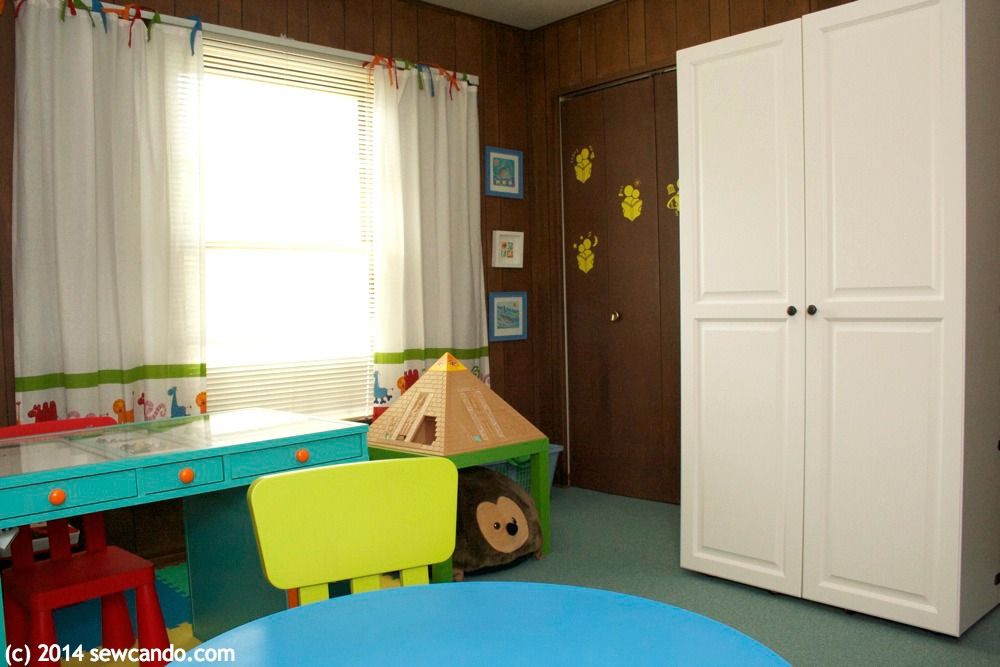
White Raised Panel WorkBox & our Turquoise Jack and Jill Desk
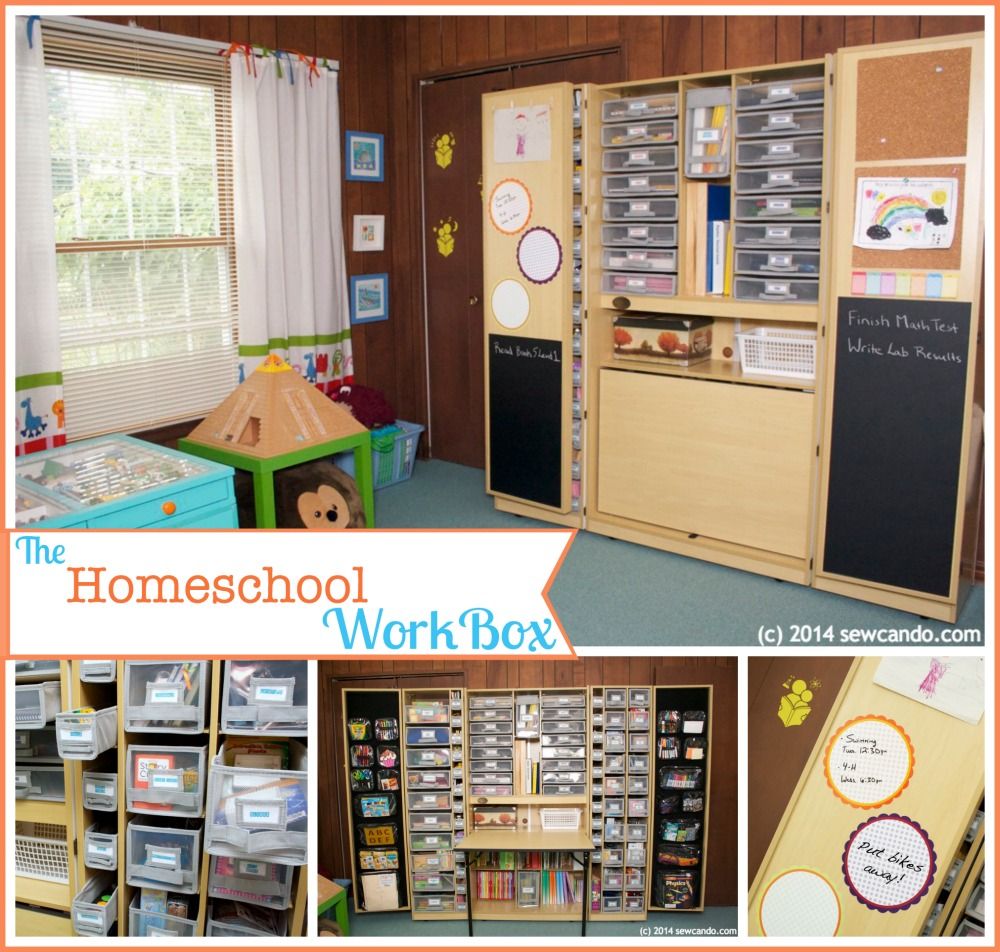
Instead of holding scrapbook supplies, our WorkBox has become a complete schooling station!


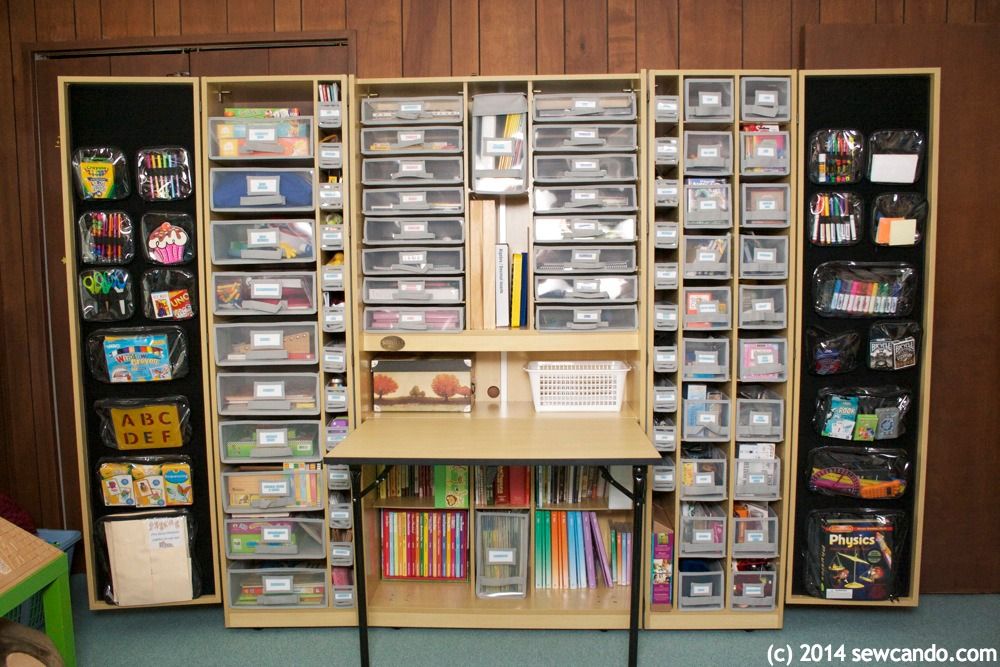
Our Homeschool WorkBox fully opened
Here it is with the table opened up so it's got a desktop surface too:


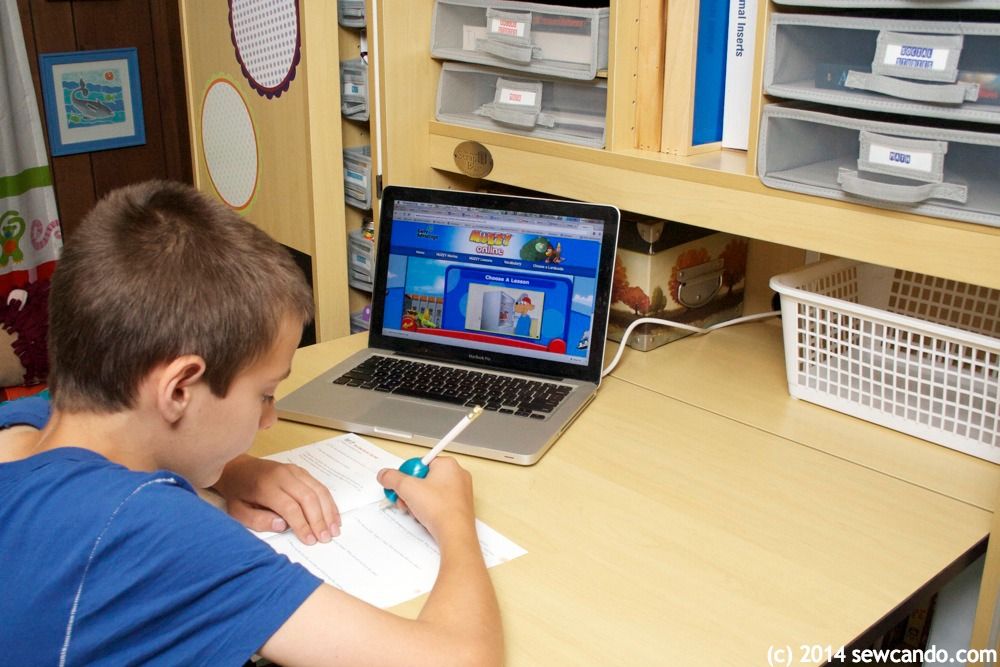
The shelf behind the desk is great for adding our own bins & boxes and the hole at the back means we can plug in a laptop or other device:


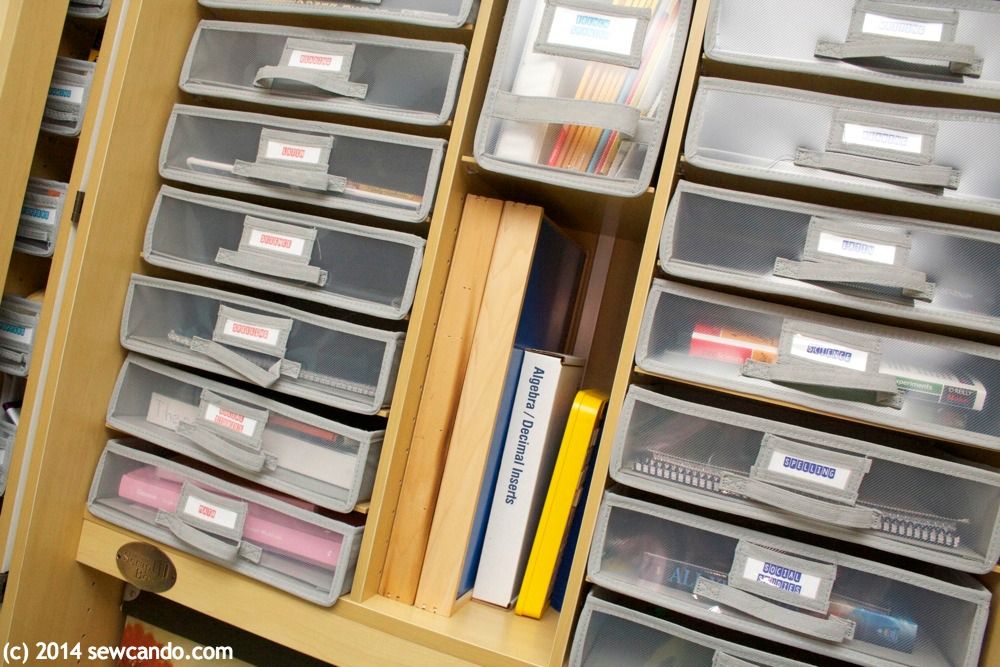
Each of my boys has his own set of drawers for each subject in the center section, as well as a spot right in-between for foreign language and math items they both use:


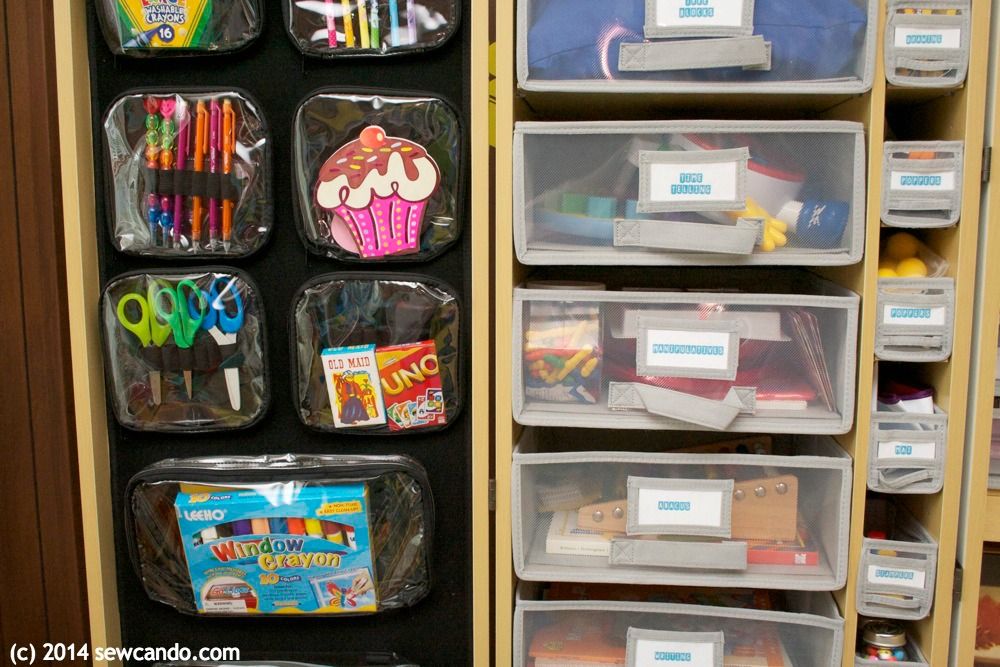
I added color coded labels so everything is simple to spot at a glance too.  All the books, workbooks, papers and other things for a single topic are easy to grab when needed and then quick to put away when done.  Even oversized materials fit (which was always a problem on our cheap bookshelf):

Roomy 12"x12" main drawers
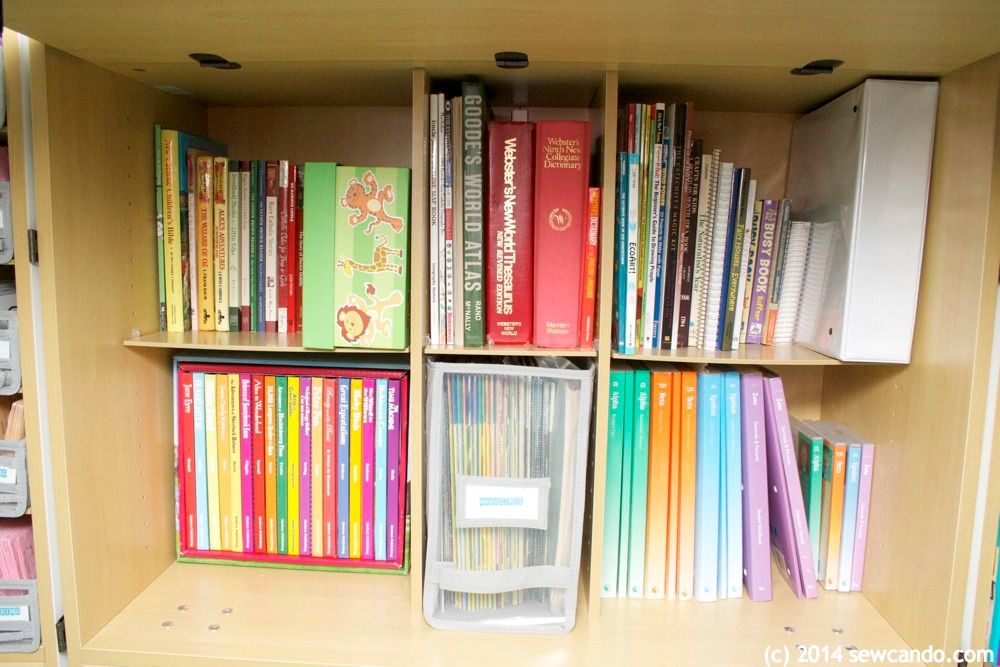
The shelves underneath are the new home for our reference books, magazines and series items.  I used to have to tuck a lot of it away in tubs in the basement when my oldest finished them because there was no room to leave it out.  Then I'd hope that I'd remember what grade we used it in & then sift through the year's worth of schoolwork in that bin to find it when one of the next two kids was ready to use it.  Now it's all right here, ready to grab. 


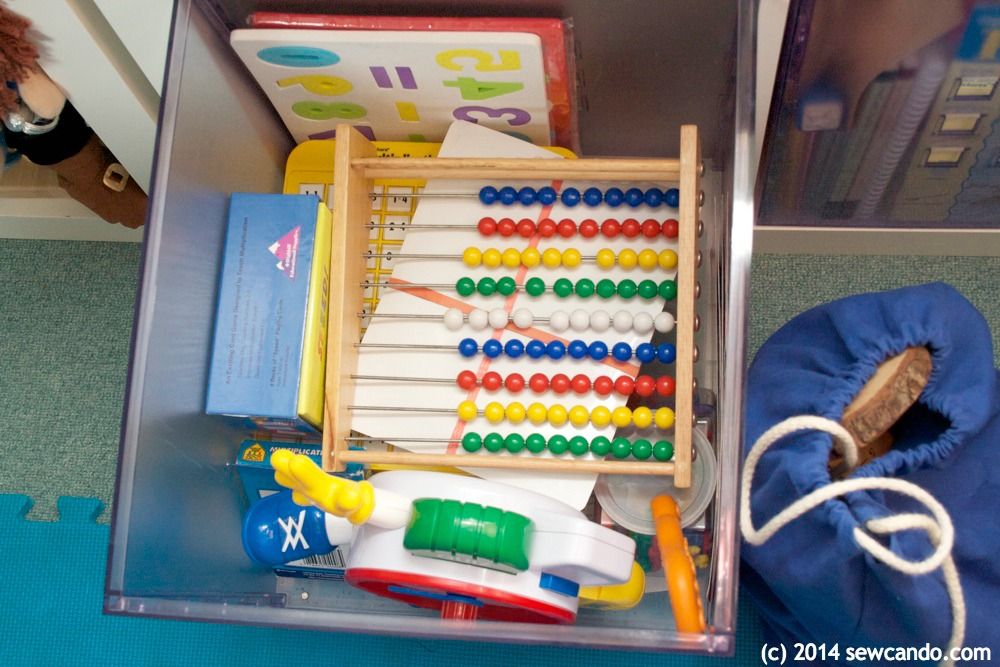
The various smaller drawers and cubbies are great for sorting out smaller supplies like pencils, bookmarks, small games and specific themes like our microscope slides, rock samples & flash cards and since all the shelves are removable and adjustable we can switch things up as our needs change:


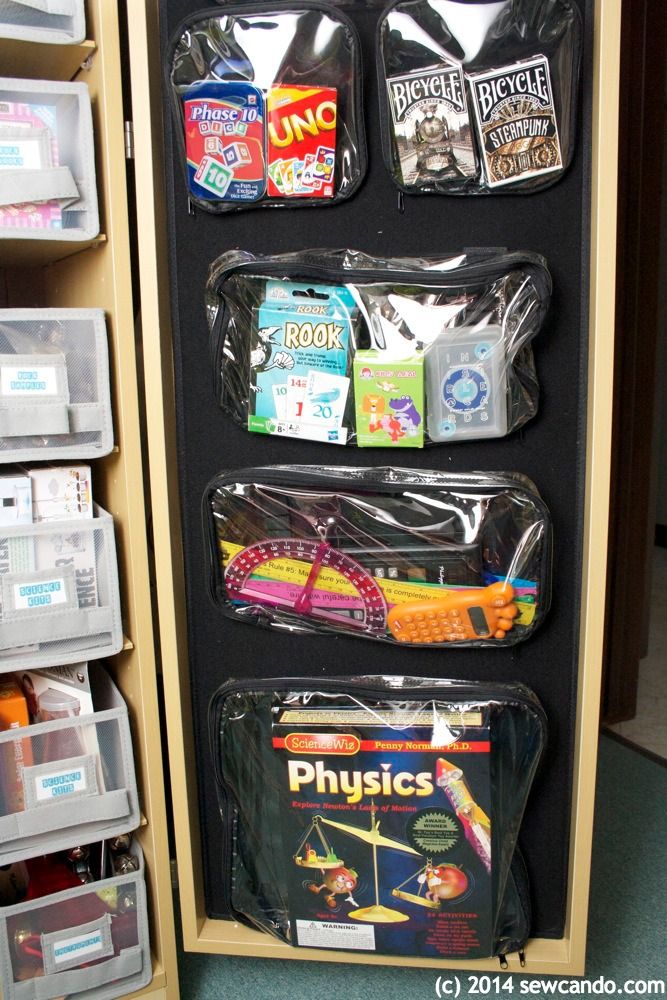
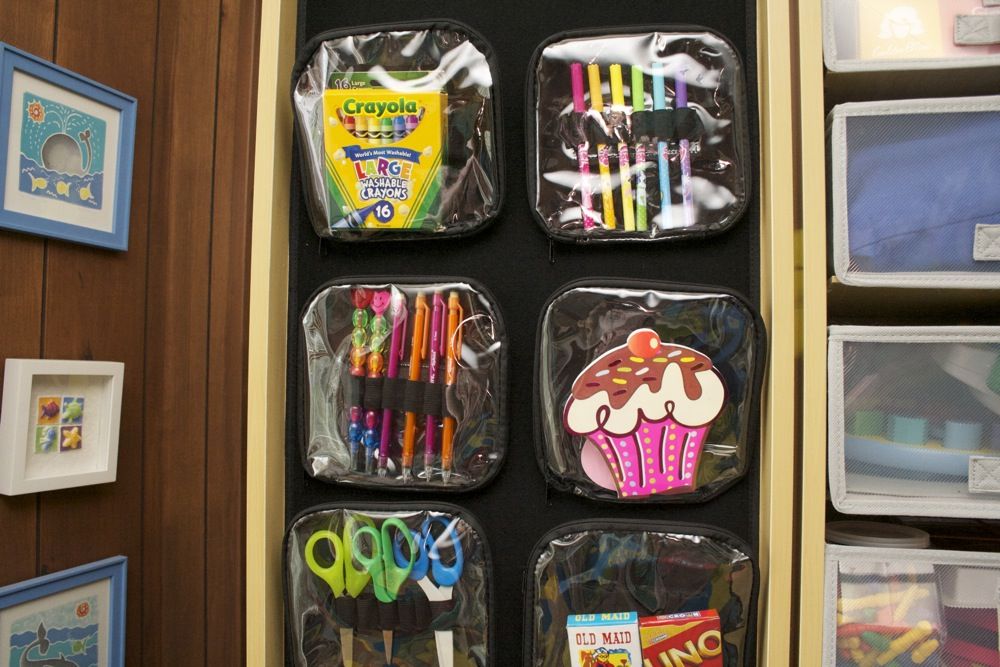
And kits and small items we'd normally lose track of are right in plain sight in clear pouches that peel right off the velcro wall:


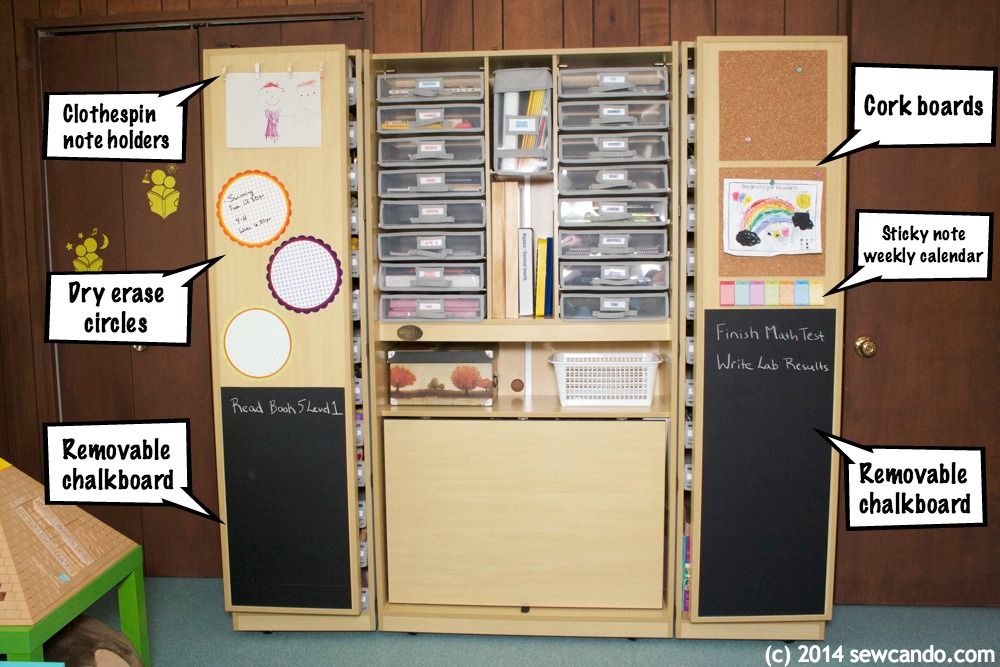
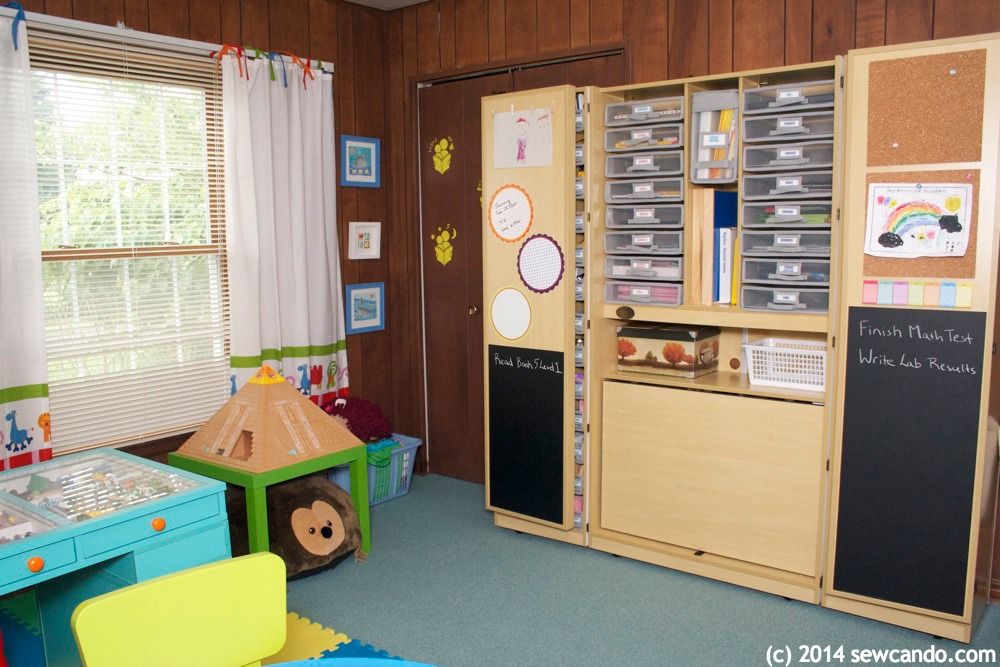
I also thought I could maximize it even more by adding some custom features to the WorkBox's blank inner doors:


Some of my WorkBox customizations

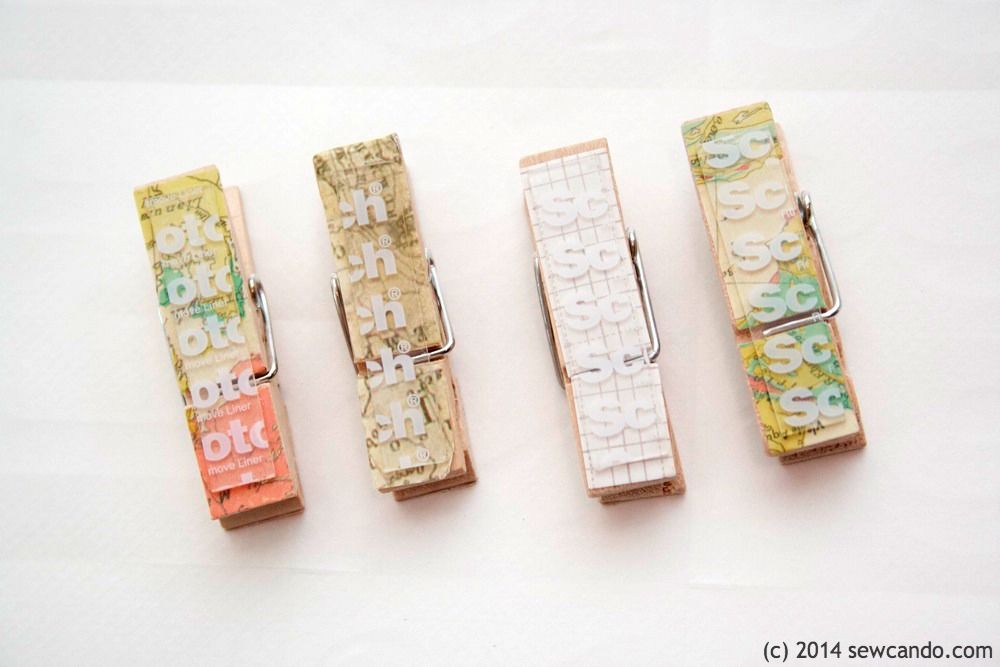
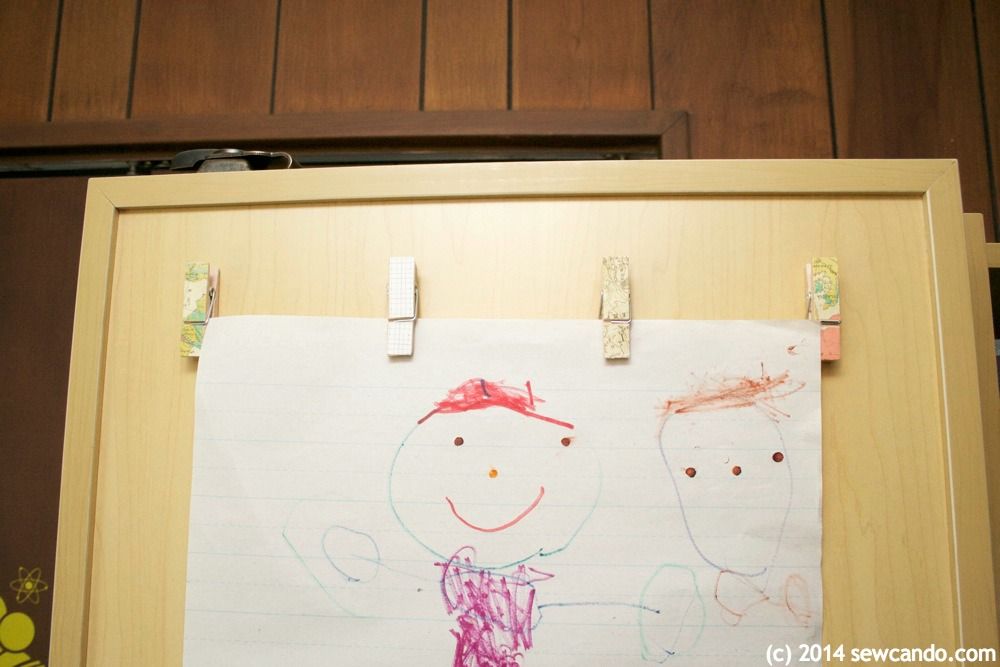
I put some double sided adhesive on the backs of my decorative clothespins and stuck them onto the left inner door: 


Now we have a place to display my little lady's artwork and special work:


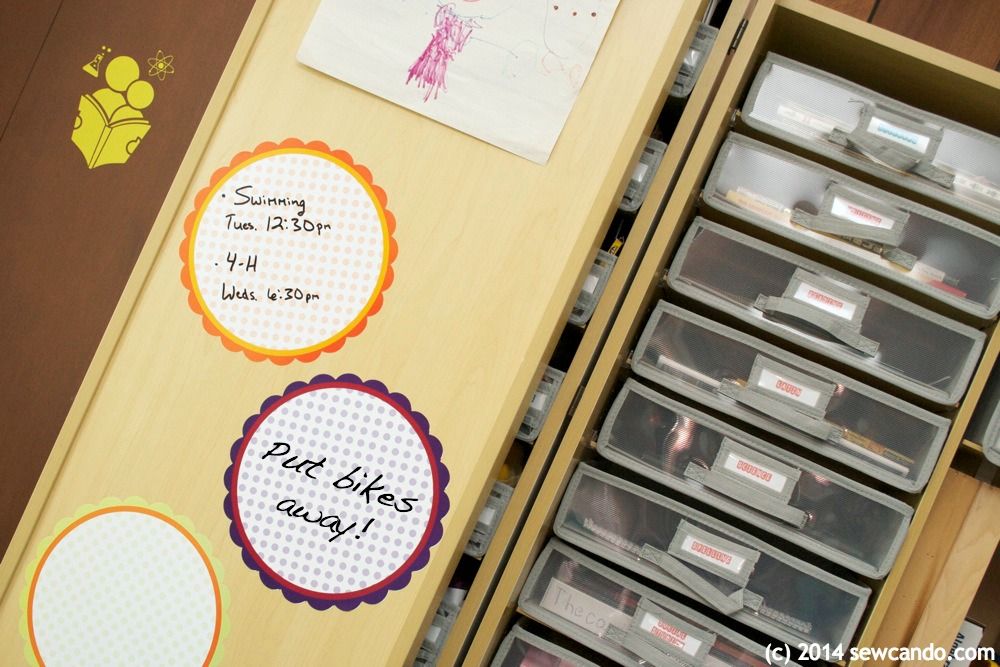
Below that I added some removable dry erase circles for jotting down notes and reminders:


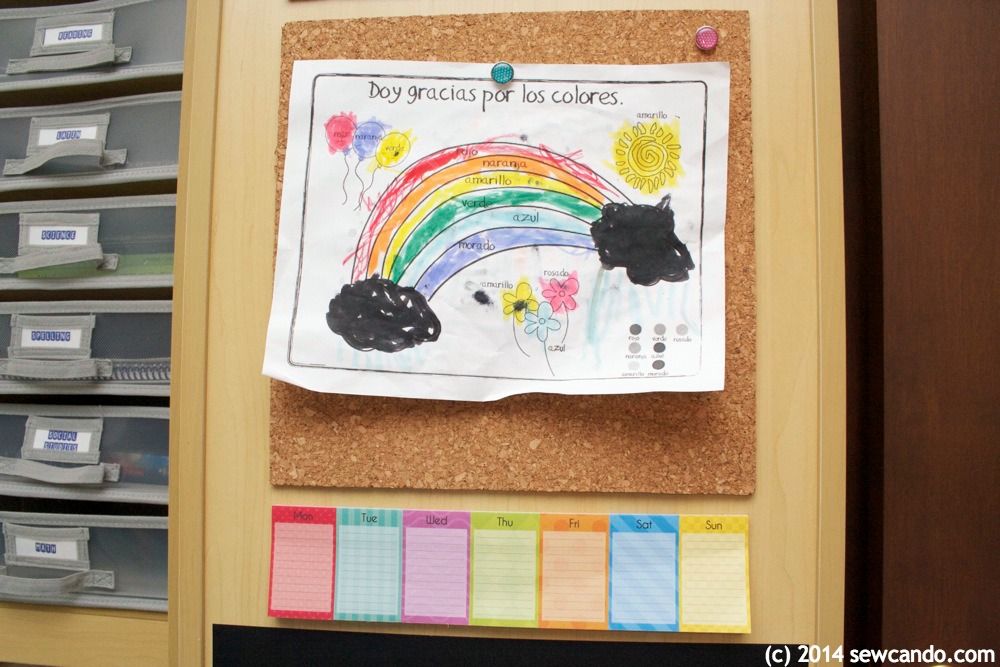
On the right side I attached a pair of cork squares to pin up latest projects:


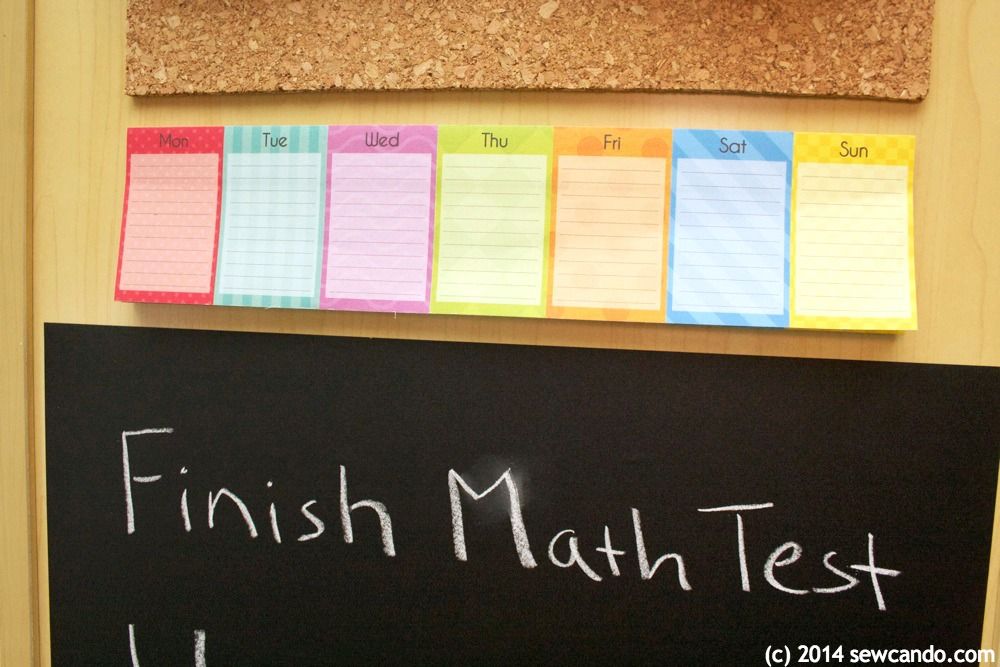
Below is a sticky note weekly calendar I can peel off for whatever "to-do's" we have each week.  I also added removable chalkboard panels to the both lower sections for even more room for writing & some added drawing space:


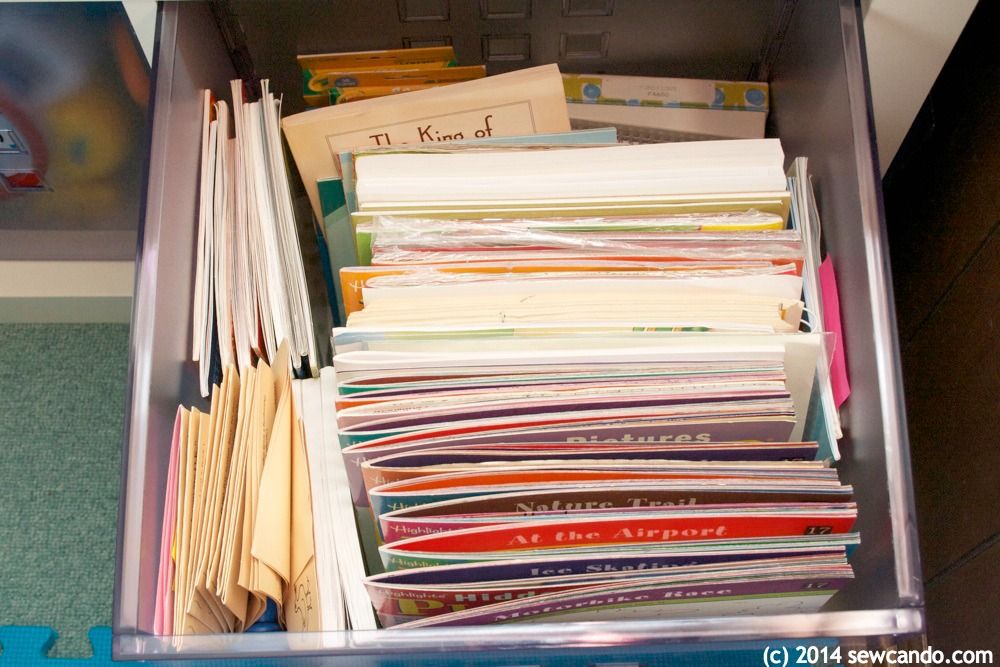
Our early reader books and supplies used to be shoehorned into this drawer on a bookshelf. It took forever to sift through for a specific item:


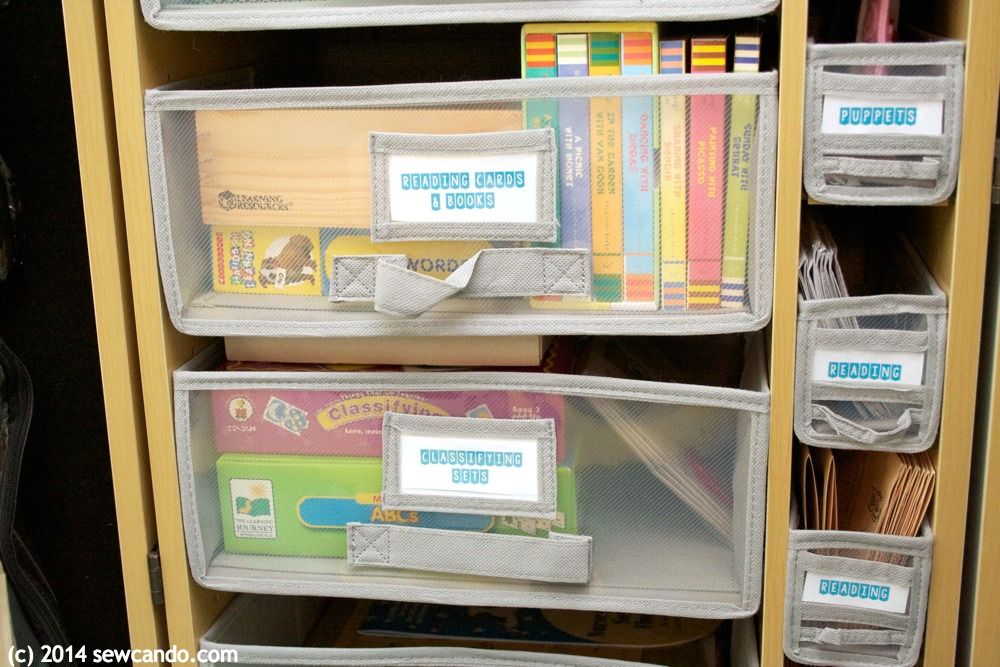
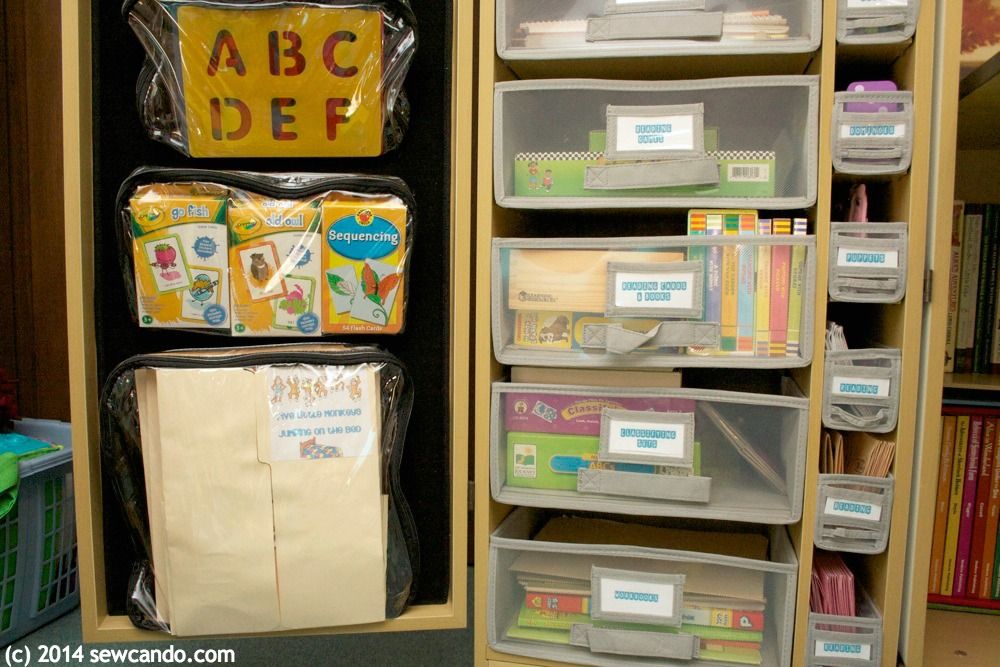
Now the little books are shelved by level in the mini-drawers and all the larger sets are easy to spot in seconds in the bigger drawers next door:


Our math supplies were also jumbled up the same way.  Half the time we'd forget we even HAD flashcards buried at the bottom or to bring out our Valentin's Day themed counting set when February rolled around:


Now they're sorted into proper category drawers like telling time, manipulatives and counting tools down the left side of the WorkBox for my Kindergardener and separate multiplication & measuring small drawers on my bigger kids' right side.


And small things like jumbo crayons, markers, pencils & scissors are easy to find, but thanks to the velcro door panels, I can place them too high for my 4yr old to grab without assistance:


While things she can handle independently, like lap books and cards, are simple for her to grab on her own:


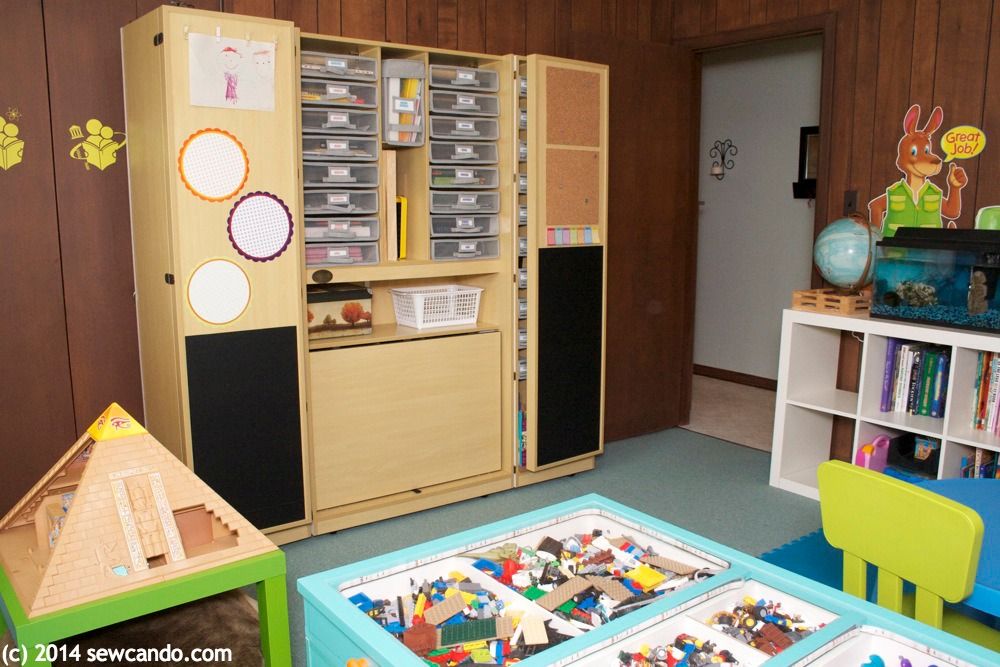
Even when I've got the box partially open like this, there's plenty of space in the room and things still look tidy:


And if we want to hide it all or keep curious hands from digging into things, I just close it up and lock the top.  Then it's all tucked away, with only the nice, raised panel, door fronts showing:

Ahhh, so clean!!

Plus, with the WorkBox taking in so much of the stuff and keeping it sorted, it's made the rest of the room is neat & orderly too, instead of its previous overflowing and chaotic state:
You can actually FIND things on the shelves now!
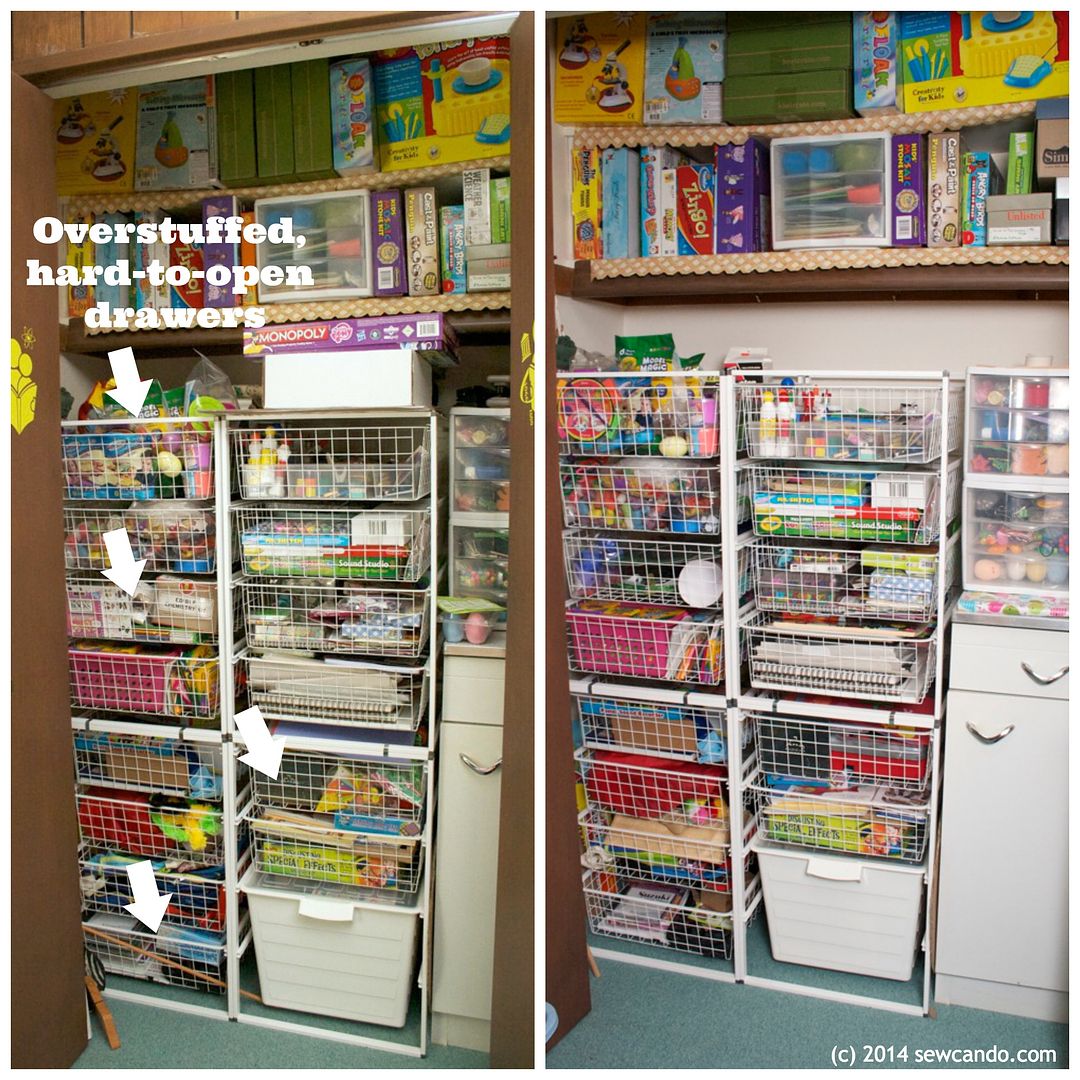
And our closet drawers have gone from stuffed-to-the-gills, to under control and easy to open:


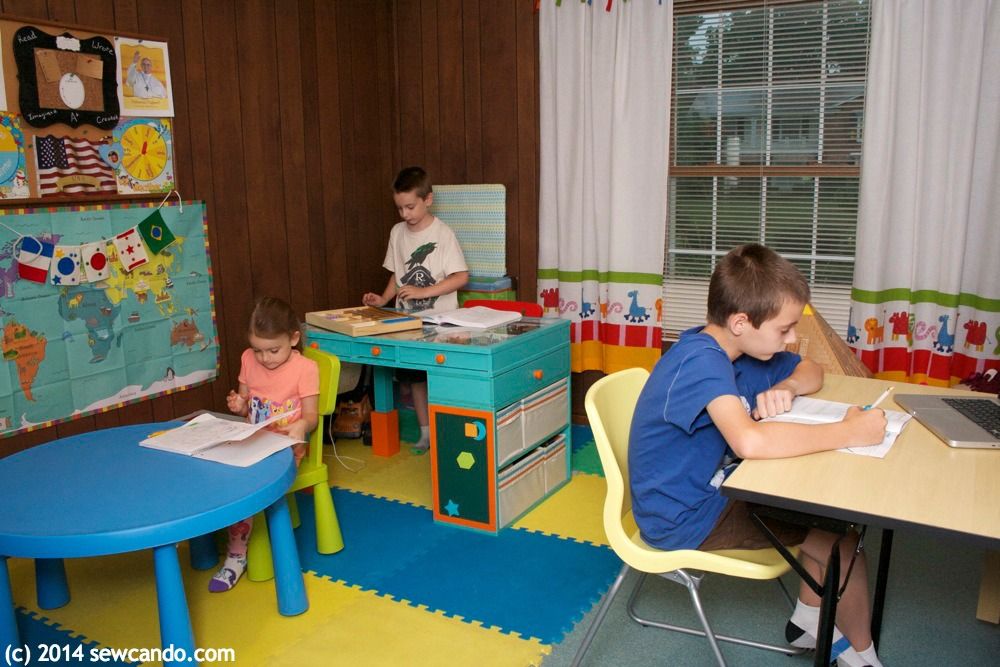
The kids like that it doesn't take much effort to find what they need or put it away.  We can get school stuff done quicker because we aren't wasting time trying to find things again. And despite the room being fairly small, there's now an individual space for each of the kids to work:  


I like how simple it is to keep everything sorted, but still simple to see and access everything. I couldn't believe how much good stuff I had squirreled away, out of sight, that we've forgotten about.  I feel like nothing is going to waste now and it'll be easier to focus on learning since all our gear is ready to go.  


My very favorite part is a little less selfless...It's the fact that I'll be able to use the WorkBox long after our schooling days are over.  The old particle board cheap-y shelves & plastic containers usually end up too worn out to repurpose after a few years or have to be given away because they are too flimsy to use elsewhere. This piece has a classic look that can work just about anywhere in the house and is incredibly sturdy. There's a reason why their desks & storage pieces are worth investing in - they'll last.  I can reclaim it for my crafting use down the road, so it's a big long-term win.

Thanks to The Original Scrapbox, going back to homeschool this Fall is going to be a breeze!


I'm also sharing this with my FAVE LINK PARTIES.
Click HERE to check them out!

I was not financially compensated for this post.  I received a WorkBox from The Original Scrapbox to customize as I desired and review.  The opinions are completely my own, based on my honest experiences.  

LinkWithin

Related Posts with Thumbnails