


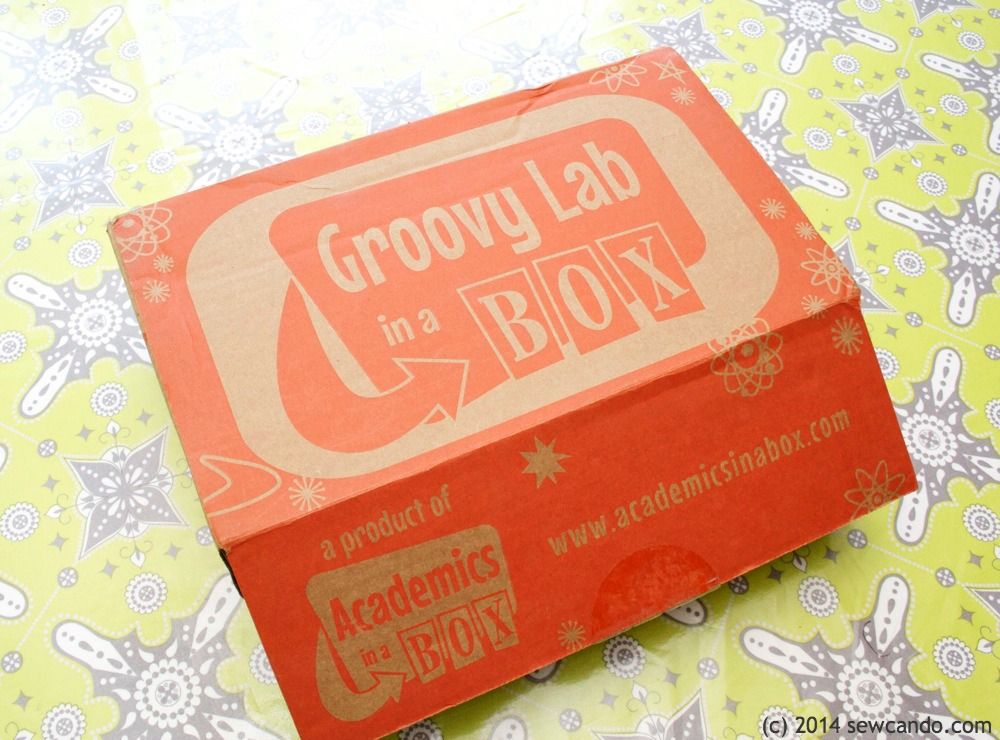
Groovy Lab in a Box asked us to try them out and see what we thought. The timing was great since I'd been struggling with how to handle homeschooling science and creative thinking this Fall. My oldest loves STEM-related things, but I wasn't sure I'd be able to pull things together by myself or how to encourage my younger two who aren't quite as interested. I told them a bit about it beforehand, so we were all pretty excited when this showed up in our mailbox:
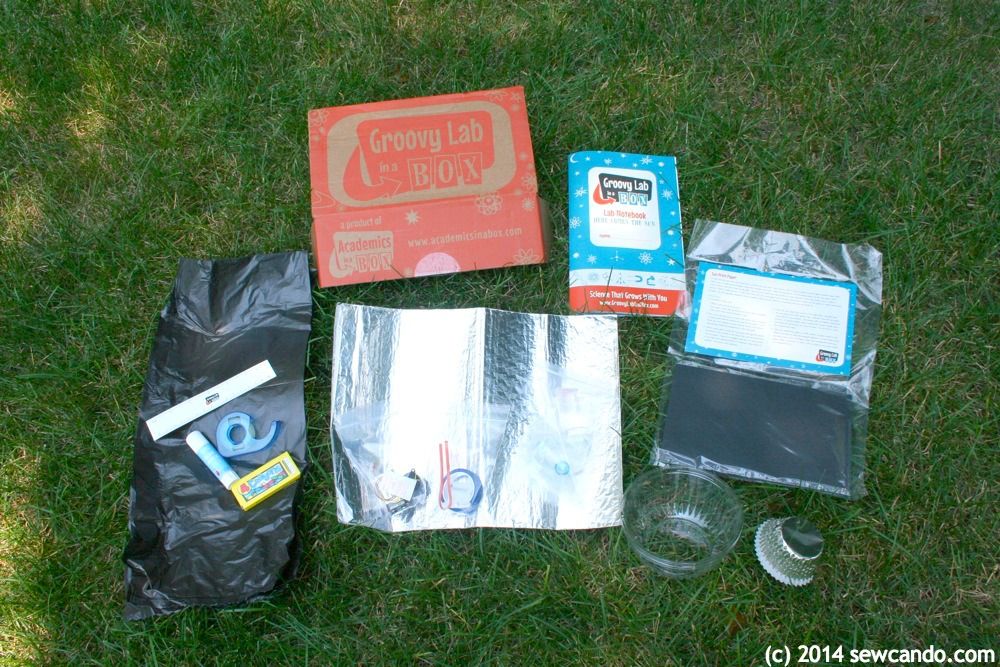 |
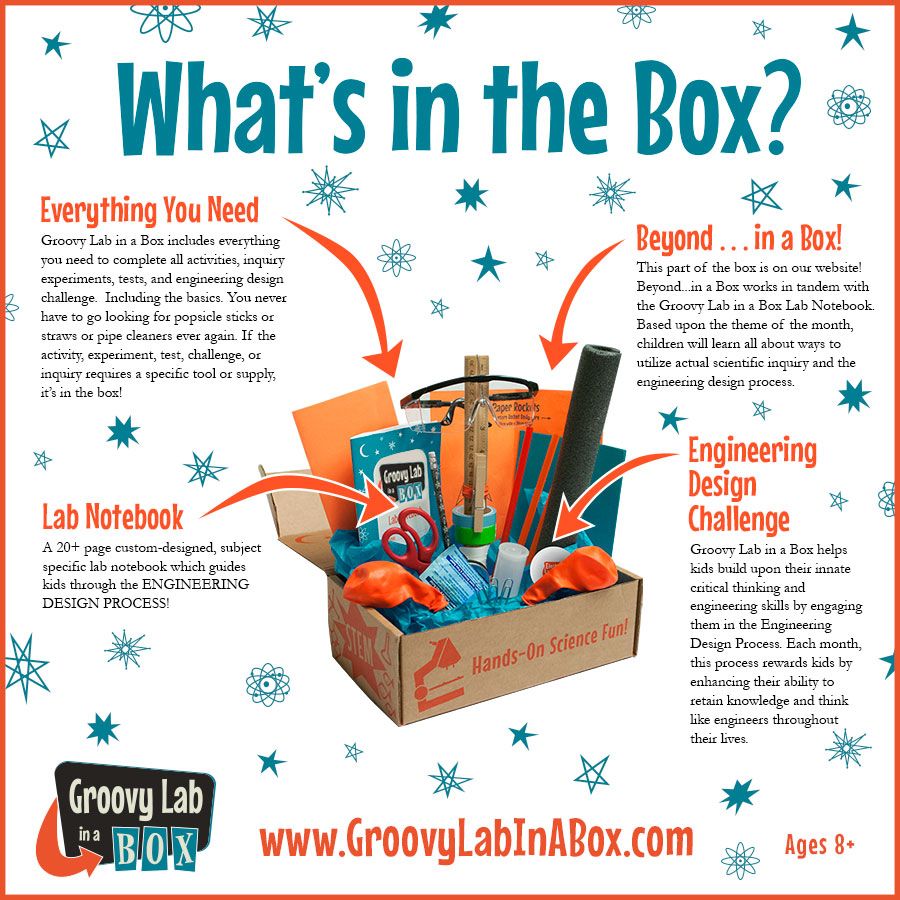
| "Here Comes The Sun" Groovy Lab Box contents |
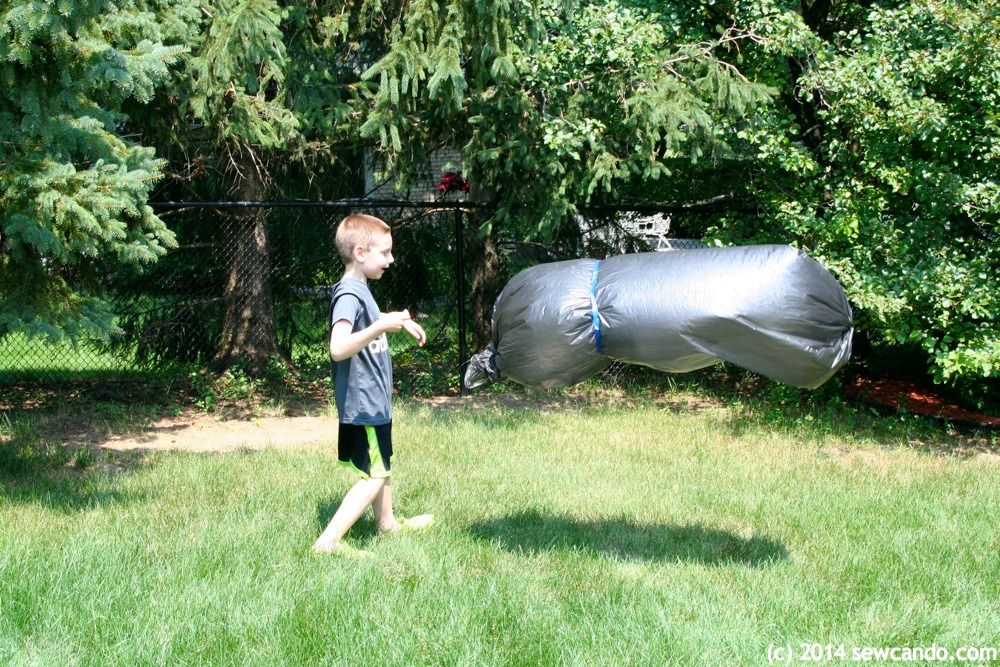
After reading about solar energy in the Lab Notebook, we used the special password to access the Beyond in a Box online portal. There we could access LOADS of enrichment videos specifically related to our theme, as well as printable extension activities, a reading library with book descriptions, a themed Pinterest board - even where to find solar fashions! It would have taken me ages to try to find just a few of those things on my own, so it was fantastic to be able to have it all right there, ready to go. We watched several videos about being an inventor, the STEM process and uses for solar balloons. My 8 yr old doesn't always love doing science, but seeing those got him fired up to get out & make his own solar balloon and see it in action:
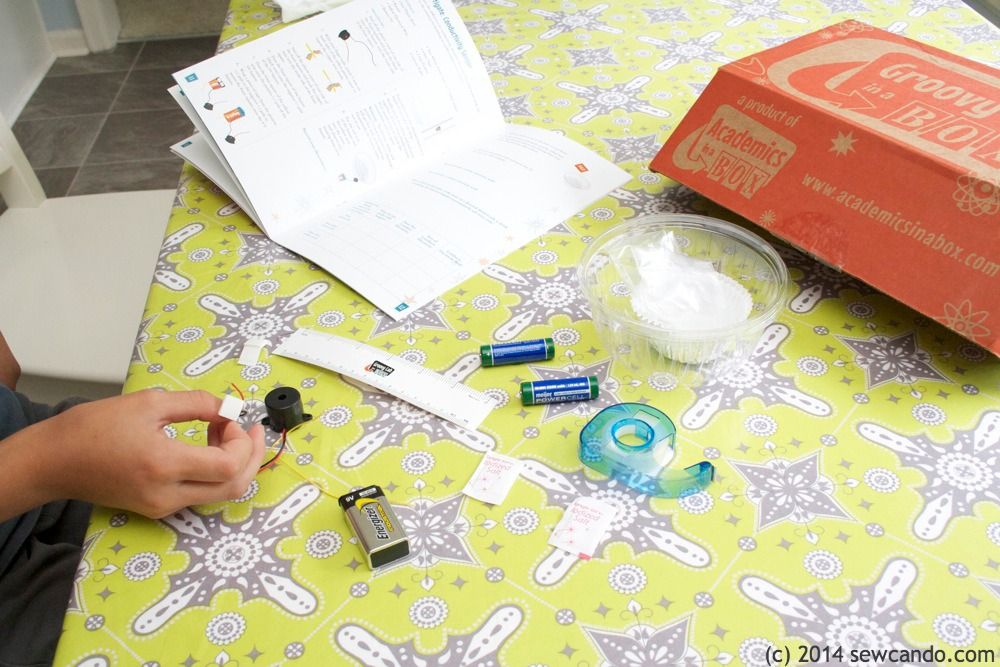
For our next activity I grabbed my 11yr old, who learned how to use these materials to make an audio conductivity sensor. I sometimes found projects like this kind of confusing back when I was a kid, but the lab notebook gave really clear, step-by-step instructions. Though the boxes are recommended for 8yrs+, I think my almost 5 yr old will be able to do a lot if they work as a team next time we do a box. It was also nice that it gave room for the budding scientist/engineers to really think through what they were doing and understand the purpose. I wish I'd had something like this when I was in school - I'd have enjoyed lab work a lot more!
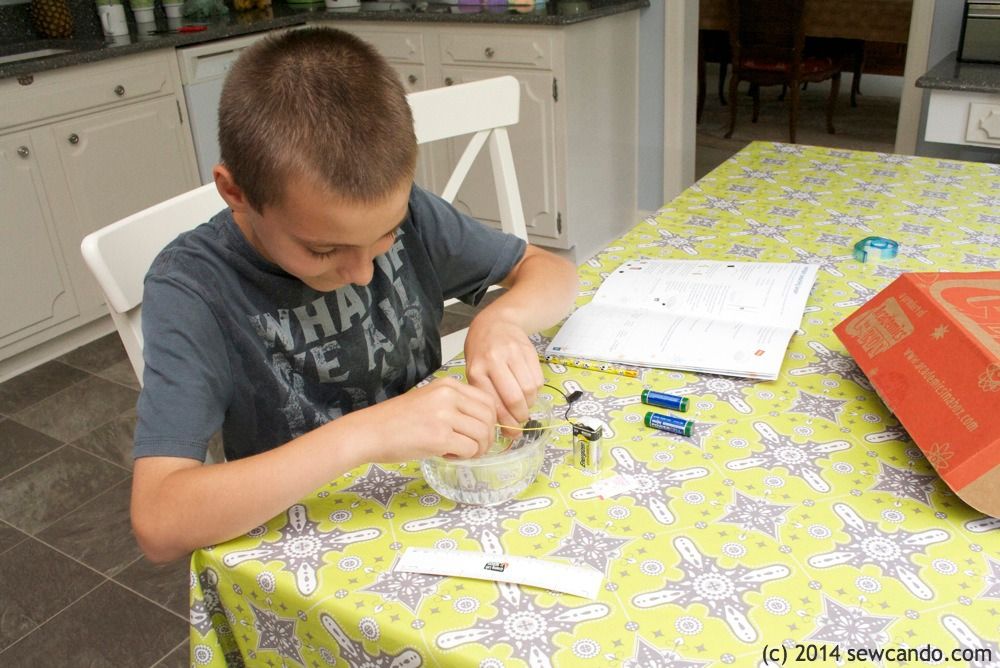
My big guy was excited when he got different sound results with the water samples he tested. He was pretty proud to build it by himself too.The saltier the water, the louder the result.
The lab notebook was set up to make it easy to record what we thought would happen, our actual results and what we thought of them. My oldest loves building and doing experiments, but usually hates the writing/data portion. The question prompts and simple charts to record info made it more fun.

Our favorite activity was building a solar oven. We were able to use the shipping box to make the oven framework and the color image step-by-step instructions were great. In no time the guys were ready to cook some crayons:
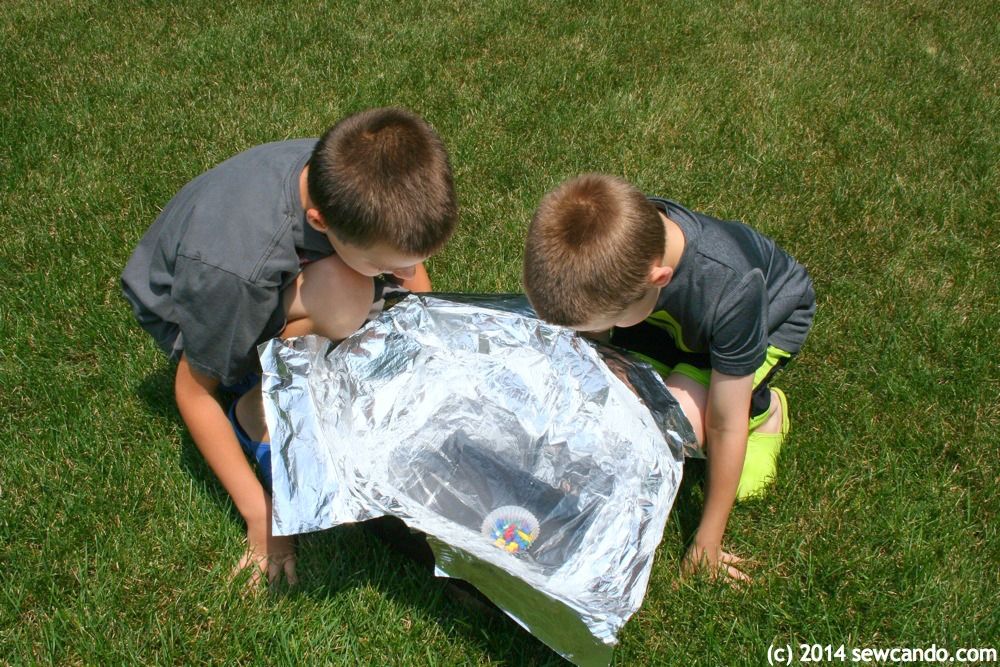
Through the portal's online videos we saw how the solar oven was invented in the 1700s, how many amazing things you can cook in one (even bread!) and how they are being used in developing countries as a cheaper and safer alternative to making fires. We were pretty amazed at how well it worked - after just 20 minutes we turned some broken crayons from the box into a blended crayon cake.
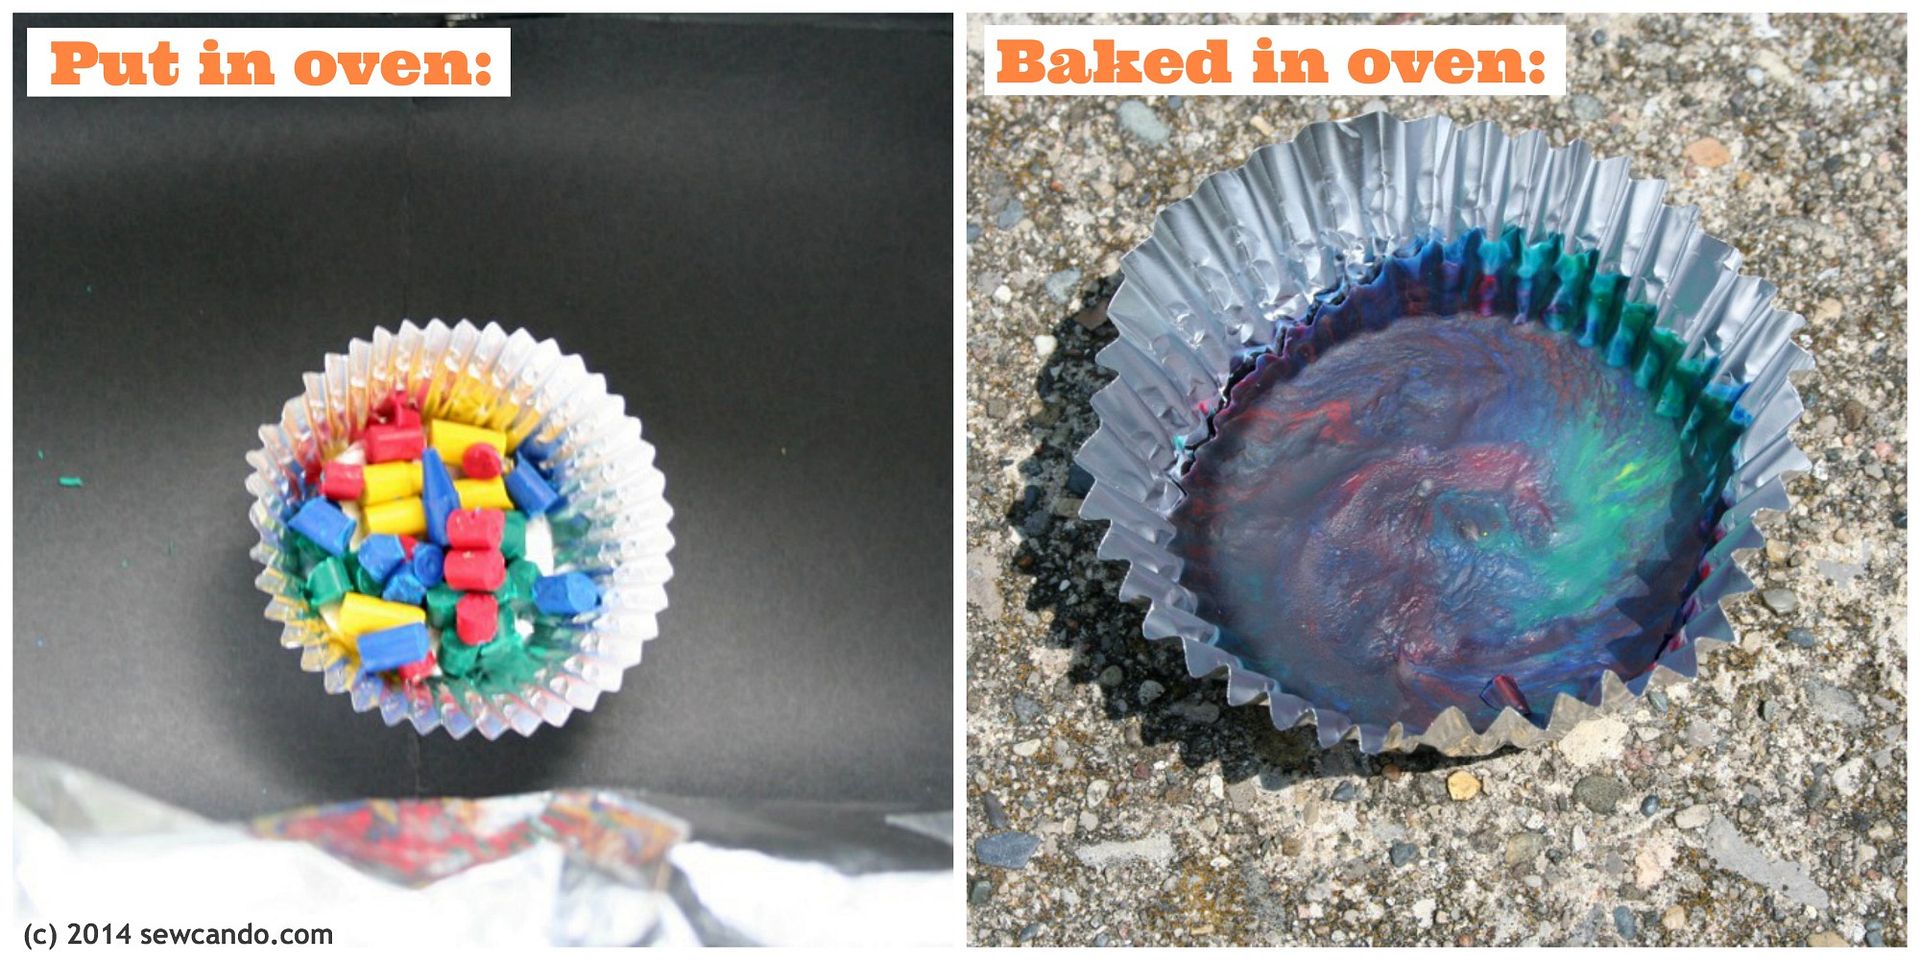 |
| Our crayon "Before & After" in the DIY solar oven |
All this built up to the main challenge of developing and building a mini-desalination plant with the remaining supplies. They tested the results with the conductivity sensor they'd already made. The lab notebook & online portal taught them all about the Greenhouse Effect and water cycle. Then they got to brainstorm and draw out on the best way to put their supplies together and record their results. It was also nice to see the notebook reminding kids that failed results aren't something negative, but rather an opportunity to learn more and redesign an even better solution. Instead of being disappointed their plan didn't work perfectly, they started thinking about what could make it work better. Kids can get really frustrated when things don't work right the first time, so it was refreshing to have that built-in encouragement and confidence boosting to keep them trying.

What I thought was most fantastic was that one box could be used just as easily with a single child or as a team - we tried it both ways. Having several kids, at different levels, is sometimes a challenge for us in homeschooling, but Groovy Lab in a Box made it a lot easier. It was also really nice to be able to just open the box and get to the learning, instead of me buying and having to set up a bunch of supplies ahead of time. I've decided to buy a subscription and use this as our science for school this year. I think it will be easier and cheaper than buying 3 totally different sets of science curricula + materials and I know it'll save time since they can all work on it at the same time. My kids say it will be more fun since there's lots of hands-on activity and interesting things to see thanks to the Beyond a Box portal. These boxes really offer a more rounded learning experience than anything else I've seen.
Groovy Lab in a Box is offering Sew Can Do readers
20% off their first monthly subscription box
with the discount code: GROOVYNOW20
Now how about a chance at winning your own Groovy Lab In A Box?
One lucky Sew Can Do reader will win:
A Groovy Lab in a Box:
Keep On Turning Box
(all about hydro power)!
A Groovy Lab in a Box:
Keep On Turning Box
(all about hydro power)!

I was not financially compensated for this post. I received a Groovy Lab in a Box to review. The opinions are completely my own, based on my honest experiences.


