Showing posts with label Felt. Show all posts

Wednesday, March 3, 2021

Limited Time FREE Pattern: Little Leprechaun Mini Top Hat

Saint Patrick's Day is coming up and now seems like the perfect time to share a little holiday pattern:  My Little Leprechaun Mini Top Hat!


I've made one to give to my little nephew since this will be his first St. Patrick's Day.  I also took these latest photos with my own littlest lady leprechaun and we had so much fun with it, I've decided to share the pattern here so everyone can enjoy making their own.


It can be made in fleece or felt so it's soft and washable.   Worn as a hair clip or attach to a soft, stay put headband.  It's great for babies, kids and adults.  

 
It can be sewn entirely by hand or mainly machine sewing with minor hand sewing to finish. The pattern includes all the printable pieces plus 8 pages with detailed instructions, supply list and loads of step-by-step full color photos.  
 

The mini size and jaunty shamrock detail make it festively fun.  I can't believe 3 of my babies have now worn them!  


I sell this pattern in my Etsy shop, The Green Hedgehog, but I'm offering it here as a FREE PDF download for the next week (through March 16, 2021). 


Just click HERE to get the Little Leprechaun Mini Top Hat Pattern for free until then!

Happy Saint Patrick's Day!!


Thursday, February 4, 2021

FREE Pattern: Lovebirds Valentine's Day Felt Treat Bag


How about a sweet little project for Valentine's Day?  I'm sharing the FREE PDF Pattern for my new Lovebirds Felt Treat Bag


It's a simple and inexpensive little project.  A bit of felt & ribbon and that's it!  Perfect for holding some chocolates or other Valentine's Day treats:

 
Cute kissing love birds inside a heart make the perfect holiday decoration:
 
 
 They assemble pretty fast so you can make a few in no time by machine or hand sewing and a little gluing magic.

 
Materials:
- Red, pink, white felt
- Tacky, school or fabric glue
- Optional: ribbon, puff paint 
 
Print two of each of the pattern pages and cut the pieces apart.  Discard one of the base pieces (the one that says Print 1, since only one is needed).  Cut off the roof section of one of the main sides and tape the bases of the main sides and the small sides to the base piece.  If you only have smaller cuts of felt, don't tape together.
 

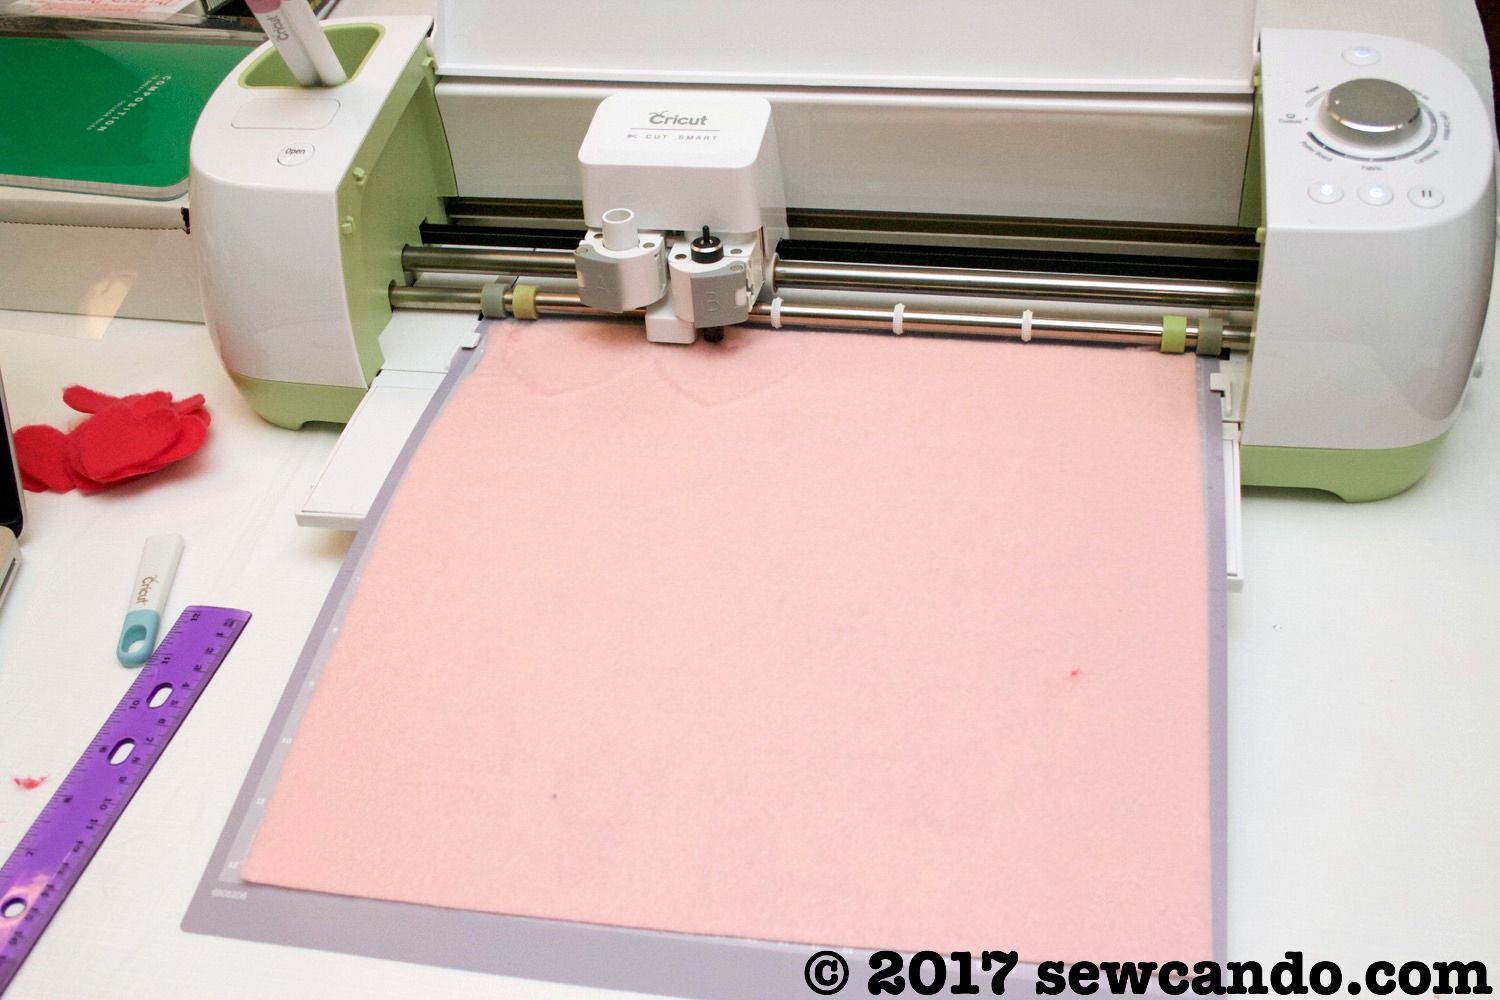
 Use this + shape to cut out the bag from the main color felt.  Cutting a single makes assembly a bit faster, but if you are working with smaller pieces of felt, just cut each bag piece separately and note that all sides will need to be stitched.


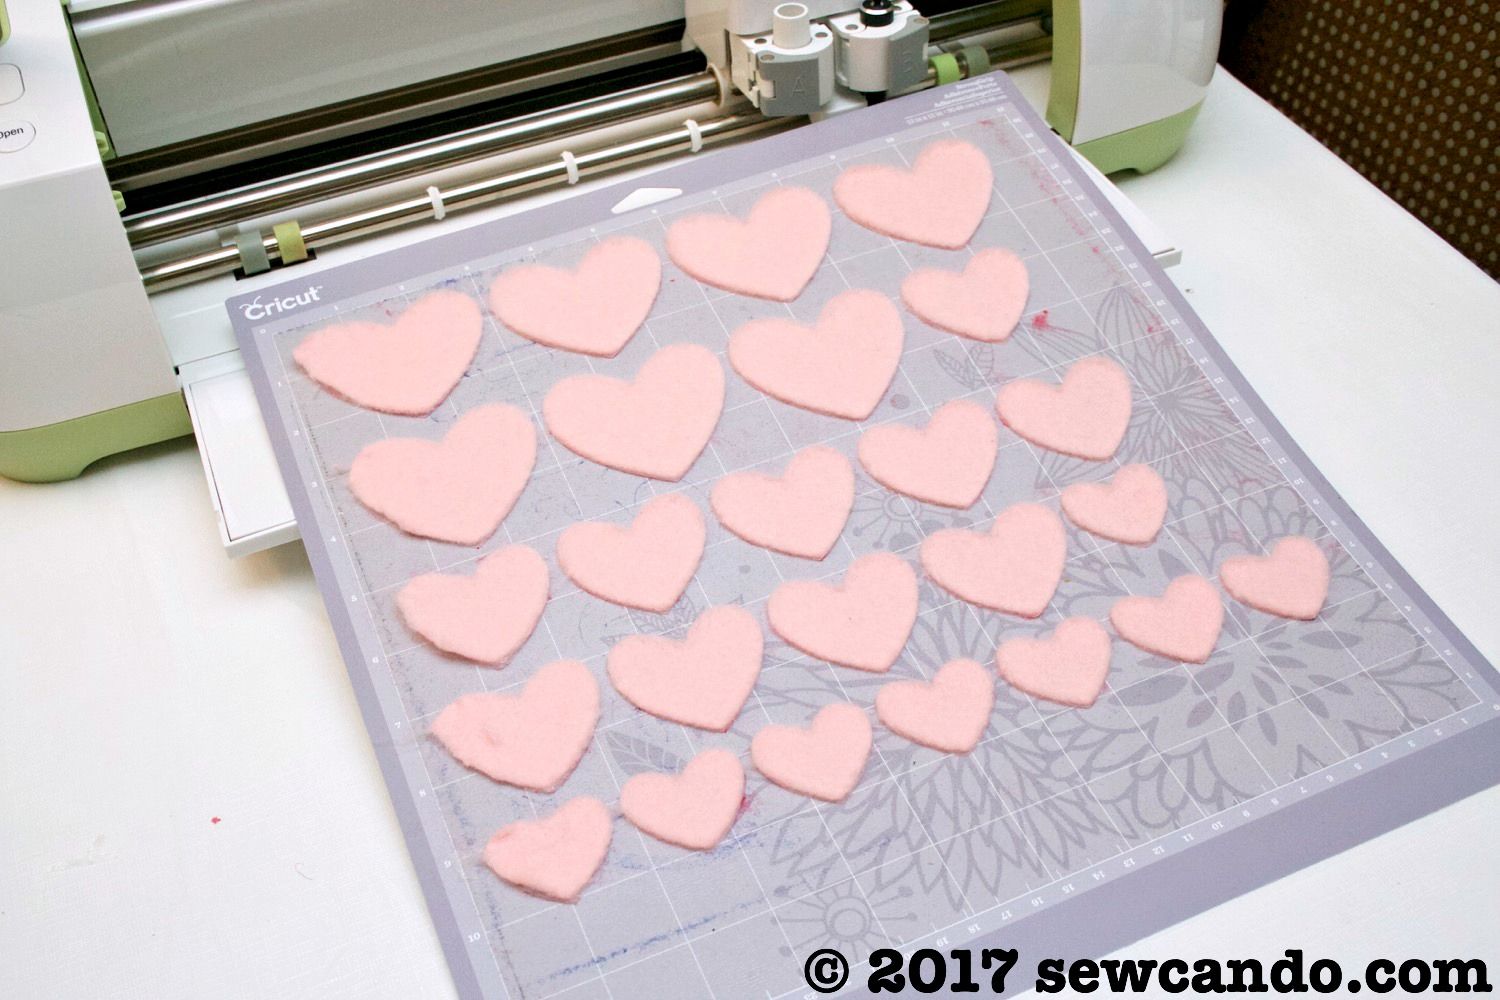
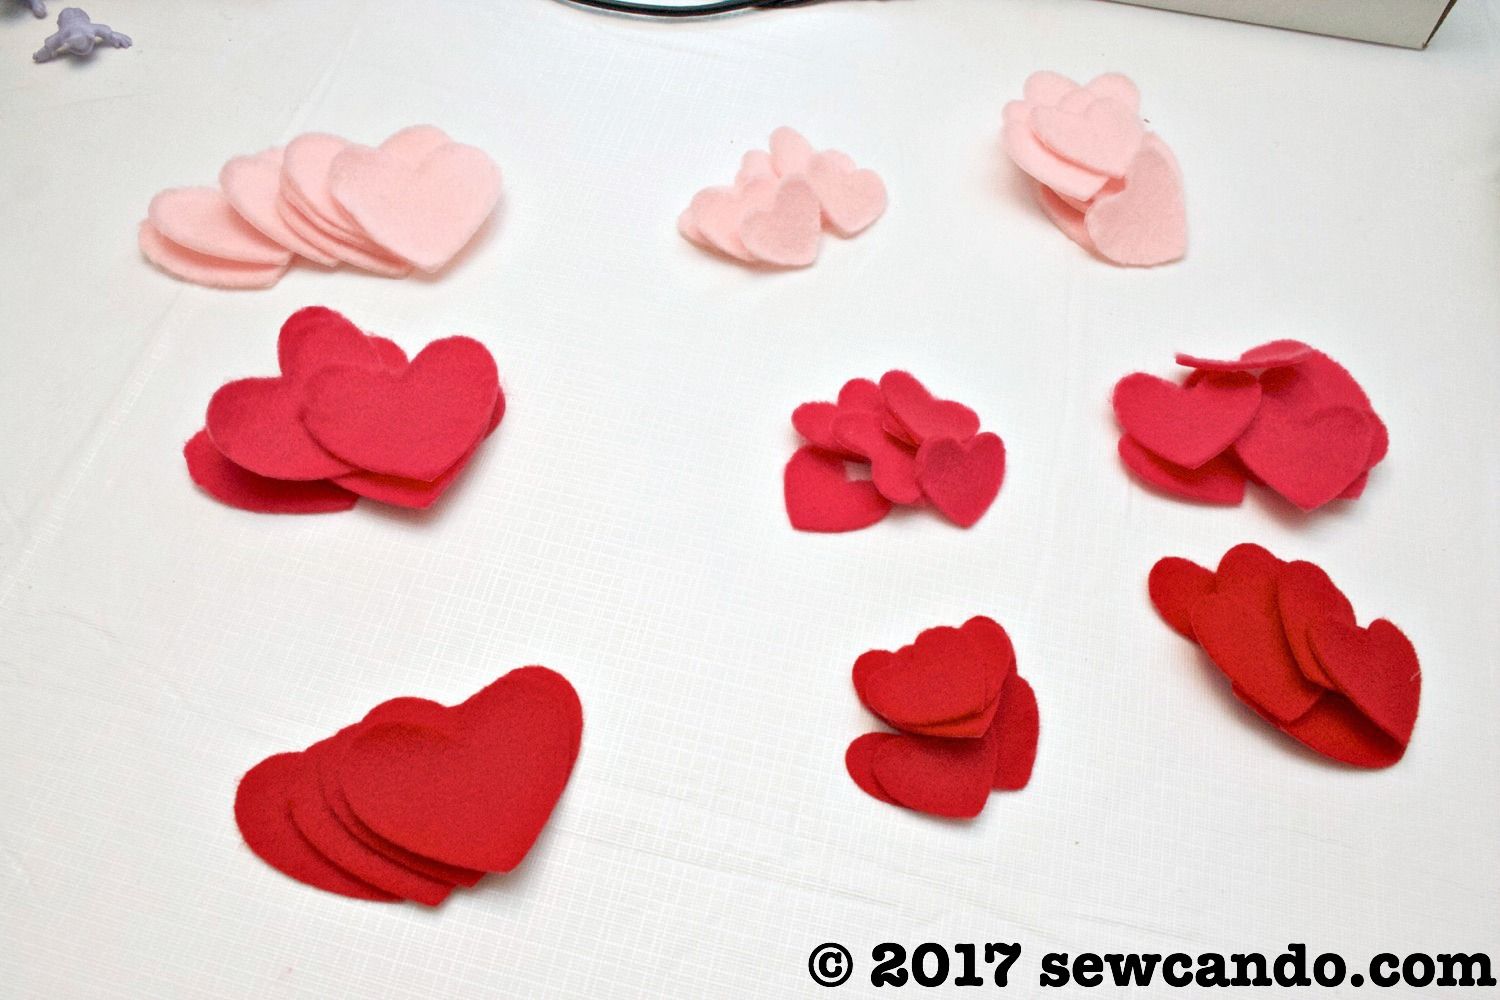
 Cut the heart and bird embellishments using the pattern pieces and cut little almond-shaped wings for the birds.  Cut a 1 inch wide x 12 inch long strip for the bag handle and a V-shape roof piece that's about 3/4 inch wide and a little longer than the roof peak of the pattern piece.  I also cut a piece of satin heart ribbon to decorate the roof peak:


Back to the bag!  Bring together two of the bag sides, with the cut edges facing out, and stitch from top to bottom with a 1/4 inch seam allowance, stopping 1/4 inch from the bag bottom.
 

Repeat with the remaining 3 sides.


 This part is optional if working from a single piece for the entire bag, but I found it helped the bag hold shape and also looked a little more finished. Pull the base edges nice & smooth and stitch 1/4 inch from the fold on each side, starting and stopping 1/4 inch from each corner.  Then stitch the handle piece onto each short side of the bag.
 

Embellishment time!  Glue the heart to the front of the bag and then the lovebirds to the center of the heart, glue on wings.  Add the roof peak and glue on any ribbon or other decoration.  I dabbed some dots of dimensional puff paint to make bird eyes.  Let dry with bag laying down for a few hours so things don't slide down while the glue is still wet.   
 
Felt+glue tip: Stick pieces together asap, so the glue doesn't soak into one piece and not "grab" the other.
 
  Then fill them with treats, stickers or whatever goodies you want and be ready to show the love to someone special ❤️
 
 
Happy Valentine's Day!!


Wednesday, February 1, 2017

Hearts Aflutter Faux Leather Tote Bag Tutorial


Who can resist the call of colorful hearts & Valentine's Day?It's officially February so I'm ready to share a project that features both!  I know a lot of bloggers start rolling out their themed projects as soon as New Year's is over, but this chick thinks that's way too soon. Besides, my new favorite bag seems much more relevant with the holiday coming up soon. I call it my Hearts Aflutter Pleather Tote Bag.     


So far this year I've been challenging myself to use stuff in my vast stash rather than buying like crazy, so this entire tote was made with what I had on hand.  Either that says I've got way too much stuff or I'm super resourceful.  I'm going to claim the latter;) 

But even buying the materials is pretty inexpensive, since this tote doesn't require a lot of yardage and gets it's whimsical boutique vibe from the contrast of buttery brown faux leather and the colorful textured of felt hearts:


And to keep up with the designer totes out there, mine's got still all the special details, like a coordinating Jessie Steele Sweethearts lining fabric:


and a cute decorative heart tag on the side:


With a roomy interior and inside pockets, it's just the right size for carrying a few books, shopping and my usual purse stuff.  It's literally become my go-to bag and can totally handle the snow blowing around outside too.


It's also a quick sew, so making one can be done in record time.  Come on and see how!

Materials:
- 1/2 yd Faux leather/pleather
- 1/2 yd Cotton (I used Jessie Steele Hearts by Timeless Treasures)
- 1/4yd or 1 sheet each felt in red, hot pink and soft pink
- 1 1/2yds 1 inch wide pleather strapping
- Twill tape for tag
- Plastic heart snap
- Notions: rotary cutter, clips, hand sewing needle, iron, chalk, spray adhesive, heavy duty needle
- Optional: Cutting machine (I used my Cricut Explore)+Heat & Bond paper backed fusible, scrap of twill tape & plastic heart snaps (for decorative tag)

I started by cutting out my felt hearts in 3 sizes and 3 colors.  To make this fast & easy, I used my Cricut Explore machine. In order to cut felt on it, Heat & Bond fusible needs to be ironed onto the back side of the felt.  


After cooled, peeling off the paper reveals a smooth plastic-y backing that makes cutting much easier.


I used some free standard heart shapes in the online Cricut Design Space and proceeded to line them up in my layout so I'd get about six to ten of each color in heights of 1 1/4in, 1 1/2in and 2in to fit on a piece of felt that fit my 12x12in mat.  


Per their cut instructions I used the deep cut blade & felt with backing setting and just peeled them off:


It took minutes to cut all these instead of eternity hand cutting:  


Now it was time to put the bag together.  I grabbed my faux leather & cotton and folded each of them in half, with selvages together.  I cut them so that the folds were on the bottom. 16 inches wide along the fold by 15 inches high.  This works well since the faux leather doesn't have any stretch and this way the cotton won't have any extra give either (which would make it hard to line them up later).  I also cut a 9 inch wide by 6.5 inch rectangle from the cotton for the pocket.  


To save myself having to create straps, I used some by-the-yard pleather strapping I'd bought ages ago that was pretty close in color to my tote faux leather.  It just needed to be cut into the two 26 inch long pieces I needed.  Big time saver!!


Since this bag was going to have some depth I wanted the hearts to only be on the front, not wrapping around the sides a bit, so I drew some lines 2 inches inward around the sides and bottom:


I arranged the hearts so the colors & sizes varied, keeping them just inside my lines.  To hold them in place without pins (which just poke holes in pleather), I used spray fabric adhesive, which worked like a charm.


Using coordinating colored threads, I stitch down the center of each heart to hold it in place.


I also stitched on the edges of each strap, 4 inches inward from the sides:


I wanted the tote to be able to handle some weight, so I double stitched the straps onto the main body for extra security:


Then it was time to switch over to the lining.  I stitched up the pocket by press the top edge 1/4 in under and then folded & pressed it another 1/4in under and stitched it in place.  I pressed the other sides 1/2in under too:


I centered the pocket on my lining fabric, about 3 inches from the top edge and stitched all the sides, then another stitch down the center to split it into two pockets.


Next was stitching up the side seams, leaving a 3 inch gap on one side for turning:


After trimming down the edges, I squared off the bottom corners by 3 inches with a ruler to give the bag depth:


After stitching I trimmed off the excess there:


To make my decorative tag, I cut a 3 1/2in long piece of 1 inch wide twill tape and grabbed some plastic heart snaps from my stash:


I set the snaps an inch apart with the hearts on one side so I could fold it together on the inside:


I sandwiched my tag between my pleather layers on one side about 2 inches from the top:


I repeated what I'd done with the lining - stitching the sides (minus a gap) and squaring off the bottom corners with my main pleather, except using small clips rather than pins:


I flipped my main tote right side out and inserted it into my lining, so their right sides were facing:


I lined up the side seams, clipped, then stitched them together all the way around:


After pulling things right side out and hand-stitching the gap closed and putting the lining into the main tote, I topstitching all the way around the upper edge:


So far I've toted this bag all over town and it's so soft & lovely.  Like a Valentine's gift for myself, but still whimsical enough to use well after the holiday.  I ðŸ’— DIY bags!


LinkWithin

Related Posts with Thumbnails