Showing posts with label Pleather. Show all posts

Friday, November 3, 2017

Making a Viking costume + a little fuzzy wolf too


I know Halloween's over, but since the weather didn't cooperate much and having all the costumes done was an 11th hour affair, I've only just gotten the last of our photos taken. After all the work this year's costumes took, I definitely wanted a photo record of what the final results were!

Today's costume was one for my teenage son.  This was probably his last year trick or treating so we wanted to make it a good one.  It's also harder to come up with costume ideas that are cool for the bigger kids.  He suggested a Viking, which was fierce and not "babyish", but still fun.


My husband's foam-smithing skills came in handy on this one.  He'd recently finished the horned helmet as a hobby project so we had that ready to go.  It's hard to believe the entire thing is made from sculpted flat foam floor mats, but it is!


He worked with our son to come up with a matching foam shield for it.  I was impressed that my 15yr old cut all the circles (there were 3 layers) using a band saw and then dad did the texturing and painting to give it a faux metal & wood feel:


My main contribution was coming up with a faux fur pelt cape to complete the look.  I didn't have time to get all precise with the pattern so I measured how long it should be from neck to waist and the width to go across his back and around the front and cut a sort of curved trapezoid piece, using a jacket as a rough shape to trace to get the neckline curved right.  I was rushing to get it done so there wasn't even time to take pics in progress.


I used some tan sweatshirt fabric I had in my stash to sew the lining.  I stitched them together right sides facing and the hand stitched the gap for turning it right side out closed. Having the fabric inside made it soft & warm:


I was too busy trying to figure out how to draft up kid #2's Darkwing Duck blazer to sew a vest/shirt/anything else, so my guy & his dad hit the local Goodwill and found this perfect sherpa vest:


My son had the idea for making a sew-on leatherette clasp to keep his cape on (and cover the modern zipper), so he cut it out and I hand-stitched it in place for him using some more handy brass buttons from my grandma's stash.  These had the perfect Viking vibe:


The boots were my husband's idea.  He bought a cheap pair of wellington rubber boots and we cut some fur pieces to cover the foot and calf portions.  They were glued on with a strong rubber cement.  Since we were careful to cut the fur to stay shaggy around the edges, it hid the seams nicely:


And my last costume this year was a cozy wolf for our little lady.  She'd gotten some wolf paw gloves last year and was determined to have a full ensemble for Halloween.  I did a quick job on hers since I had a grey fleece shirt I'd made for her brother's costume last year.


I used a pajama pants pattern to make matching bottoms and whipped up one of my classic fleece wolf hats just for her.  It had been a while since I'd made them - they used to keep me very busy this time of year when I made them for my shop.  Thankfully I just needed to do one this time!


I also made a little plush tail to go on the back of her outfit and the costume was complete.  My perfectionist self normally would've done a full body costume with more details, but with limited time and knowing I already had part of it ready at the get-go, it seemed a waste of time & materials to just start at zero to fulfill my own crafting ego.  


Truthfully speaking, this year's costume-making was more chore than enjoyment since there wasn't much time to work on them beforehand.  Next year the kids will either need to do more of the DIY-ing or pick things that are more basic to make since I'll have a 4th costume to do for our little pumpkin on the way.  Time will be spread even thinner!



Tuesday, August 22, 2017

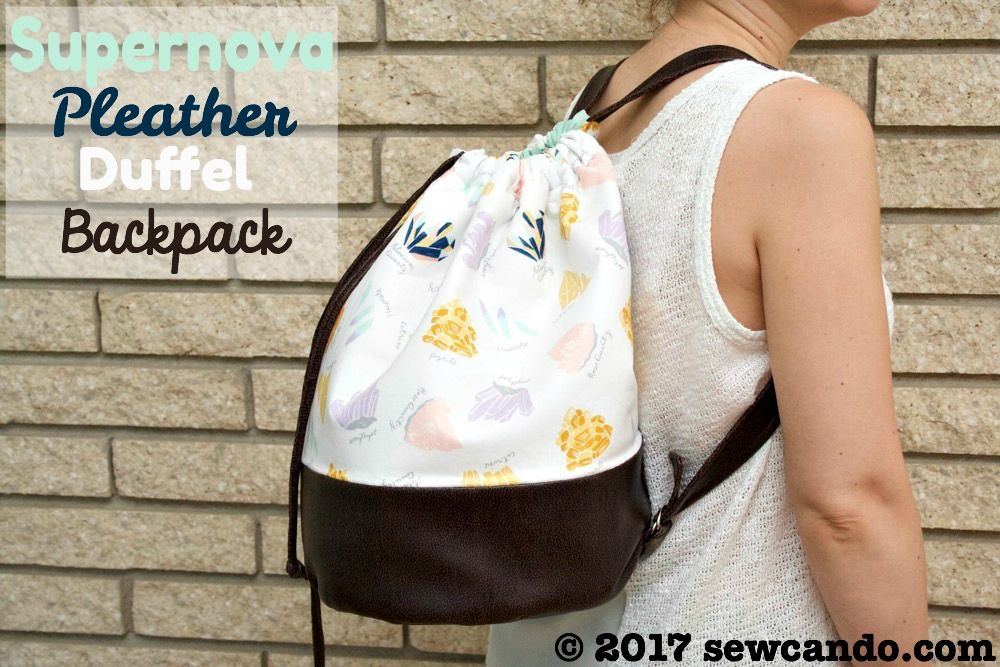
Supernova Pleather Drawstring Duffel Backpack Tutorial & Fabric Giveaway


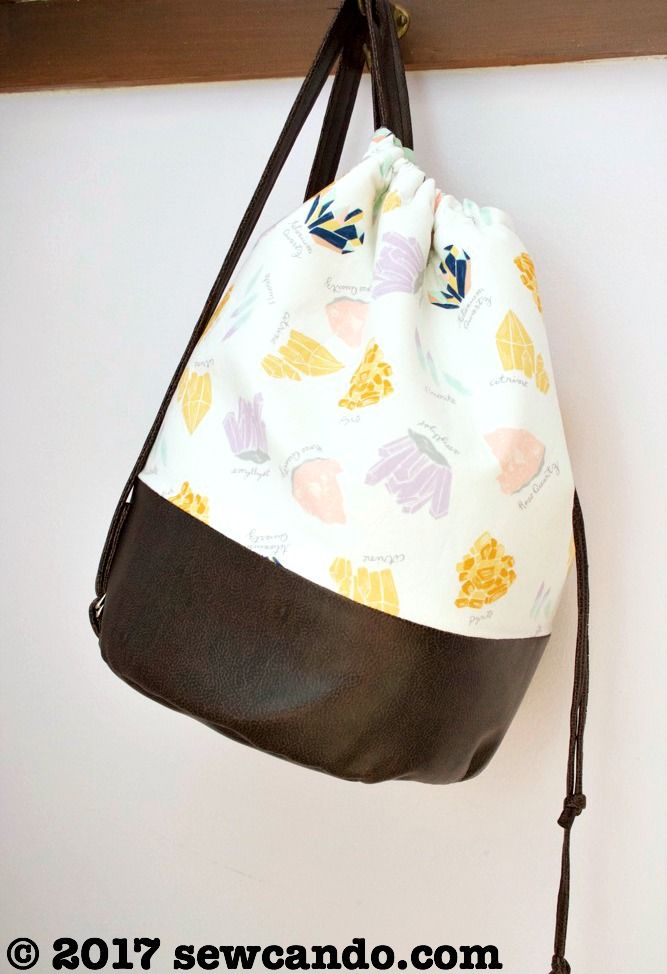
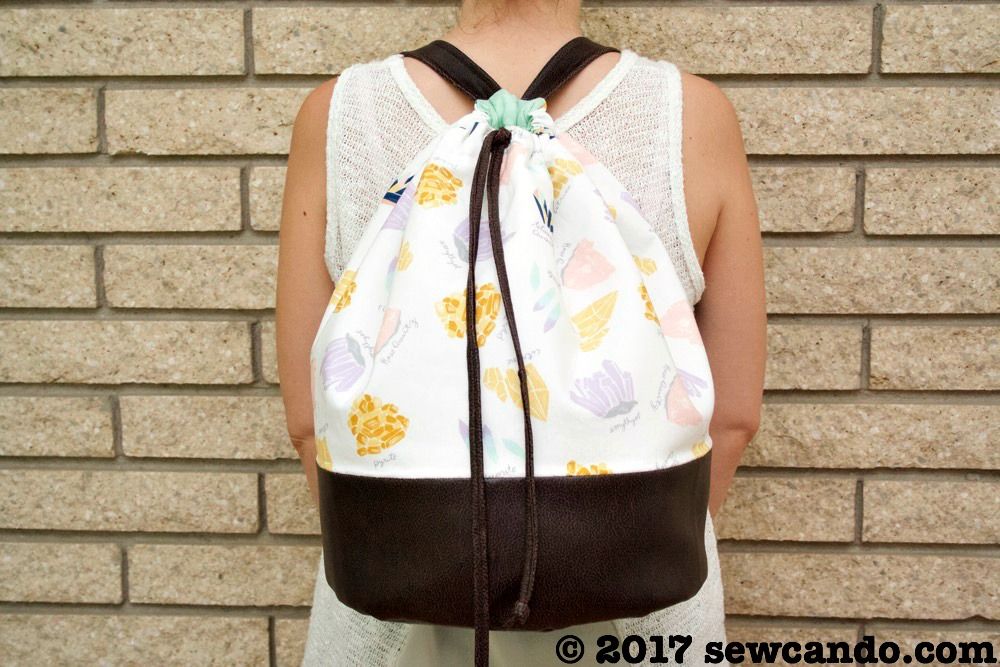
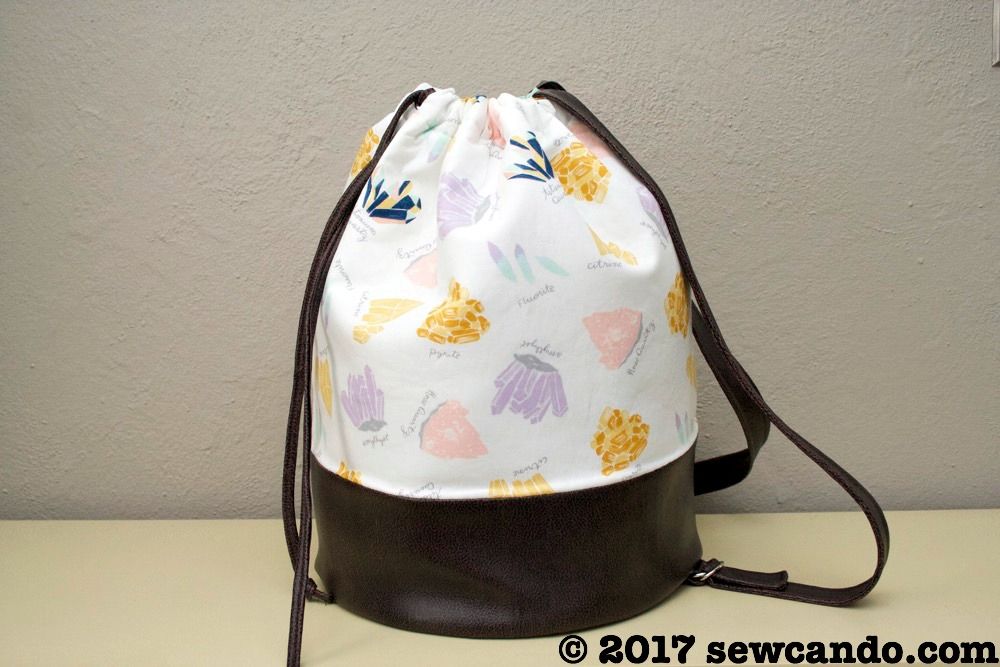
It's TWO-fer time!  A fun tutorial AND a fabric giveaway to go with it!  I've got a new bag how-to that's all about versatility to start things off: my Supernova Pleather Drawstring Duffel Backpack.
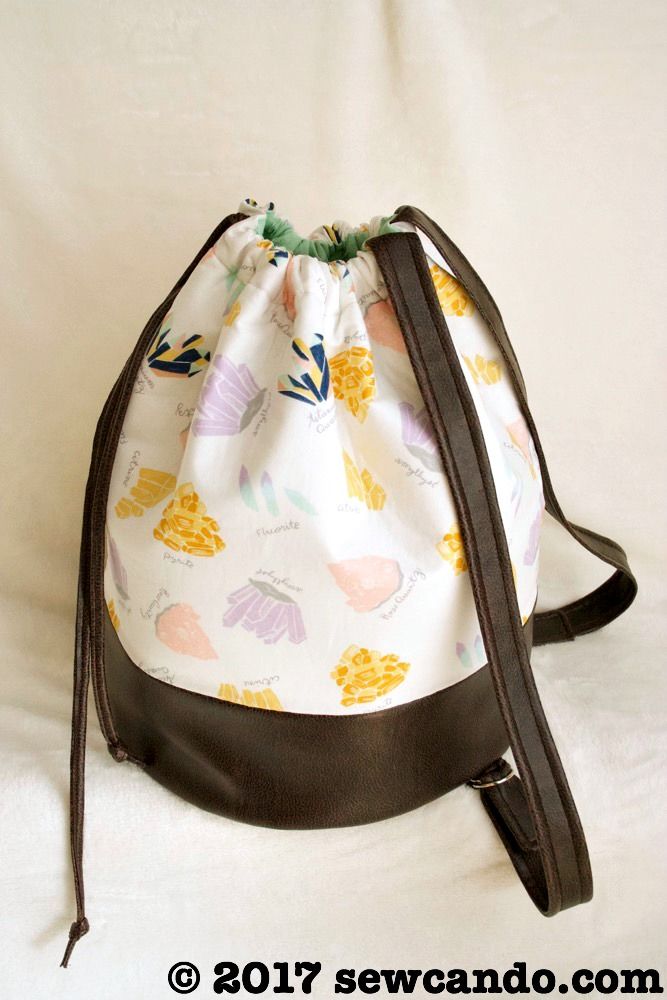
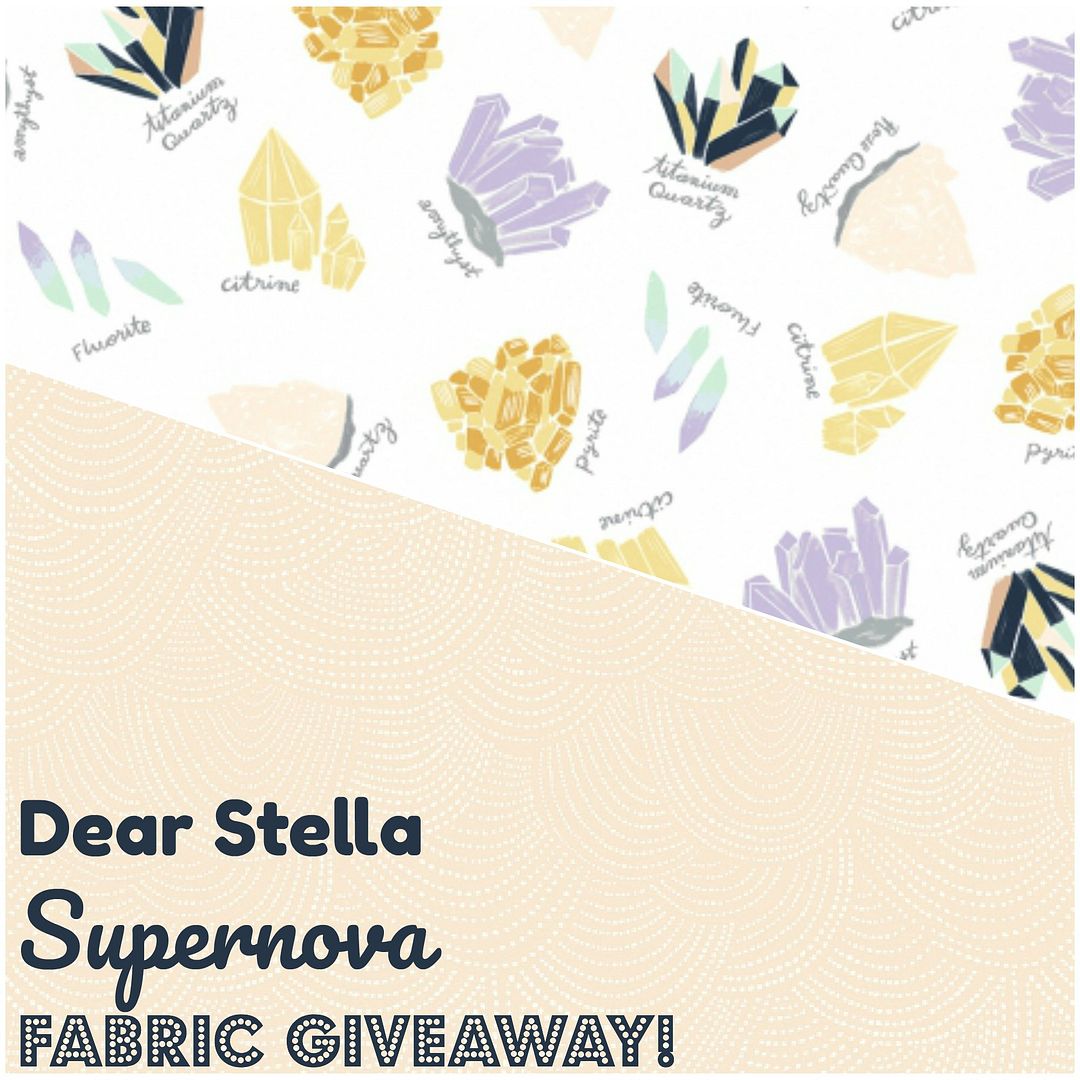
I was inspired to make it by this awesome gemstone print fabric.  It's from the new Supernova collection by Dear Stella.  I love the geometric mineral design.  So science chic! And there's a chance for you to win some for yourself below;)


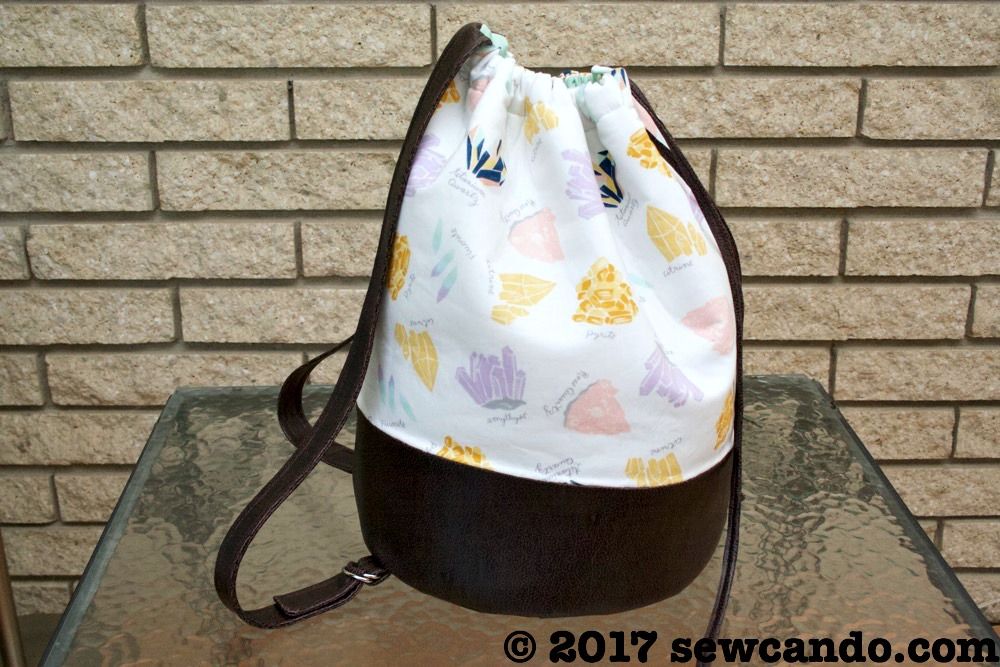
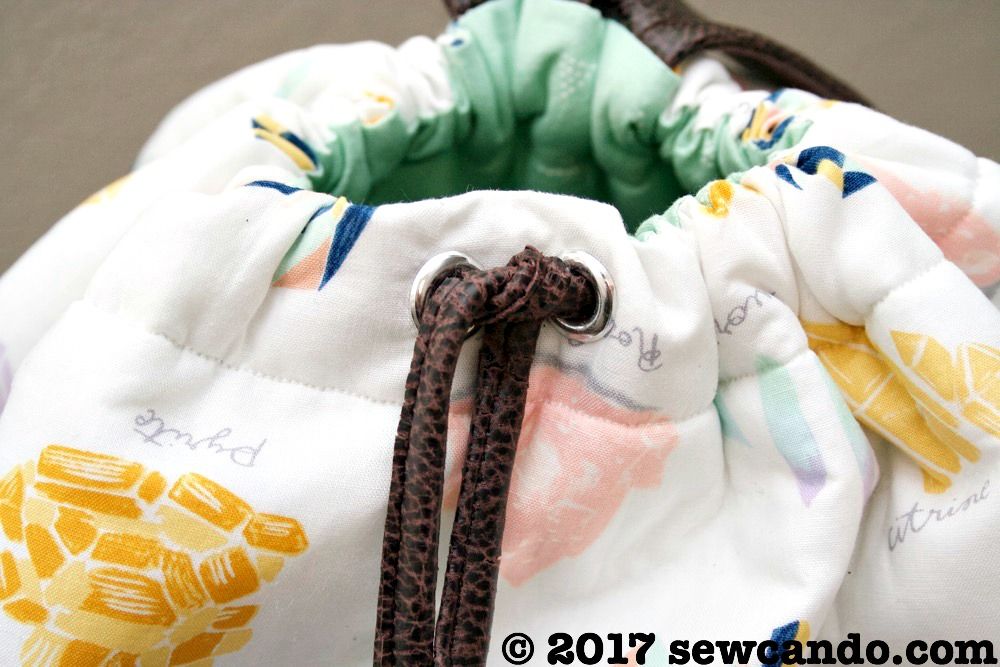
Using pleather for the lower portion, bottom and straps, gives the backpack extra durability:


And a pretty color and texture contrast:


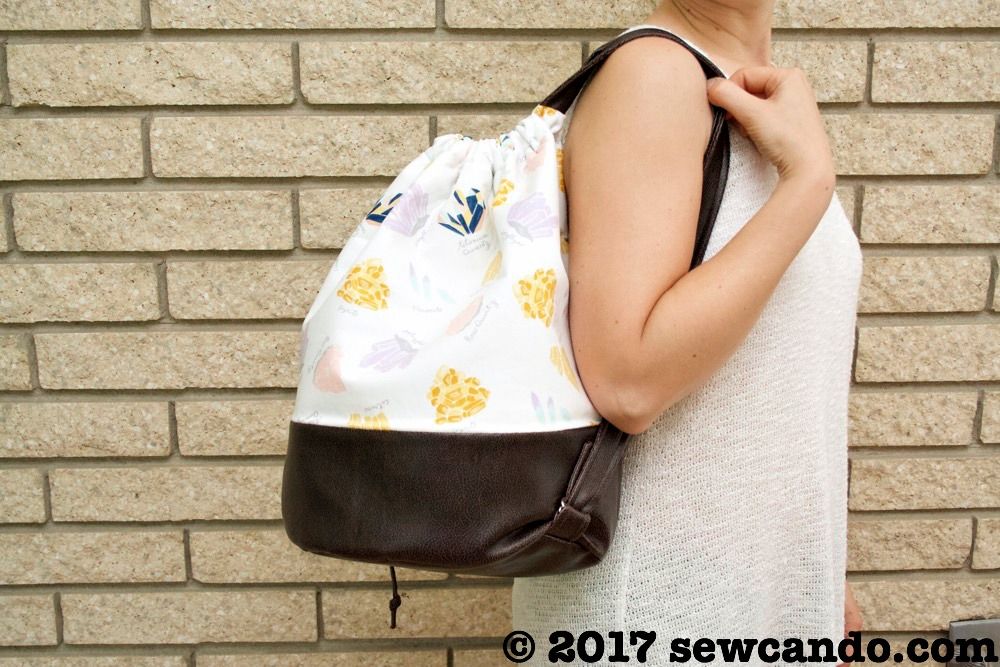
The generous size makes it work well as a backpack, large purse or even a chic diaper bag alternative:


Materials:
- 1 yard outer cotton fabric (I used Dear Stella Supernova Gemstones)
- 1 yard lining cotton fabric (I used Dear Stella Triangle Dot in Midori)
- 1/2 yard pleather fabric
- 1 yard fusible fleece
- 2 pairs 1/4 inch wide D rings
- 2 3/4inch wide grommets
- Notions: heavy duty needle, hand sewing needle, iron, basting spray/spray adhesive, marking pen, clips, pins, chopstick, matching thread.  Optional: walking foot.

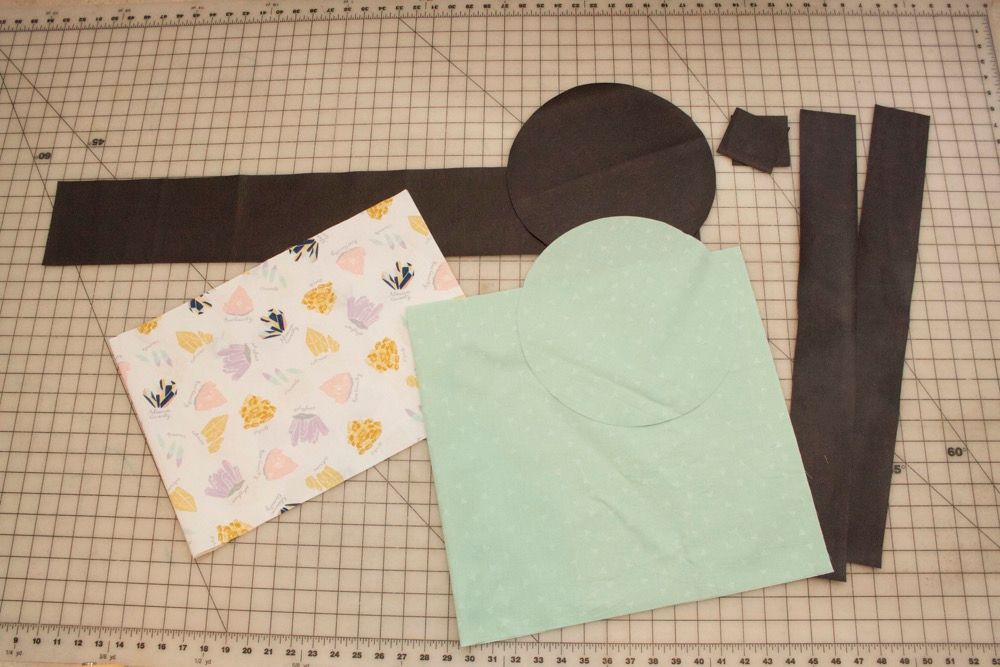
Start by cutting the following pieces:

Outer fabric 
(1) 12 inch high by 34 inch wide rectangle
(1) 10 1/2 inch diameter circle

Lining Fabric
(1) 16 inch by 34 inch wide rectangle
(1) 10 1/2 inch diameter circle

Pleather
(1) 5 inch high by 34 wide rectangle
(1) 10 1/2 inch diameter circle
(2) 18 inch by 3 inch strips
(2) 3 inch by 3 inch squares (for lower straps)

Fusible Fleece
(2) 15 1/2 inch wide by 34 inch long rectangles
(2) 10 1/2 inch diameter circles


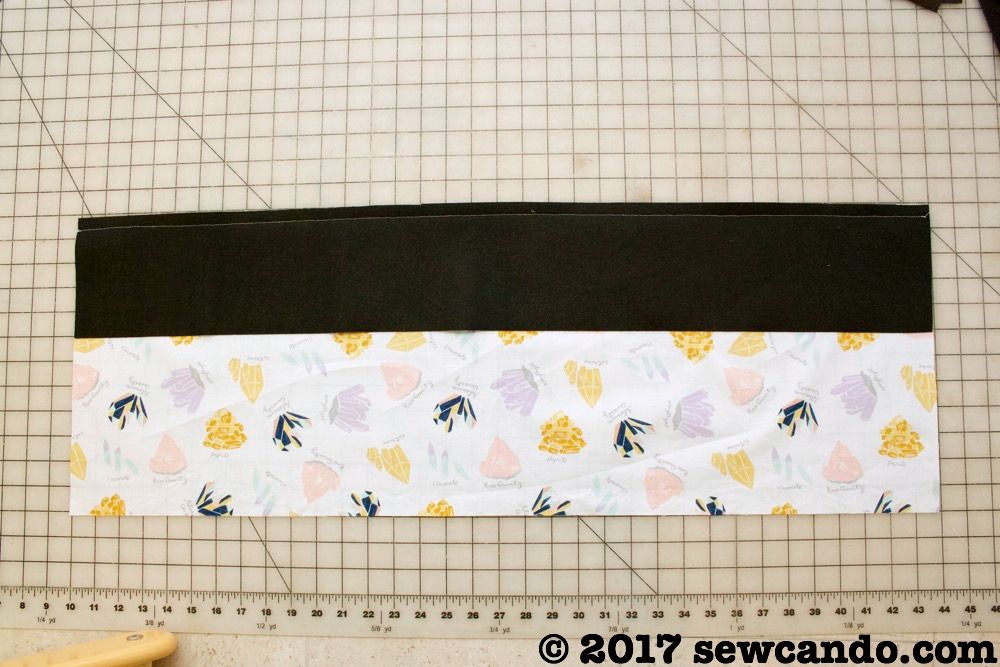
With right sides facing, stitch together the bottom edge of the outer fabric and the pleather side piece.


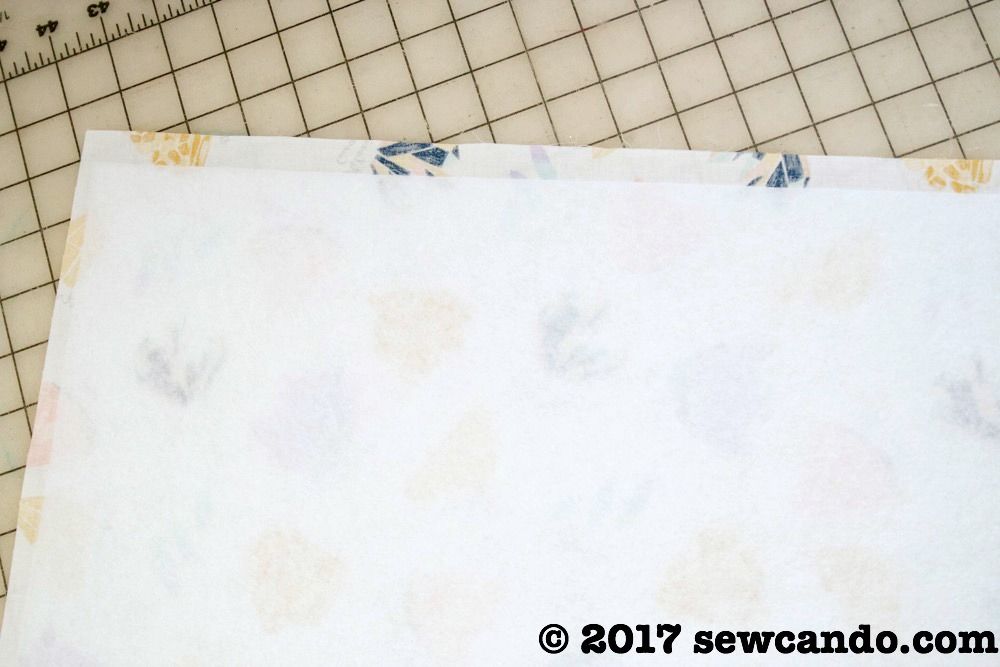
Line up a piece of the fusible, wrong sides facing, with the fabric - leaving a 1/2 inch gap at the top.


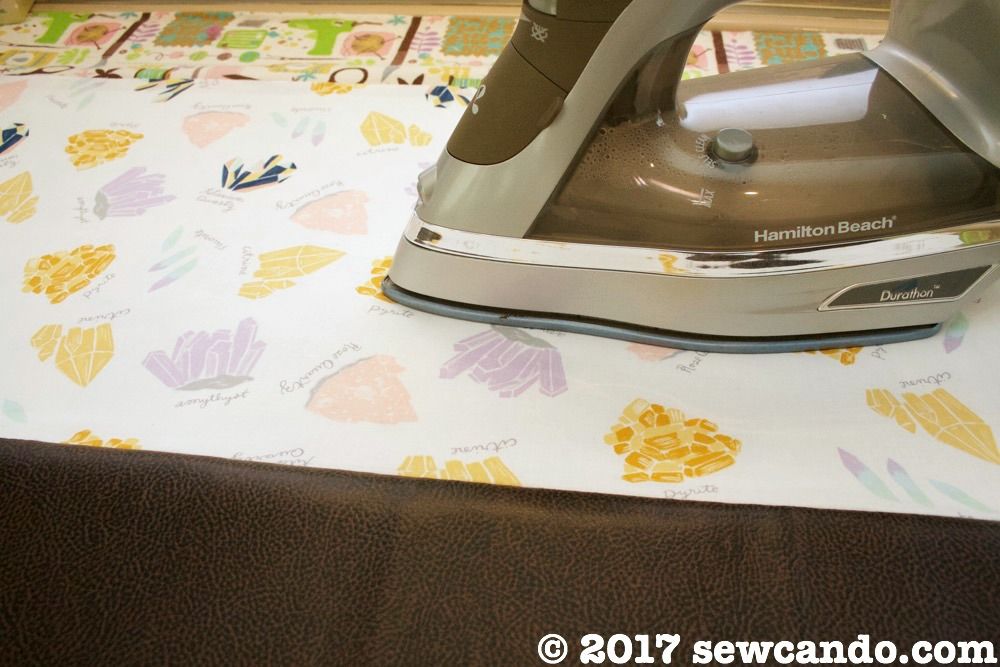
Flip and iron on the right side of the fabric to fuse, careful to keep the iron away from the pleather bottom so it doesn't melt.  Fuse the fleece to the lining pieces as well. 


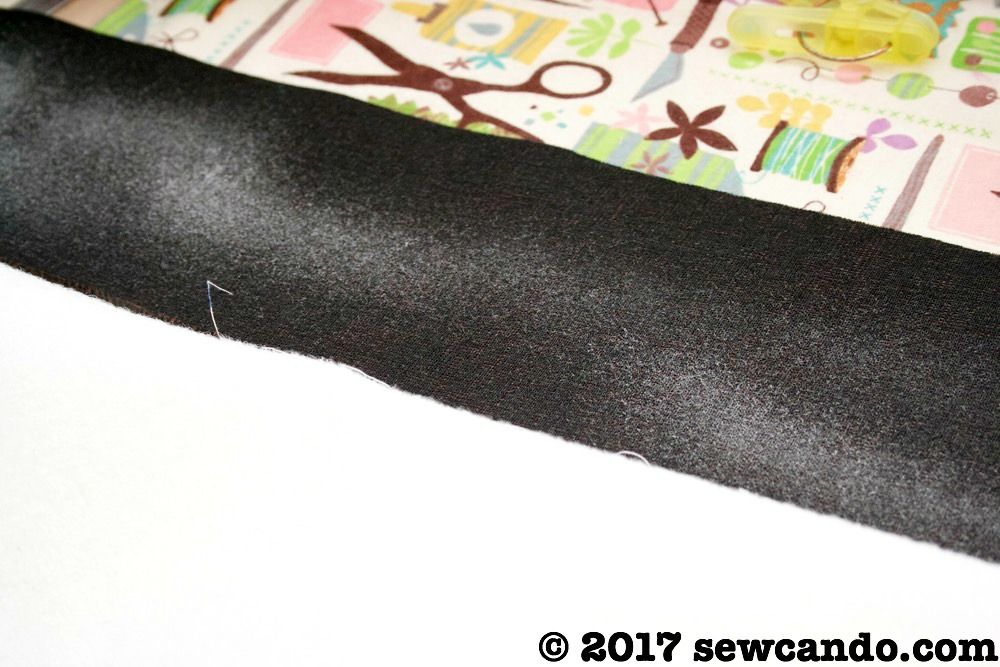
Spray quilt basting or spray adhesive on the wrong side of the pleather so the fleece will adhere to it.  Smooth the fleece onto it.  Do the same with the bottom circle.


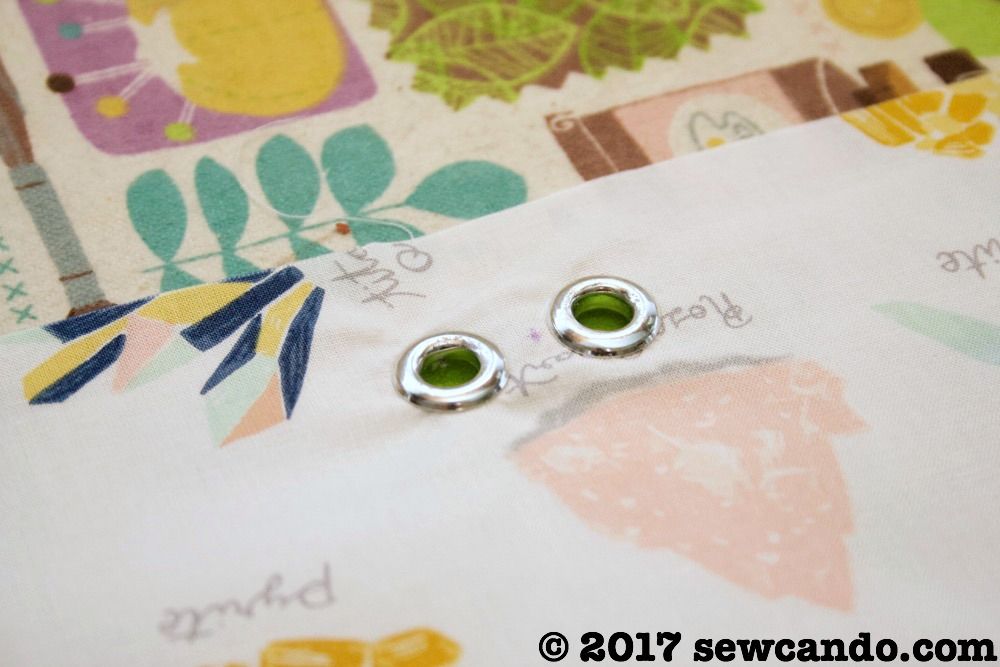
Measure to find the center of the rectangle and mark one inch down from the top edge. Affix the grommets, one half inch apart according to the package directions:


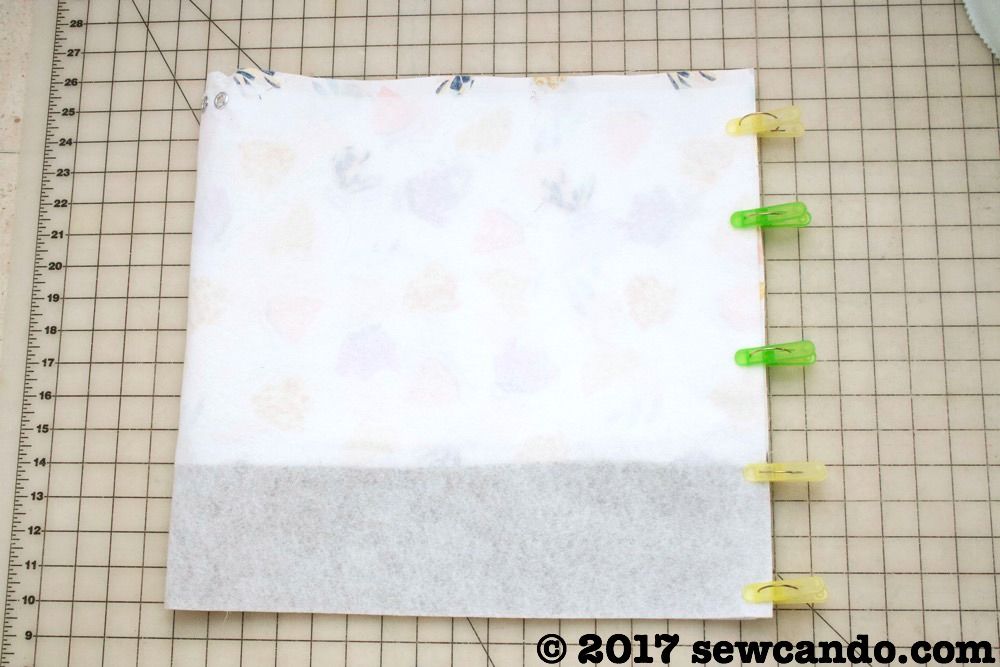
Bring short sides together using clips and stitch.  Do the same with the lining, but leave a 3 inch gap in the side for turning.


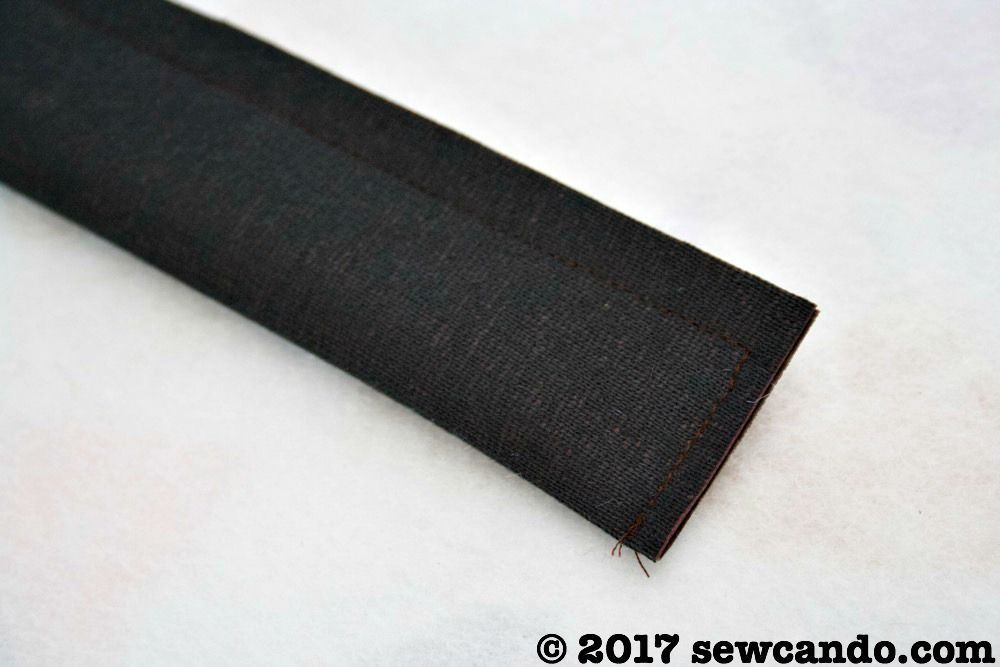
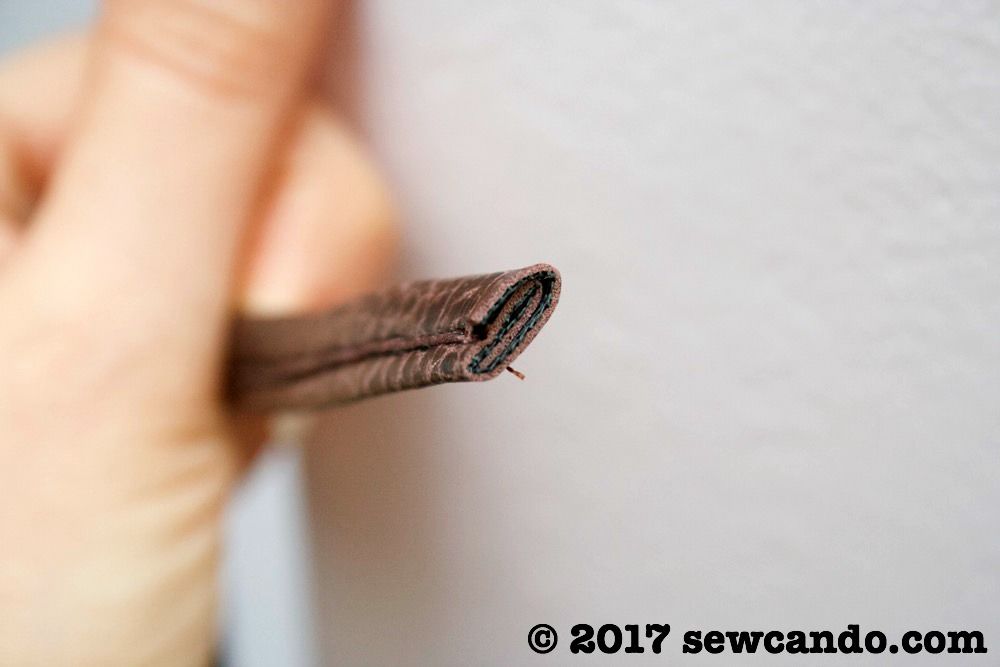
Take the strap pieces and fold in half lengthwise, wrong side out.  Stitch along side and one short end:


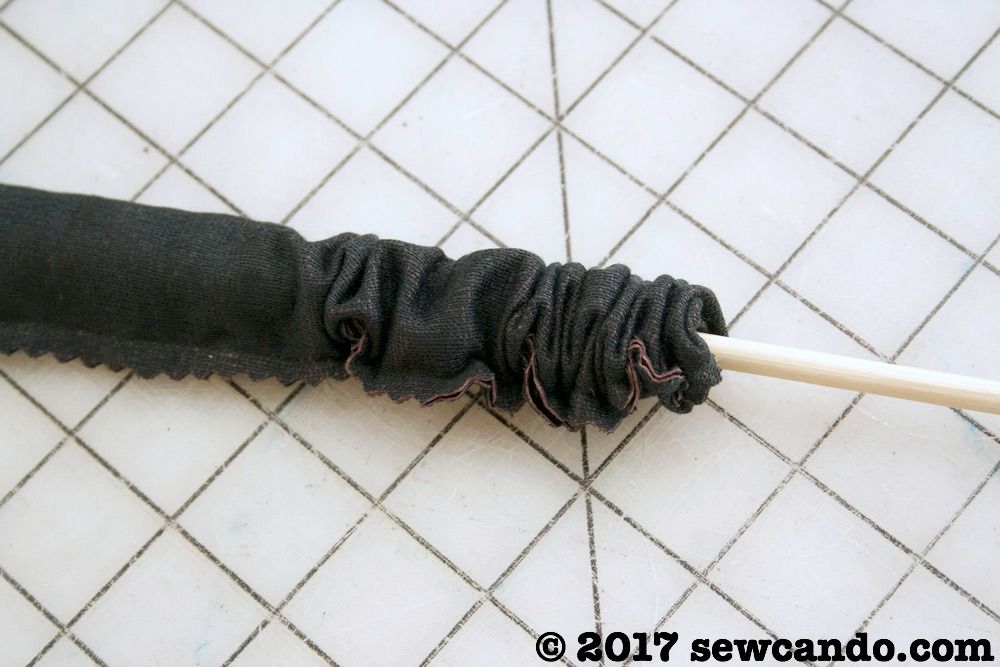
Using a chopstick or fairly blunt dowel, wiggle the short end into the strap to turn it:


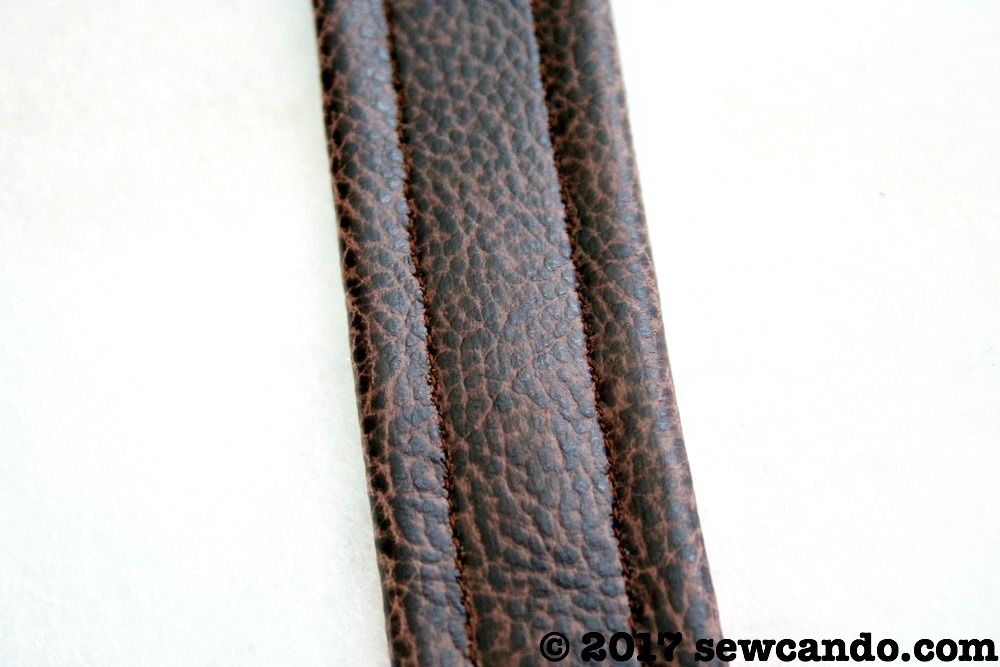
Top stitch 1/8 inch from either side.  A walking foot makes this a little easier, but it's not required.


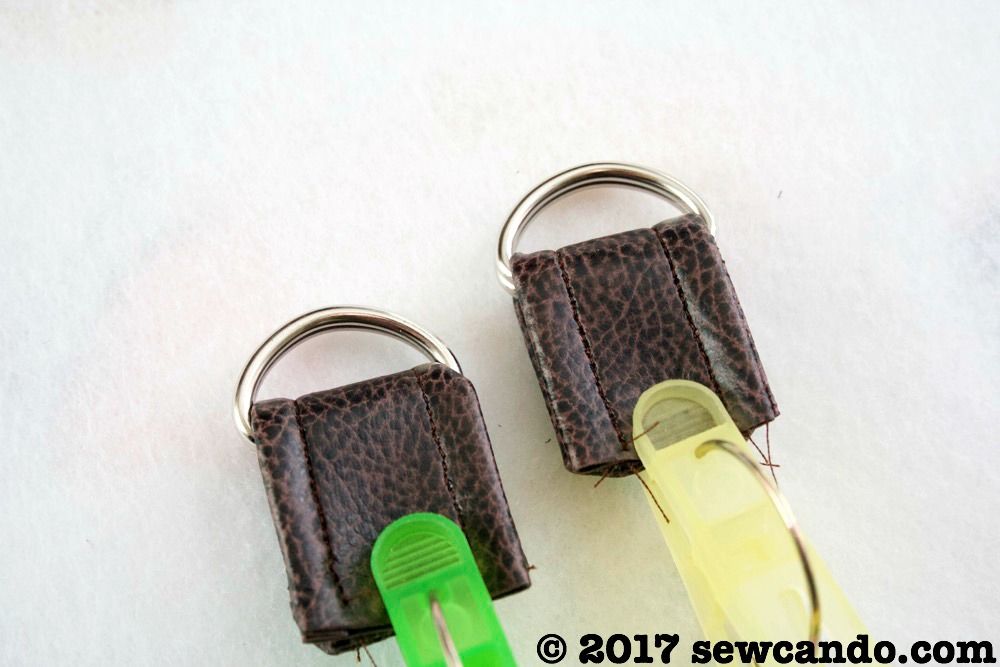
Do the same with the short straps and thread a pair of D rings through each, fold over and clip ends together:


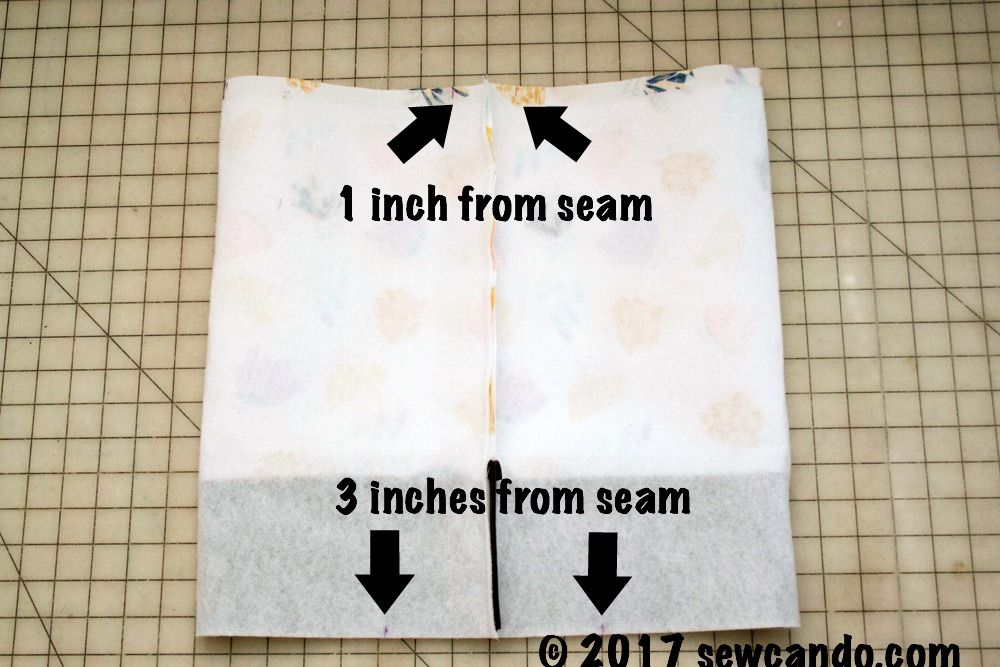
Open up outer bag with the side seam in the center.  Mark along the top one inch over on either side of the seam for the top strap placement and three inches over on either side of the seam on the bottom end for the short strap placement:


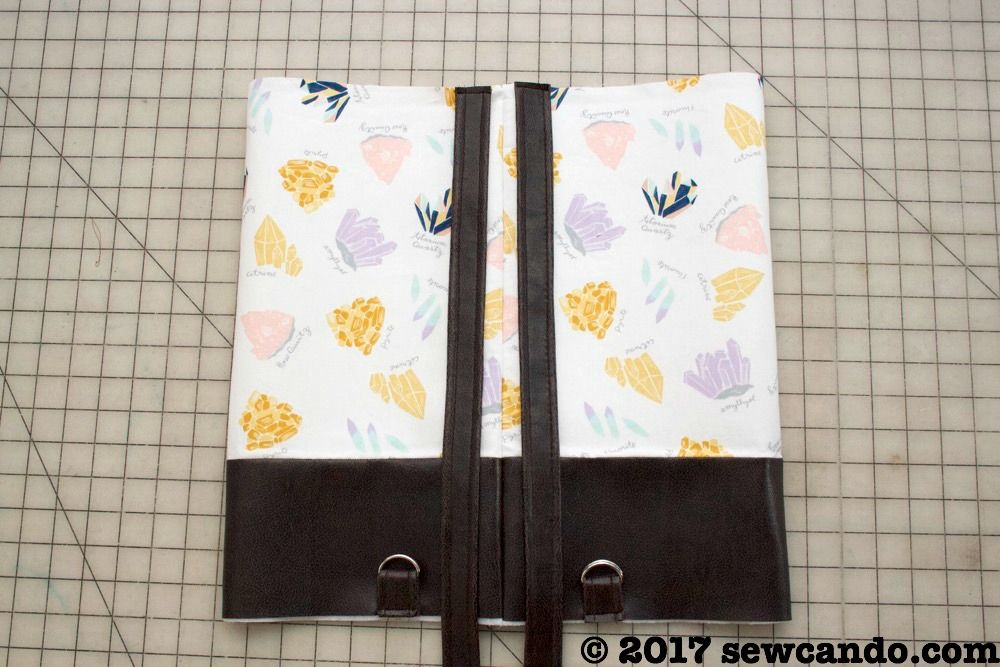
Stitch straps into place on right side of bag:


Clip the pleather circle to the pleather bottom of the cylinder and stitch together all the way around with a 3/8 inch seam allowance.  Repeat with the lining (pins are ok here):


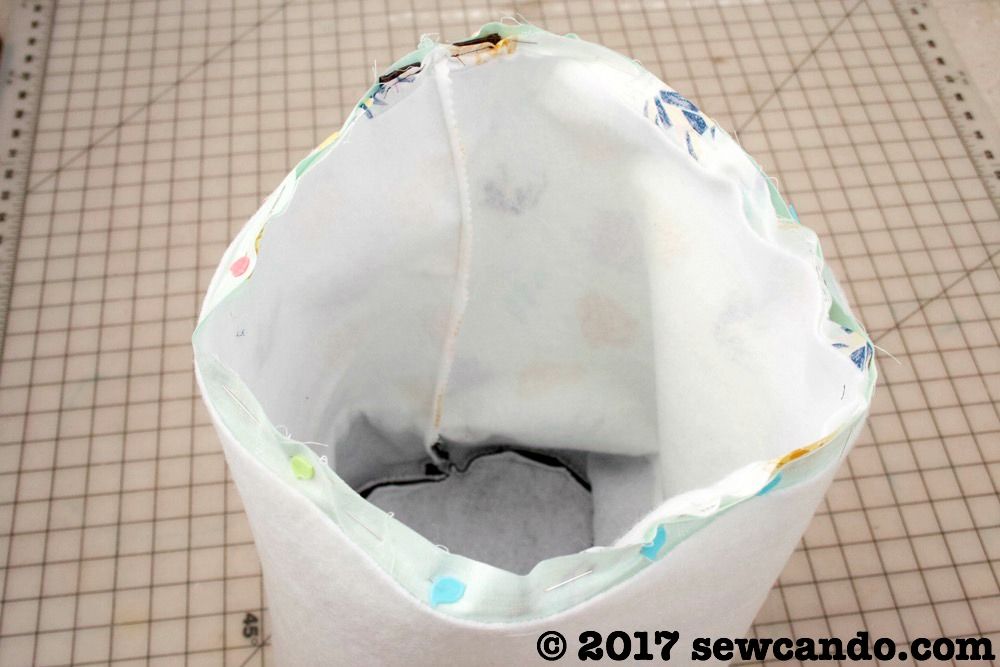
With right sides facing, insert outer bag into lining.  Pinning all around the top.  Stitch together with 1/2 inch seam allowance.  


Carefully pull bags right side out through side gap in the lining.  Hand stitch gap closed.  Top stitch 1 1/4 inches down from top seam to create the casing for the drawstring.


Take drawstring strip of pleather and fold over three times lengthwise.  Clip in place and stitch together:


The pleather will not fray so it's ok for the raw edge to be out.  Using a safety pin, snake drawstring through the casing and then knot the ends:


Pull ends to cinch closed and tie to hold in place:


Thread the straps through the D rings to the desired length and the backpack is ready to tote around!


Now how about a chance to win some of this pretty fabric to make your own??


I'm giving away a 1 1/2 yard cut of this Supernova Gemstones print and a yard of the coordinating Scallop Dot in Eggshell, courtesy of Dear Stella.


a Rafflecopter giveaway


I was not financially compensated for this post.  I received fabric, to use as I wished, from Dear Stella.   The opinions are completely my own based on my experiences.

Wednesday, February 1, 2017

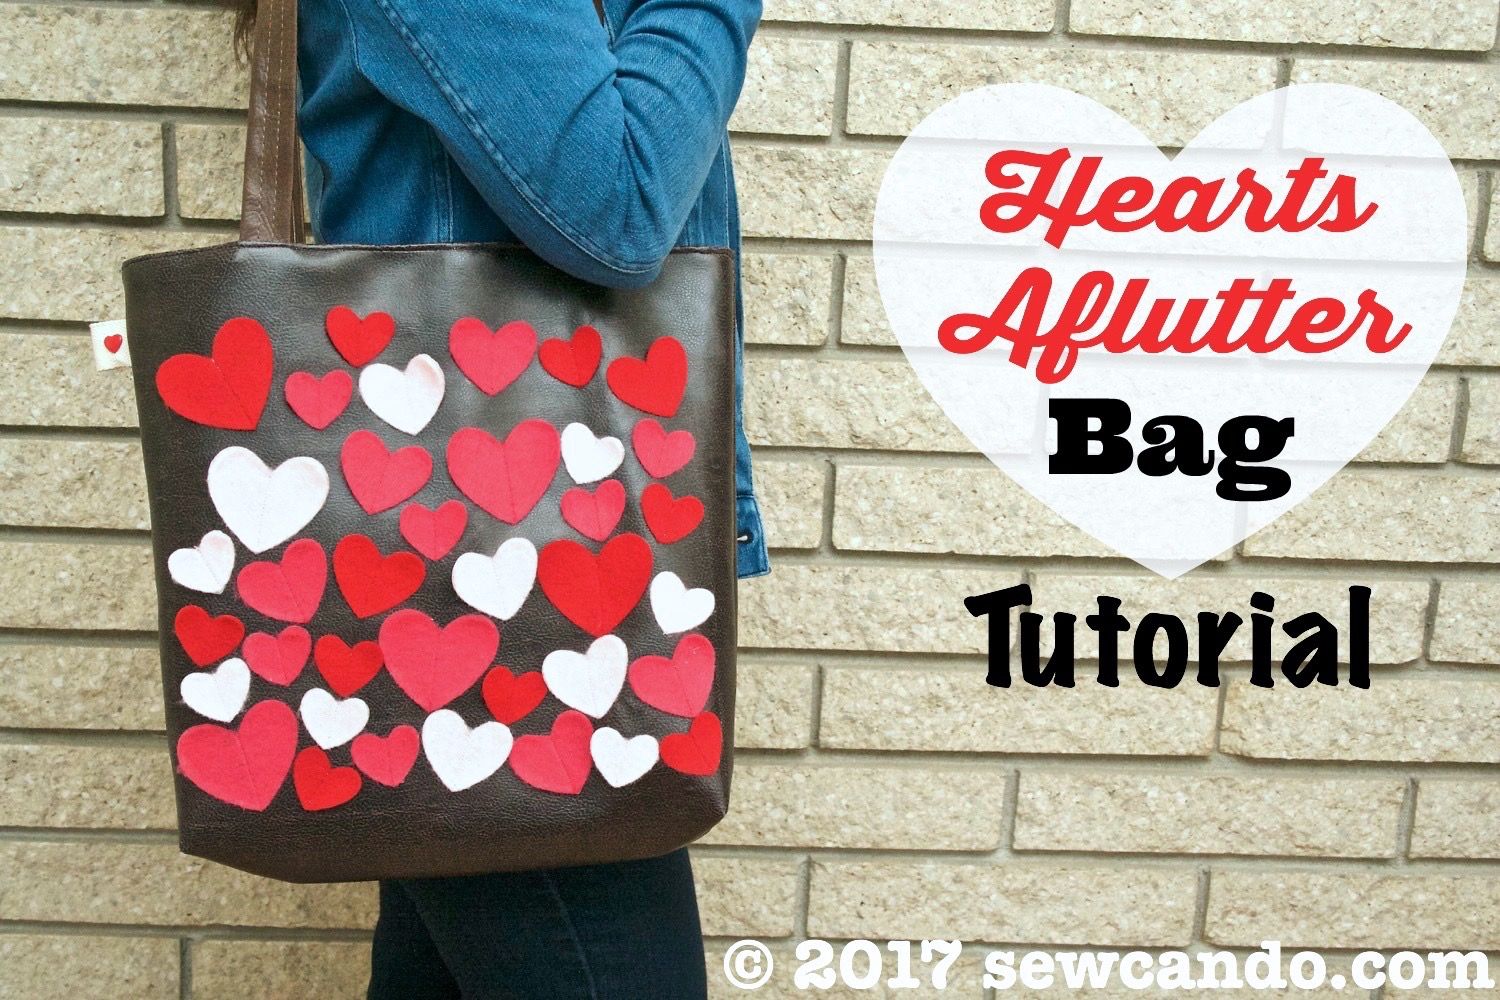
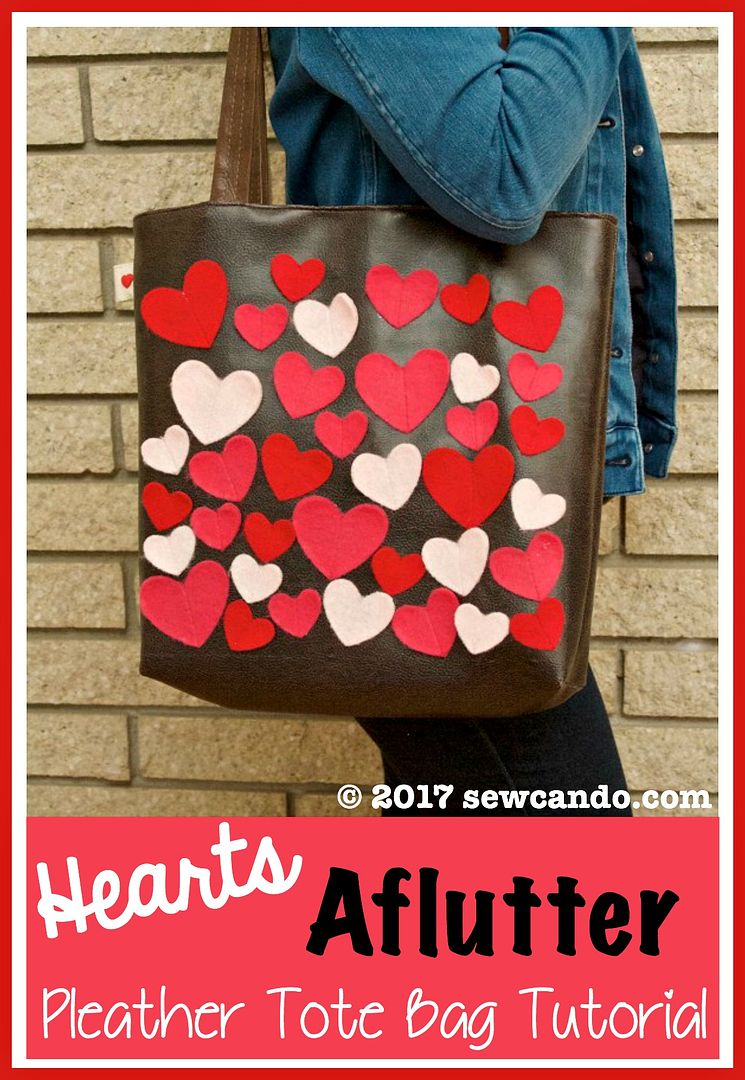
Hearts Aflutter Faux Leather Tote Bag Tutorial


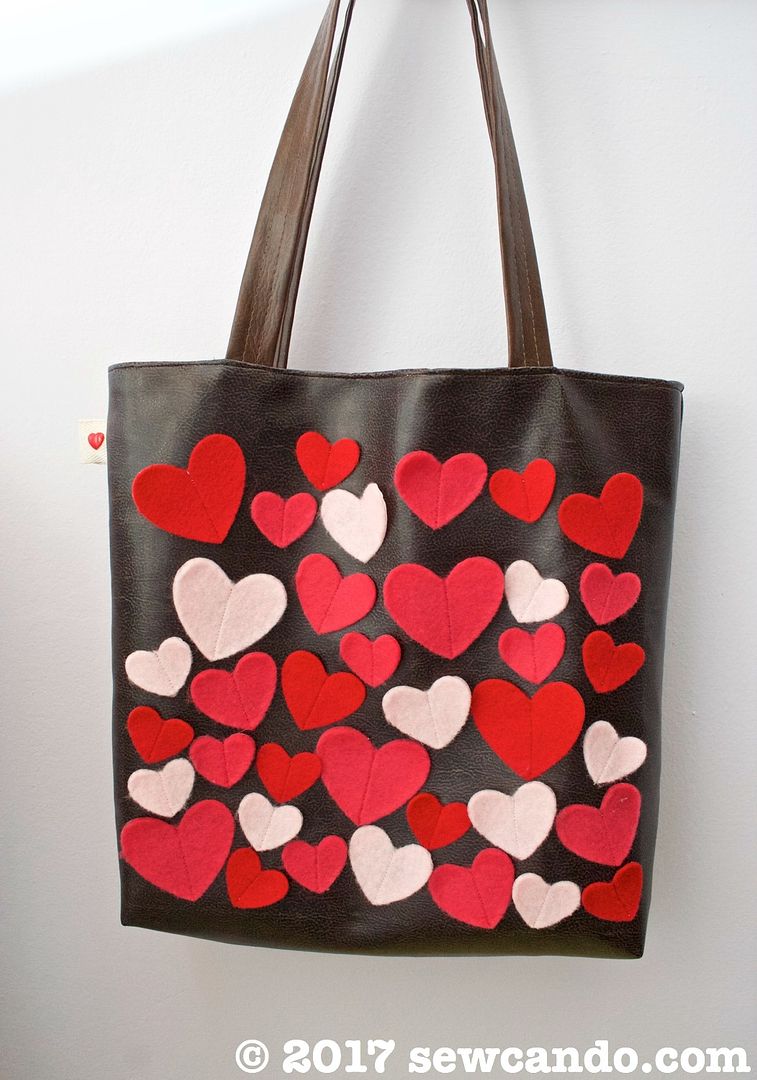
Who can resist the call of colorful hearts & Valentine's Day?It's officially February so I'm ready to share a project that features both!  I know a lot of bloggers start rolling out their themed projects as soon as New Year's is over, but this chick thinks that's way too soon. Besides, my new favorite bag seems much more relevant with the holiday coming up soon. I call it my Hearts Aflutter Pleather Tote Bag.     


So far this year I've been challenging myself to use stuff in my vast stash rather than buying like crazy, so this entire tote was made with what I had on hand.  Either that says I've got way too much stuff or I'm super resourceful.  I'm going to claim the latter;) 

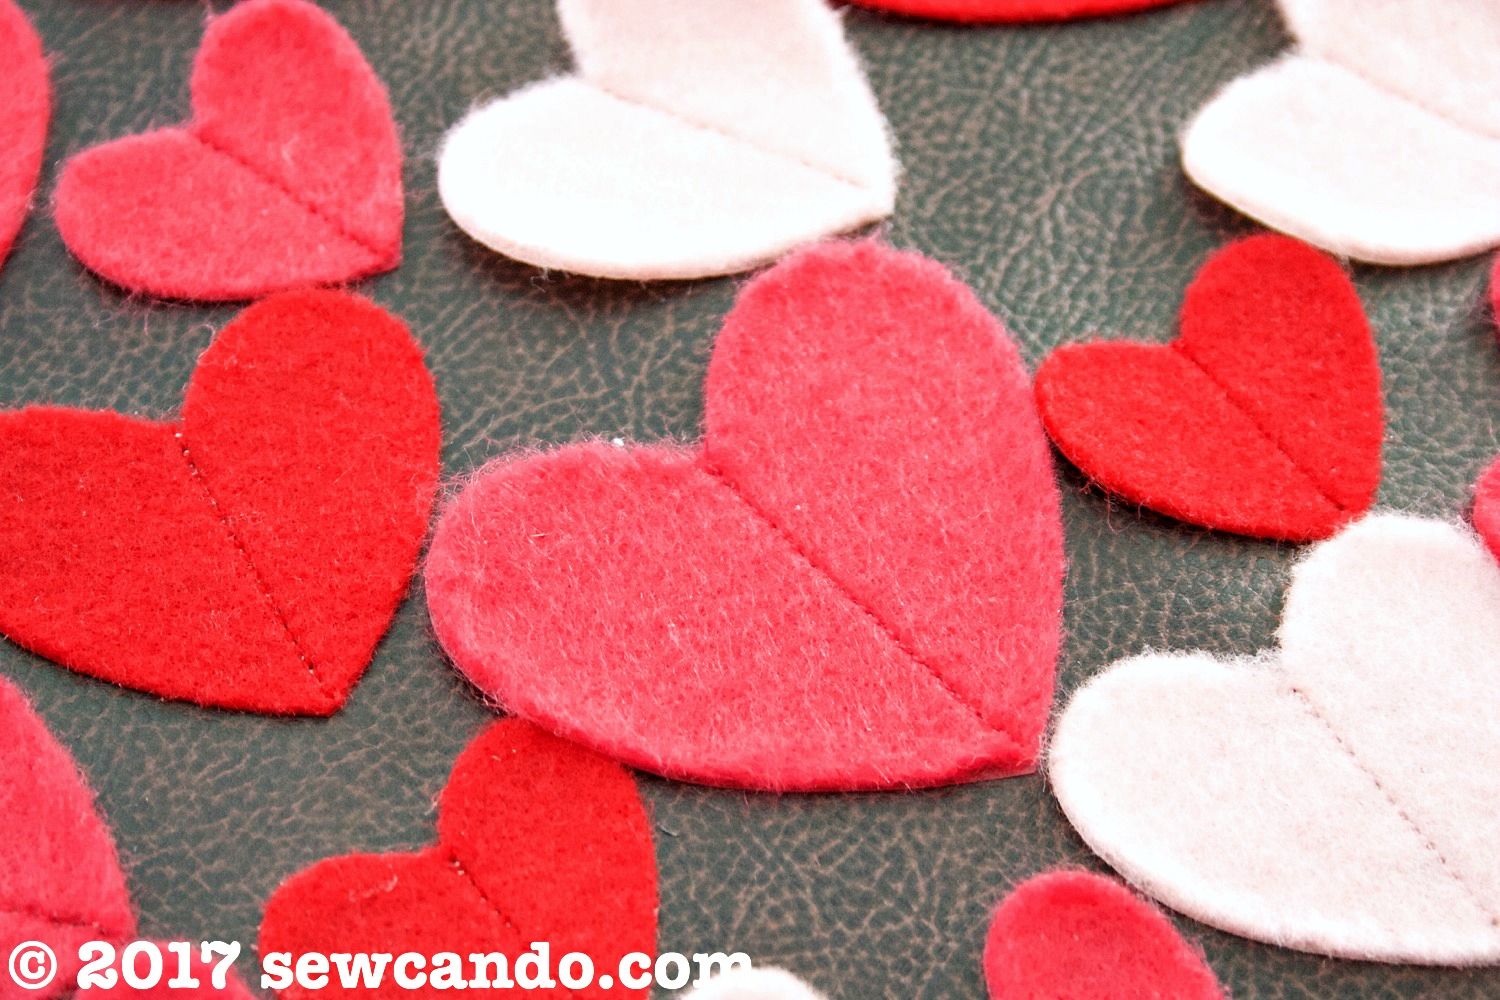
But even buying the materials is pretty inexpensive, since this tote doesn't require a lot of yardage and gets it's whimsical boutique vibe from the contrast of buttery brown faux leather and the colorful textured of felt hearts:


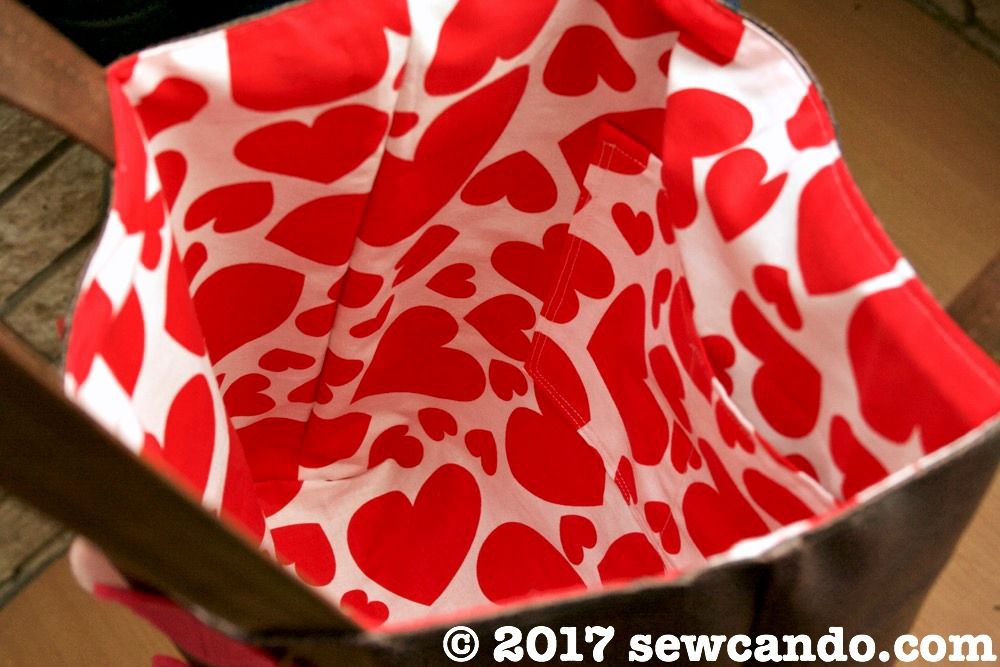
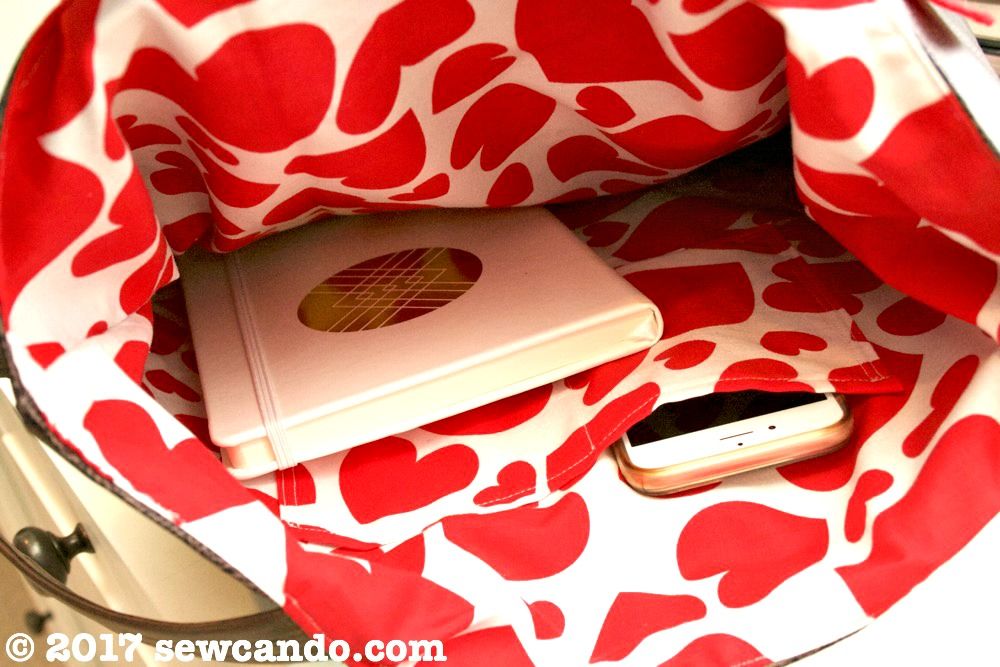
And to keep up with the designer totes out there, mine's got still all the special details, like a coordinating Jessie Steele Sweethearts lining fabric:


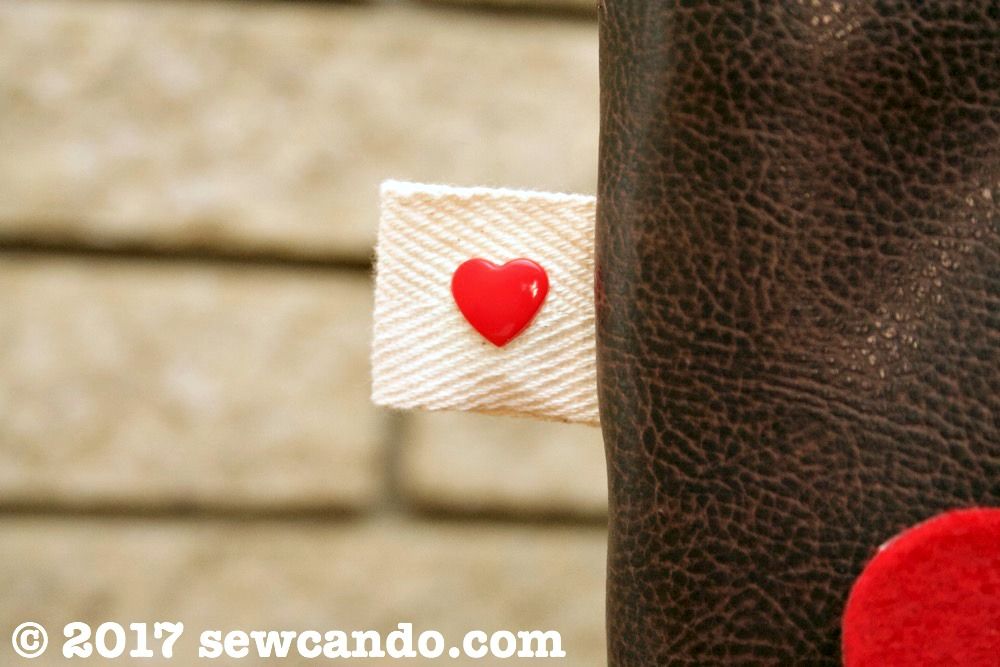
and a cute decorative heart tag on the side:


With a roomy interior and inside pockets, it's just the right size for carrying a few books, shopping and my usual purse stuff.  It's literally become my go-to bag and can totally handle the snow blowing around outside too.


It's also a quick sew, so making one can be done in record time.  Come on and see how!

Materials:
- 1/2 yd Faux leather/pleather
- 1/2 yd Cotton (I used Jessie Steele Hearts by Timeless Treasures)
- 1/4yd or 1 sheet each felt in red, hot pink and soft pink
- 1 1/2yds 1 inch wide pleather strapping
- Twill tape for tag
- Plastic heart snap
- Notions: rotary cutter, clips, hand sewing needle, iron, chalk, spray adhesive, heavy duty needle
- Optional: Cutting machine (I used my Cricut Explore)+Heat & Bond paper backed fusible, scrap of twill tape & plastic heart snaps (for decorative tag)

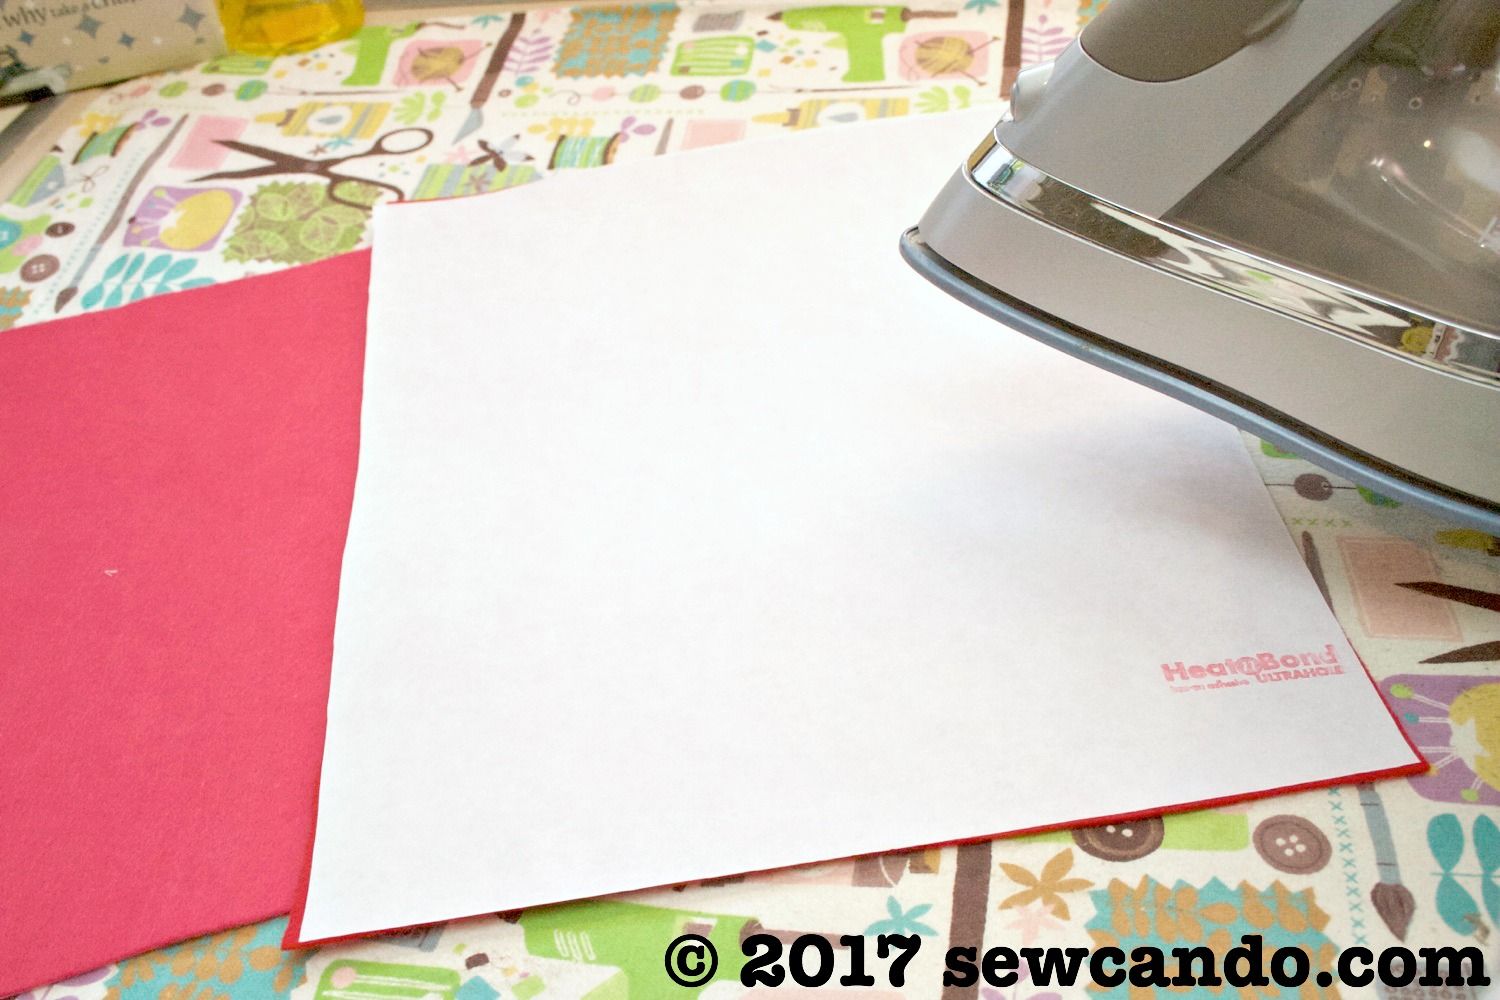
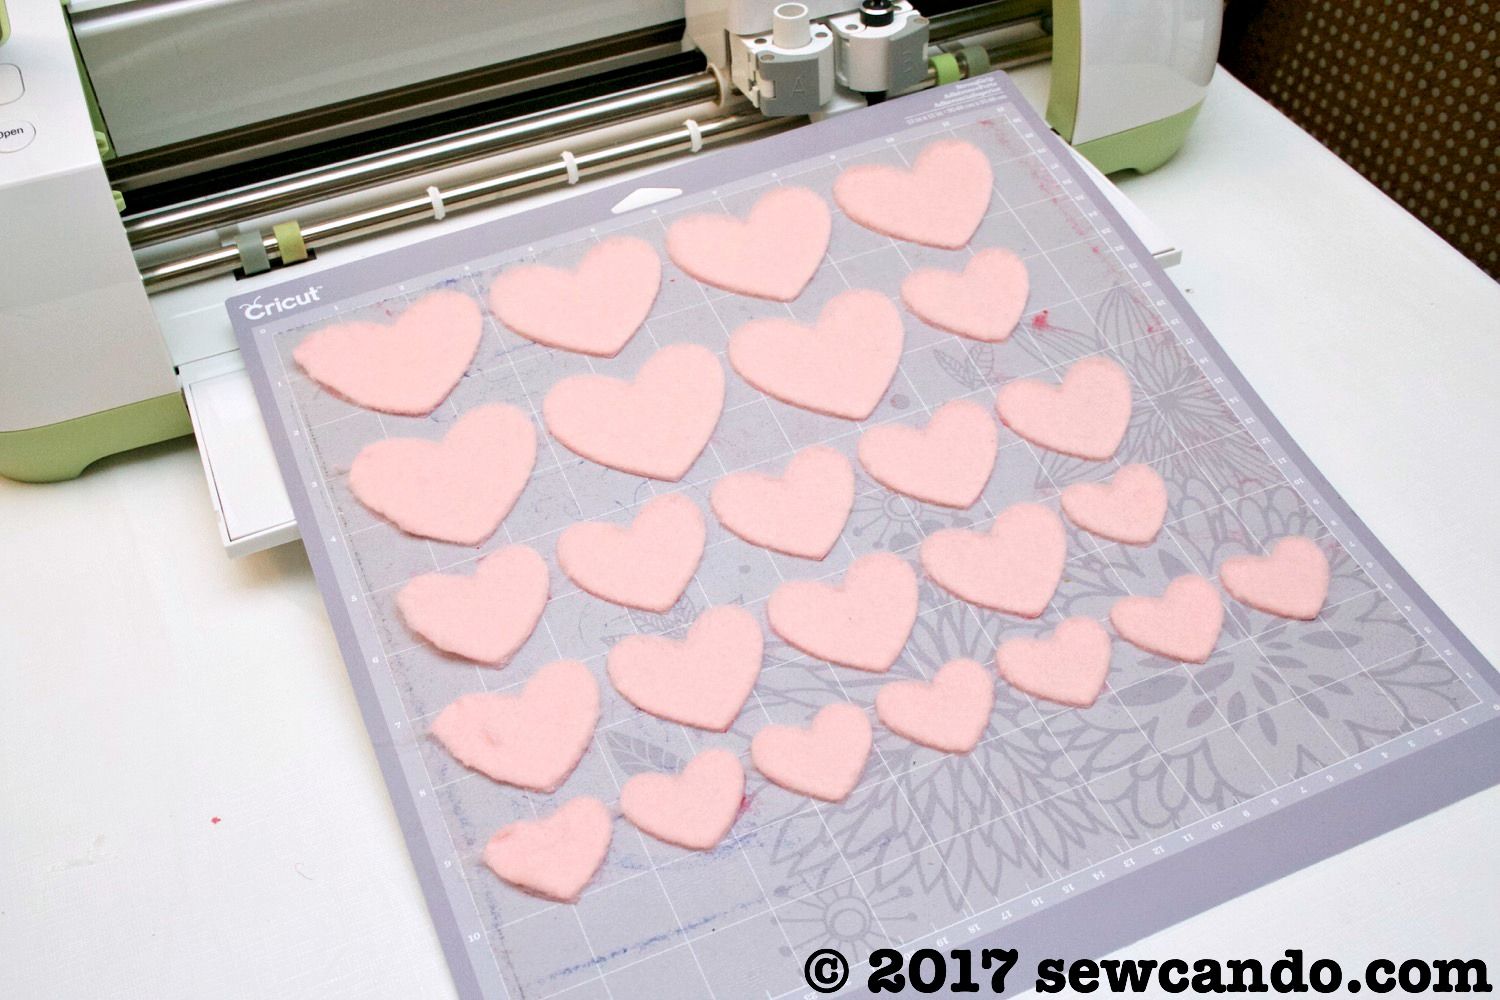
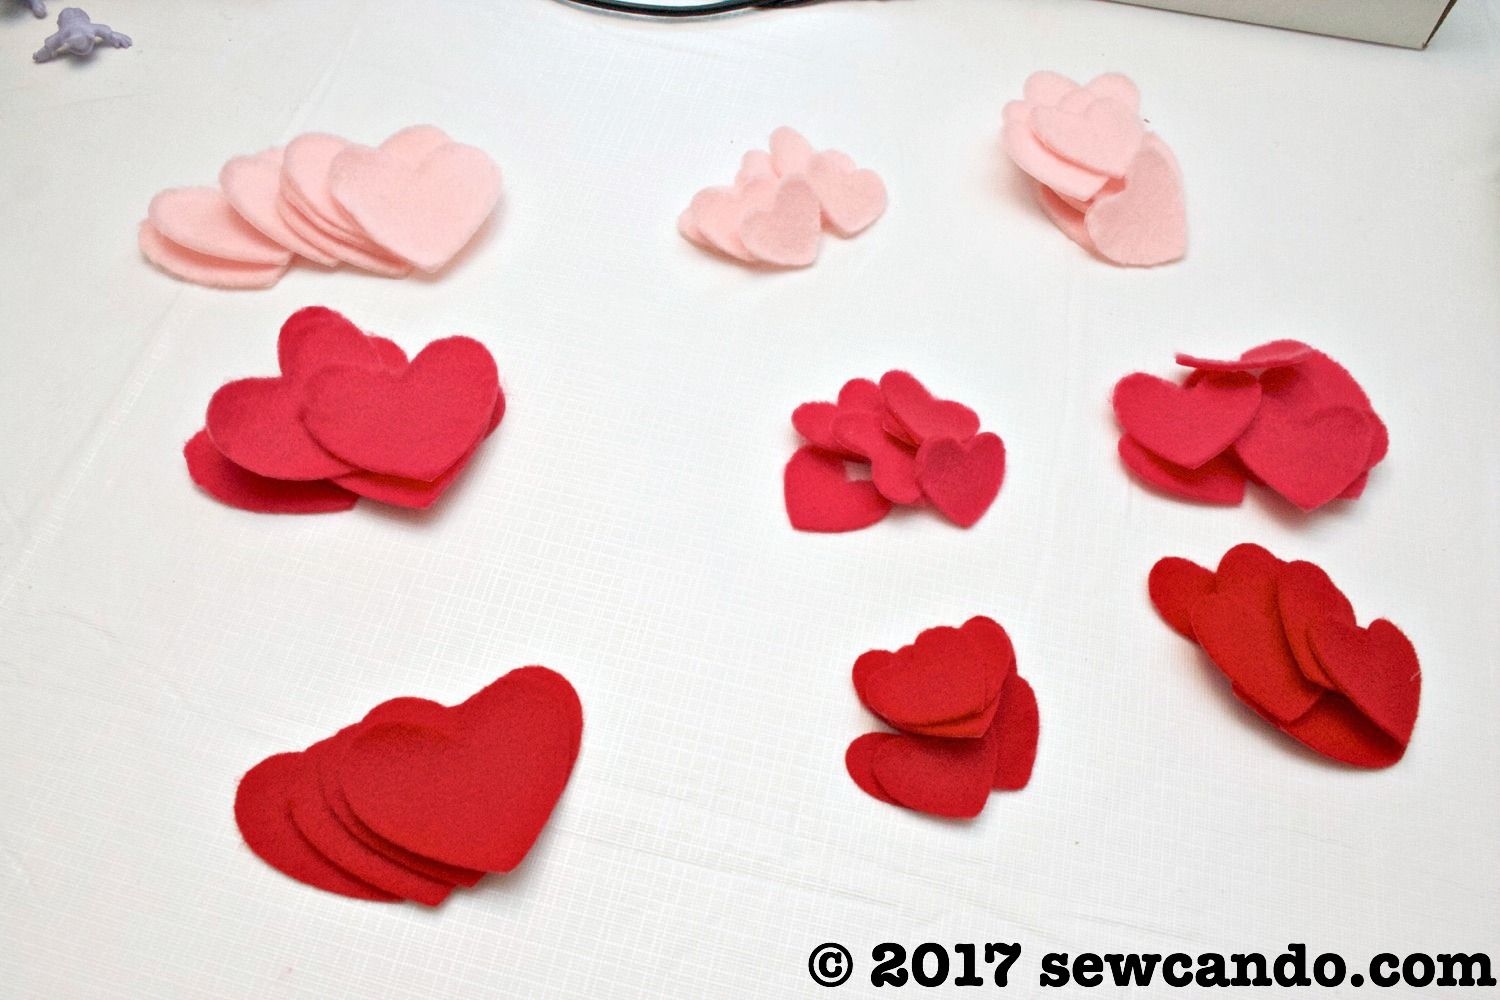
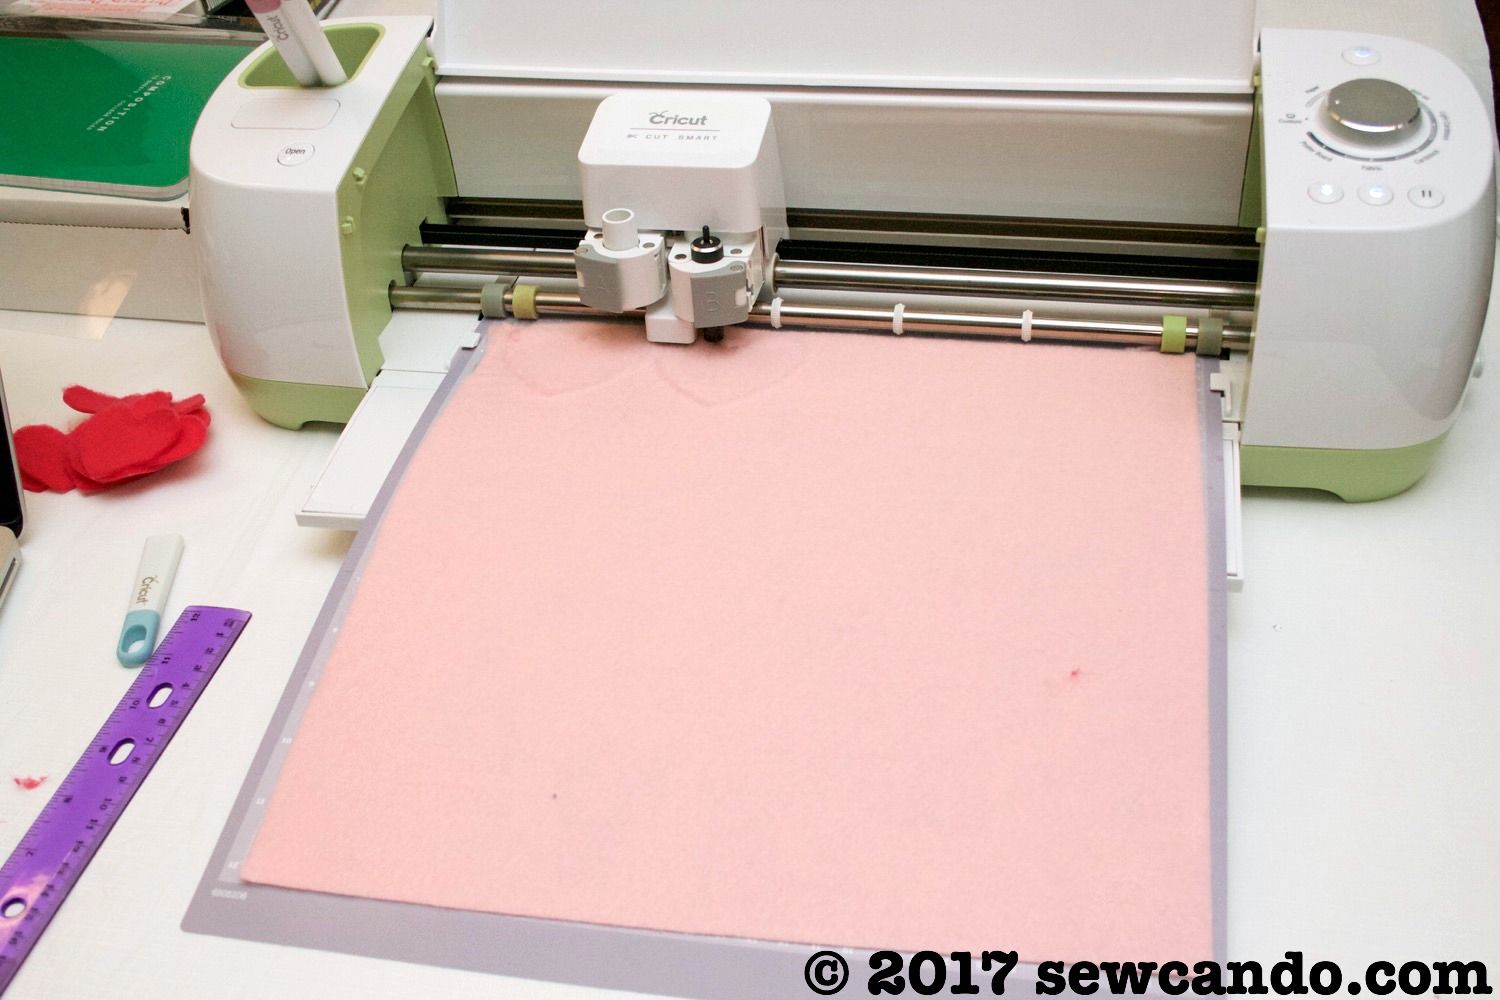
I started by cutting out my felt hearts in 3 sizes and 3 colors.  To make this fast & easy, I used my Cricut Explore machine. In order to cut felt on it, Heat & Bond fusible needs to be ironed onto the back side of the felt.  


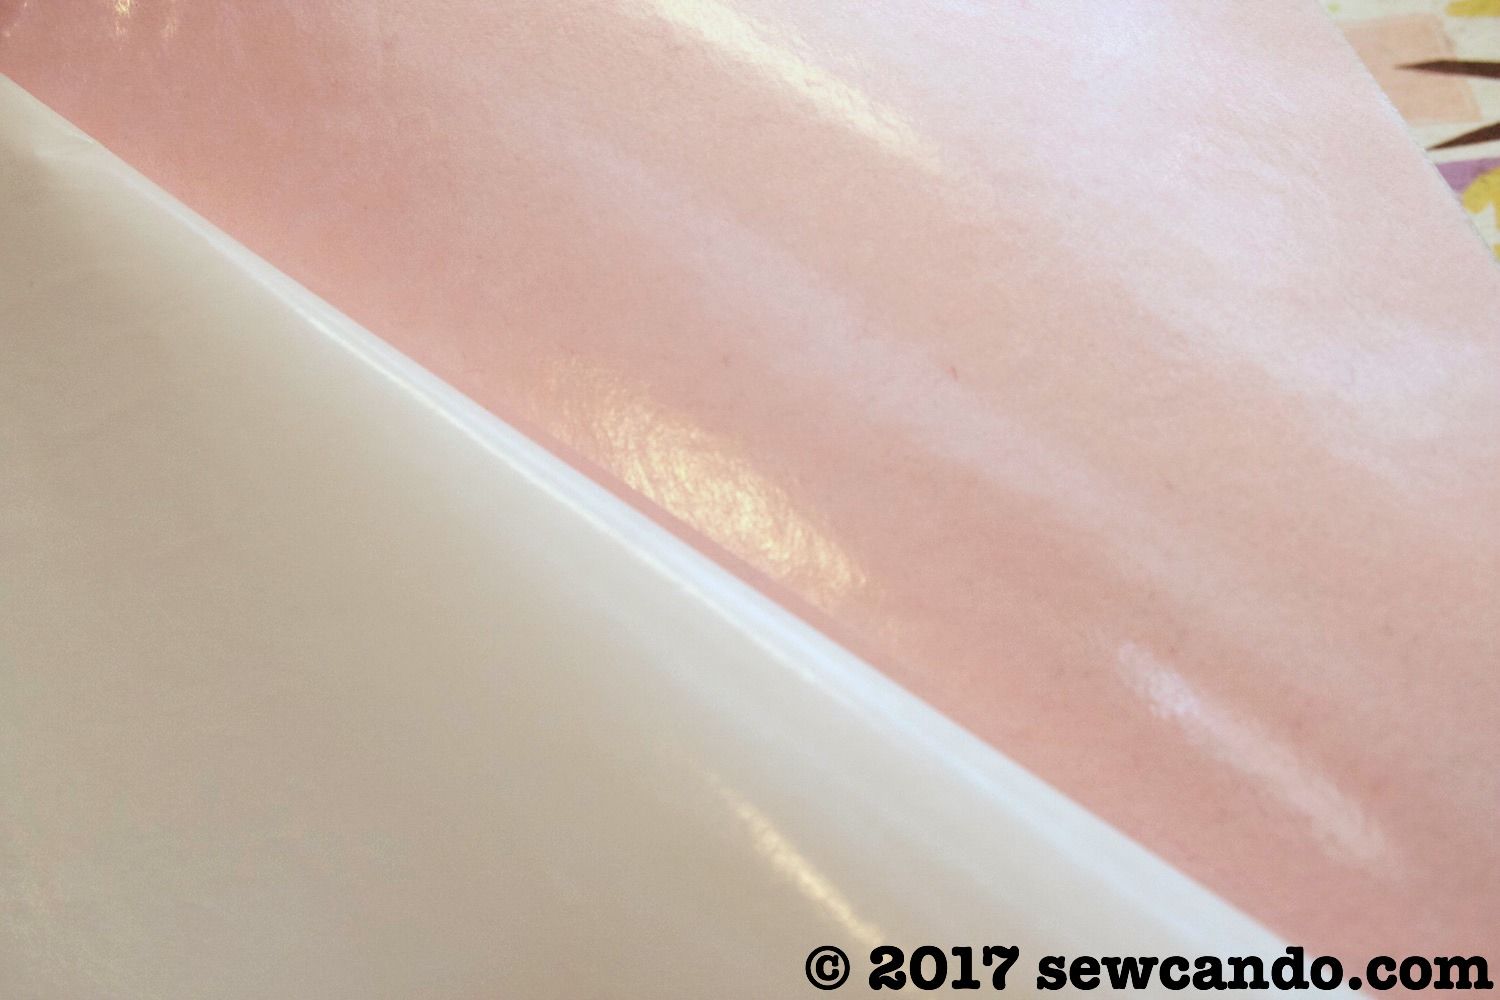
After cooled, peeling off the paper reveals a smooth plastic-y backing that makes cutting much easier.


I used some free standard heart shapes in the online Cricut Design Space and proceeded to line them up in my layout so I'd get about six to ten of each color in heights of 1 1/4in, 1 1/2in and 2in to fit on a piece of felt that fit my 12x12in mat.  


Per their cut instructions I used the deep cut blade & felt with backing setting and just peeled them off:


It took minutes to cut all these instead of eternity hand cutting:  


Now it was time to put the bag together.  I grabbed my faux leather & cotton and folded each of them in half, with selvages together.  I cut them so that the folds were on the bottom. 16 inches wide along the fold by 15 inches high.  This works well since the faux leather doesn't have any stretch and this way the cotton won't have any extra give either (which would make it hard to line them up later).  I also cut a 9 inch wide by 6.5 inch rectangle from the cotton for the pocket.  


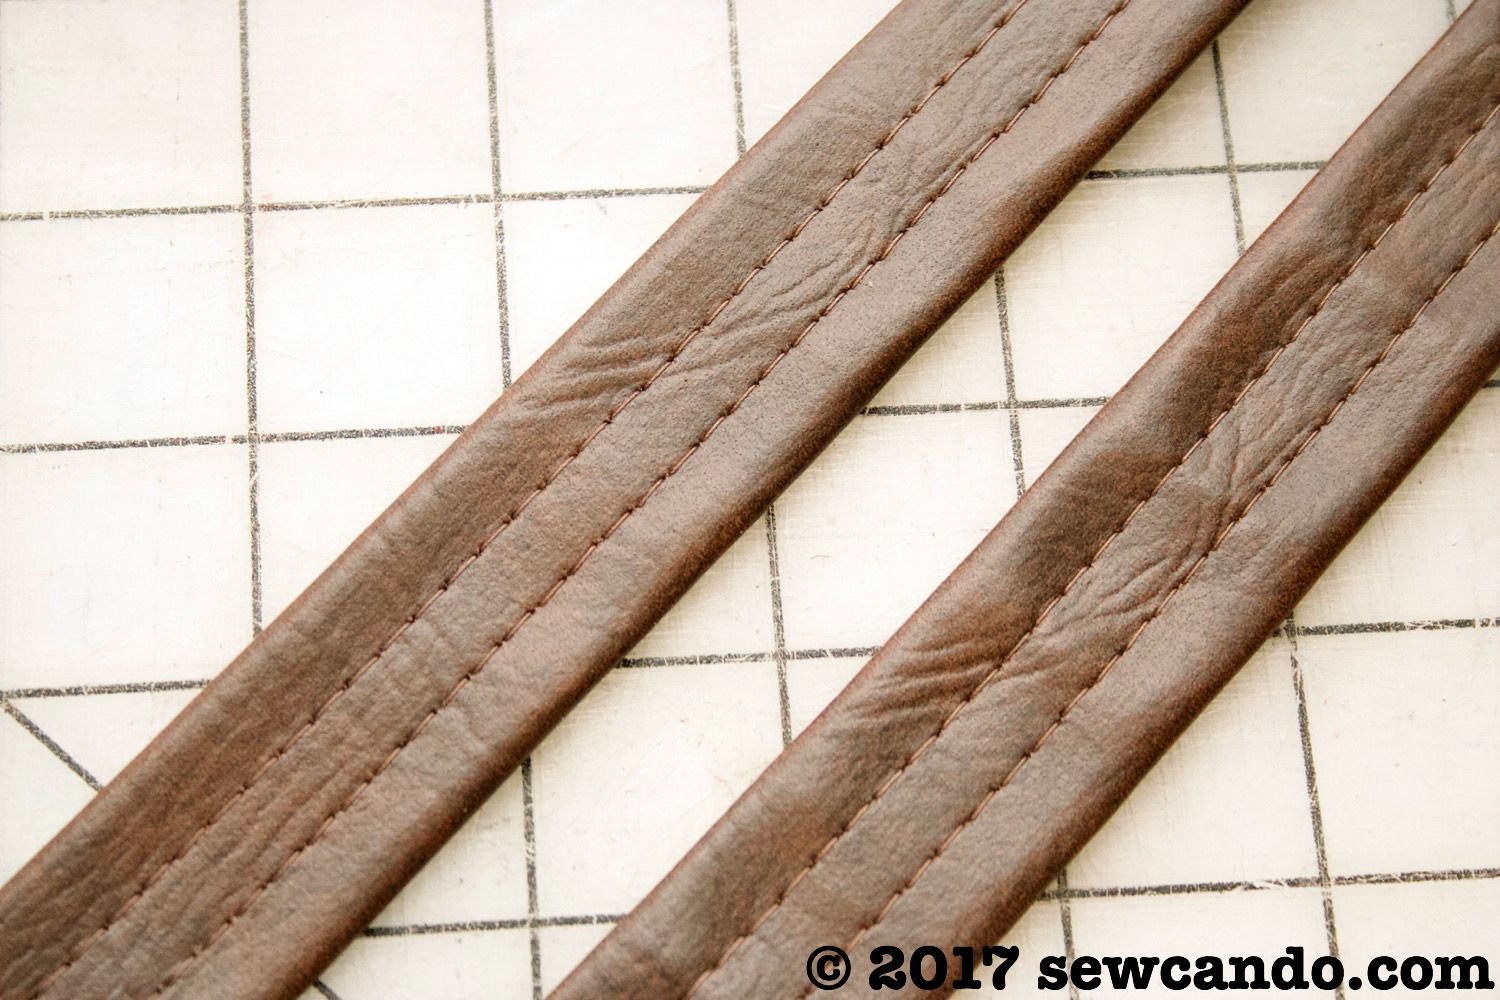
To save myself having to create straps, I used some by-the-yard pleather strapping I'd bought ages ago that was pretty close in color to my tote faux leather.  It just needed to be cut into the two 26 inch long pieces I needed.  Big time saver!!


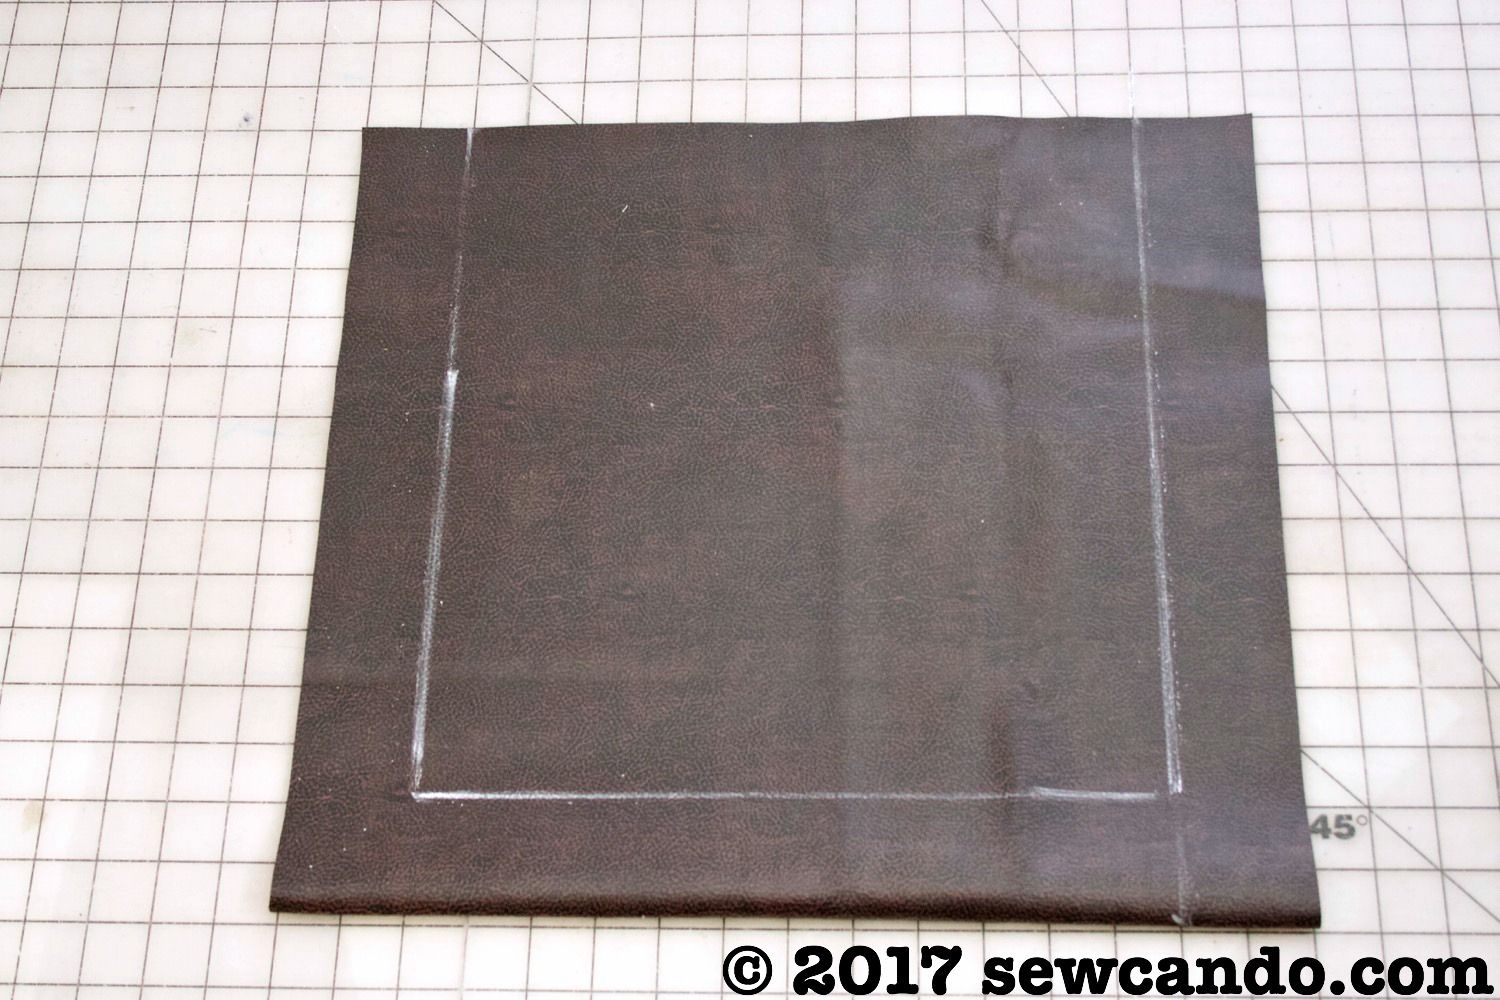
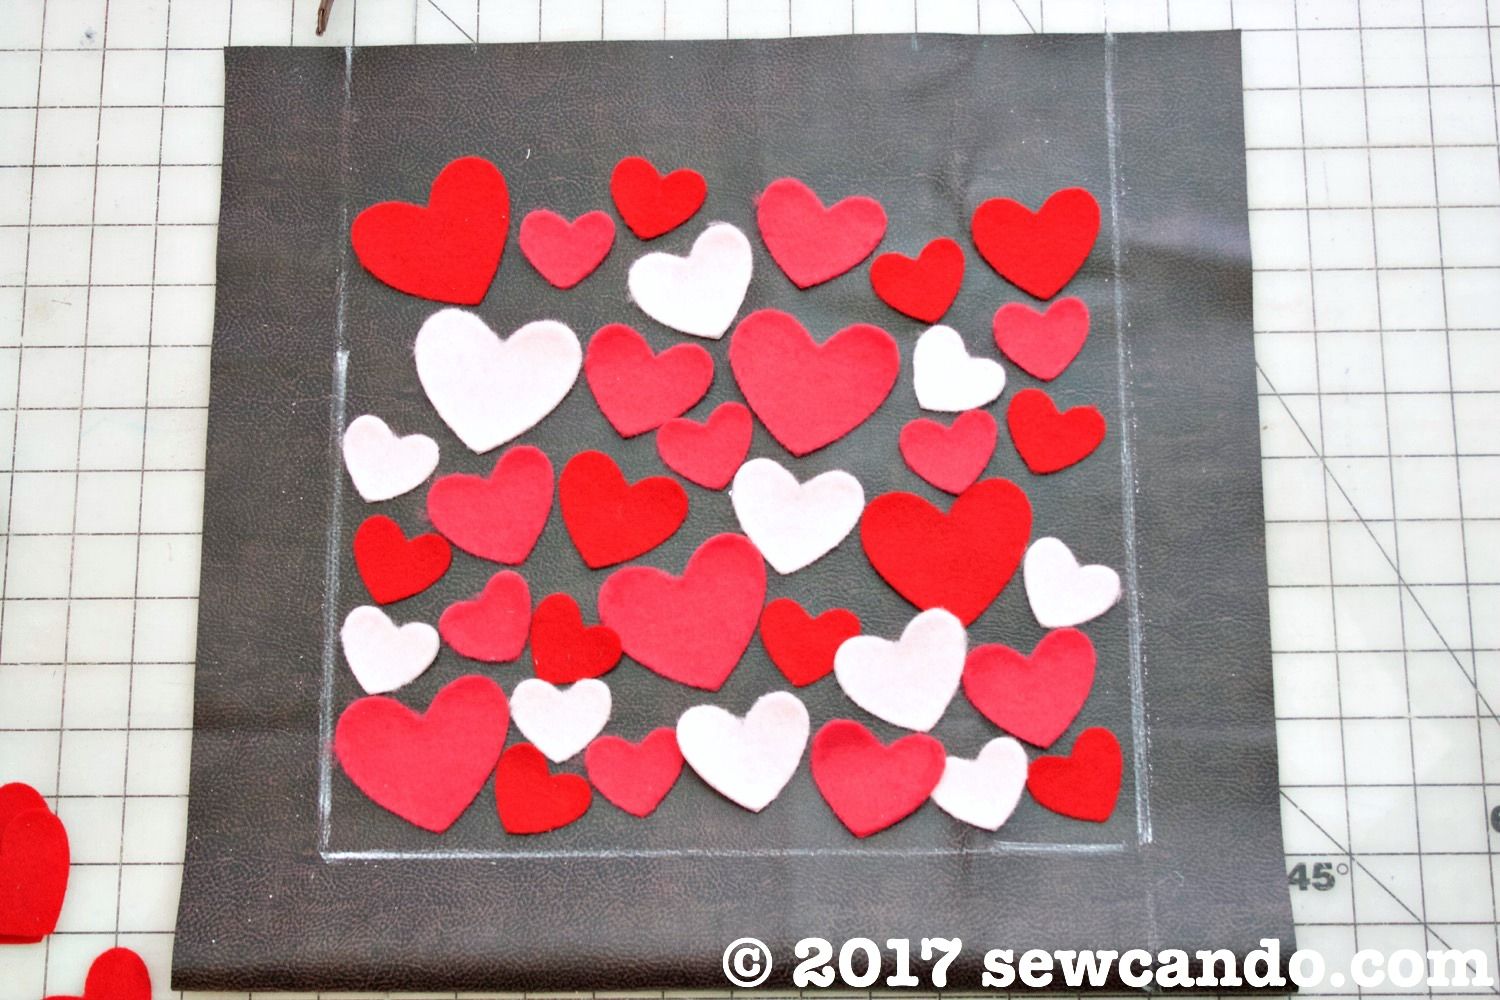
Since this bag was going to have some depth I wanted the hearts to only be on the front, not wrapping around the sides a bit, so I drew some lines 2 inches inward around the sides and bottom:


I arranged the hearts so the colors & sizes varied, keeping them just inside my lines.  To hold them in place without pins (which just poke holes in pleather), I used spray fabric adhesive, which worked like a charm.


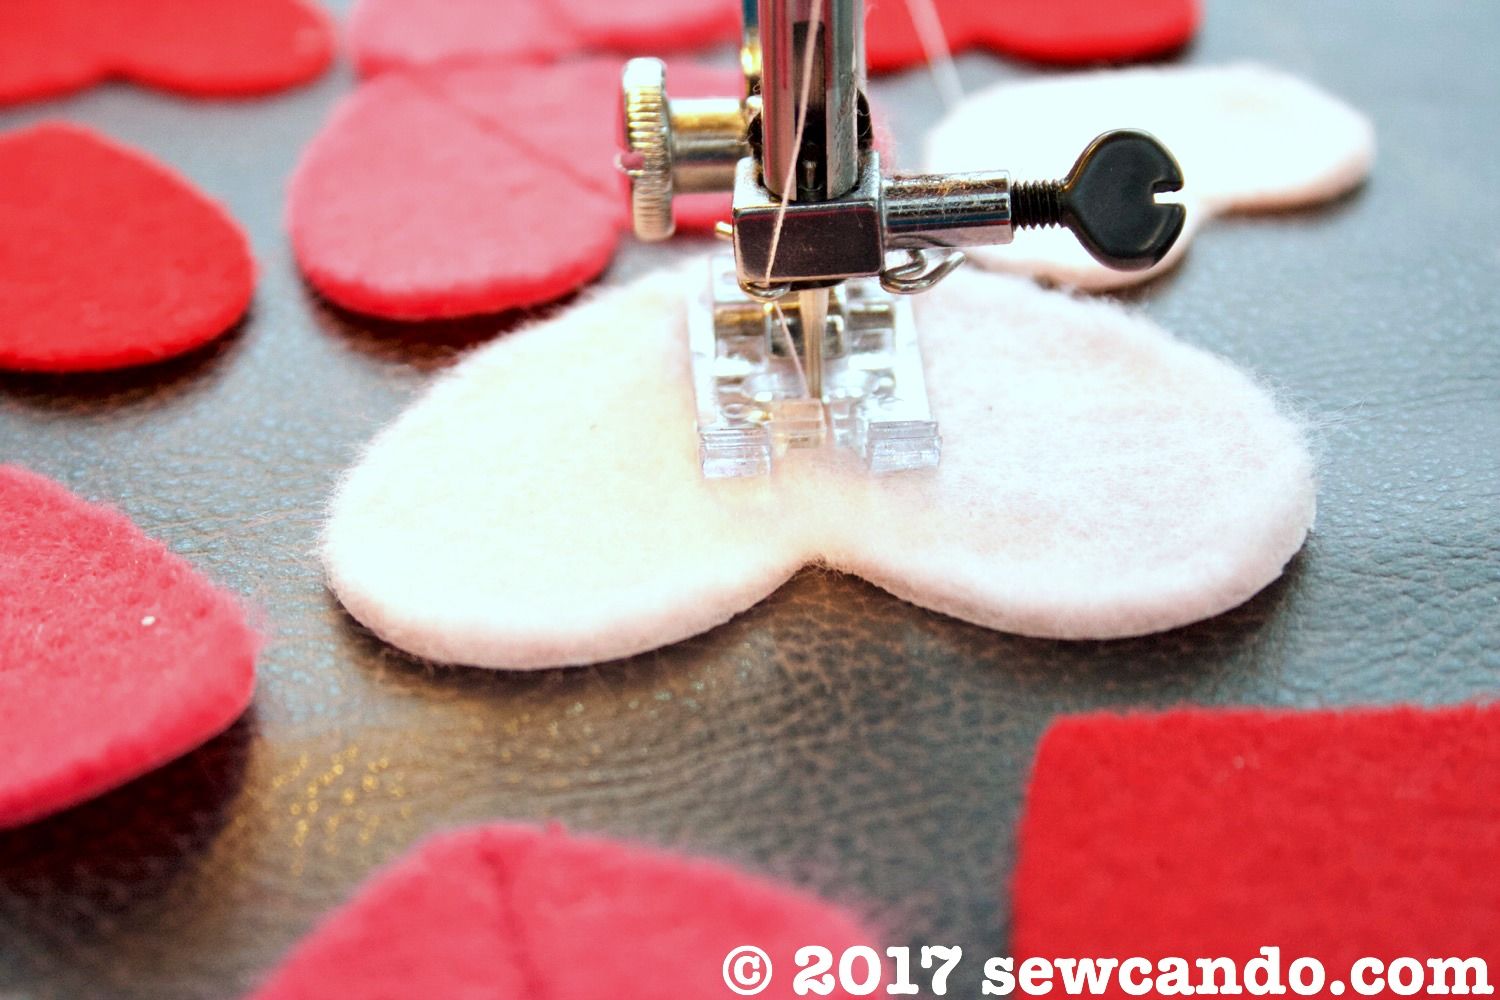
Using coordinating colored threads, I stitch down the center of each heart to hold it in place.


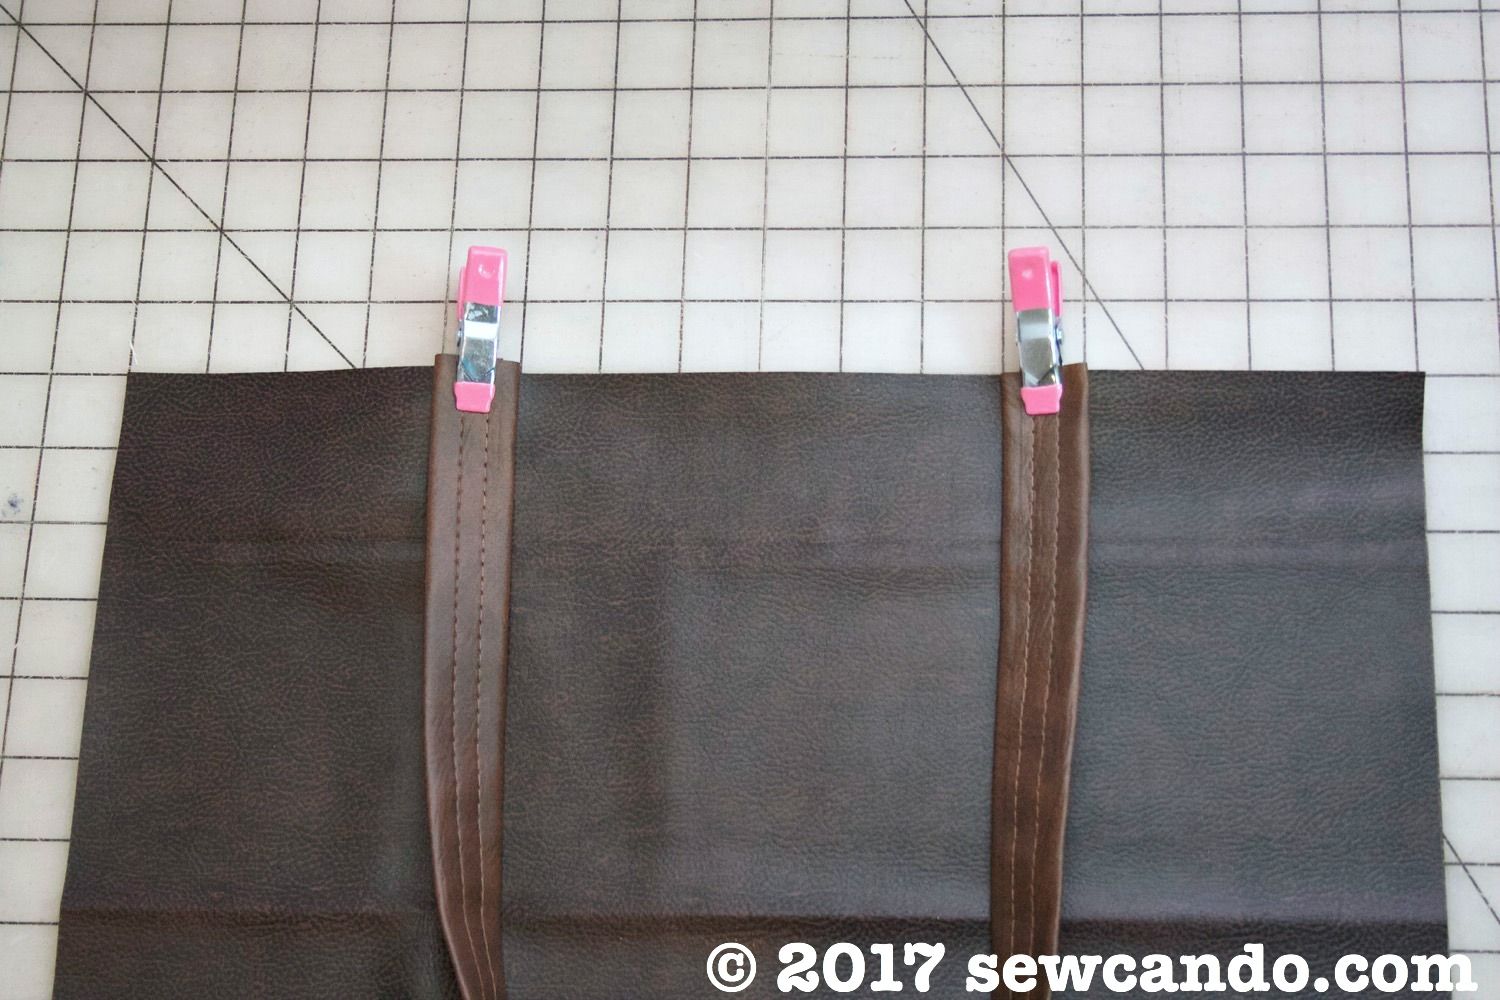
I also stitched on the edges of each strap, 4 inches inward from the sides:


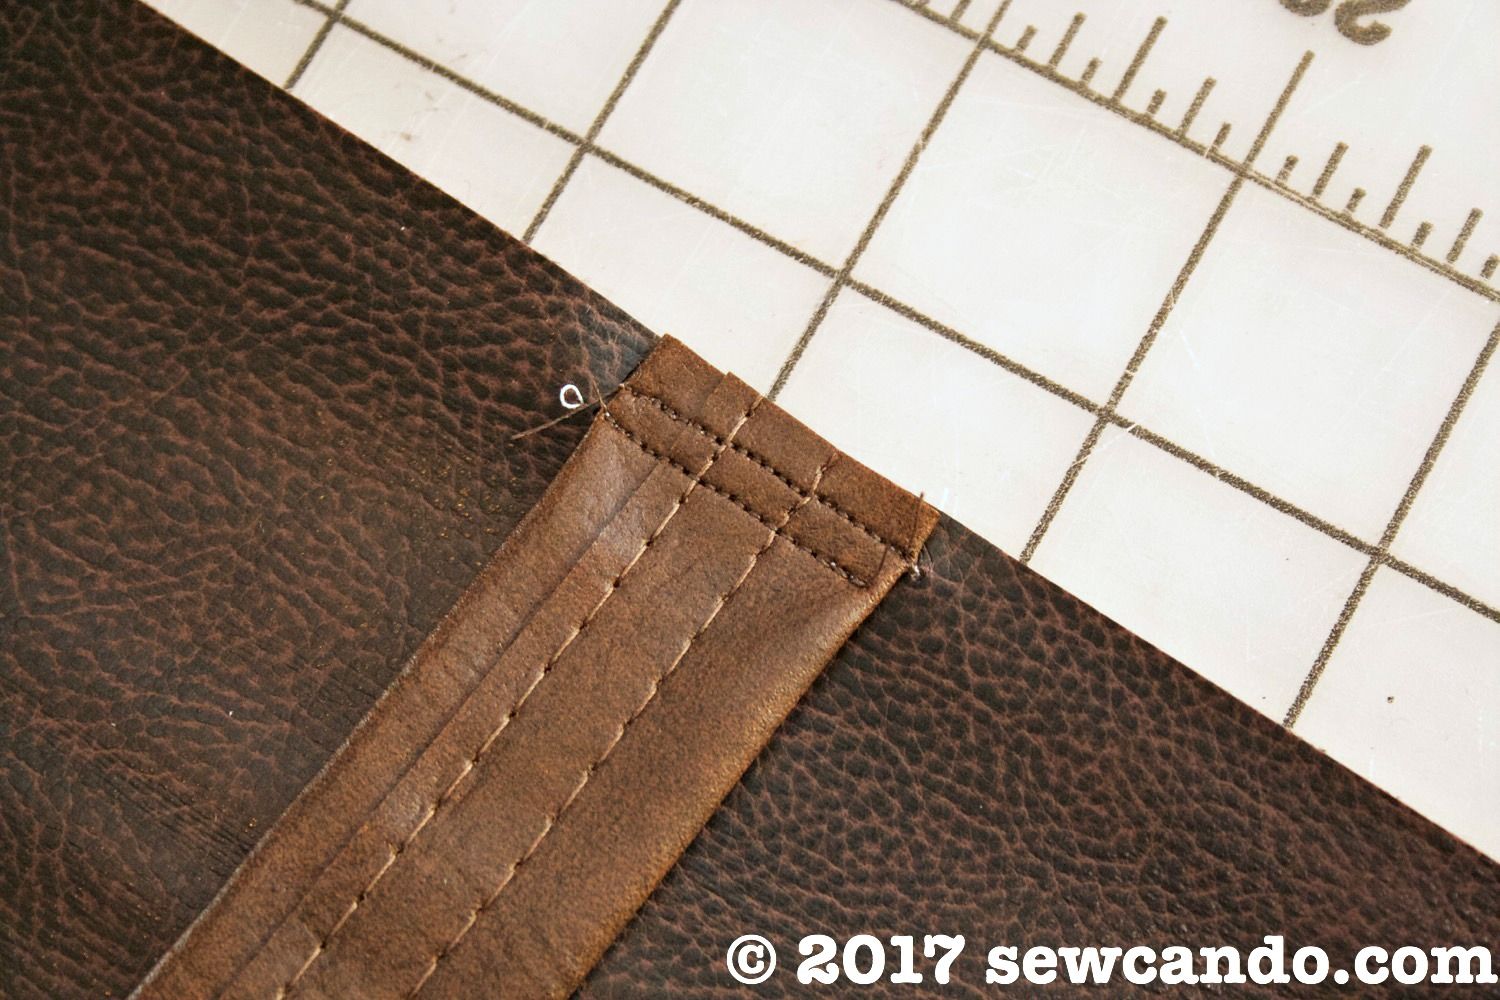
I wanted the tote to be able to handle some weight, so I double stitched the straps onto the main body for extra security:


Then it was time to switch over to the lining.  I stitched up the pocket by press the top edge 1/4 in under and then folded & pressed it another 1/4in under and stitched it in place.  I pressed the other sides 1/2in under too:


I centered the pocket on my lining fabric, about 3 inches from the top edge and stitched all the sides, then another stitch down the center to split it into two pockets.


Next was stitching up the side seams, leaving a 3 inch gap on one side for turning:


After trimming down the edges, I squared off the bottom corners by 3 inches with a ruler to give the bag depth:


After stitching I trimmed off the excess there:


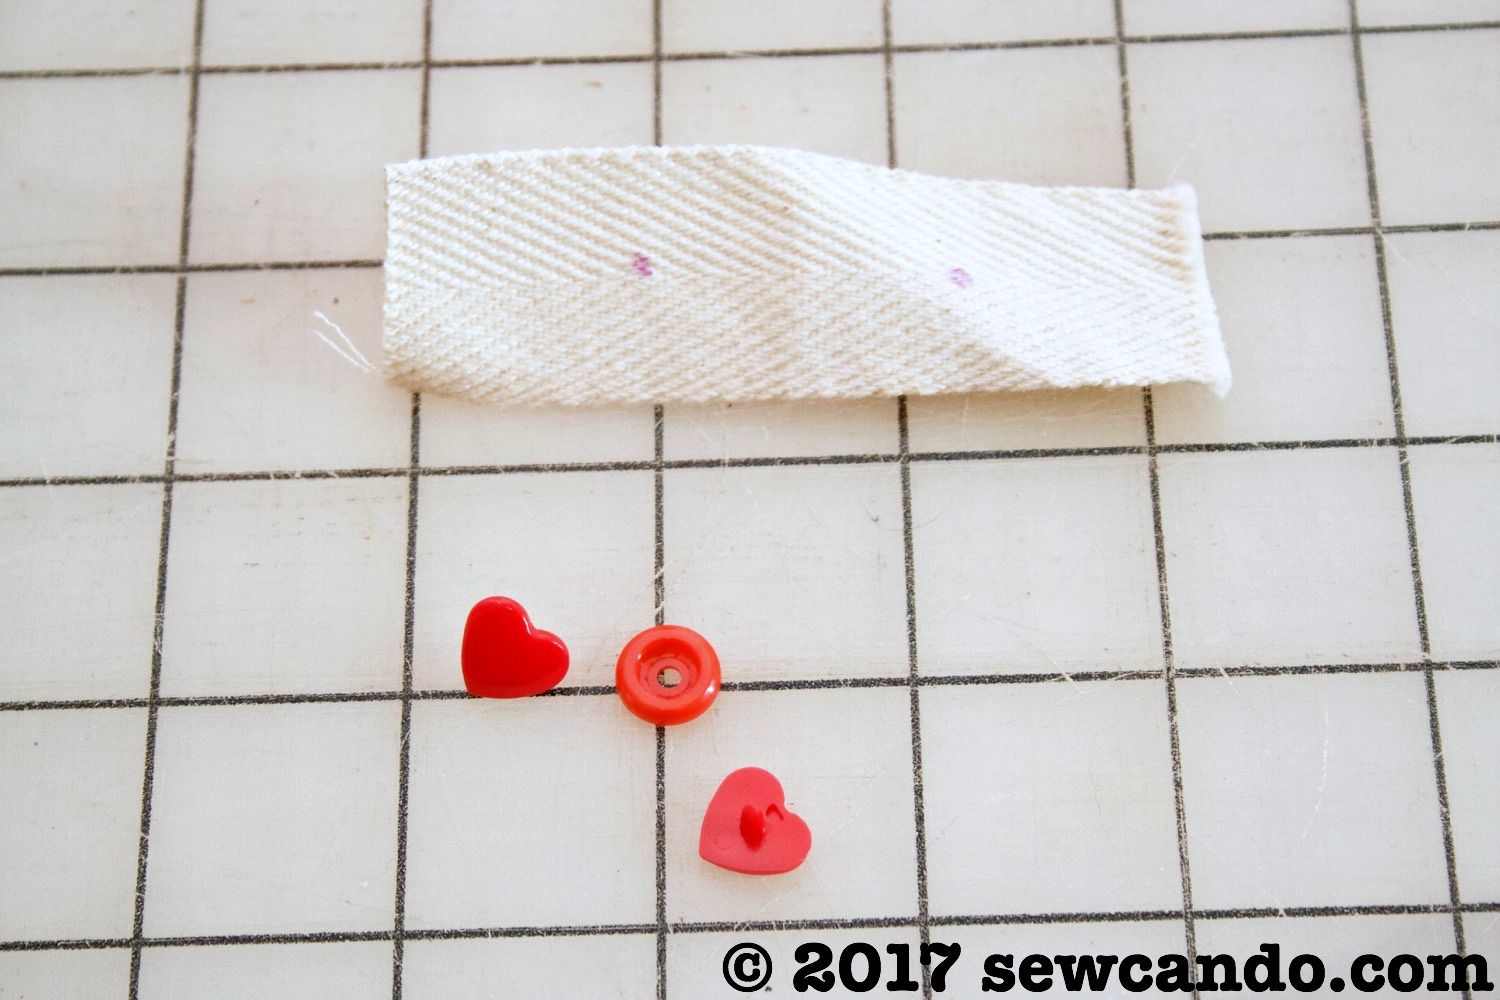
To make my decorative tag, I cut a 3 1/2in long piece of 1 inch wide twill tape and grabbed some plastic heart snaps from my stash:


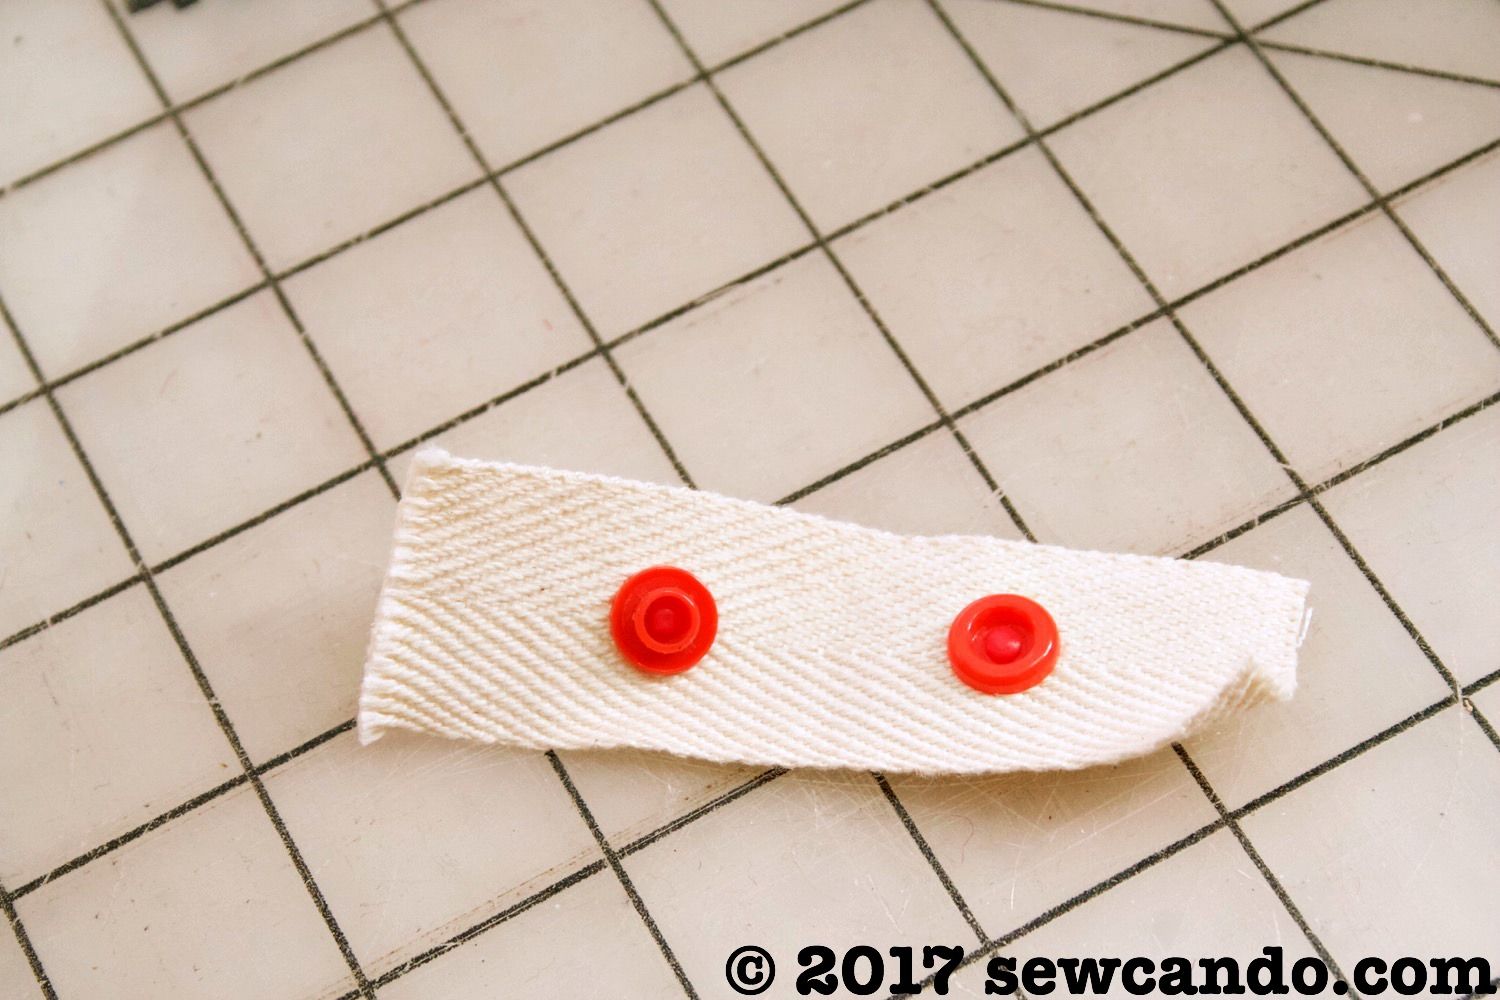
I set the snaps an inch apart with the hearts on one side so I could fold it together on the inside:


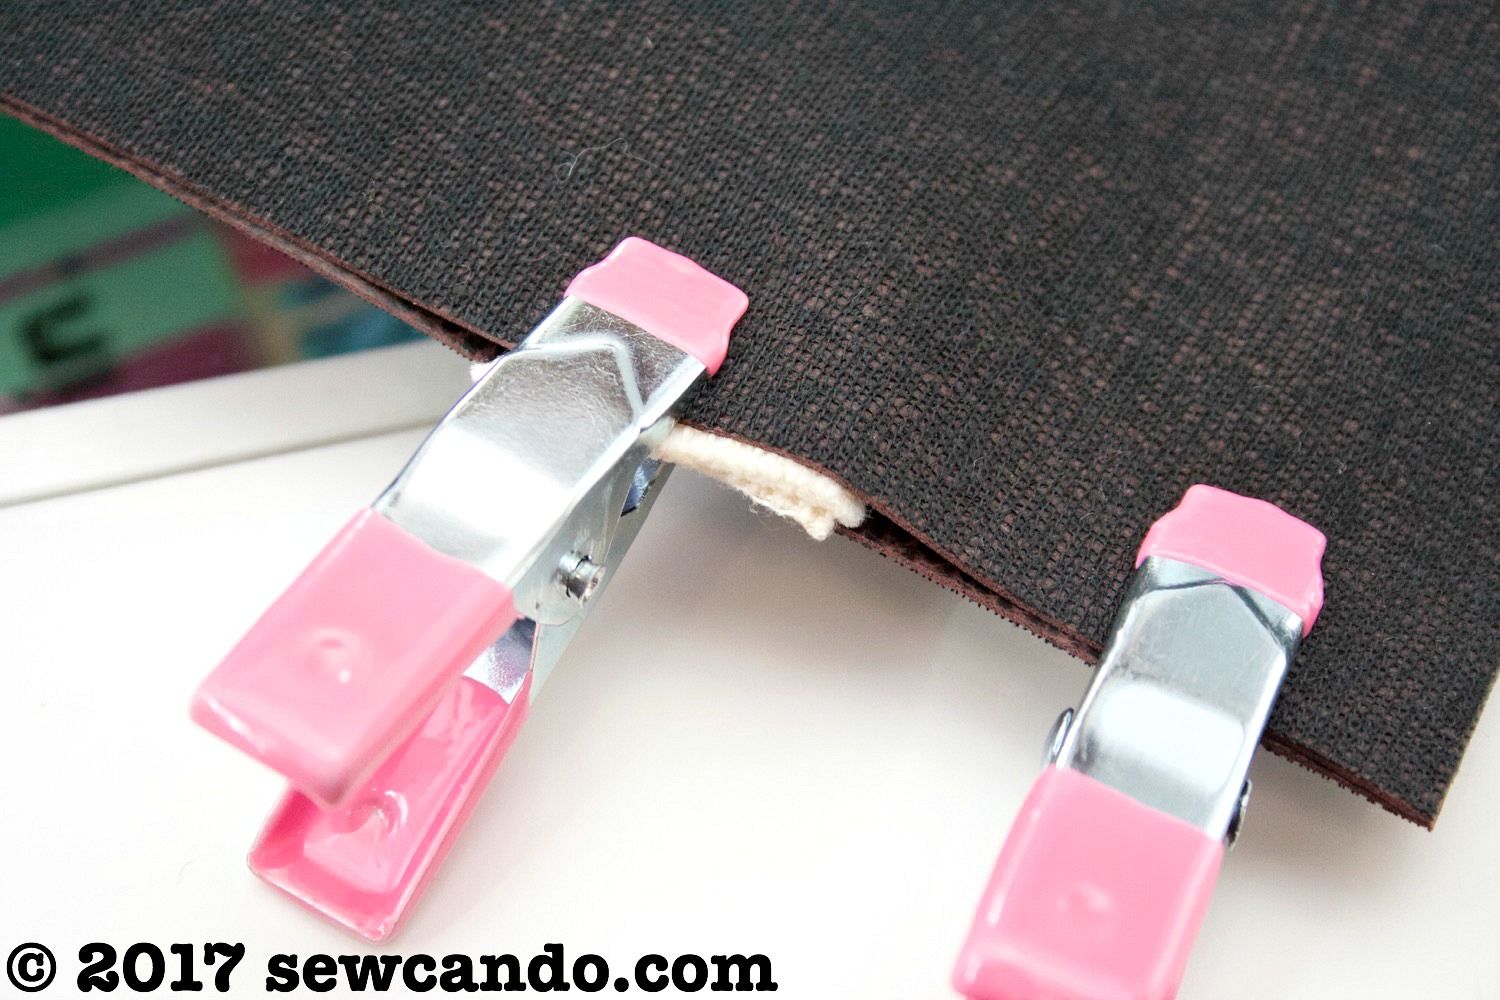
I sandwiched my tag between my pleather layers on one side about 2 inches from the top:


I repeated what I'd done with the lining - stitching the sides (minus a gap) and squaring off the bottom corners with my main pleather, except using small clips rather than pins:


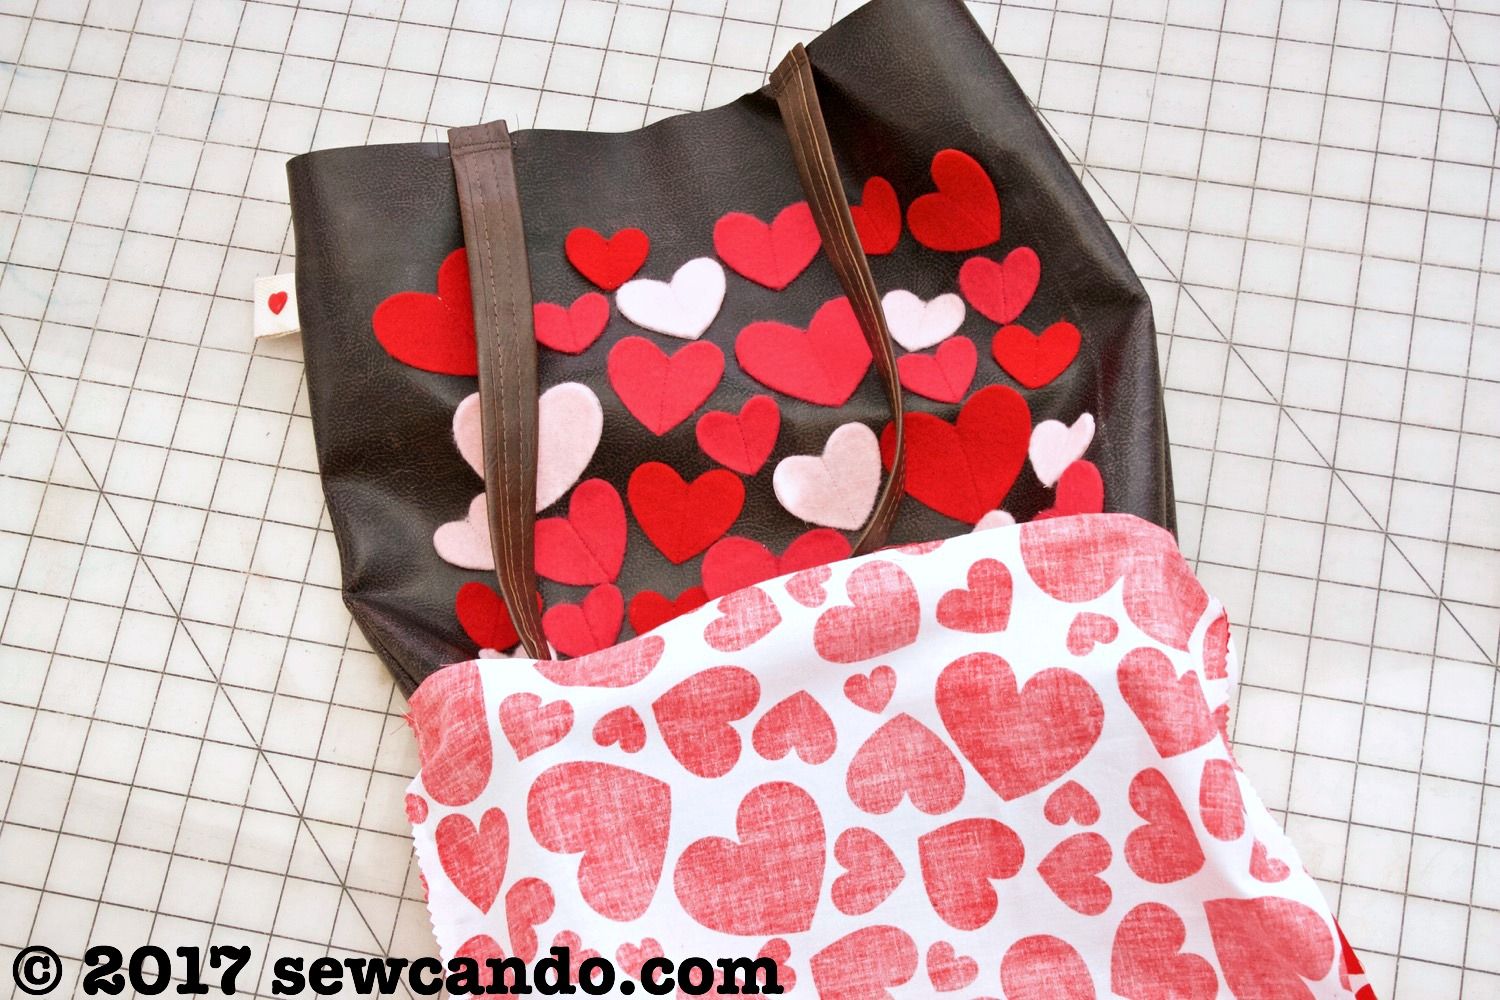
I flipped my main tote right side out and inserted it into my lining, so their right sides were facing:


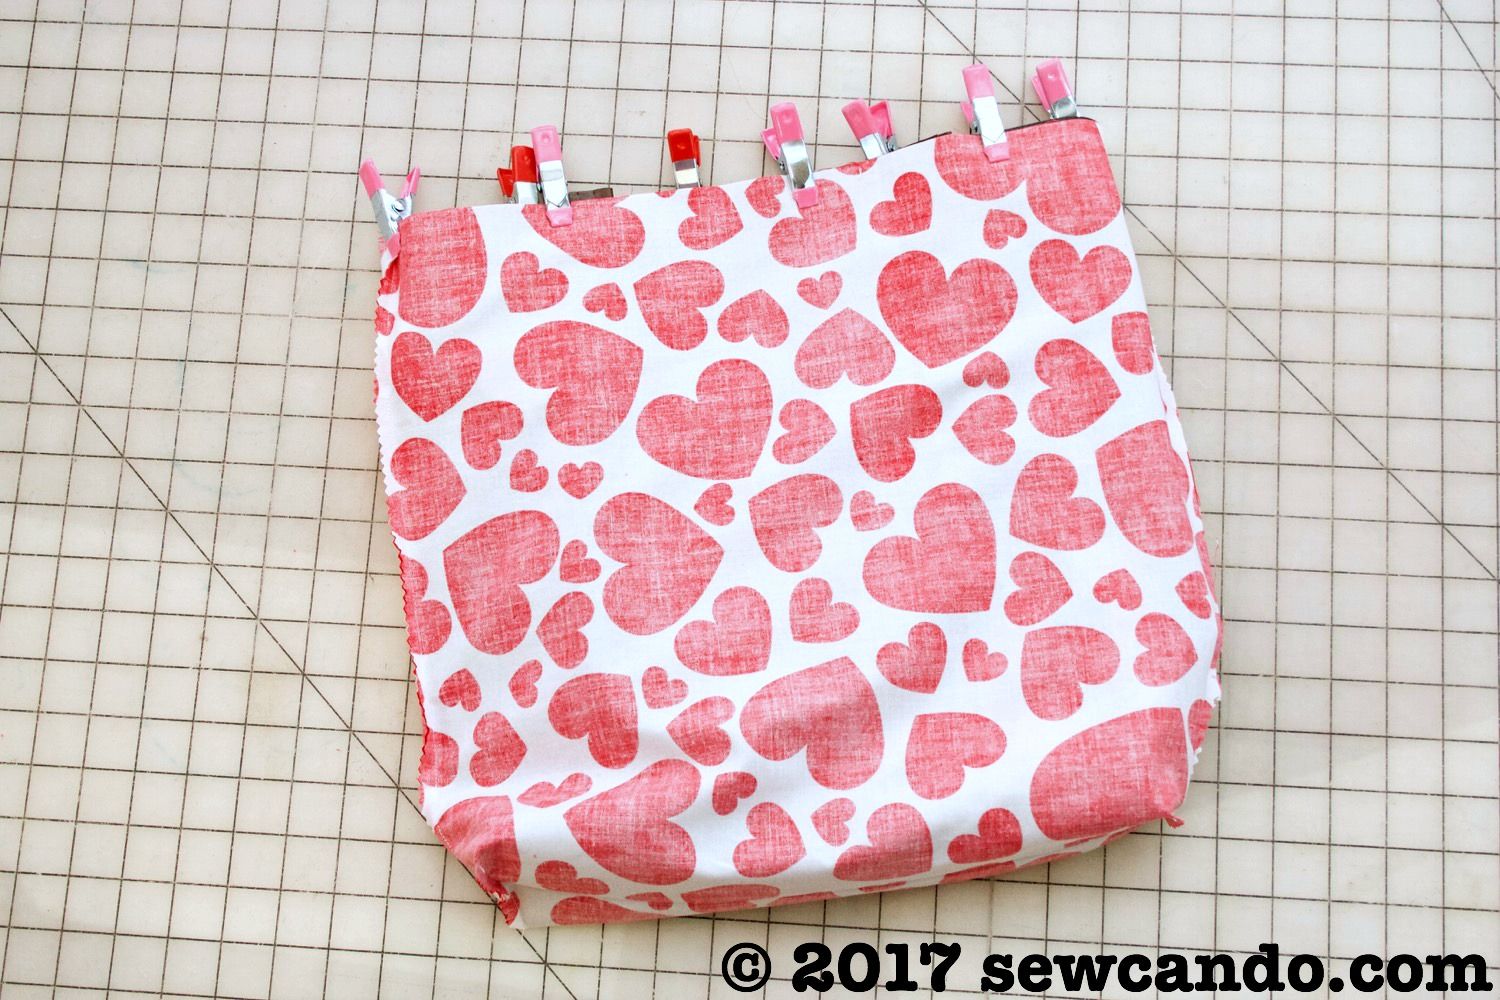
I lined up the side seams, clipped, then stitched them together all the way around:


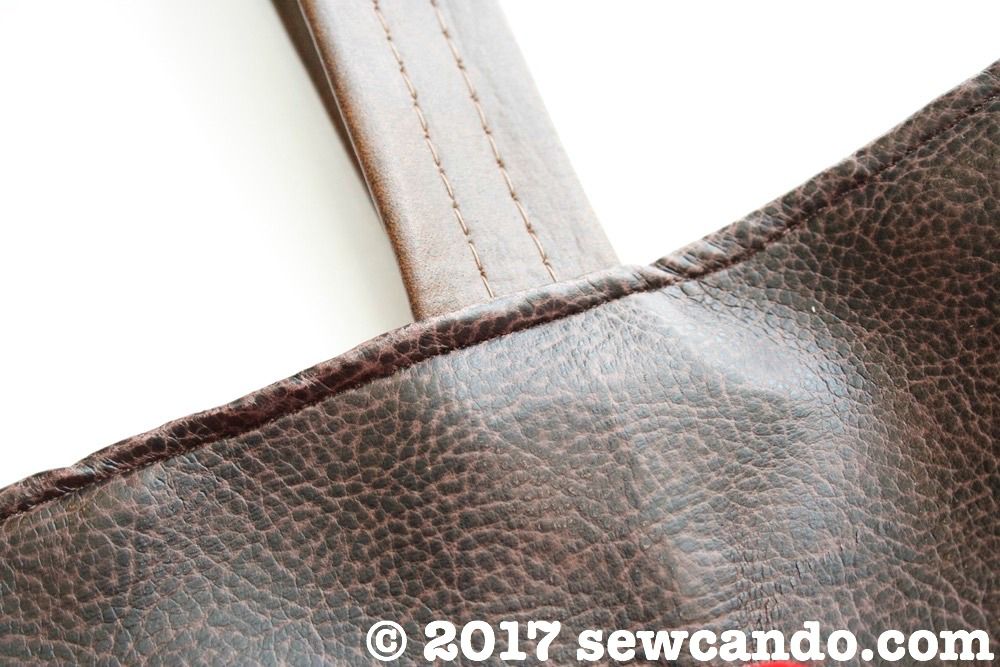
After pulling things right side out and hand-stitching the gap closed and putting the lining into the main tote, I topstitching all the way around the upper edge:


So far I've toted this bag all over town and it's so soft & lovely.  Like a Valentine's gift for myself, but still whimsical enough to use well after the holiday.  I ðŸ’— DIY bags!


LinkWithin

Related Posts with Thumbnails