Showing posts with label Backpacks. Show all posts

Tuesday, August 22, 2017

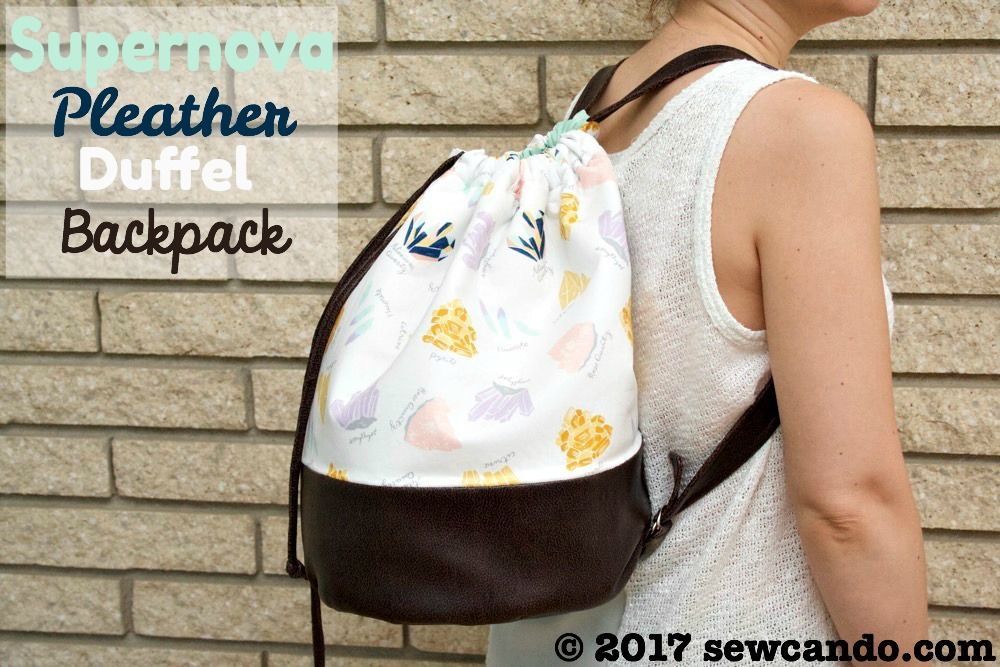
Supernova Pleather Drawstring Duffel Backpack Tutorial & Fabric Giveaway


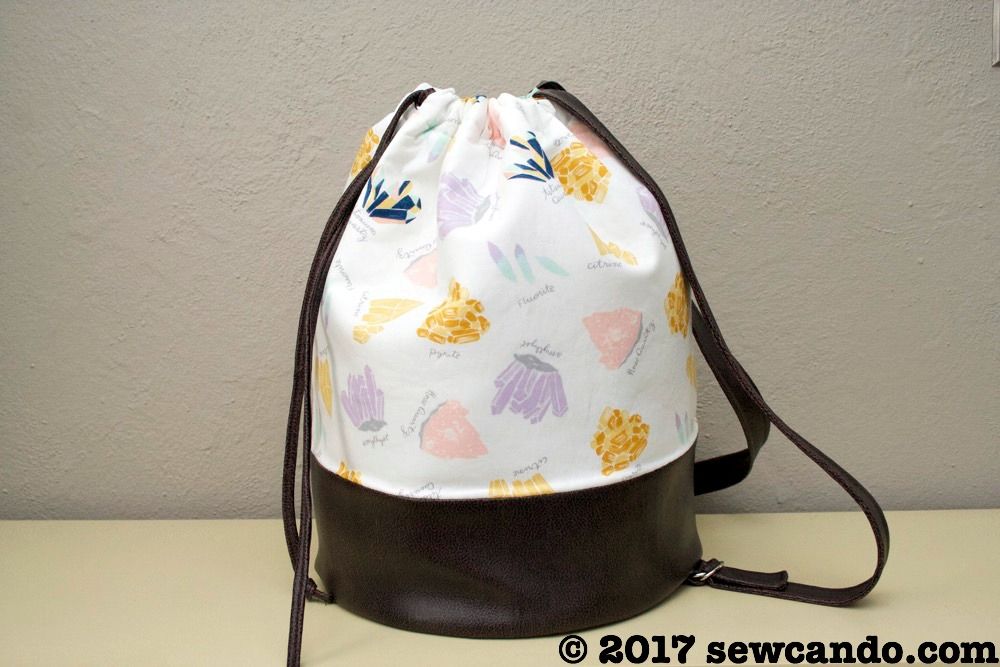
It's TWO-fer time!  A fun tutorial AND a fabric giveaway to go with it!  I've got a new bag how-to that's all about versatility to start things off: my Supernova Pleather Drawstring Duffel Backpack.

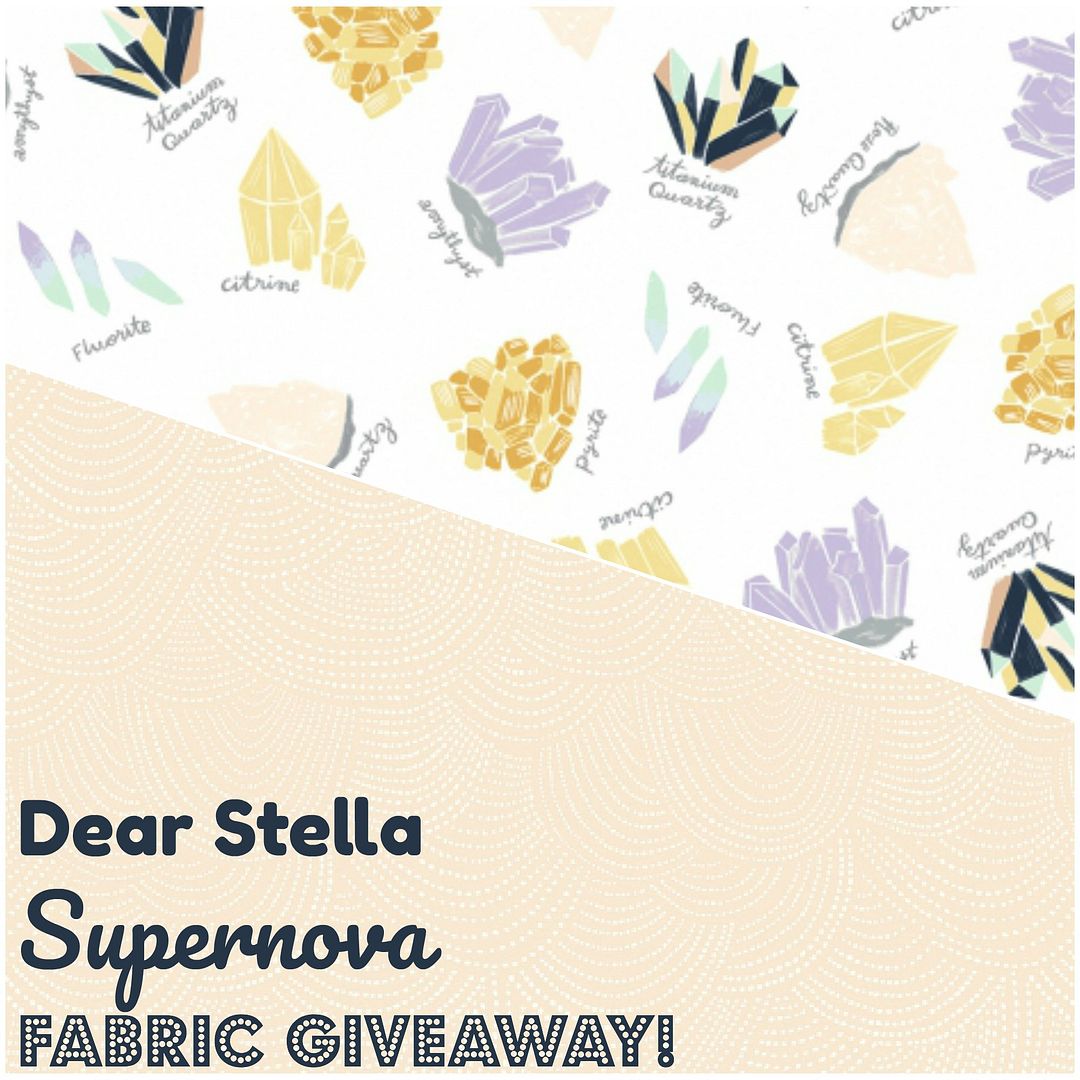
I was inspired to make it by this awesome gemstone print fabric.  It's from the new Supernova collection by Dear Stella.  I love the geometric mineral design.  So science chic! And there's a chance for you to win some for yourself below;)
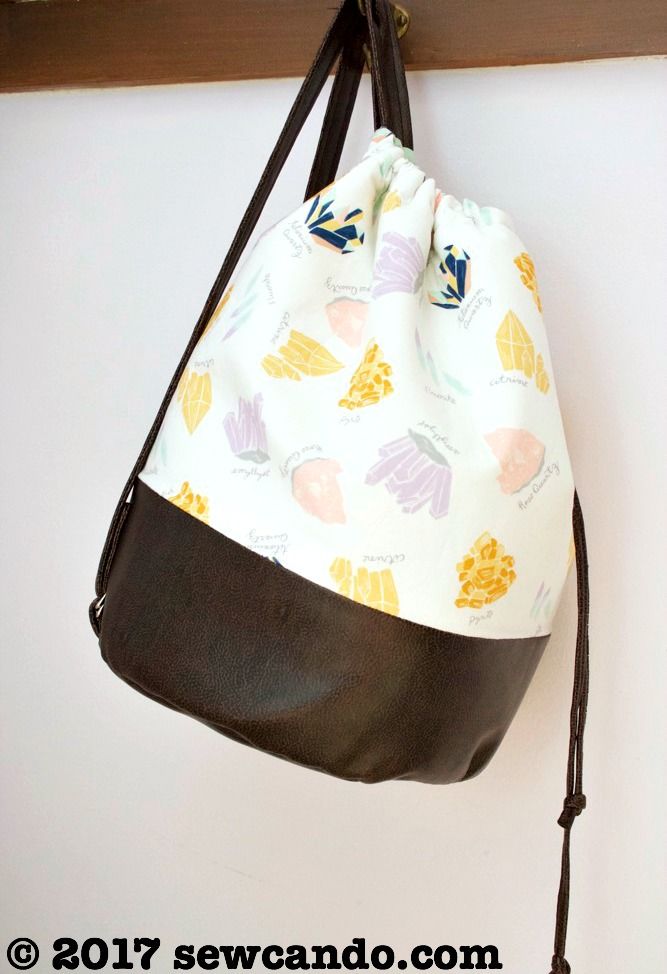

Using pleather for the lower portion, bottom and straps, gives the backpack extra durability:
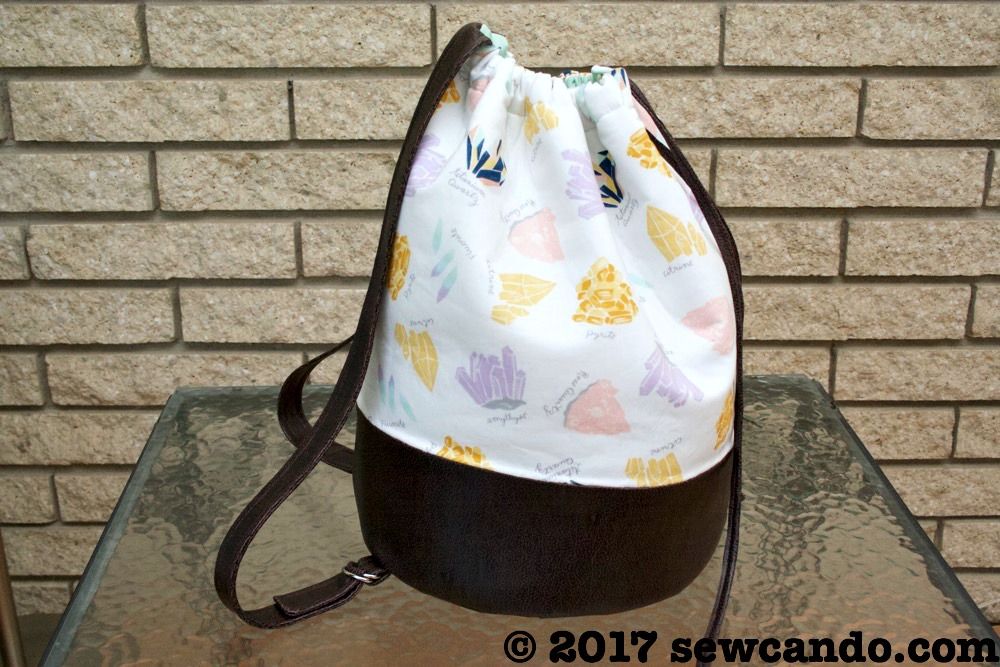

And a pretty color and texture contrast:
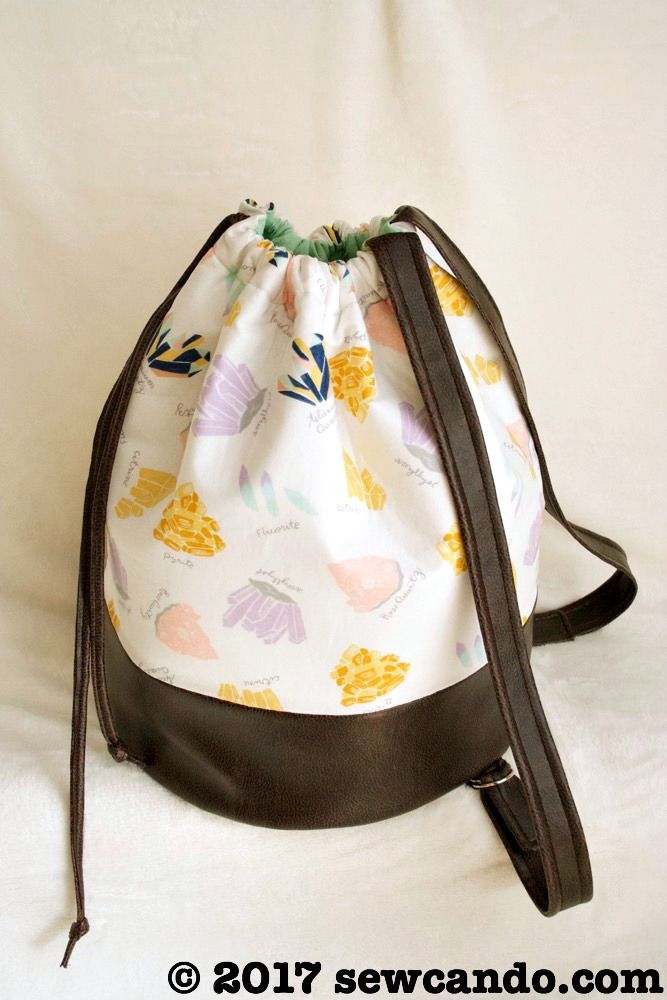


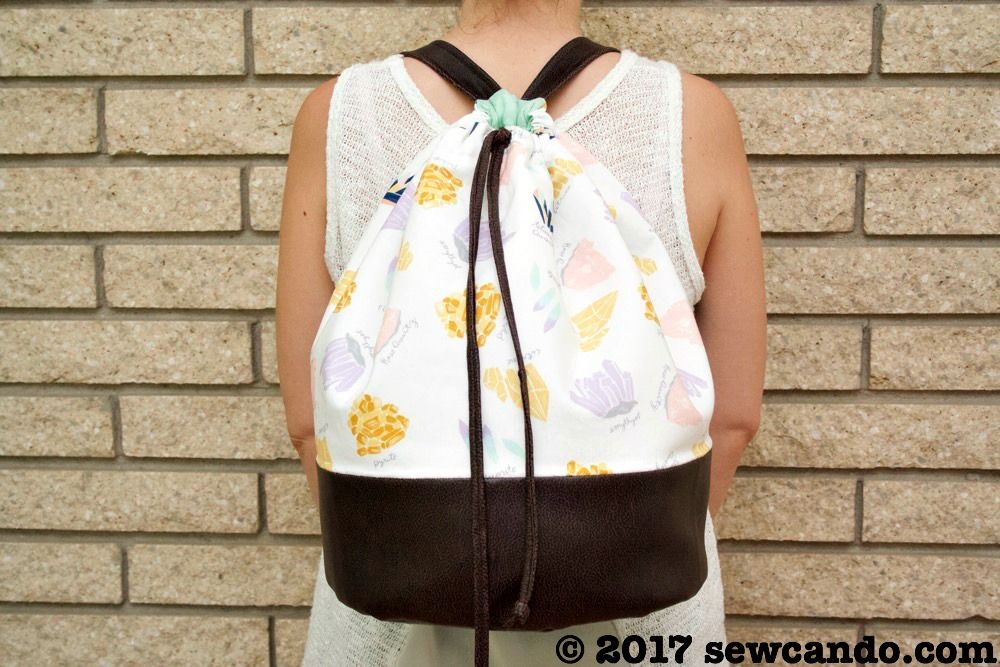
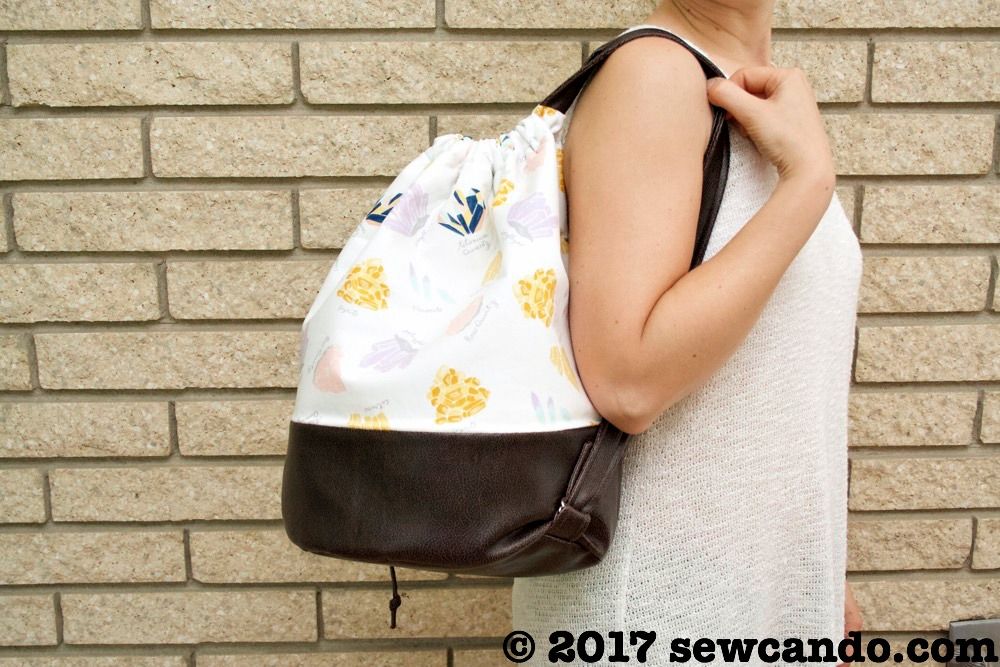
The generous size makes it work well as a backpack, large purse or even a chic diaper bag alternative:

Materials:
- 1 yard outer cotton fabric (I used Dear Stella Supernova Gemstones)
- 1 yard lining cotton fabric (I used Dear Stella Triangle Dot in Midori)
- 1/2 yard pleather fabric
- 1 yard fusible fleece
- 2 pairs 1/4 inch wide D rings
- 2 3/4inch wide grommets
- Notions: heavy duty needle, hand sewing needle, iron, basting spray/spray adhesive, marking pen, clips, pins, chopstick, matching thread.  Optional: walking foot.

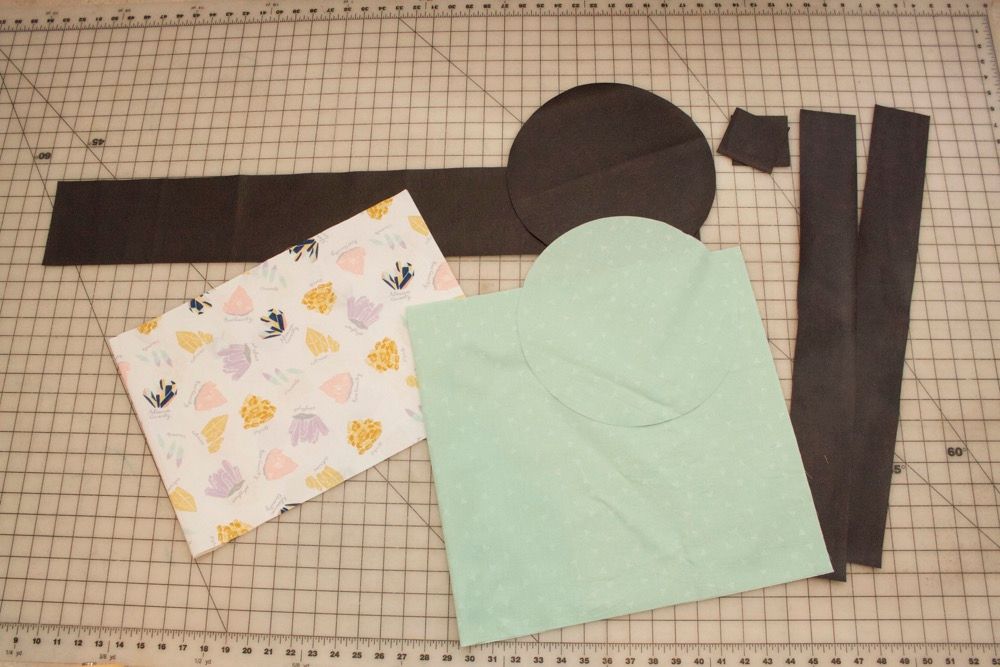
Start by cutting the following pieces:

Outer fabric 
(1) 12 inch high by 34 inch wide rectangle
(1) 10 1/2 inch diameter circle

Lining Fabric
(1) 16 inch by 34 inch wide rectangle
(1) 10 1/2 inch diameter circle

Pleather
(1) 5 inch high by 34 wide rectangle
(1) 10 1/2 inch diameter circle
(2) 18 inch by 3 inch strips
(2) 3 inch by 3 inch squares (for lower straps)

Fusible Fleece
(2) 15 1/2 inch wide by 34 inch long rectangles
(2) 10 1/2 inch diameter circles

With right sides facing, stitch together the bottom edge of the outer fabric and the pleather side piece.
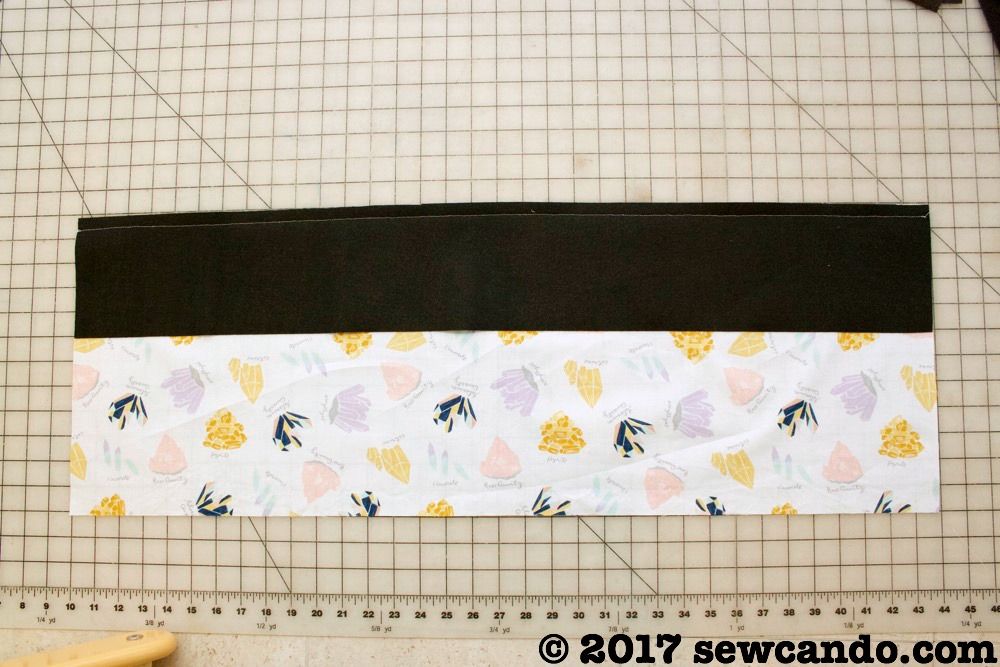

Line up a piece of the fusible, wrong sides facing, with the fabric - leaving a 1/2 inch gap at the top.
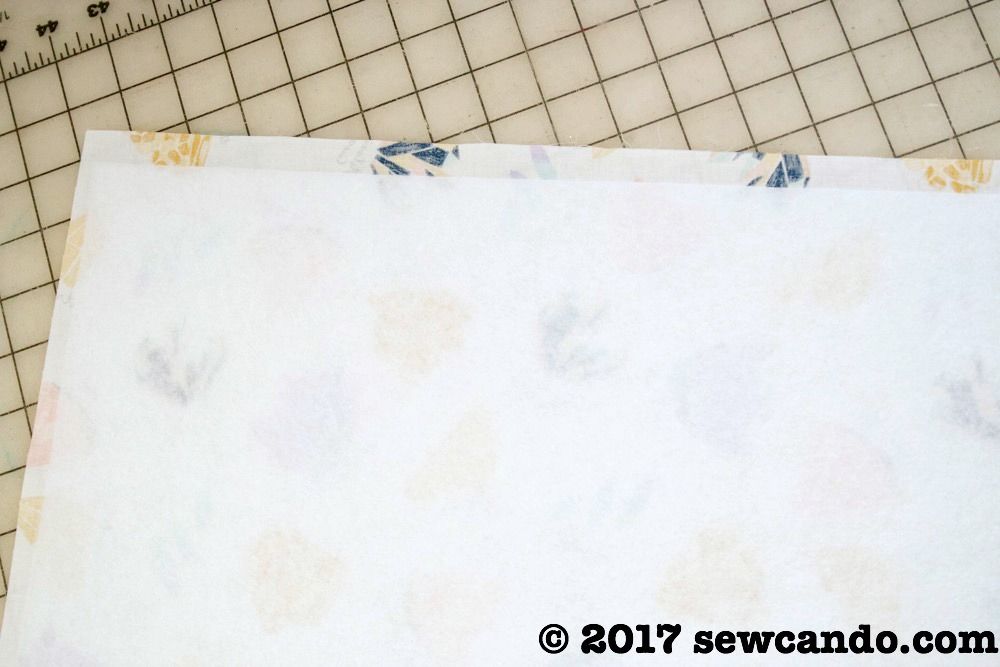

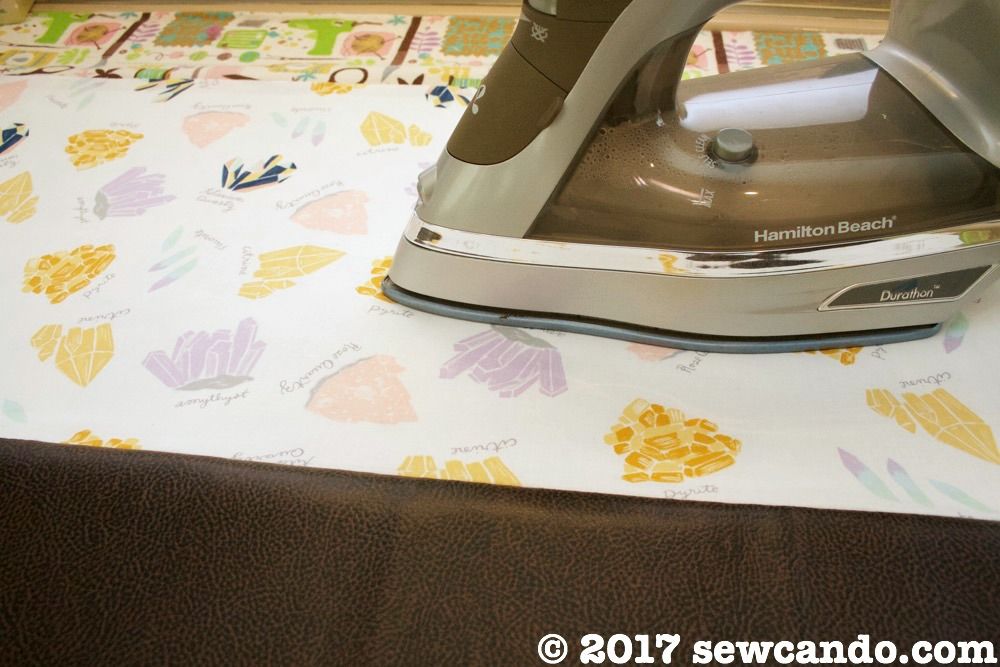
Flip and iron on the right side of the fabric to fuse, careful to keep the iron away from the pleather bottom so it doesn't melt.  Fuse the fleece to the lining pieces as well. 

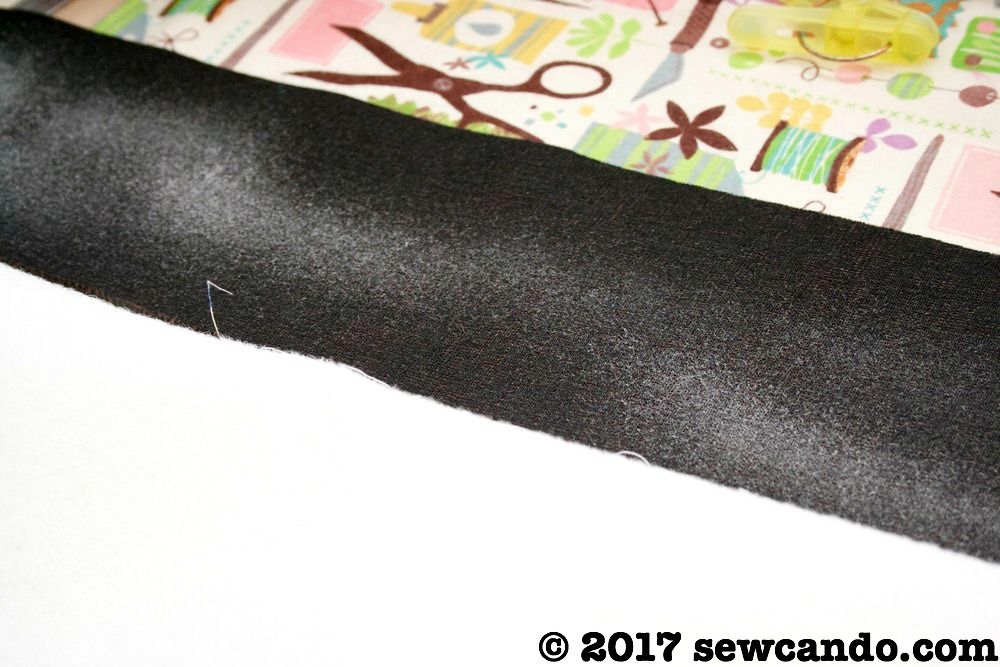
Spray quilt basting or spray adhesive on the wrong side of the pleather so the fleece will adhere to it.  Smooth the fleece onto it.  Do the same with the bottom circle.

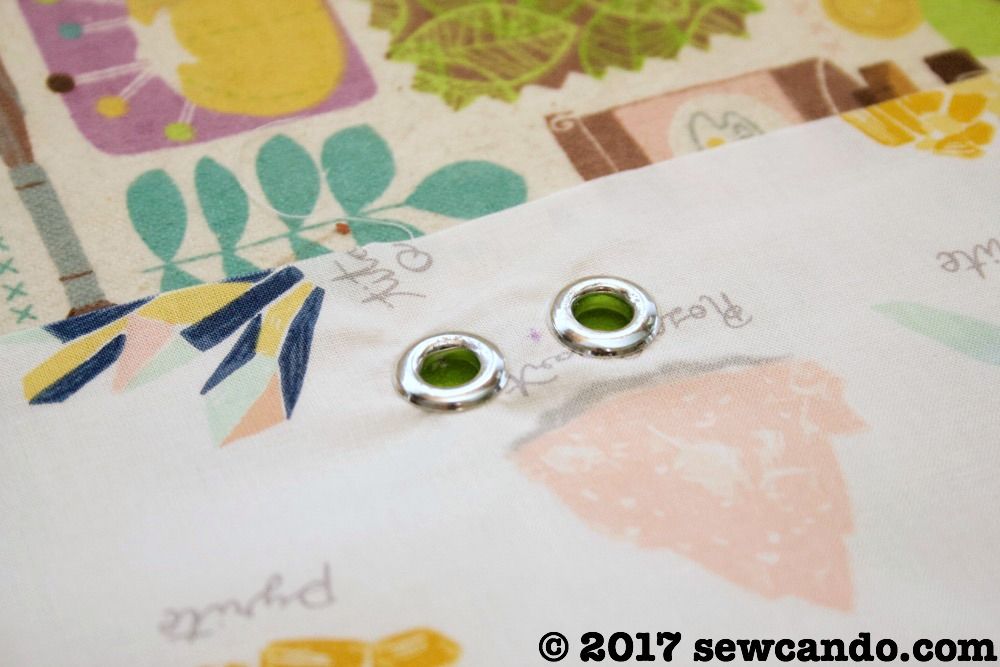
Measure to find the center of the rectangle and mark one inch down from the top edge. Affix the grommets, one half inch apart according to the package directions:

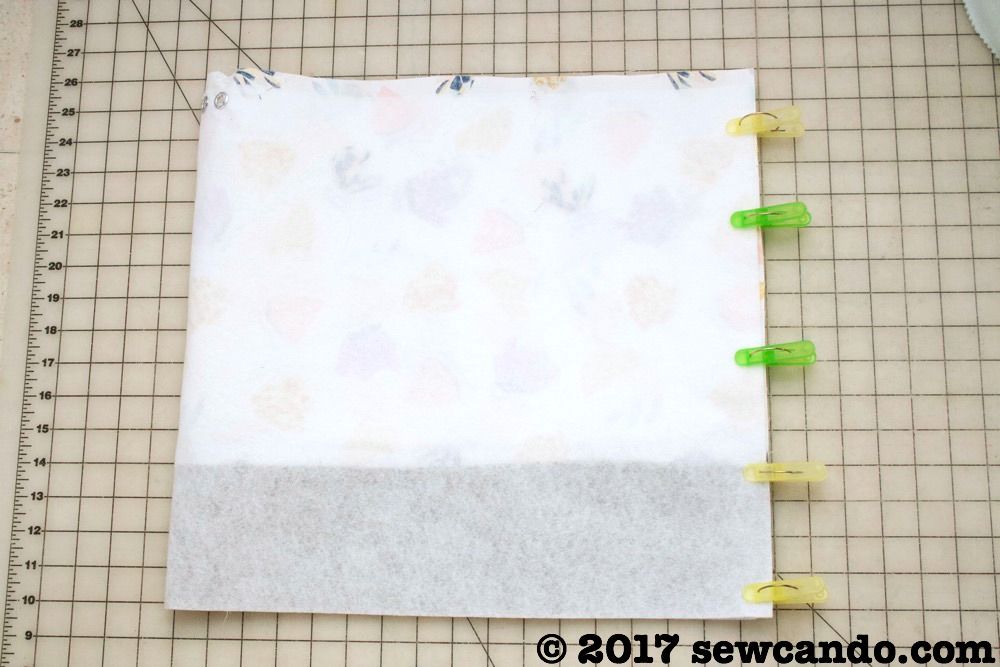
Bring short sides together using clips and stitch.  Do the same with the lining, but leave a 3 inch gap in the side for turning.

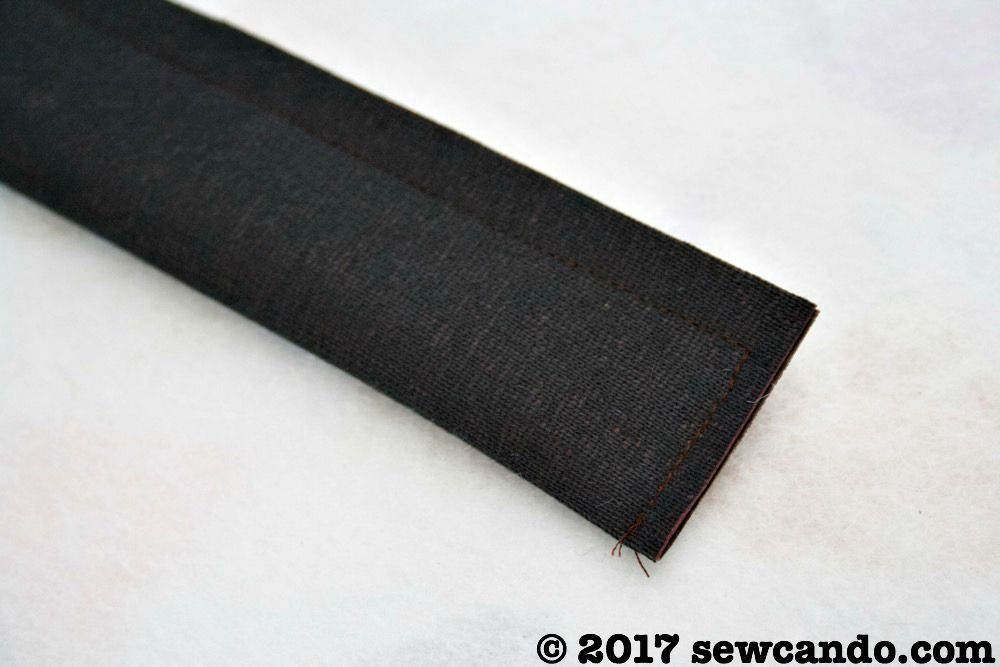
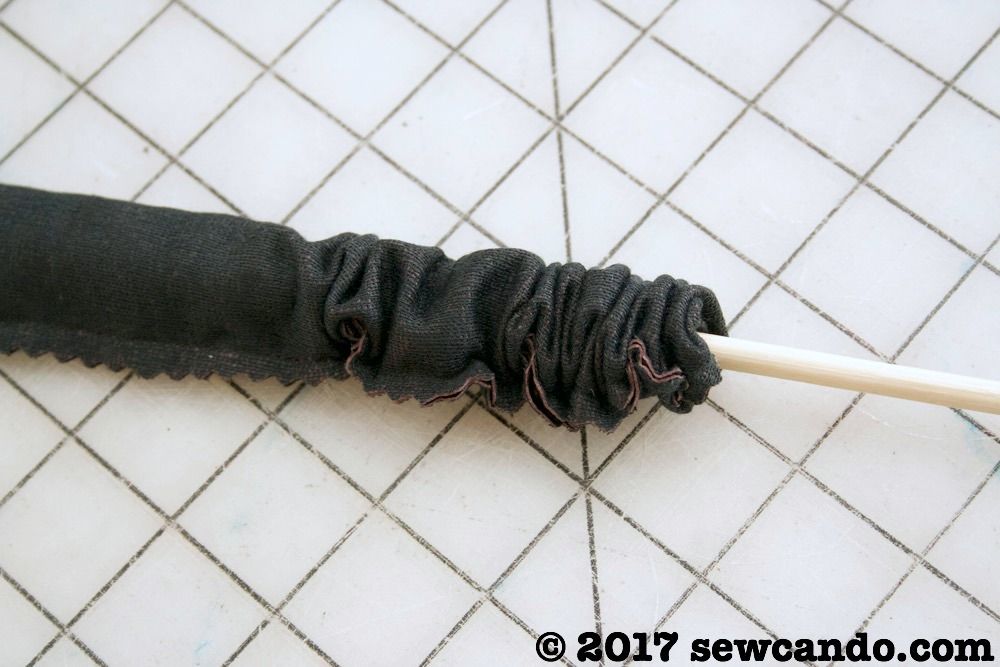
Take the strap pieces and fold in half lengthwise, wrong side out.  Stitch along side and one short end:


Using a chopstick or fairly blunt dowel, wiggle the short end into the strap to turn it:

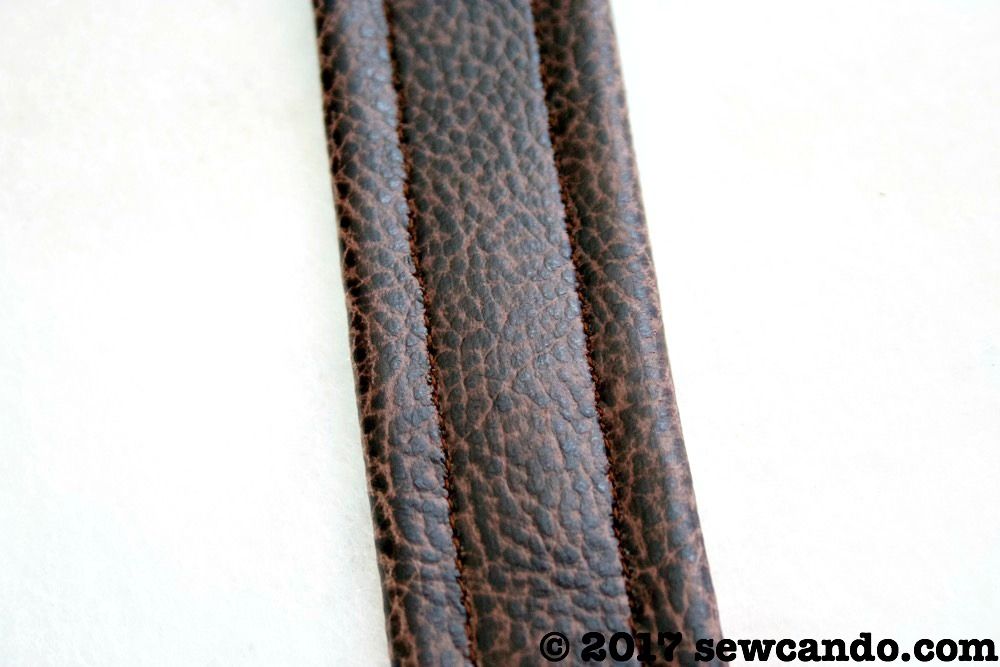
Top stitch 1/8 inch from either side.  A walking foot makes this a little easier, but it's not required.

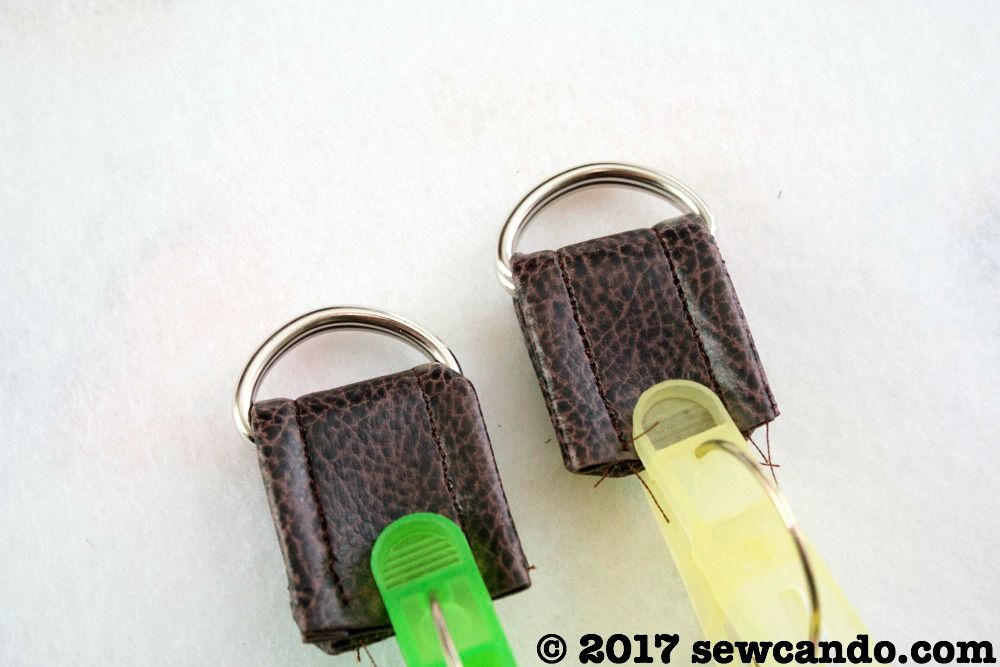
Do the same with the short straps and thread a pair of D rings through each, fold over and clip ends together:

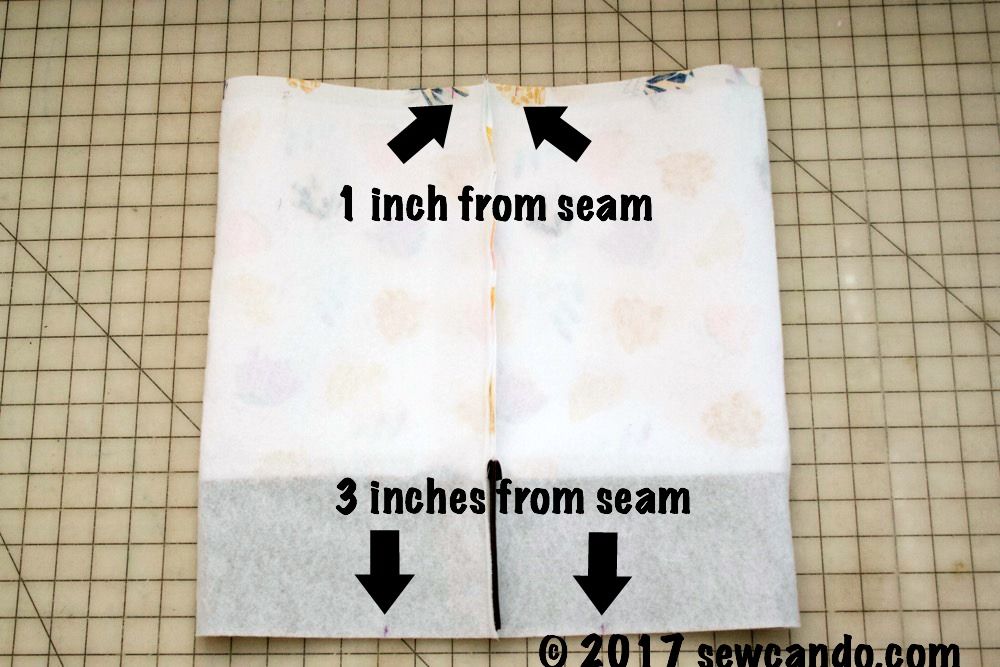
Open up outer bag with the side seam in the center.  Mark along the top one inch over on either side of the seam for the top strap placement and three inches over on either side of the seam on the bottom end for the short strap placement:


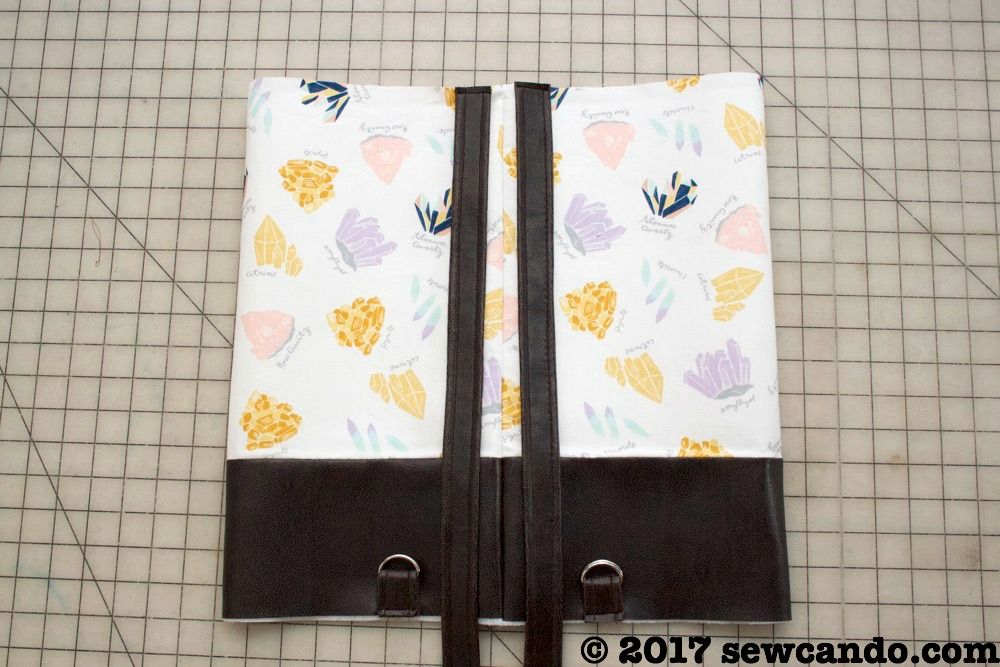
Stitch straps into place on right side of bag:


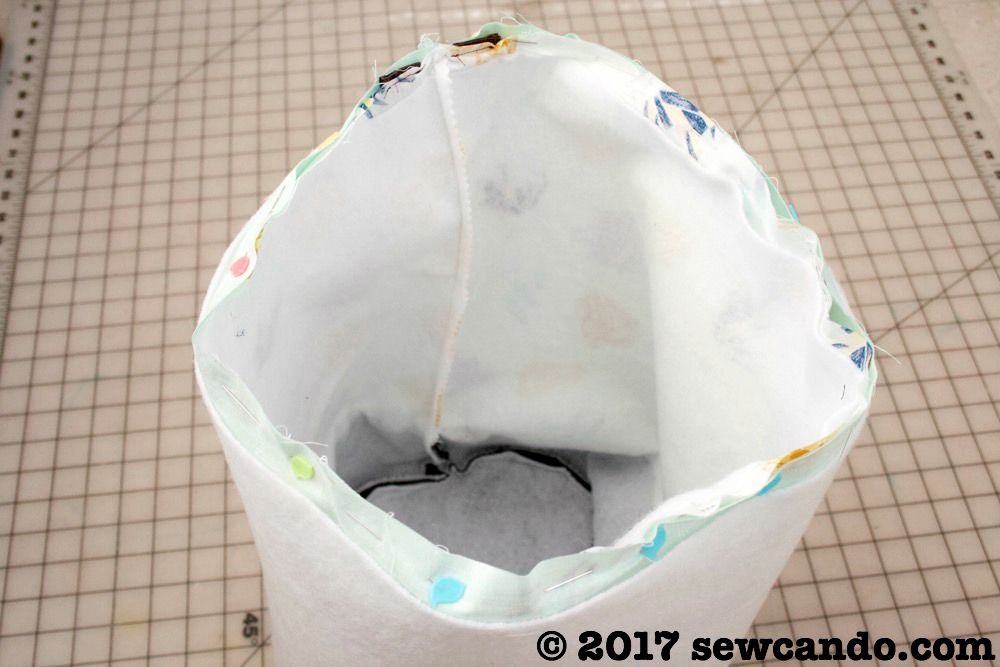
Clip the pleather circle to the pleather bottom of the cylinder and stitch together all the way around with a 3/8 inch seam allowance.  Repeat with the lining (pins are ok here):


With right sides facing, insert outer bag into lining.  Pinning all around the top.  Stitch together with 1/2 inch seam allowance.  


Carefully pull bags right side out through side gap in the lining.  Hand stitch gap closed.  Top stitch 1 1/4 inches down from top seam to create the casing for the drawstring.


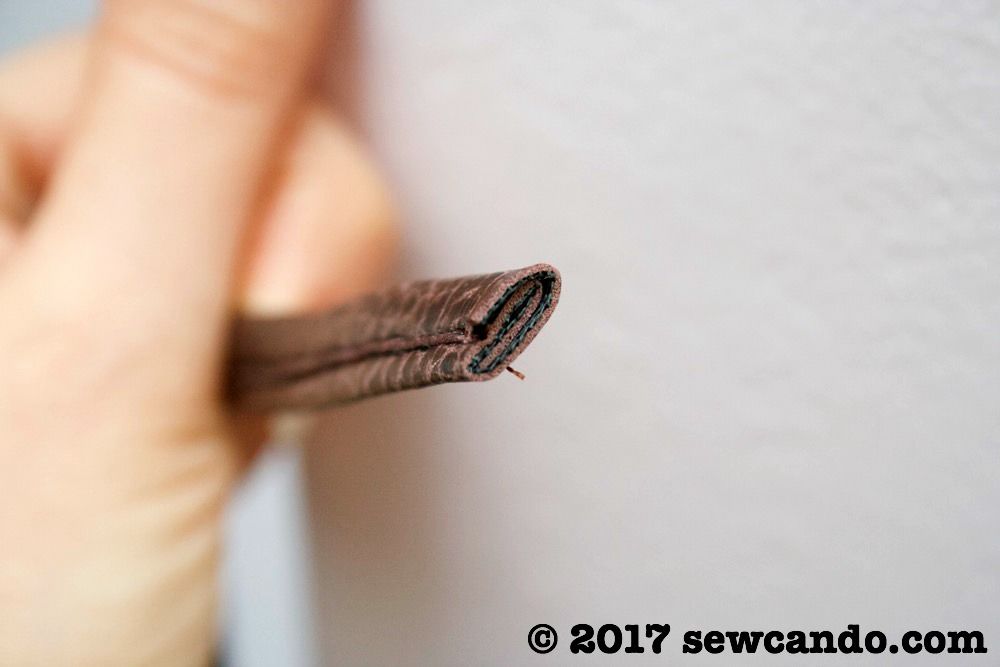
Take drawstring strip of pleather and fold over three times lengthwise.  Clip in place and stitch together:


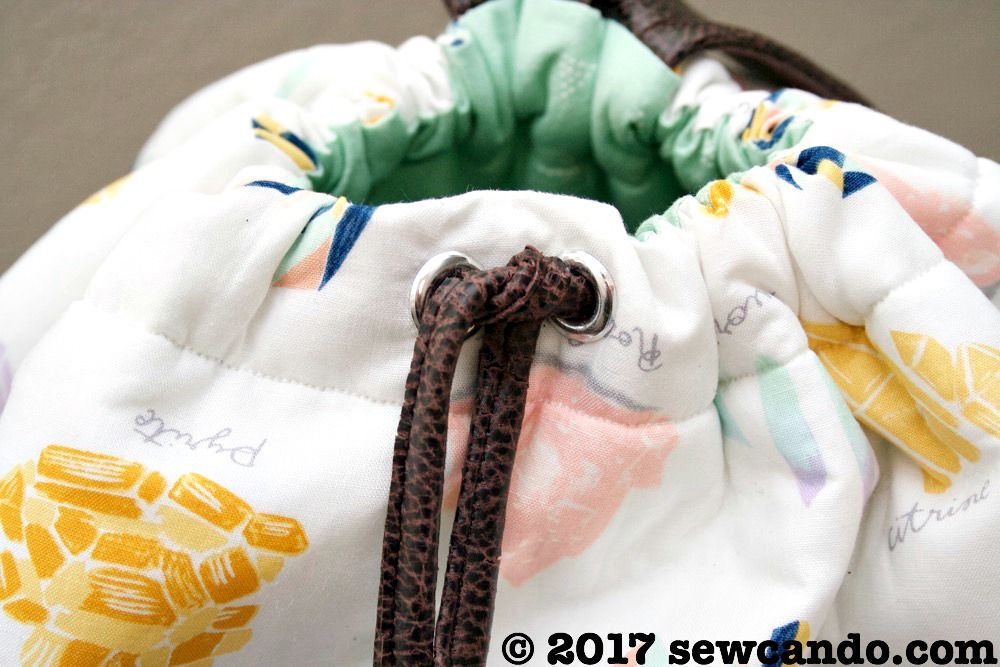
The pleather will not fray so it's ok for the raw edge to be out.  Using a safety pin, snake drawstring through the casing and then knot the ends:


Pull ends to cinch closed and tie to hold in place:


Thread the straps through the D rings to the desired length and the backpack is ready to tote around!


Now how about a chance to win some of this pretty fabric to make your own??


I'm giving away a 1 1/2 yard cut of this Supernova Gemstones print and a yard of the coordinating Scallop Dot in Eggshell, courtesy of Dear Stella.

a Rafflecopter giveaway


I was not financially compensated for this post.  I received fabric, to use as I wished, from Dear Stella.   The opinions are completely my own based on my experiences.

Wednesday, August 3, 2016

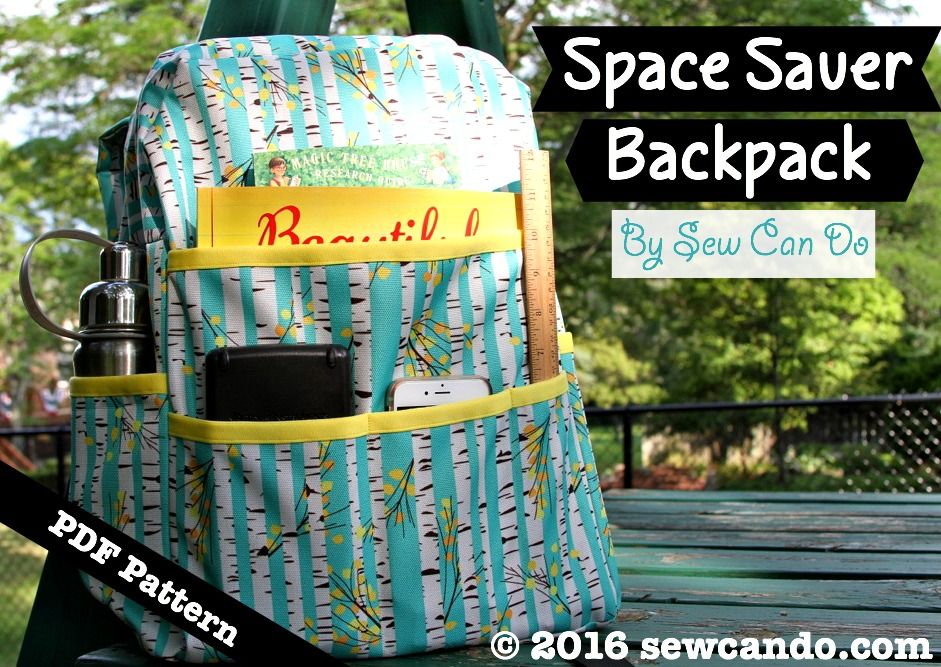
My Space Saver Backpack Pattern Release & Giveaway!!


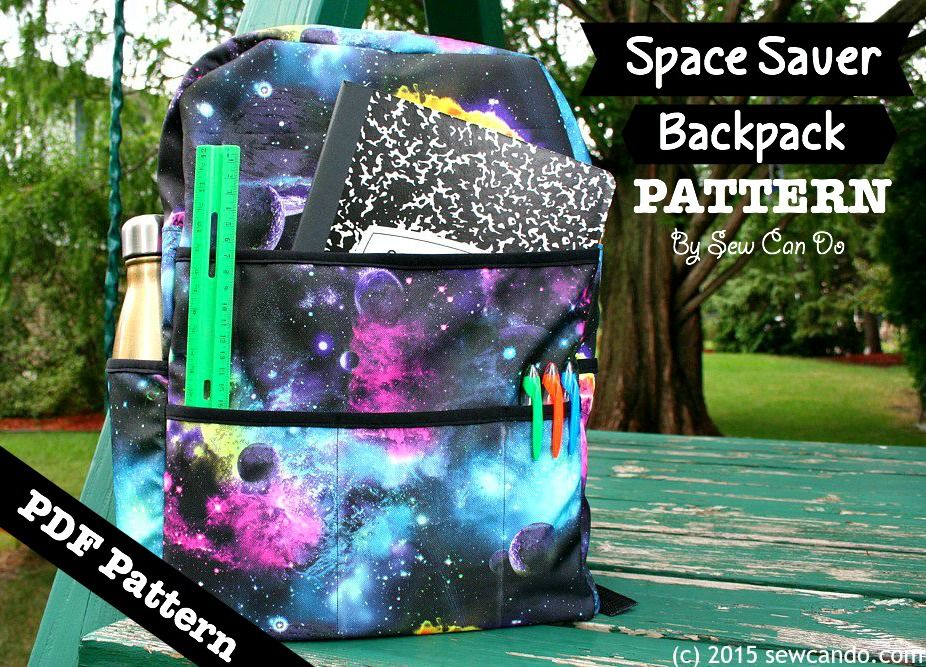
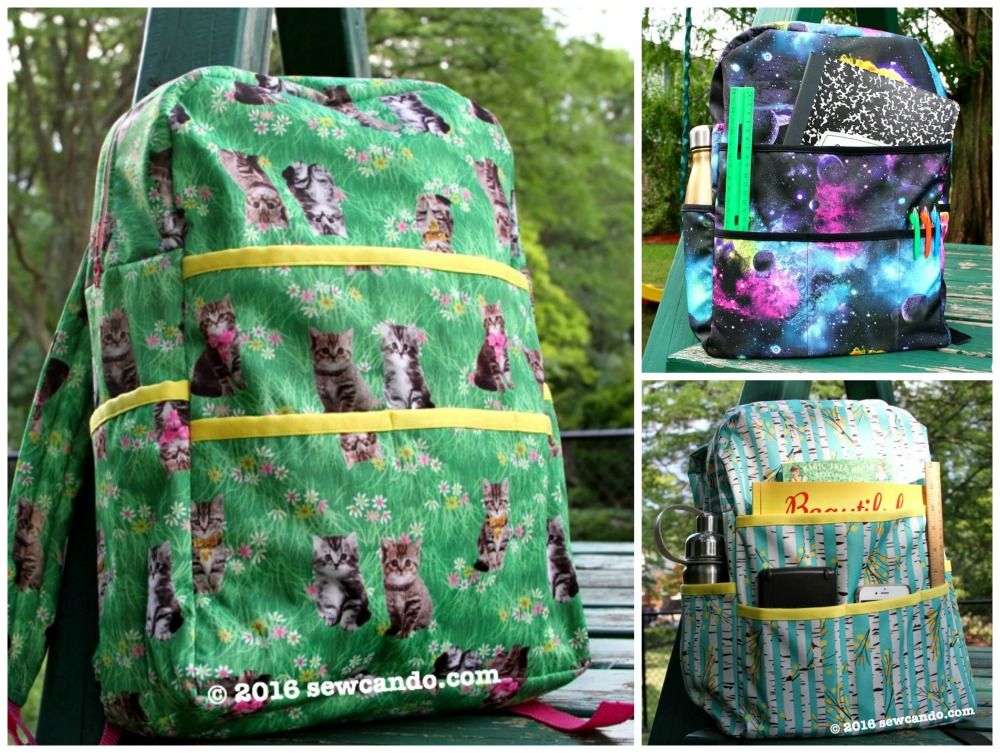
I've been a busy bee over in the Sew Can Do craft room lately.  Working on lots of new things and thrilled to announce the first of them today.  It's a brand new sewing pattern that's perfect for back to school:  my Space Saver Backpack Pattern!


With this pattern, you can create a custom backpack with your favorite fabrics. Perfect for school, the gym, heading to work or as a wearable alternative to an overnight or diaper bag. 


You may remember last year when I shared some posts on an awesome fabric, Waterproof Oxford, that one of things I made with it was a backpack.  I finally made it into a pdf pattern. 


To celebrate this new pattern, I'm giving away several copies of the Space Saver Backpack Pattern to my readers!

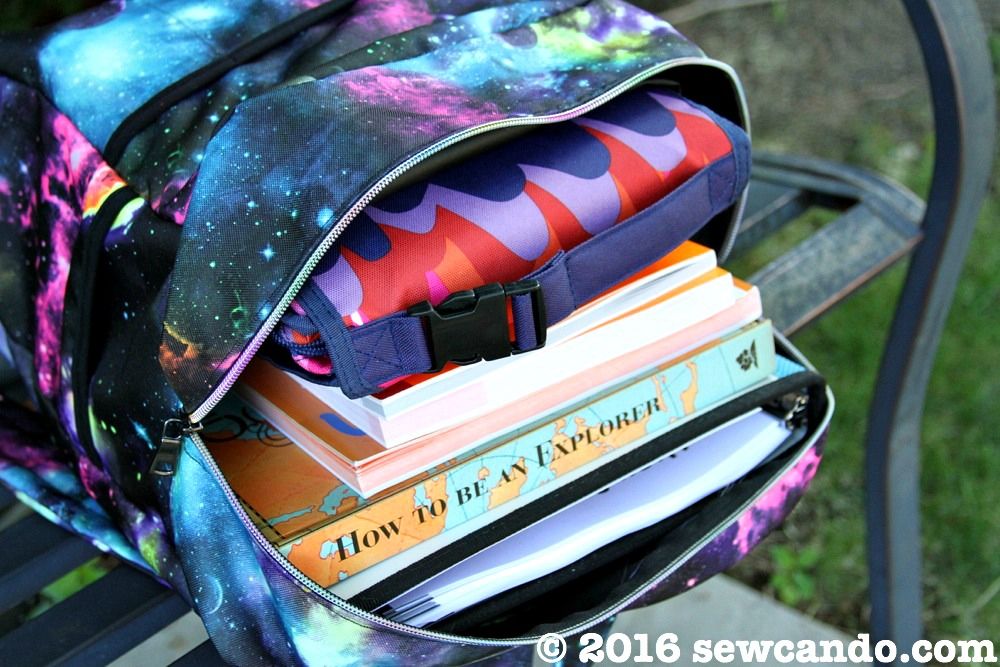
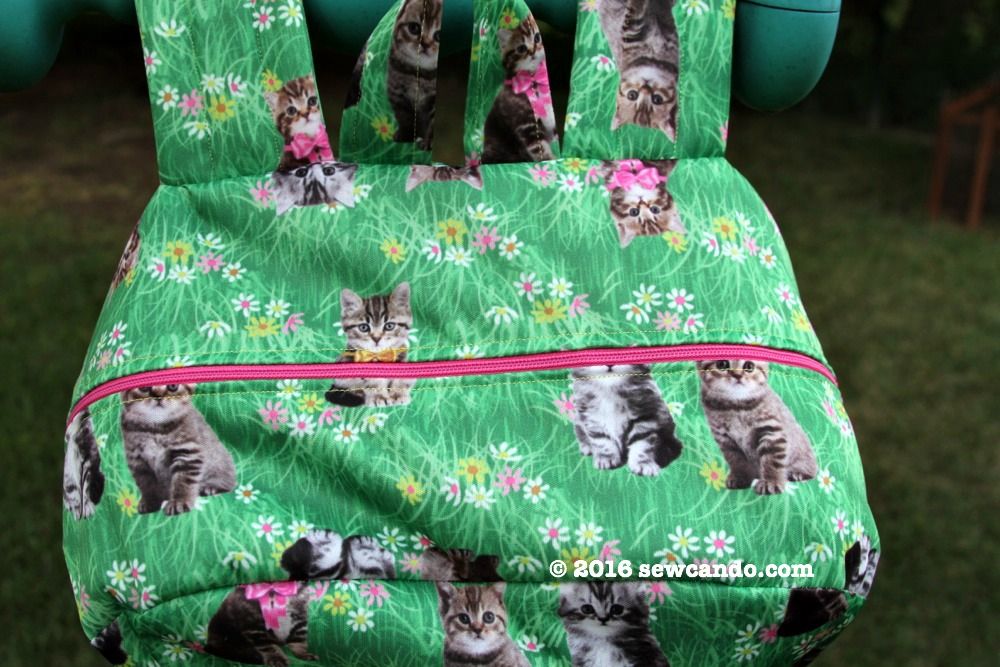
This pattern's got all the key backpack features, like large zipper opening to be quick to load and unload.


A roomy interior that holds lots and is easy to access.


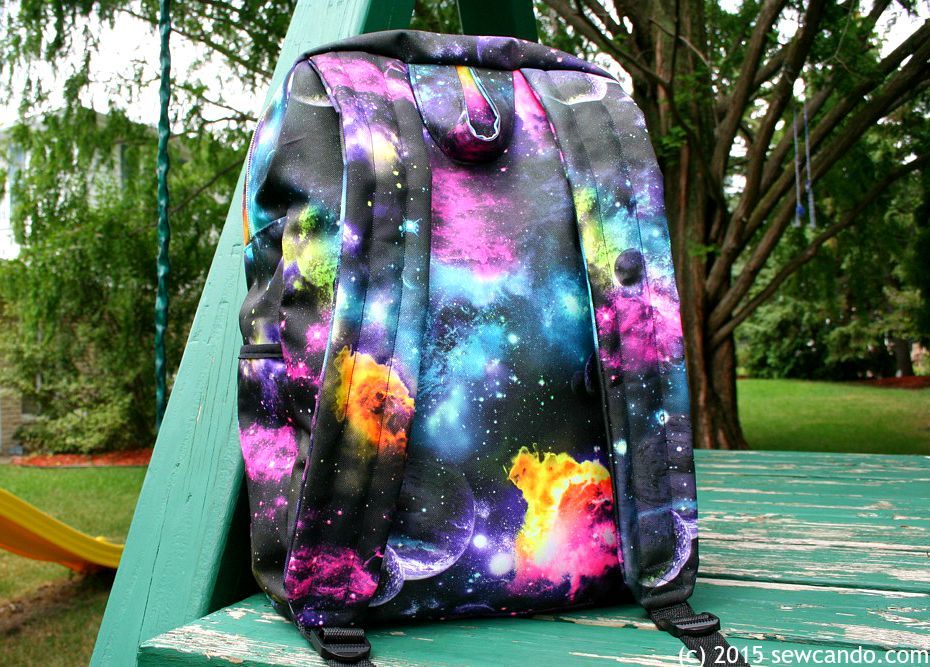
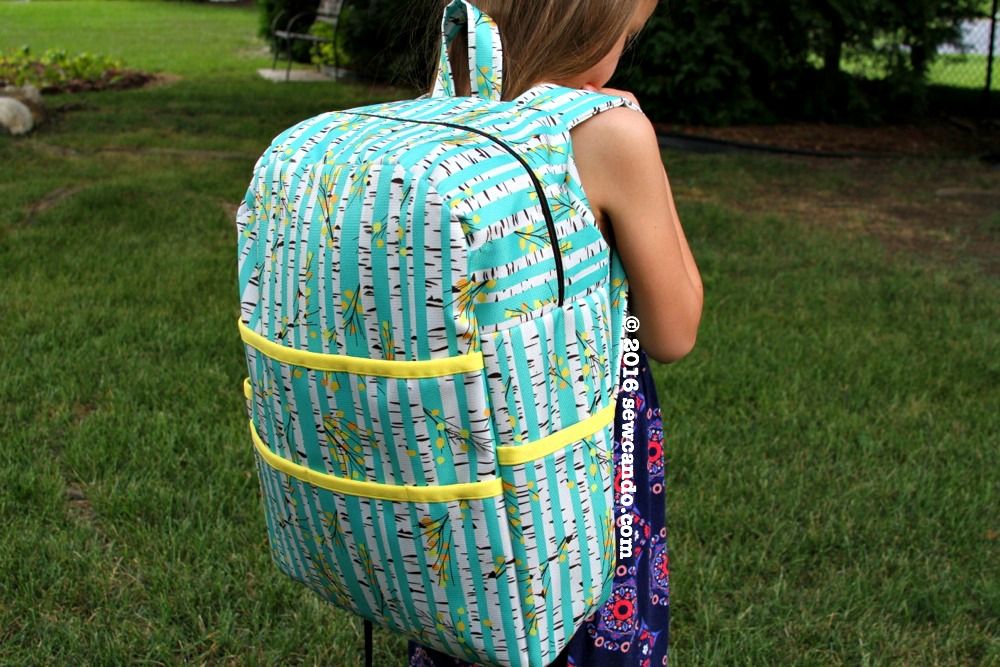
Adjustable padded straps to give the perfect fit.  


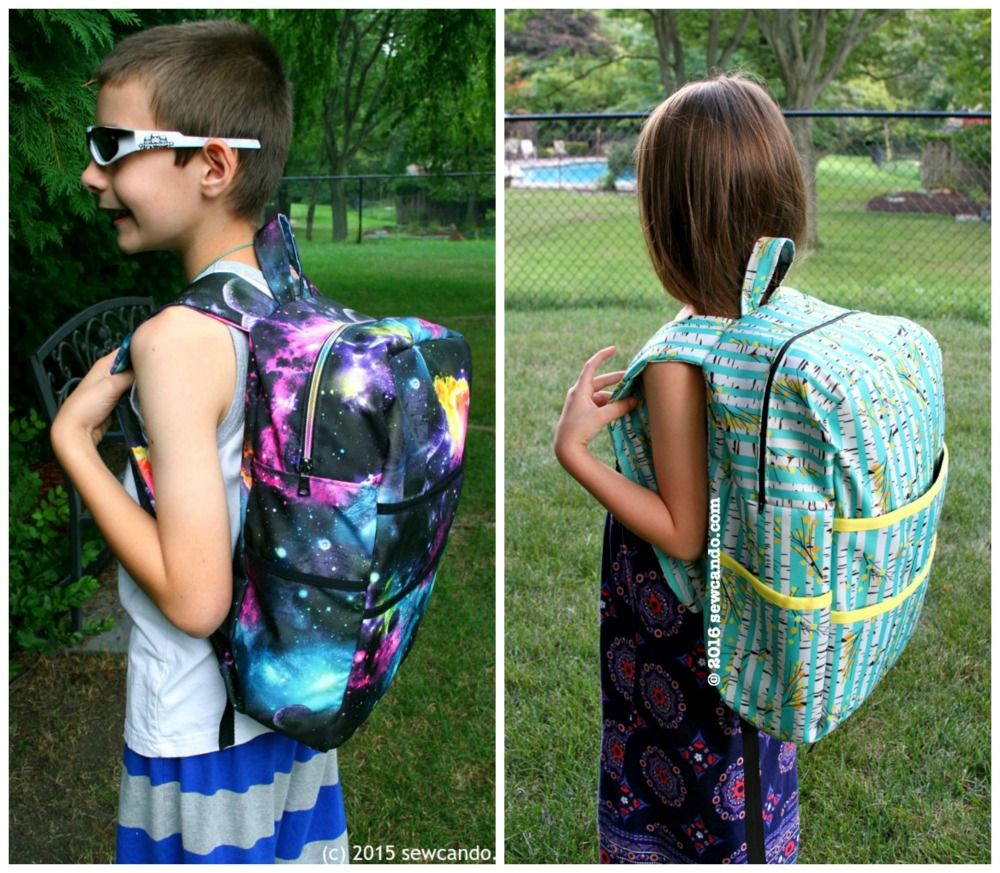
At 12in x 16in x 6in, it's big enough for an adult, but still a comfortable size for kids. 


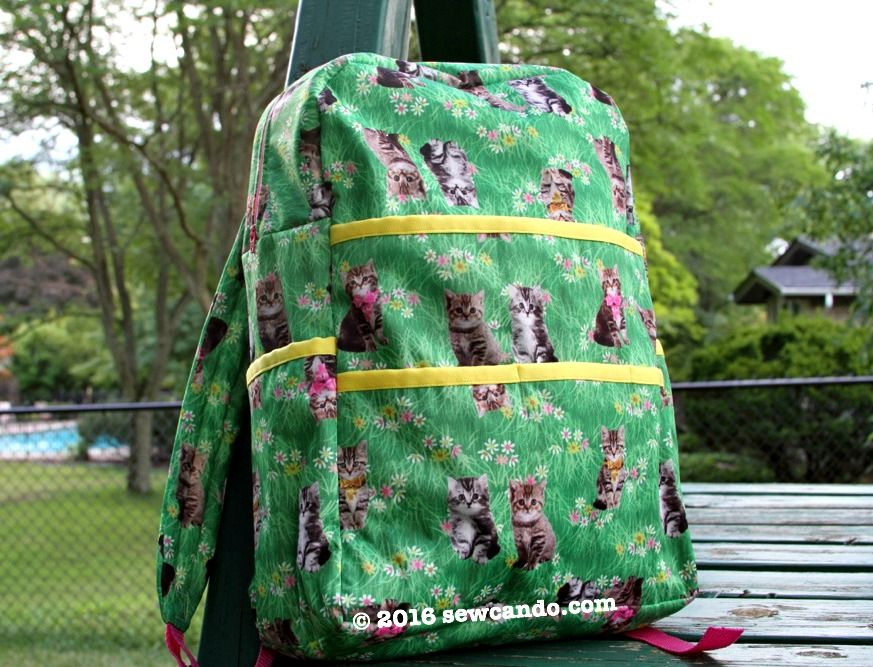
Wide choice of fabrics that work with it.  Use Waterproof oxford, PUL, Laminated Cotton for a strong, wipeable bag or Canvas, Denim, Corduroy, Ripstop or Woven Cotton for a classic fabric version.  Loads of fabric options.


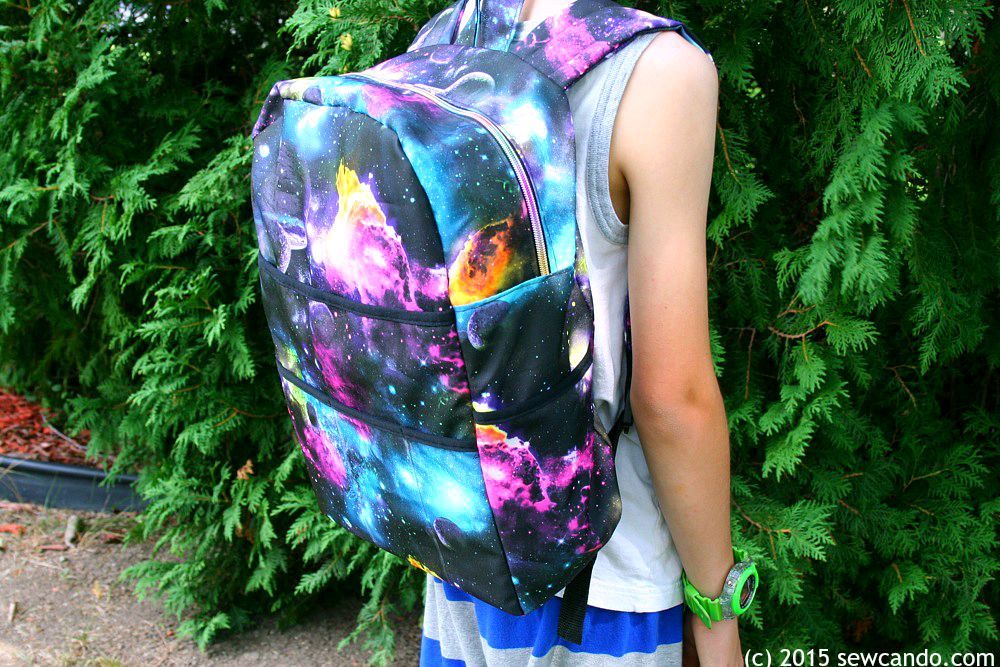
My absolute favorite fabric for it is the Waterproof Oxford.  It's super strong, holds shape well, is weatherproof and easily wipes clean inside & out. Backpacks made with it are indistinguishable from the pricey store bought versions in feel and look.  Plus the prints available in this fabric are way cooler than any ready-buy backpacks I've seen;) 


Space Saver Backpack in Waterproof Oxford

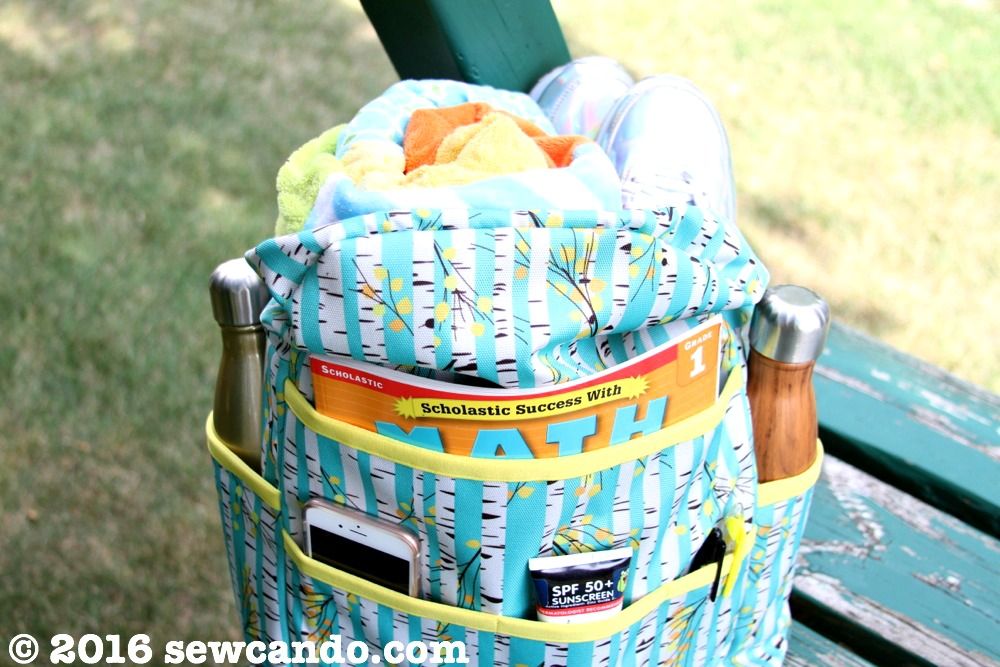
Loads of pockets on front and both sides.  I've crammed water bottles, phones, tablets, books and school supplies of all sorts into them.  They've got tons of room!


Space Saver Backpack holding 2 water bottles, markers, workbook, sunscreen, iPhone,
women's shoes and a twin sized blanket - with room left for even more!

The backpack design also has a handy loop to hang it when not in use.


As always, the instructions include full color photos, as well as sewing tips, a handy fabric selection guide and supply resource list to find the perfect materials. This pattern is intermediate level (if you're comfortable sewing a zipper, attaching binding and sewing through layers, you're good to go!). I've officially released the pattern for sale over in my Etsy shop, The Green Hedgehog.


And now I'm giving away 3 copies of the
 Space Saver Backpack Pattern right here!

a Rafflecopter giveaway


SaveSaveSaveSave

Friday, February 14, 2014

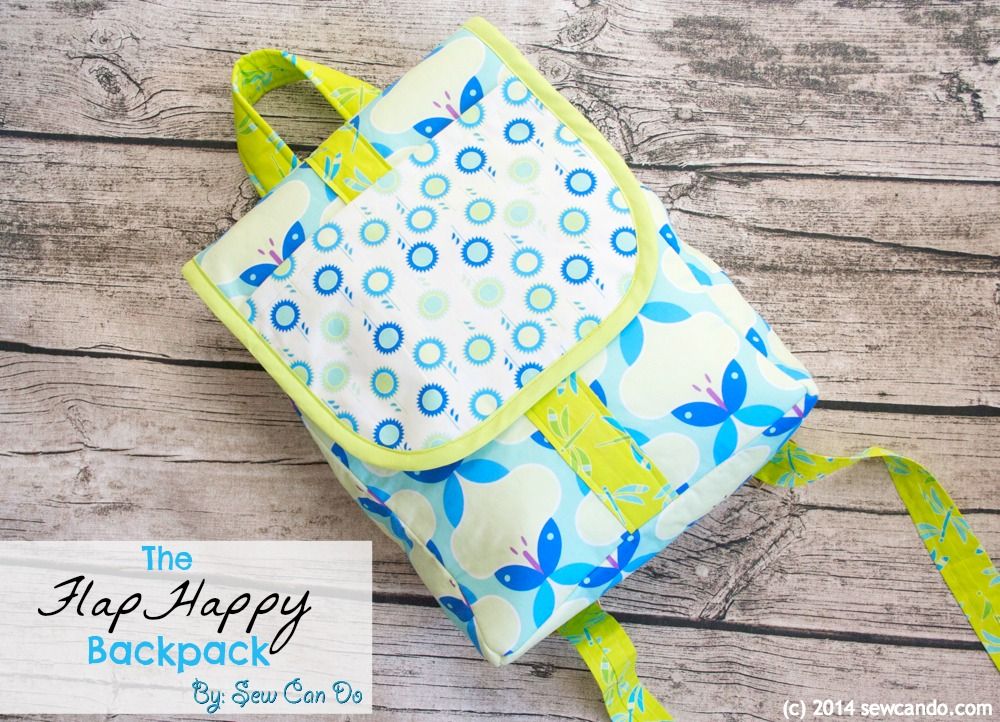
FlapHappy Backpack Tutorial AND Modern Yardage Fabric Giveaway!


Friends, have I got a fabulous Friday duo for you!  Since it's Valentine's Day, and I love my readers, here's a special treat: a new, free bag tutorial AND an awesome fabric giveaway, featuring one of my new favorite fabric manufacturers, Modern Yardage.


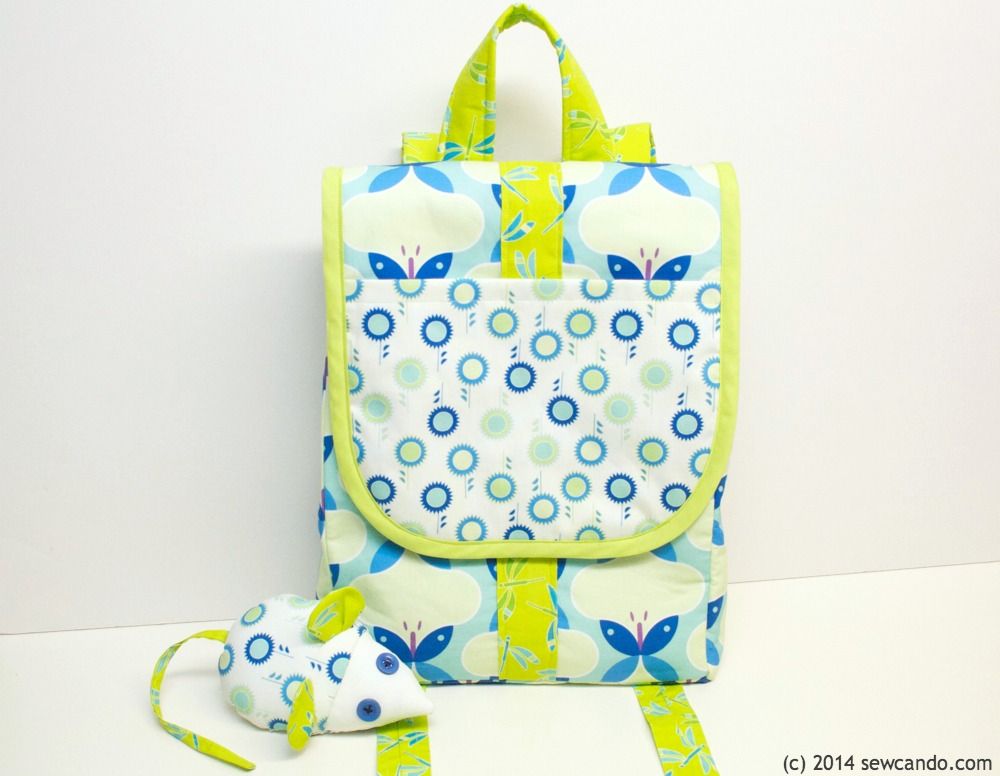
Earlier this week I shared my experience trying fabric from Modern Yardage and what makes it a totally revolutionary way to choose fabric (if you haven't read it yet, and you love fabric, you'll want to check it out here) .  I also showed a teaser pic of the backpack I made with the fabric I tried.  Now I've got a full tutorial to share so you can make my Flaphappy Backpack too!


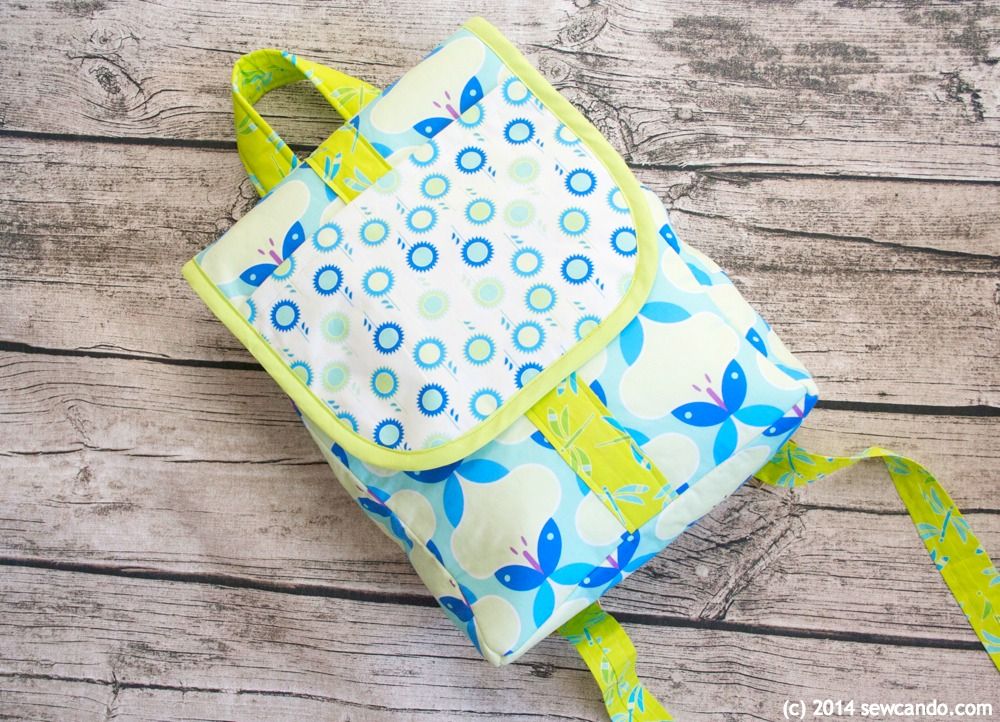
This backpack is sized to be perfect as a handbag alternative or as a child's backpack.  It's padded and has adjustable straps to fit just right.


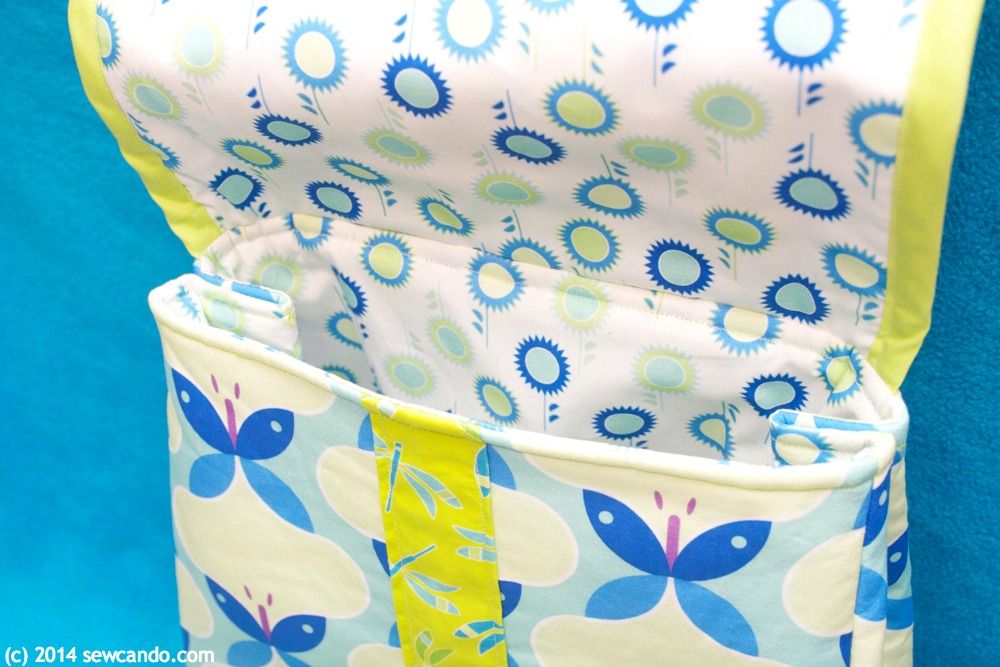
It's also fully lined inside and has pleated sides, so it's nice and wide at the bottom, but the top easily stays closed.


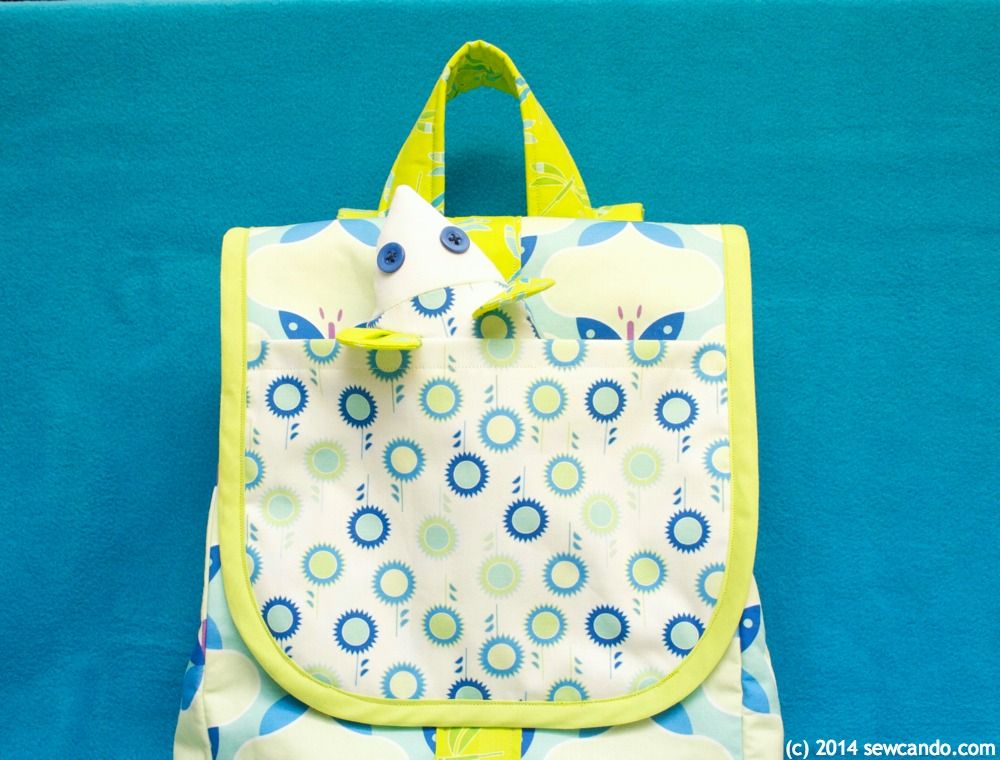
The name comes from the fold-over flap at the top, which makes it easy to open & close and has its own built-in pocket.


Now how to make your own FlapHappy Backpack...

Materials Needed:
- (3) 1/2 yds of cotton. Mine are the Amelia Harper Collection (Skye colorway) by Cindy Lindgren
- 1/2 yd fusible fleece 
- Package of double fold bias tape
- Two adjustable sliders
- Notions (coordinating thread, pins, iron, ruler/yardstick, rotary cutters/shears, hand sewing needle)

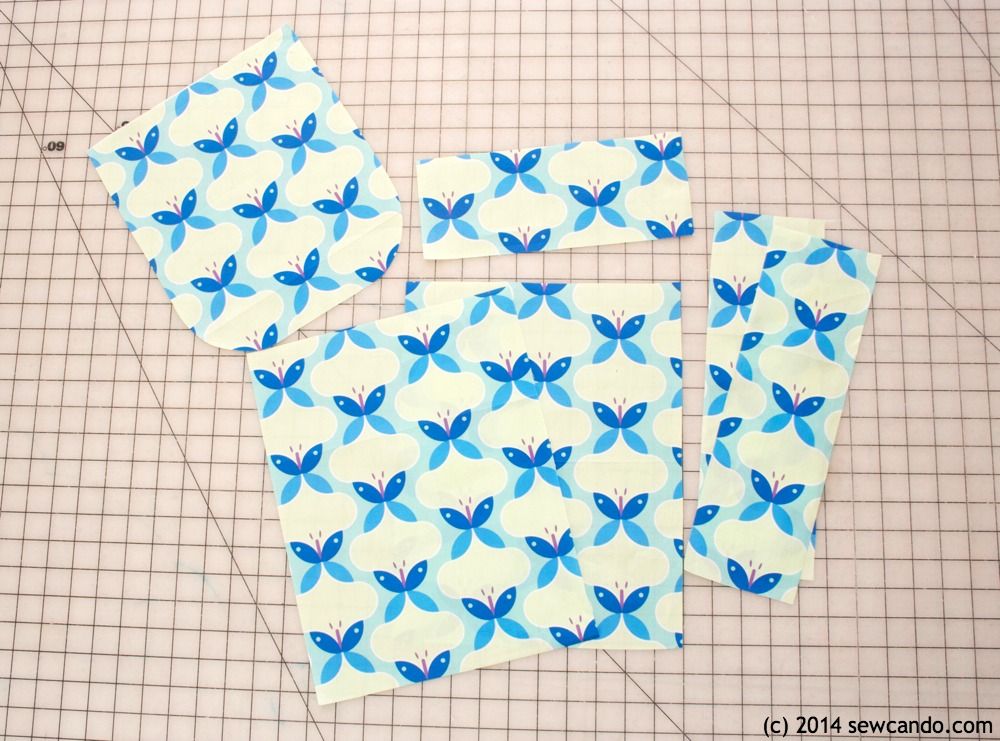
Cut the following pieces from both the Butterfly in Turquoise Large and fusible fleece:

(2) 10in wide by 13in high backpack main pieces
(2) 4in wide by 13in high backpack side pieces
(1) 10in wide by 4in high backpack bottom
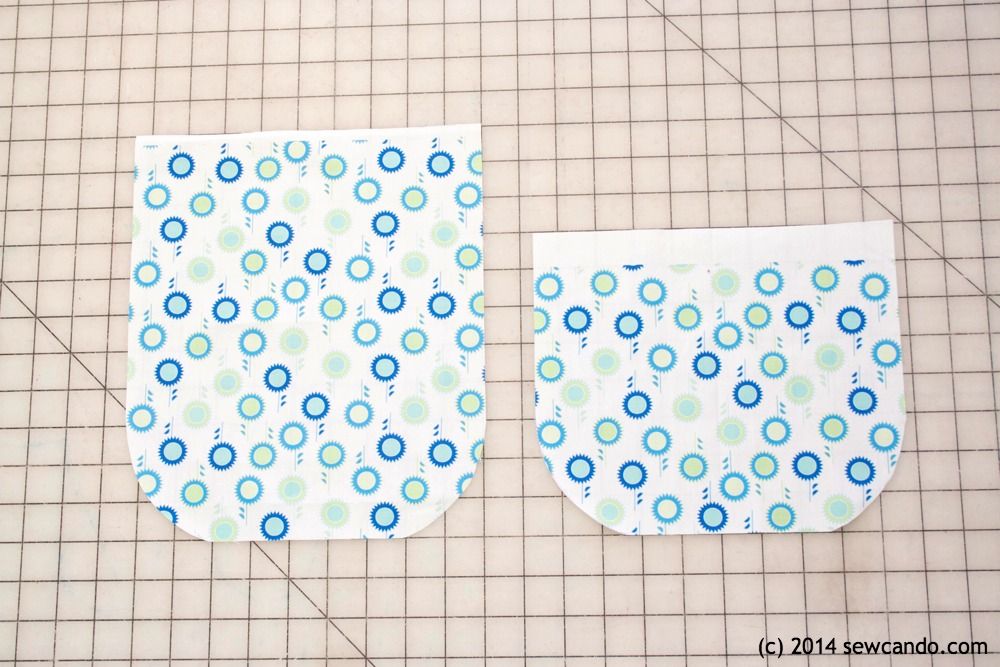
(1) 9in wide by 11in high backpack flap (round lower corners)

Adhere fusible fleece to wrong sides of fabric with iron.


Cut the same pieces from the Flower in Turquoise Medium, except also cut an additional Flower piece just 3 inches shorter than the flap piece (this will make the outer pocket):


From the Dragonfly in Lime Medium cut:
(1) 3in wide by 11in high flap stripe
(1) 3in wide by 13in high backpack stripe
(1) 10in wide by 3 1/2in high handle
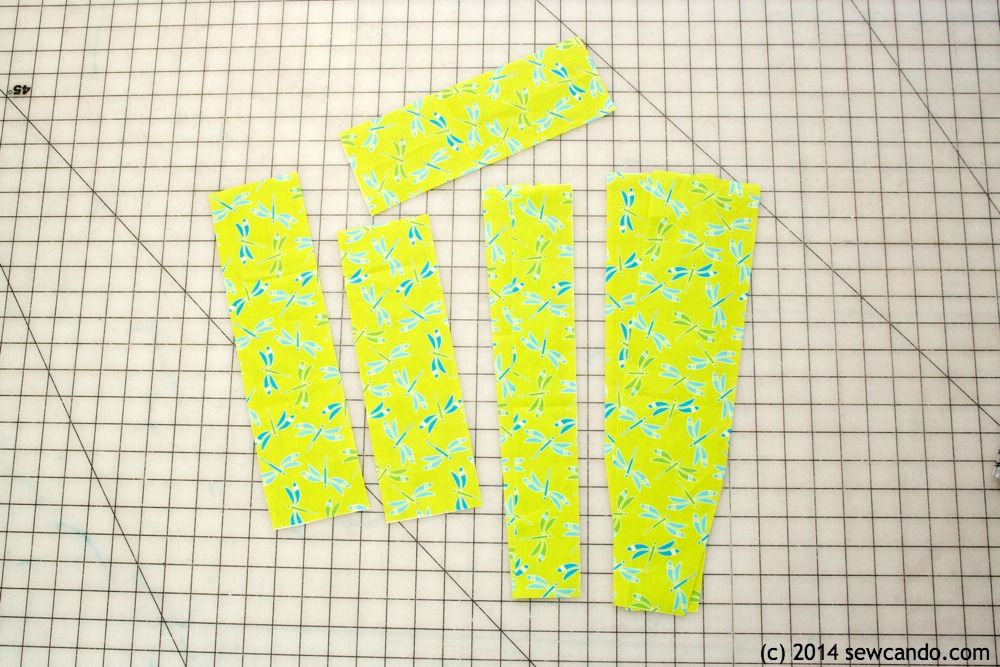
(2) 4in wide by 16in high upper straps
(2) 2 1/4in wide by 10in high lower straps

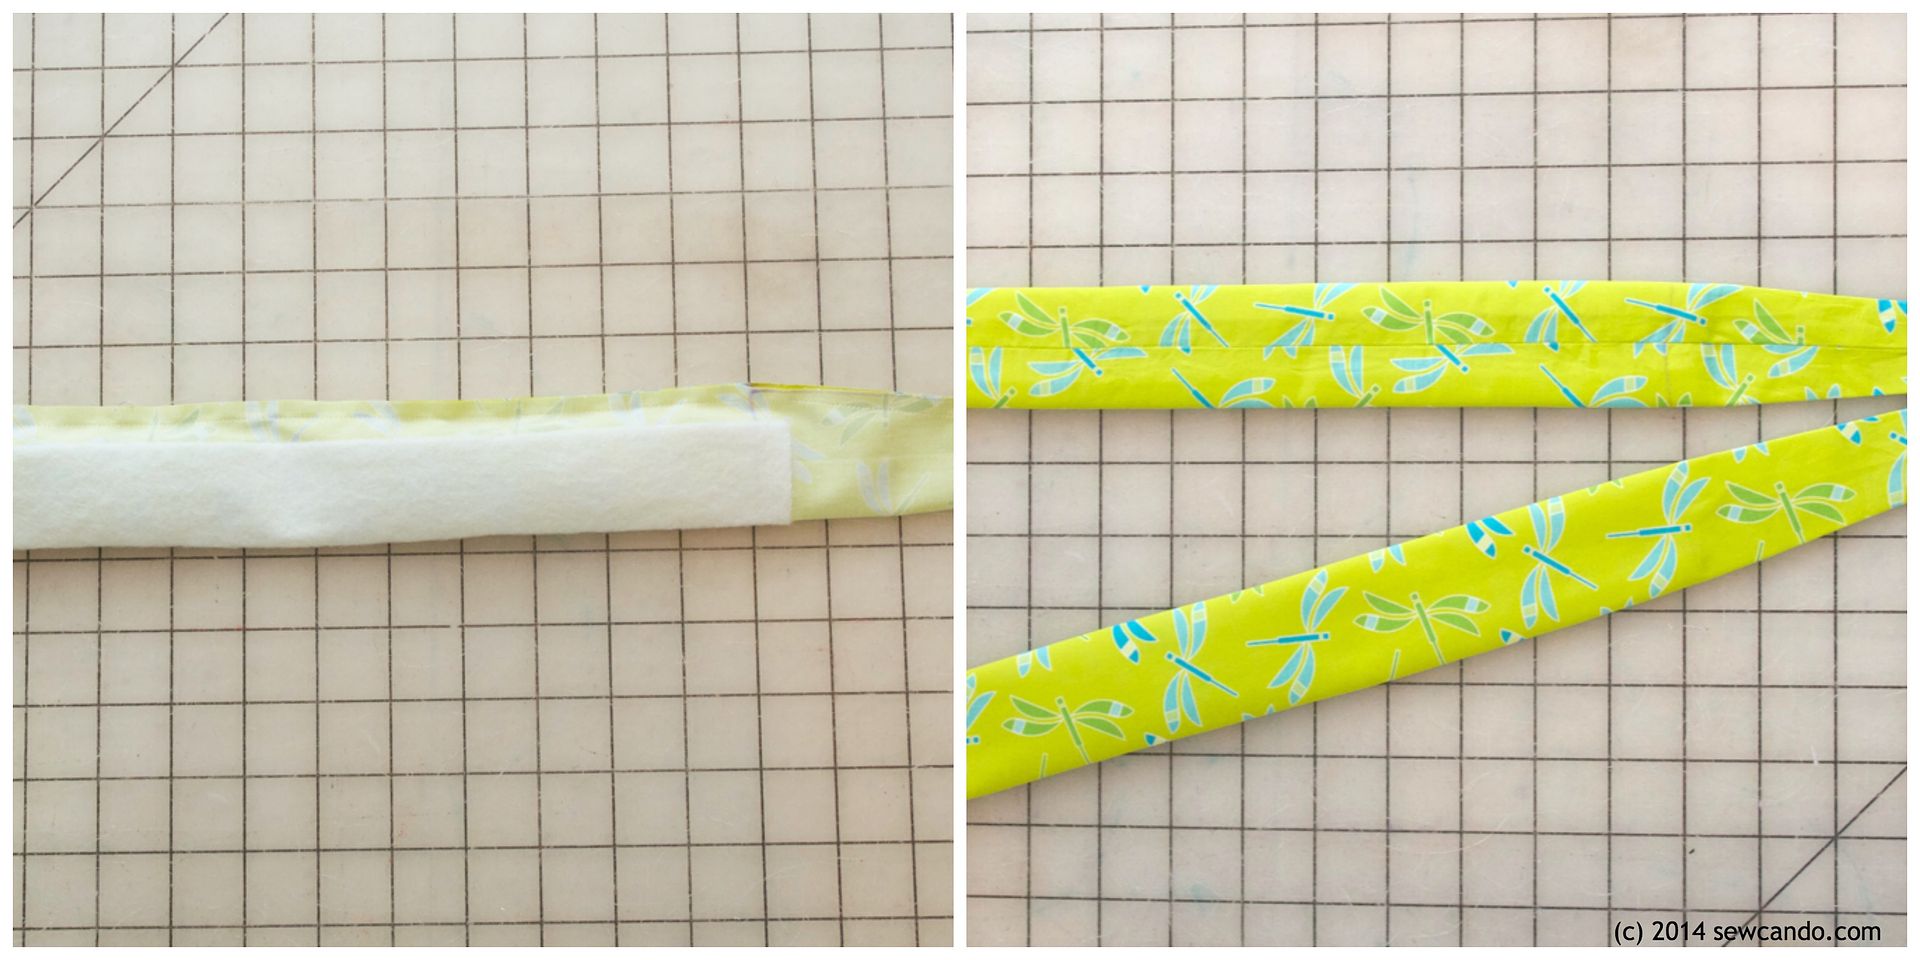
This will make the outer details & straps.  Narrow the upper strap pieces slightly on one end starting 11in down from top, so the bottom width is tapered down to 3 inches.  Iron on fusible fleece to wrong side of handle and upper straps (except tapered half of upper straps so it will make turning easier later):


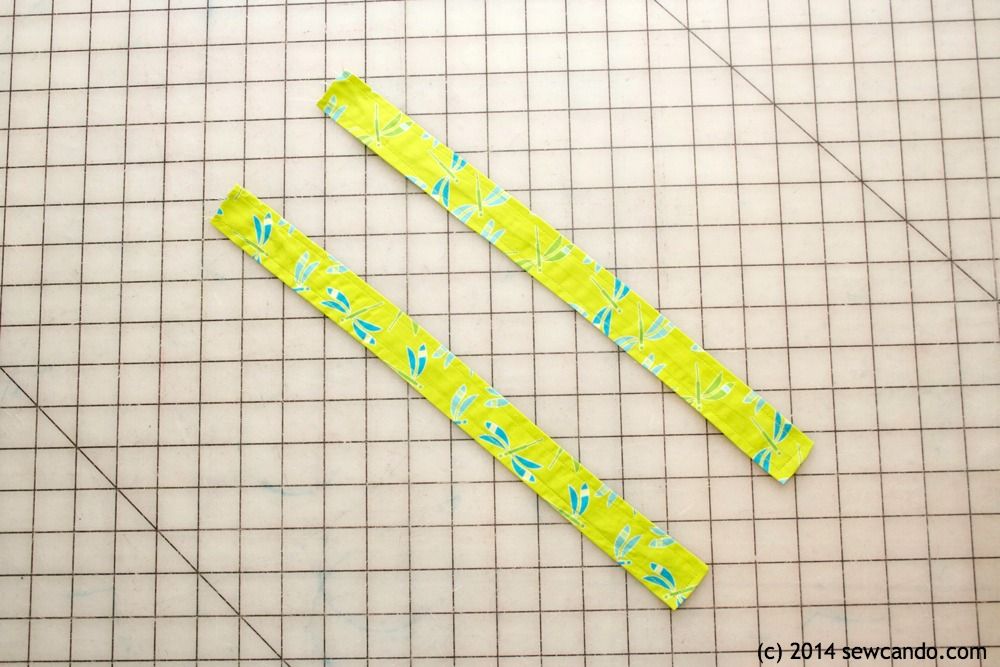
Take stripe pieces and fold in half lengthwise and stitch 1/4in from raw edge.  Turn right side out and press flat with the seam in center as shown.


Do same with handle and lower strap pieces, stitching one short end closed as well on lower straps. Topstitch along side seams of lower straps:


Do same with upper straps, except topstitch down the center of the padded area:


Center stripe on outer main piece and flap and stitch along stripe sides:


Double fold top edge of pocket 1/2in on the wrong side and press into place.  Note: Since I was using a bright white fabric and didn't want the pocket to look transparent when layering, I also cut a piece from the Dragonfly to line it and basted them together.  Stitch down the upper fold:


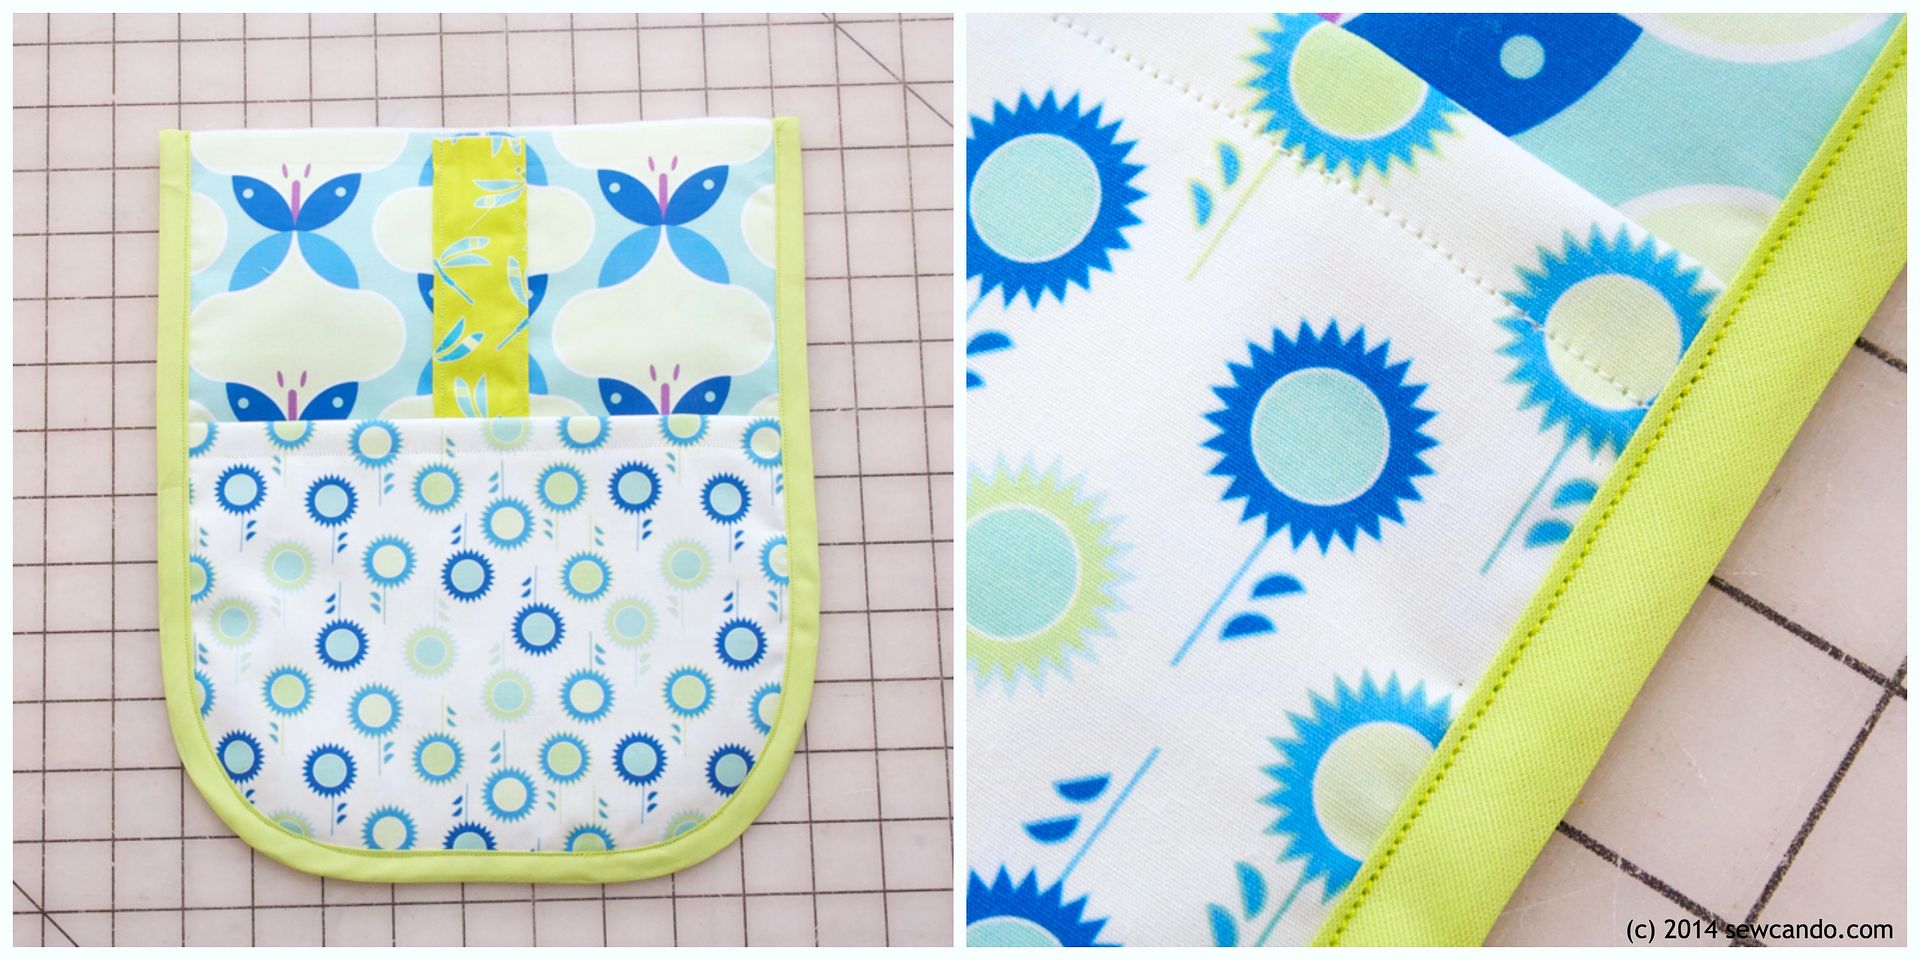
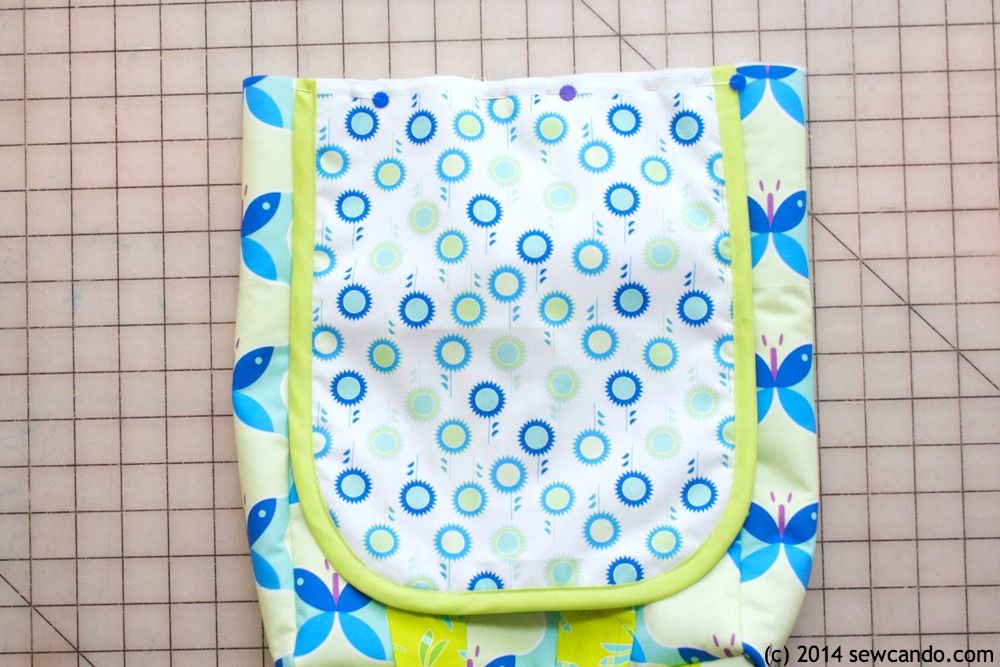
Layer the flap lining, outer and pocket pieces as shown (flap wrong sides facing, pocket right side out on top of outer flap) and baste together:


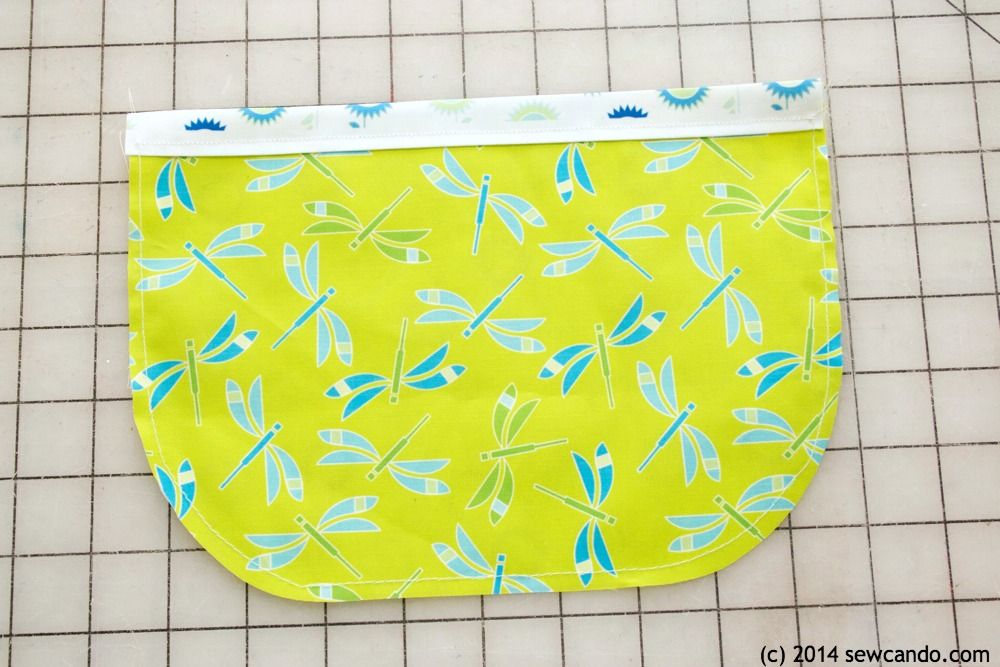
Encase edge of flap in bias tape:


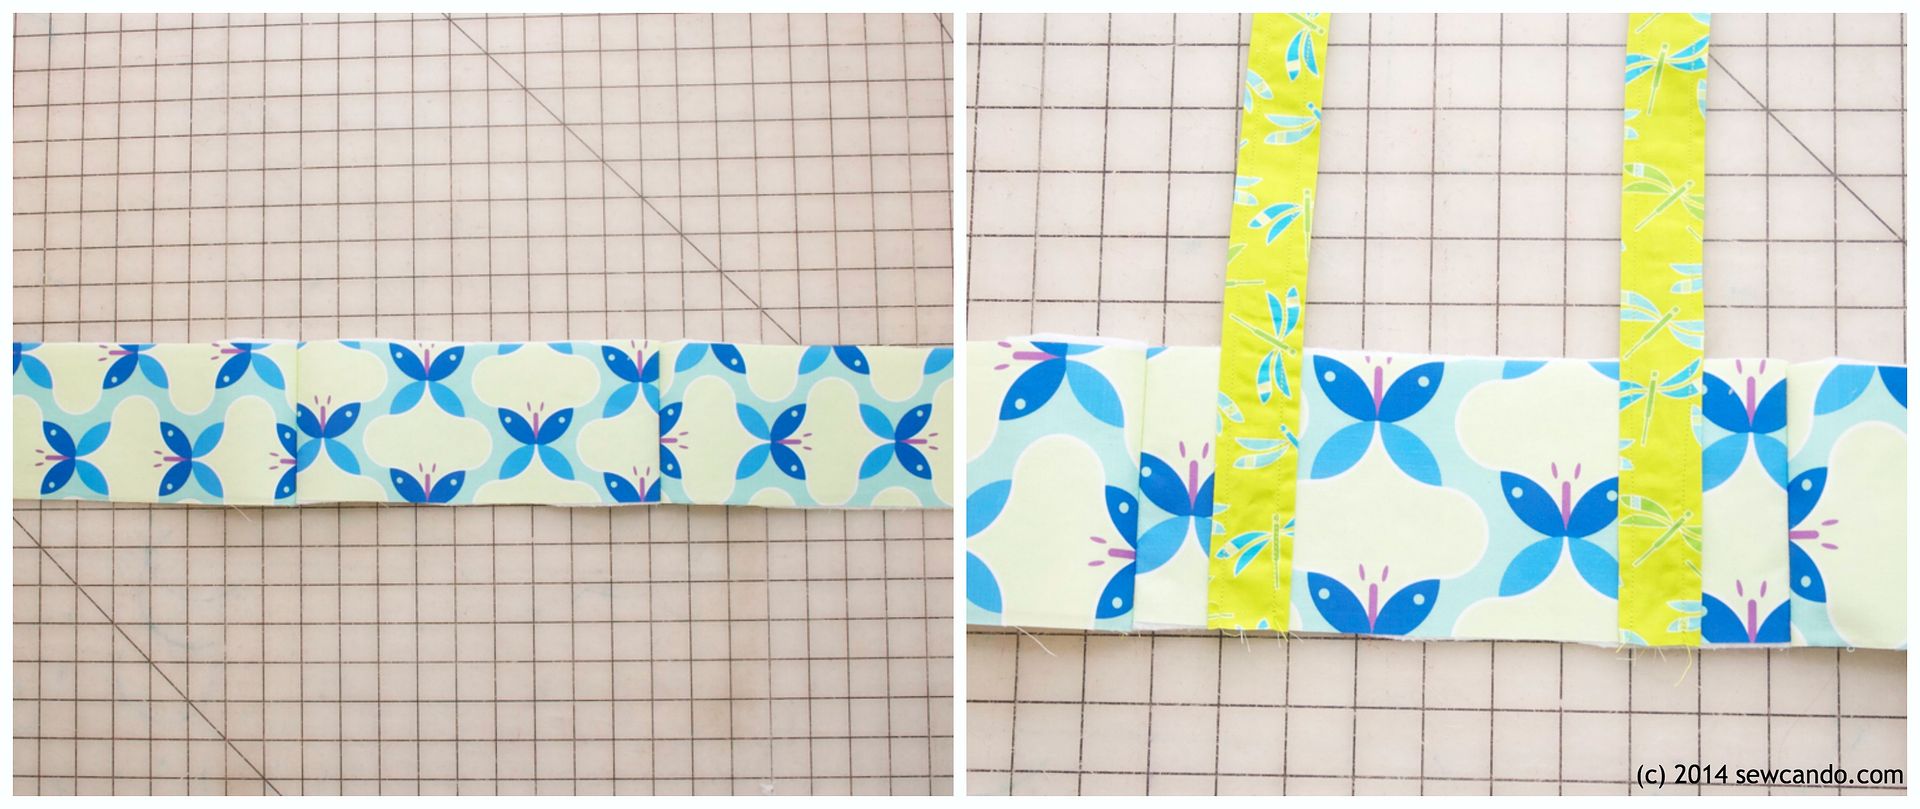
Take bottom and side pieces of outer and stitch together on short sides as shown, using a 1/4in seam allowance, with right sides facing, starting and stopping 1/4in inward from each end.  Baste lower straps to long side of bottom as shown 1 1/2in inward from either side:


Attach front and back pieces to bottom in same manner as sides.  Starting with one side at a time, pin and stitch together the side panels to the front and back pieces.


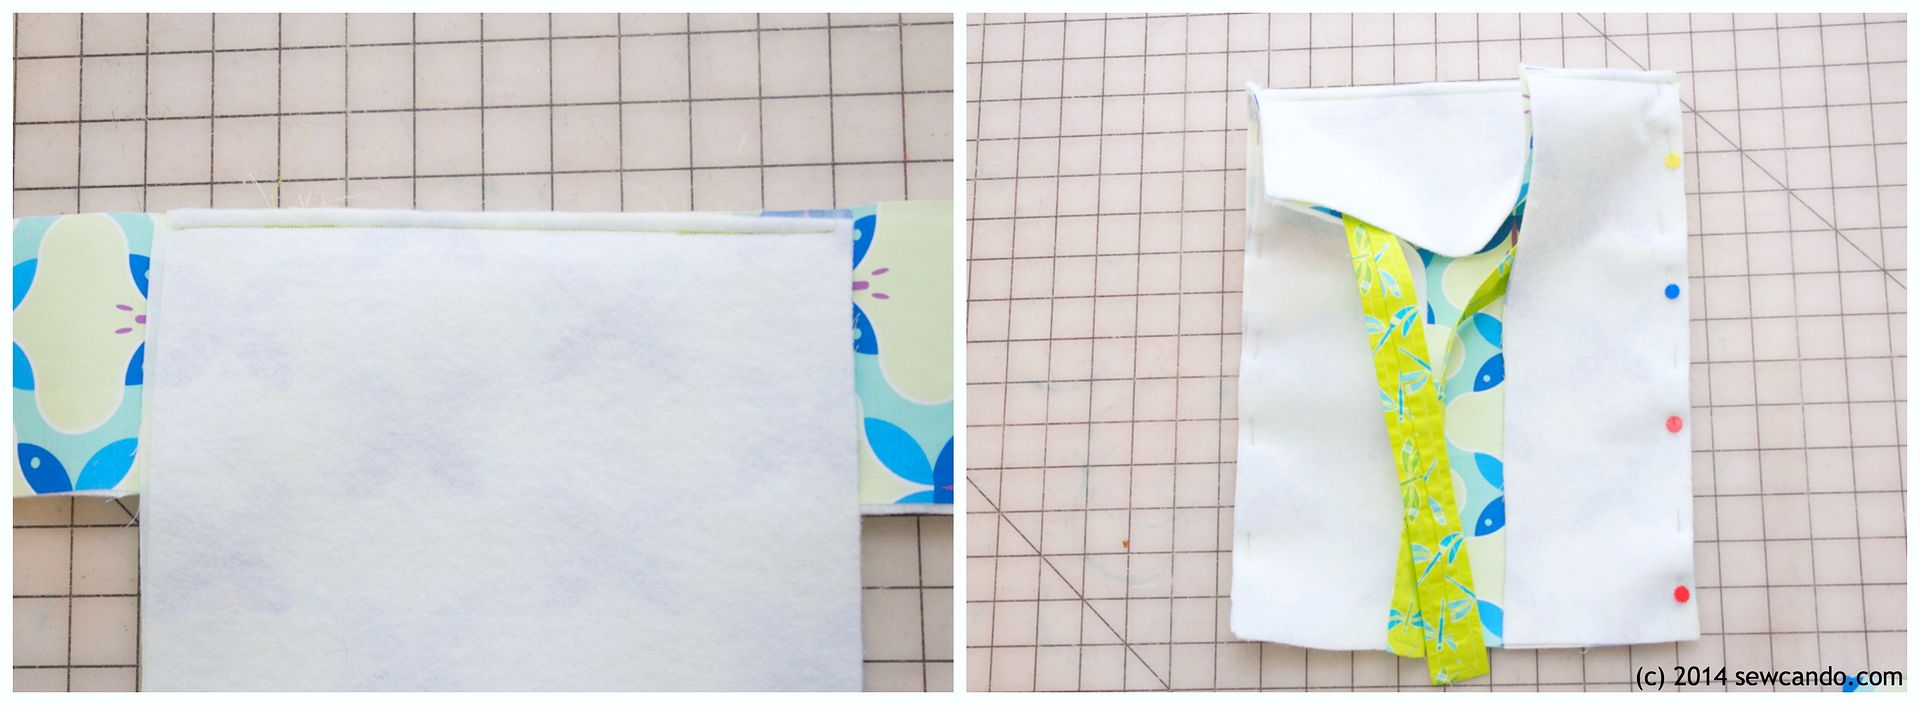
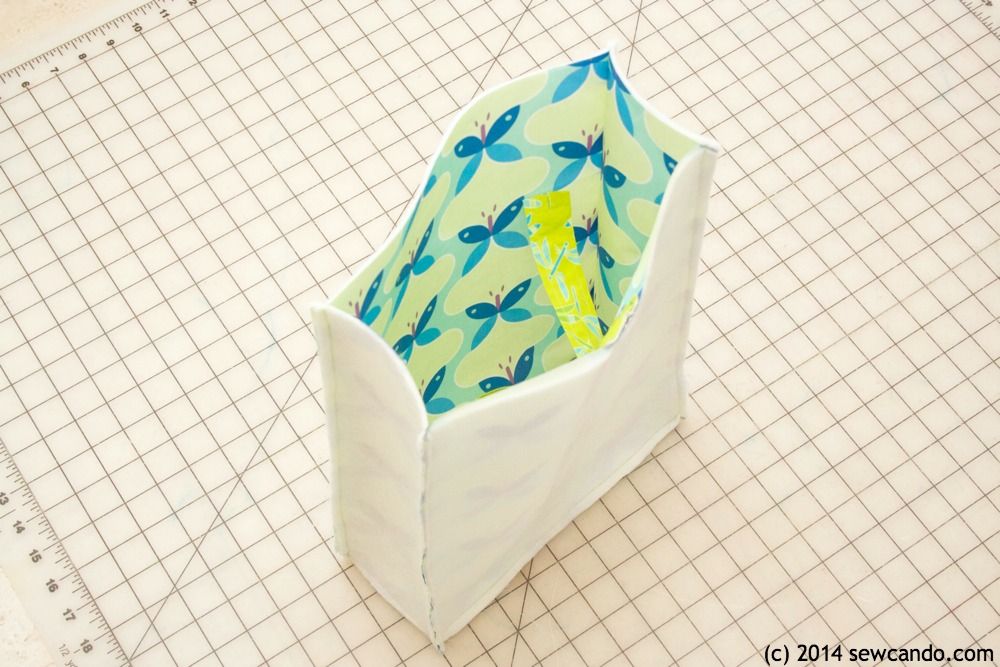
Repeat the previous two steps with the lining pieces, but leave a 3 in gap on one of the longer sides of the bottom piece for turning later.  The ending result will look like this:


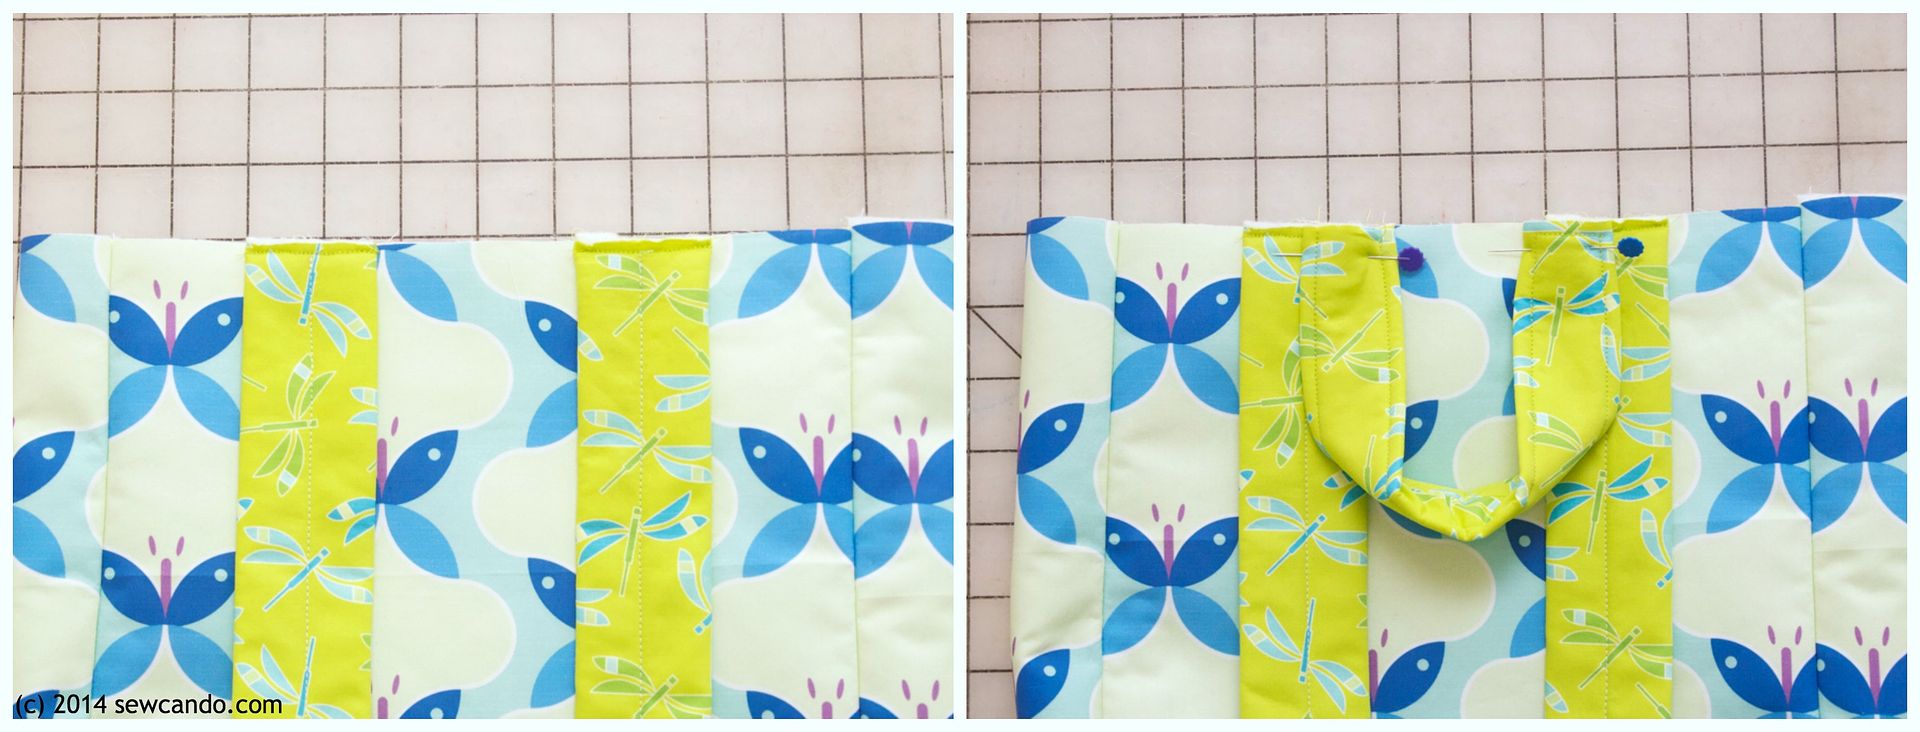
Turn outer backpack right side out and pin then baste the upper straps 2in inward from either side on top edge.  Add handle over them as shown, 2 1/2in inward from sides, basting into place.


Now take flap and with outer right sides facing, pin and baste flap onto back side of backpack.


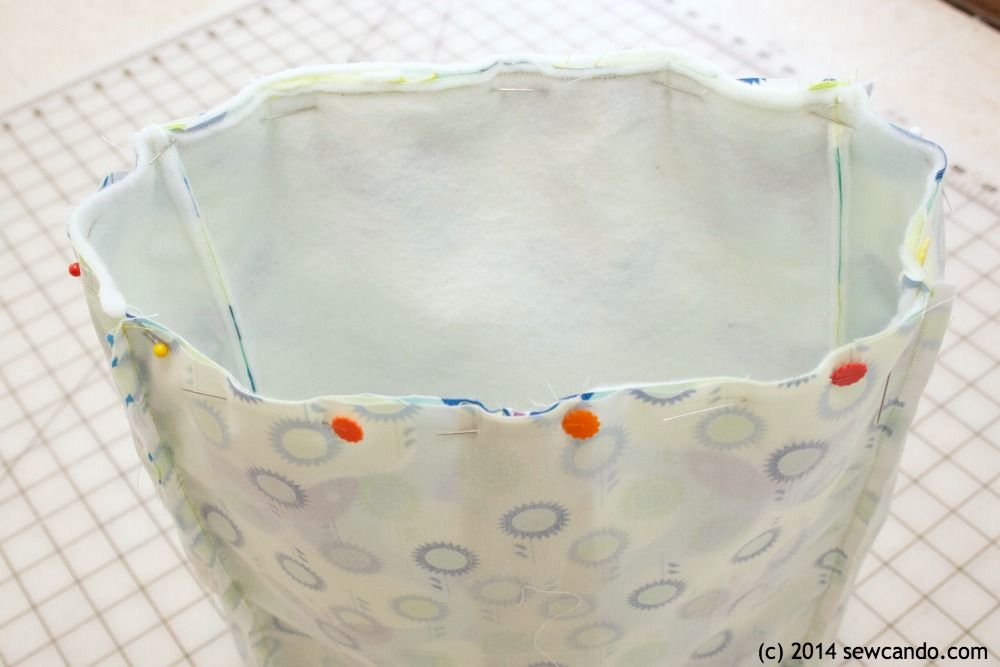
Insert outer backpack into lining, matching up side seams and pinning together along top edge.  Stitch all the way around.  


Pull backpack right side out through gap in bottom of lining.  Hand stitch gap closed and topstitch around top of backpack, about 1.4in from edge.  Thread sliders around open ends of upper straps, folding strap under and stitching closed with a double stitched "X".  Thread lower straps and size as desired. 


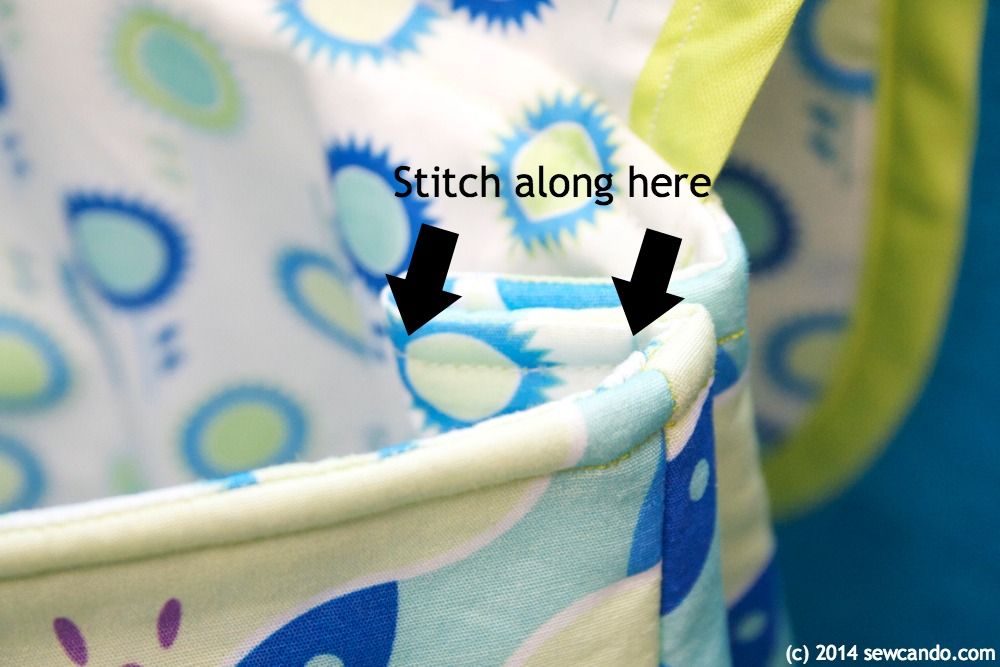
Open backpack and pinch sides inward about 1 1/2in and stitch into place, over topstitching, to create side pleats:


And the backpack is ready to fill!


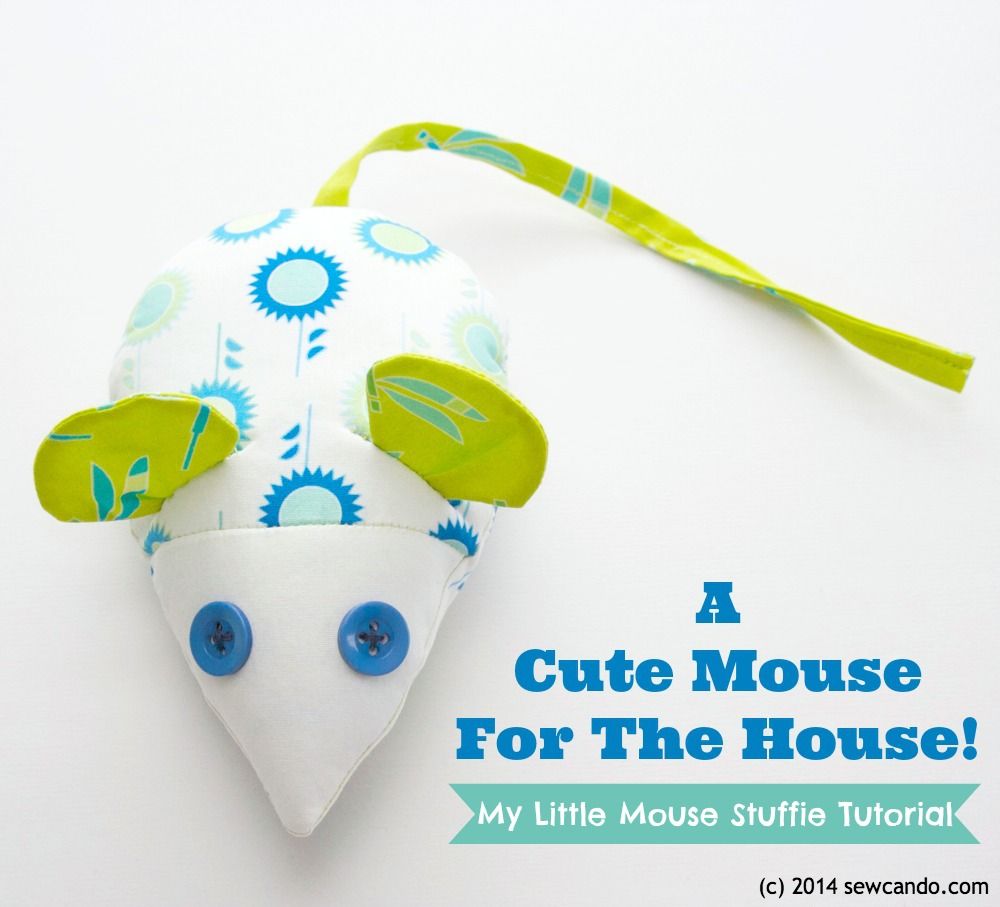
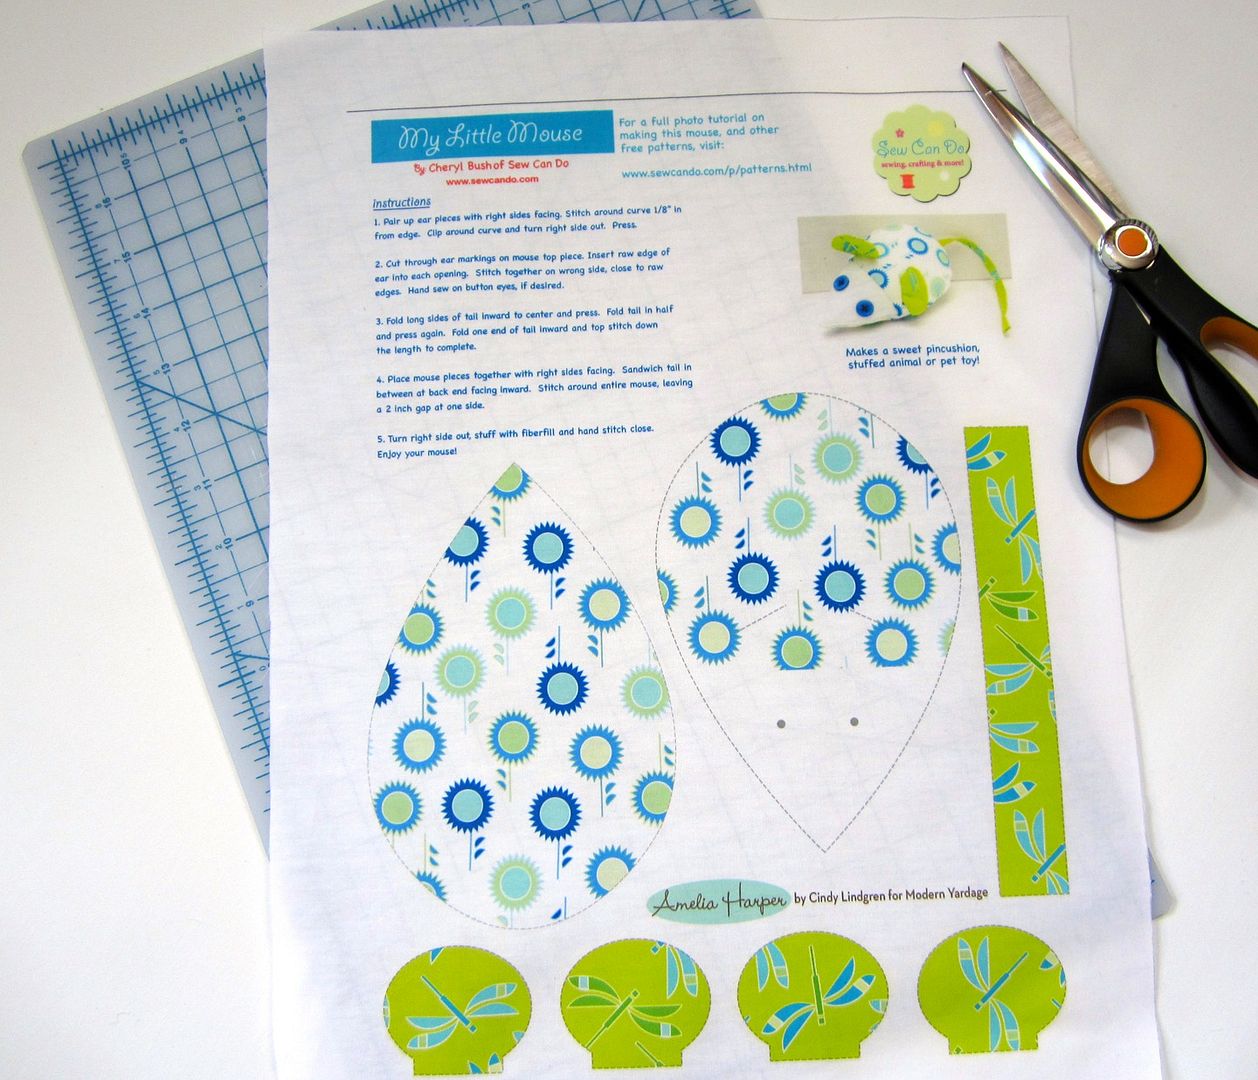
And if you want to make a cute little matching mouse to go with it, you can go to my FREE My Little Mouse Stuffed Toy PDF pattern & tutorial:


Now how about a chance to win some of this fabric, or any other prints you fancy, from Modern Yardage?  


One lucky Sew Can Do reader will get a choice of
8 Fat Quarters from Modern Yardage!

That's right - any designs you want.  Choose your favorite coordinating-collection prints like the Amelia Harper Collection I used:


or go for a diverse mix.  YOU get to pick!  


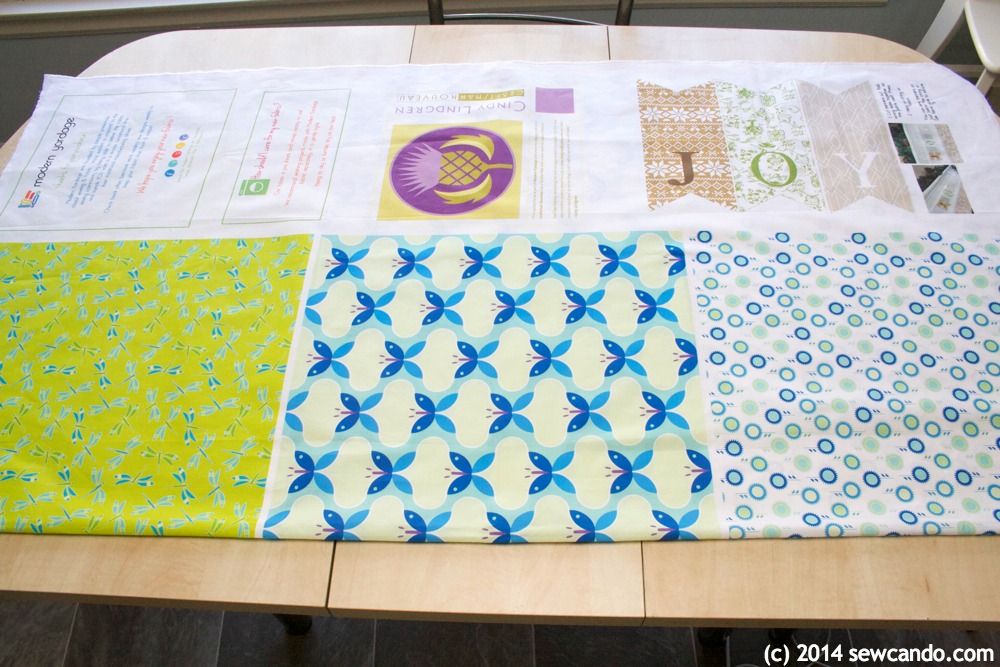
And all printed in an awesome, super wide fabric panel like this:


As I'd mentioned in my review post, there are free fabric goodies printed in the selvage of all Modern Yardage fabrics as a wonderful bonus. You can even select Sew Can Do's own original My Little Mouse cut & sew stuffie by using the code MYLITTLEMOUSE during checkout:


Then you could make this matching pair!


Good luck and Happy Valentine's Day Everyone!! XOXO

a Rafflecopter giveaway


I'm also sharing this project with my FAVE LINK PARTIES.
Click HERE to check them out!

LinkWithin

Related Posts with Thumbnails