Friends, have I got a fabulous Friday duo for you! Since it's Valentine's Day, and I love my readers, here's a special treat: a new, free bag tutorial AND an awesome fabric giveaway, featuring one of my new favorite fabric manufacturers, Modern Yardage.
Earlier this week I shared my experience trying fabric from Modern Yardage and what makes it a totally revolutionary way to choose fabric (if you haven't read it yet, and you love fabric, you'll want to check it out here) . I also showed a teaser pic of the backpack I made with the fabric I tried. Now I've got a full tutorial to share so you can make my Flaphappy Backpack too!
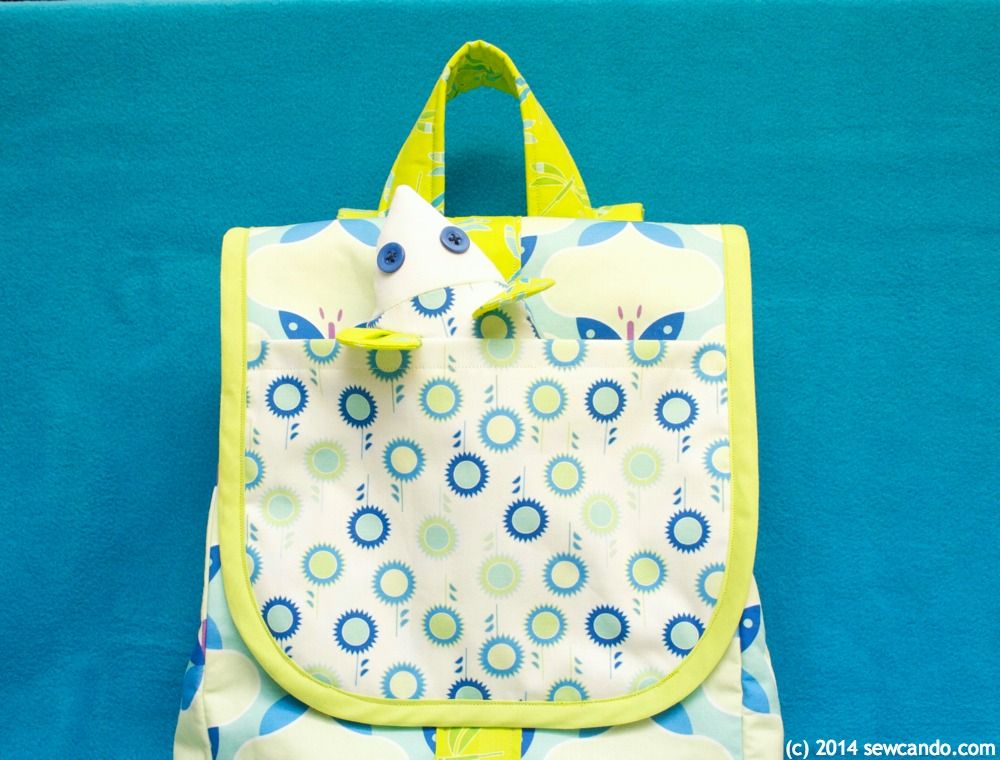
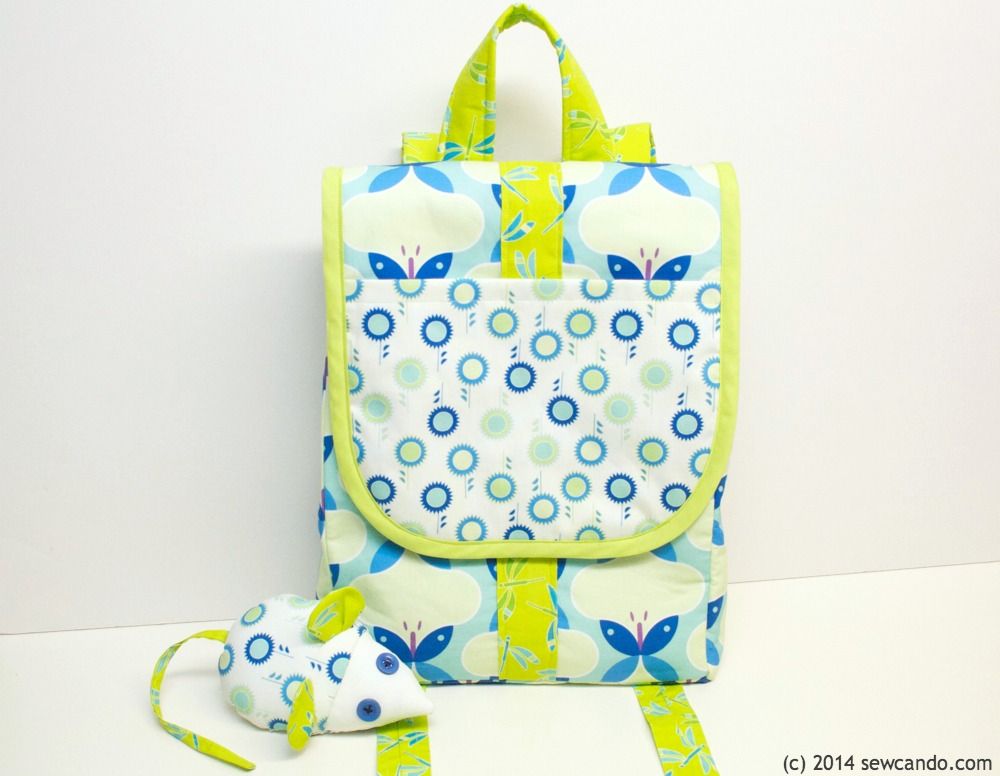
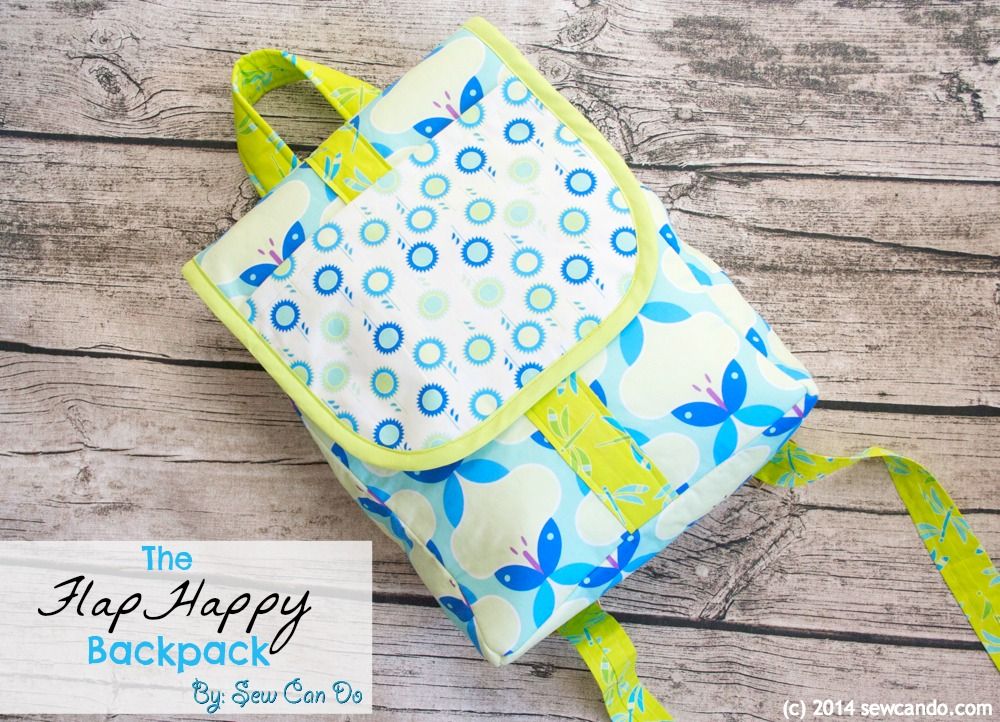
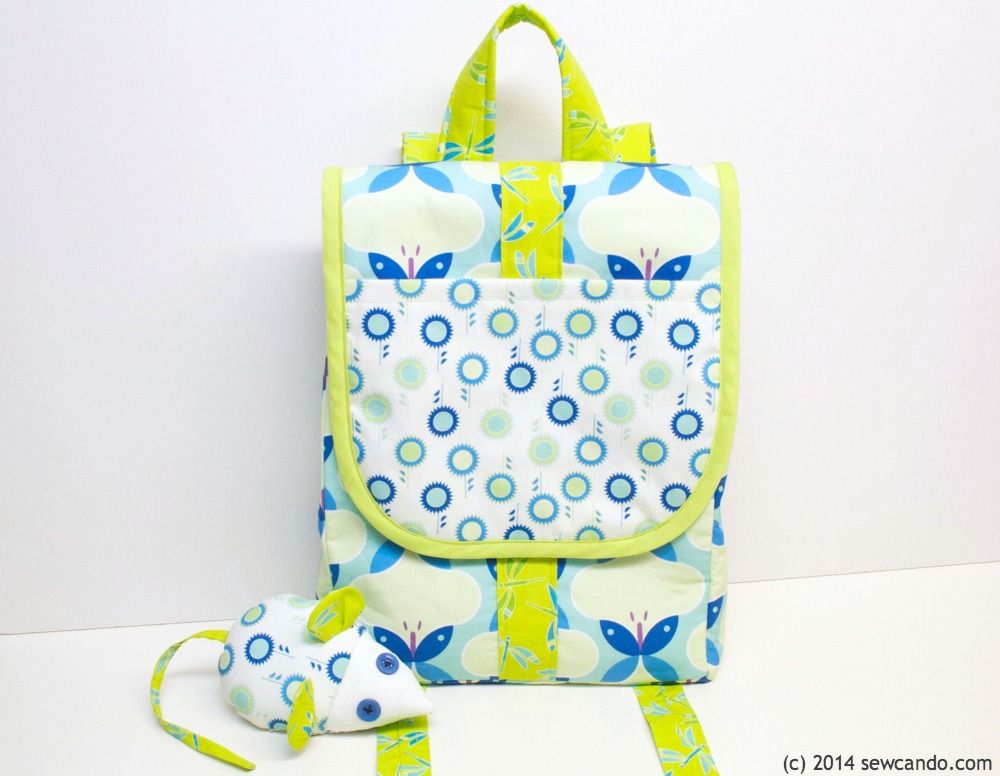
This backpack is sized to be perfect as a handbag alternative or as a child's backpack. It's padded and has adjustable straps to fit just right.
It's also fully lined inside and has pleated sides, so it's nice and wide at the bottom, but the top easily stays closed.
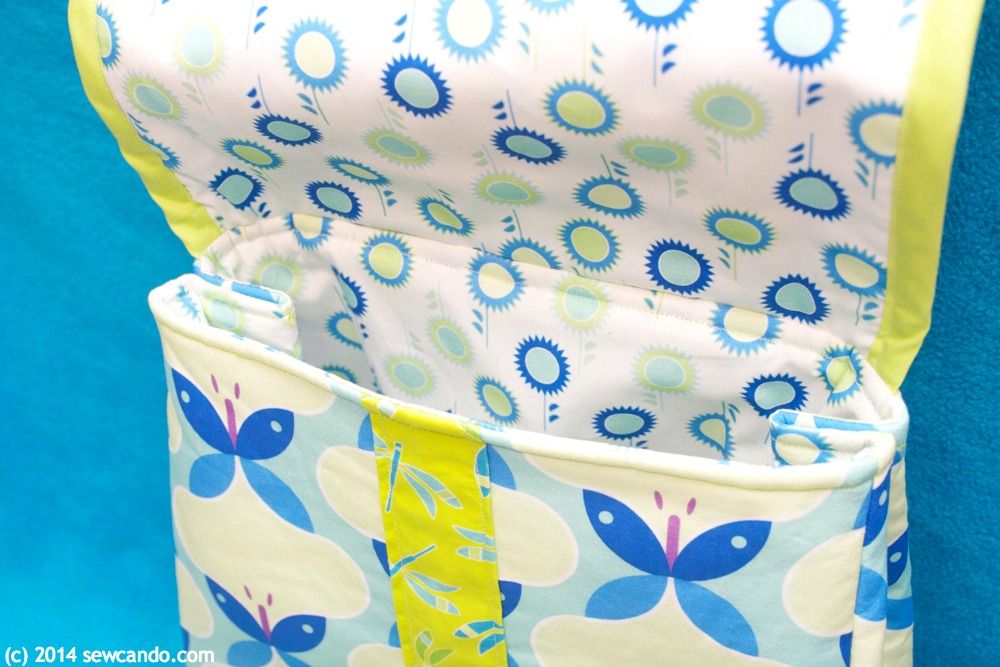
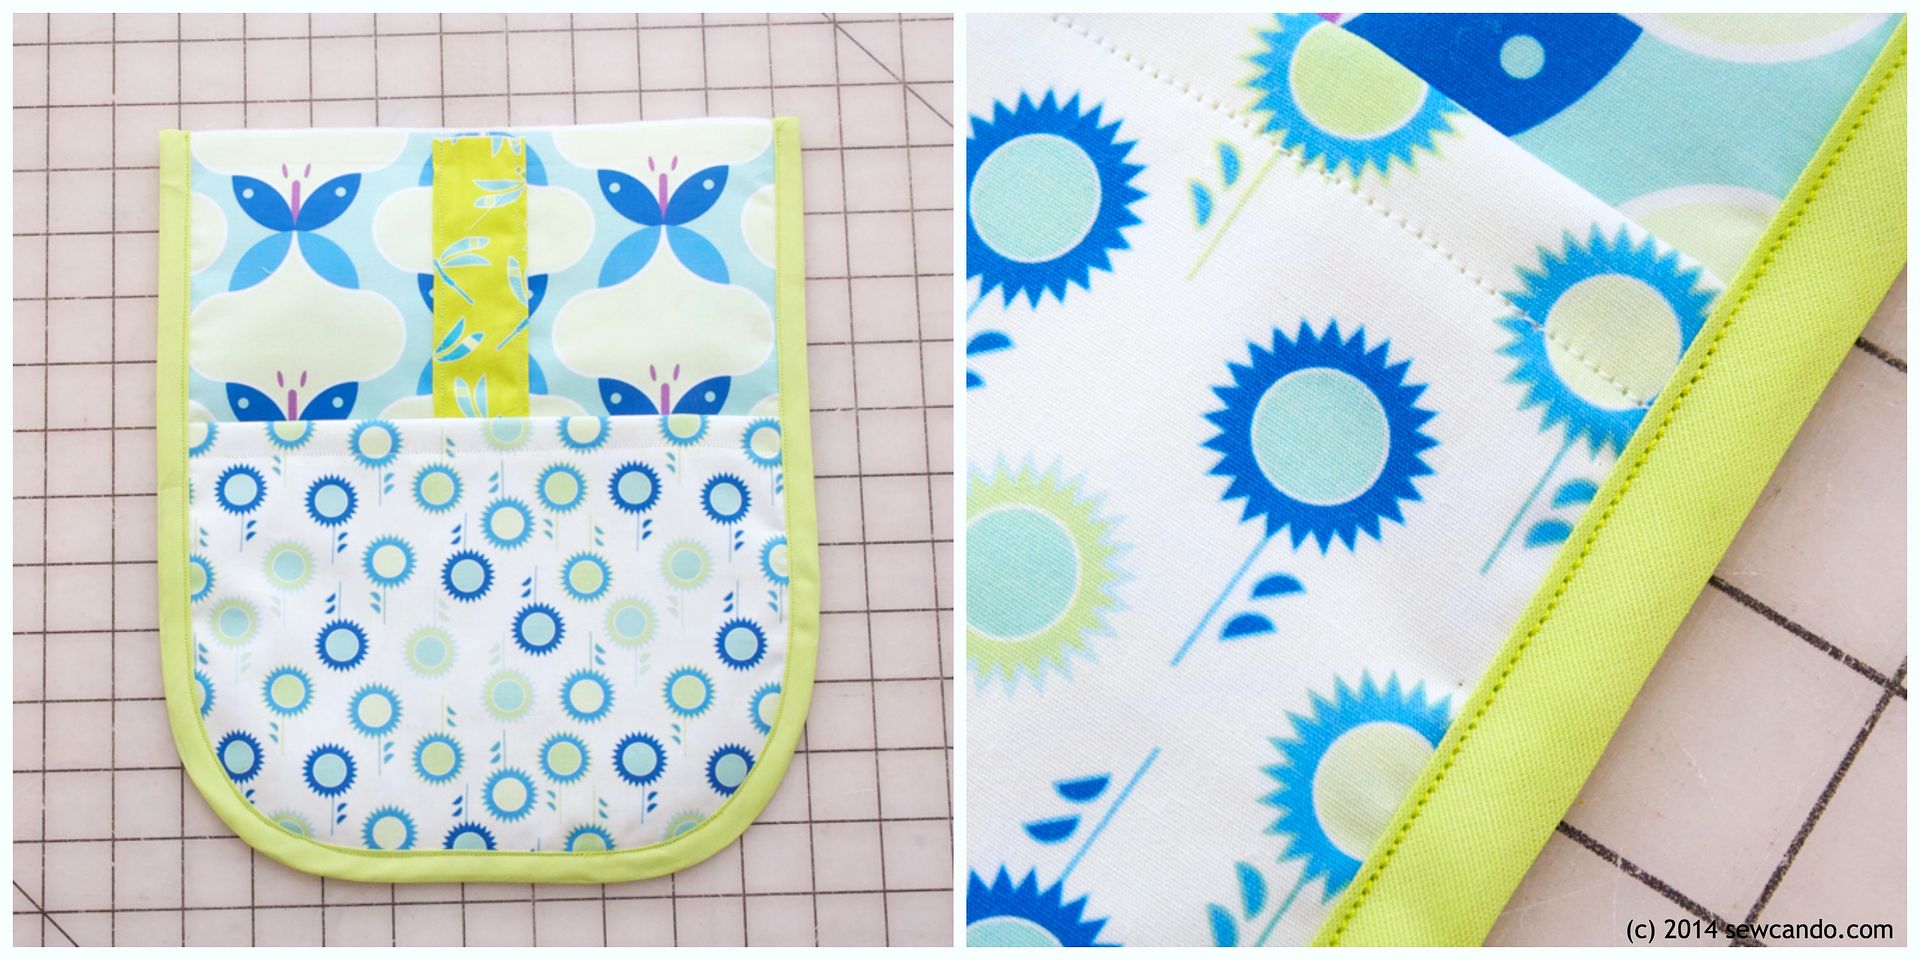
The name comes from the fold-over flap at the top, which makes it easy to open & close and has its own built-in pocket.
Now how to make your own FlapHappy Backpack...
Materials Needed:
- (3) 1/2 yds of cotton. Mine are the Amelia Harper Collection (Skye colorway) by Cindy Lindgren
- 1/2 yd fusible fleece
- Package of double fold bias tape
- Two adjustable sliders
- Notions (coordinating thread, pins, iron, ruler/yardstick, rotary cutters/shears, hand sewing needle)
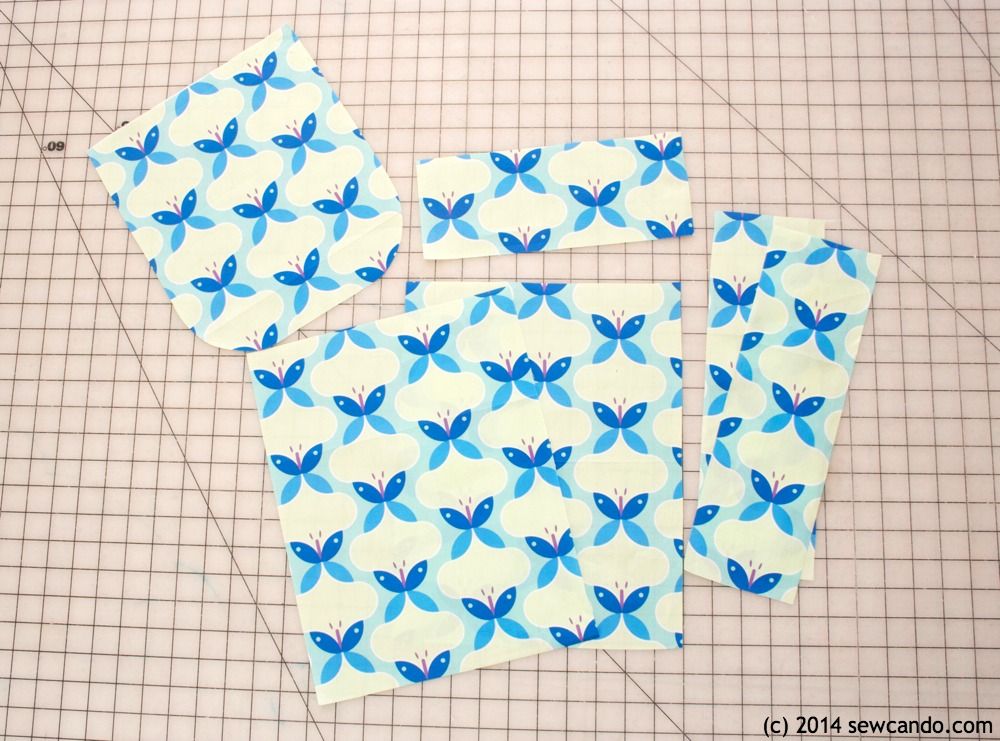
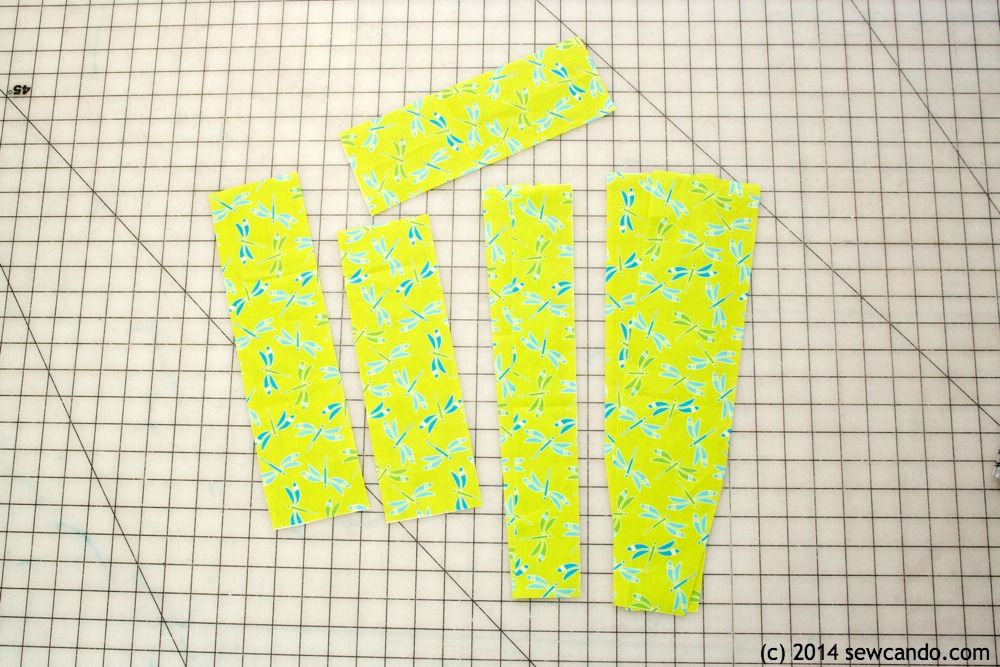
Cut the following pieces from both the Butterfly in Turquoise Large and fusible fleece:
(2) 10in wide by 13in high backpack main pieces
(2) 4in wide by 13in high backpack side pieces
(1) 10in wide by 4in high backpack bottom
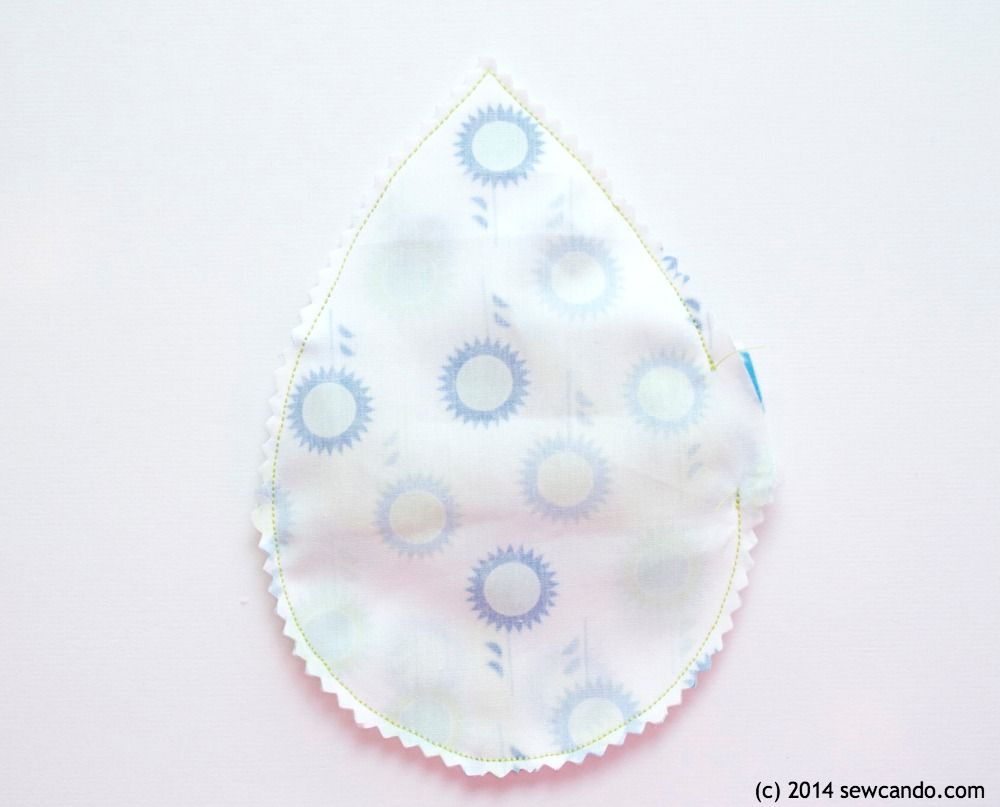
(1) 9in wide by 11in high backpack flap (round lower corners)
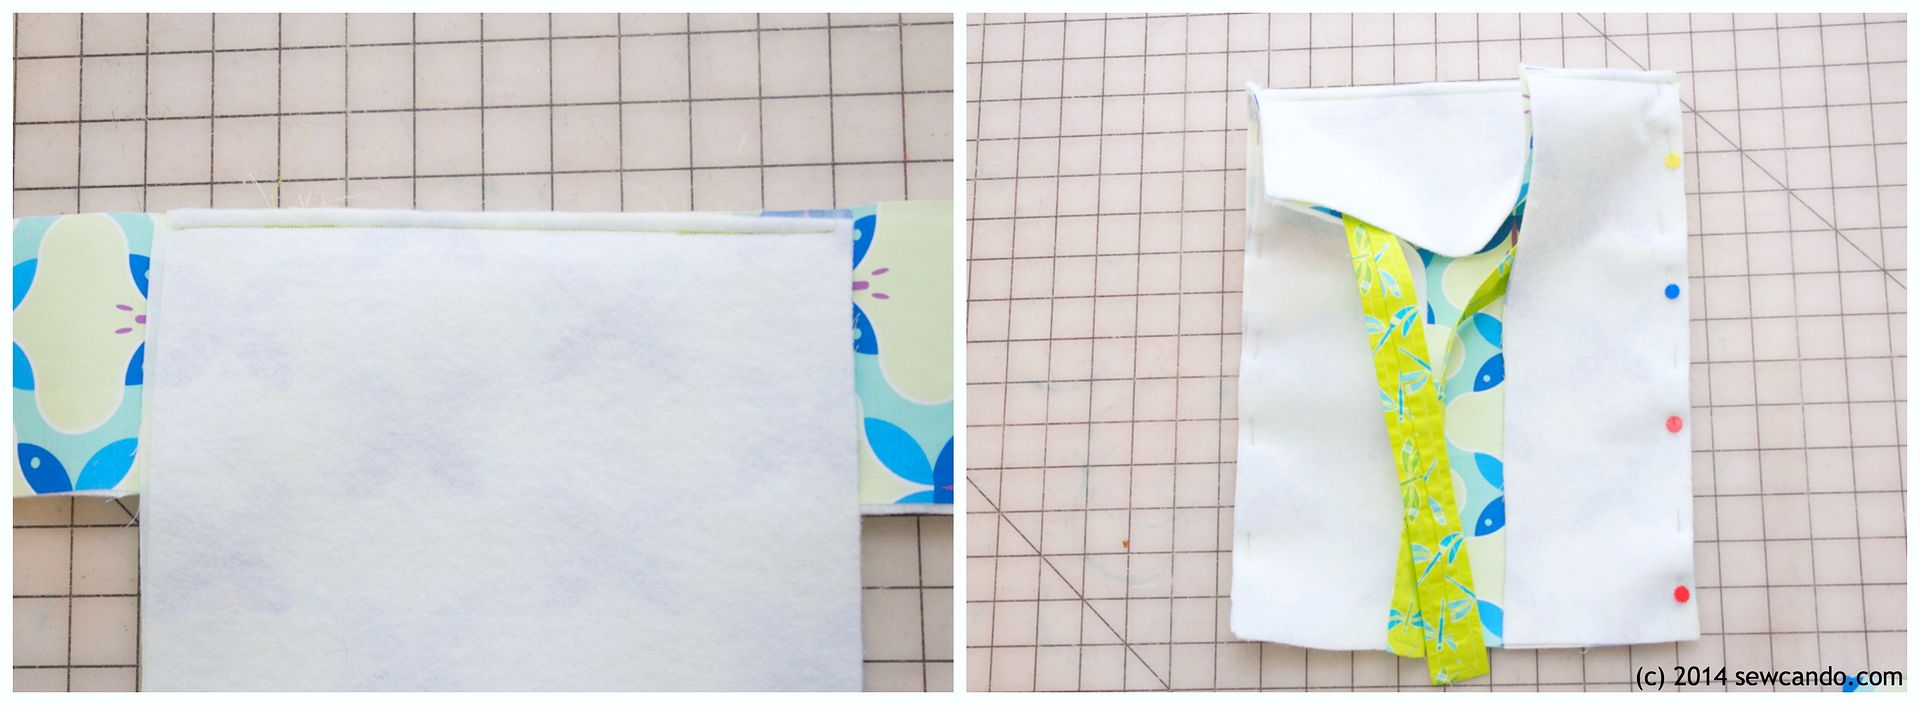
Adhere fusible fleece to wrong sides of fabric with iron.
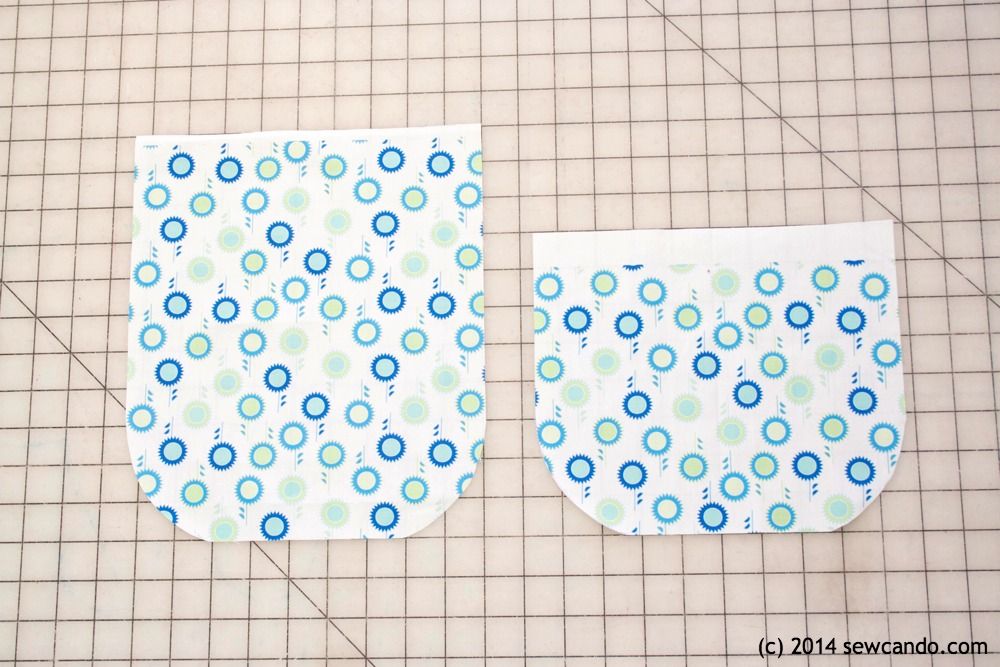
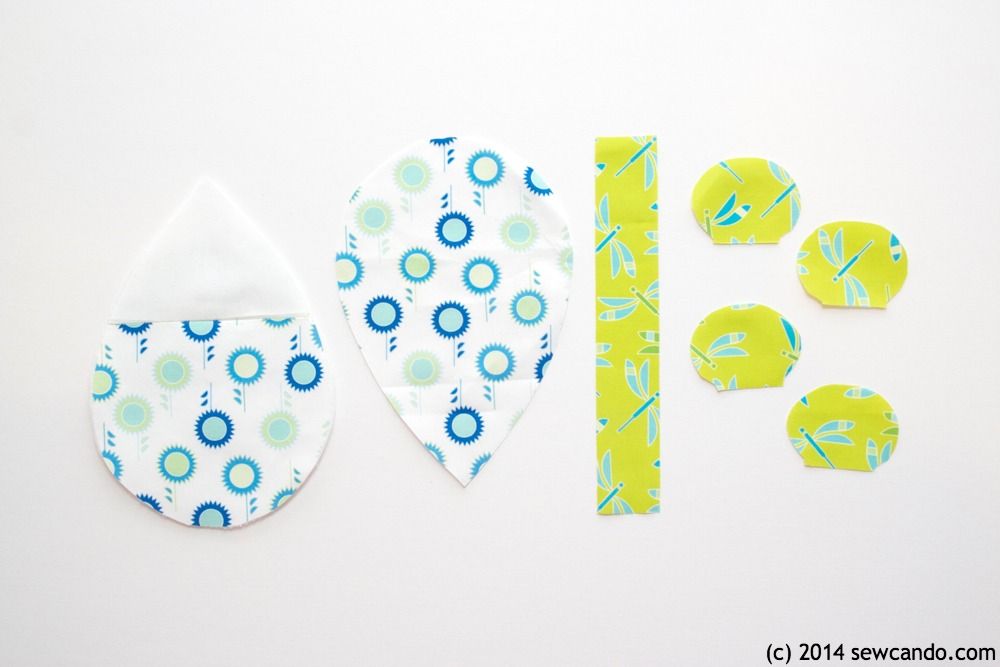
Cut the same pieces from the Flower in Turquoise Medium, except also cut an additional Flower piece just 3 inches shorter than the flap piece (this will make the outer pocket):
(1) 3in wide by 11in high flap stripe
(1) 3in wide by 13in high backpack stripe
(1) 10in wide by 3 1/2in high handle
(2) 4in wide by 16in high upper straps
(2) 2 1/4in wide by 10in high lower straps
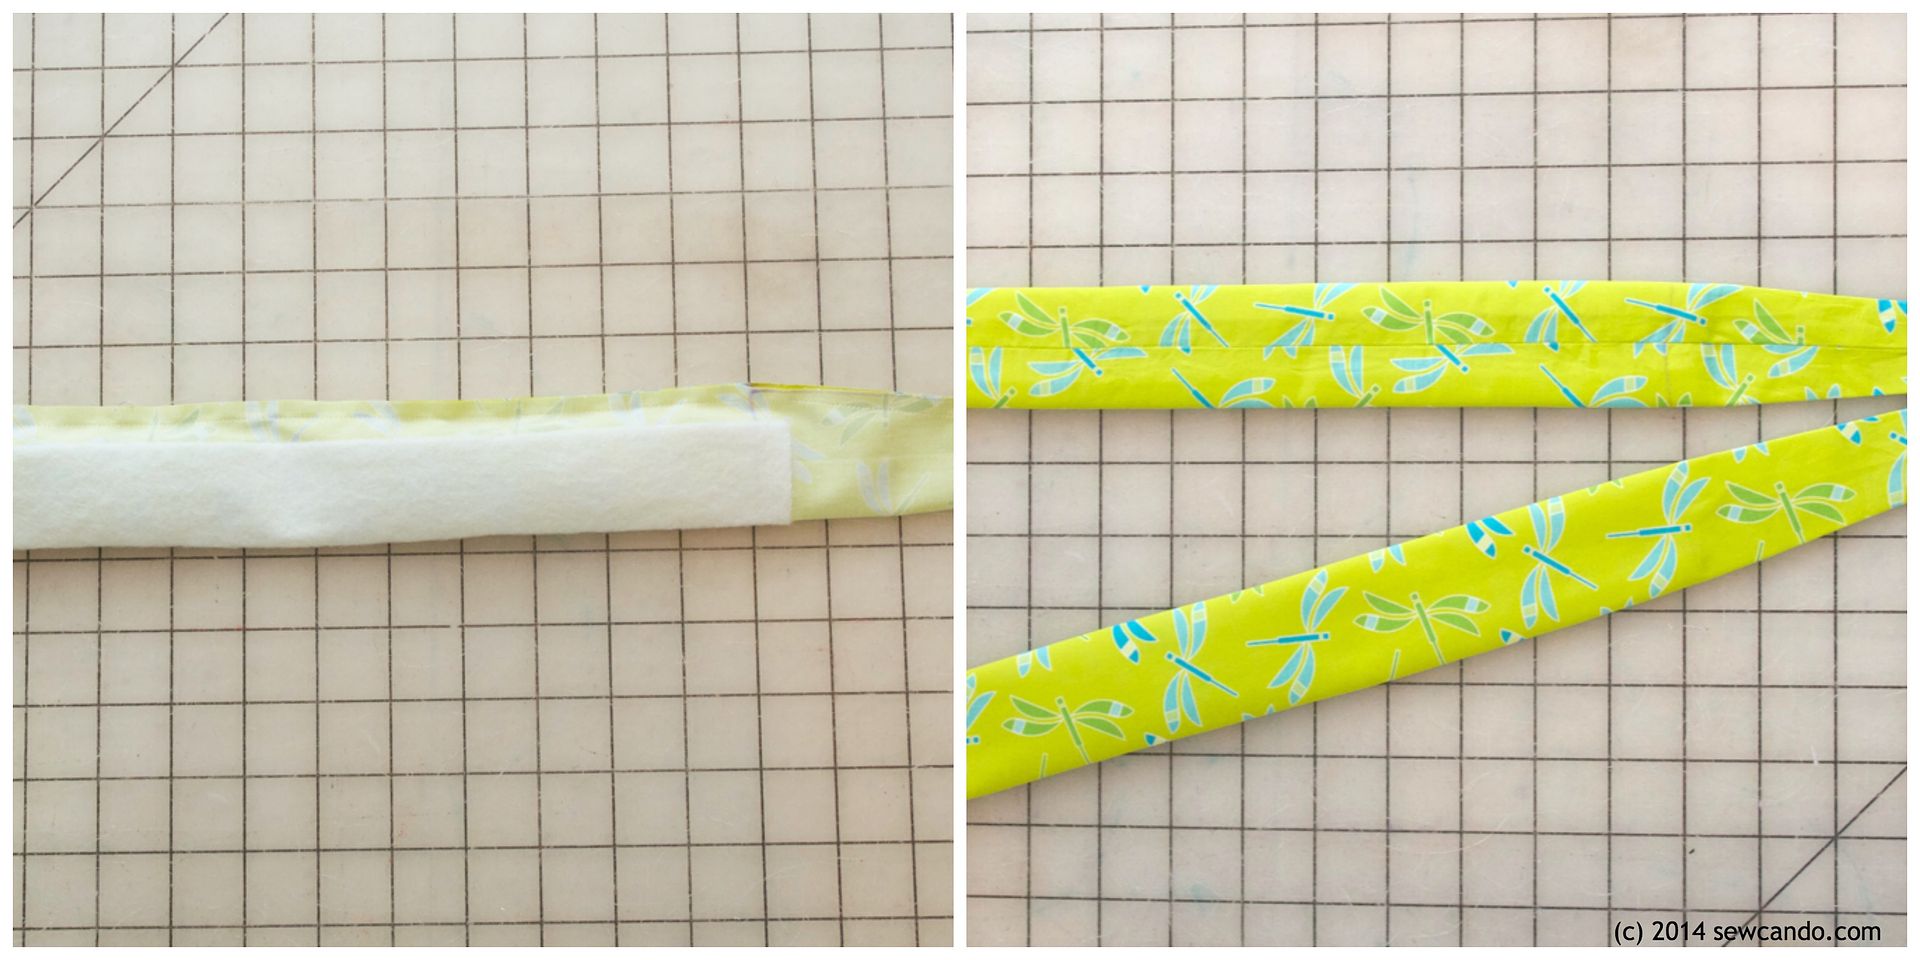
This will make the outer details & straps. Narrow the upper strap pieces slightly on one end starting 11in down from top, so the bottom width is tapered down to 3 inches. Iron on fusible fleece to wrong side of handle and upper straps (except tapered half of upper straps so it will make turning easier later):
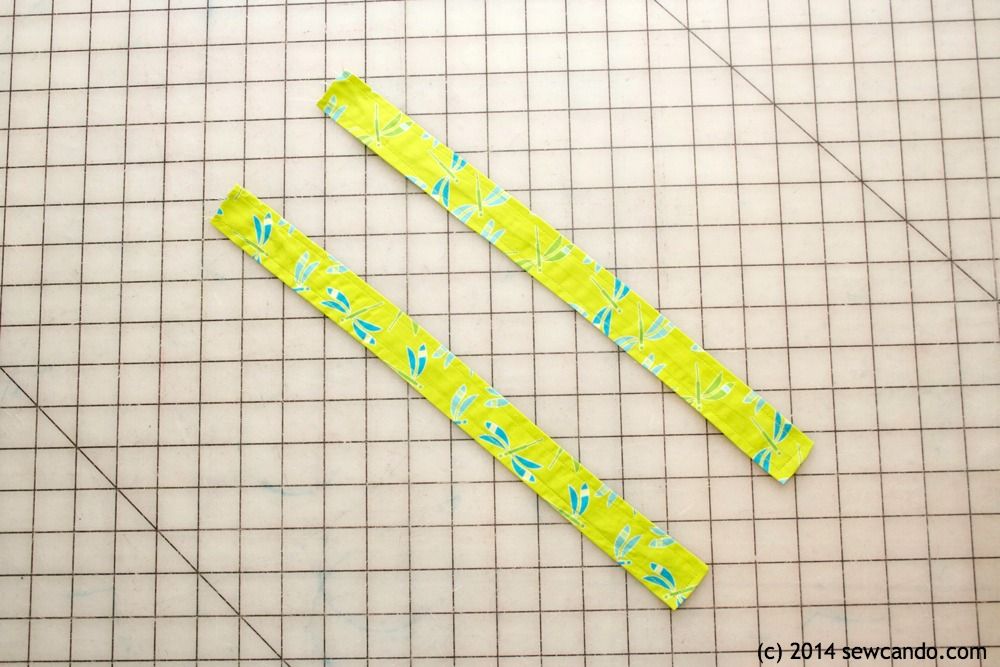
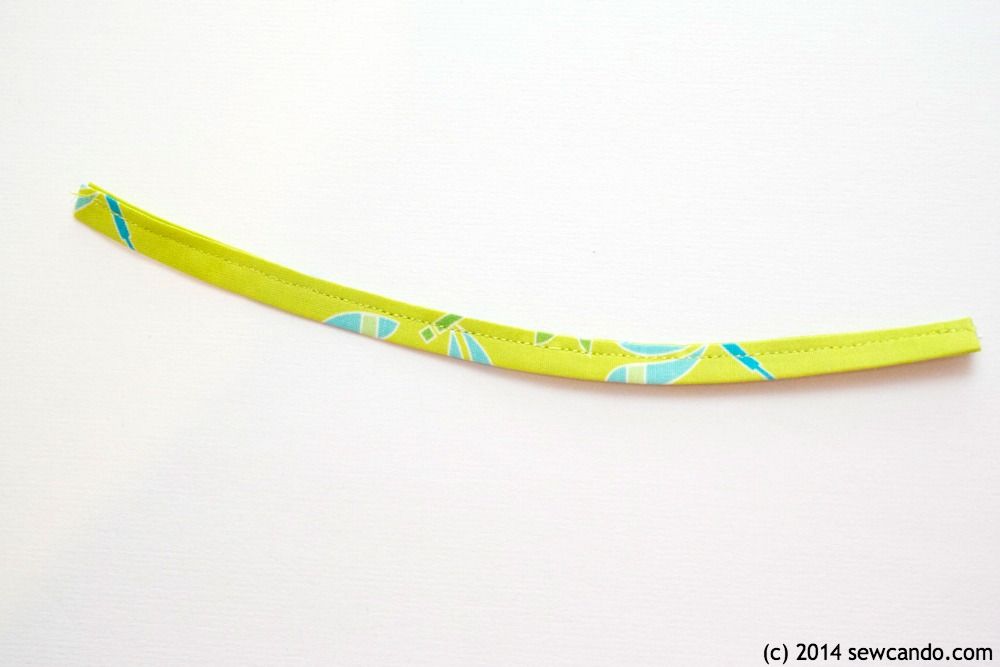
Take stripe pieces and fold in half lengthwise and stitch 1/4in from raw edge. Turn right side out and press flat with the seam in center as shown.
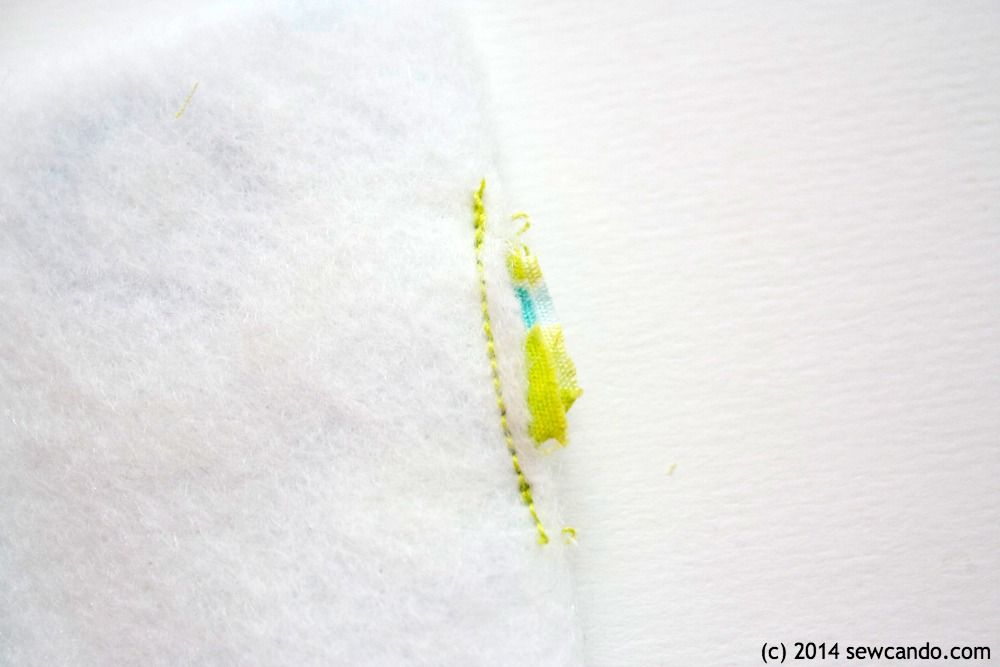
Do same with handle and lower strap pieces, stitching one short end closed as well on lower straps. Topstitch along side seams of lower straps:
Do same with upper straps, except topstitch down the center of the padded area:
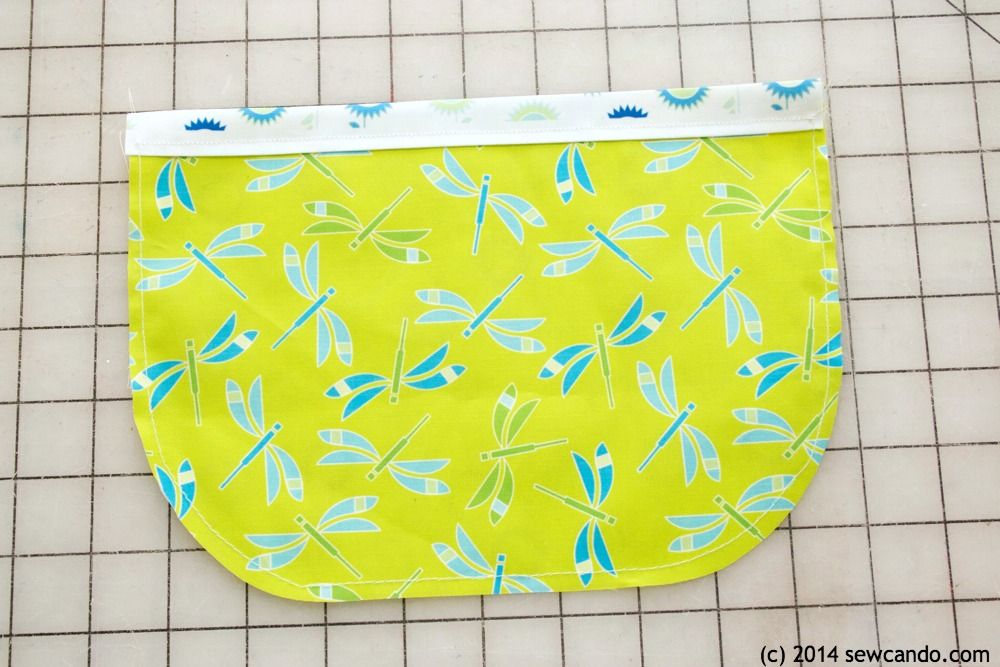
Center stripe on outer main piece and flap and stitch along stripe sides:
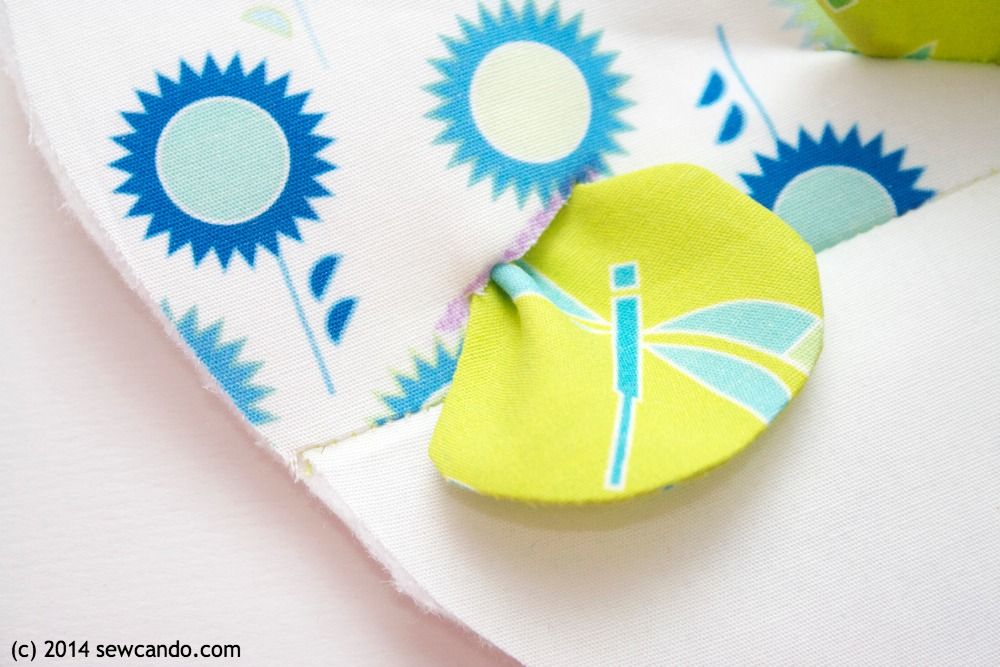
Double fold top edge of pocket 1/2in on the wrong side and press into place. Note: Since I was using a bright white fabric and didn't want the pocket to look transparent when layering, I also cut a piece from the Dragonfly to line it and basted them together. Stitch down the upper fold:
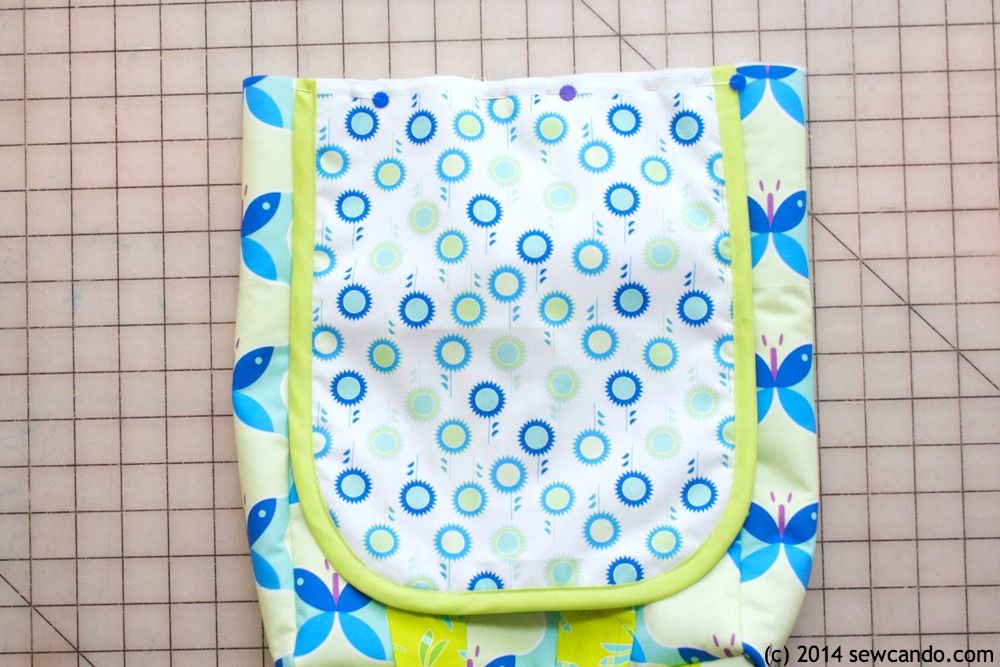
Layer the flap lining, outer and pocket pieces as shown (flap wrong sides facing, pocket right side out on top of outer flap) and baste together:
Encase edge of flap in bias tape:
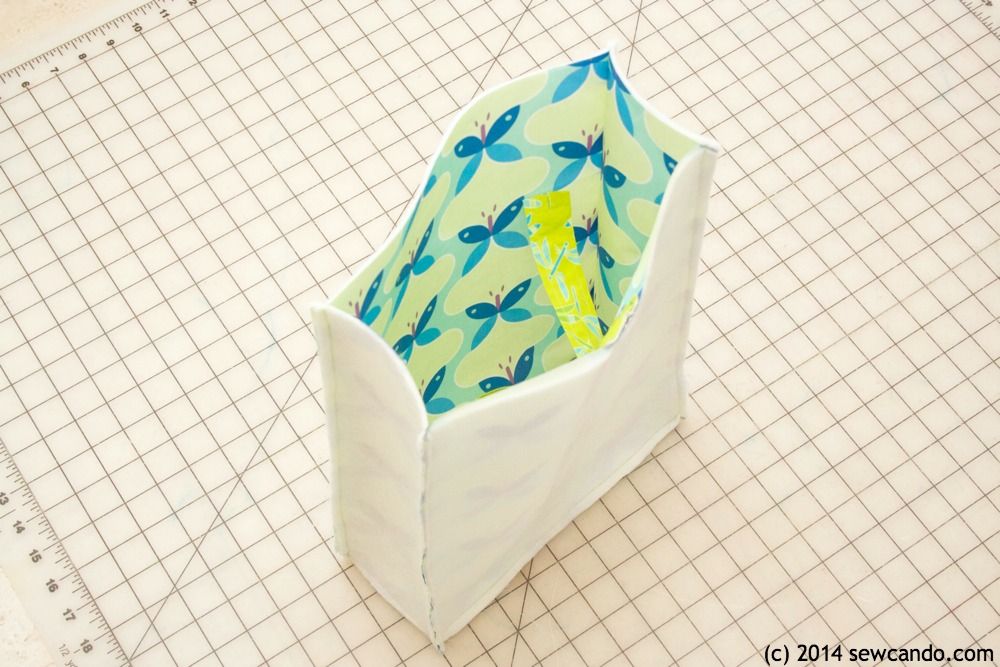
Take bottom and side pieces of outer and stitch together on short sides as shown, using a 1/4in seam allowance, with right sides facing, starting and stopping 1/4in inward from each end. Baste lower straps to long side of bottom as shown 1 1/2in inward from either side:
Attach front and back pieces to bottom in same manner as sides. Starting with one side at a time, pin and stitch together the side panels to the front and back pieces.
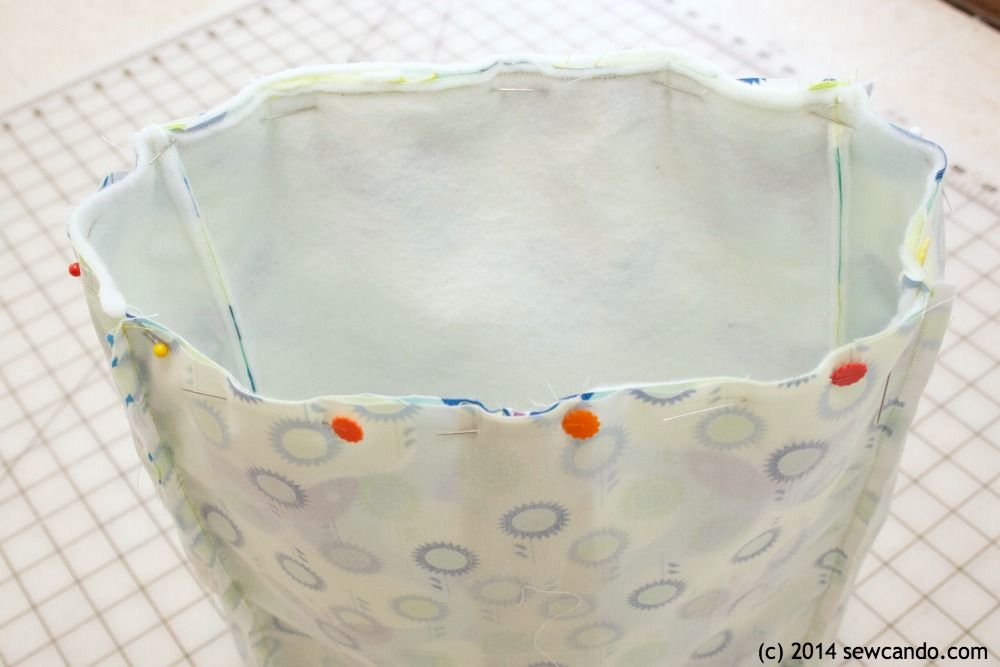
Repeat the previous two steps with the lining pieces, but leave a 3 in gap on one of the longer sides of the bottom piece for turning later. The ending result will look like this:
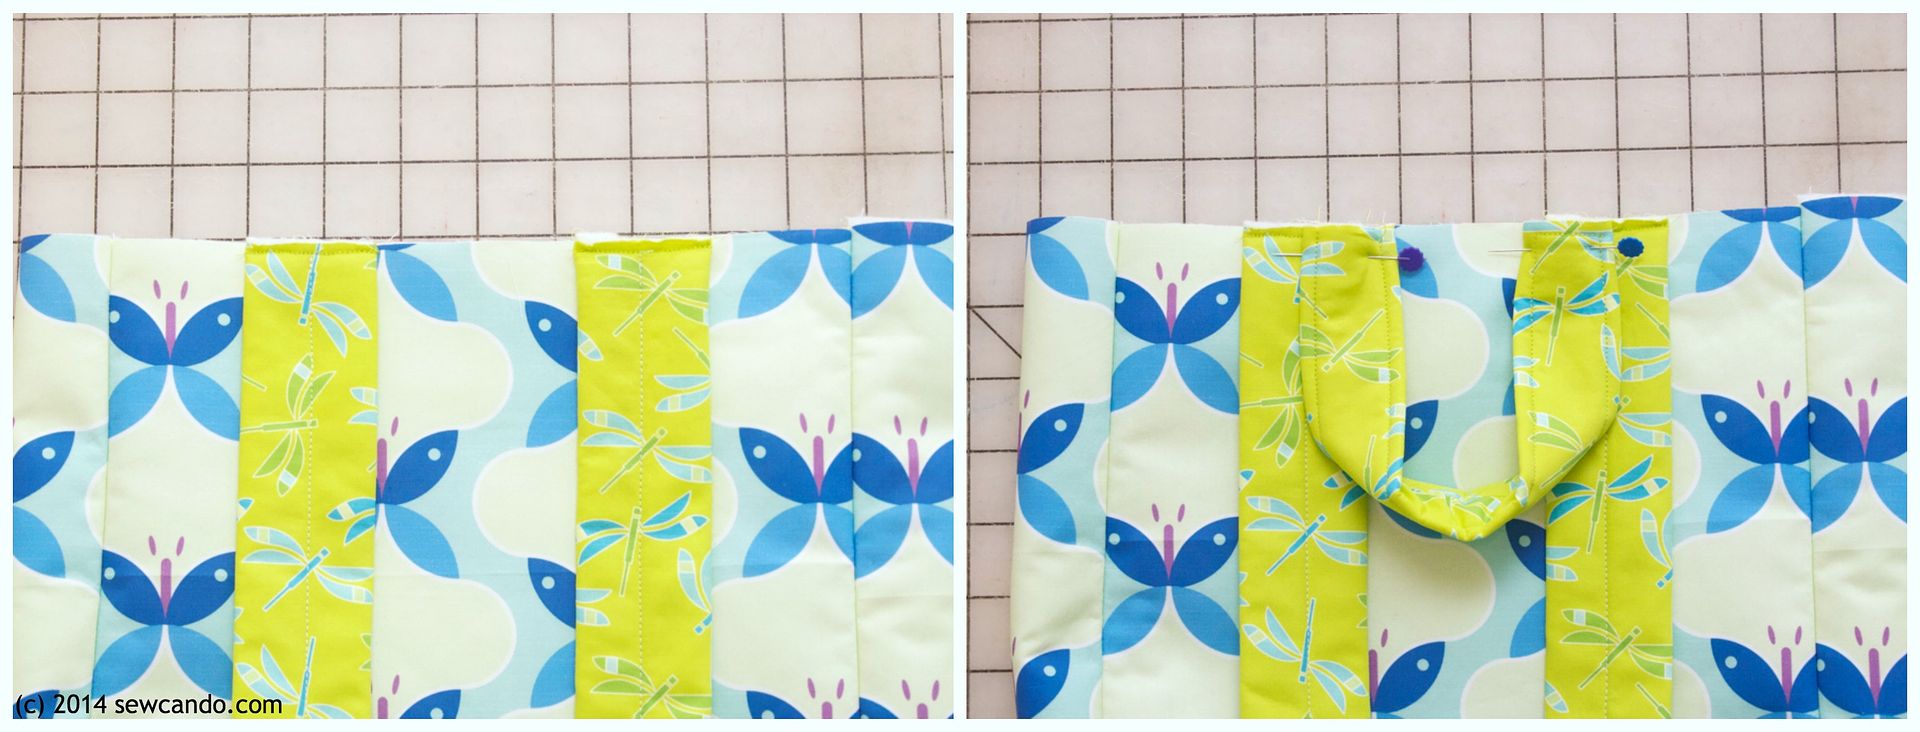
Turn outer backpack right side out and pin then baste the upper straps 2in inward from either side on top edge. Add handle over them as shown, 2 1/2in inward from sides, basting into place.
Now take flap and with outer right sides facing, pin and baste flap onto back side of backpack.
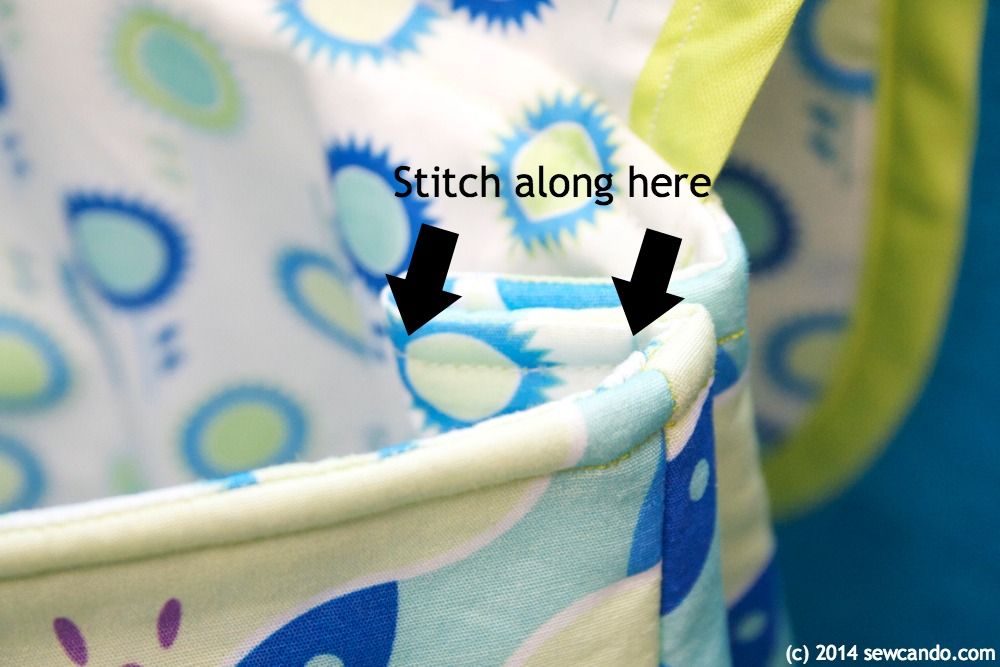
Insert outer backpack into lining, matching up side seams and pinning together along top edge. Stitch all the way around.
Pull backpack right side out through gap in bottom of lining. Hand stitch gap closed and topstitch around top of backpack, about 1.4in from edge. Thread sliders around open ends of upper straps, folding strap under and stitching closed with a double stitched "X". Thread lower straps and size as desired.
Open backpack and pinch sides inward about 1 1/2in and stitch into place, over topstitching, to create side pleats:
And the backpack is ready to fill!
Now how about a chance to win some of this fabric, or any other prints you fancy, from Modern Yardage?
One lucky Sew Can Do reader will get a choice of
8 Fat Quarters from Modern Yardage!
That's right - any designs you want. Choose your favorite coordinating-collection prints like the Amelia Harper Collection I used:
or go for a diverse mix. YOU get to pick!
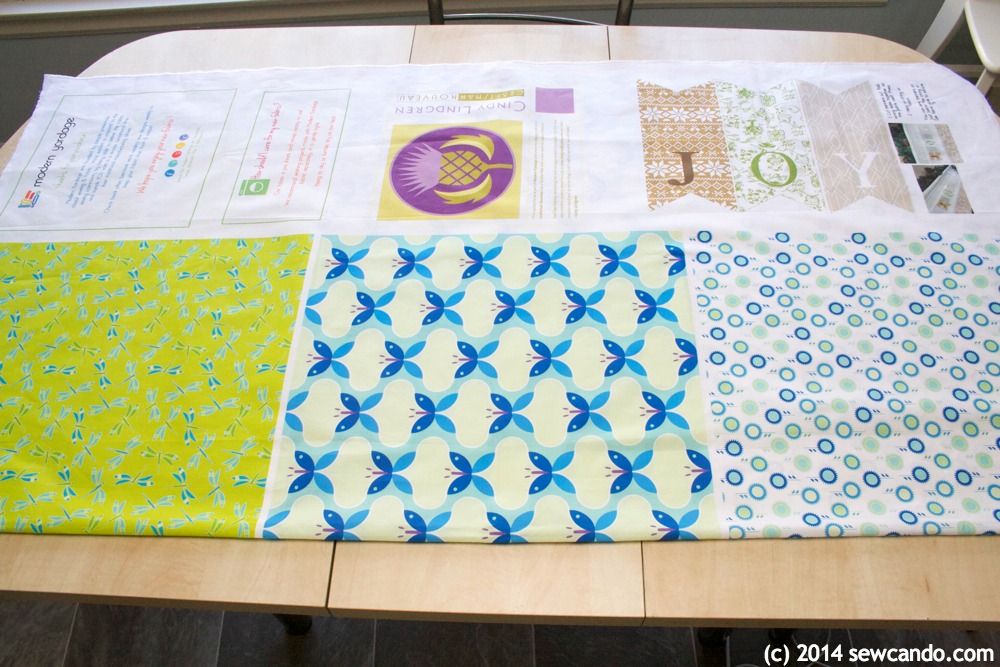
And all printed in an awesome, super wide fabric panel like this:
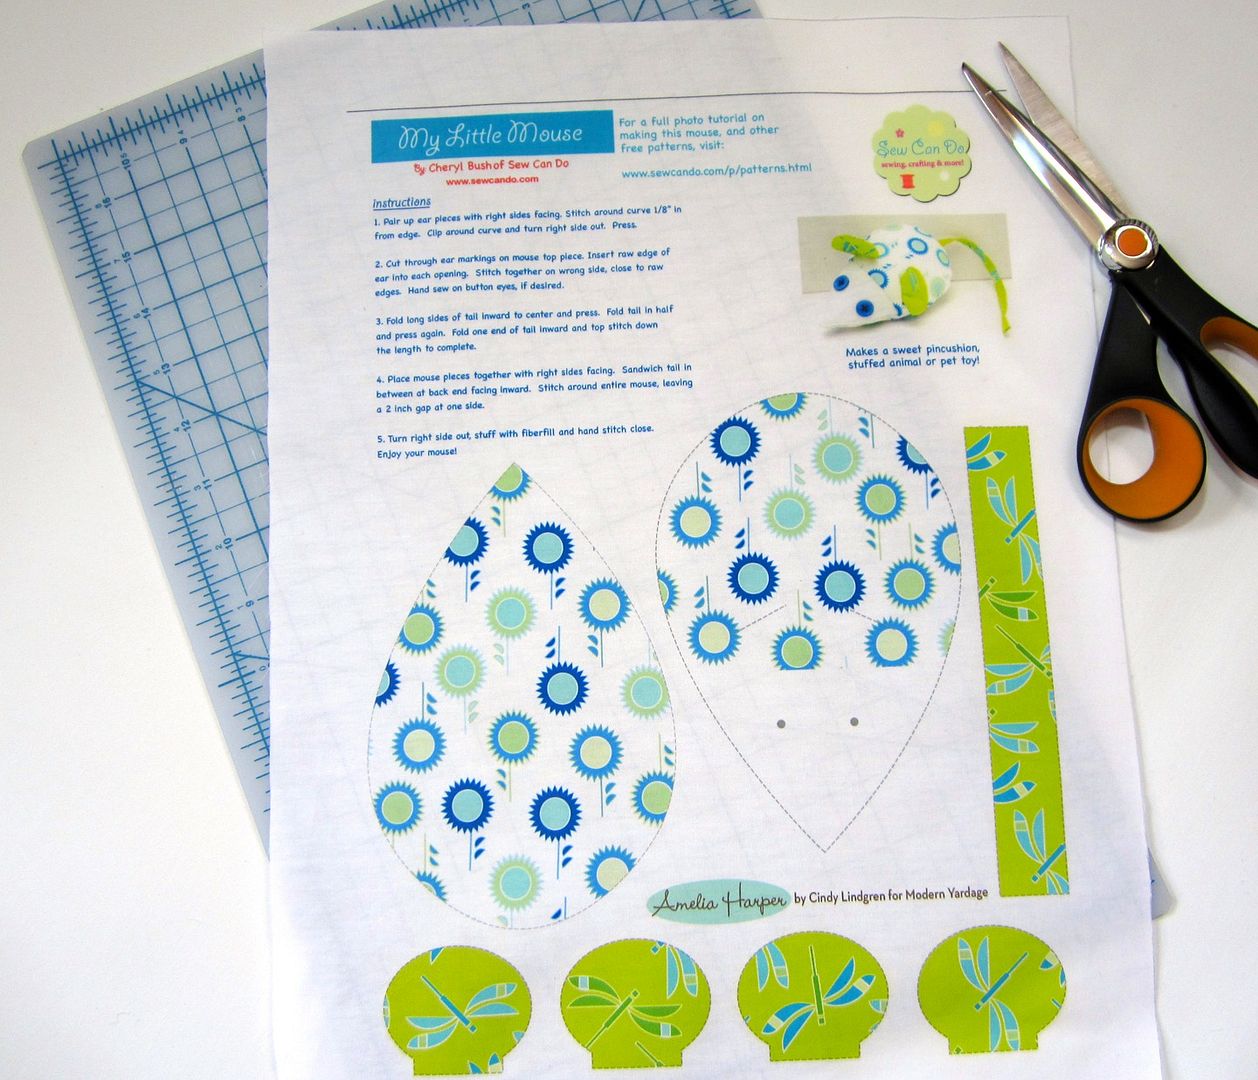
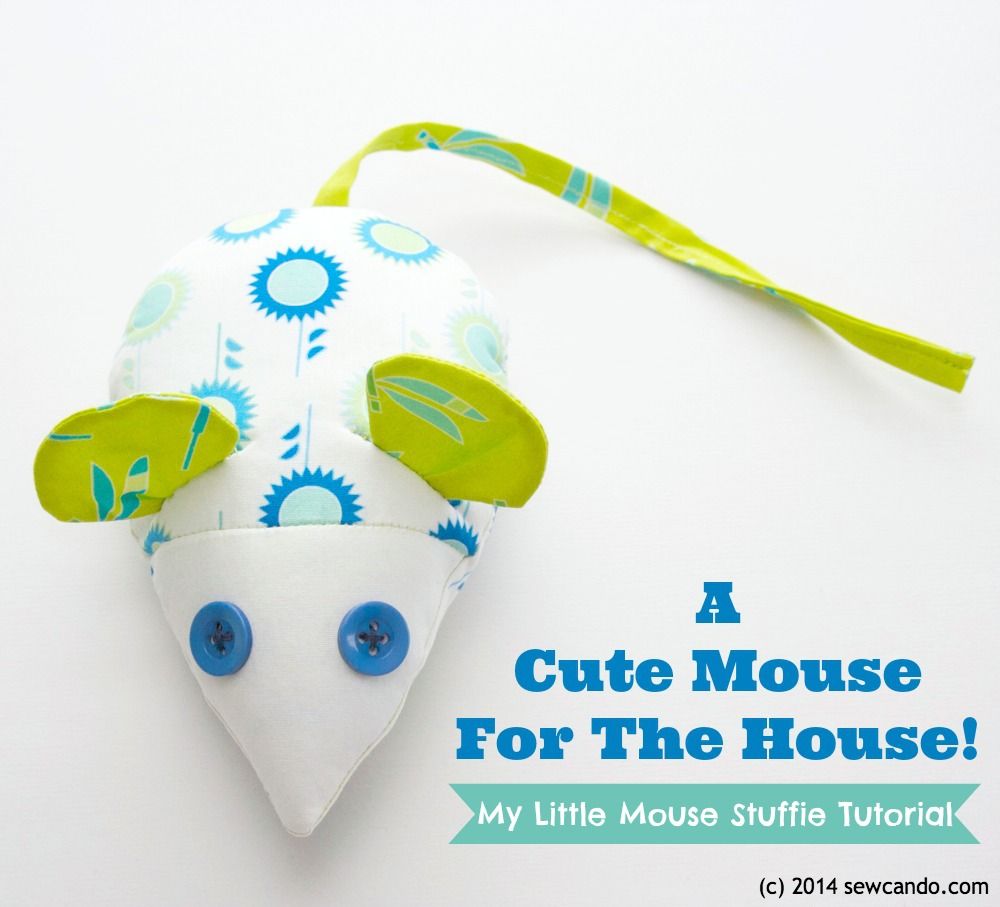
As I'd mentioned in my review post, there are free fabric goodies printed in the selvage of all Modern Yardage fabrics as a wonderful bonus. You can even select Sew Can Do's own original My Little Mouse cut & sew stuffie by using the code MYLITTLEMOUSE during checkout:
Then you could make this matching pair!
Good luck and Happy Valentine's Day Everyone!! XOXO
a Rafflecopter giveaway

I'm also sharing this project with my FAVE LINK PARTIES.
Click HERE to check them out!


.%20)