Showing posts with label Waterproof fabric. Show all posts

Wednesday, August 3, 2016

My Space Saver Backpack Pattern Release & Giveaway!!


I've been a busy bee over in the Sew Can Do craft room lately.  Working on lots of new things and thrilled to announce the first of them today.  It's a brand new sewing pattern that's perfect for back to school:  my Space Saver Backpack Pattern!


With this pattern, you can create a custom backpack with your favorite fabrics. Perfect for school, the gym, heading to work or as a wearable alternative to an overnight or diaper bag. 


You may remember last year when I shared some posts on an awesome fabric, Waterproof Oxford, that one of things I made with it was a backpack.  I finally made it into a pdf pattern. 


To celebrate this new pattern, I'm giving away several copies of the Space Saver Backpack Pattern to my readers!

This pattern's got all the key backpack features, like large zipper opening to be quick to load and unload.


A roomy interior that holds lots and is easy to access.


Adjustable padded straps to give the perfect fit.  


At 12in x 16in x 6in, it's big enough for an adult, but still a comfortable size for kids. 


Wide choice of fabrics that work with it.  Use Waterproof oxford, PUL, Laminated Cotton for a strong, wipeable bag or Canvas, Denim, Corduroy, Ripstop or Woven Cotton for a classic fabric version.  Loads of fabric options.


My absolute favorite fabric for it is the Waterproof Oxford.  It's super strong, holds shape well, is weatherproof and easily wipes clean inside & out. Backpacks made with it are indistinguishable from the pricey store bought versions in feel and look.  Plus the prints available in this fabric are way cooler than any ready-buy backpacks I've seen;) 


Space Saver Backpack in Waterproof Oxford

Loads of pockets on front and both sides.  I've crammed water bottles, phones, tablets, books and school supplies of all sorts into them.  They've got tons of room!


Space Saver Backpack holding 2 water bottles, markers, workbook, sunscreen, iPhone,
women's shoes and a twin sized blanket - with room left for even more!

The backpack design also has a handy loop to hang it when not in use.


As always, the instructions include full color photos, as well as sewing tips, a handy fabric selection guide and supply resource list to find the perfect materials. This pattern is intermediate level (if you're comfortable sewing a zipper, attaching binding and sewing through layers, you're good to go!). I've officially released the pattern for sale over in my Etsy shop, The Green Hedgehog.


And now I'm giving away 3 copies of the
 Space Saver Backpack Pattern right here!

a Rafflecopter giveaway


SaveSaveSaveSave

Wednesday, September 9, 2015

5 Minute Waterproof Zip-Up Purse Tutorial


Don't have much time to sew?  How about a project that takes 5 minutes and will look store-bought fresh for years?  Meet my 5 Minute Zip-Up Purse.  This little zippered pouch is super handy - it's great to use as a coin purse, make-up bag or small clutch.  Very simple & beginner friendly.  No lining required!! It's ultra durable and totally waterproof too.  


The secret to the super strength is the material.  It's made from Waterproof Oxforda woven 100% polyester oxford fabric. The fabric is finished with a durable water repellent and then laminated with a thin black polyurethane coating on the back.  I've shared ways to use it and sewing tips for this fabulous fabric here.  This is just one of many projects that is ideal for this fabric.  I've got a tutorial for making this Indestructible Storage Bin with waterproof oxford too:


Now let's make this purse!
Materials:
- Waterproof Oxford fabric 
- Zipper
- Pins, rotary cutter/shears, ruler, zipper foot
- Optional: walking foot, pinking shears, beads & jewelry wire (for zipper charm)

These are so quick to make, I did one for myself and one as a birthday gift for my sister who is an elephant lover.  I just changed the dimensions slightly.  For the larger one with the matching zipper charm, I cut a 8 inch wide by 9 inch high piece and used a 7 inch zipper.  For mine I used 7 inch wide by 8 inch high piece and this cool rainbow 6 inch zipper:


With the zipper facing down & fabric facing up, pin the zipper tape to the top edge of the fabric and stitch together.  Start and stop stitching 1/2 inch from each end (this is so you can fold the zipper tape down when you do the sides).


Then pull up the bottom edge and pin that to the other side of the zipper tape, right sides facing and stitch together.


Before sewing up the sides, pin back the zipper tape edges so they'll stay under the stitching and hidden inside the purse when turned right side out.  Only place the pins in the seam allowance so no holes will show.  Also make sure the zipper is a bit open so you can unzip it completely to turn it.  Stitch with a 1/2 inch seam allowance.


After sides are sewn up, trim down seam allowance with pinking shears:


Turn purse right side out.  On the purse I made as a gift, I added some jewelry wire and these fun elephant beads that were a perfect match to my fabric to make a zipper charm:


I've been using mine constantly as a coin purse and despite getting tossed around tons in my handbags, it looks great.  Added bonus - the colorful print makes it easy to find in the dark recesses of my bags too. 

Want a chance to win some of this fabric?  
I'm giving away this FQ trio of Waterproof Oxford fabric HERE.


I was not financially compensated for this post.  I received waterproof oxford fabric from Diaper Sewing Supplis to test sew and was not required to review or promote this fabric or their shop.  The opinions are completely my own, based on my experience. For my complete disclosure policy, click here. 

Wednesday, September 2, 2015

Make an Indestructible, Quick Sew, Drawstring Storage Bin


Whether you've got just 1 or half a dozen, kids have lots of stuff.  Containing it is always a challenge.  With 3 kids in our house, it seems like the toys, clothes, gear, etc. are always overflowing and I'm sick of ugly plastic tubs to hold them cluttering it up even more.  Today I'm sharing how to make the ideal bin that can hold and hide just about anything. It's easy to make, looks decorative and, most importantly, kids can't really destroy.  


My Indestructible, Quick Sew, Drawstring Storage Bin:


Usually homemade bags or bins look great at first, but after a couple of months of active kid use they can look shabby or wear out with holes, stains, you name it.  What makes this one any different than other drawstring containers?  The fabric my friends!  

It's made from Waterproof Oxford, a woven 100% polyester oxford fabric. It's finished with a durable water repellent and then laminated with a thin black polyurethane coating on the back.  Last week I shared all about uses and sewing tips for this fabulous fabric here.  This is just one of many projects well suited for the fabric:


Waterproof Oxford also has a bit more body than most other fabrics, so it'll hold its shape well just by being filled with soft toys or clothes.  And it's strong & waterproof quality inside and out means you can use it outdoors or for things than get dirty or wet like sports gear, laundry, outdoor toys or cloth diapers and easily wipe it clean.

Materials:
- 1/2 yd Waterproof Oxford fabric (this cute print is from Diaper Sewing Supplies)
- 6 or more extra large grommets and setting tool
- 1 yd of Drawstring, cord or shoelace
- Double cord stop (in the notions section in most craft stores)
- Hammer
- Pins, small clips, rotary cutter/shears, yard stick, plate or compass 
- Optional: walking foot, pinking shears

I made mine with a finished size of 12 inches high by 8 1/2 inches wide, which is good for most kid stuff, but you can always make it bigger or smaller to suit your needs.  Start by cutting a 14 1/4 inch high by 30 inches wide rectangle and a 9 inch diameter circle from waterproof oxford.  I used a plate to trace my perfect circle:


Fold the rectangle in half widthwise and stitch down the side with a 1/2 inch seam allowance:


This part is optional, but I didn't want the raw edges sticking out inside, so I pushed the allowance to one side and carefully stitched it down 1/4 inch from seam (this is a tube now so you don't want to stitch through both sides). 


With right sides facing, pin together the bottom opening and the circular piece.  FYI - pinholes will be permanent in waterproof oxford, much like PUL or Laminated Cotton, so pin really close to the raw edges. This way the pinholes will be in the seam allowance and never show.  Stitch together with a 1/4 inch seam allowance, going slow.  A walking foot isn't required, but it can make it easier to keep the layers together without shifting as you sew.  


Now, fold the top raw edge inward 2 inches.  To avoid using pins, I like to use small clips to hold the fold in place while I sew.  If you want the raw edge to look a littler nicer on the inside, trim it with pinking shears first.  Then stitch all the ways around 1 1/2 inches from fold.


Time to install the grommets!  Extra large size works great and allows for your choice of drawstrings & cords and thicknesses.  All you'll need is an inexpensive grommet install kit and hammer:


First make markings for each grommet.  I only had 6 on hand, so I spaced mine about 4 1/2 inches apart and about 3/4 inch down from top.  To make the necessary holes, I clip a small "plus" sign with thread scissors:


Then cut it a little wider to press the male side of the grommet through (that part should be facing inside the bin):


Put the base piece underneath and then the other grommet half on top, followed by the setting tool.  Hammer away:


Snake the drawstring through and cut to desired length.  I had this cute flower shoelace that was a perfect fit with the fabric print & colors:


Pull the ends through the cord stop and it's good to go.


Add all the stuff: toys, clothes, school supplies, stuffed animals - whatever needs to be contained.  It'll look organized and really last no matter what the kids get up to;) 


Want a chance to win some of this fabric?  
I'm giving away this FQ trio of Waterproof Oxford fabric HERE.


I was not financially compensated for this post.  I received waterproof oxford fabric from Diaper Sewing Supplis to test sew and was not required to review or promote this fabric or their shop.  The opinions are completely my own, based on my experience. For my complete disclosure policy, click here. 

Wednesday, August 26, 2015

Discovering Waterproof Oxford Fabric + Fabric Giveaway


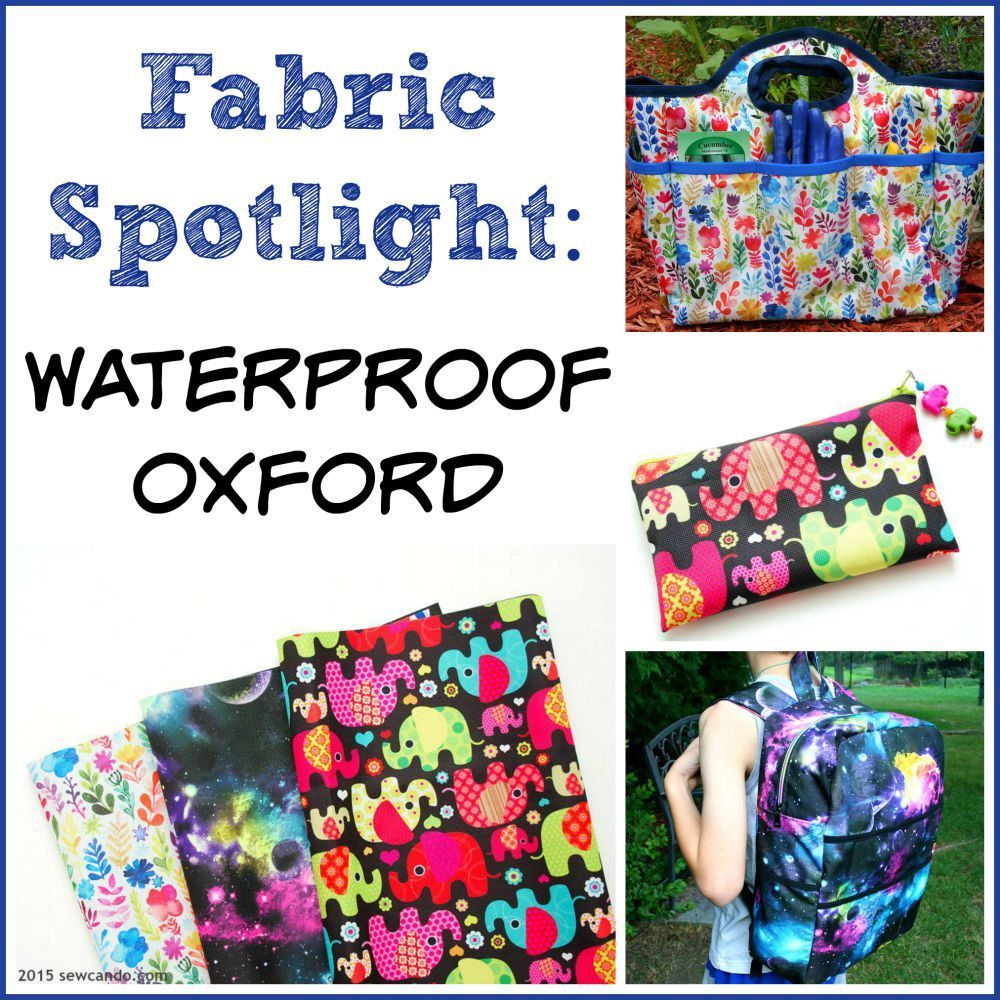
One of my favorite things about sewing is discovering and trying fabrics that are new to me. It opens up additional project possibilities, broadens sewing skills and is just plain fun. Today I'm sharing details on a new fabric I've tested and giving you a chance to win some for yourself too!  Are you ready fabric lovers?
Diaper Sewing Supplies (the place where I buy all my awesome PUL prints & Eco-PUL and one of my lovely advertisers) asked if I'd do some test sewing with a new fabric they were going to offer called Waterproof Oxford.  I made a few things, shared my findings with them and discovered I have serious love for this fabric.  It. Is. Awesome.  And now you can find out why you'll love it too!


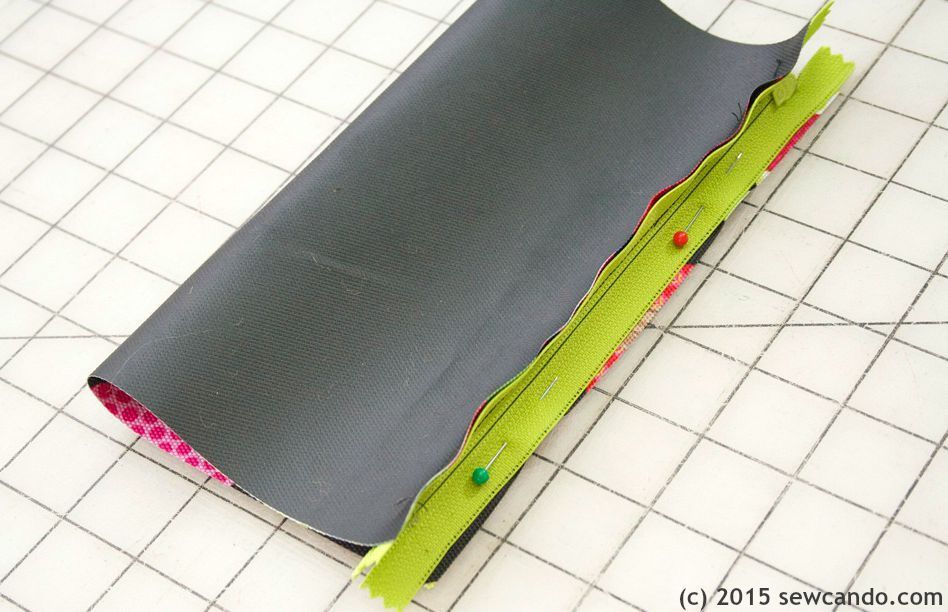
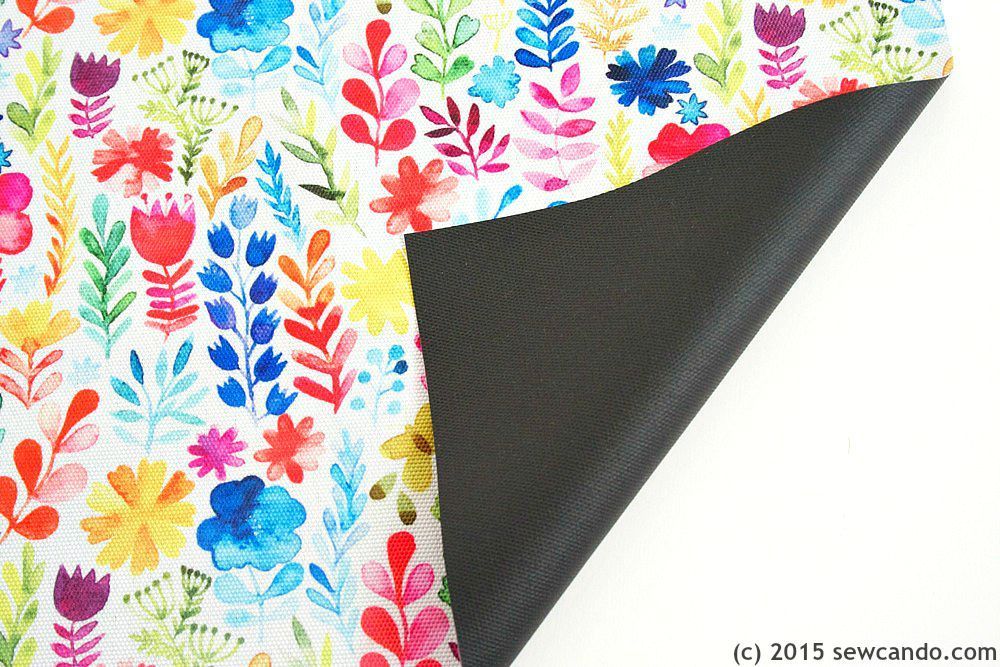
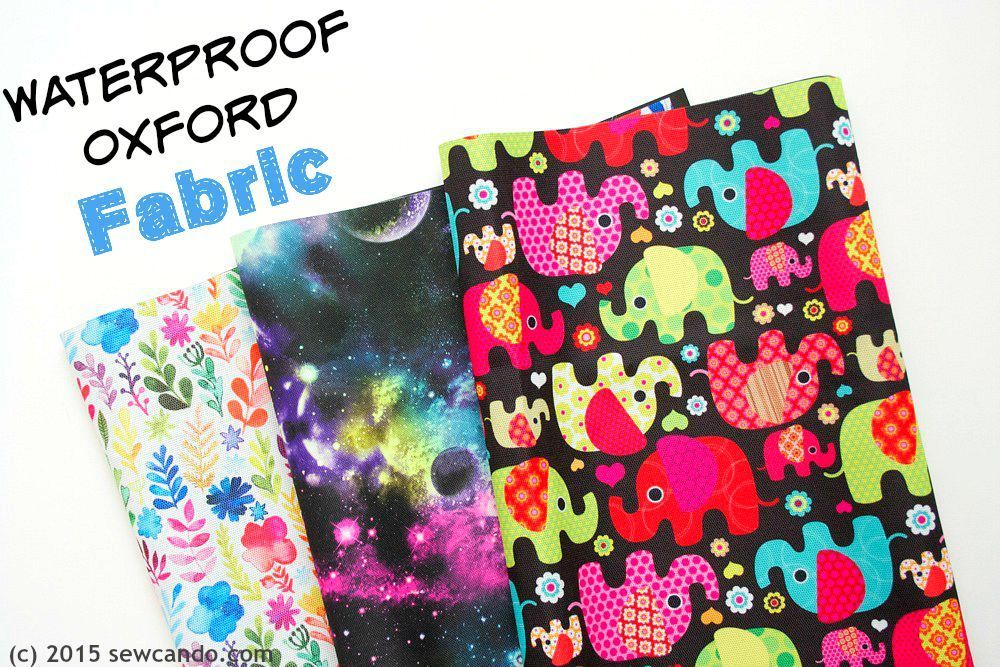
What is Waterproof Oxford?  It's a woven 100% polyester oxford fabric. It's finished with a durable water repellent and then laminated with a thin black polyurethane coating on the back. It means it's waterproof on both sides and has crazy strong durability. It comes nice & wide too - 58-60 inches - so a single yard can make loads of things.  


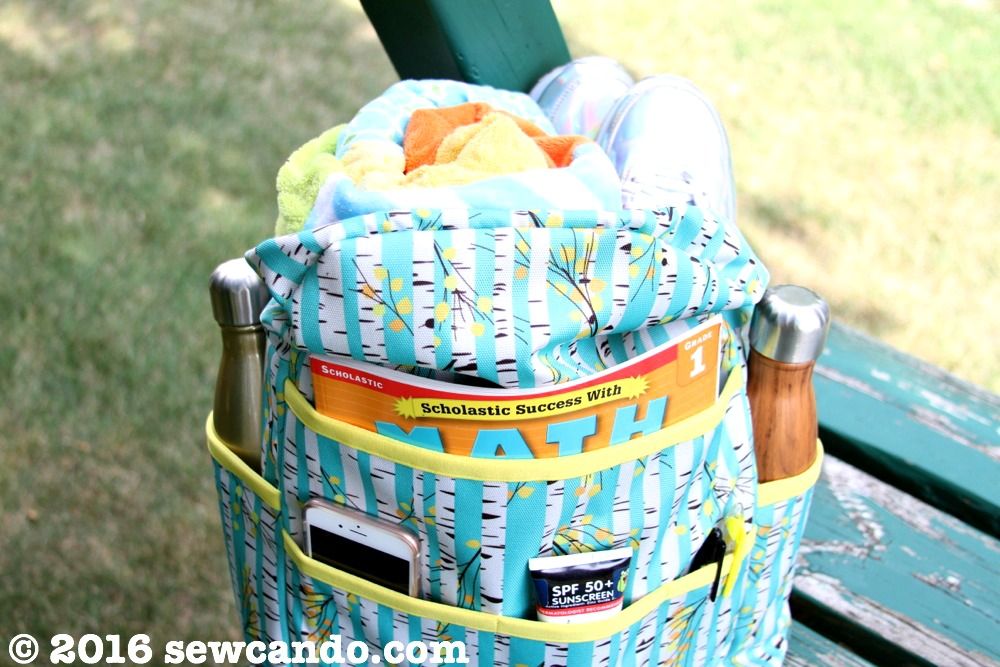
What can you make with it?  Just about any project where you want a fabric that's super durable and easy to clean.  Diaper bags, wet bags, tote bags, purses, and carry cases. You can even use it for things like luggage, seat covers, dog beds, picnic blankets - anything you want to keep dry.  It's also good for lunch bags when paired with food safe Eco-PUL.  And the prints it comes in are beyond cute (as you will see).  The fabric isn't really suited for fashion sewing, but there are loads of other ways to use it.  

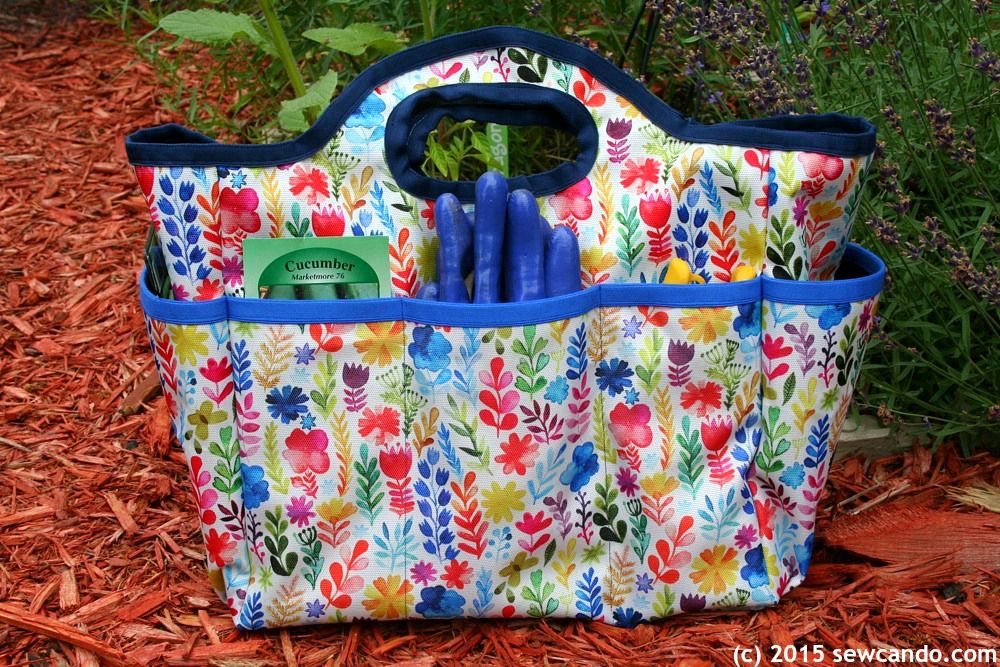
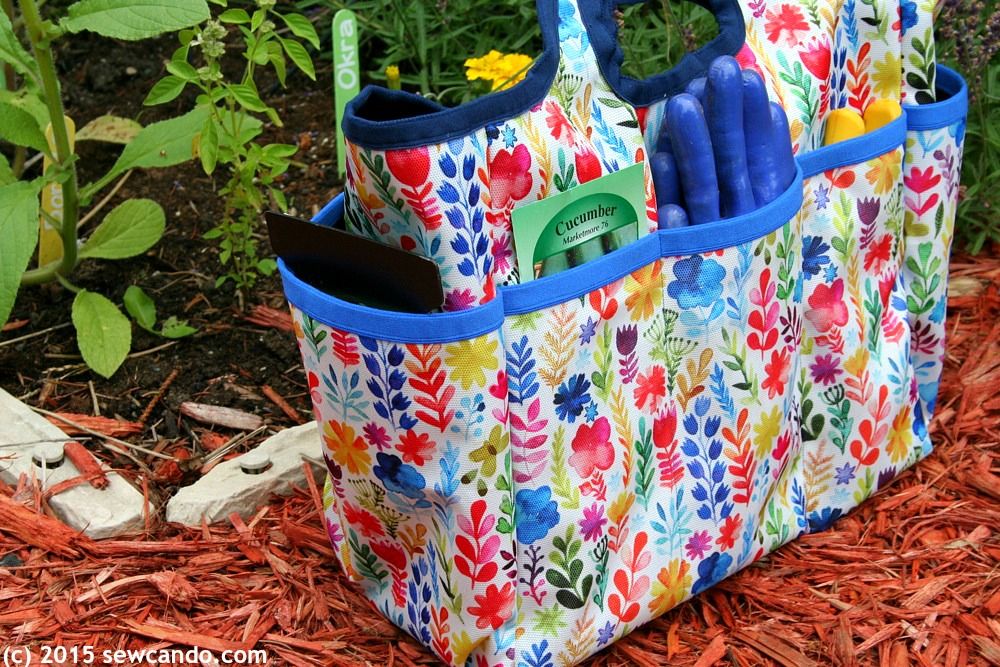
I made this "wipe & work" pocketed garden tote:


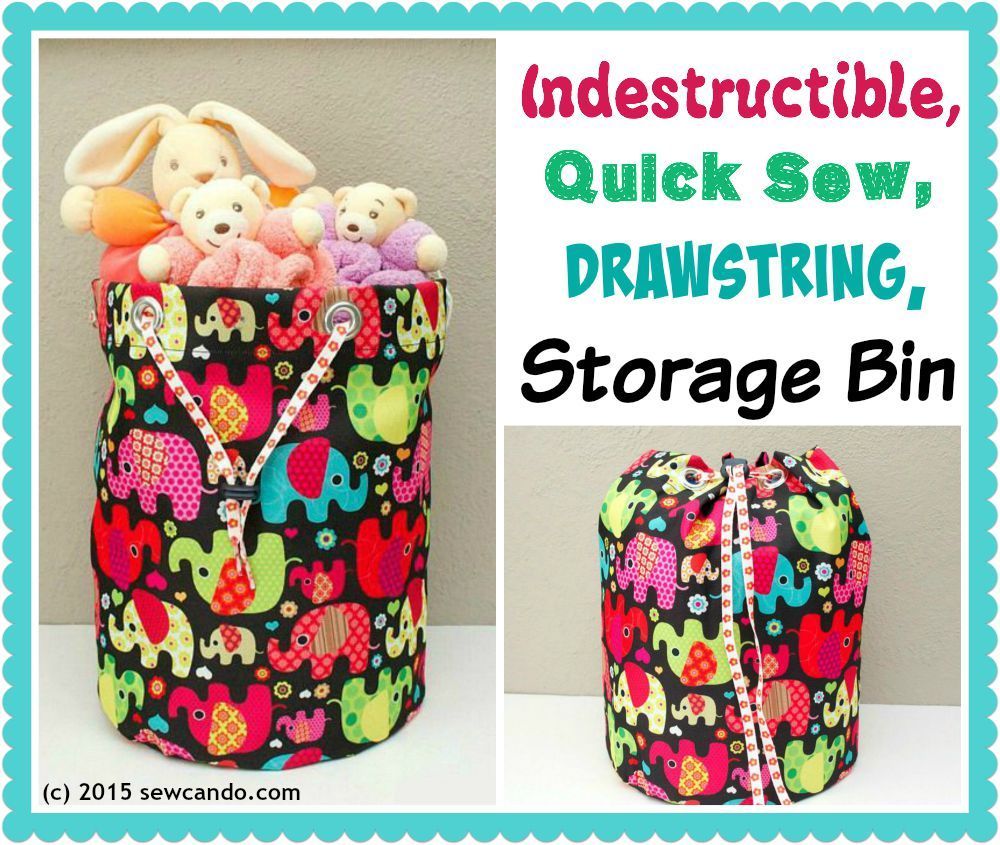
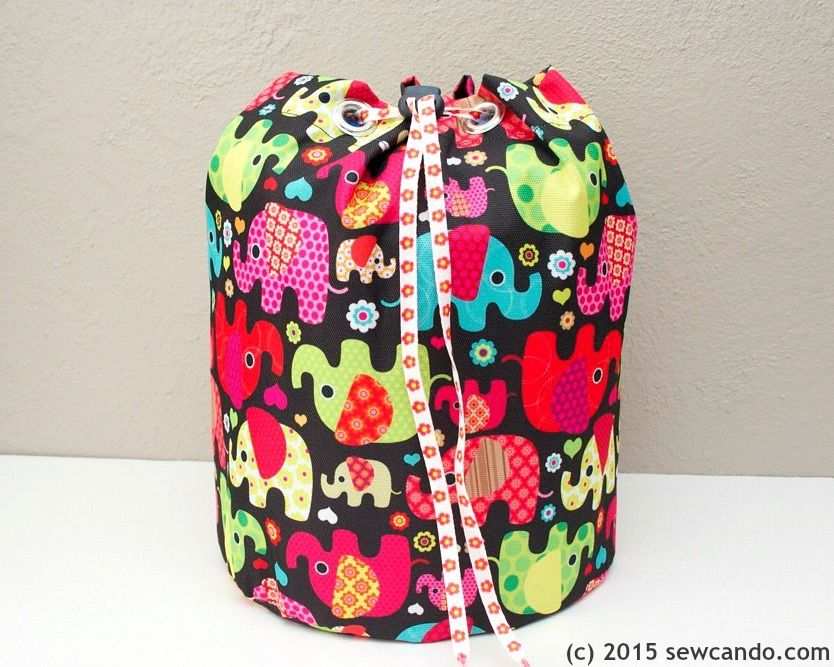
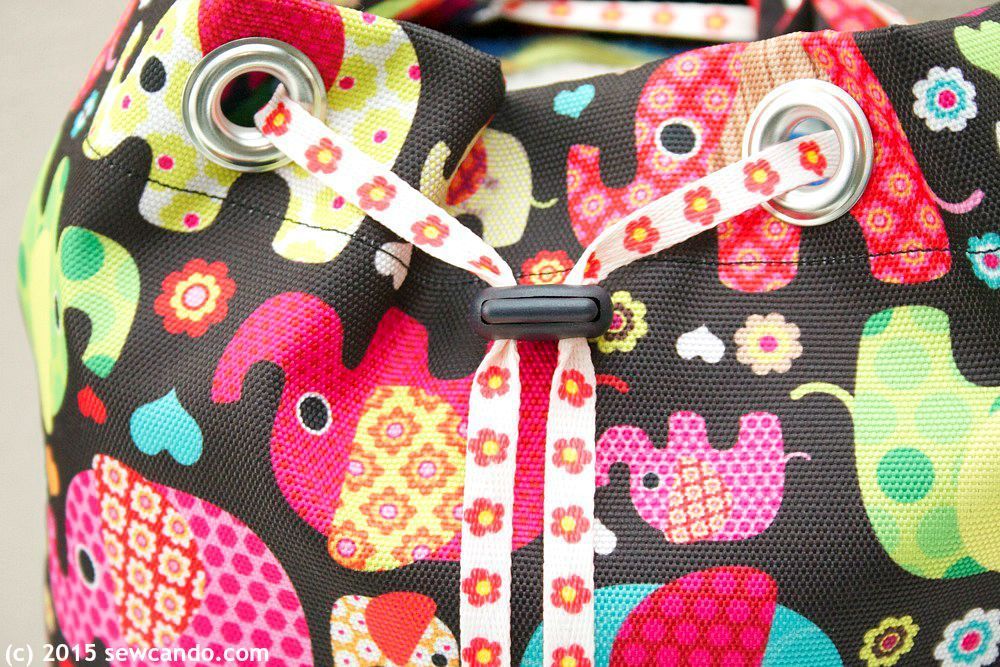
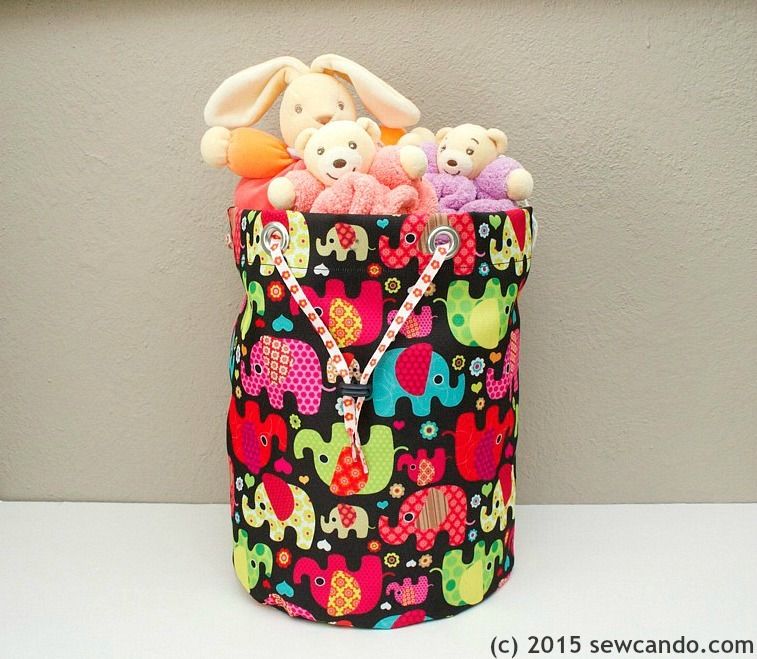
A drawstring storage bag:


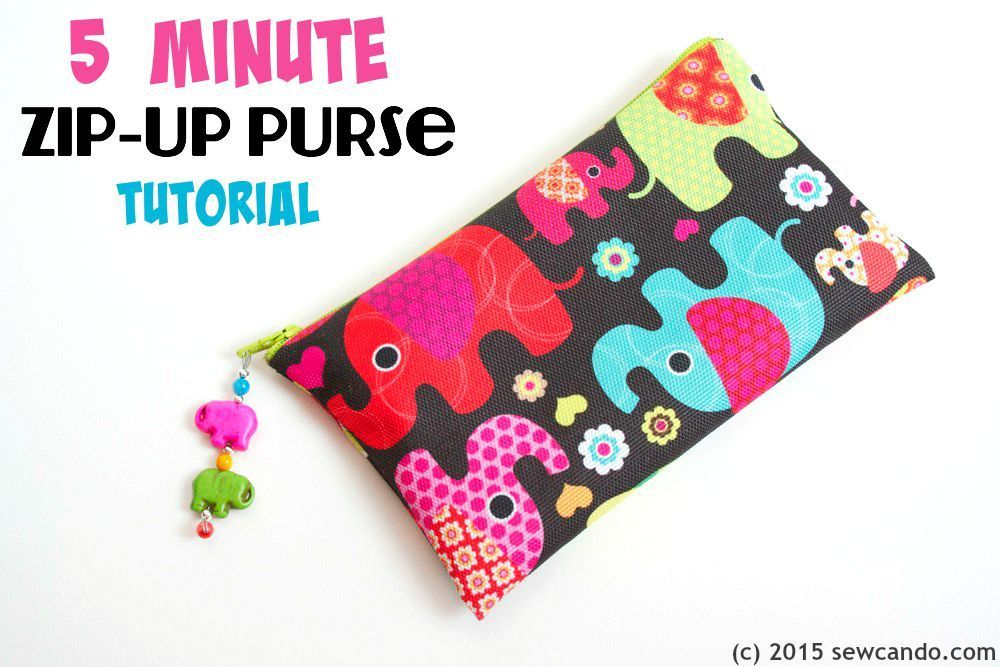
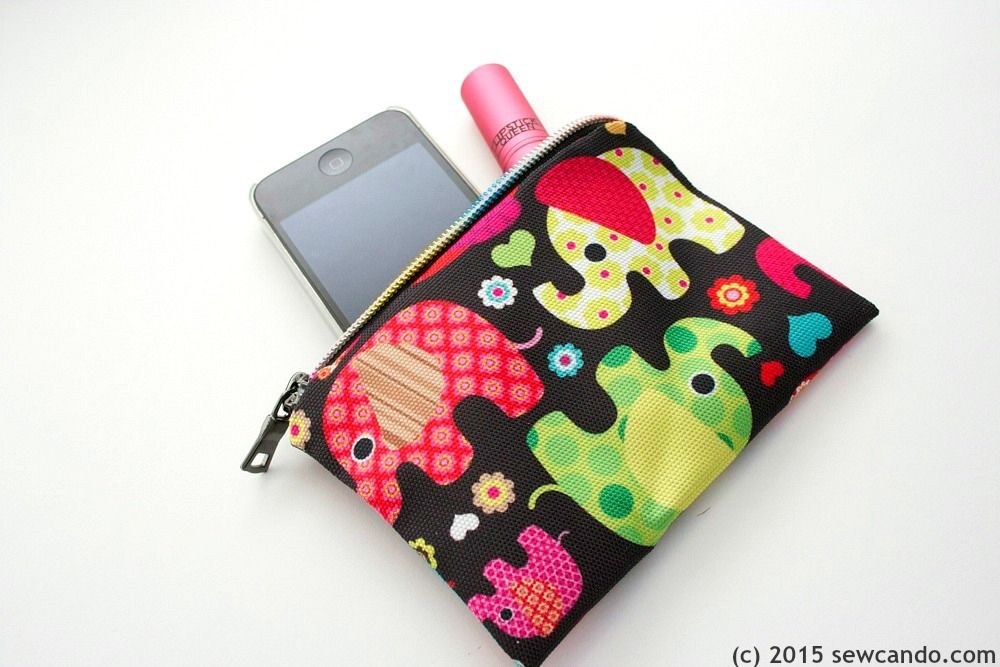
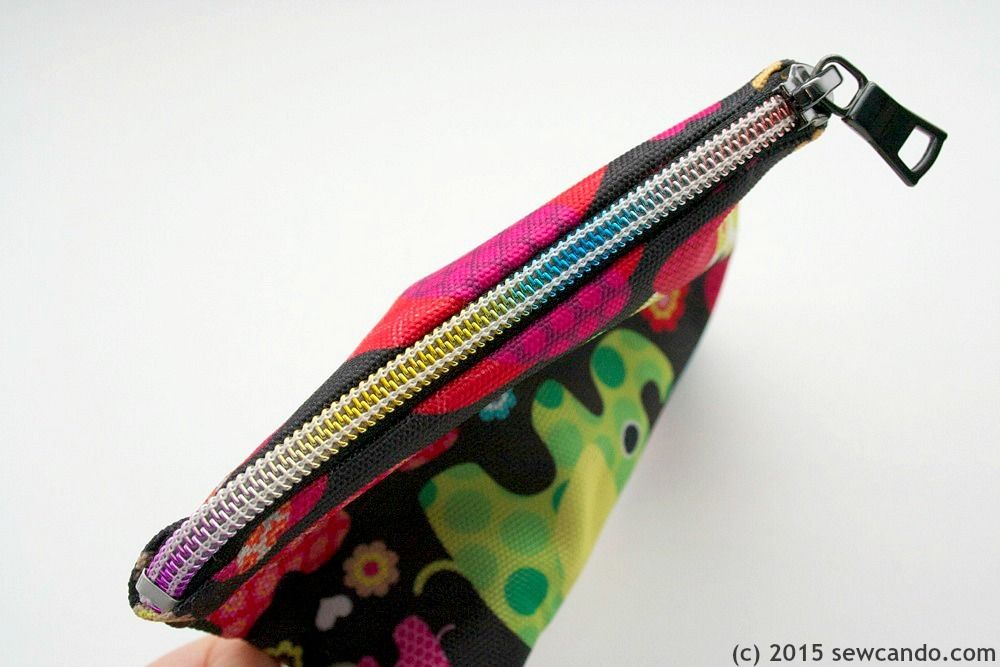
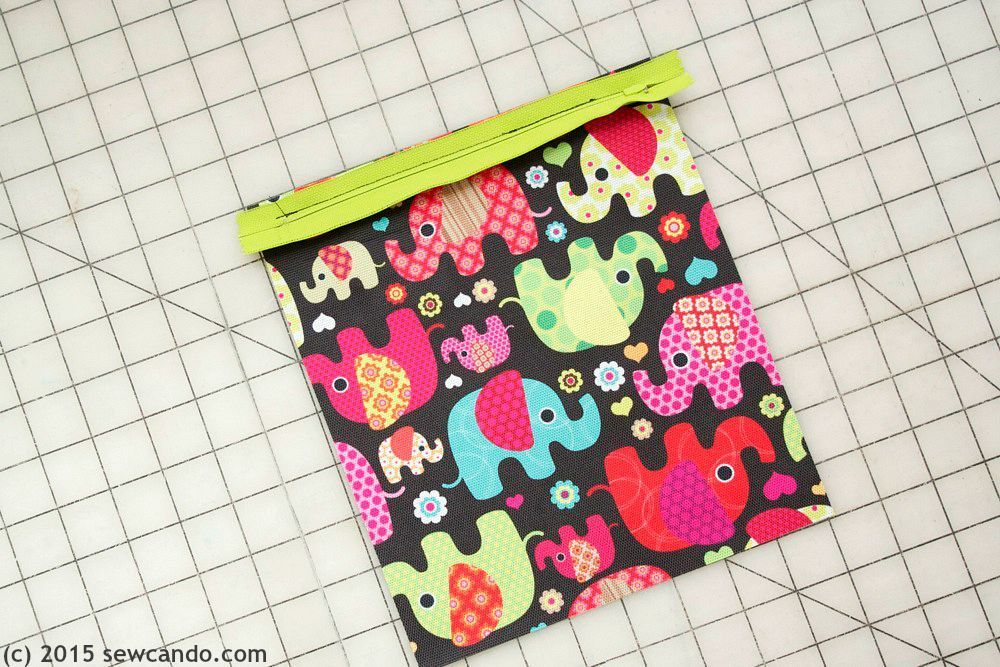
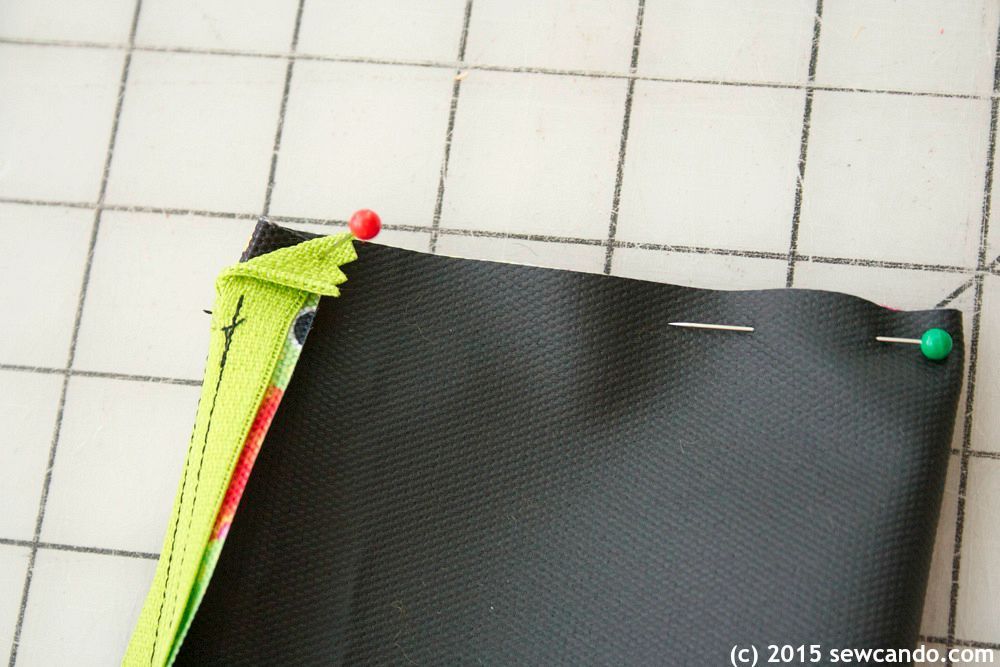
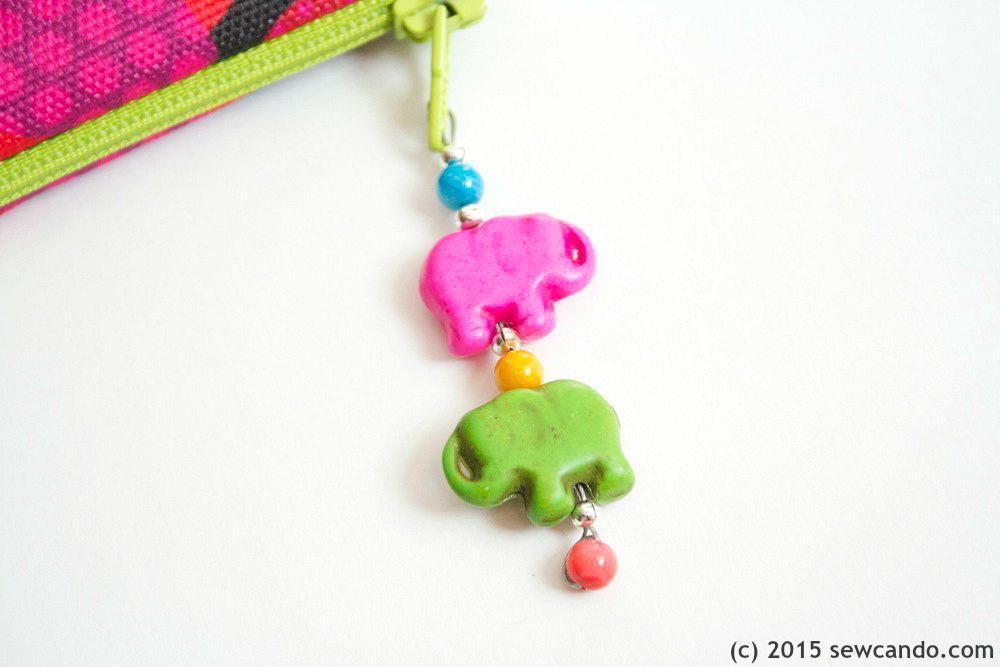
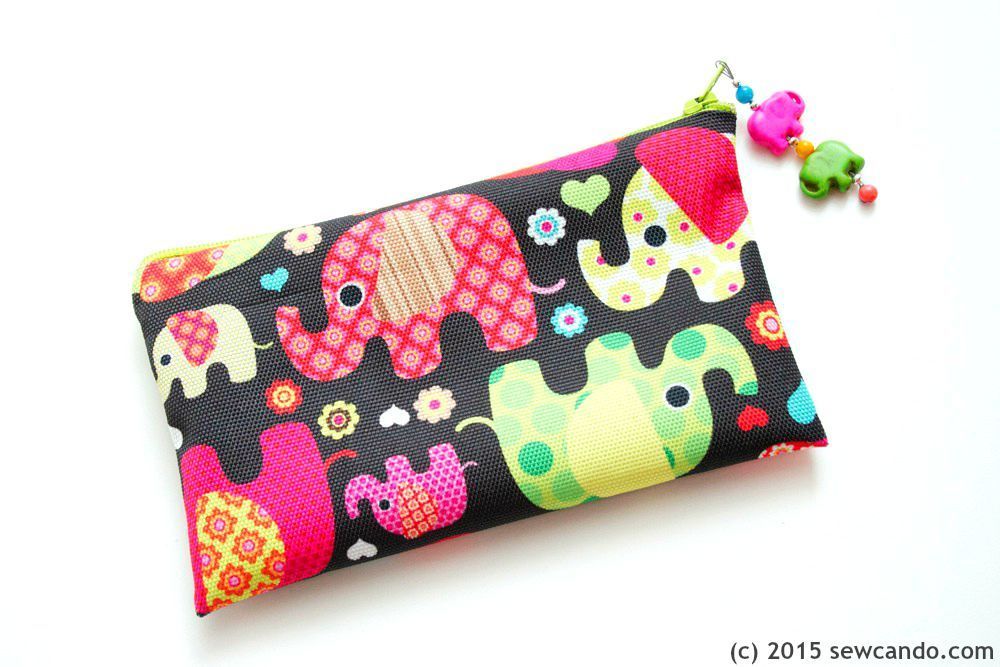
Some purse-sized zip pouches:


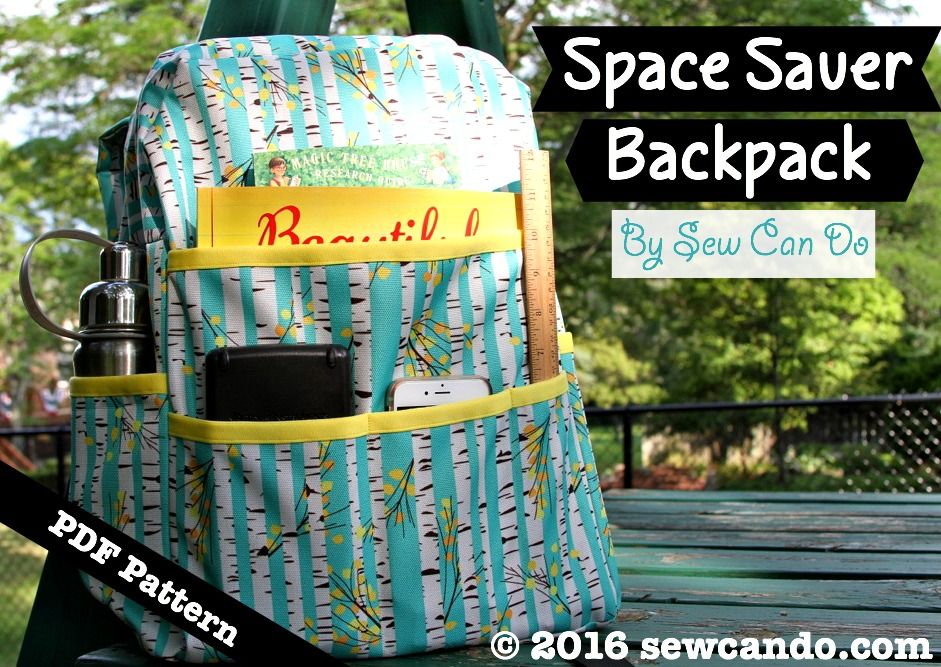
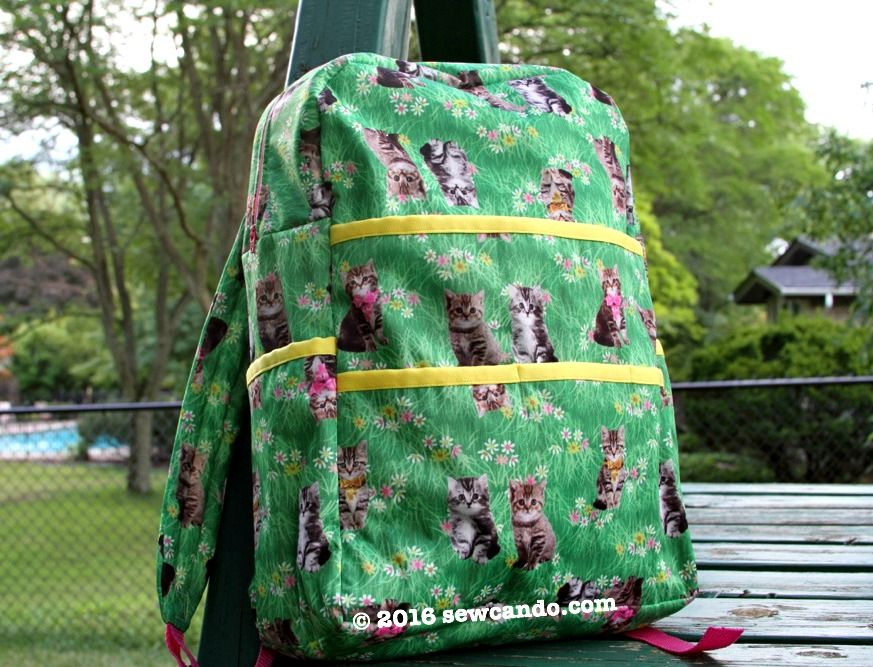
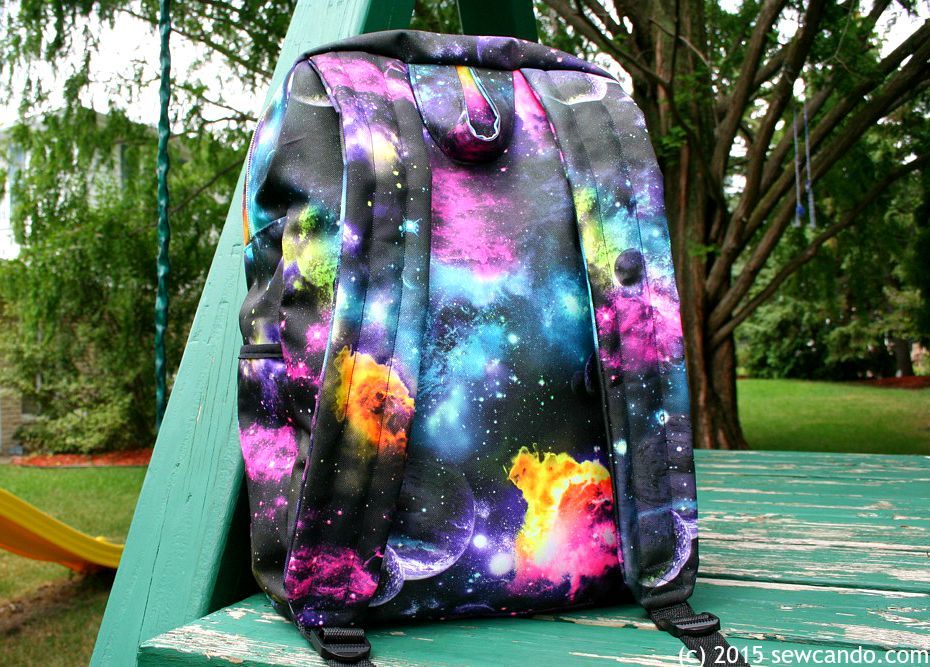
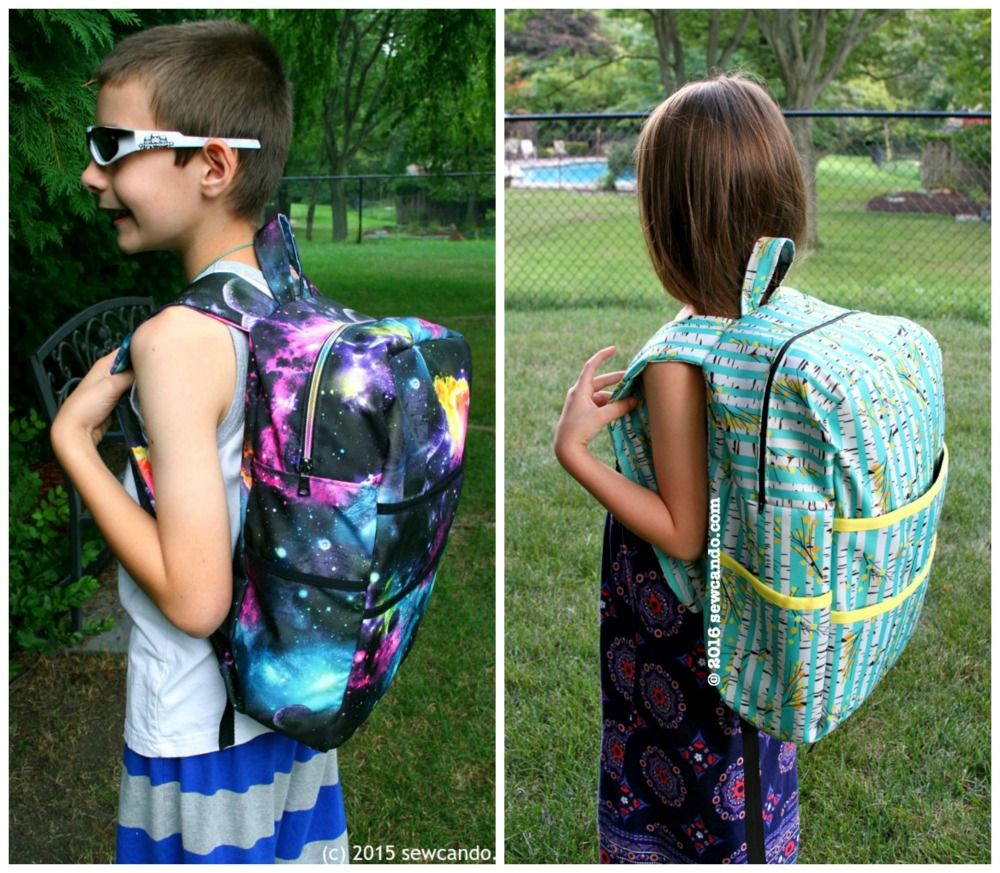
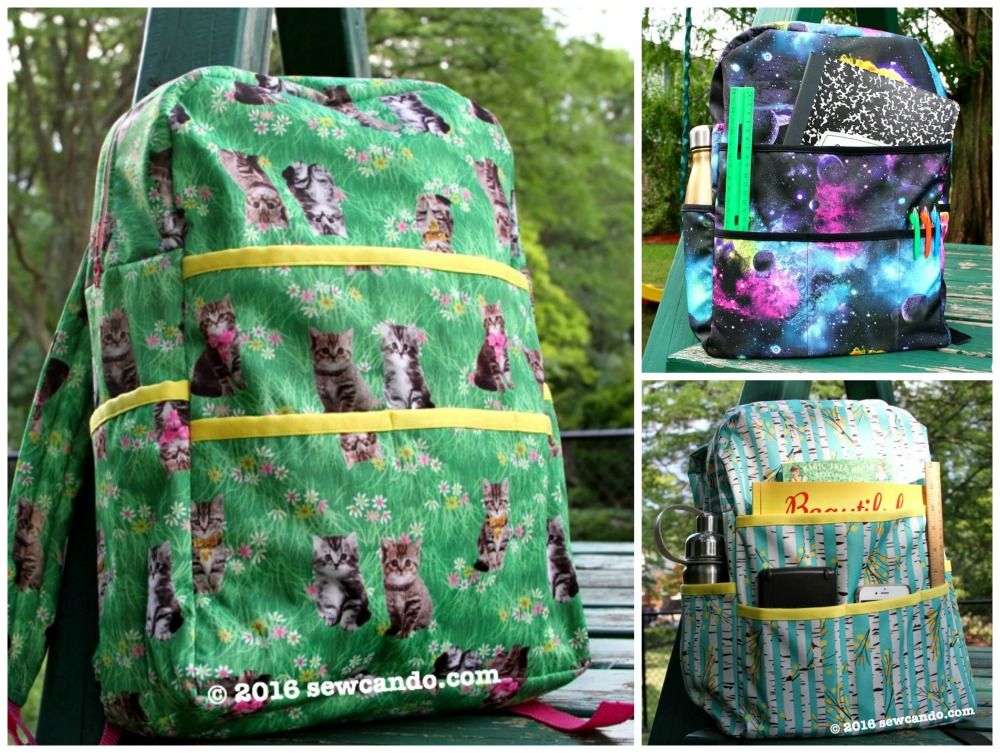
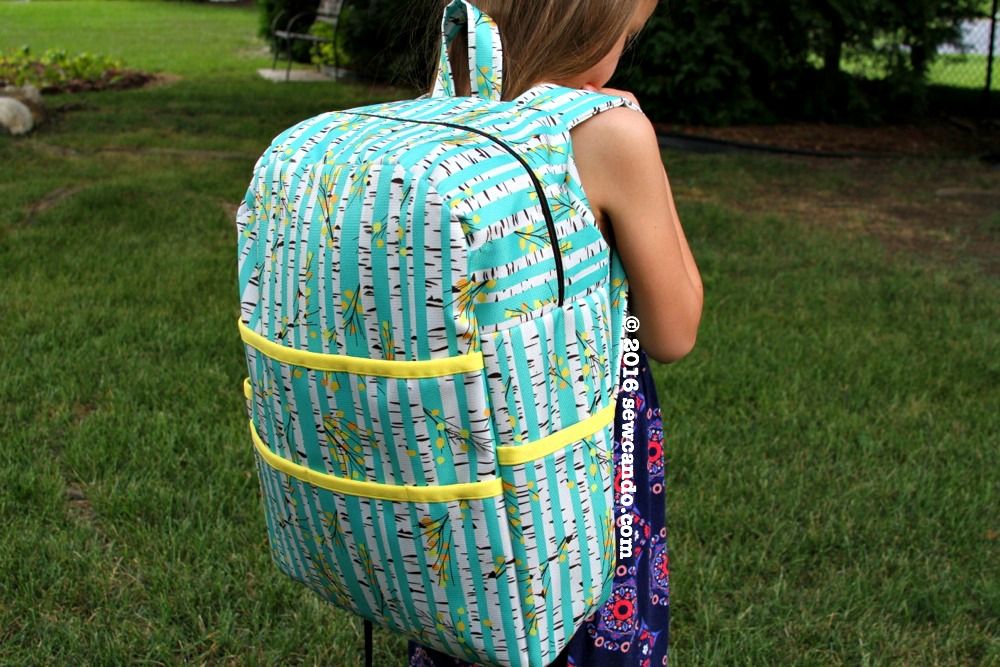
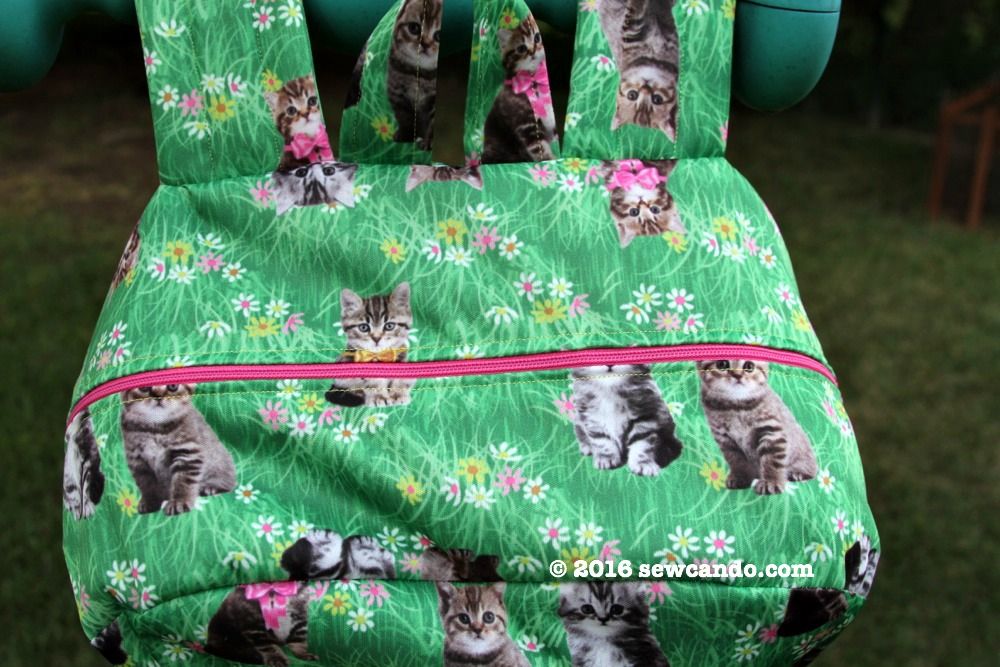
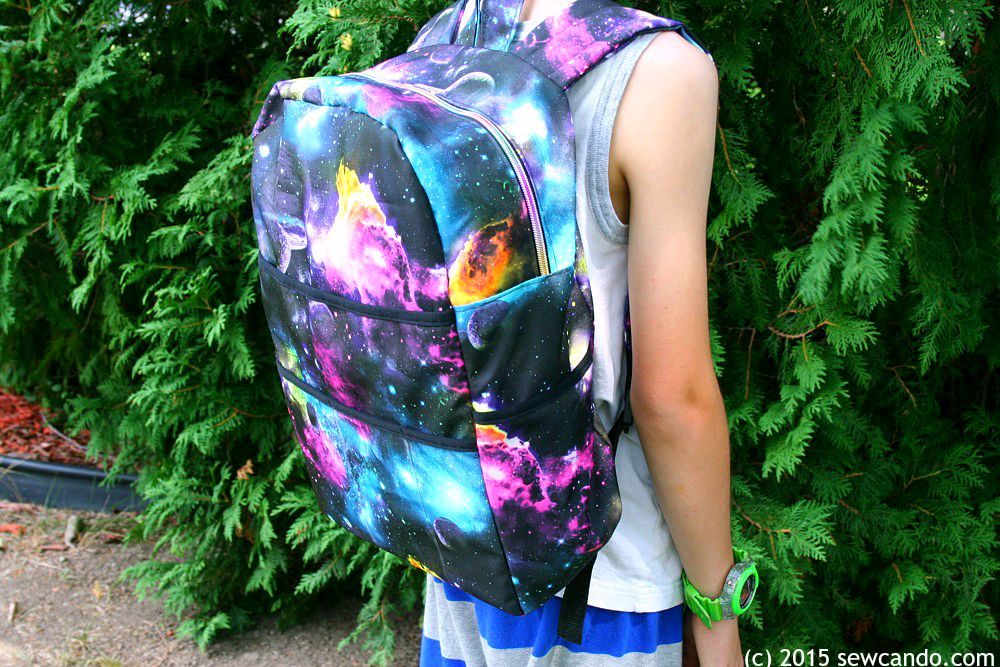
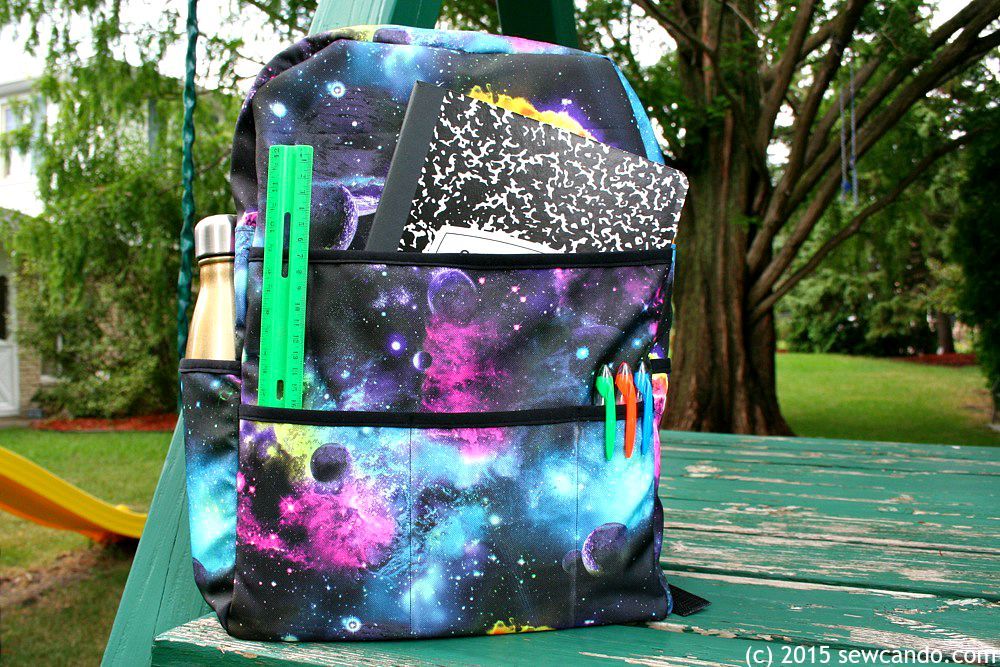
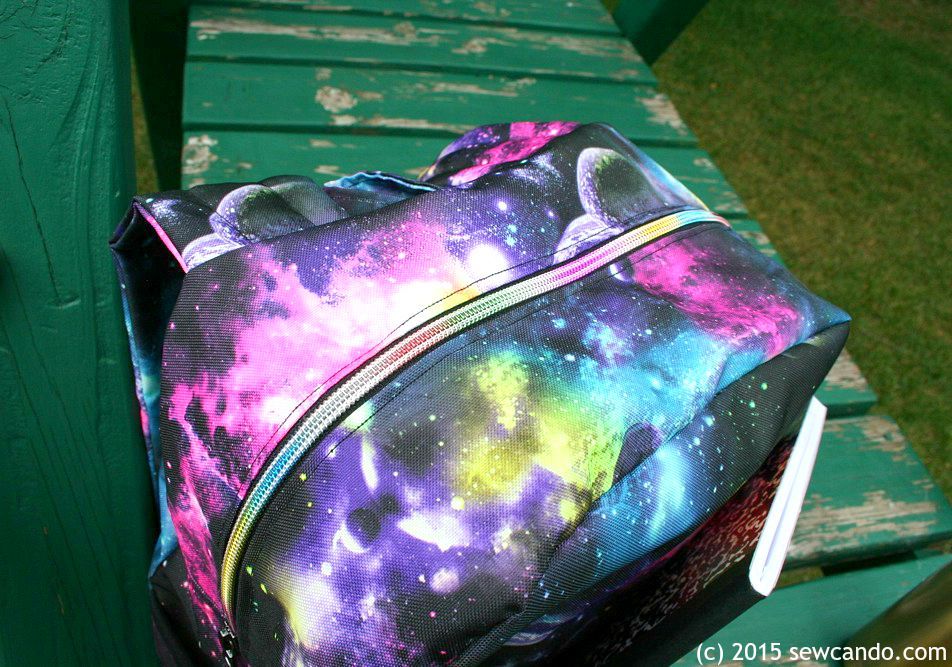
Heck, I even went all out and made a full size backpack:


Some great features about Waterproof Oxford:

- No pre-washing.  This is a wipe clean fabric so you can start sewing right away.  I love low maintenance material.
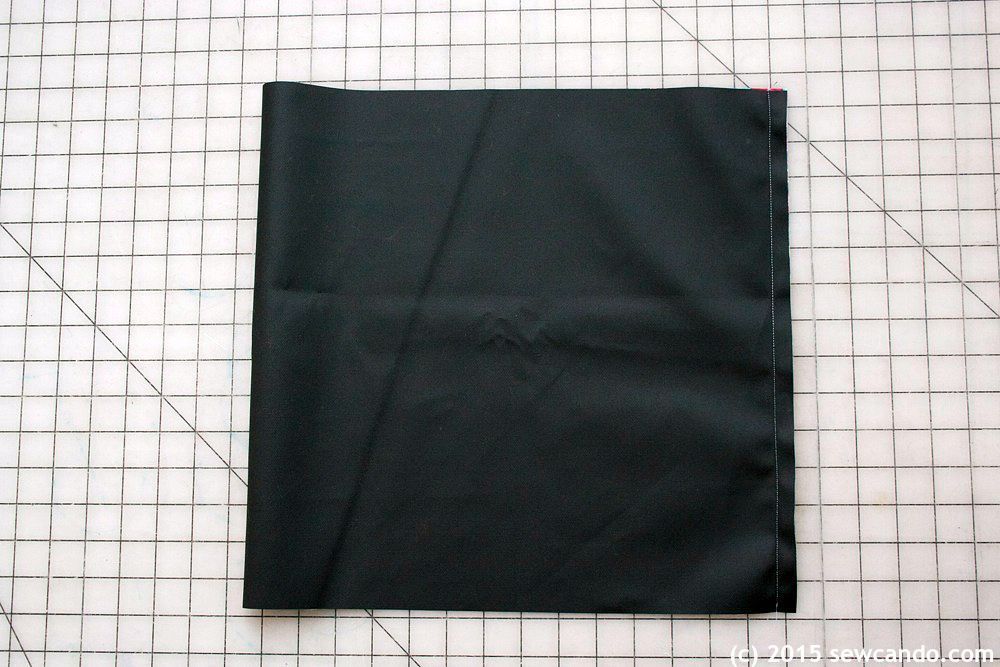
- Lining not required.  Since this fabric has a built-in solid color backing, it's dual sided.  A big time & materials saver.
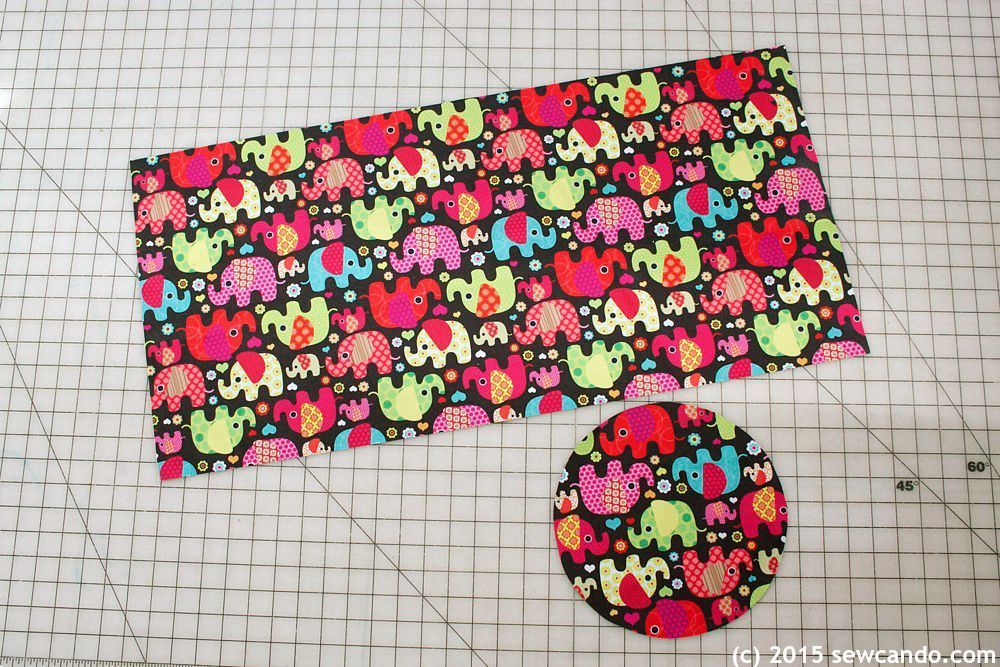
- No stretch.  Although it's a woven, waterproof oxford doesn't have the usual weft give, so you don't really have to worry about cutting with the straight grain.  Loads more options for pattern placement and less wasted fabric.     
- Ideal weight.  The fabric is medium weight in feel, yet is fairly thin and easy to sew.  It's got a strength that performs like a heavy weight, but without all the thickness that makes sewing layers a challenge.
- Holds shape well.  The polyurethane backing gives the fabric some extra body, so it doesn't have the extreme floppiness you find with other wovens.   


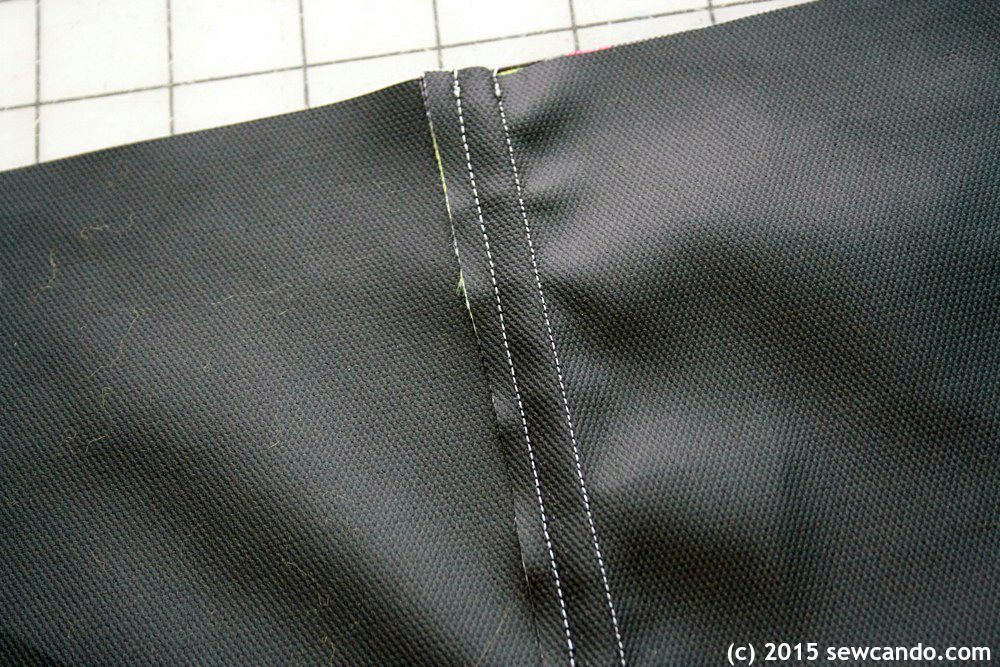
How to sew with it: Sewing with waterproof oxford is pretty simple.  A heavy duty needle and polyester thread is all you need.  I tried sewing with both a standard foot and a walking foot.  The walking foot made layers less likely to slip around curves, but there was none of the sticking you tend to get with other laminated fabrics, so using a basic foot is totally fine too.   


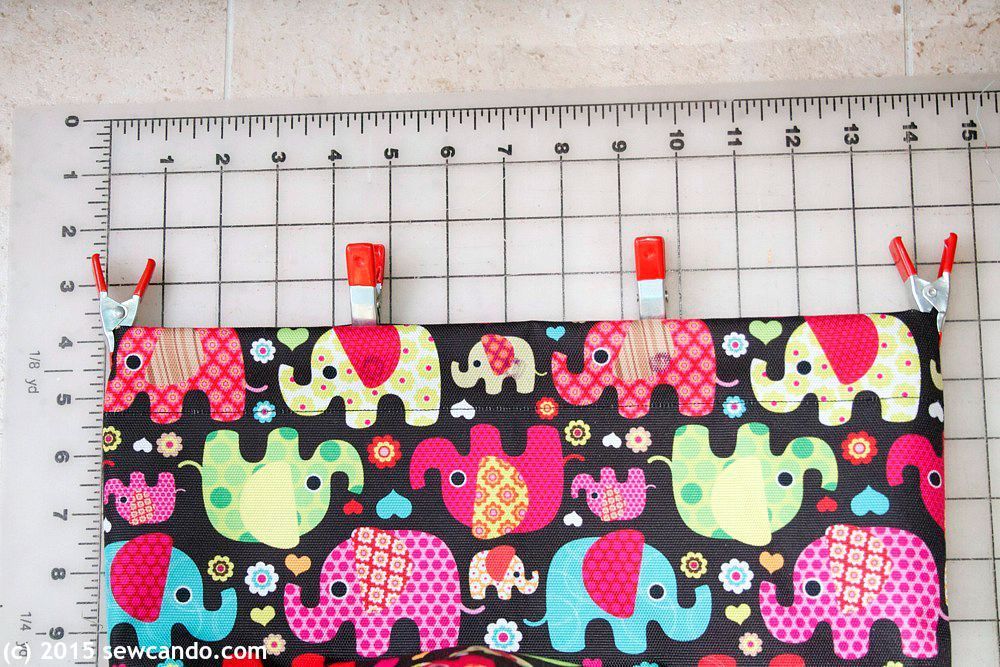
Handling Tips: It's helpful to use clips rather than pins, since those will leave holes (unless you pin in the seam allowance where they won't show).  Also, like most laminated fabrics, to remove folds or creases, use a low heat setting when ironing.


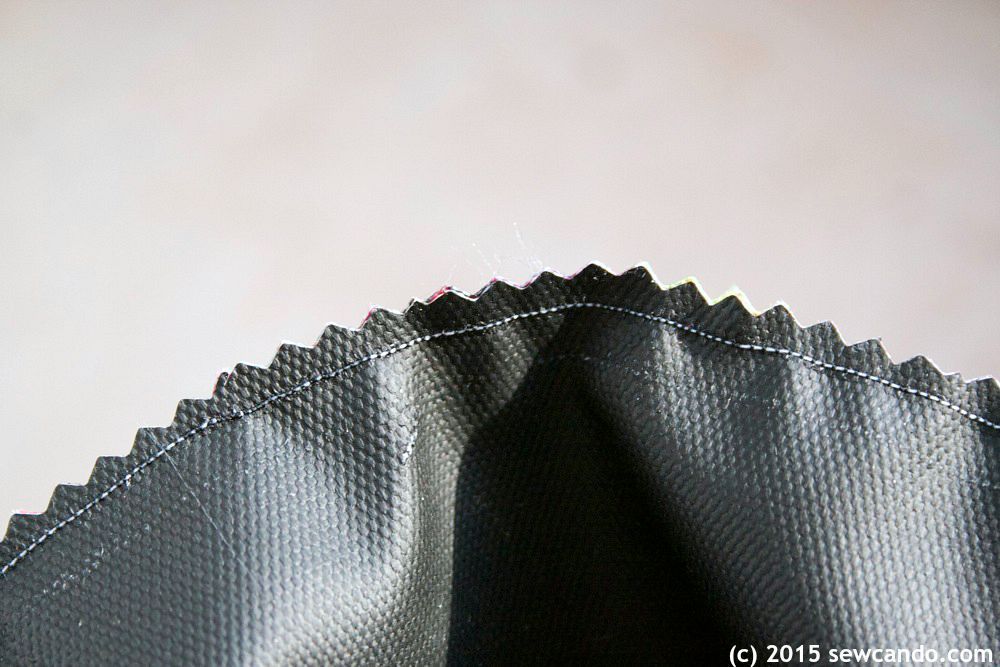
Finishing tips: Thanks to the polyurethane backing, this fabric won't fray as much as standard wovens, so hemming or encasing seams isn't as critical.  I found cutting the raw edge with pinking shears worked great.  


Another option for exposed edges is to use binding elastic or FOE (fold over elastic).  


I tried both and had great results for a smooth and simple detail.


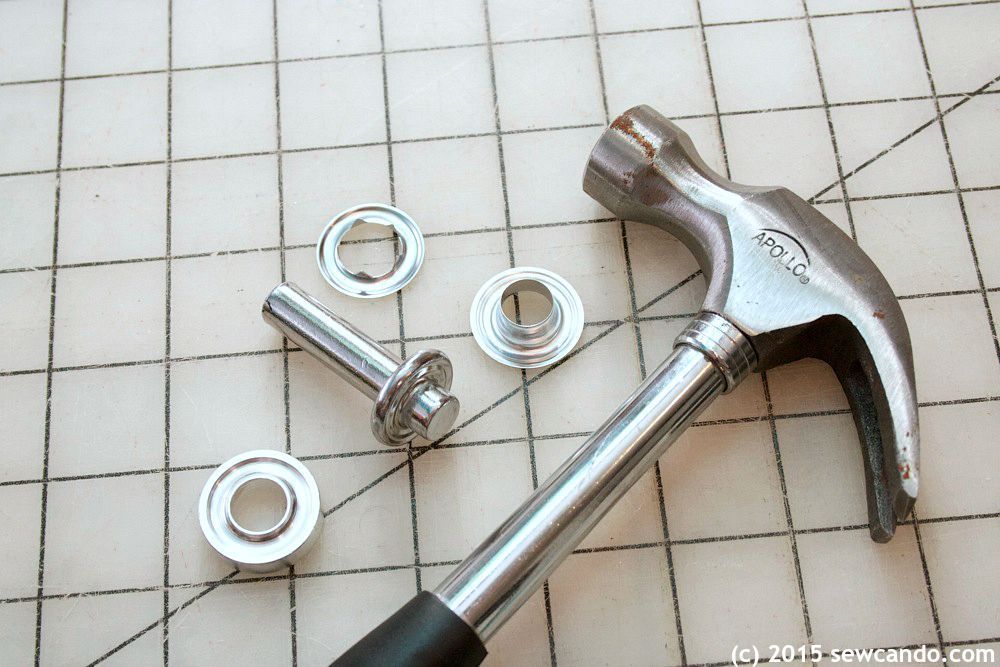
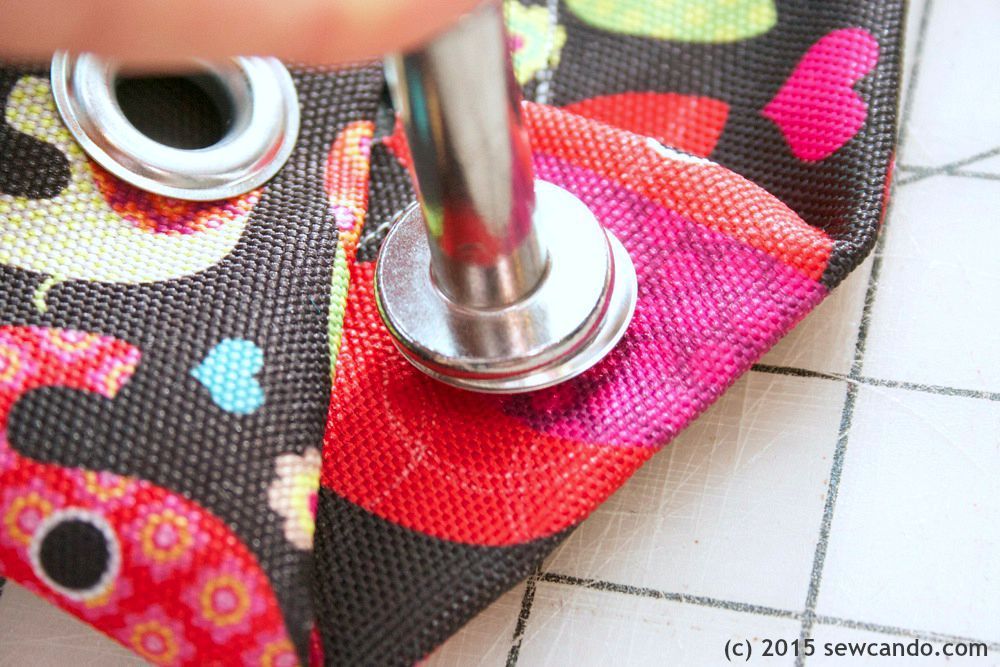
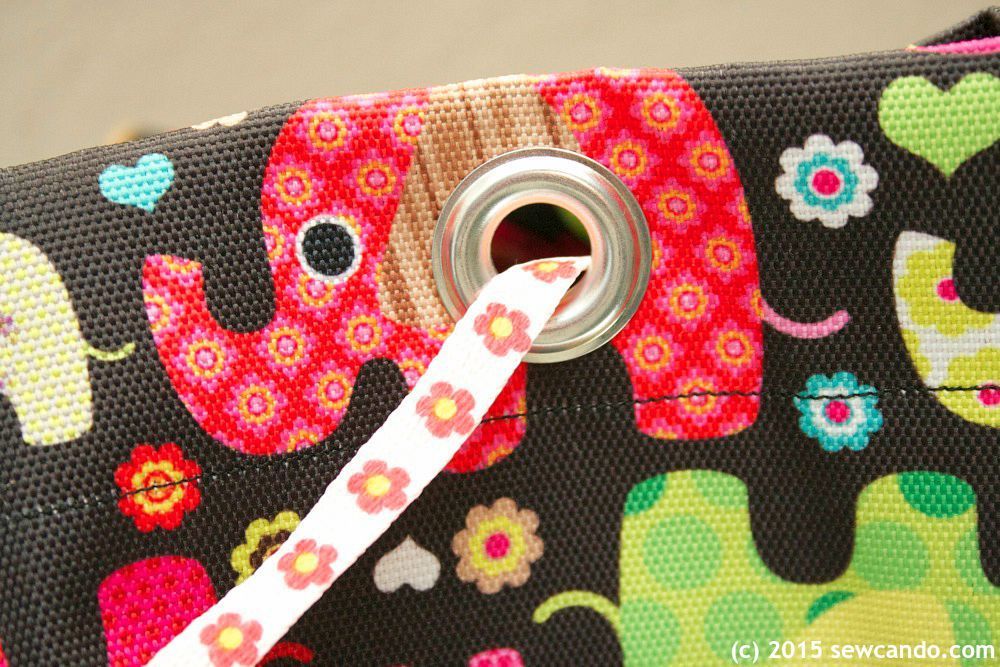
The fabric's inherent strength also means installing things like snaps and grommets doesn't really require extra stabilizer or the muscles of a bodybuilder to put in yourself.  My grommets went through 2 layers of fabric only and after weeks of kids pulling on them, they still look great.


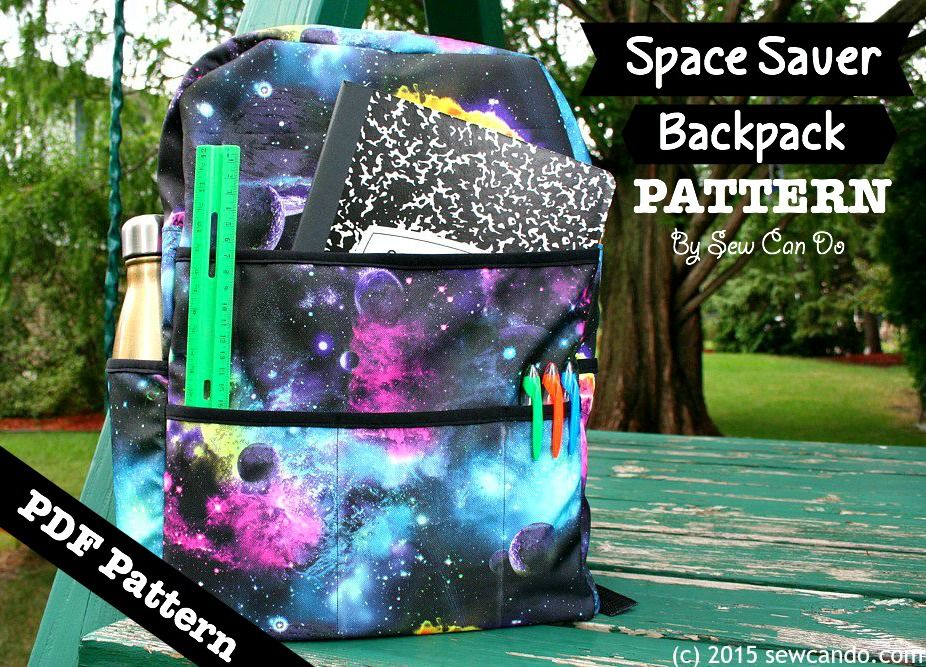
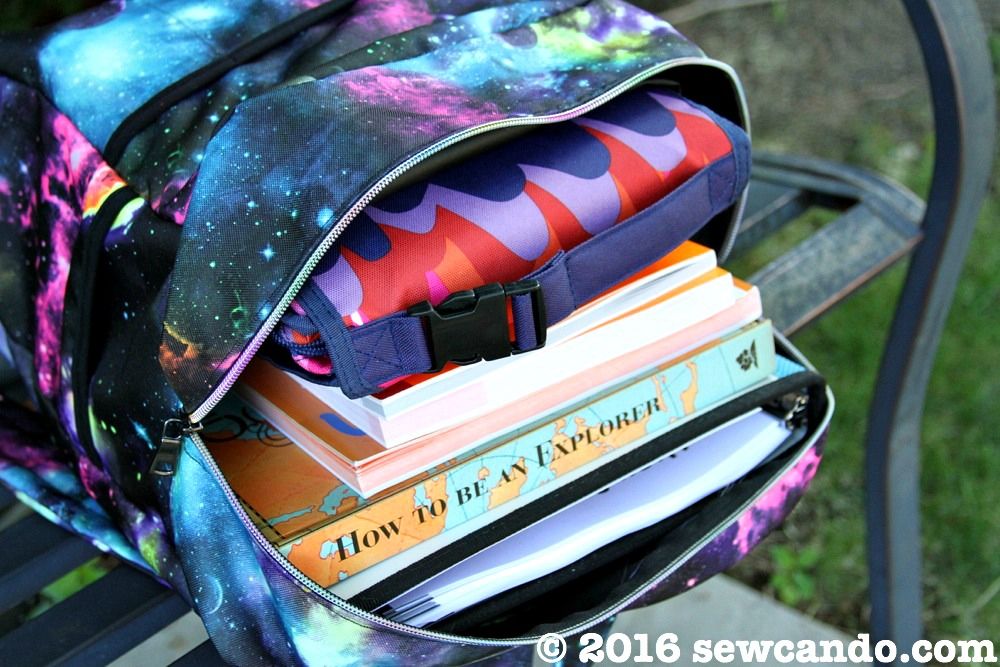
As I was working with it on my first few projects, I realized waterproof oxford was ideal as a backpack material, so for my next project I designed my own backpack using just the waterproof oxford and some elastic binding: 


With the fabric's durable hand, and this cool galaxy print, it looks and feels just like a high end store-bought version.  Except I designed and made it myself for a fraction of the price! I'm working on offering my backpack as a PDF pattern, so stay tuned for that too.


Since I still have quite a bit of fabric left from my project testing, I've decided to share the fabric love!

 I'm giving away a fat quarter of each of these Waterproof Oxford fabrics to one Sew Can Do reader:

And I'll be sharing a few tutorials of some of the above projects (and hopefully create a PDF pattern for my backpack) 
in the coming weeks too:)

a Rafflecopter giveaway


I was not financially compensated for this post.  I received waterproof oxford fabric from Diaper Sewing Supplis to test sew and was not required to review or promote this fabric or their shop.  The opinions are completely my own, based on my experience. For my complete disclosure policy, click here. 

LinkWithin

Related Posts with Thumbnails