
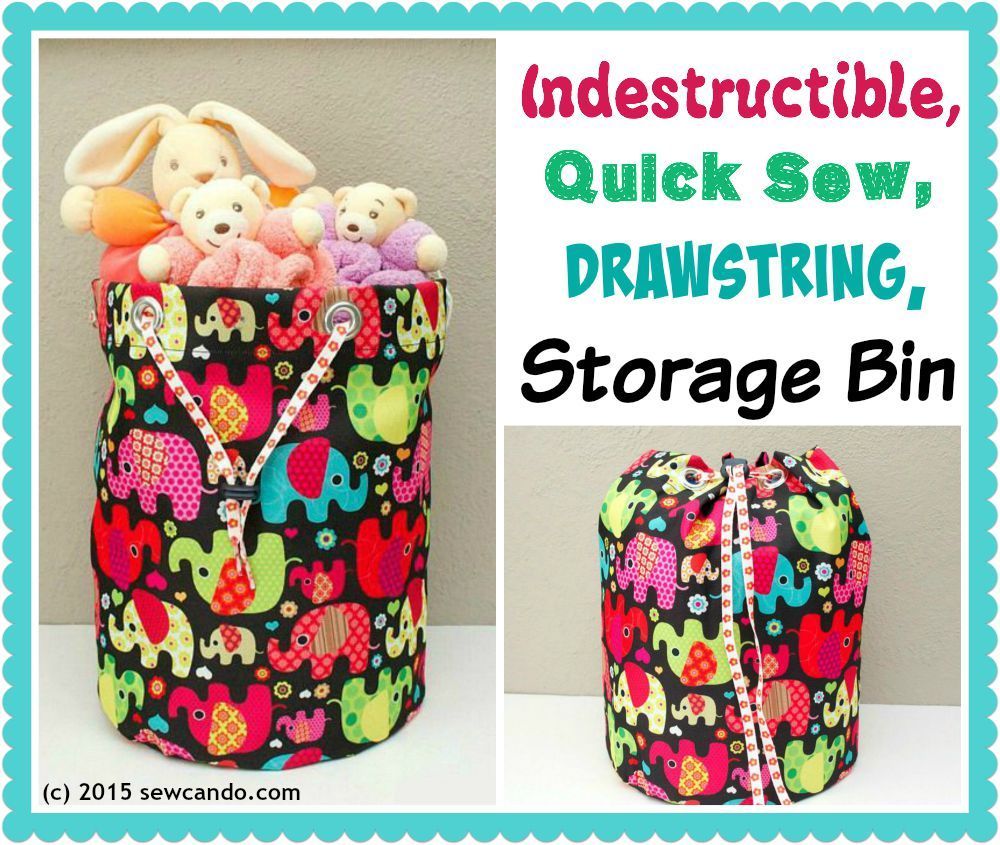
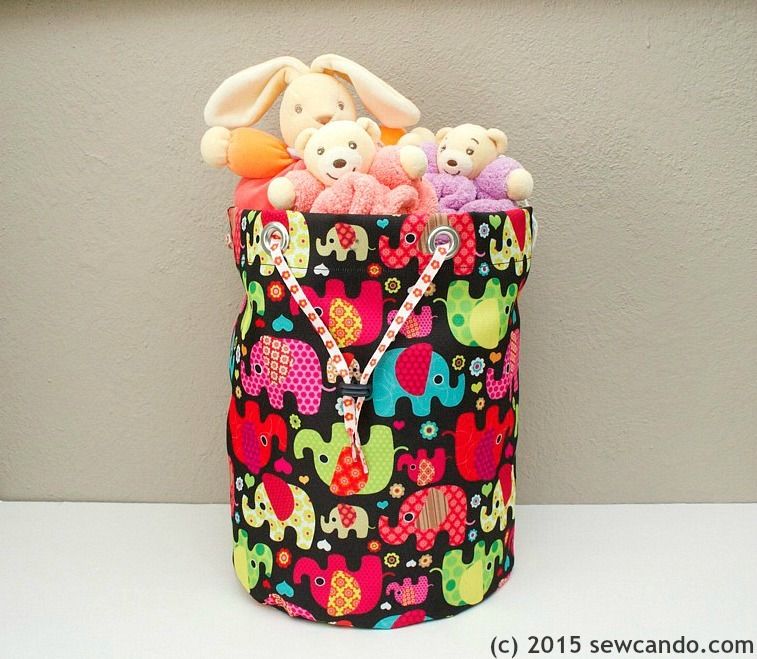
Whether you've got just 1 or half a dozen, kids have lots of stuff. Containing it is always a challenge. With 3 kids in our house, it seems like the toys, clothes, gear, etc. are always overflowing and I'm sick of ugly plastic tubs to hold them cluttering it up even more. Today I'm sharing how to make the ideal bin that can hold and hide just about anything. It's easy to make, looks decorative and, most importantly, kids can't really destroy.
My Indestructible, Quick Sew, Drawstring Storage Bin:
Usually homemade bags or bins look great at first, but after a couple of months of active kid use they can look shabby or wear out with holes, stains, you name it. What makes this one any different than other drawstring containers? The fabric my friends!
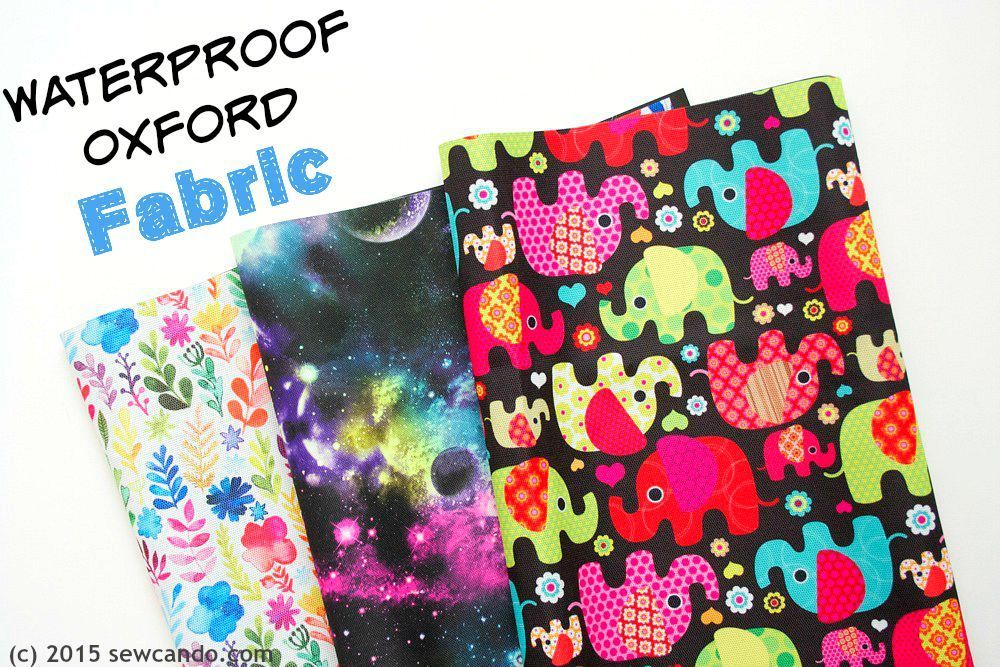
It's made from Waterproof Oxford, a woven 100% polyester oxford fabric. It's finished with a durable water repellent and then laminated with a thin black polyurethane coating on the back. Last week I shared all about uses and sewing tips for this fabulous fabric here. This is just one of many projects well suited for the fabric:
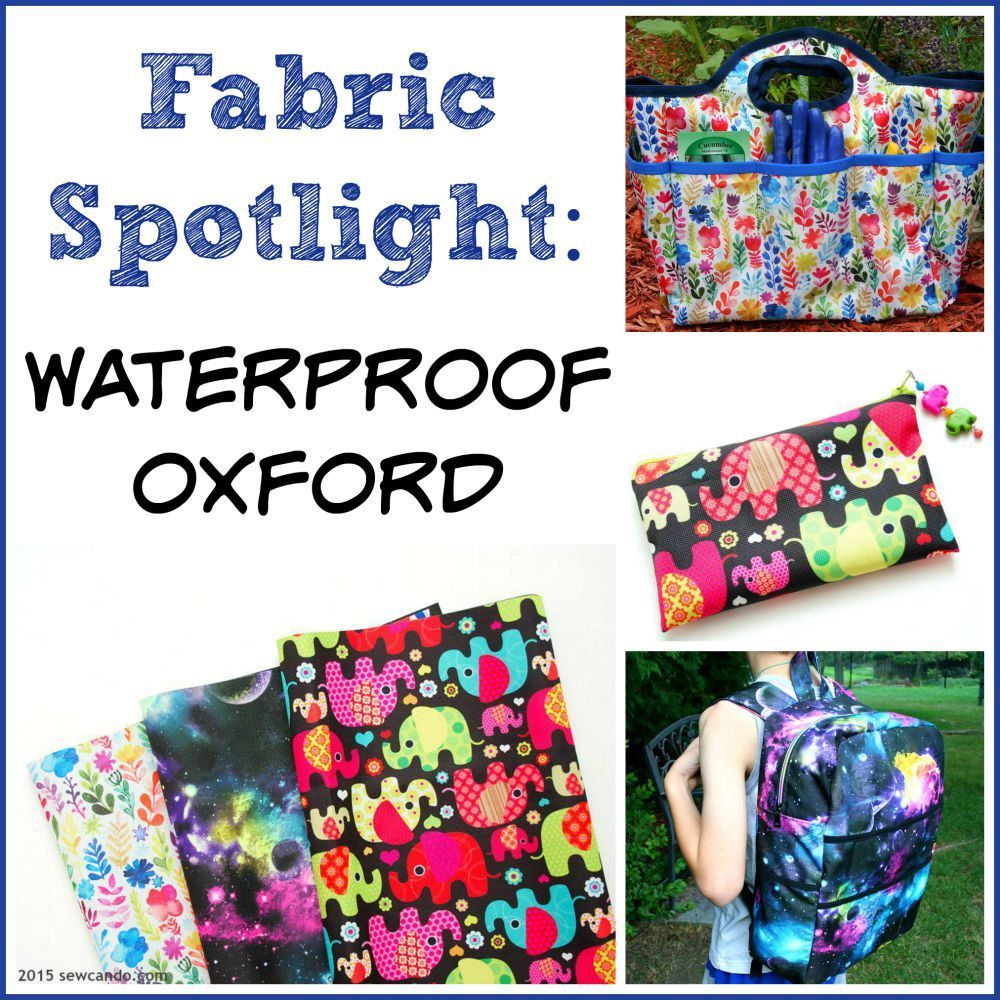
Waterproof Oxford also has a bit more body than most other fabrics, so it'll hold its shape well just by being filled with soft toys or clothes. And it's strong & waterproof quality inside and out means you can use it outdoors or for things than get dirty or wet like sports gear, laundry, outdoor toys or cloth diapers and easily wipe it clean.
Materials:
- 1/2 yd Waterproof Oxford fabric (this cute print is from Diaper Sewing Supplies)
- 6 or more extra large grommets and setting tool
- 1 yd of Drawstring, cord or shoelace
- Double cord stop (in the notions section in most craft stores)
- Hammer
- Pins, small clips, rotary cutter/shears, yard stick, plate or compass
- Optional: walking foot, pinking shears
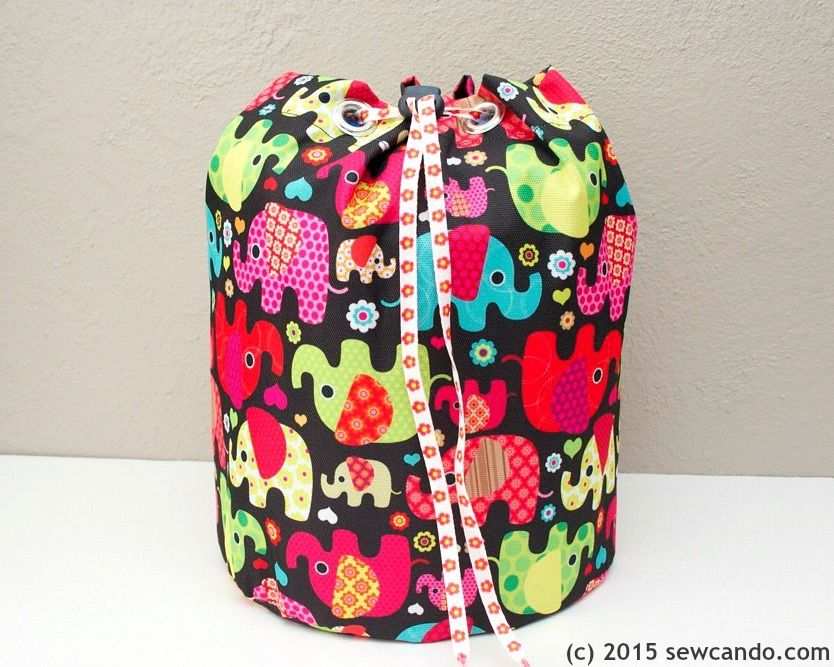
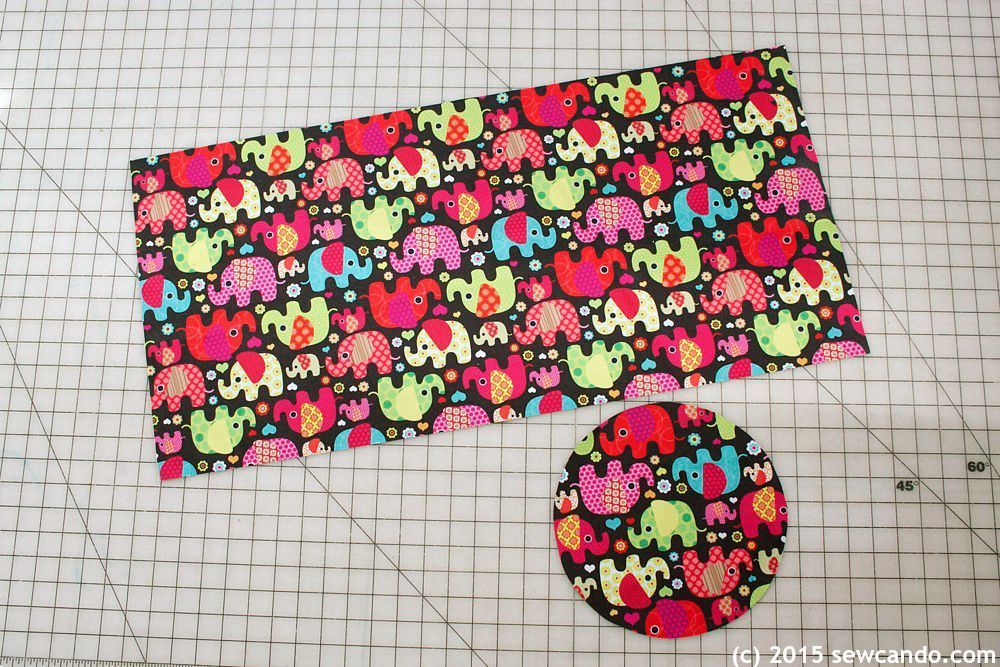
I made mine with a finished size of 12 inches high by 8 1/2 inches wide, which is good for most kid stuff, but you can always make it bigger or smaller to suit your needs. Start by cutting a 14 1/4 inch high by 30 inches wide rectangle and a 9 inch diameter circle from waterproof oxford. I used a plate to trace my perfect circle:
Fold the rectangle in half widthwise and stitch down the side with a 1/2 inch seam allowance:
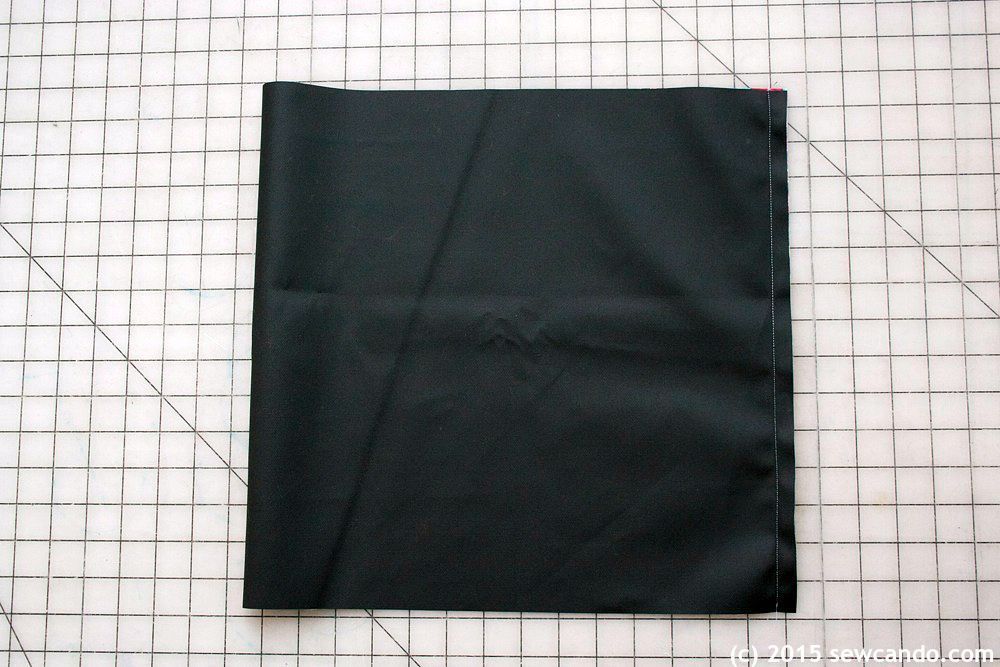
This part is optional, but I didn't want the raw edges sticking out inside, so I pushed the allowance to one side and carefully stitched it down 1/4 inch from seam (this is a tube now so you don't want to stitch through both sides).
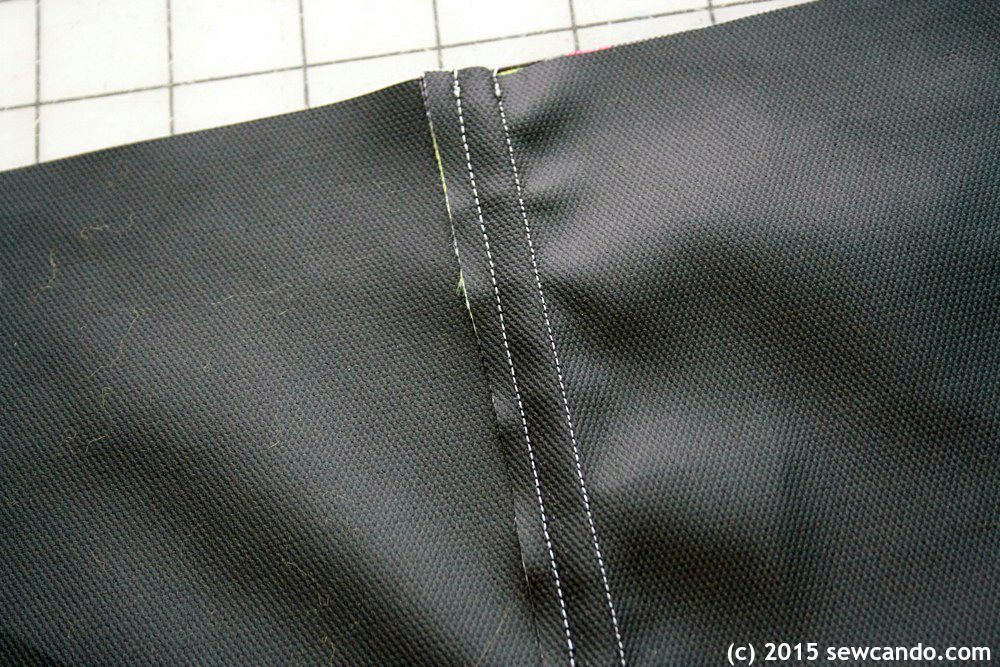
With right sides facing, pin together the bottom opening and the circular piece. FYI - pinholes will be permanent in waterproof oxford, much like PUL or Laminated Cotton, so pin really close to the raw edges. This way the pinholes will be in the seam allowance and never show. Stitch together with a 1/4 inch seam allowance, going slow. A walking foot isn't required, but it can make it easier to keep the layers together without shifting as you sew.

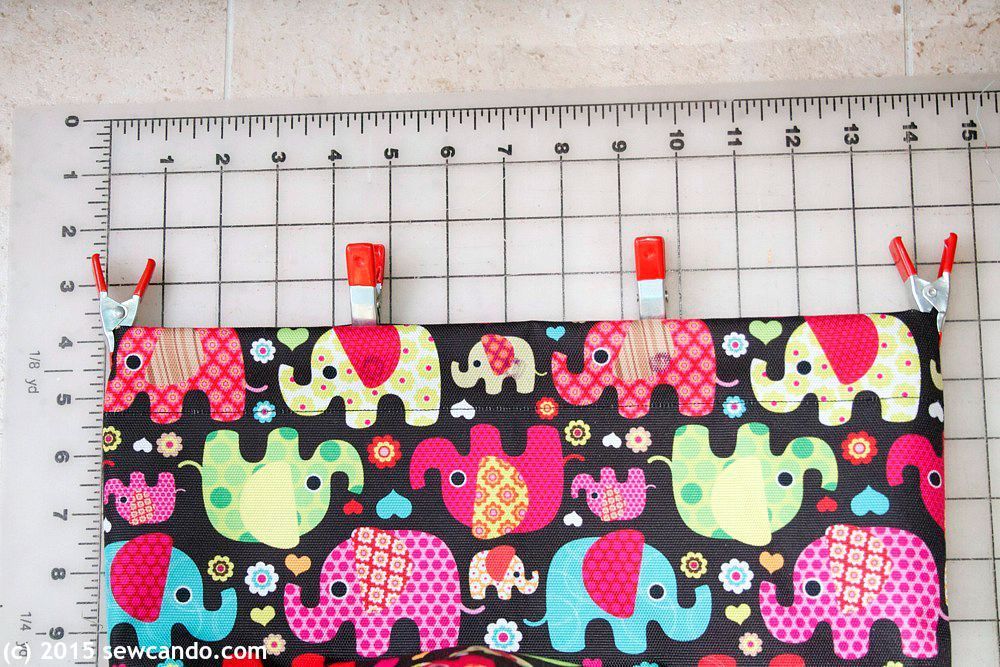
Now, fold the top raw edge inward 2 inches. To avoid using pins, I like to use small clips to hold the fold in place while I sew. If you want the raw edge to look a littler nicer on the inside, trim it with pinking shears first. Then stitch all the ways around 1 1/2 inches from fold.
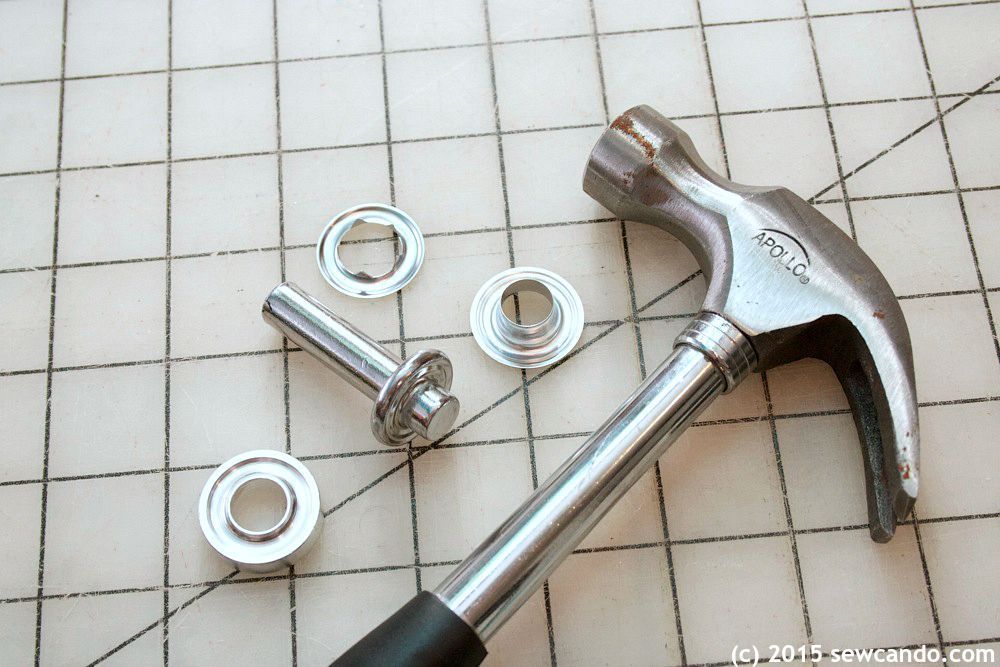
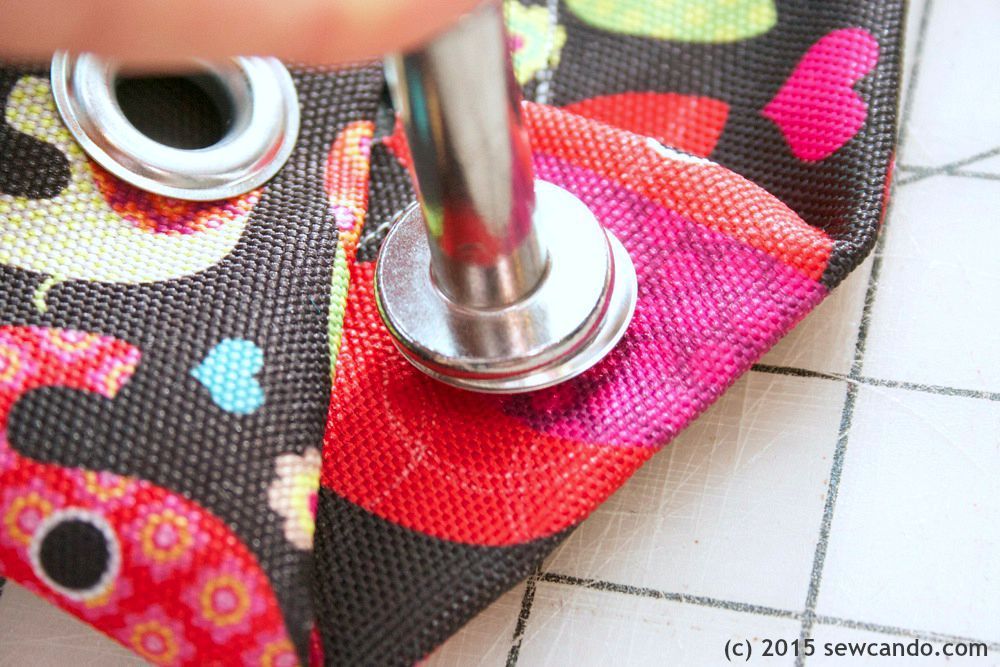
Time to install the grommets! Extra large size works great and allows for your choice of drawstrings & cords and thicknesses. All you'll need is an inexpensive grommet install kit and hammer:
First make markings for each grommet. I only had 6 on hand, so I spaced mine about 4 1/2 inches apart and about 3/4 inch down from top. To make the necessary holes, I clip a small "plus" sign with thread scissors:

Then cut it a little wider to press the male side of the grommet through (that part should be facing inside the bin):

Put the base piece underneath and then the other grommet half on top, followed by the setting tool. Hammer away:
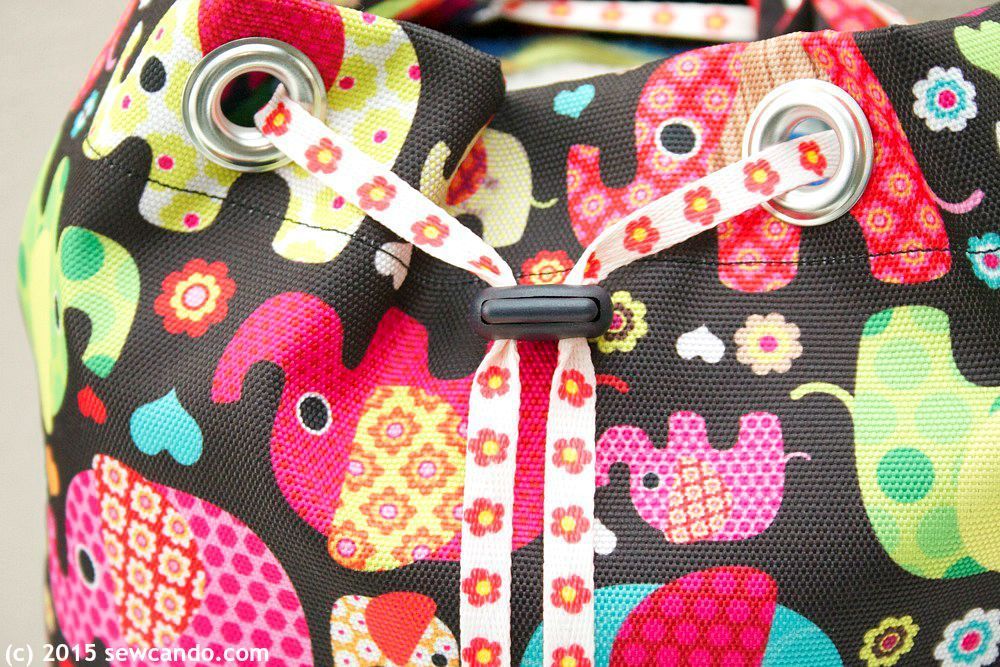
Snake the drawstring through and cut to desired length. I had this cute flower shoelace that was a perfect fit with the fabric print & colors:

Pull the ends through the cord stop and it's good to go.
Add all the stuff: toys, clothes, school supplies, stuffed animals - whatever needs to be contained. It'll look organized and really last no matter what the kids get up to;)
Want a chance to win some of this fabric?
I'm giving away this FQ trio of Waterproof Oxford fabric HERE.

I was not financially compensated for this post. I received waterproof oxford fabric from Diaper Sewing Supplis to test sew and was not required to review or promote this fabric or their shop. The opinions are completely my own, based on my experience. For my complete disclosure policy, click here.
very nice! thanks for sharing with us :)
ReplyDeleteYou're welcome. When I find something I love, that I think others will love to I've GOT to share it!
DeleteWhat a great idea for storing toys! The bin looks very sturdy!
ReplyDeleteIt is - little hands have been tossing it around and cramming things in it for weeks and it still looks like I just made it.
DeleteThis is great, thank you for the tutorial.
ReplyDeleteThanks Dawn!!
DeleteI'm dropping by from the While I'm Waiting link party. This is such a fabulous idea! I wish I knew about this fabric when my kids were little. I could have use a few of these containers!!
ReplyDeleteI have a link party that I am trying to grow. I invite you to share this idea (and a couple of other ones) at my Grandma Ideas Sharing Time link party at http://grandmaideas.com. My readers would love this idea as much as I do!
My link party goes from Wednesday through Friday night at midnight Mountain Daylight Time. I hope that you will be able to make it.
All the best,
Nina
These are great for us big kids and pets too. Thanks for the invite Nina - I'm heading over to link up:)
DeleteLove these!! I've got a Craft Gossip post scheduled for later this morning that links to your tutorial: http://sewing.craftgossip.com/?p=84275
ReplyDelete--Anne
Thanks so much Anne!!
DeleteLove this bag. I purchased the fabric after seeing your last post about it. It arrived quickly and is a great product. A rain poncho sewing fest is gonna happen here. Hopefully there will be enough left for one of these drawstring bucket bags.
ReplyDeleteThat is so fantastic to hear Baye! The fabric is nice & wide, which means lovely leftovers for more projects - hopefully you'll be able to make this one too:)
DeleteThis is lovely, beautiful material too :)
ReplyDeleteThanks for sharing at Creative Mondays
What is the difference between this fabric and say Oilcloth? Is this waterproof Oxford fabric much stiffer? Love the tutorial, btw
ReplyDeleteIt is not as stiff and not shiny on the surface. It also won't stick to a presser foot like oilcloth. Personally I think this is a superior fabric.
Delete