Showing posts with label Costumes. Show all posts

Thursday, October 27, 2022

DIY Little Shepherd and Sheep Costumes


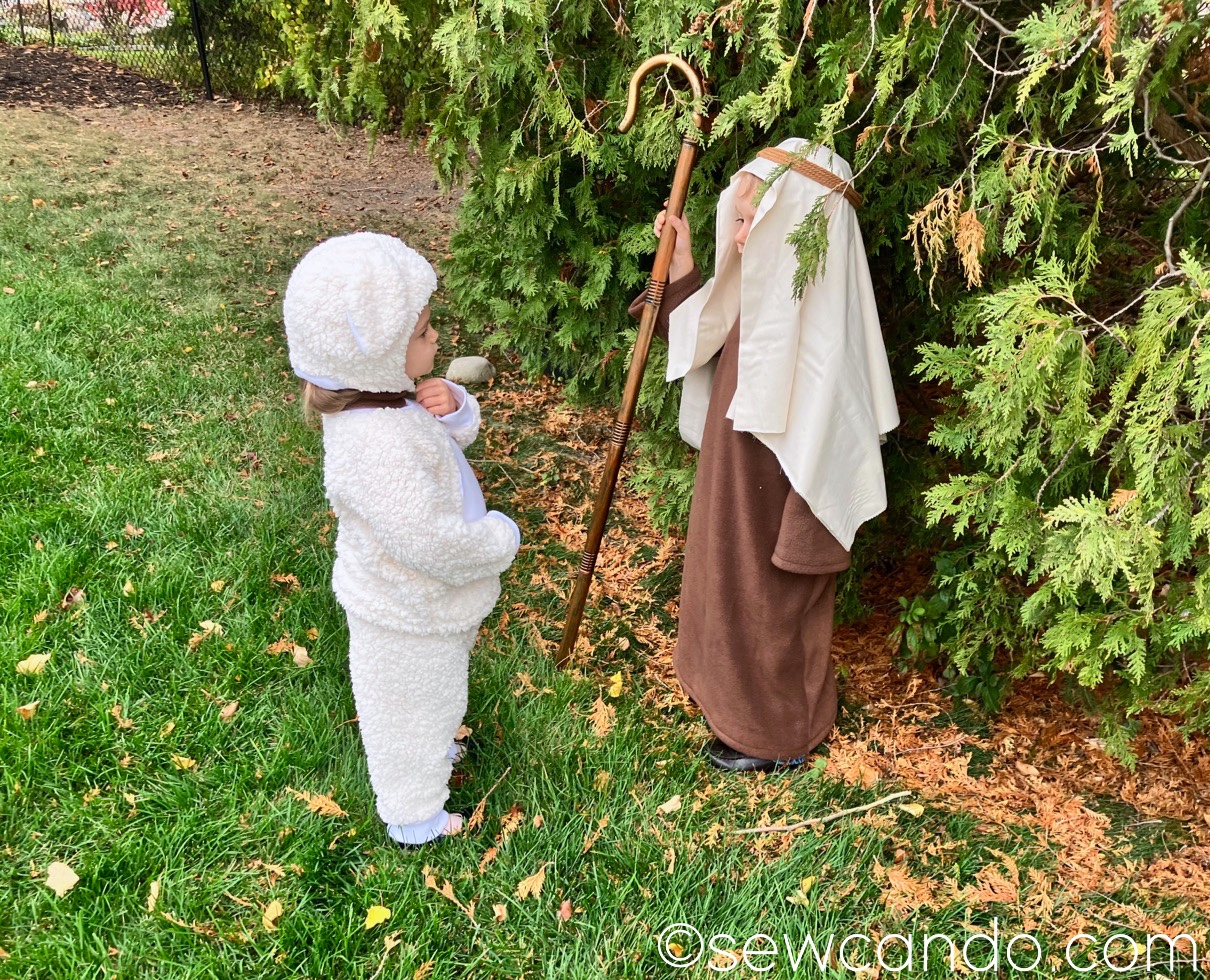
I thought a coordinated costume effort would be really cute for my 2 & 4yr old for Halloween this year.  Living in the midwest it also meant they had to be both warm and easy to layer more clothing under.  And, most importantly, they be comfortable/willing to wear.  My solution was a sweet Little Shepherd & Sheep costume pair.  Just look at that sheep frolic!


My mini shepherd has a long fleece robe to keep him covered, a traditional headdress and of course the necessary shepherd's crook:


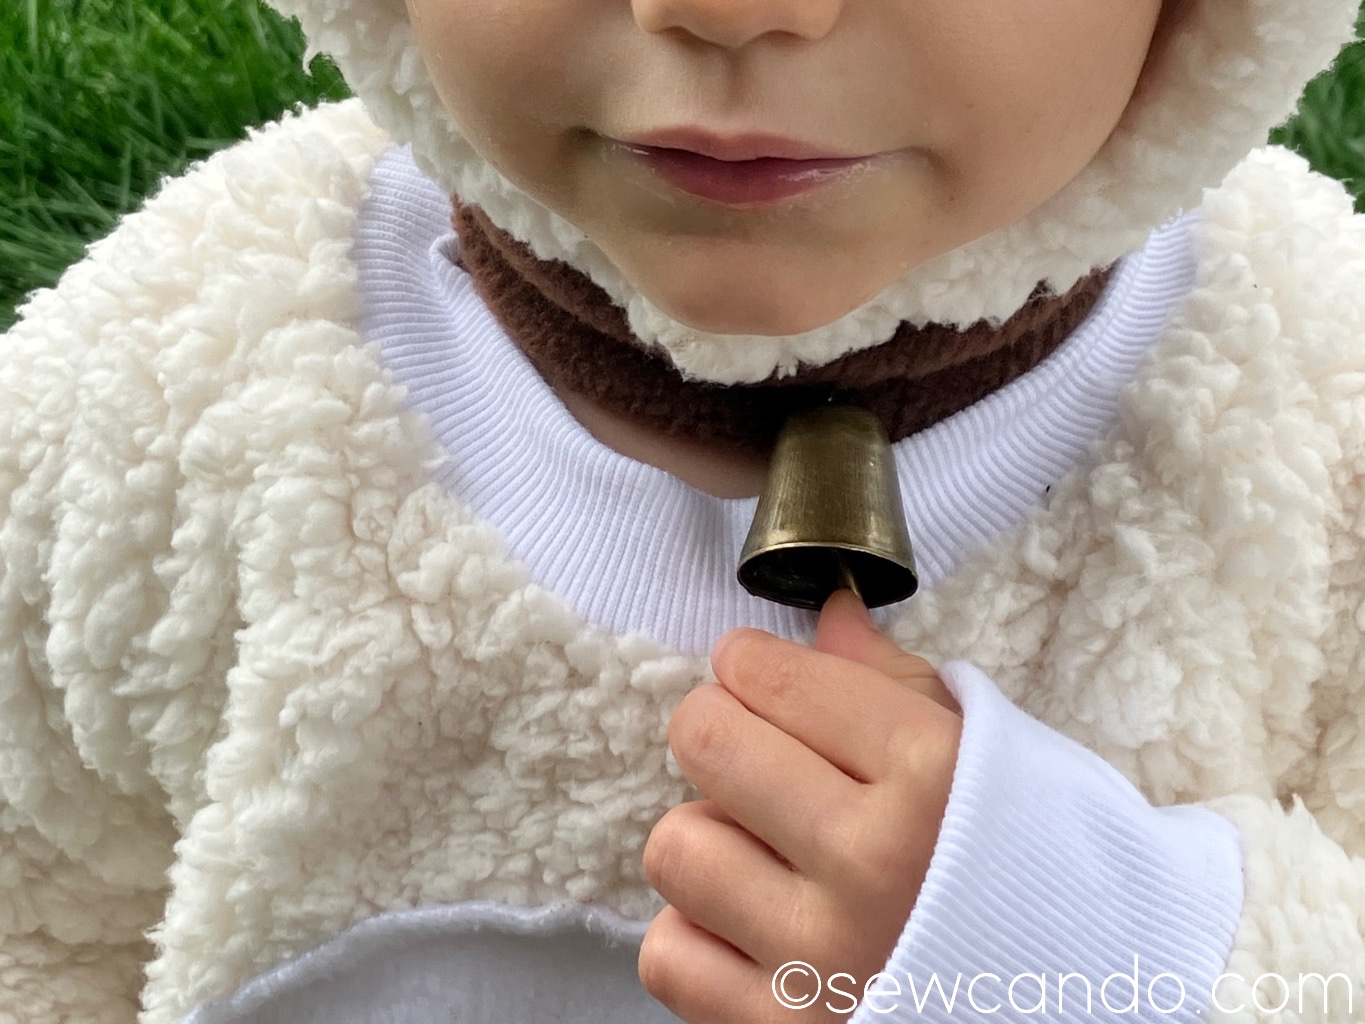
My little lamb has a fuzzy soft sherpa body, cuddle ears and a sweet sounding bell collar:


This photo cracks me up because it looks like they're having a a serious conversation.  What a shepherd and sheep talk about,  I don't even know.


I used 1 1/2yds of sherpa fleece fabric for my 2T sized daughter.  I also got a 1/2yd of white fleece for the tummy and hat and 1/4yd of ribbed knit for the neckband and cuffs of the top and pants.  For the main costume I used some of my favorite patterns for toddlers, the raglan top and jogger pant from the book Kwik Sew's Sewing for Toddlers by Kerstin Martensson.


I cut an oval from the fleece to applique onto the shirt front before I assembled it, but otherwise followed the patterns exactly.  The fit is roomy enough to add clothing underneath for a chilly Halloween night.


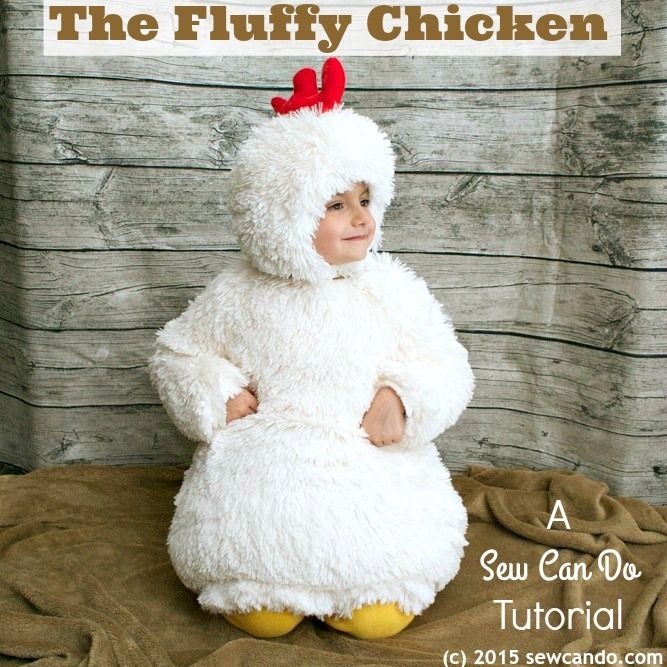
For the hat, I used the same Turtle Dove cap pattern from the Winter 2009 issue of Ottobre Design that I used a few years back to make the head part of this DIY chicken costume.  I modified it to extend & overlap under the chin with a snap closure.


It's ideal for making hats like this that have ears since it has three main pieces so adding them is easy.


I hand drafted some ear pieces and cut a piece for each component from the sherpa and the white fleece for the outer & lining sides.  I sewed the ears together first and then basted them where I wanted them on the hat before I assembled it.


It turned out exactly as I'd pictured in my mind right off the bat, which was so nice.


I also made a little collar from a long scrap of brown fleece, with a snap closure and hand-sewed a bell on it.  My daughter finds it fascinating so she just won't leave it alone (which is why it's hard to see in most of my photos).  I feel like the bell collar was key for distinguishing this as a sheep/lamb costume since many people can do a quick glance at a fluffy costume and think it's just about any animal.  


For my little shepherd I totally winged it.  Which was somewhat miraculous because I literally threw it together from nothing 48hrs before a trunk or treat event at our church.  They were a big hit since they "teamed with the theme" of the location;)  


I started by using one of my 4yr old's fluffy sweatshirts as my base for shape & size.  I folded it in half and measured his height from shoulder to ankle to start an extended pattern that would become a robe.


I then used a yard stick to extend it out in an A shape from the underarm for the proper robe shape and then traced the sleeves and belled them out the same way.


Once I had my pieces I cut them all out from my 1/5yds of brown fleece and also made 3 inch wide neckline facing pieces by tracing the neckline of my front & back and sewed everything together.


For the headdress I look a yard of muslin found on clearance and folded it in half.  To anchor it I got some soft cotton craft cord and wrapped it around his head a few times and held it together with little clamps to remove it intact.  Then I hand sewed it in 4 spots to make it stay in place.


Placing it over the muslin gave a real shepherd look that was easy too:


And to round out the look I got this lightweight kid-sized plastic shepherd's crook off Amazon:


I'm so happy about how these turned out, especially since I barely had time to throw them together.  I do like to make the costumes, whenever I can, when my kids are little.  It makes it more memorable and I know my time for getting to pick them myself or getting them to be willing to coordinate is short so I need to use it.  My 2 yr old actually squealed with delight when she saw it and insisted on trying the hat on, so gotta make the most of this stage for Halloween costume fun!


Have a Happy Halloween!!


Wednesday, October 20, 2021

Pattern Hack: Making A Cute Little Raccoon Costume


Halloween at the Sew Can Do house wouldn't be complete without at least one handmade costume.  This mama has been very short on sewing time lately, but it's the first year baby #5 is trick or treating so she needed a mommy-made costume.  This one reflects her personality to a T: Cute Little Raccoon.


My youngest daughter's nickname is Trash Panda (another name for raccoons).  And for good reason.  She is always into something.  Preferably a trash can, package of food or neatly organized container.  Her little arms are crazy strong - she's ripped boxes open to get at what's inside, done pull-ups to climb onto things and is the reason we have locks on practically every cupboard and all the toilets.  We have to keep our bedroom trash can 5 feet off the ground whenever she's awake or the contents will be everywhere in 30 seconds.  Like you would do with an actual animal.  She likes to rummage outside too:


So being a rascally raccoon for her first "active participant" Halloween seemed the obvious choice:


This hooded romper design is ideal for smalls for Halloween.  Cuddly fleece makes to soft & warm and easy to move in.  The zip-up front makes it quick to get on & off:


The hood has the perfect shape so that the animal face shows well, but little ones can still see out underneath it.


And of course it's got the classic raccoon tail at the back:


Just like the real thing, the tail has enough dimension to look the business, but not drag on the ground or get stepped on:


I really didn't have time to draft a complete pattern from scratch, so I found this great current one piece costume to hack, Simplicity 9347, which is a throwback 80's style Care Bear.  It's the ideal base for any animal costume and, quite honestly, it was very cost & time effective to use.  It was on sale for $2.  The cost in sanity and mom-hours to draft one up would've been WAY higher.  Smarter not harder is key when sewing!
 

This pattern is pretty a straightforward sew.  I definitely would recommend it.  The fit is generous so wearing clothes underneath is an option which is really practical for chilly Halloween nights.  My daughter is an average size 20 month old, so based on the measurements the 1/2 size was the right fit (I did have to cut a couple of inches off the pant length before I attached the rib knit cuffs though).  

On to the Pattern Hack!

So the key changes to turn this Care Bear costume into a cute raccoon:

- Add a raccoon face (I created this PDF Pattern)
- Make the ears pointed 
- Add a striped tail
- Turn tummy applique into an oval

You can download my free layered Raccoon Face pattern HERE.  It would probably work as a mask too.  Just print actual size (no scaling) and cut out.


Following the pattern directions to make the romper comes first and then when it's time to sew up the hood piece, this is what I did next....

Cut out my raccoon's mask from the black fleece, including the eye holes:


Then cut the white fleece outline piece:


I also cut a large oblong piece of light grey fleece to be the backer for the face applique to make it stand out more from the hood fabric.  Then layered them on the hood piece before it was sewn up and top stitched each layer in place:


I used the included ear pattern piece for general size, but extended my ear pieces and made them pointed, then attached them according to the pattern directions & stitched up the rest of the hood and sewed it to the neckline.


I hand stitched shank buttons for the eyes and a pom pom for the nose:


I needed to create a tail from scratch so I cut a 5 inch wide by 16 inch long pair of strips from my grey fleece and from the black and cut them to curve inward and to a point at one end:


Then I free form cut the black pairs into some zig-zag shaped sections to make the rings on the tail:


And top-stitched those onto the grey tail pieces, then stitched them together, right sides facing, trimming the seam allowances down. 


I turned the tail right side out, stuffed it with some poly-fil and then slip stitched it to the backside of the costume by hand:


Then the little raccoon costume was good to go!


Seeing her wandering around in costume, trying to get into mischief is just like seeing the real thing in action.  It's a role she was born to play.  


 Happy Halloween!


And if you're looking for more DIY costume ideas:


LinkWithin

Related Posts with Thumbnails