Showing posts sorted by relevance for query chicken costume. Sort by date Show all posts

Wednesday, October 21, 2015

Tutorial Time: The Fluffy Chicken Costume


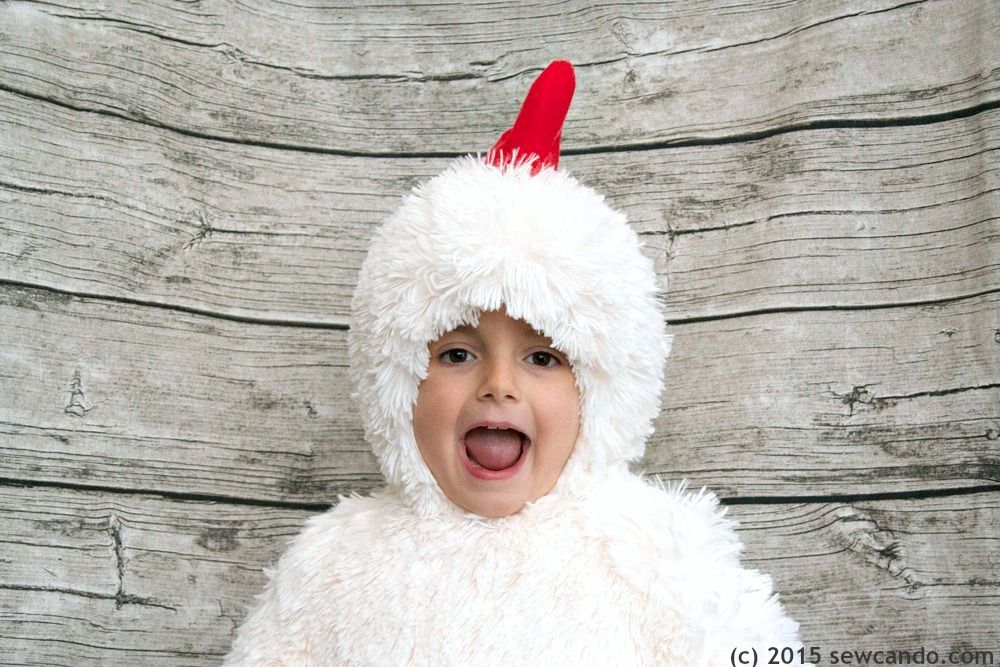
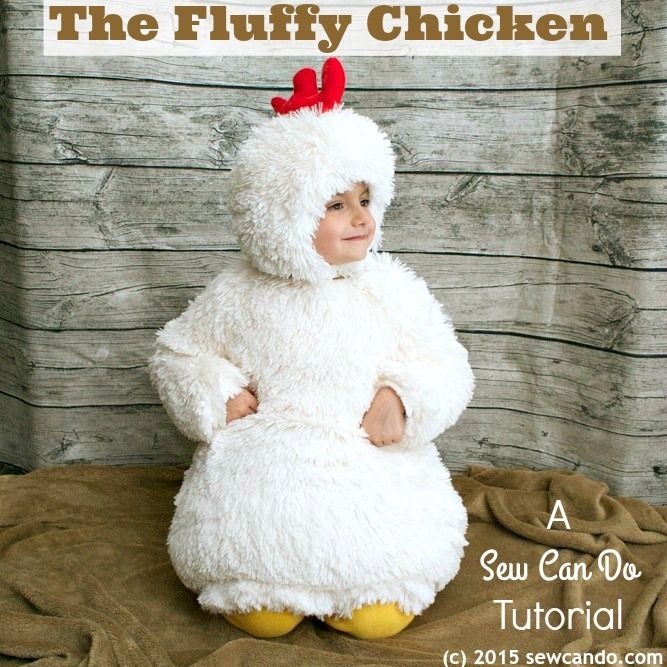
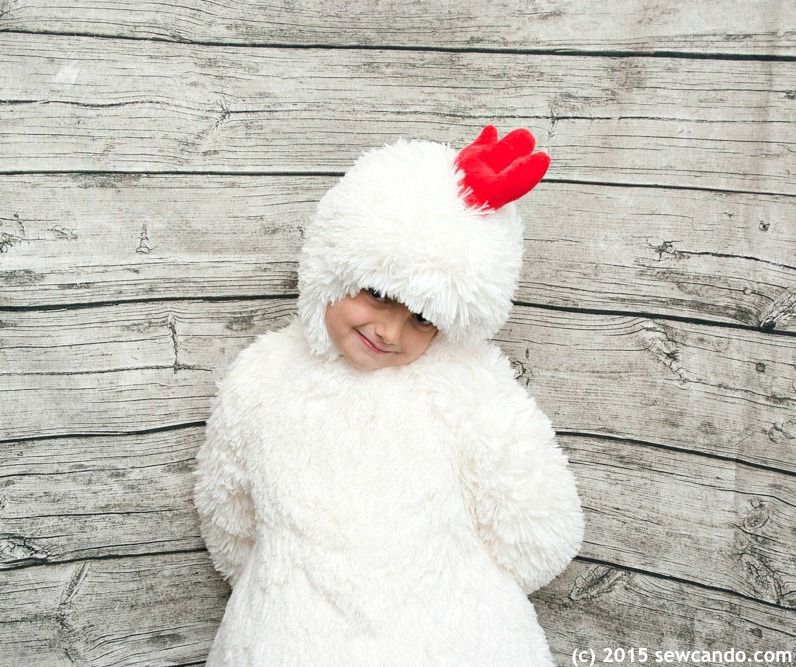
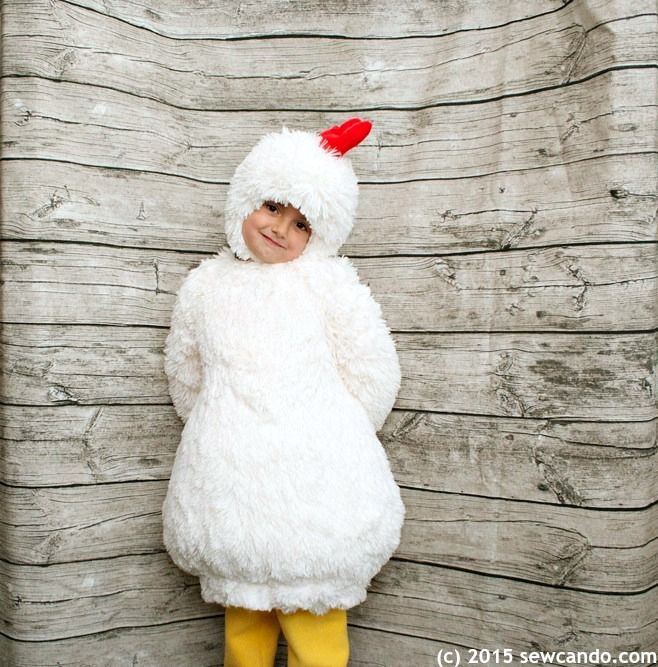
This Halloween we're heading to the barnyard with my daughter's costume request: The DIY Fluffy Chicken.


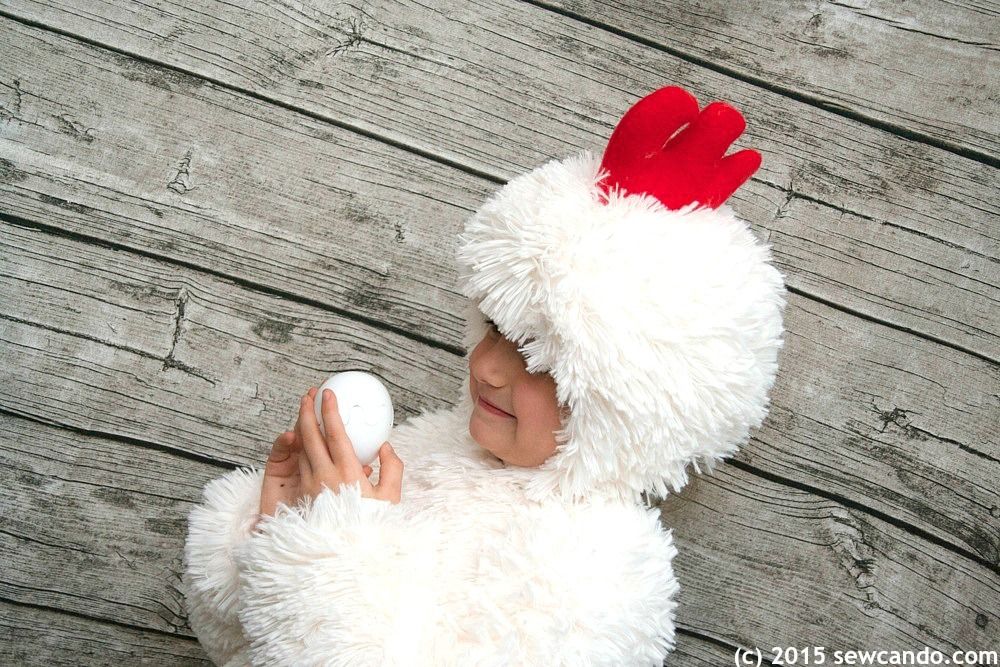
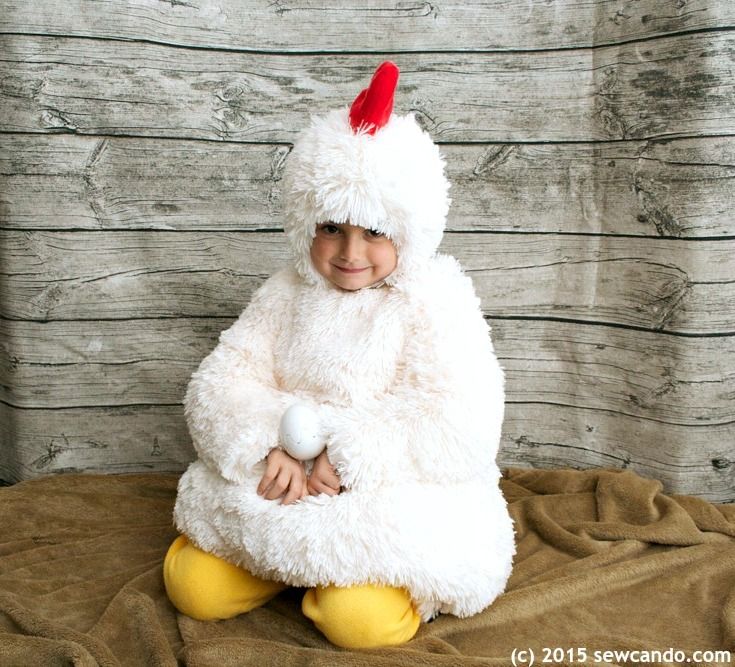
And....it's also a pattern recycle, so it saved a ton of time since I didn't have to design it all from scratch!  It's got all the things for that cute chicken look...including fluffy feathers, 


a colorful comb,


and the classic, plump, chicken body:

Why a chicken?  My daughter marches to the beat of her own drum.  She knows what she likes and doesn't care if a costume is popular or need it to be pretty looking.  Since she started picking her own she's been a friendly ghost


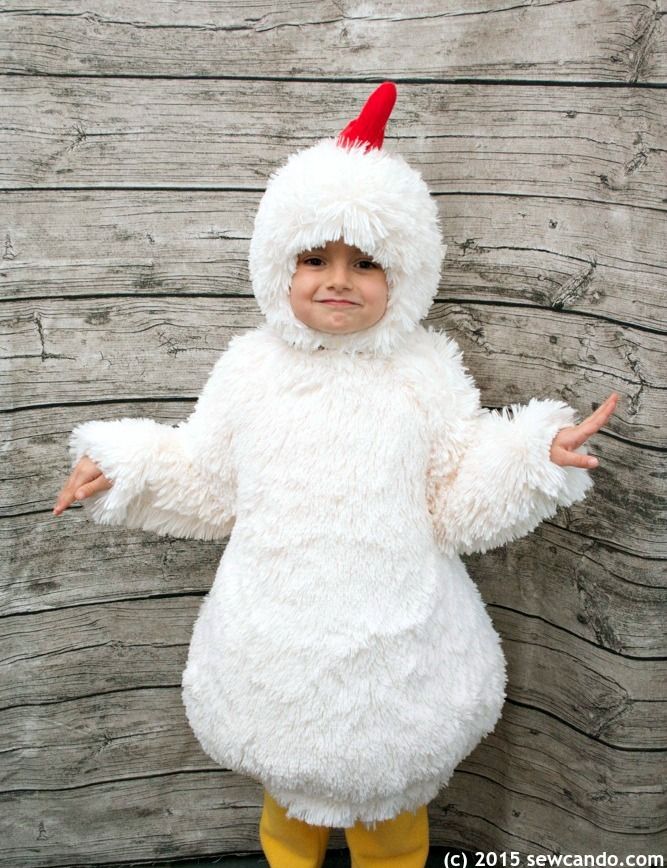
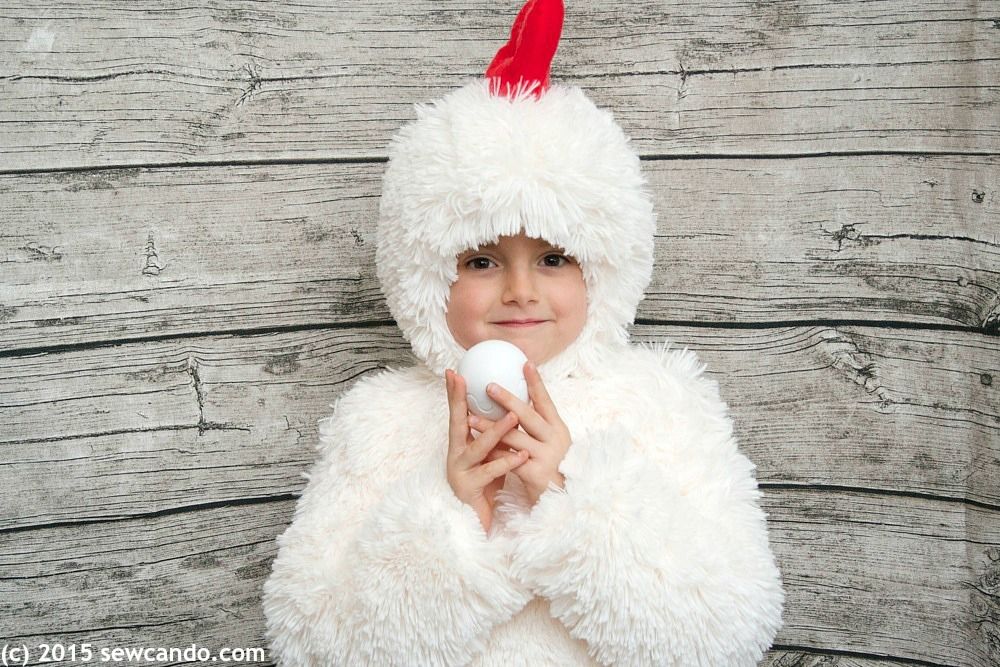
and now, a chicken.  She was adamant about it too. She even started practicing her "ba-bawk!" sounds in advance.  Maybe it's because my kids do 4-H and she loves grading eggs. Maybe it's because she saw Pinkie Pie from My Little Pony in a chicken costume once. Who knows. I just know I love how it looks and how excited she is about it:


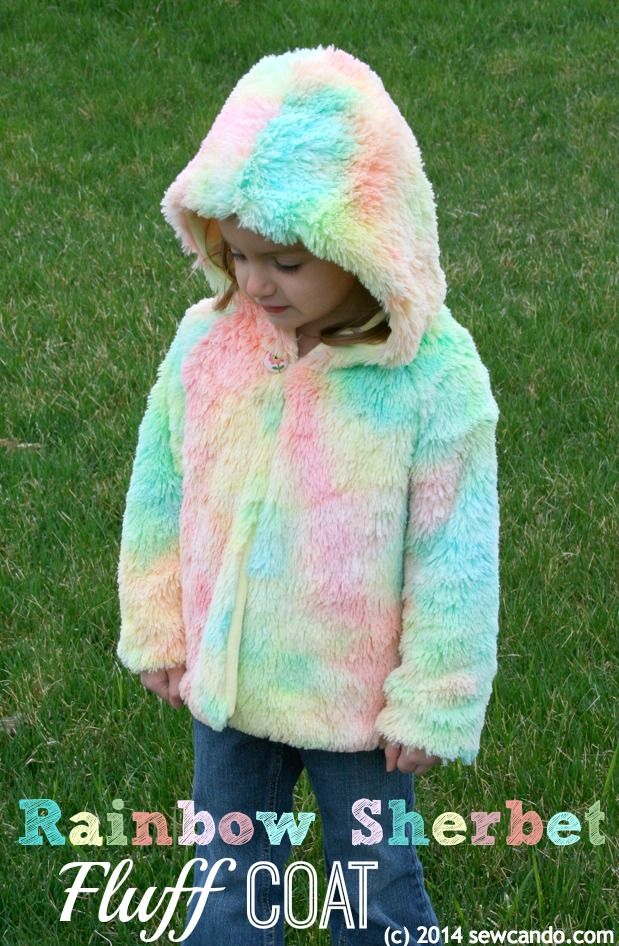
And she's unbelievably cuddly and warm in it.  I've never wanted to hug a chicken before, but I do now.  She could wear a tank top underneath and still be toasty in our frigid Michigan weather, so it's ideal.  I'd bought this cuddle shag fabric online last year. It's marshmallow soft and very feathery feeling.  I used a multi-colored version previously to make this Rainbow Sherbet Fluff Coat:


I'd been saving the cream fabric to make a plush two-sided blanket, but I could never find the right fabric to pair with it.  It seemed stupid to go out and spend more $ on something else to make the costume when I had this right here at home.  I'm so glad I stopped fabric hoarding and used it!


Here's how I made it...


I reused the pattern I drafted up for her jolly pumpkin costume last year (which was traced from a raglan dress she had - more on how I did that here).  The shape was perfect for a plump chicken body.  I did make the neckline a bit higher, since last time it was a bit too wide & required a collar. Then I cut out the pieces from my shag, wrong side up, making sure the nap went downward.


Since I wanted to use what I had, I cut both the outer and the lining sets from the shag. It was 2yds total (which also included the hat).
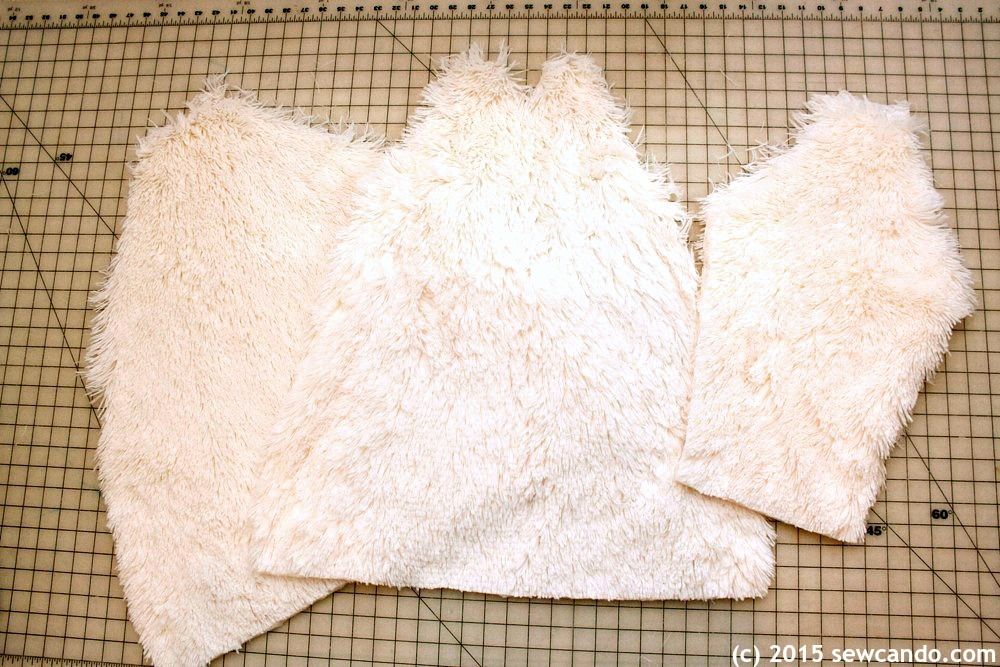


Sewing Pearl Of Wisdom: This fabric look amazing when the project is done, but cutting it means serious fluff everywhere.  A vacuum on standby is a must and it's best to suck up the shedded bits after cutting each piece and running hands over it to pull off loose strands.   Also make sure to wear jeans and shoes so you don't track it all over the house or end up covered in fluff yourself.  I have done both - save yourself the experience.

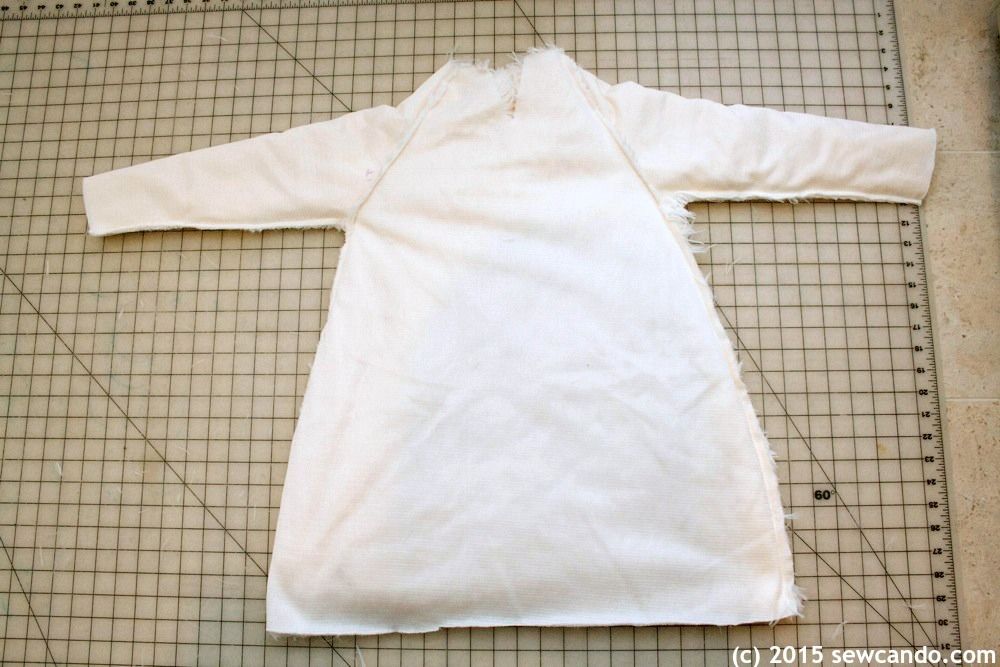
Sewing it together was pretty straightforward - I stitched the sleeves to the front & back pieces:


Then brought together the sides and stitched from the sleeve cuff to the bottom end on each side.  Repeated with the lining.


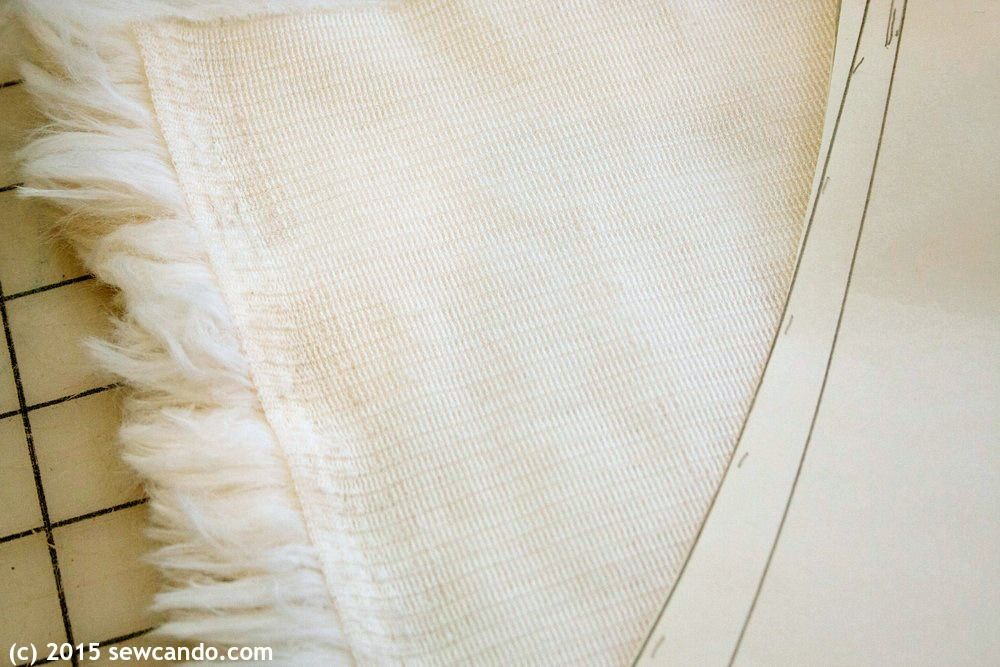
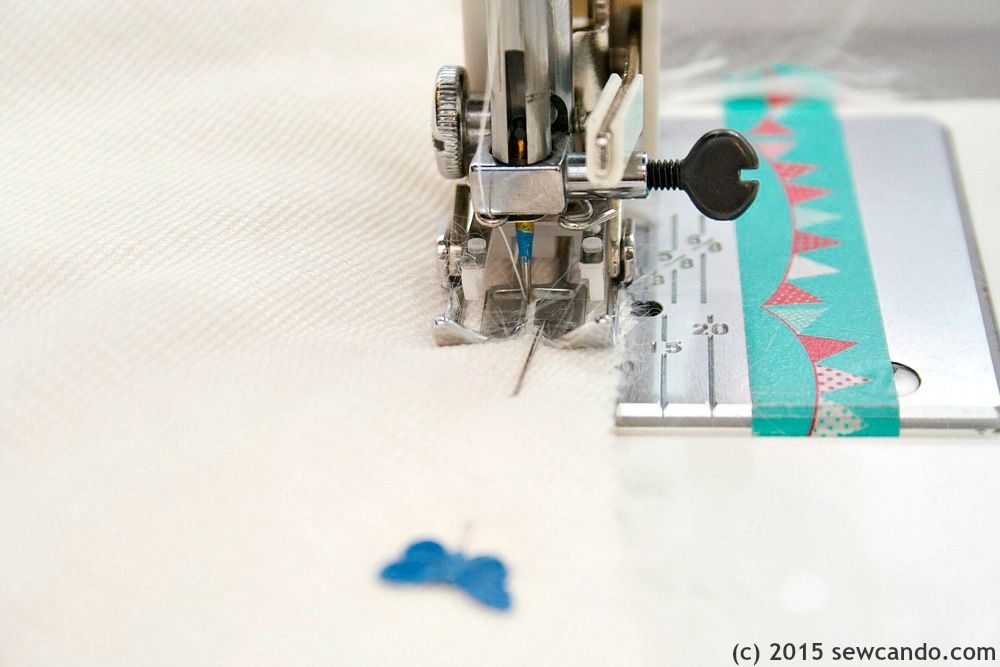
I highly recommend using a walking foot when working with this or other furry fabrics.  It really helps keep the pieces from shifting.  This is key when it's hard to see the fabric edge because of all the fur:


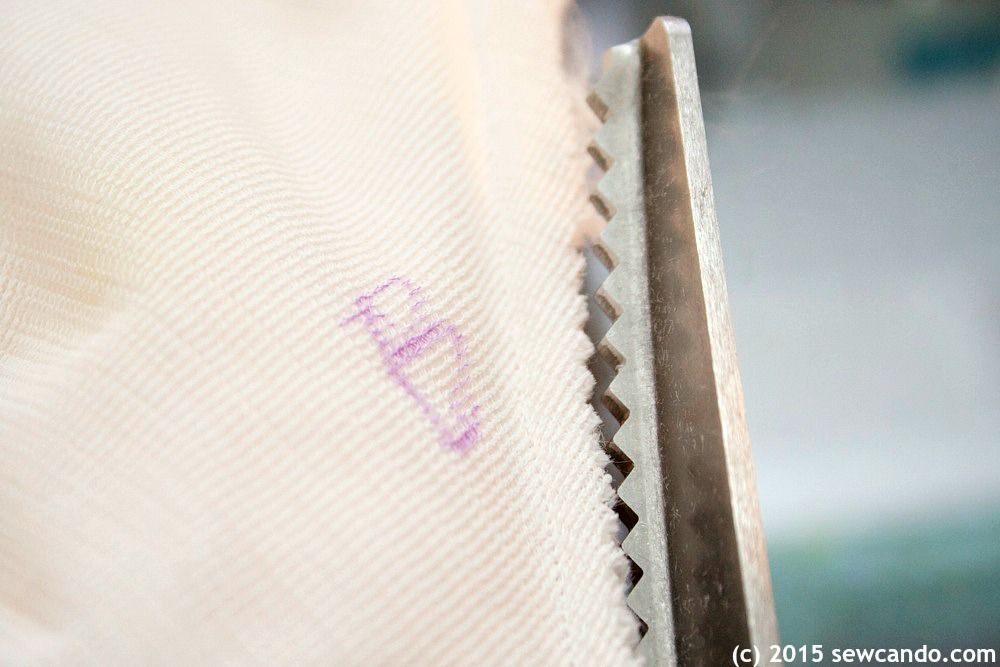
Trimming down the raw edges with pinking shears helps minimize the shed factor as well:


Then I turned one layer right side out and inserted it into the other, pinning around the neck opening and stitched it all together.
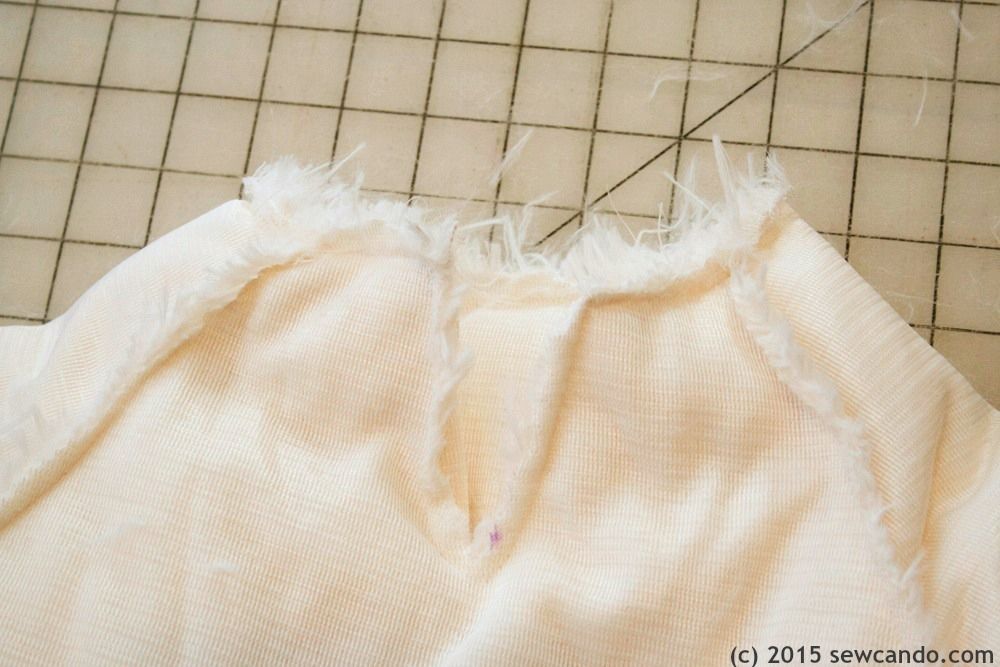


Everything got flipped right side out so the lining was inside the outer.  
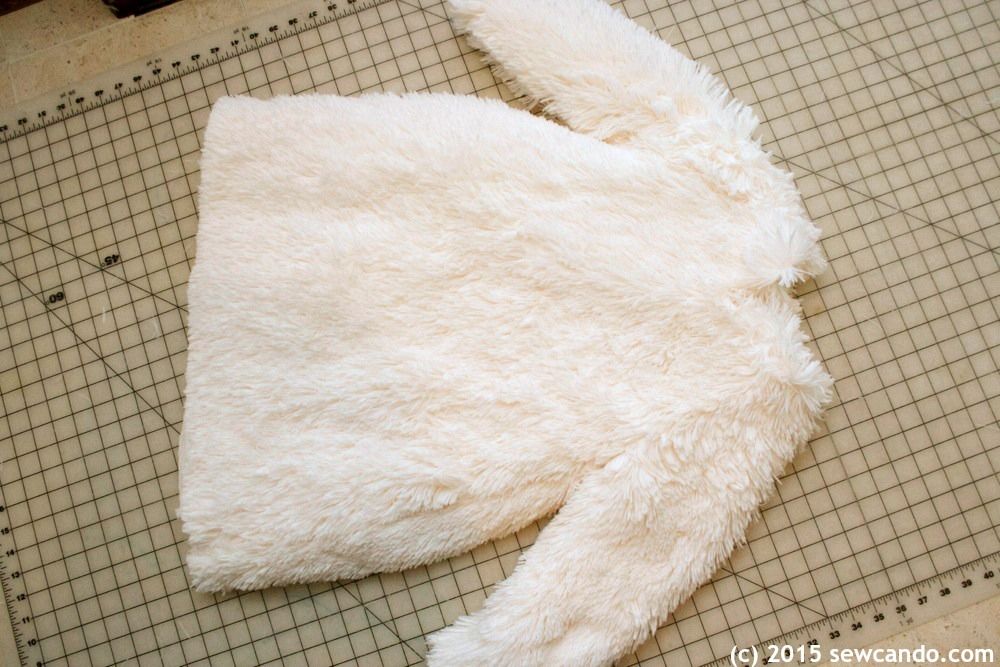


I folded the raw edges of the sleeves inward and stitch them together.  This was impossible to show with the high fluff, so this is what it looked like on the pumpkin version:


I did the same with the bottom hem, except left a 3 inch gap, so I could stuff in some polyfil to get a nice rounded shape:


Then I shook the filling away from the bottom and stitch a line about 1.5 inches from the bottom hem to make a casing.  I snaked some 1 inch elastic in to cinch the bottom.  I cut it about 30 inches wide so she could easily walk.  Then stitched the ends together and closed up the gap.  Again, hard to see it all with the light fluffiness, so this is what it looks like on the pumpkin:


To make the headpiece I raided my pattern stash and used the lined Turtle Dove cap pattern from the Winter 2009 issue of Ottobre Design.  Their's was meant to end at the jawline and have a ribbon tie, so I modified it to extend & overlap under the chin with a snap closure.


I hand drew a comb shape, cut two sides from some red fleece and stitched them around, leaving the bottom open:
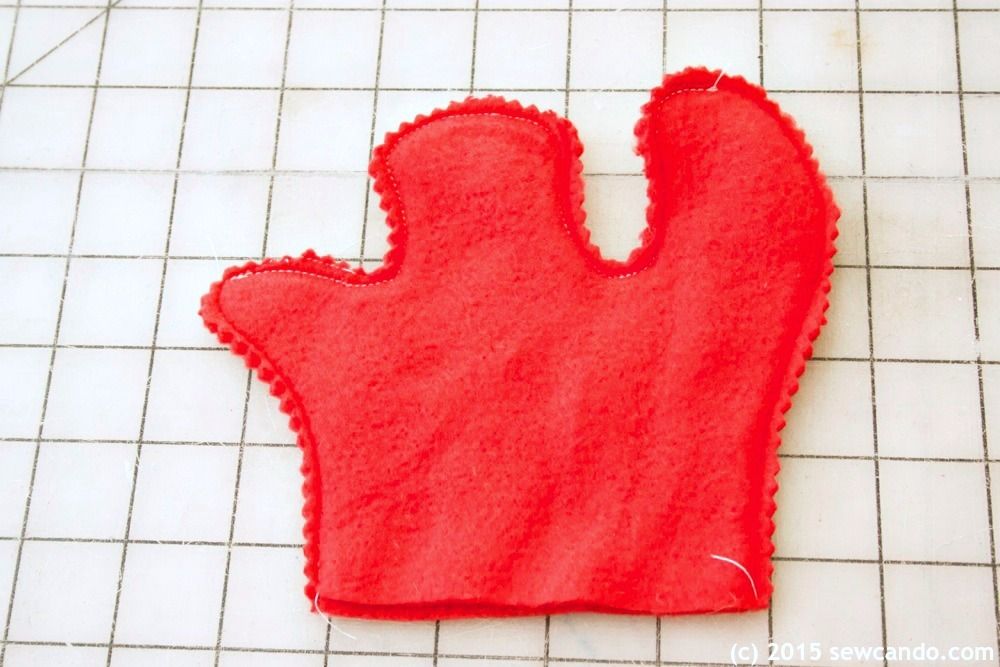


I turned it right side out and stuffed with some polyfil:


After stitching together the main pieces of the cap, I marked a line down the center of the top that was the same length as my comb and cut it open.
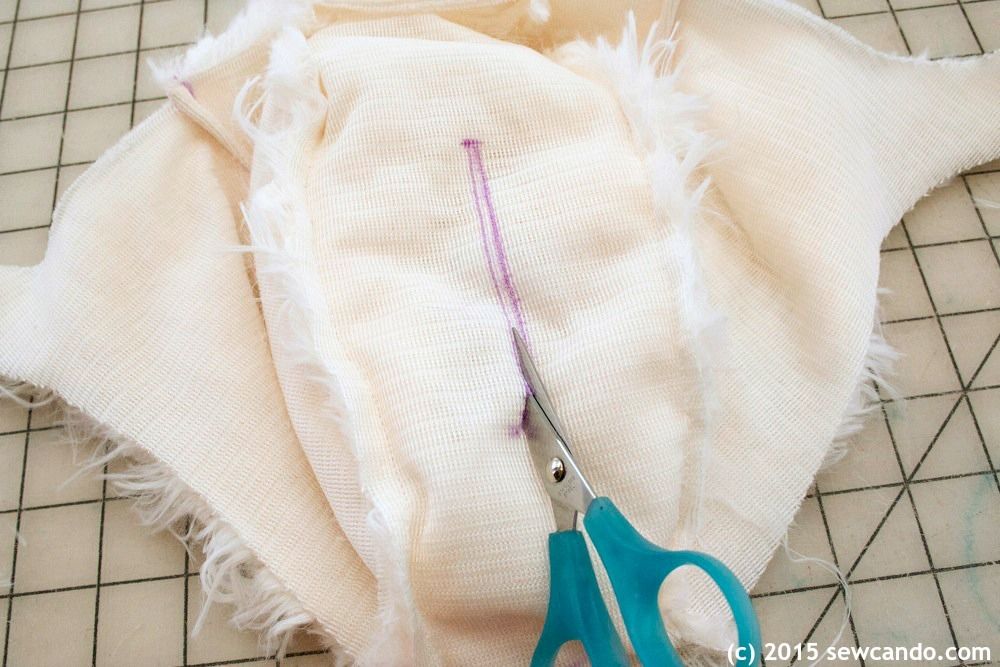


Then I inserted the comb and stitched them together close to the raw edges and then attached the outer & linings and installed my snap.


I used a basic pant pattern (Simplicity 1511) to make the yellow fleece leggings for her "bird legs".  I considered making feet, but the weather here tends to be muddy this time of year and, having several costume-wearing activities ahead, it seemed like a waste to make something that would get filthy or not be able to be worn outside.  That, and I'm now tired of making costume stuff;P  Now I just need to get myself some overalls and a flannel shirt so I can be a farmer to her chicken!



Wednesday, October 31, 2018

Halloween Costumes Through The Years Tour


Happy Halloween!  Since today's full of spooky business and all things costumed & candy, I thought I'd do a little montage of Halloween's past for some festive fun.  The past couple weeks I shared our latest two, the Thrifty DIY Refrigerator and our Made At Home Turtle. Ready for a DIY costume tour? 

Last year's DIY Darkwig Duck Costume,


Foam & thrift store fun Viking,


and cuddly little wolf:


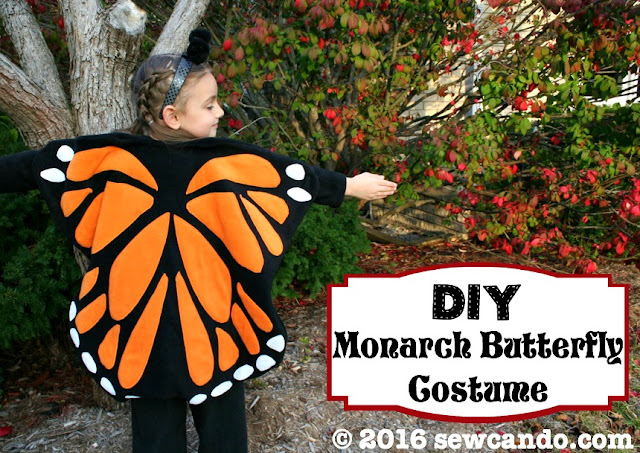
The fleece-y DIY Monarch Butterfly:


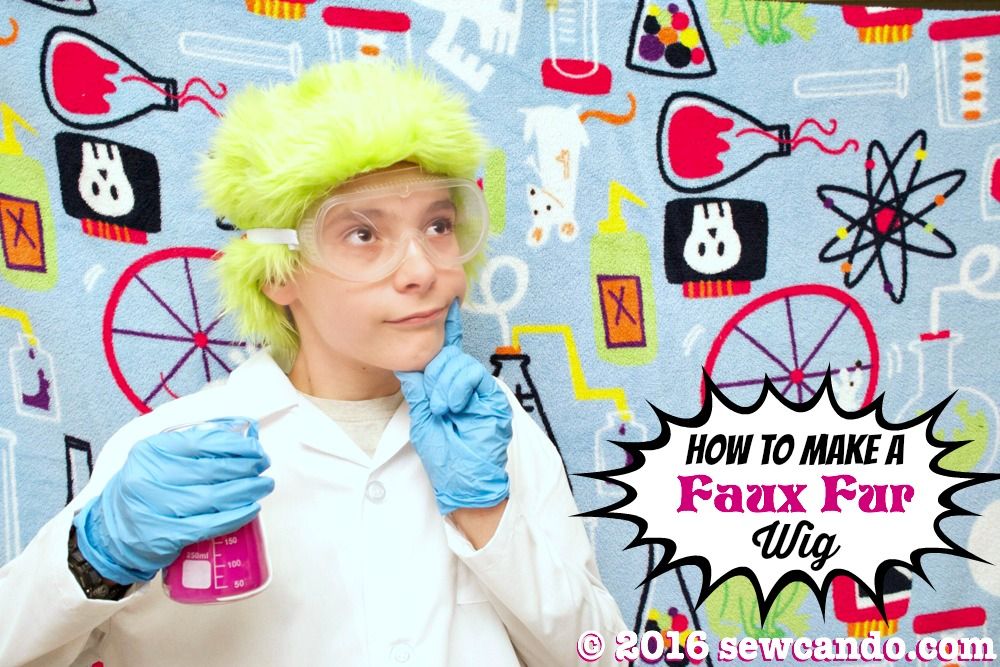
Mad Scientist with DIY Faux Fur Wig:


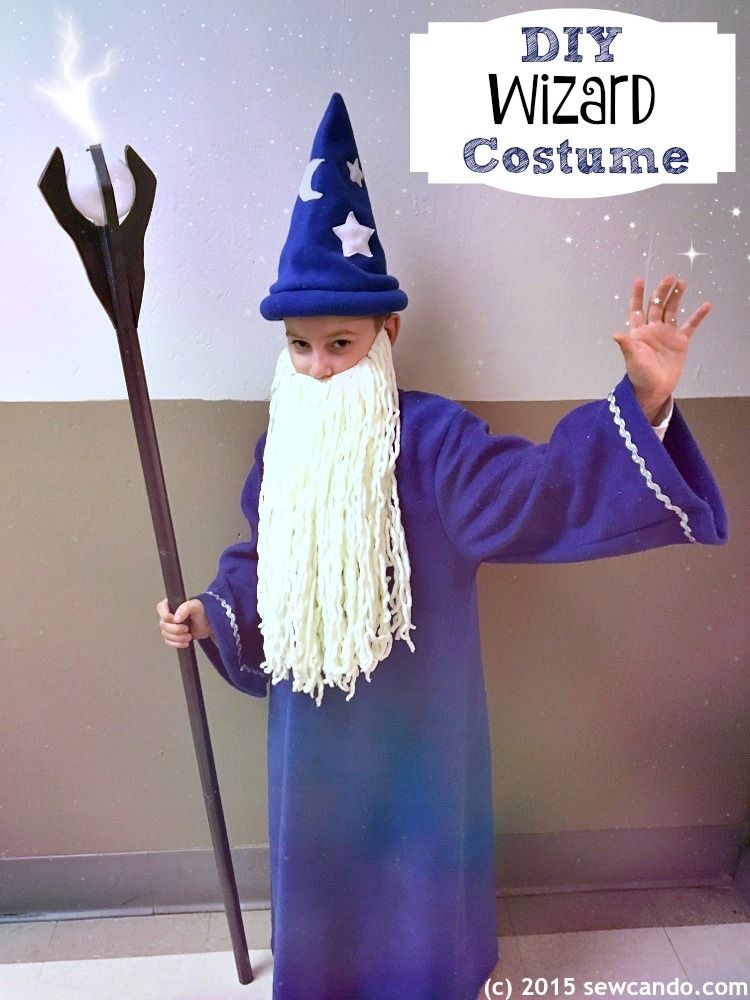
Our bearded Magical Wizard costume:


Our cuddly Fluffy Chicken costume:


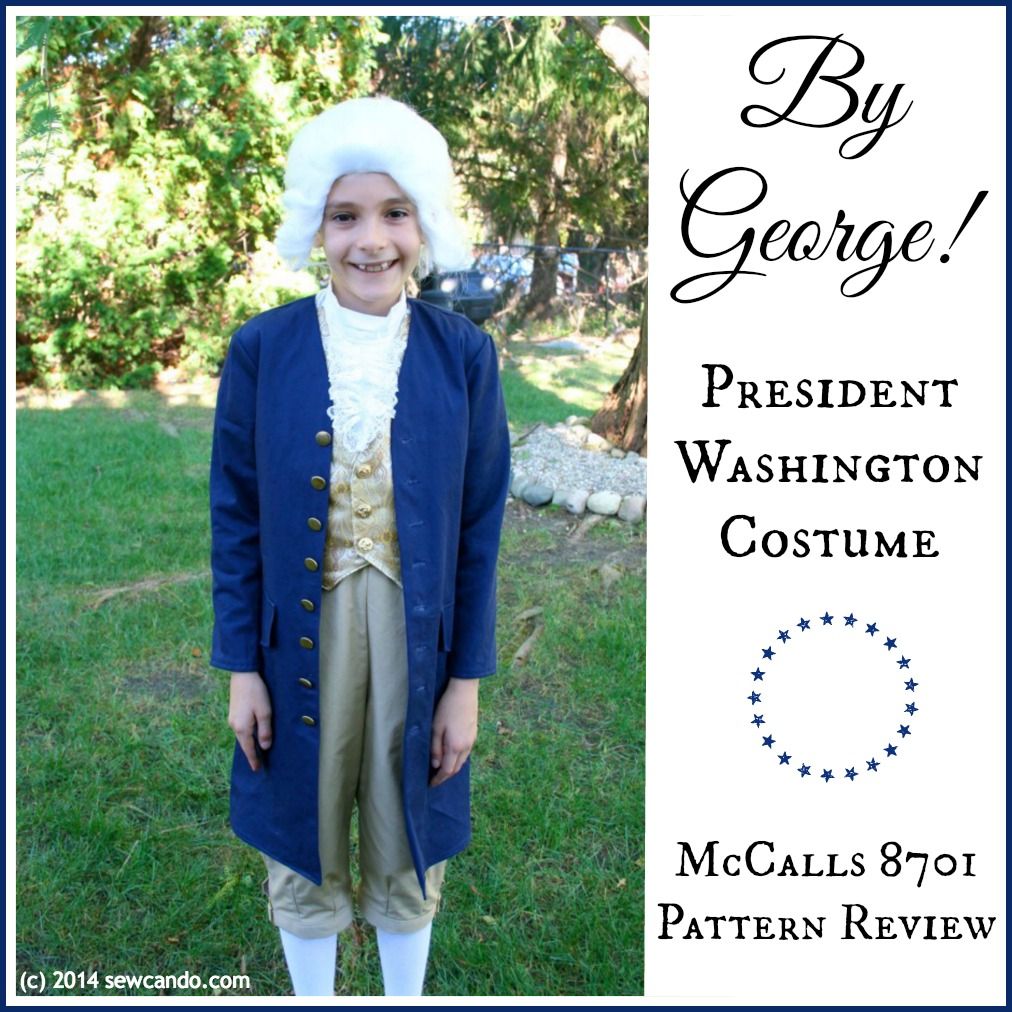
That time we did a George Washington costume:


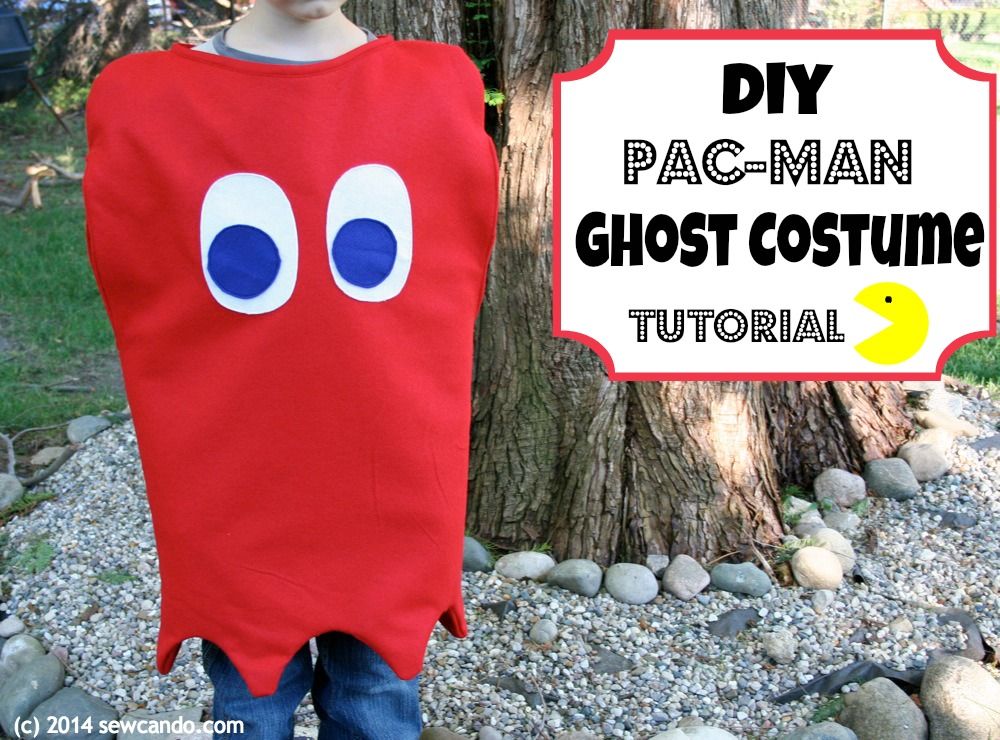
Felt Pac-man ghost costume:


Cuddly Pumpkin no-pattern costume:


Cartoon-style bank robber:


Secret message mask little ghost:


Princess Merida Tutorial with yarn wig & fleece arrow quiver:


Mini Roman soldier:


Knight in shining armor:


Eye patched pirate:


Enchanted Princess:


And of course, Star Wars Yoda, Han Solo & Princess Leia:


Whew.  I can't believe how many costumes this momma has sewn up over the years!  The orders have gotten taller and the novelty of making them sometimes wears off, but seeing these happy faces reminds me why it's worth it.  


Have a Happy & Safe Halloween!


Thursday, October 27, 2022

DIY Little Shepherd and Sheep Costumes


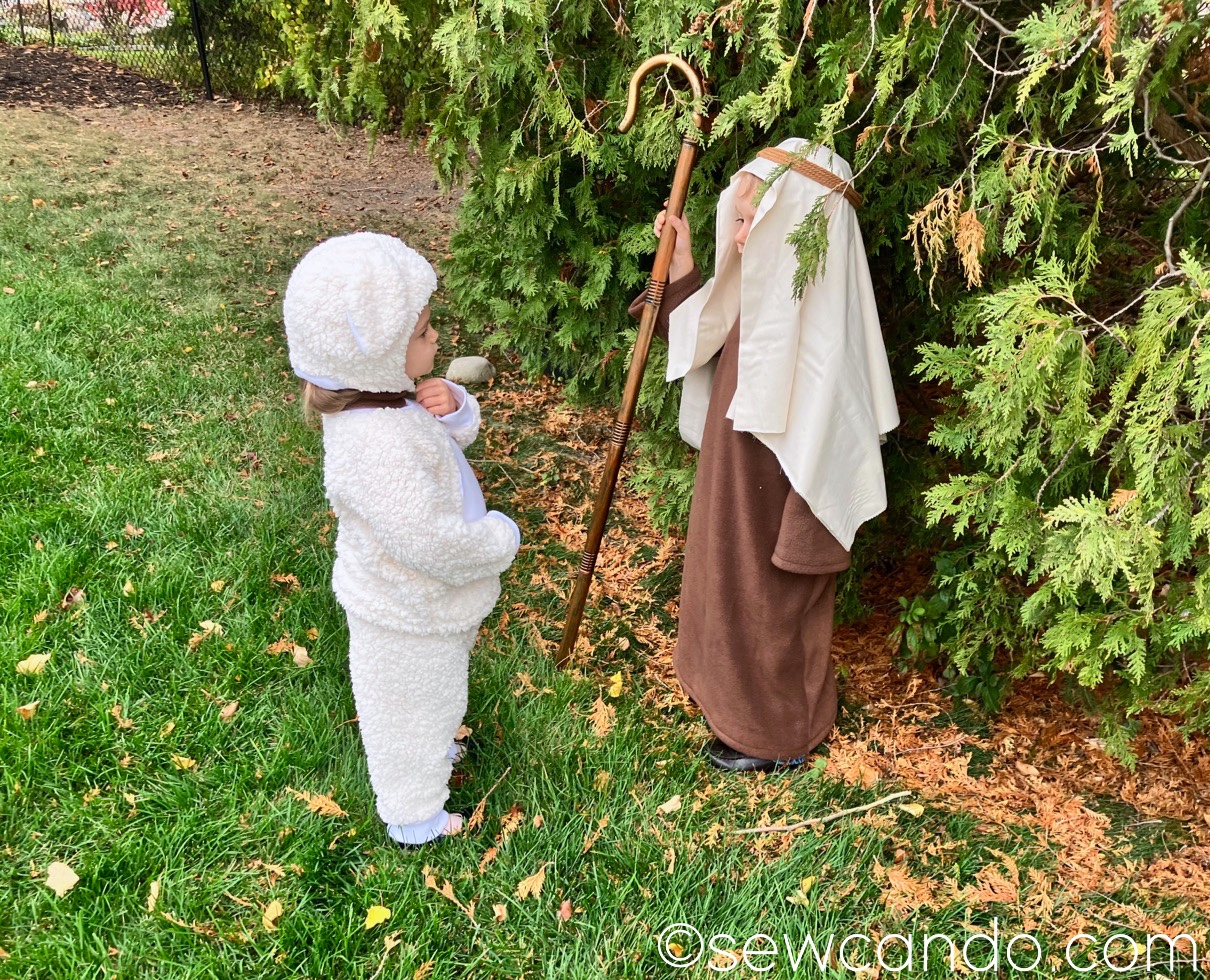
I thought a coordinated costume effort would be really cute for my 2 & 4yr old for Halloween this year.  Living in the midwest it also meant they had to be both warm and easy to layer more clothing under.  And, most importantly, they be comfortable/willing to wear.  My solution was a sweet Little Shepherd & Sheep costume pair.  Just look at that sheep frolic!


My mini shepherd has a long fleece robe to keep him covered, a traditional headdress and of course the necessary shepherd's crook:


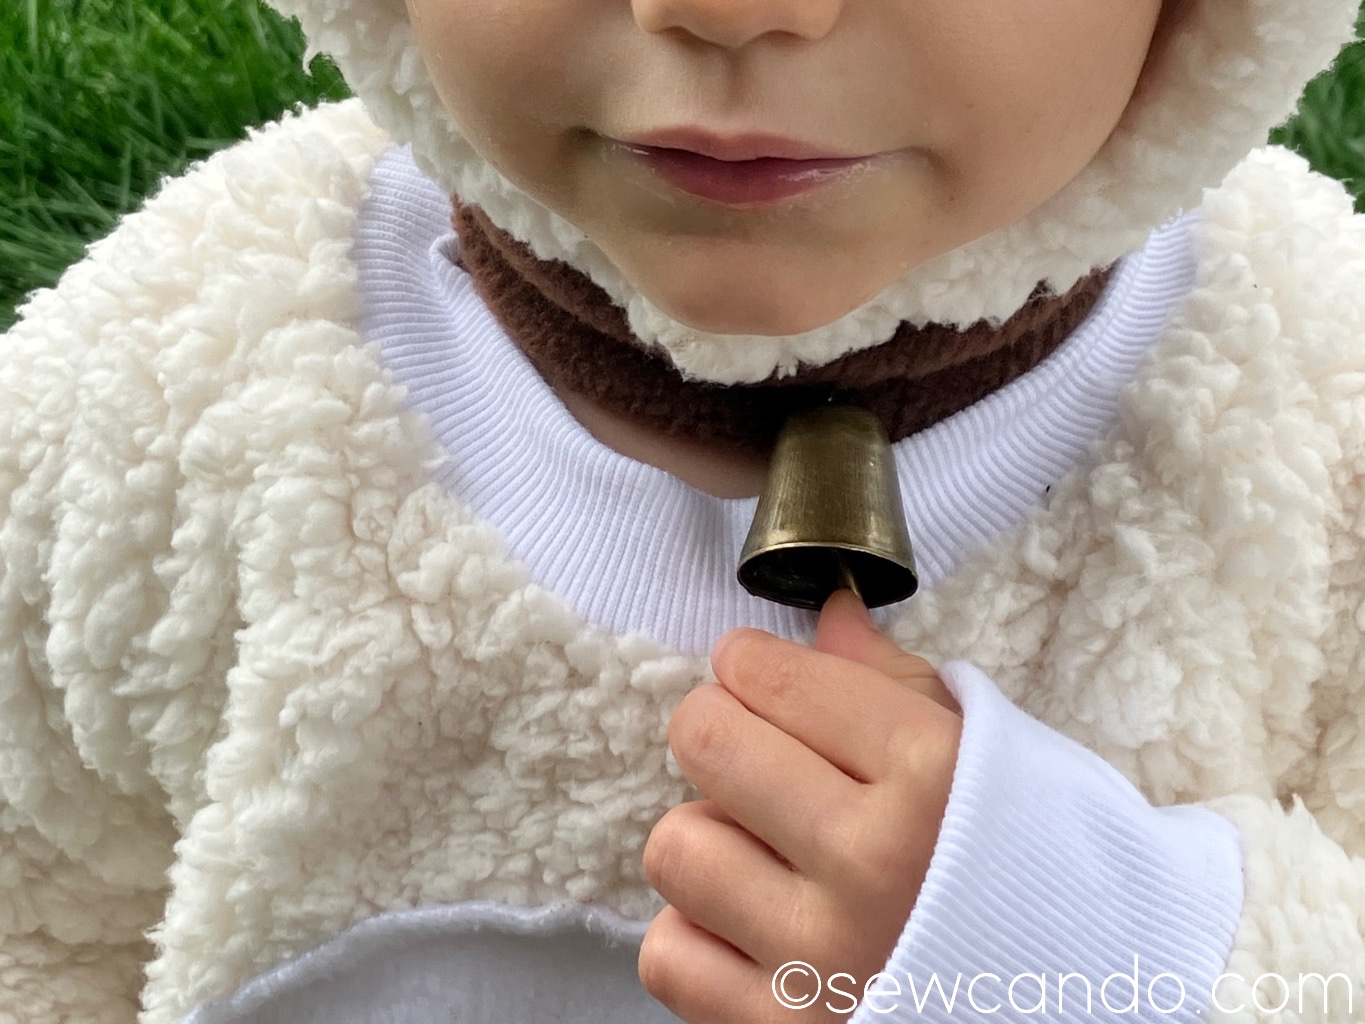
My little lamb has a fuzzy soft sherpa body, cuddle ears and a sweet sounding bell collar:


This photo cracks me up because it looks like they're having a a serious conversation.  What a shepherd and sheep talk about,  I don't even know.


I used 1 1/2yds of sherpa fleece fabric for my 2T sized daughter.  I also got a 1/2yd of white fleece for the tummy and hat and 1/4yd of ribbed knit for the neckband and cuffs of the top and pants.  For the main costume I used some of my favorite patterns for toddlers, the raglan top and jogger pant from the book Kwik Sew's Sewing for Toddlers by Kerstin Martensson.


I cut an oval from the fleece to applique onto the shirt front before I assembled it, but otherwise followed the patterns exactly.  The fit is roomy enough to add clothing underneath for a chilly Halloween night.


For the hat, I used the same Turtle Dove cap pattern from the Winter 2009 issue of Ottobre Design that I used a few years back to make the head part of this DIY chicken costume.  I modified it to extend & overlap under the chin with a snap closure.


It's ideal for making hats like this that have ears since it has three main pieces so adding them is easy.


I hand drafted some ear pieces and cut a piece for each component from the sherpa and the white fleece for the outer & lining sides.  I sewed the ears together first and then basted them where I wanted them on the hat before I assembled it.


It turned out exactly as I'd pictured in my mind right off the bat, which was so nice.


I also made a little collar from a long scrap of brown fleece, with a snap closure and hand-sewed a bell on it.  My daughter finds it fascinating so she just won't leave it alone (which is why it's hard to see in most of my photos).  I feel like the bell collar was key for distinguishing this as a sheep/lamb costume since many people can do a quick glance at a fluffy costume and think it's just about any animal.  


For my little shepherd I totally winged it.  Which was somewhat miraculous because I literally threw it together from nothing 48hrs before a trunk or treat event at our church.  They were a big hit since they "teamed with the theme" of the location;)  


I started by using one of my 4yr old's fluffy sweatshirts as my base for shape & size.  I folded it in half and measured his height from shoulder to ankle to start an extended pattern that would become a robe.


I then used a yard stick to extend it out in an A shape from the underarm for the proper robe shape and then traced the sleeves and belled them out the same way.


Once I had my pieces I cut them all out from my 1/5yds of brown fleece and also made 3 inch wide neckline facing pieces by tracing the neckline of my front & back and sewed everything together.


For the headdress I look a yard of muslin found on clearance and folded it in half.  To anchor it I got some soft cotton craft cord and wrapped it around his head a few times and held it together with little clamps to remove it intact.  Then I hand sewed it in 4 spots to make it stay in place.


Placing it over the muslin gave a real shepherd look that was easy too:


And to round out the look I got this lightweight kid-sized plastic shepherd's crook off Amazon:


I'm so happy about how these turned out, especially since I barely had time to throw them together.  I do like to make the costumes, whenever I can, when my kids are little.  It makes it more memorable and I know my time for getting to pick them myself or getting them to be willing to coordinate is short so I need to use it.  My 2 yr old actually squealed with delight when she saw it and insisted on trying the hat on, so gotta make the most of this stage for Halloween costume fun!


Have a Happy Halloween!!


LinkWithin

Related Posts with Thumbnails