
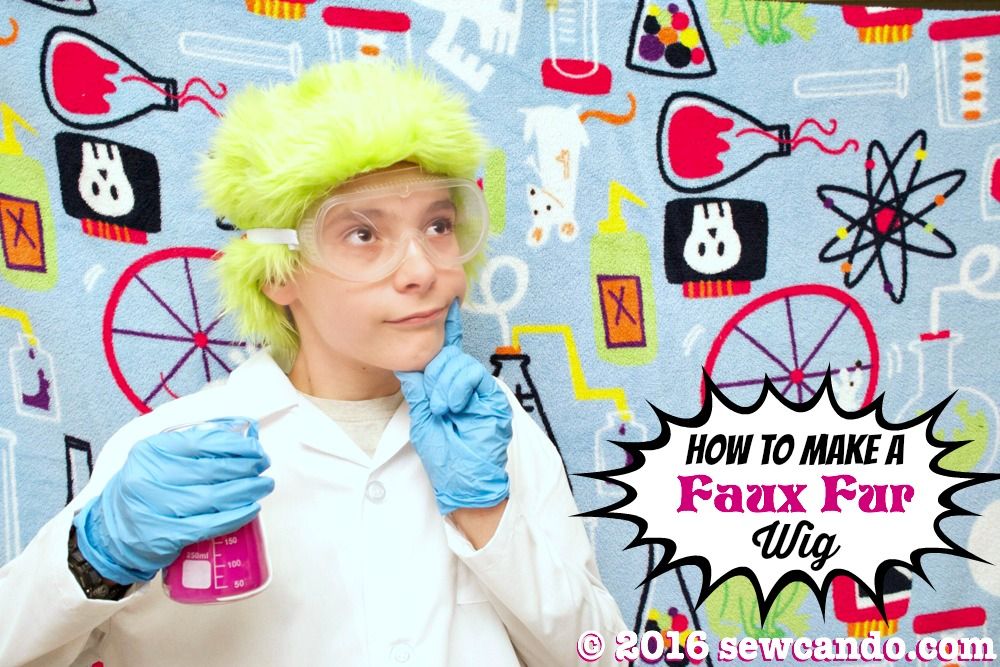
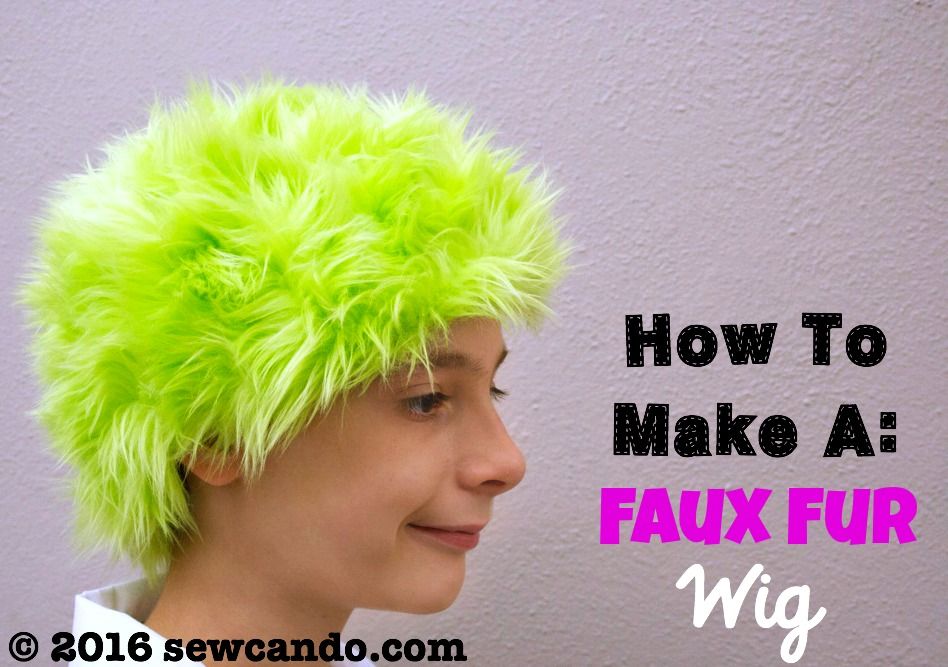
Today's how-to is one I'm really excited about. It's one of those things I knew could be DIY'd despite never trying it before and the results were just as I hoped. Check out my DIY Faux Fur Wig!
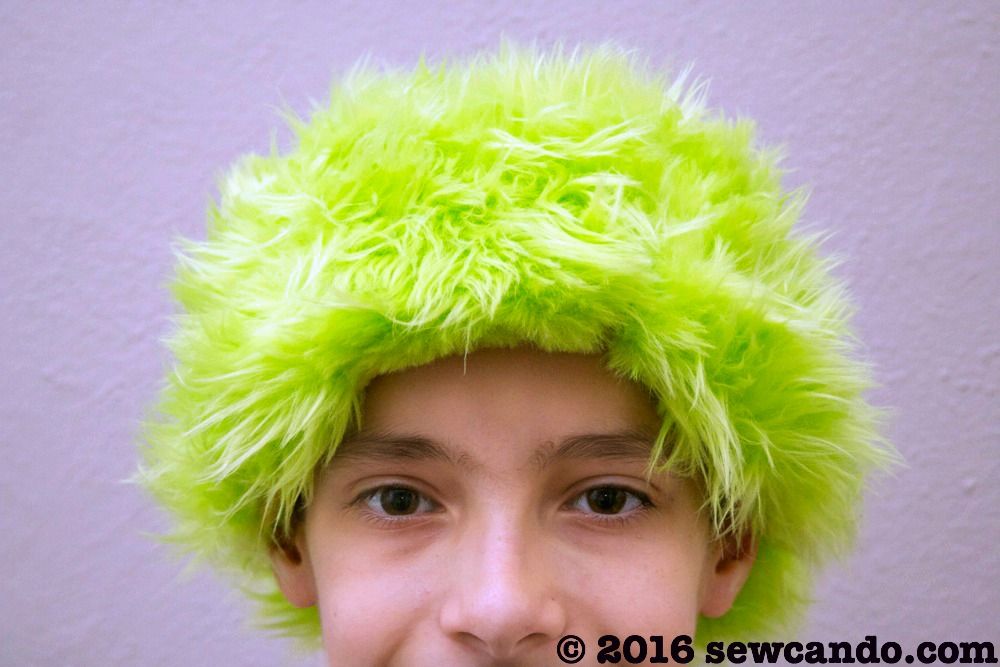
Why settle for those nasty cheap plastic wigs from the Halloween stores? Those never look as good on as they do in the promotional photos and they tend to be uncomfortable & ill-fitting to boot. Making your own with faux fur is actually pretty easy and looks so much more fun when done. go for a variety of looks too by using different colors, textures and lengths of fur - or even changing direction, like I did, to give it a proper mad hairstyle:

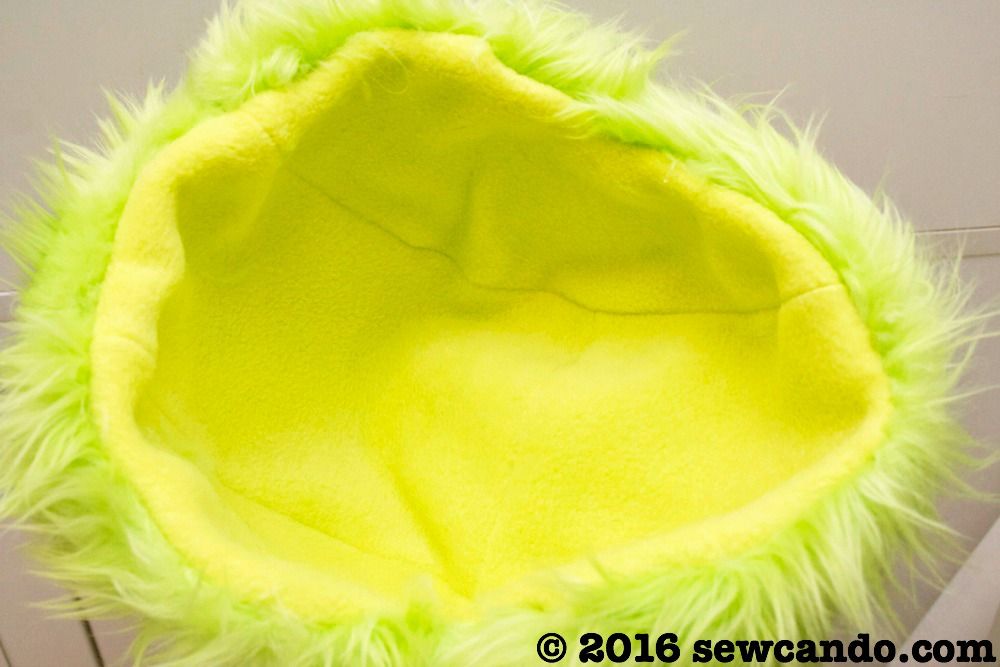
It's even got a comfy interior so no scratchy netting or weird plastic bits to make it hard to wear and it's customized size means it stays in place too:
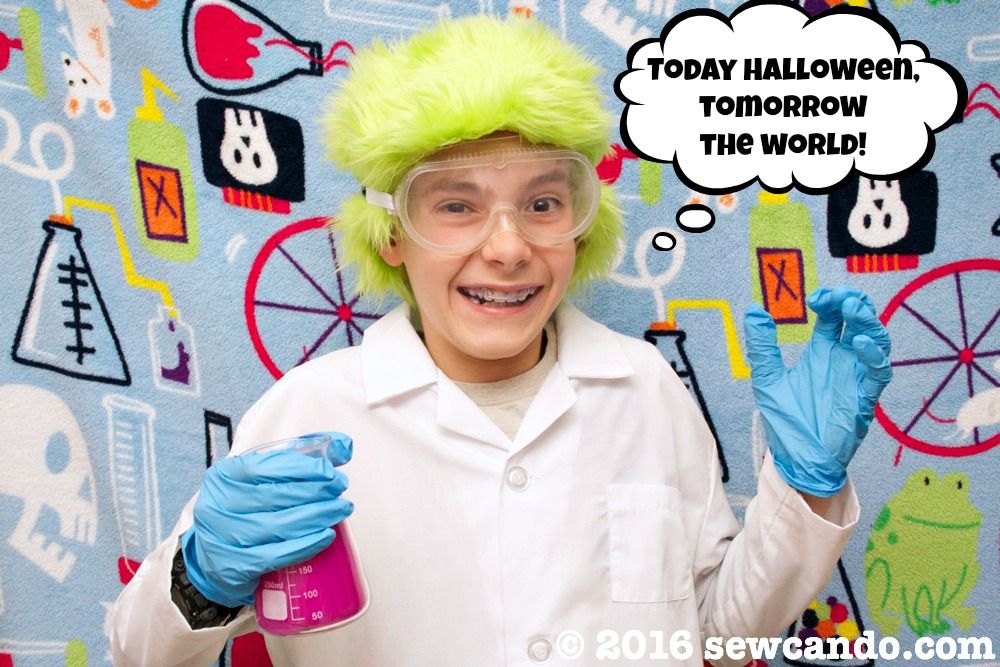
My oldest decided to be a mad scientist for Halloween this year. To be honest, after years of making complicated costumes for 3 kids, I was grateful I'd barely have to do anything for this one. Buying a kid-sized lab coat was inexpensive (and way easier than making one), so the only other part of the costume was the requisite crazy scientist hair. The trouble was I couldn't see spending $ on a crappy synthetic wig that would get all matted and ruined after just a night's wear.
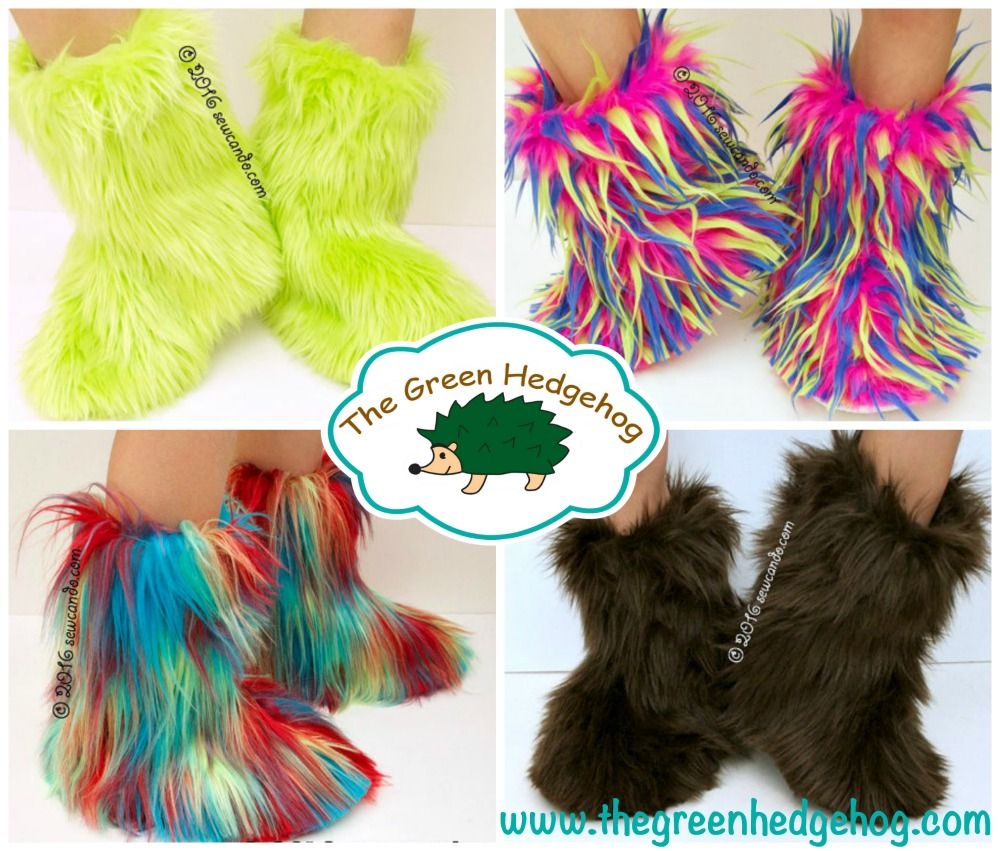
I had a bunch of this colorful faux fur in my stash from making my signature Monster Slippers for my shop (which is on hiatus due to all my time being focused on personal projects right now).
The lime shade had the proper radioactive vibe to it. There just had to be a way to turn that fun, fluffy fur into a wig. I know how to make a lot of fun hats, but I wanted a definite wig, not hat, look. My internet searches kept coming up empty. How could no one have done it already?!? 50,000 infinity scarf tutorials, but not one fake fur into a wig how-to!
Eventually, I found a genius custom doll wig tutorial using faux fur from Tiny Electic Studio. I thought the general concept could totally work for a real person head too, but needed a bit more done for the interior, since it wouldn't be glued on like a doll. With some innovations, my human-sized Faux Fur Wig Tutorial came to life!
Now, let's get to making this wig!
Materials:
- Box of cling film
- Roll of packing tape
- 1/4yd faux fur fabric
- 1/4yd fleece fabric
- Permanent marker
- Shears, disappearing marker, hand sewing needle+thread
- Small clips or pins
- Seam ripper
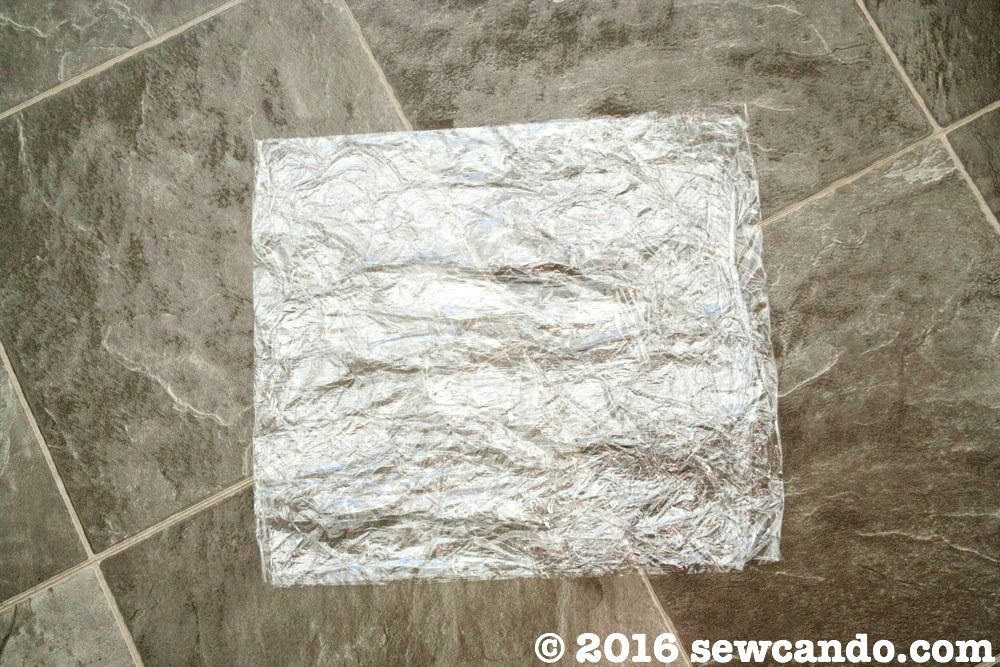
To create a custom pattern I used the doll tutorial's idea of taking a big rectangle of cling film and folded it 4 times (mine ended up being about 12in x 16in for a big kid):
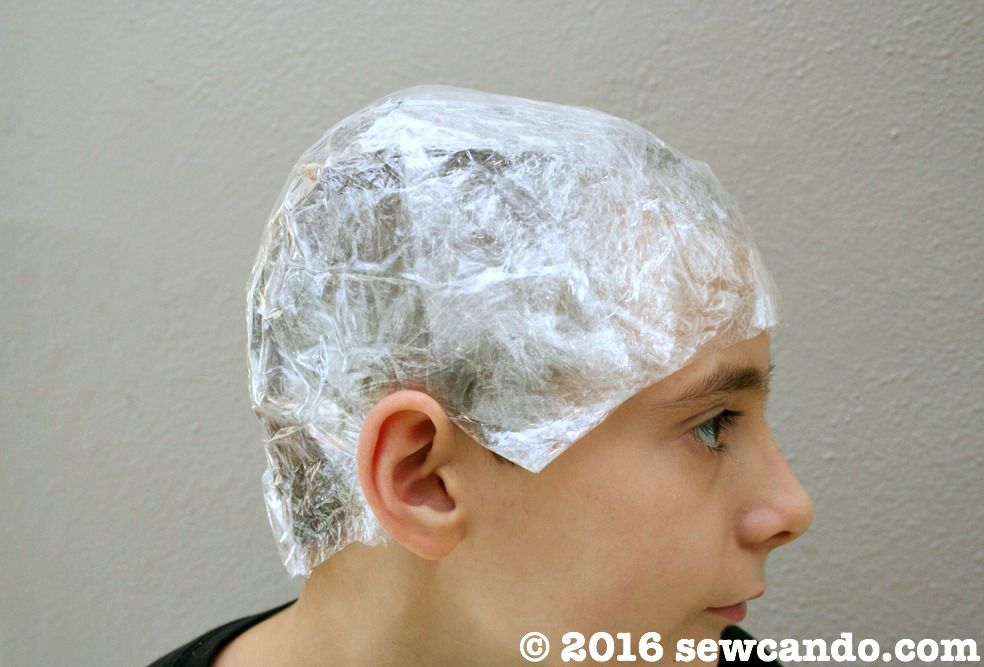
Plop it onto the recipient's head and press down to get the general head shape. Then start adding strips of the packing tape to hold the shape, front to back, side to side, around the bend...basically all directions:

Once it's pretty solid (no flimsy bits of cling film exposed), trim around the front and ears as desired. We're getting a swim cap vibe at this point:
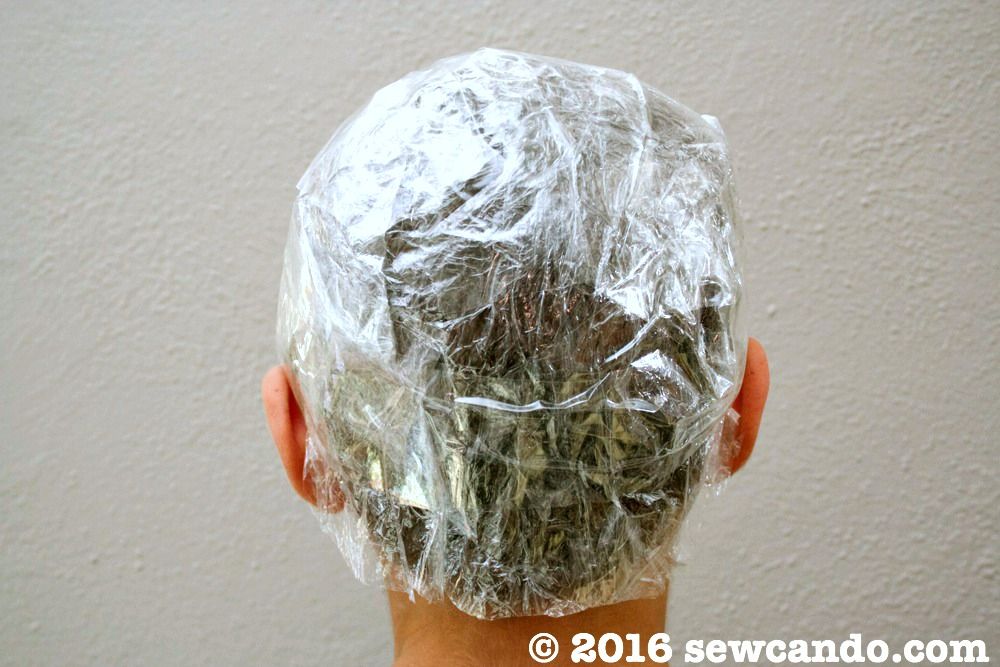
Also trim the nape of the neck. The light totally makes this look like a tin foil helmet, but I swear we're not crazy...yet:
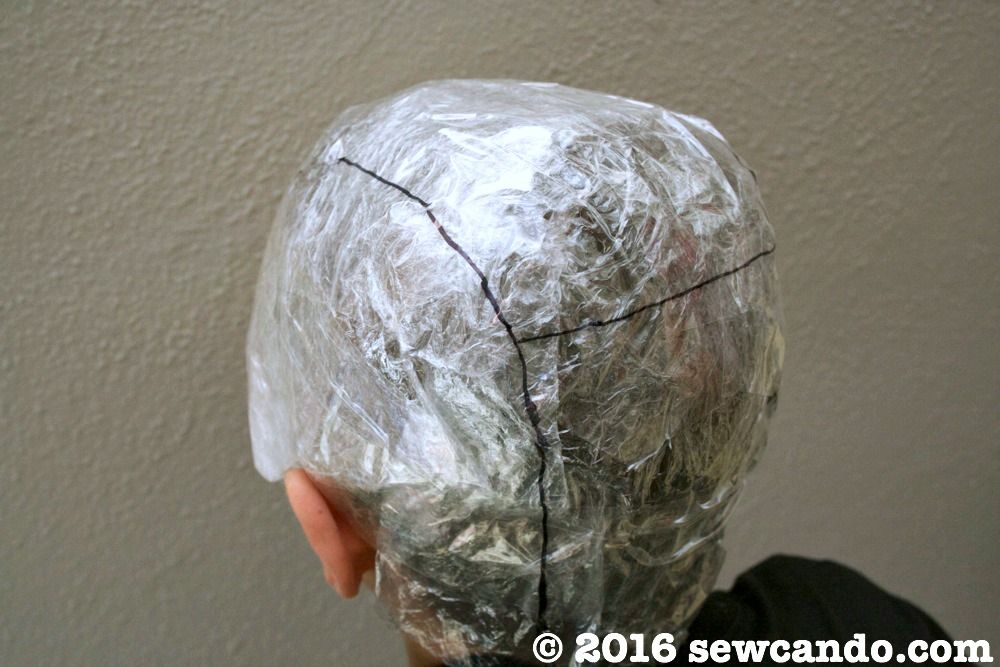
Ok, time to turn this cellophane cap into a pattern! Run the permanent marker along the side areas from front to back (figure where you'd side part hair or use the arches of the eyebrows as your guide), kind of like the seams of a baseball:
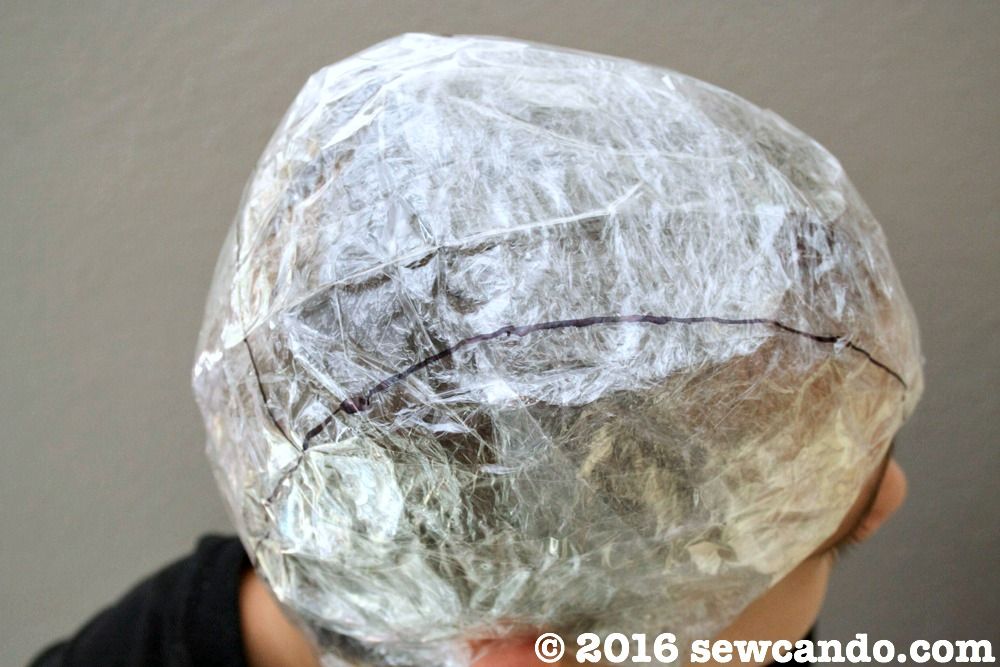
Then do a horizontal line across the middle at the crown:
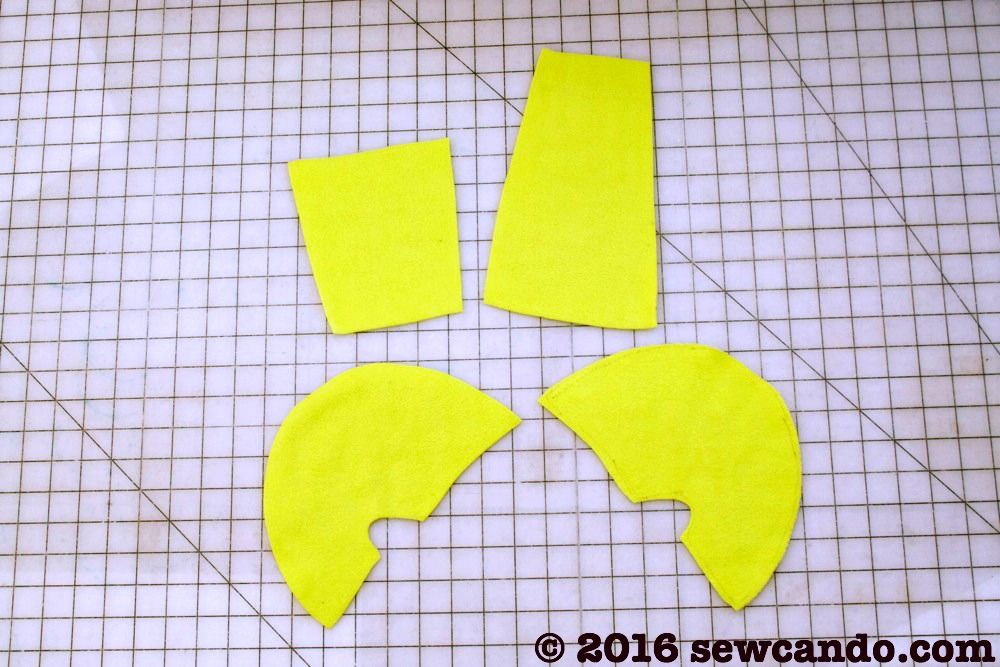
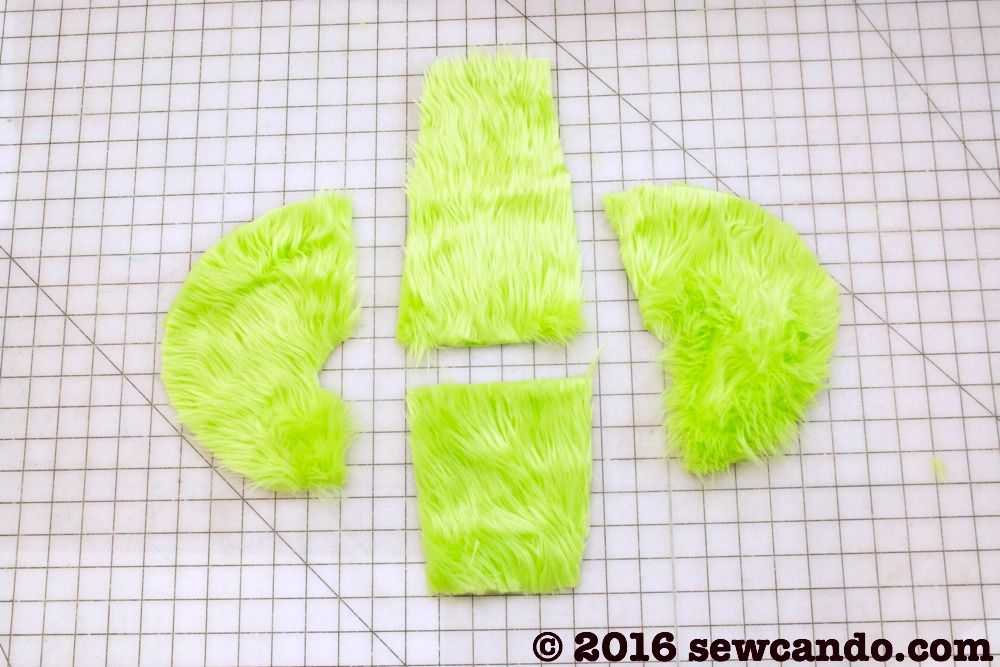
Cut the helmet apart along the lines to get the pattern pieces. I then cut into the sides of the pieces, where they curved up, about 1/4 inch inwards, just so they would flatten out better when cutting the fabric to get a truer fit. Lay the pieces on the fabric, right side of the pattern facing the wrong side of the fabric and trace 1/4 inch outward from the pattern all the way around (to include a seam allowance):
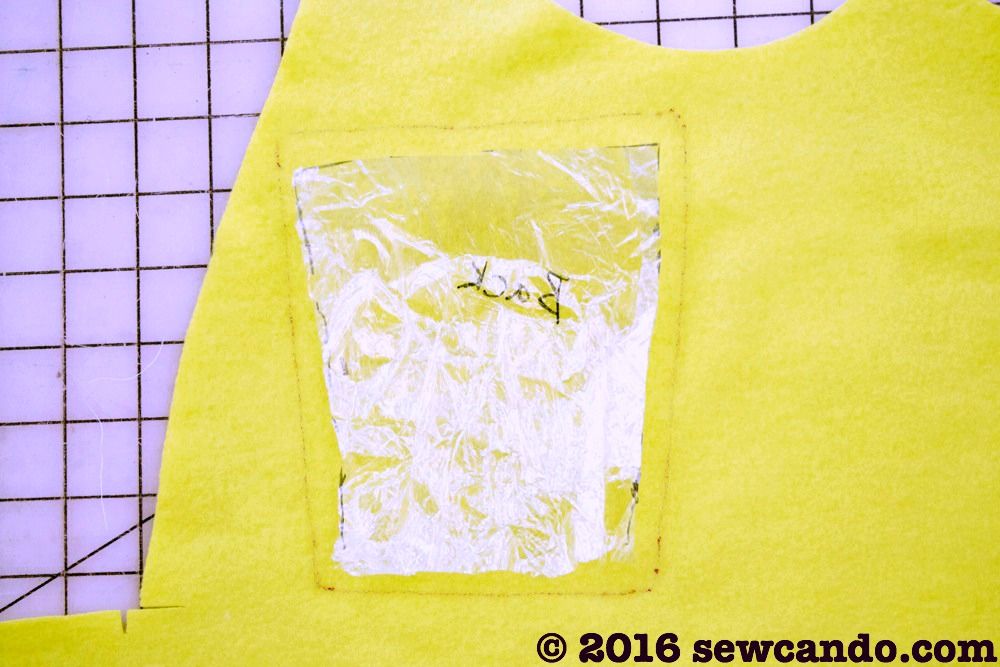
Repeat with all the pieces using the fleece:
And do the same with the faux fur. Try to shove the longer hairs of the fur inward, away from the pattern edges, before cutting so you don't lose that nice length or it'll look too even and weird at the seams. Since I wanted our wig to have a crazy, going-in-all-directions look, I cut it so the direction of the fur was going up instead of the usual downward.
With right sides facing, stitch together the wider ends of the center pieces together using a 1/4 inch seam allowance. I find clips are easier to use than pins with the thicker furs like this:
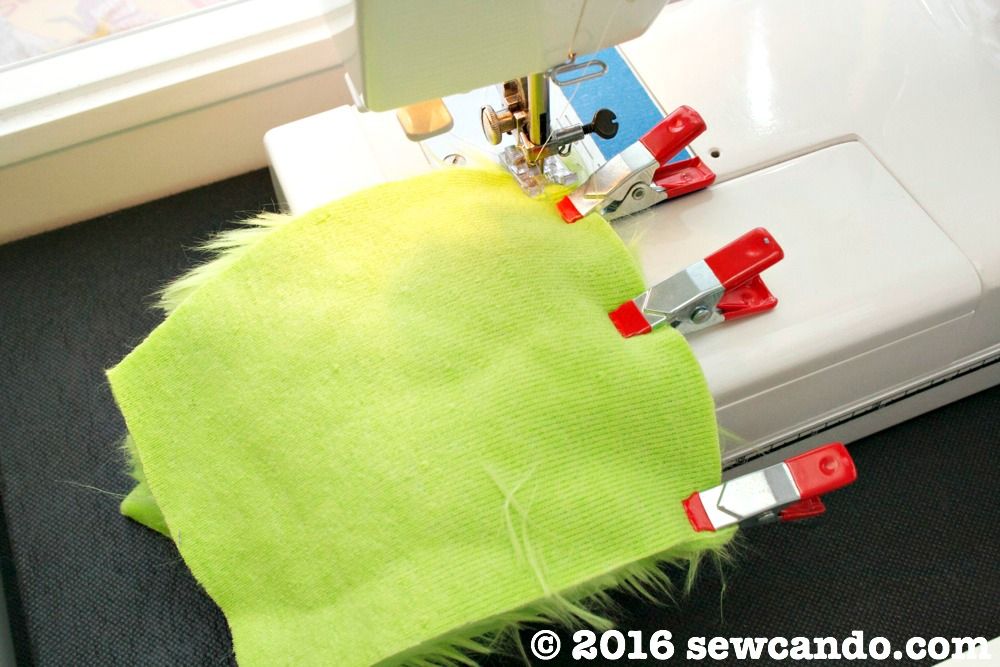
Next, pin the side pieces to the newly joined center strip and stitch:
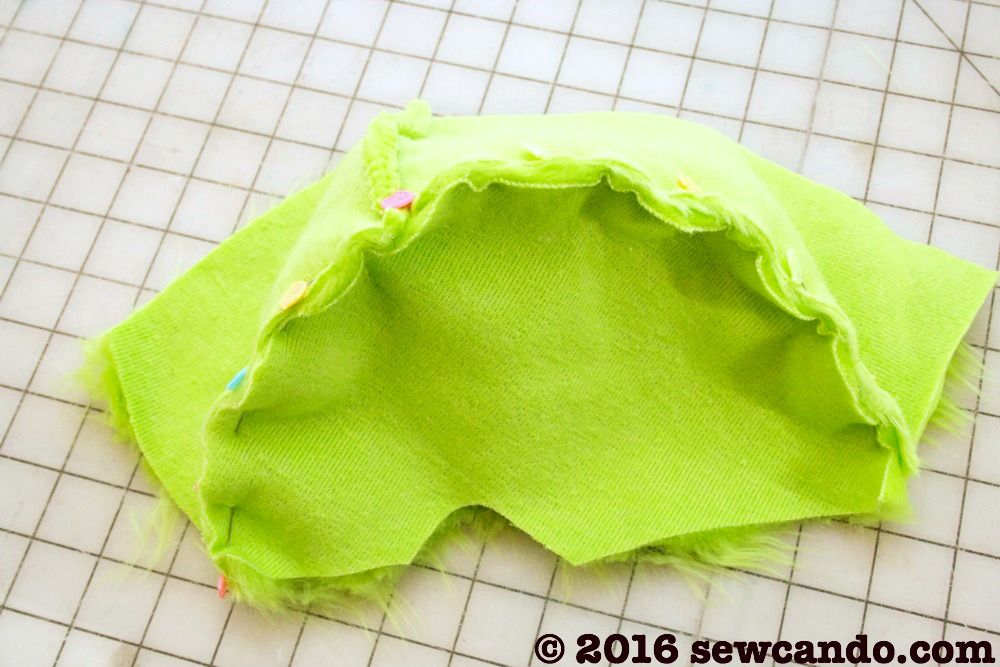
Repeat with the fleece to create the wig lining. With right sides facing, pin the lining to the wig along the raw edge and stitch all the way around leaving a 2 inch gap at the nape area for turning.
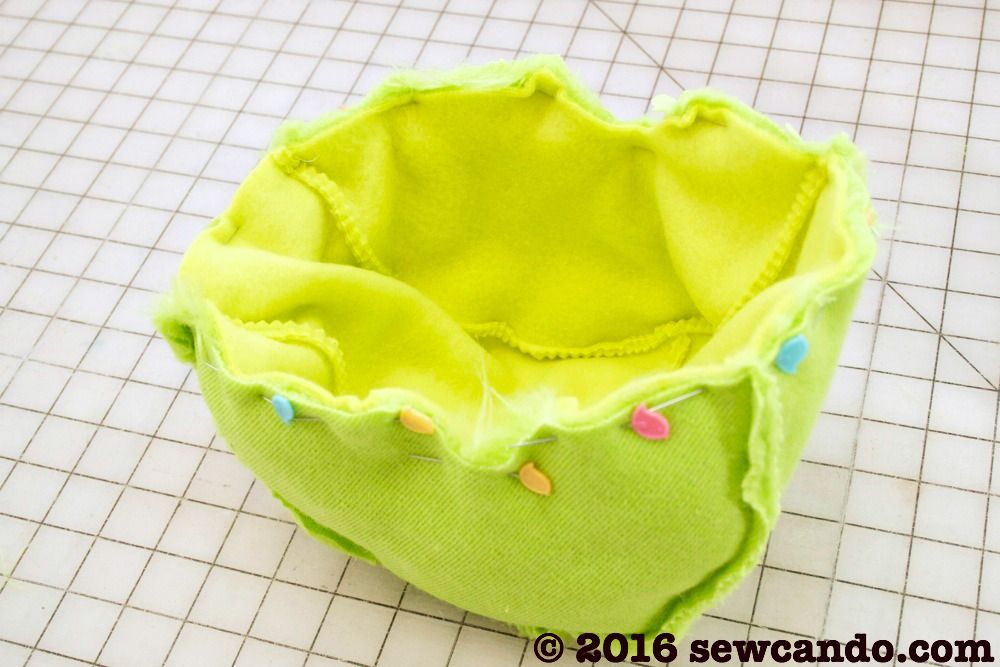
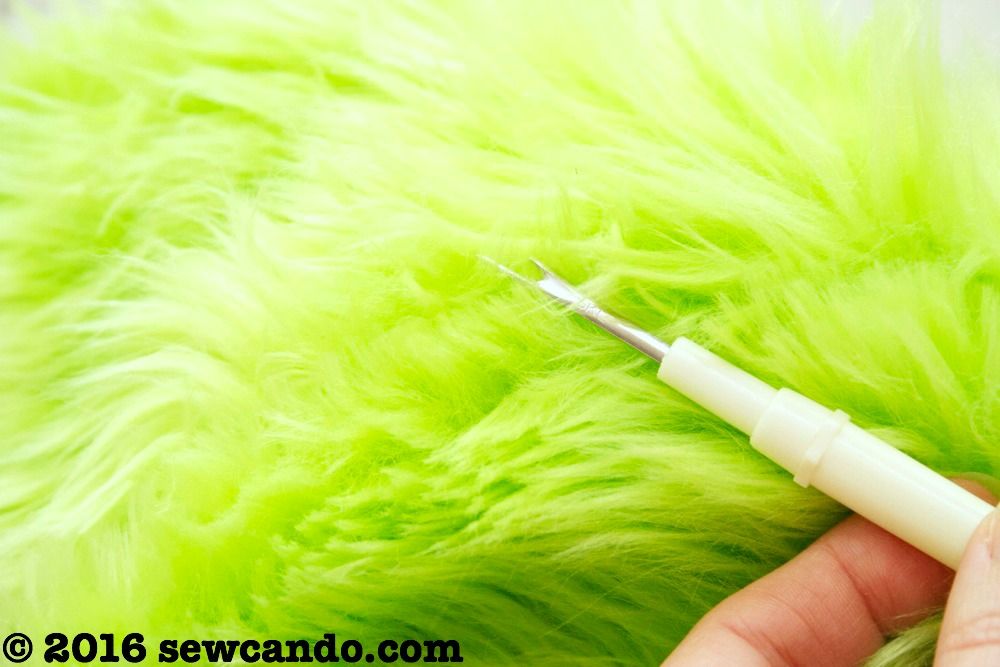
I trimmed down the seam allowance with a pair of pinking shears (or you could just clip into the curved areas, minding not to clip through your stitching). I pulled everything right side out and then smoothed the lining into the outer and hand stitched the gap closed using a slip stitch:
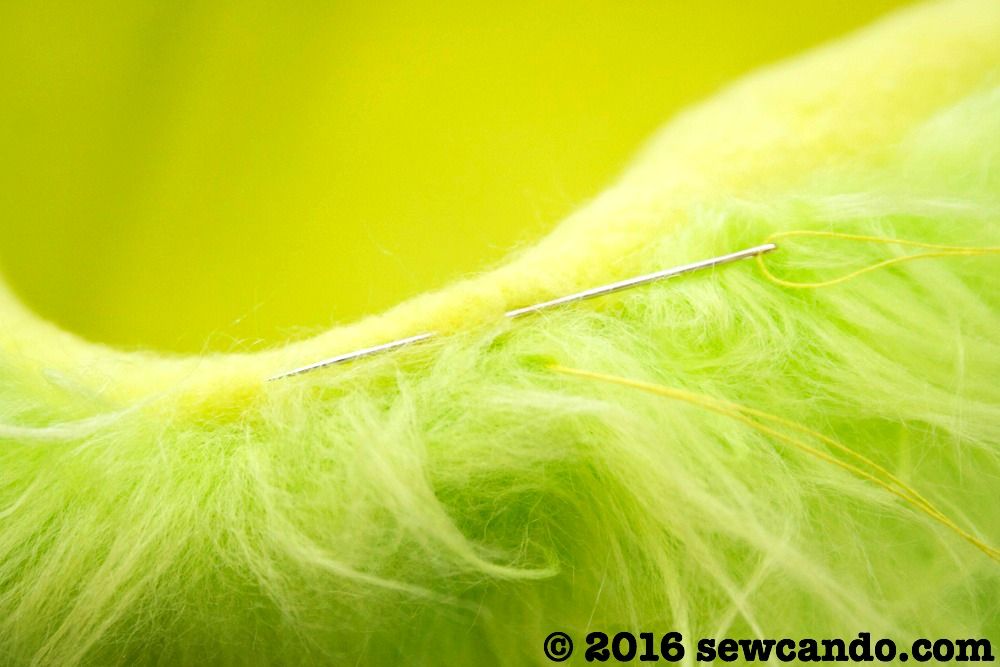
To make sure no longer bits of fur are caught in the seams, I gently pull any trapped strands out with a seam ripper. This guarantees no one will see any seams:
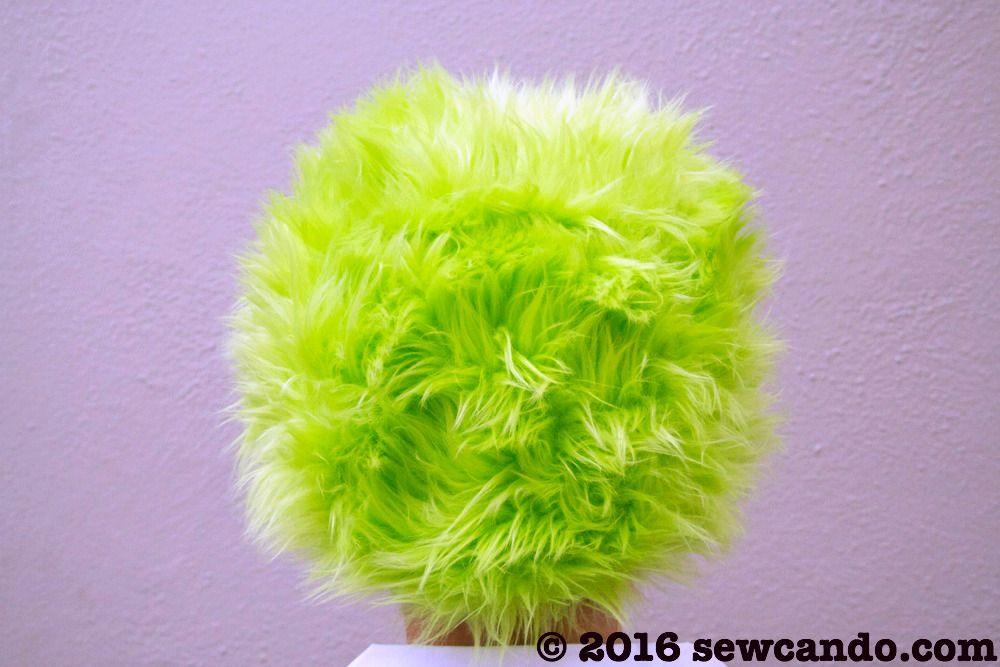
Now we've got an awesome wig that's a perfect fit, is comfortable to wear, and can be reused over & over for playtime or other costumes down the road, unlike a matted plastic party wig.
Add in a lab coat, some safety goggles, gloves and a few scientific accessories to it and a kooky mad scientist costume is good to go!

A super fun costume, Cheryl. I've featured your faux wig tutorial today.
ReplyDeleteThanks Pam - it's very appreciated!
DeleteThat's brilliant! My son was a mad scientist for halloween once, in fact I shared a post of all our last minute ideas from the past just last week. He has pretty mad hair anyway so I didn't even have to make a wig but I'm pinning this in case I ever need to know how!
ReplyDeleteIt'll work for normal looking hair too by using the fur with the nap going down. Lots of options!
DeleteThanks so much! I'm going to use your pattern to create a Donald Trump wig. Hehe
ReplyDeleteI LOVE this idea! I had a feeling this wig how-to would have lots of applications:) Please show it when you do, I'd really like to see it.
DeleteOh my goodness, I LOVE this! And the way you used plastic wrap to create a custom-fit pattern is total genius. Pinned! I'm sure I'll be needing this in the future! :) Lisa
ReplyDeleteI've got to hand it to Tiny Eclectic Studio for the cling film part, but I'm glad I was able to expand on it for real life people!
DeleteAmazing idea, thanks for sharing!!!
ReplyDeleteI like using a nut pick to work out the seam threads. Never a cut by mistake!
ReplyDeleteThat's a great tip!
Delete