Showing posts with label faux fur. Show all posts

Friday, November 3, 2017

Making a Viking costume + a little fuzzy wolf too


I know Halloween's over, but since the weather didn't cooperate much and having all the costumes done was an 11th hour affair, I've only just gotten the last of our photos taken. After all the work this year's costumes took, I definitely wanted a photo record of what the final results were!

Today's costume was one for my teenage son.  This was probably his last year trick or treating so we wanted to make it a good one.  It's also harder to come up with costume ideas that are cool for the bigger kids.  He suggested a Viking, which was fierce and not "babyish", but still fun.


My husband's foam-smithing skills came in handy on this one.  He'd recently finished the horned helmet as a hobby project so we had that ready to go.  It's hard to believe the entire thing is made from sculpted flat foam floor mats, but it is!


He worked with our son to come up with a matching foam shield for it.  I was impressed that my 15yr old cut all the circles (there were 3 layers) using a band saw and then dad did the texturing and painting to give it a faux metal & wood feel:


My main contribution was coming up with a faux fur pelt cape to complete the look.  I didn't have time to get all precise with the pattern so I measured how long it should be from neck to waist and the width to go across his back and around the front and cut a sort of curved trapezoid piece, using a jacket as a rough shape to trace to get the neckline curved right.  I was rushing to get it done so there wasn't even time to take pics in progress.


I used some tan sweatshirt fabric I had in my stash to sew the lining.  I stitched them together right sides facing and the hand stitched the gap for turning it right side out closed. Having the fabric inside made it soft & warm:


I was too busy trying to figure out how to draft up kid #2's Darkwing Duck blazer to sew a vest/shirt/anything else, so my guy & his dad hit the local Goodwill and found this perfect sherpa vest:


My son had the idea for making a sew-on leatherette clasp to keep his cape on (and cover the modern zipper), so he cut it out and I hand-stitched it in place for him using some more handy brass buttons from my grandma's stash.  These had the perfect Viking vibe:


The boots were my husband's idea.  He bought a cheap pair of wellington rubber boots and we cut some fur pieces to cover the foot and calf portions.  They were glued on with a strong rubber cement.  Since we were careful to cut the fur to stay shaggy around the edges, it hid the seams nicely:


And my last costume this year was a cozy wolf for our little lady.  She'd gotten some wolf paw gloves last year and was determined to have a full ensemble for Halloween.  I did a quick job on hers since I had a grey fleece shirt I'd made for her brother's costume last year.


I used a pajama pants pattern to make matching bottoms and whipped up one of my classic fleece wolf hats just for her.  It had been a while since I'd made them - they used to keep me very busy this time of year when I made them for my shop.  Thankfully I just needed to do one this time!


I also made a little plush tail to go on the back of her outfit and the costume was complete.  My perfectionist self normally would've done a full body costume with more details, but with limited time and knowing I already had part of it ready at the get-go, it seemed a waste of time & materials to just start at zero to fulfill my own crafting ego.  


Truthfully speaking, this year's costume-making was more chore than enjoyment since there wasn't much time to work on them beforehand.  Next year the kids will either need to do more of the DIY-ing or pick things that are more basic to make since I'll have a 4th costume to do for our little pumpkin on the way.  Time will be spread even thinner!



Wednesday, January 18, 2017

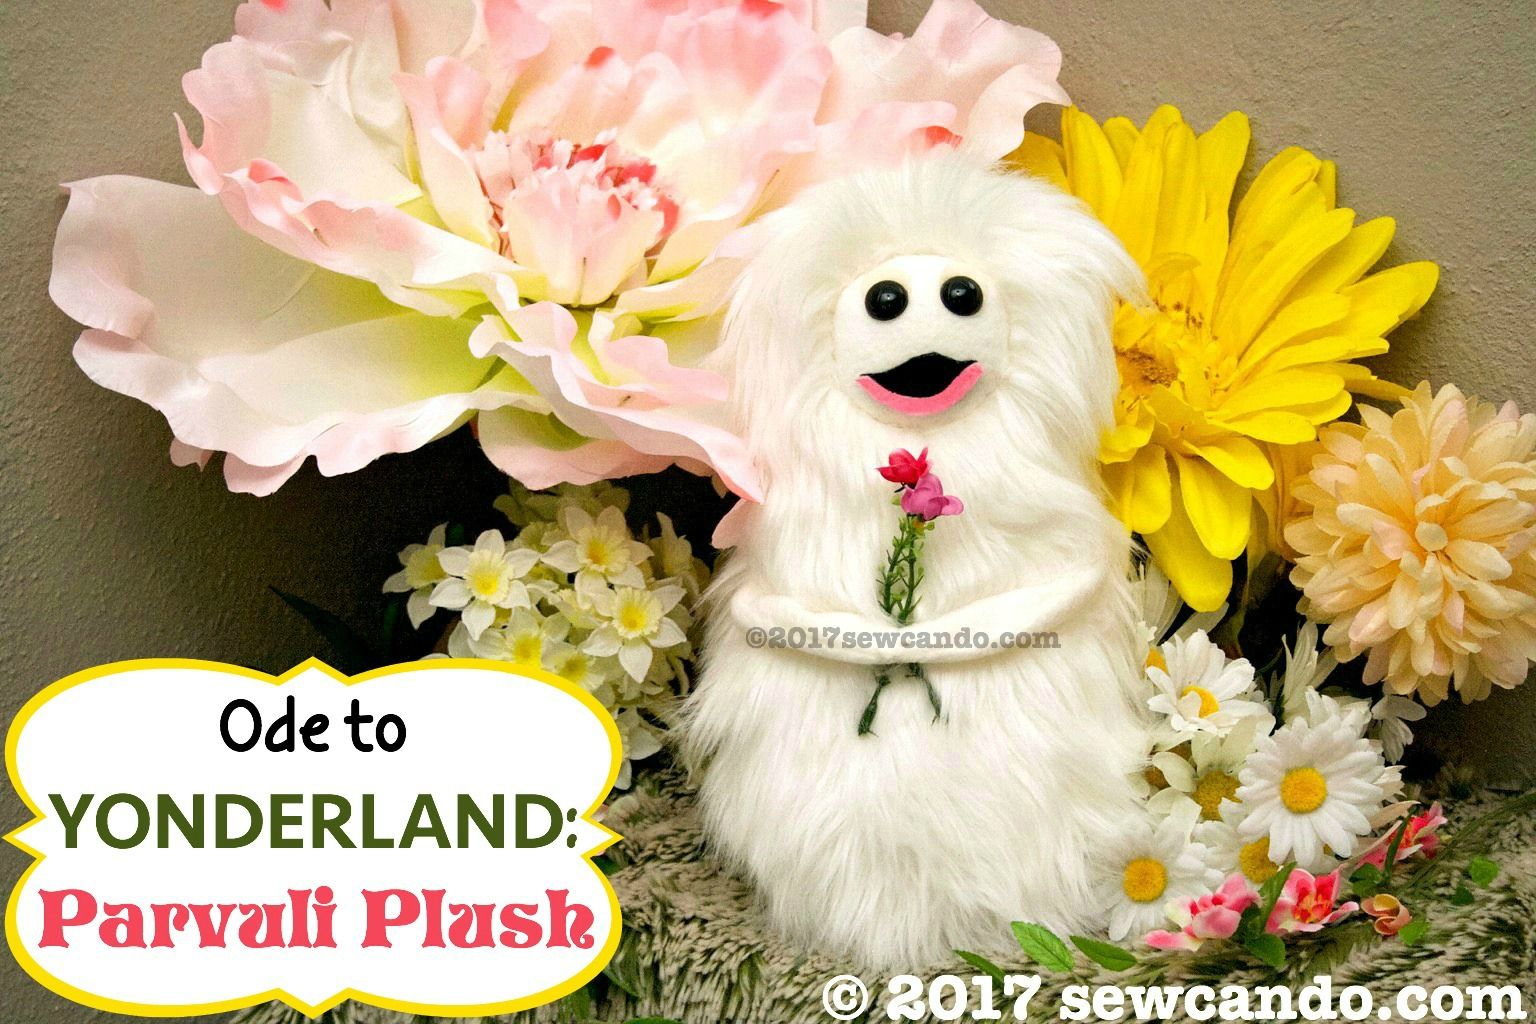
Yonderland Love: Our Parvuli Plush Toy


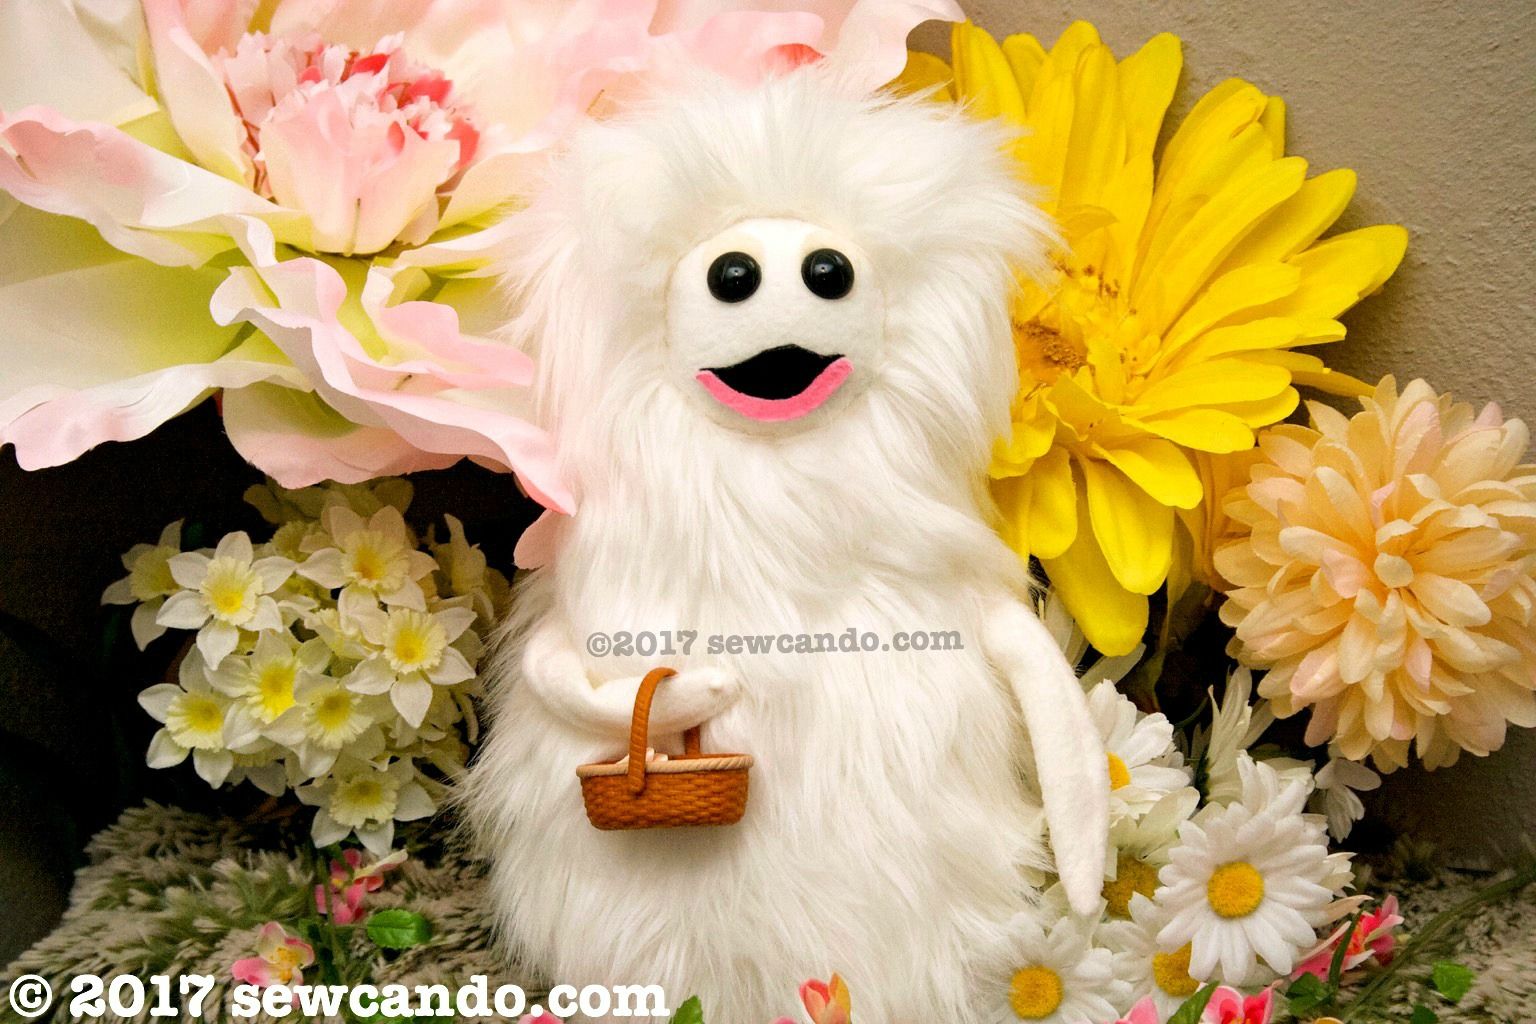
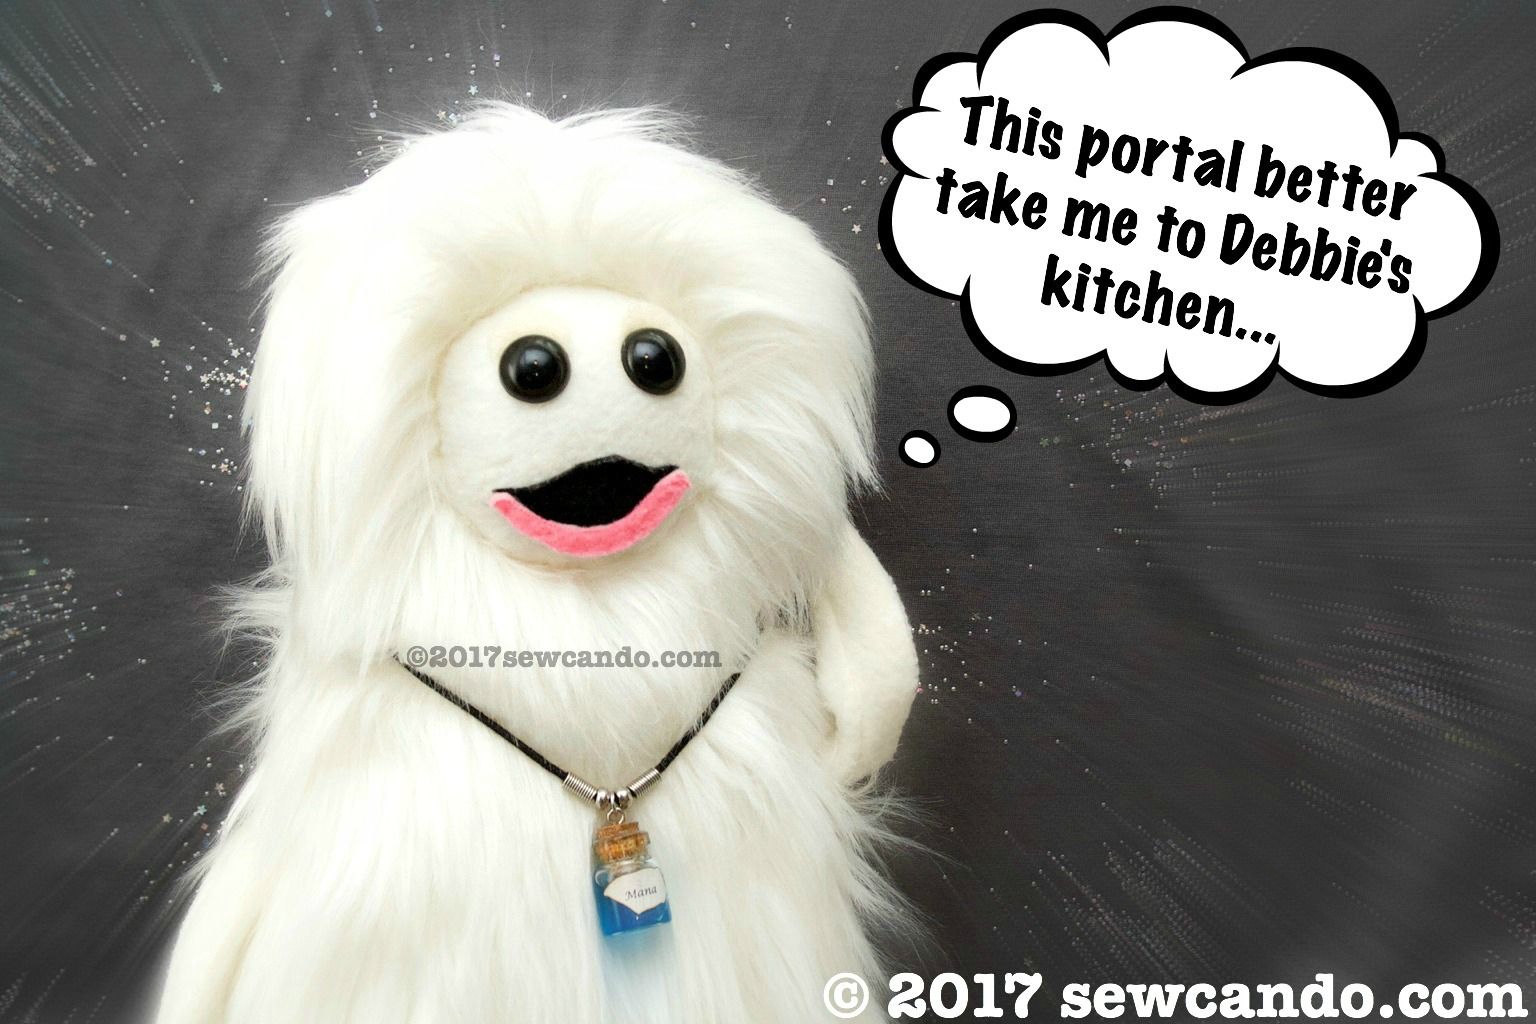
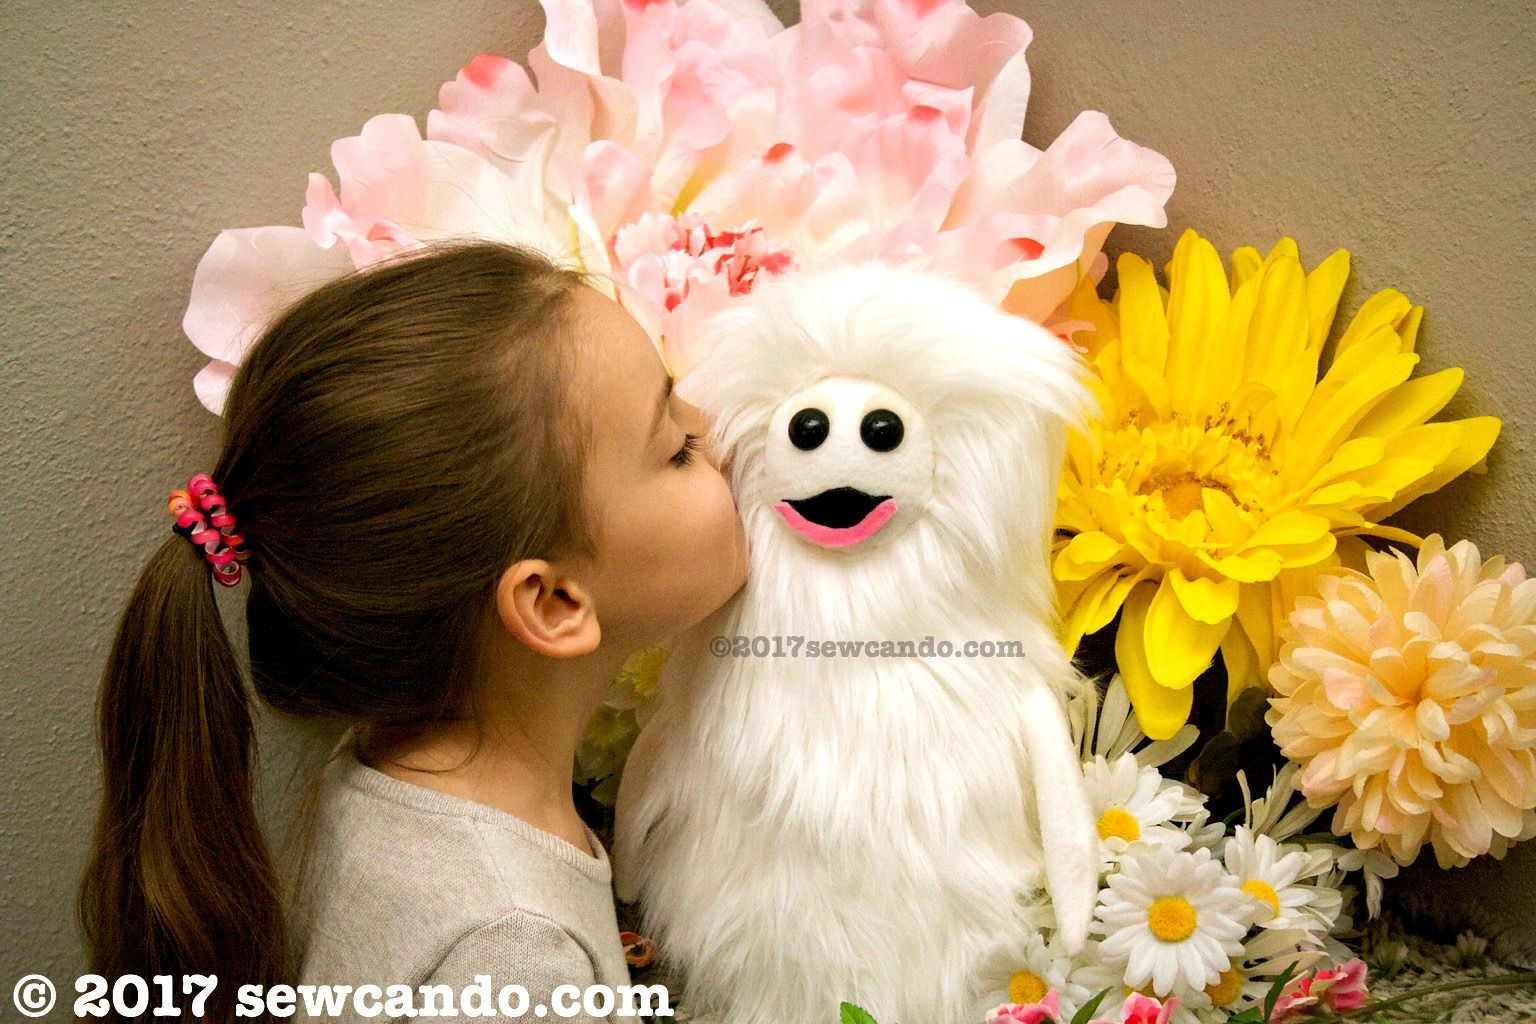
Amongst my DIY toy creations for this past Christmas was this fluffy little friend.  Honestly, it's hands down been my favorite plush to make to date: one of the Parvuli from Yonderland.


If you're not familiar with Yonderland, and you like awesome things, you need to discover it it asap.  It's a fantasy themed tv series from the UK that features fun characters, an alternative world and puppets.  It's considered a family show, so it's amusing & clever for adults and still entertaining for kids.  And no this isn't a paid/sponsored post to pimp it to you (although I'd totally jump at the chance to work with the peeps from Yonderland).  My kids LOVE it, as do my husband and I.  Santa brought them the new series 3 on dvd, so it seemed only fitting that I'd would make something inspired by  the show to go with it.  Of course I had all the supplies on hand, because I'm completely ridiculous craft gear hoarder. These adorable, furry creatures with the syrupy voices and high pitched songs seemed the ideal choice and a great way to use some of my massive plastic eye & faux fur collection. 


Now, if I want to get technical, I suppose I should call this little guy a Parvulus since Parvuli is plural and I've only made one so far (it means children in Latin btw).  My 11 yr old is learning Latin since he's crazy about ancient history, so we should probably be accurate from an educational standpoint, but I'm going to keep referring to it with the group name everyone knows here, so the grammar police can arrest me after this post.

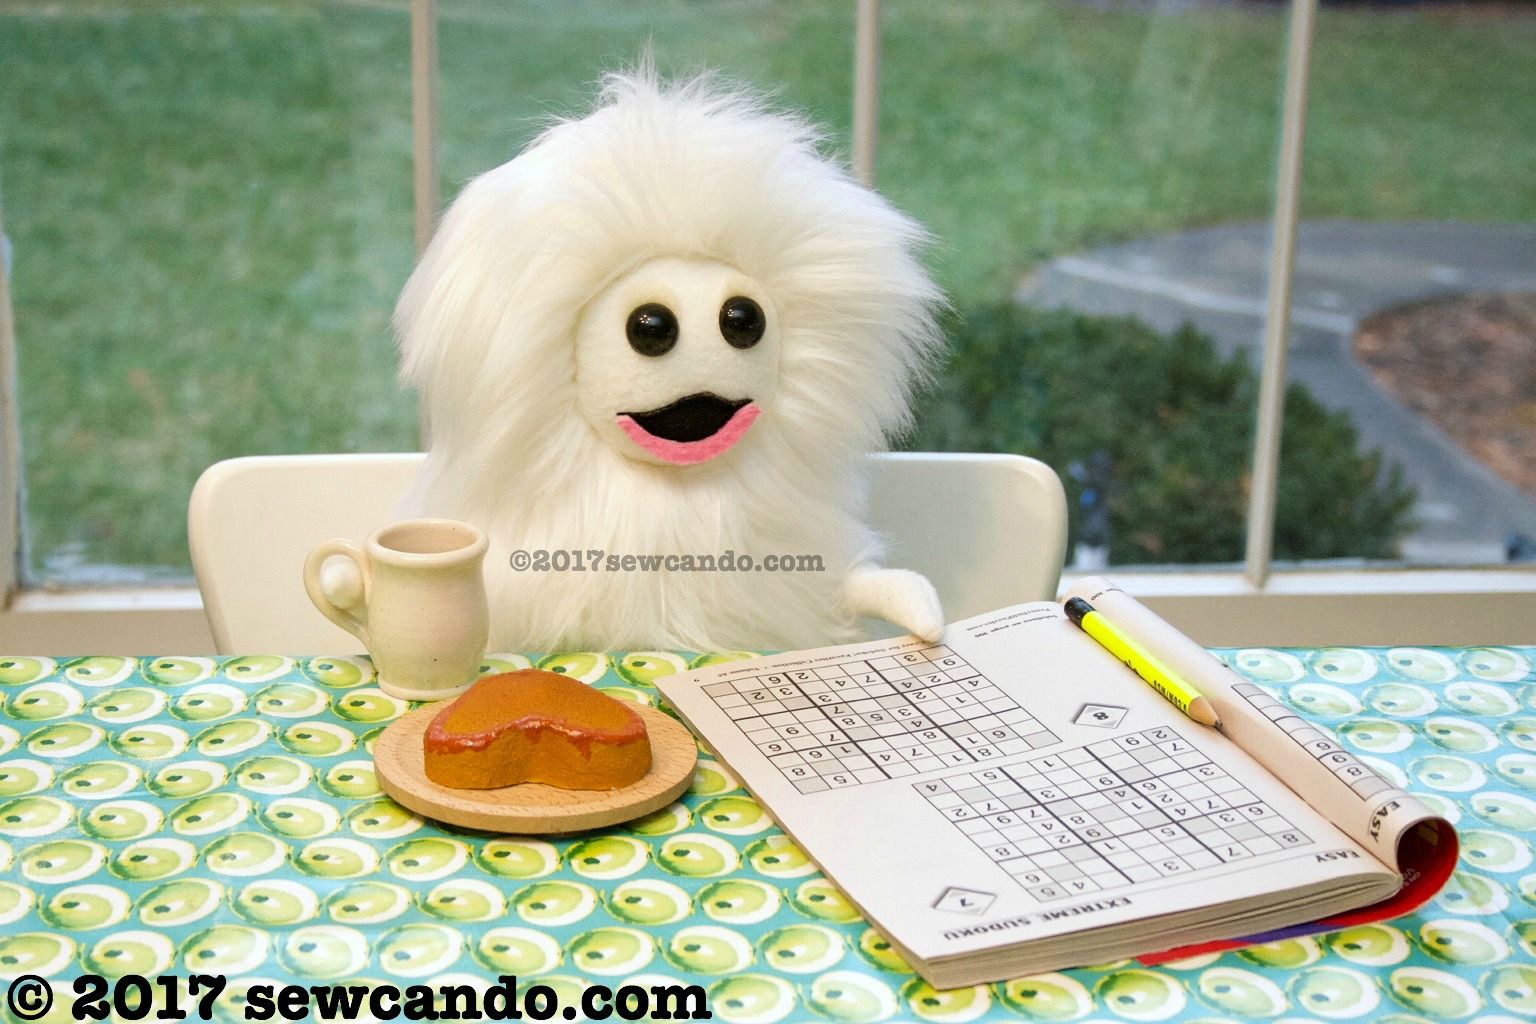
I can't tell who's having more fun with him - me or the kids.  The amusing vignette options are infinite.  It's like having a bit of the show in my house, which feels surreal.  Parvuli hobbies include chillin' in the kitchen with some cake and a Sudoku:


Singing while looking cute, just like in the show:


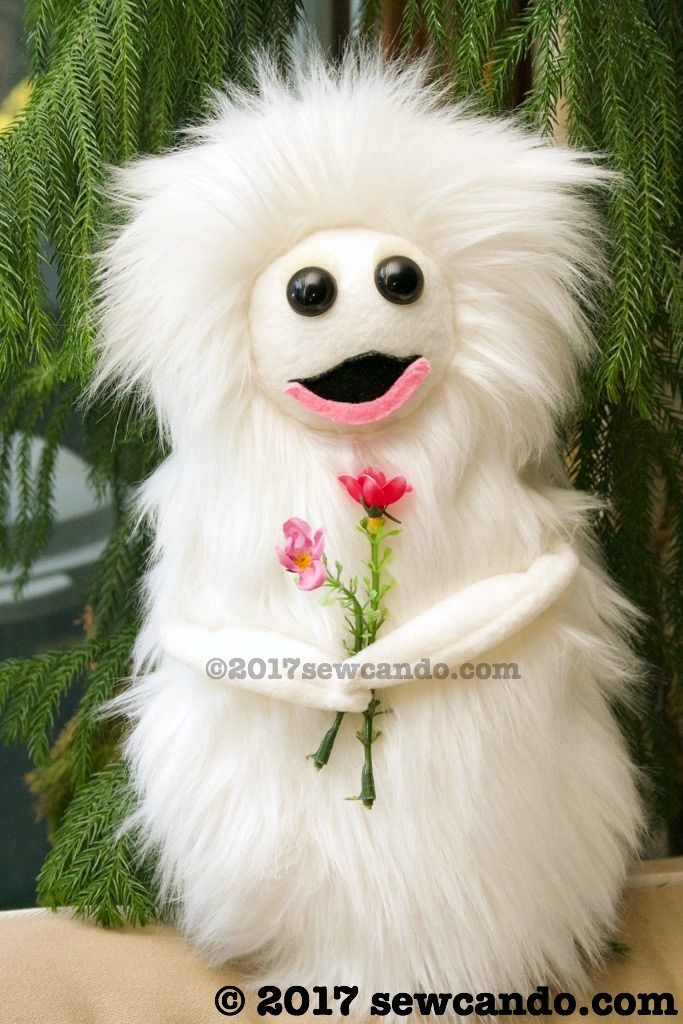
and dreaming about "The Chosen One" aka Debbie:


I made him with faux fur, fleece, felt and polyfil, so he's as close to the real deal as I could get DIY'ing and is still durable enough for the kids while playing. Of course, I literally waited until 4 days before Christmas to even think about how draft my pattern and figure out how to put it together, but within 48hrs I had him totally done.  It's weird, but I almost can't believe I made him, it's as if he just popped out of a cupboard rather than me sewing him together. Maybe some Yonderland magic was involved, who knows?  

Before anyone asks, I don't/won't make these to sell.  Sorry:(  I was asked this A LOT when I did my handmade BoxTroll plush, as that was another great screen story that had no real merchandise, so searches brought lots of people here.  The positive feedback is great and always appreciated.  I don't ever want to sound rude about it, because it's crazy flattering when someone offers to buy what I've made.  I'm just trying to being proactive on this one to cut down time spent on individual replies.  I feel sad & a little guilty saying no to fellow fans, but there's a good reason. 


Why say no?  The Yonderland crew owns the rights to their creations.  While I'm a big fan and loved making this creature for my own kiddies, it wouldn't be cool to make money off the show's name & character concept without their permission.  I'm not doing a Parvuli-specific tutorial for the same reason.  I don't want people to start selling them using my design.  I had enough trouble with a jerk Chinese company stealing my BoxTroll photos to try to scam "sell" their products, so I'm trying to keep that kind of drama to a minimum, but still be able to share projects I loved making here.  Hence my copyright all over the place in my photos even though I hate how that looks.   


With that being said, let's get back to the cuteness, shall we?  Amusingly, I made this guy for my 14yr old (so getting a plush toy present wouldn't be babyish, but cool thanks to the awesome show), but in true Negatus (the show's semi-villain), I-takes-what-I-want-style, my 7yr old daughter promptly snatched him for herself and literally won't let him go.  Between that and the plural grammar issue, I feel like I need to make more now.  And figure out how to make some other characters.  The in-house pretending options would be unlimited!      


Tuesday, November 22, 2016

Warm for Winter: Faux Fur Lined Muff Tutorial


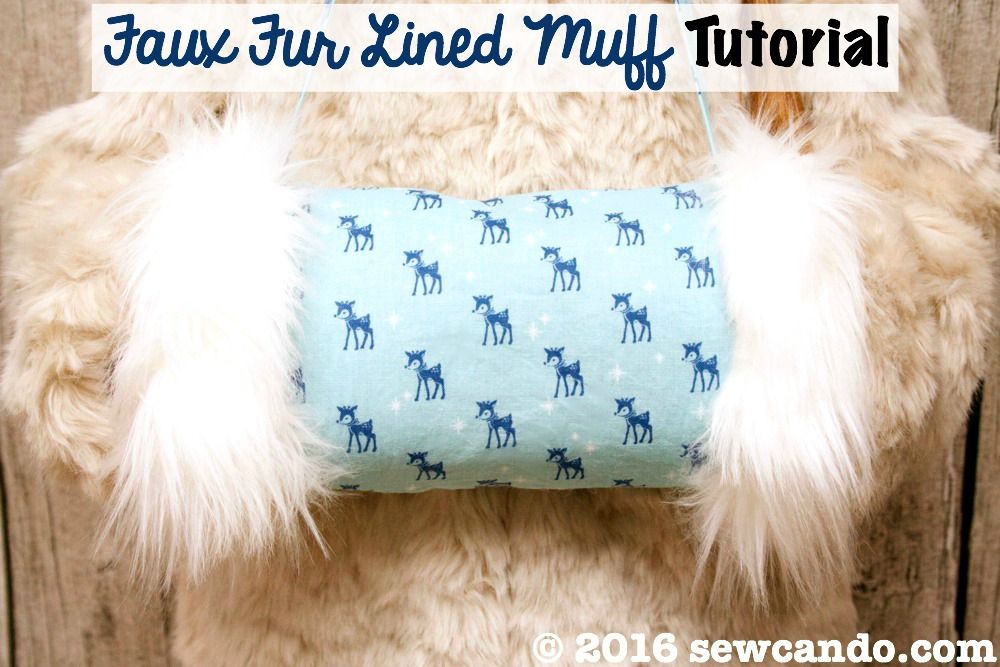
With chilly weather upon us, what better way to stay warm, than with a classic look from the winters of past eras: A Faux Fur Lined Muff!

Muffs are such a nice, warm and toasty alternative to mittens.


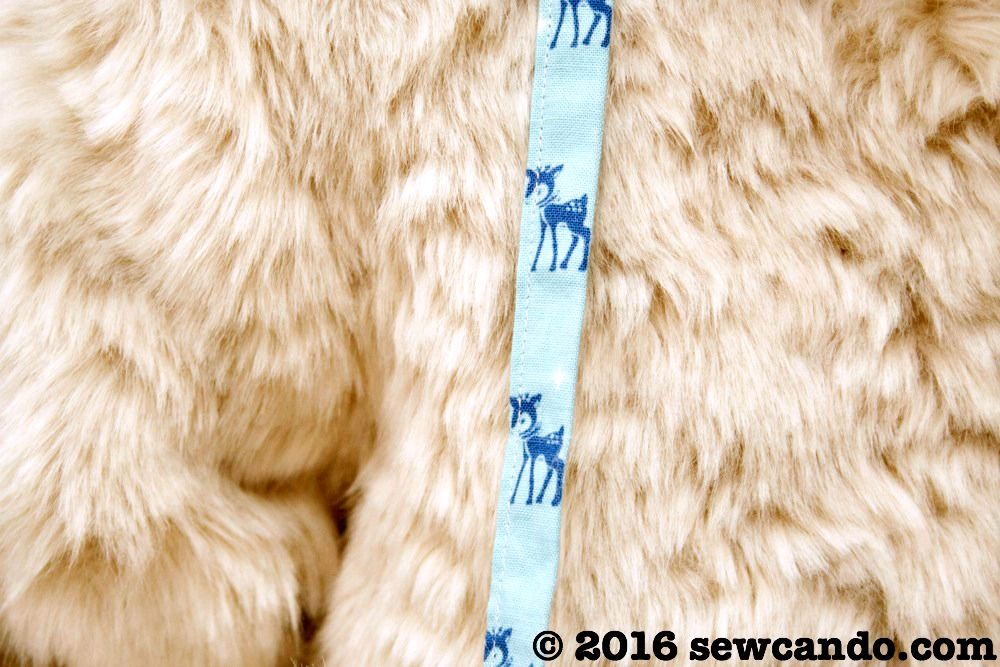
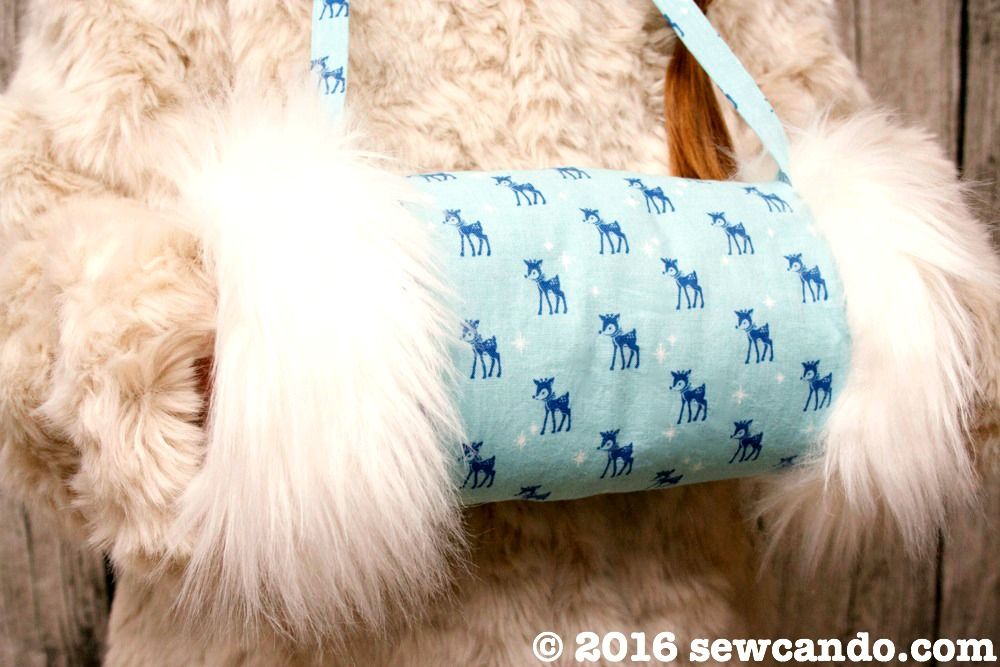
Added bonus - they're a lot harder to lose than gloves or mittens thanks to being a single piece and having a handy neck strap (which is a way to show off even more of the little deer print cuteness too):


I used some cute reindeer print cotton for my decorative outer fabric and ultra soft faux fur to coordinate.  The cuddly faux fur not only looks pretty trimming up the ends, but it continues its coziness inside as a full lining.  There's also a insulated batting interior between them that means the muff isn't just for looks.  It keeps hands as warm as thick gloves, only now with a retro feminine style:  


The nice thing about this wearable is it doesn't require a lot of fabric either, so there's plenty to use on other winter projects like stockings, gift bags or quilts.  A big thanks to Kawaii Fabric for providing me with the cotton reindeer Christmas fabric.  They have loads of high quality festive prints over there, so whether you like classic, retro, rustic, modern or kawaii (aka cute), they'll have the holiday season fabric you want!    


~~How To Make A Fur Lined Muff~~

Materials:
- Cotton fabric (I used Cozy Christmas Reindeer
- Faux Fur  (I used Luxury Shag in Ivory) 
- Insulated batting
- Ruler, rotary cutter/shears, pins, iron, hand sewing needle

Mine is child-sized at 9 inches in circumference and 11 inches wide when finished.  If you want adult sized, just add a few inches to the width and height. 

Cut the following pieces:

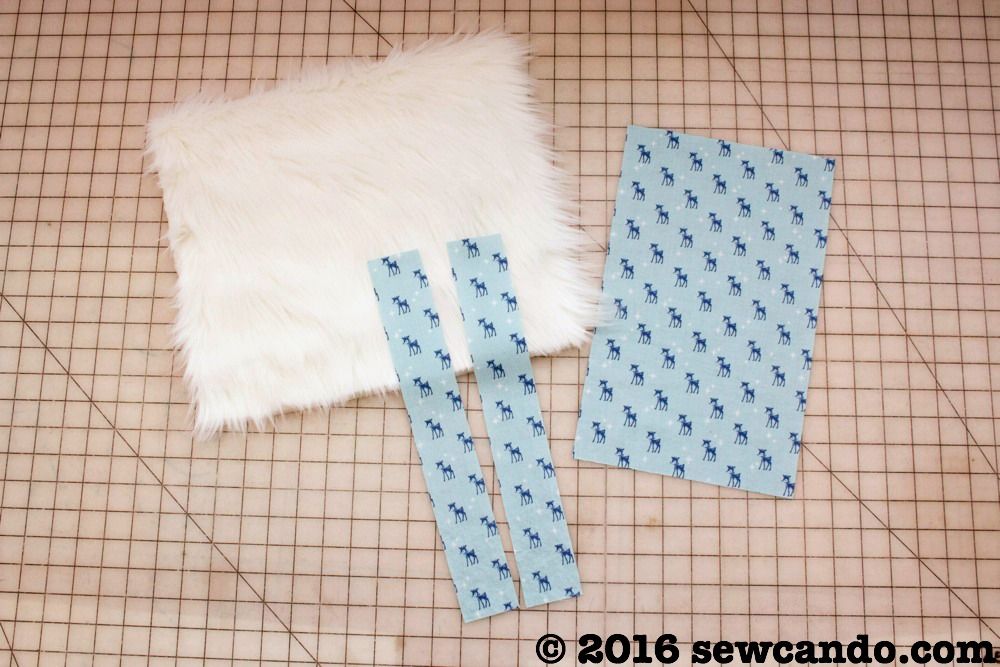
- From the cotton, cut a rectangle 8 inches wide by 13 inches high and two vertical strips that are 2 inches wide by 13 inches high.

- From the faux fur, cut a rectangle 14 inches wide by 13 inches high.


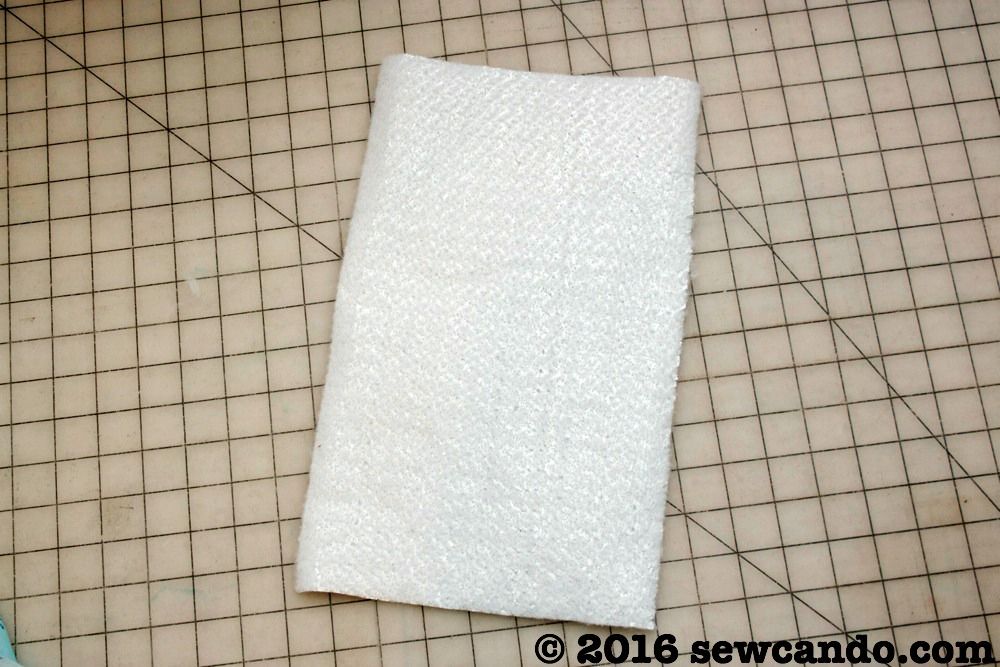
Cut a piece of insulated batting to the same dimensions as the outer fabric as well.  This is usually available in the stabilizer section.  It's polyester batting that is needle punched with mylar, which makes it great for retaining heat:


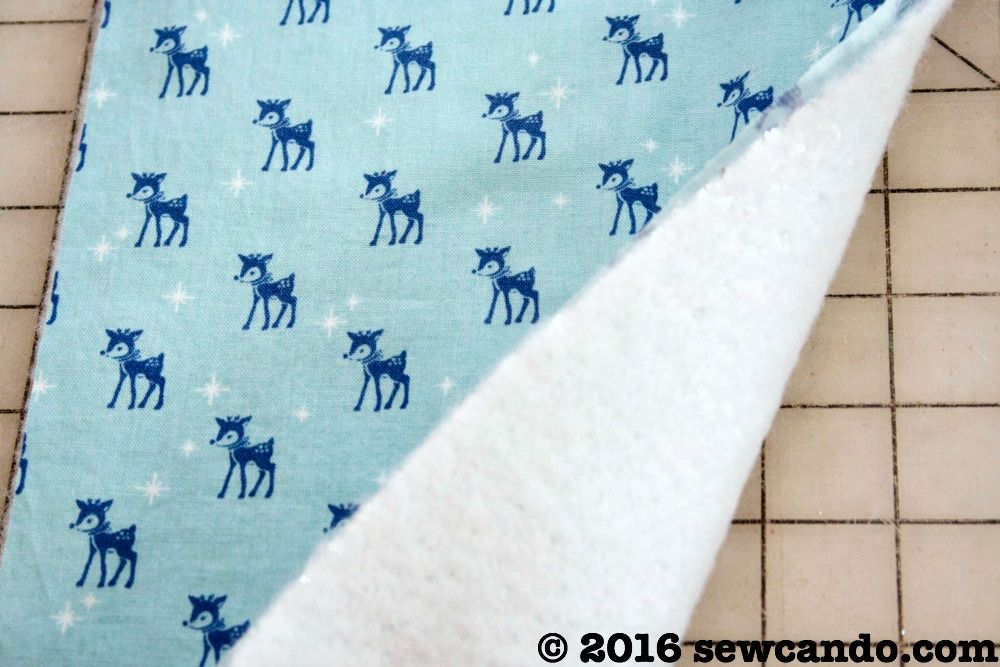
Place the insulated batting behind the wrong side of the outer fabric.  I find that the texture of the batting clings to cotton well enough not to need to baste them together:


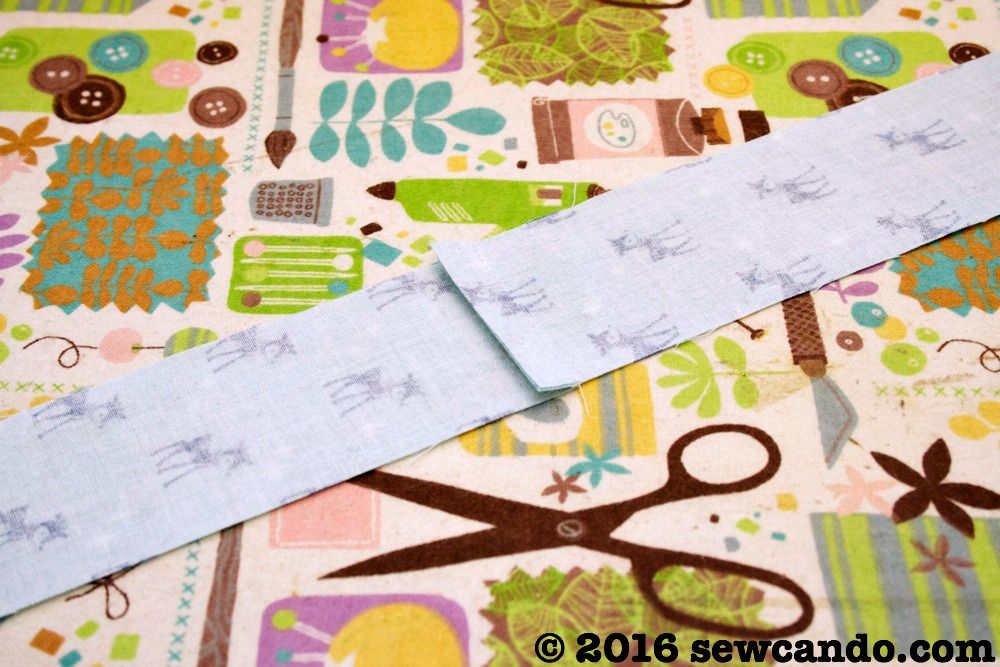
With right sides facing, stitch together one short end of each of the neck strap pieces with a 1/4 inch seam allowance.  I made sure to have the direction of the print going downward on both, so one side of the strap wouldn't look upside down when done:


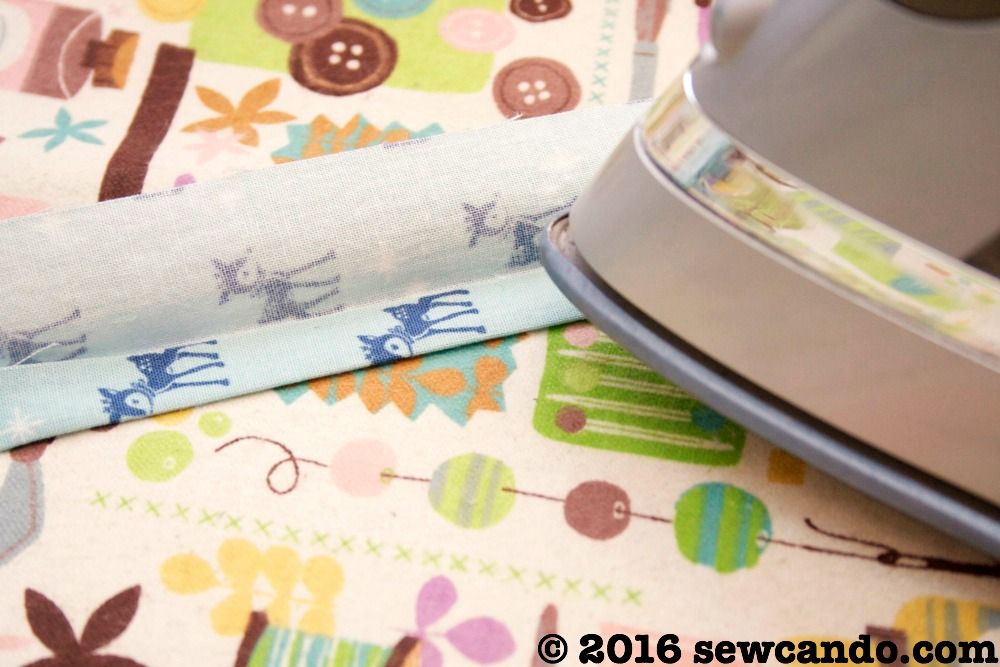
Fold the strap in half lengthwise, wrong sides facing, and press, then open and fold each raw edge inward and press (as you would make double fold bias tape):


Edge stitch down the open side to finish the neck strap:


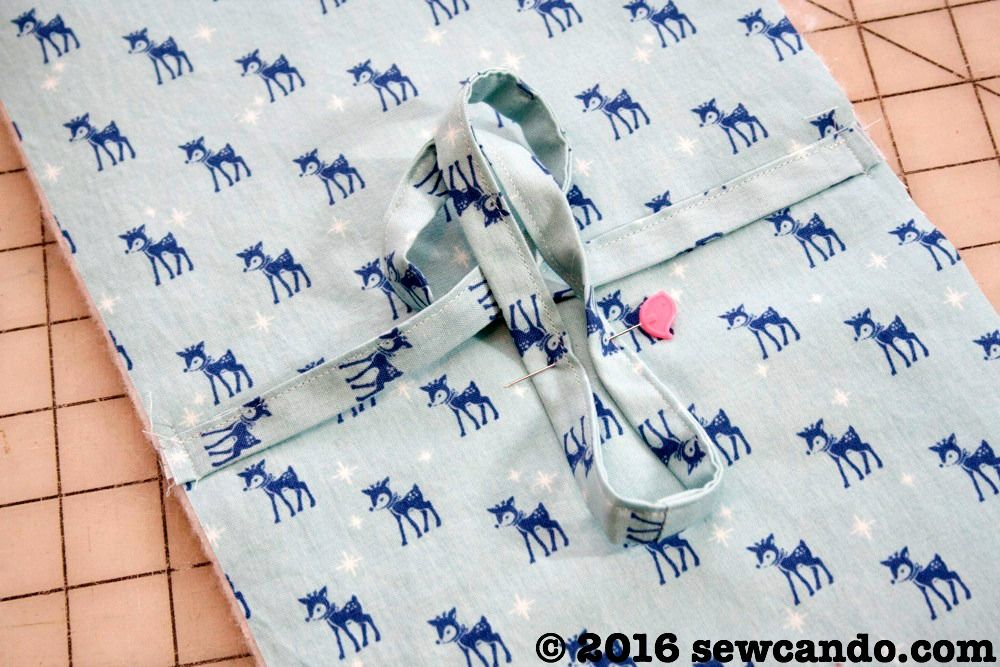
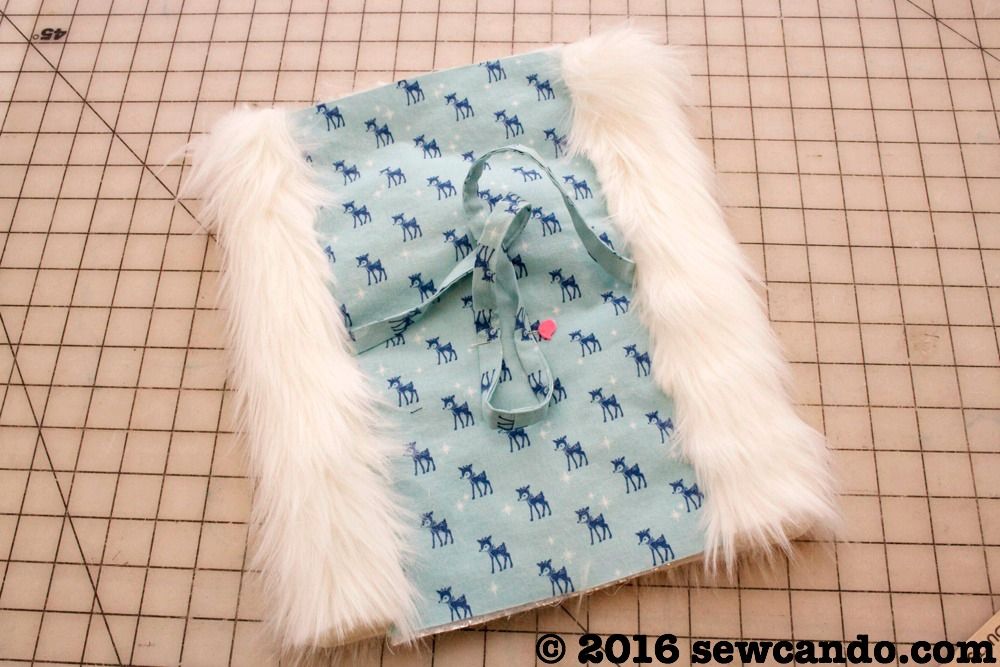
Find the midpoint of the fabric and baste the raw edges of the neck strap to either raw edge at the middle of either side:


With right sides facing (and fur nap direction going downward), clip, then stitch together the length sides of the outer fabric to the length sides of the faux fur, using a 1/2 inch seam allowance.


Now a long tube has been created:


This is what it will look like turned right side out:


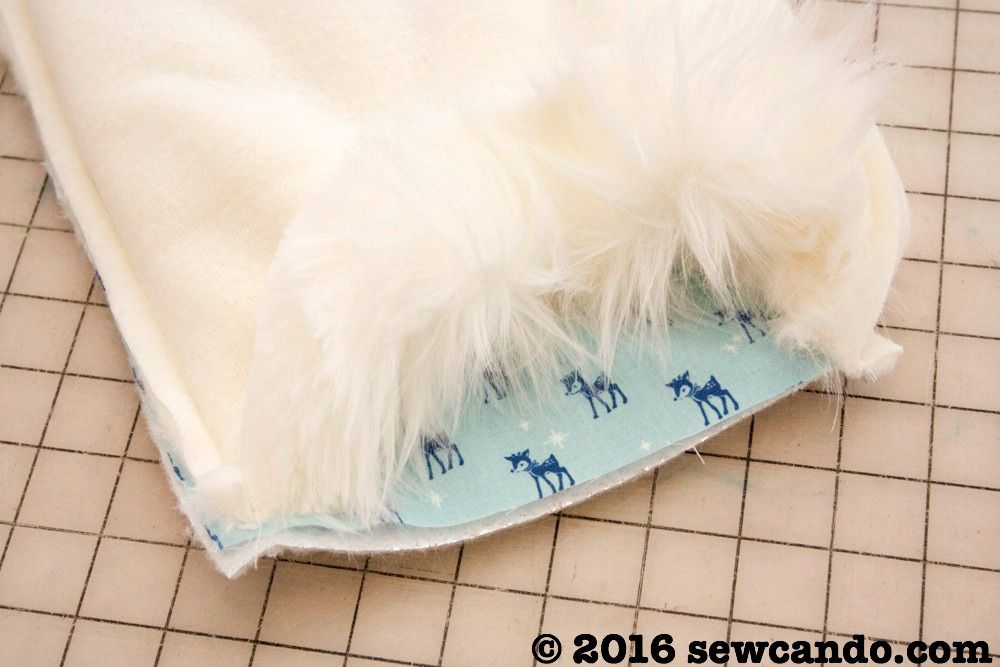
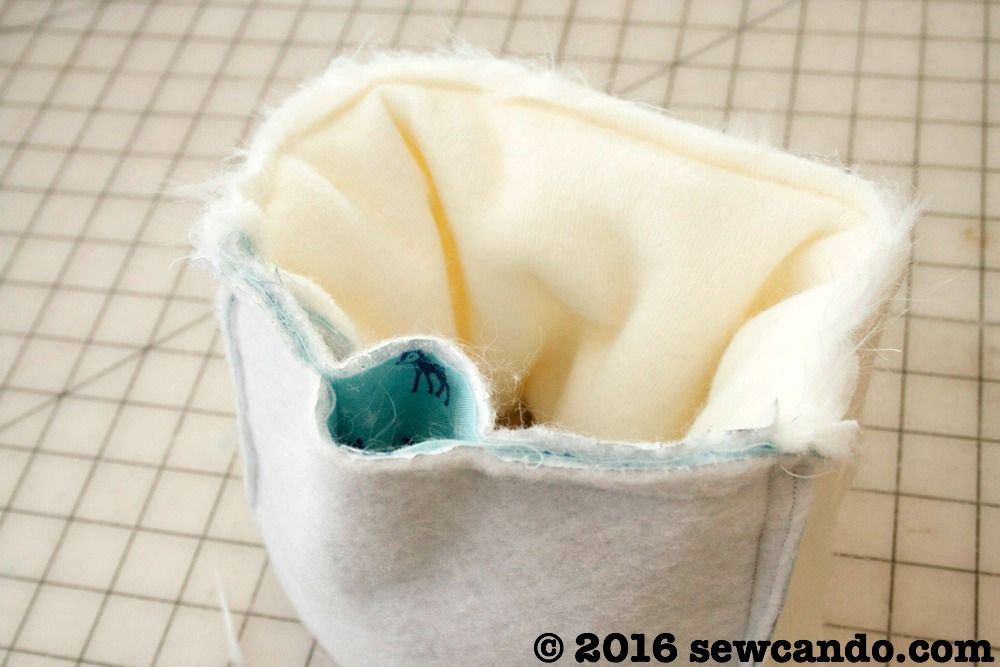
To do the seam turning into a cylinder: with the muff wrong side out, match up the raw edges of the faux fur and outer fabric and clip/pin together to form a short tube like this:


Stitch all the way around, but leave a several inch gap on the outer fabric bit for turning.  Turn right side out when done.


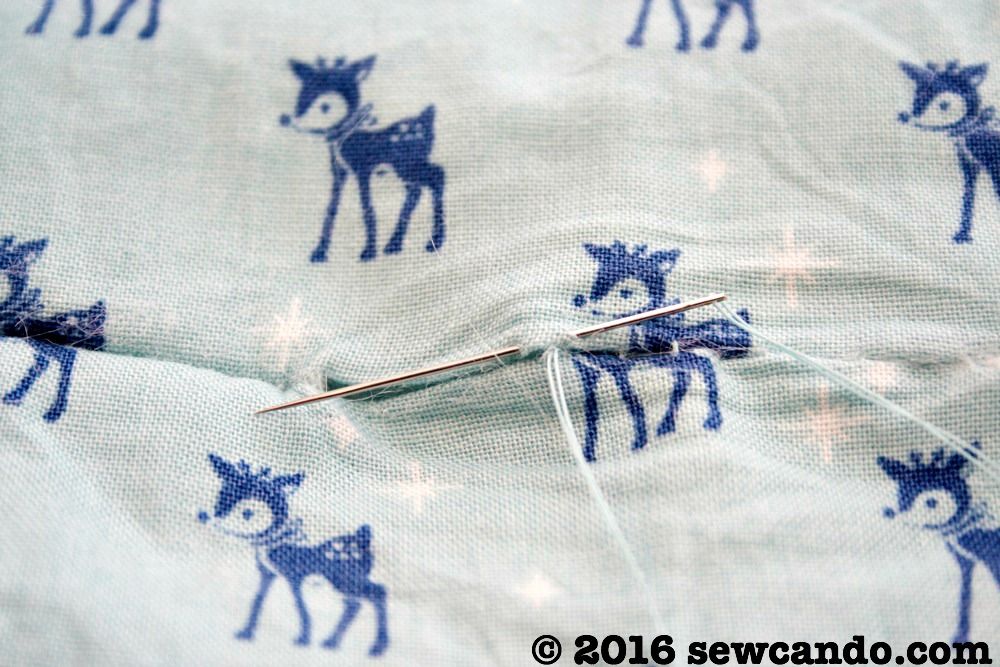
Then slipstitch the opening closed and the muff is done.


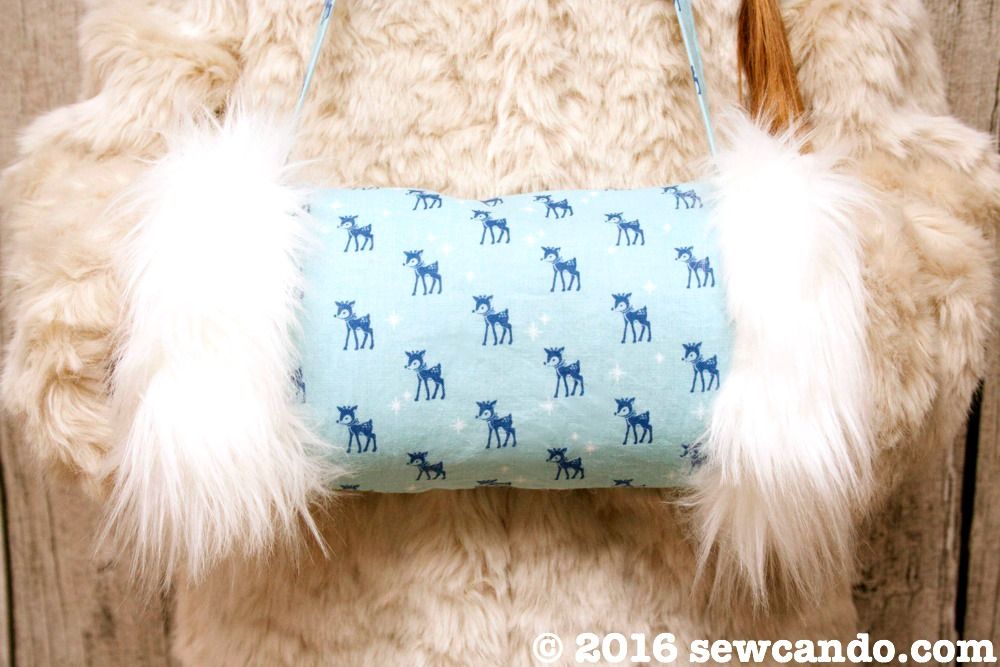
Now this cozy muff is ready to keep hands warm:


It's a perfect companion to the new Veruca Faux Fur coat I recently got for my little lady too. In case you're wondering, it's from Mini Boden's Charlie and The Chocolate Factory Roald Dahl collection.  We're huge fans, so it only seemed right to make a cute fur muff to go with it!


I was not financially compensated for this post.  I received fabric from Kawaii Fabric, to review & use as I desired.  The opinions are completely my own based on my experience.   For my complete disclosure policy, click here. 

Wednesday, October 19, 2016

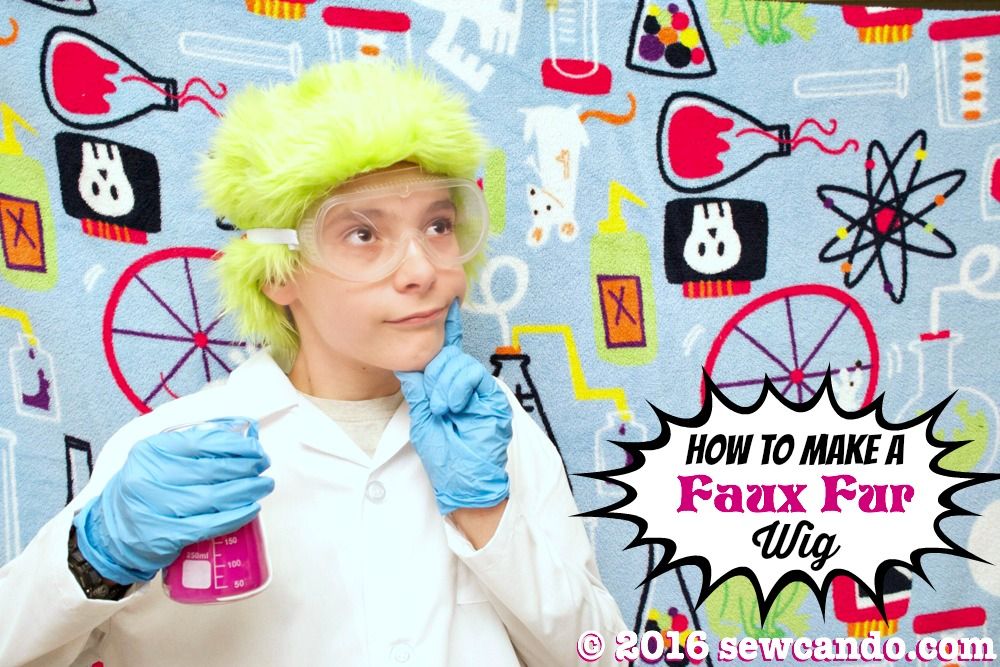
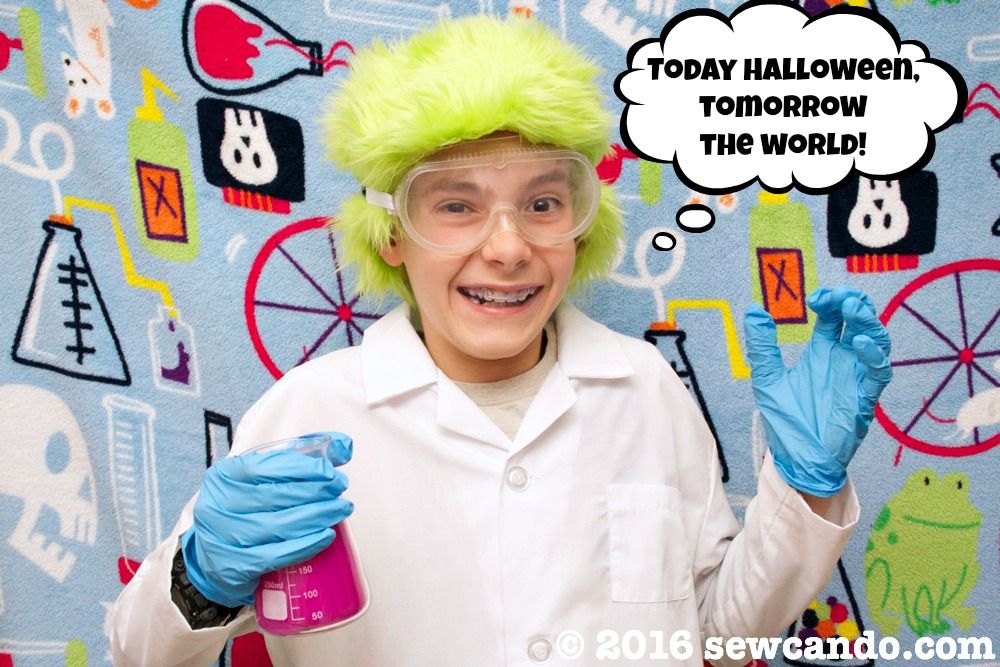
Faux Fur Custom Wig Tutorial & Easy DIY Mad Scientist Costume


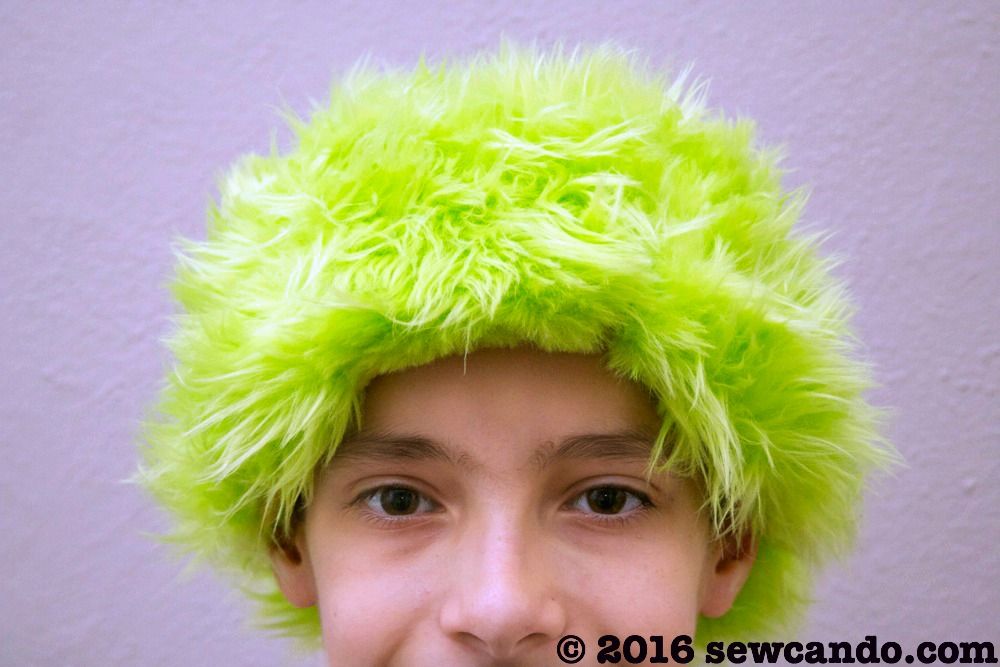
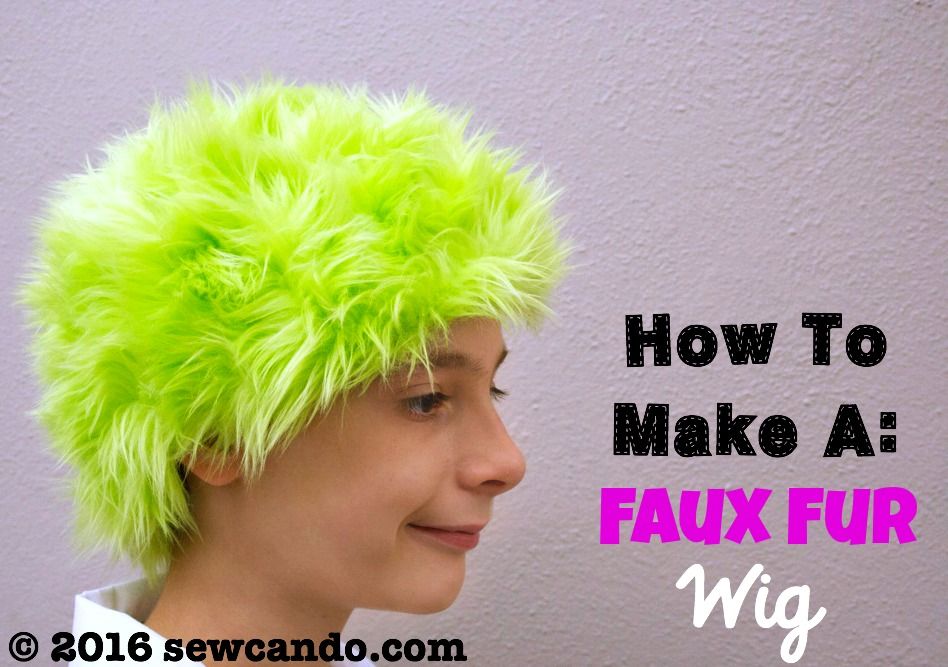
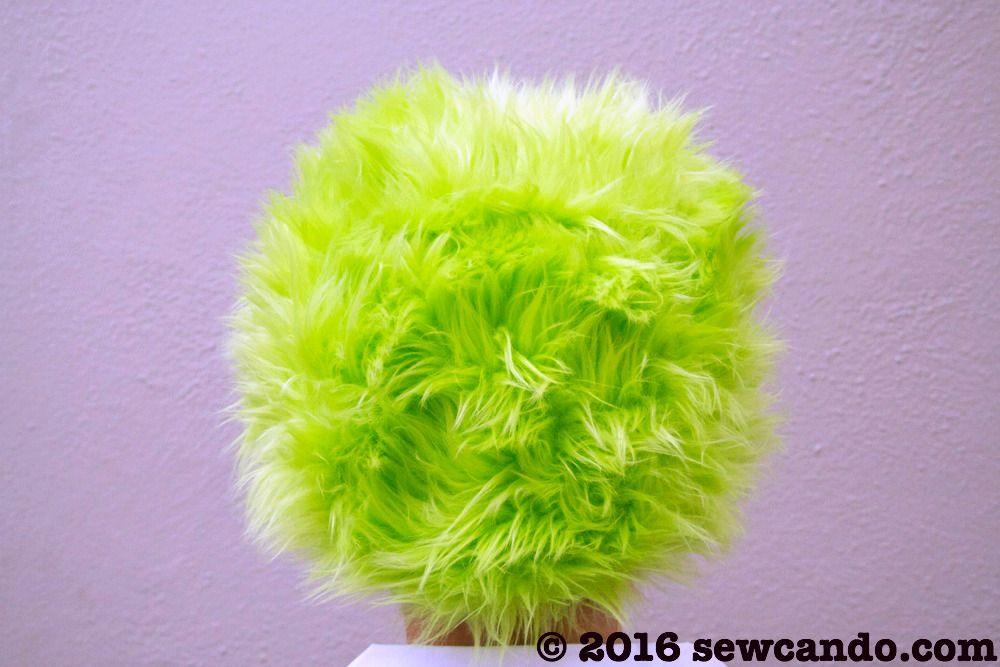
Today's how-to is one I'm really excited about.  It's one of those things I knew could be DIY'd despite never trying it before and the results were just as I hoped.  Check out my DIY Faux Fur Wig!


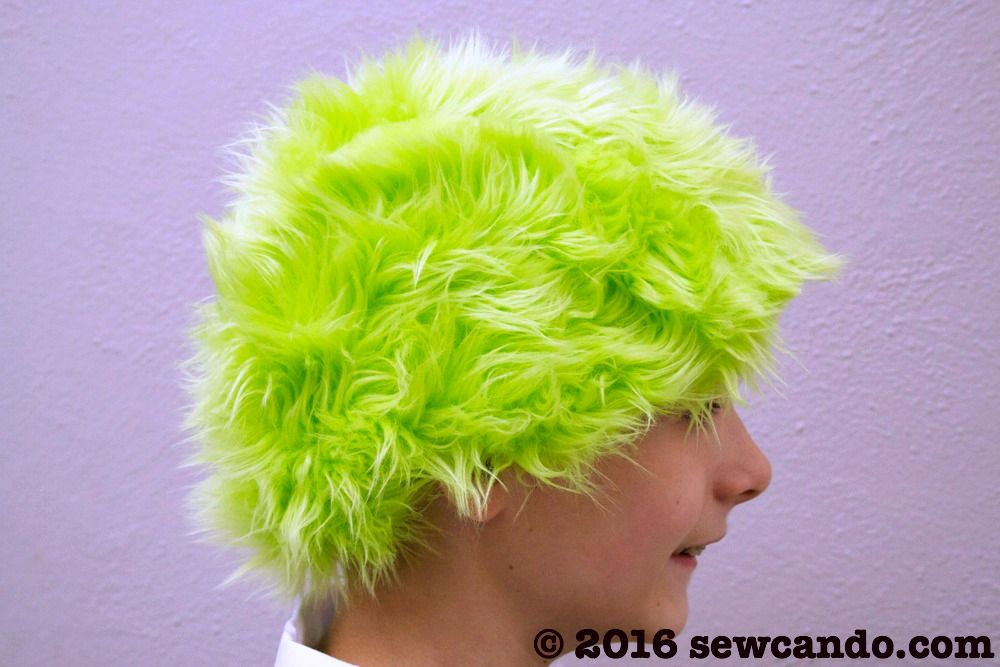
Why settle for those nasty cheap plastic wigs from the Halloween stores?  Those never look as good on as they do in the promotional photos and they tend to be uncomfortable & ill-fitting to boot.  Making your own with faux fur is actually pretty easy and looks so much more fun when done.  go for a variety of looks too by using different colors, textures and lengths of fur - or even changing direction, like I did, to give it a proper mad hairstyle:  


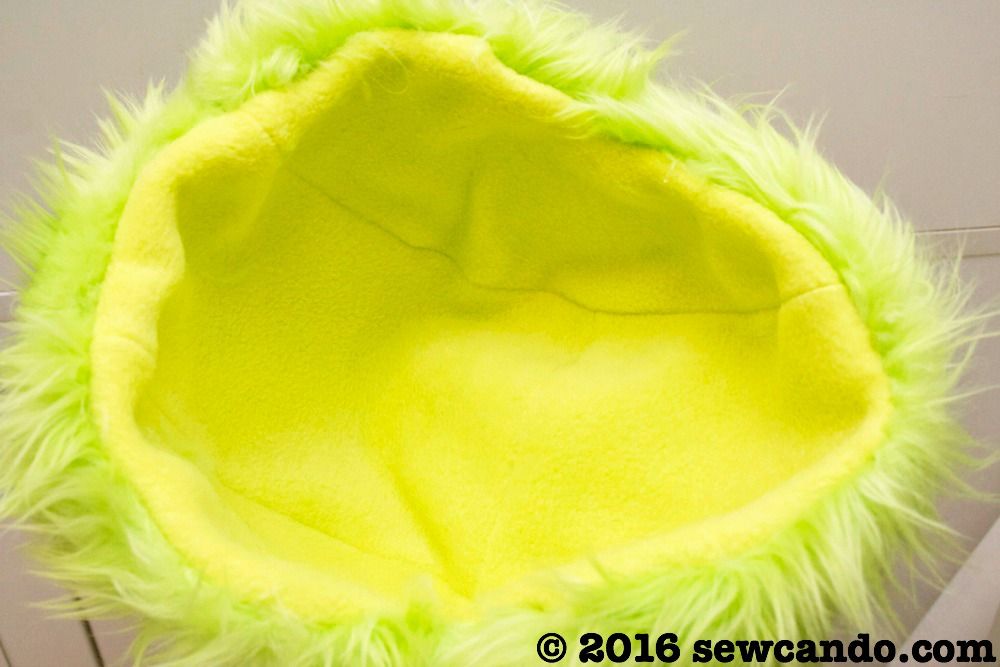
It's even got a comfy interior so no scratchy netting or weird plastic bits to make it hard to wear and it's customized size means it stays in place too:

  
My oldest decided to be a mad scientist for Halloween this year.  To be honest, after years of making complicated costumes for 3 kids, I was grateful I'd barely have to do anything for this one.  Buying a kid-sized lab coat was inexpensive (and way easier than making one), so the only other part of the costume was the requisite crazy scientist hair. The trouble was I couldn't see spending $ on a crappy synthetic wig that would get all matted and ruined after just a night's wear.

I had a bunch of this colorful faux fur in my stash from making my signature Monster Slippers for my shop (which is on hiatus due to all my time being focused on personal projects right now).  


The lime shade had the proper radioactive vibe to it. There just had to be a way to turn that fun, fluffy fur into a wig.  I know how to make a lot of fun hats, but I wanted a definite wig, not hat, look. My internet searches kept coming up empty.  How could no one have done it already?!?  50,000 infinity scarf tutorials, but not one fake fur into a wig how-to!  

Eventually, I found a genius custom doll wig tutorial using faux fur from Tiny Electic Studio. I thought the general concept could totally work for a real person head too, but needed a bit more done for the interior, since it wouldn't be glued on like a doll.  With some innovations, my human-sized Faux Fur Wig Tutorial came to life!


Now, let's get to making this wig!

Materials:
- Box of cling film
- Roll of packing tape
- 1/4yd faux fur fabric
- 1/4yd fleece fabric
- Permanent marker
- Shears, disappearing marker, hand sewing needle+thread
- Small clips or pins

- Seam ripper

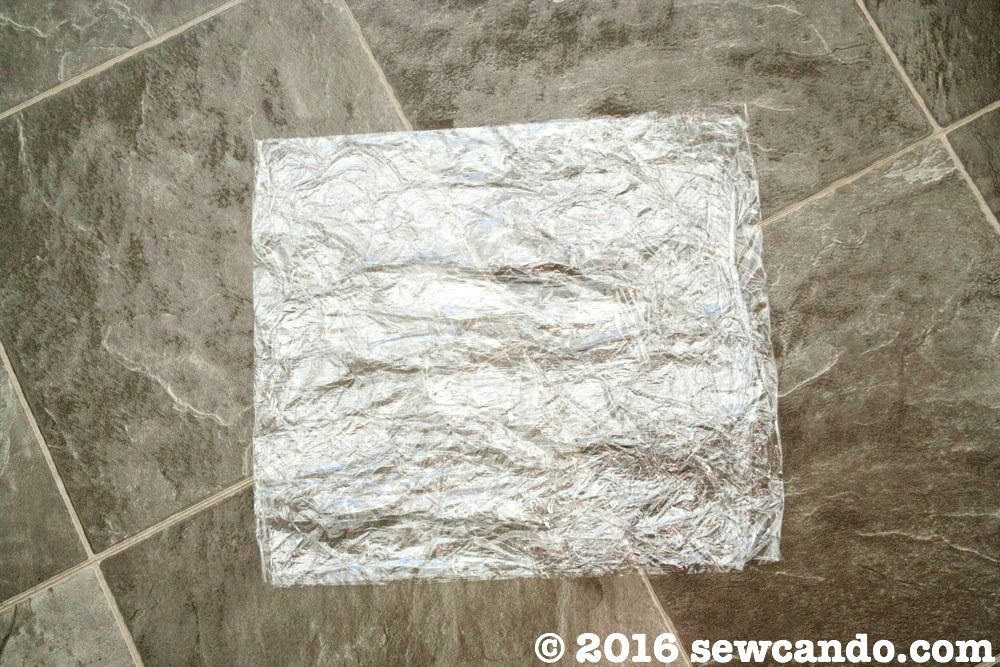
To create a custom pattern I used the doll tutorial's idea of taking a big rectangle of cling film and folded it 4 times (mine ended up being about 12in x 16in for a big kid):


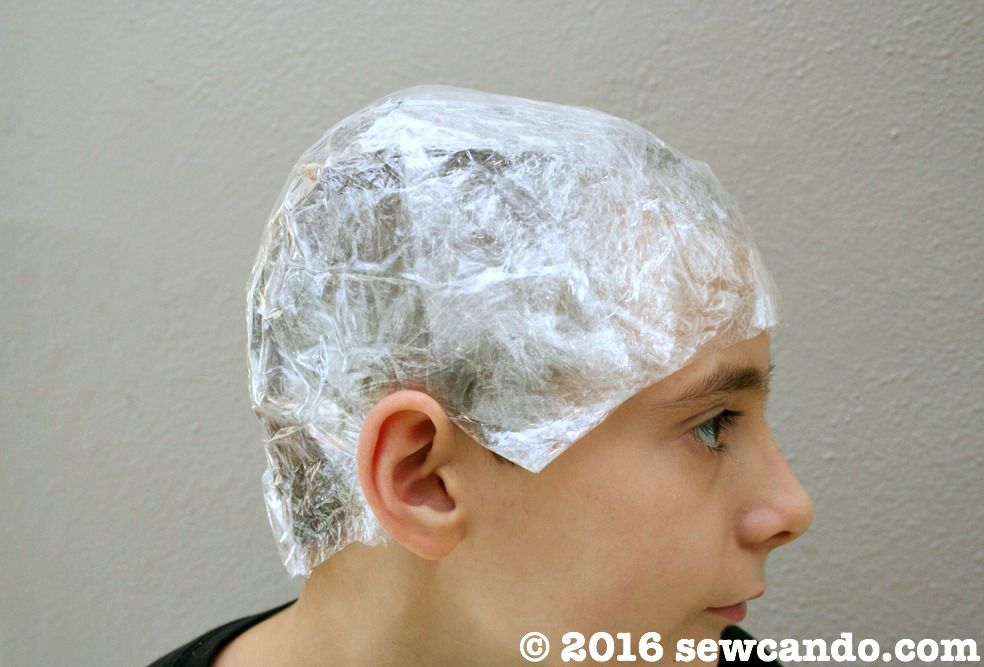
Plop it onto the recipient's head and press down to get the general head shape.  Then start adding strips of the packing tape to hold the shape, front to back, side to side, around the bend...basically all directions:


Once it's pretty solid (no flimsy bits of cling film exposed), trim around the front and ears as desired.  We're getting a swim cap vibe at this point:


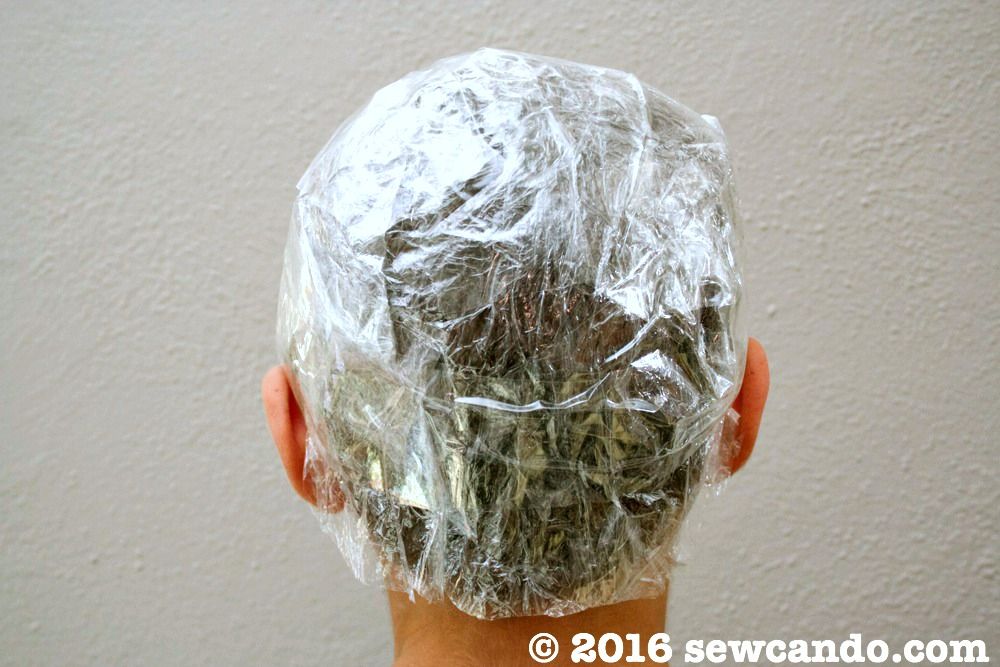
Also trim the nape of the neck.  The light totally makes this look like a tin foil helmet, but I swear we're not crazy...yet:


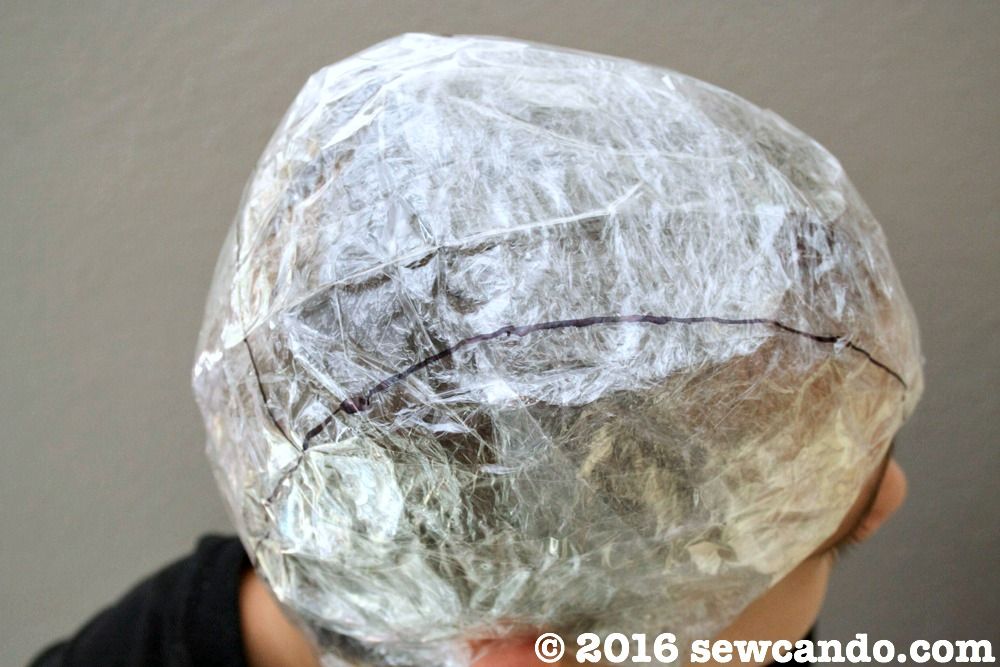
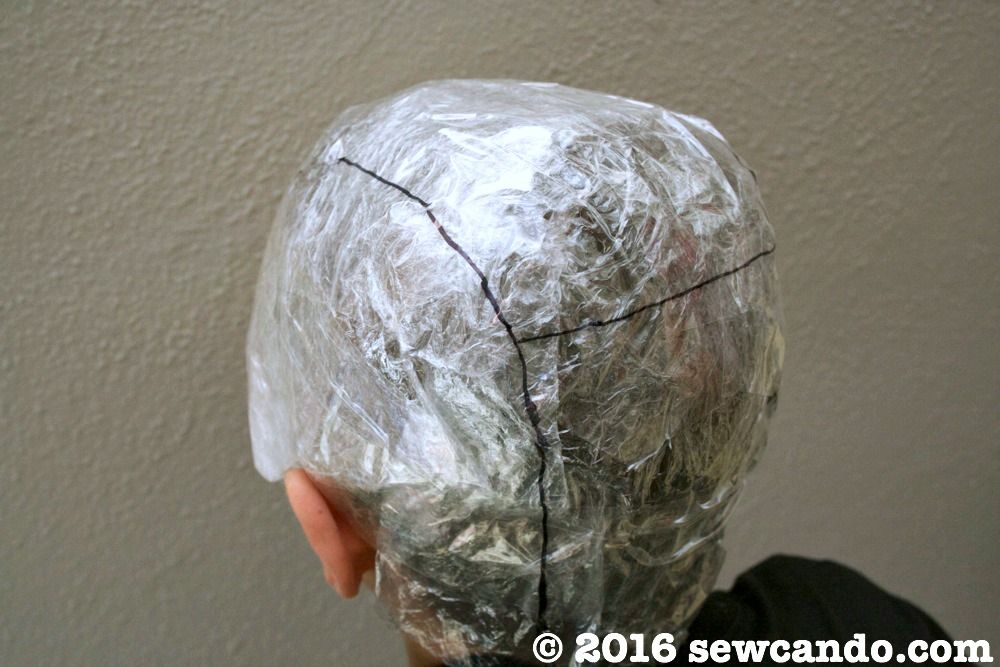
Ok, time to turn this cellophane cap into a pattern!  Run the permanent marker along the side areas from front to back (figure where you'd side part hair or use the arches of the eyebrows as your guide), kind of like the seams of a baseball:


Then do a horizontal line across the middle at the crown:


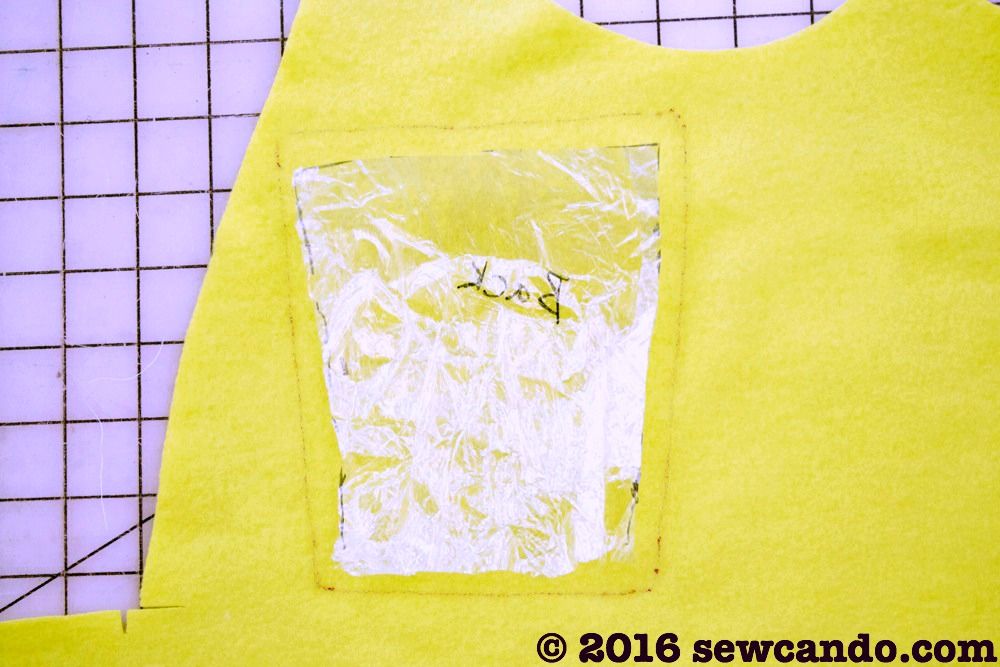
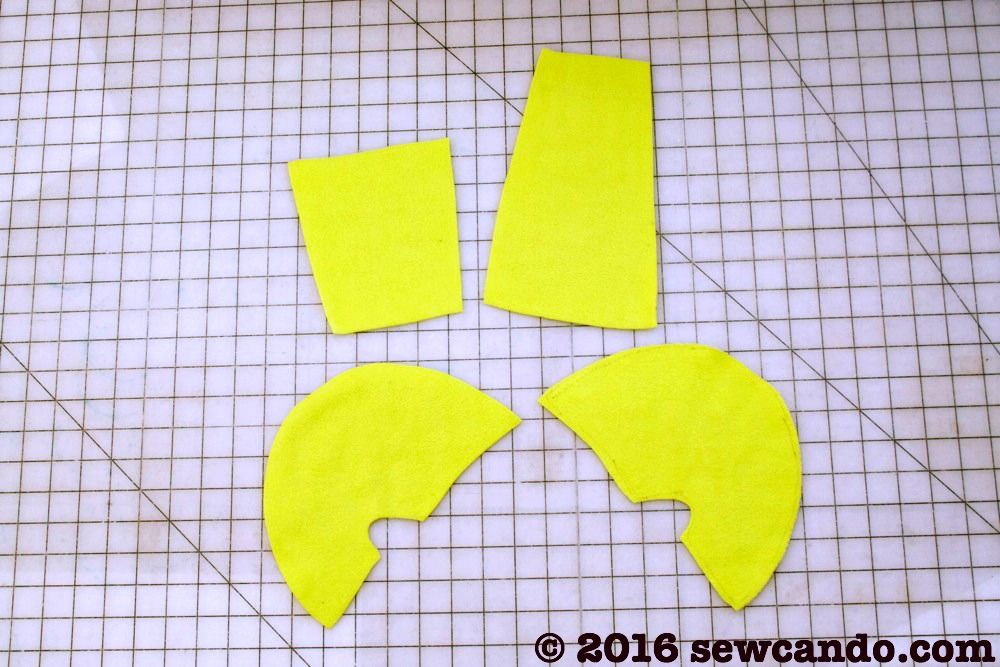
Cut the helmet apart along the lines to get the pattern pieces.  I then cut into the sides of the pieces, where they curved up, about 1/4 inch inwards, just so they would flatten out better when cutting the fabric to get a truer fit.  Lay the pieces on the fabric, right side of the pattern facing the wrong side of the fabric and trace 1/4 inch outward from the pattern all the way around (to include a seam allowance):


Repeat with all the pieces using the fleece:


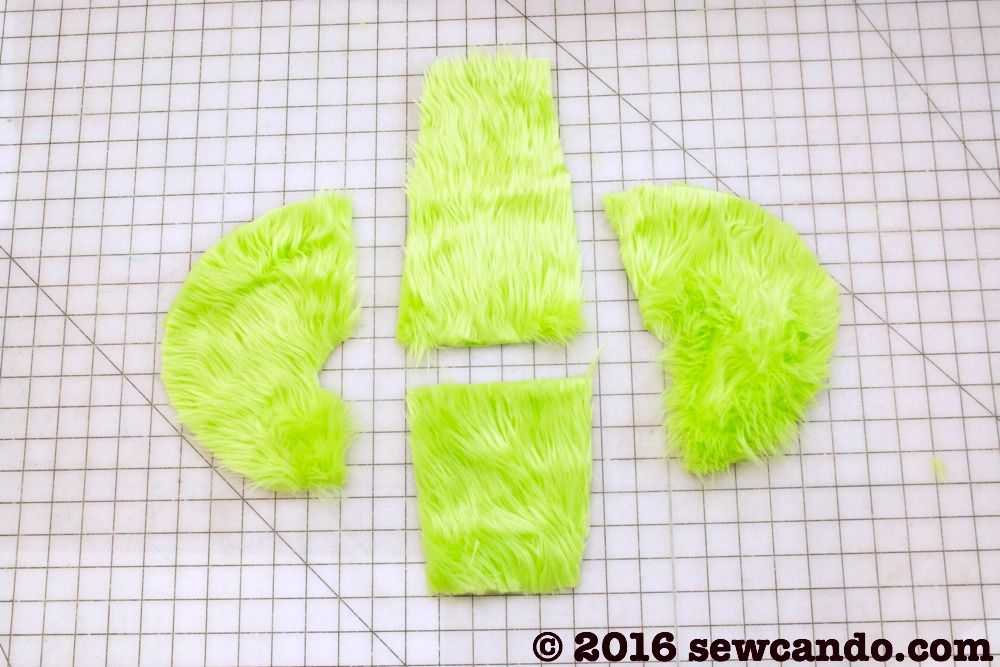
And do the same with the faux fur.  Try to shove the longer hairs of the fur inward, away from the pattern edges, before cutting so you don't lose that nice length or it'll look too even and weird at the seams.  Since I wanted our wig to have a crazy, going-in-all-directions look, I cut it so the direction of the fur was going up instead of the usual downward.  


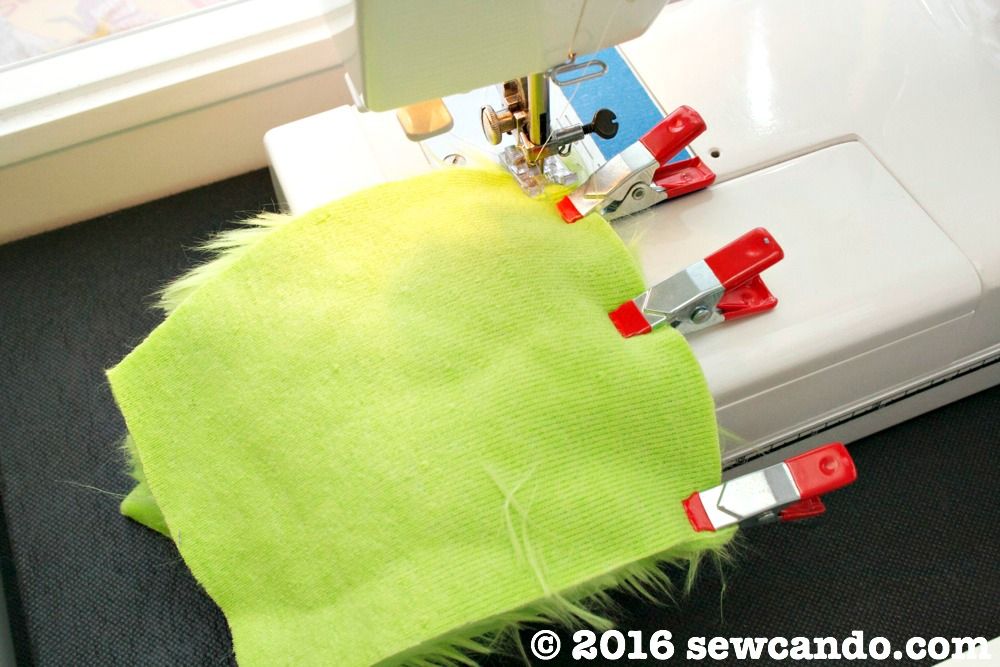
With right sides facing, stitch together the wider ends of the center pieces together using a 1/4 inch seam allowance.  I find clips are easier to use than pins with the thicker furs like this:


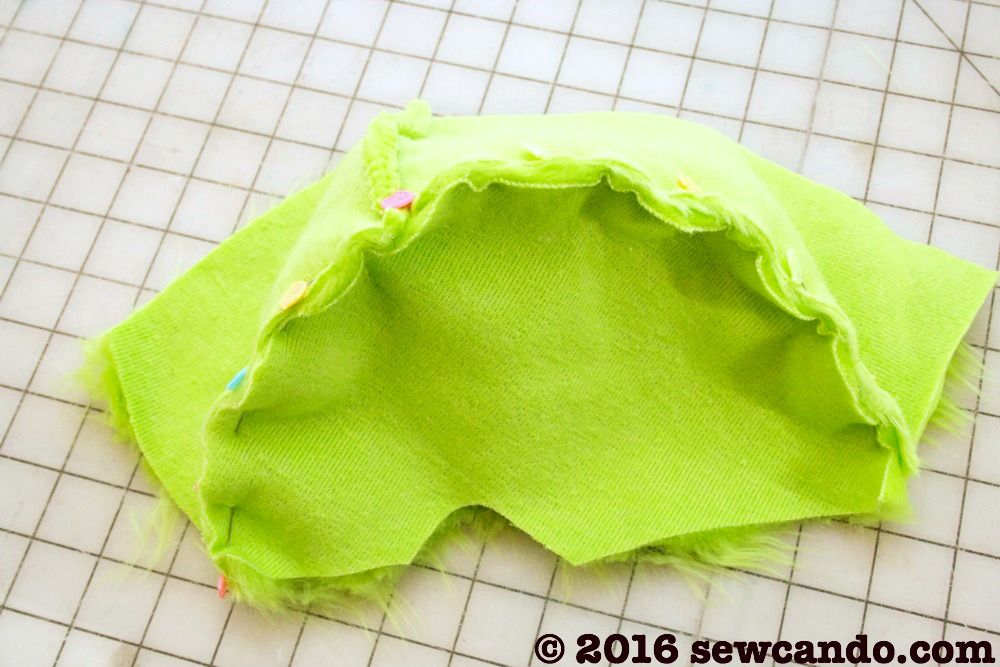
Next, pin the side pieces to the newly joined center strip and stitch:


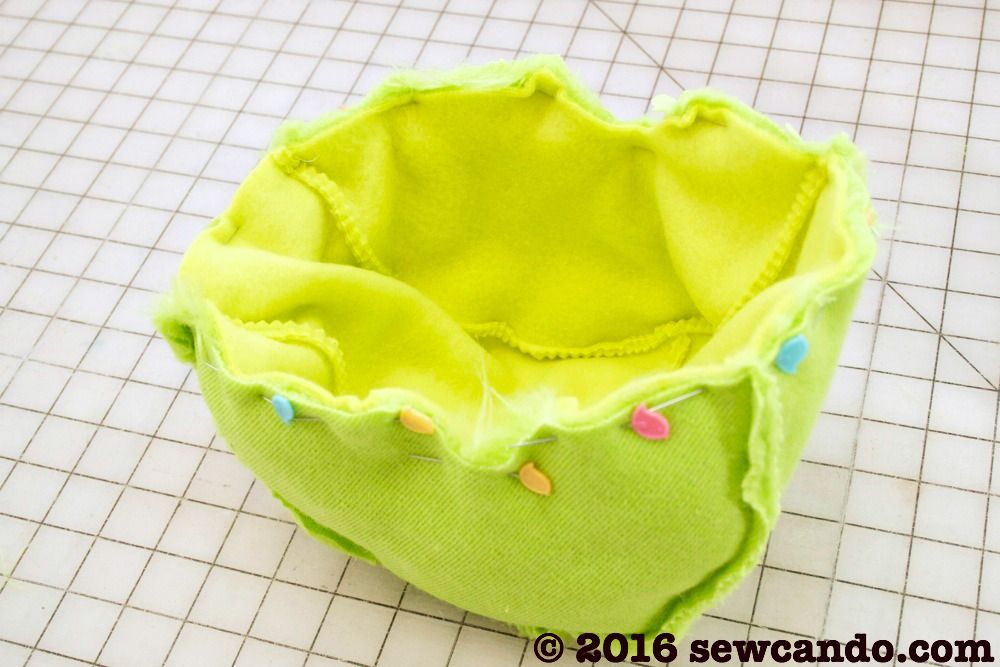
Repeat with the fleece to create the wig lining.  With right sides facing, pin the lining to the wig along the raw edge and stitch all the way around leaving a 2 inch gap at the nape area for turning.  


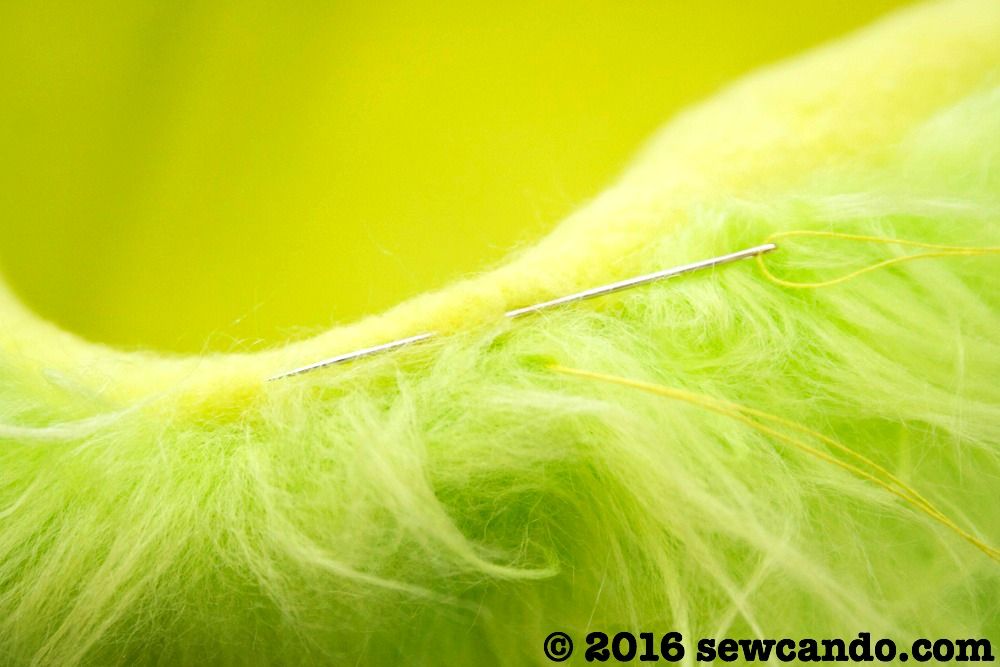
I trimmed down the seam allowance with a pair of pinking shears (or you could just clip into the curved areas, minding not to clip through your stitching).  I pulled everything right side out and then smoothed the lining into the outer and hand stitched the gap closed using a slip stitch:


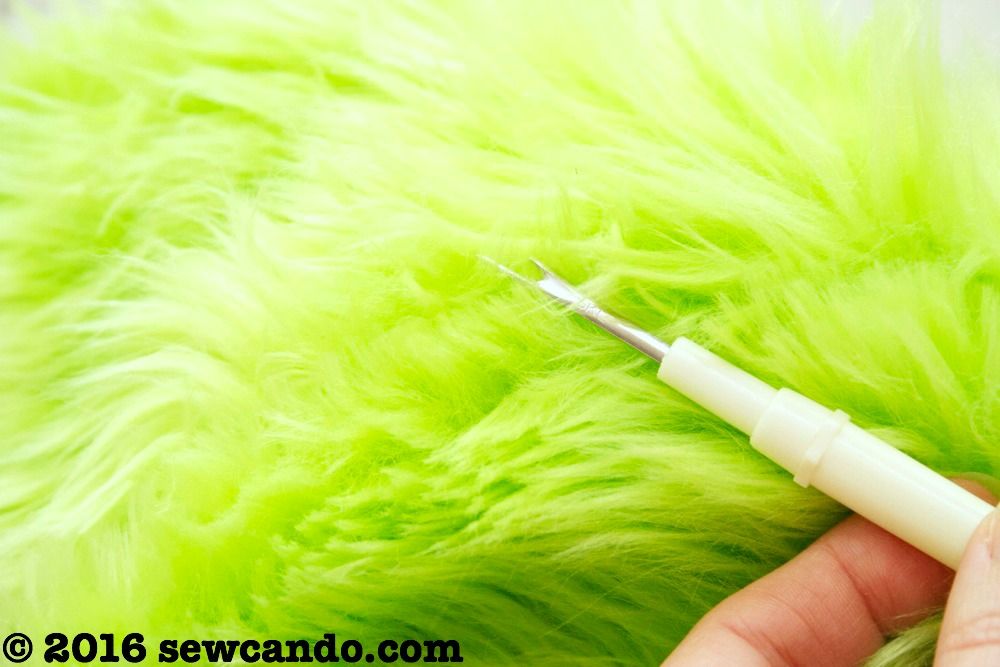
To make sure no longer bits of fur are caught in the seams, I gently pull any trapped strands out with a seam ripper.  This guarantees no one will see any seams:


Now we've got an awesome wig that's a perfect fit, is comfortable to wear, and can be reused over & over for playtime or other costumes down the road, unlike a matted plastic party wig.


Add in a lab coat, some safety goggles, gloves and a few scientific accessories to it and a kooky mad scientist costume is good to go!


LinkWithin

Related Posts with Thumbnails