Showing posts with label handmade. Show all posts

Thursday, December 5, 2019

Knit Fabric Infinity Scarf for Christmas Tutorial


Make a quick & easy Christmas scarf using just a 1/2 yard of fabric!  This beautiful Nativity Knit fabric is ideal for it too - the Christmas script messages and sweet imagery perfectly capture the season.


I got this gorgeous knit fabric to carry in my shop, but also because I wanted to make some special outfits for my younger ones this Christmas.  I loved all the Christmas messages, Nativity figures and the dusting of stars:


I've used it to make a sweet Christmas dress for my little girl:


and these cozy knit overalls for my busy 1 1/2yr old.  Now he can look festive and cute for church, but also still run around and be comfortable.
  

Being 30+ weeks pregnant, I also wanted to be able to make something I could wear now, but for Christmases to come as well.  I love how this scarf adds instant holiday flair over sweaters, jackets, and even plain tees.  Very helpful when your wardrobe is limited by your size like mine is right now! 

And it took next to no time to make, which is also key when you don't have many free hours (also me these days!).


Materials:
 - 1/2 yard Nativity Christmas Knit fabric (at least 58 inches wide)
 - Yard stick, rotary cutter/shears, lots of pins, ball point needle, hand sewing needle


With right sides facing, bring together the long sides and pin all the way across, then stitch with a 3/8 inch seam allowance.


The fabric will now be a long tube.  Reach inside to one short open end and carefully pull it inside to reach the opposite end and match up seam and raw edges.  Pin.


Stitch ends together all the way around, but leave a 2 inch gap for turning.


Pull scarf right side out through the gap and it will now be a large circle.  Pin edges of gap opening together and hand stitch closed.  And done!!


Wrap scarf in a figure eight and add to any outfit for some instant Christmastime apparel!



Wednesday, May 17, 2017

Easy Mermaid Doll Making


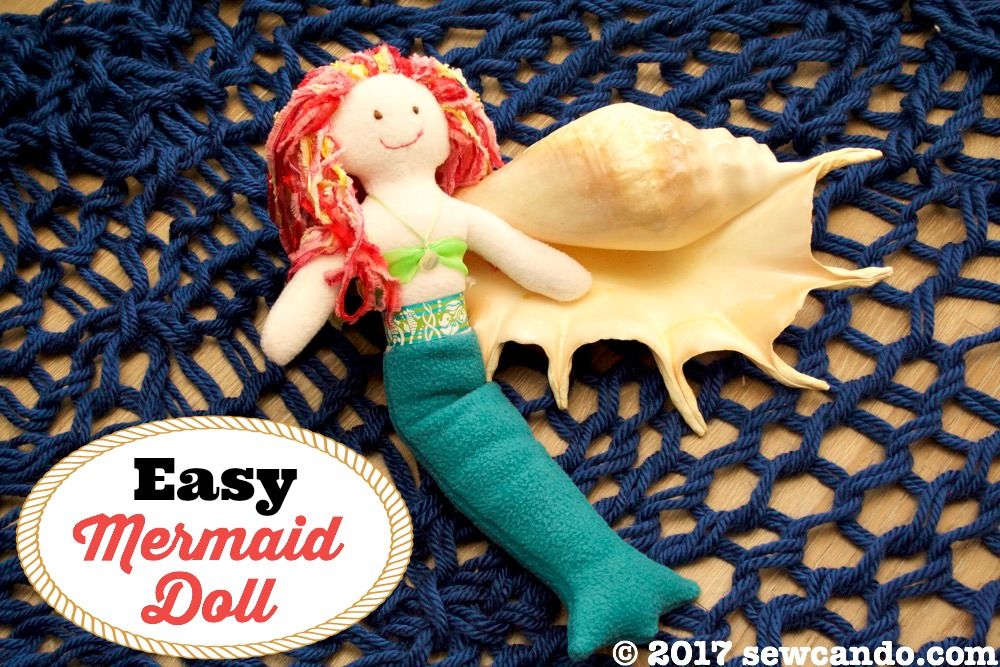
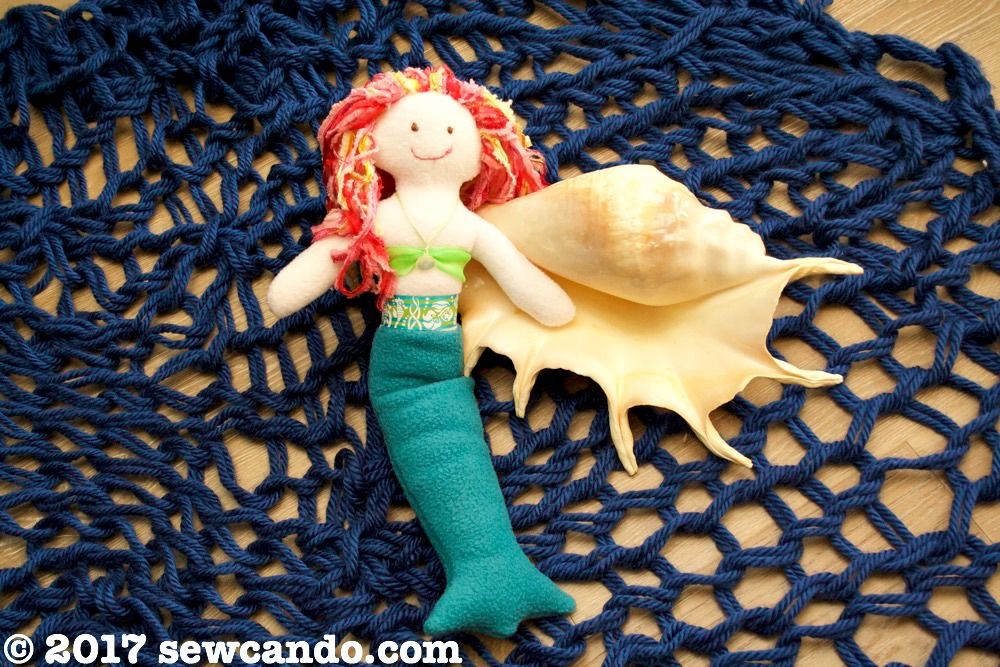
This softie mermaid was a present for my daughter.  She'd been asking for a mermaid doll for quite a while.  I wanted it to be a simple sew I could do in an afternoon, but she still had to have fun features:


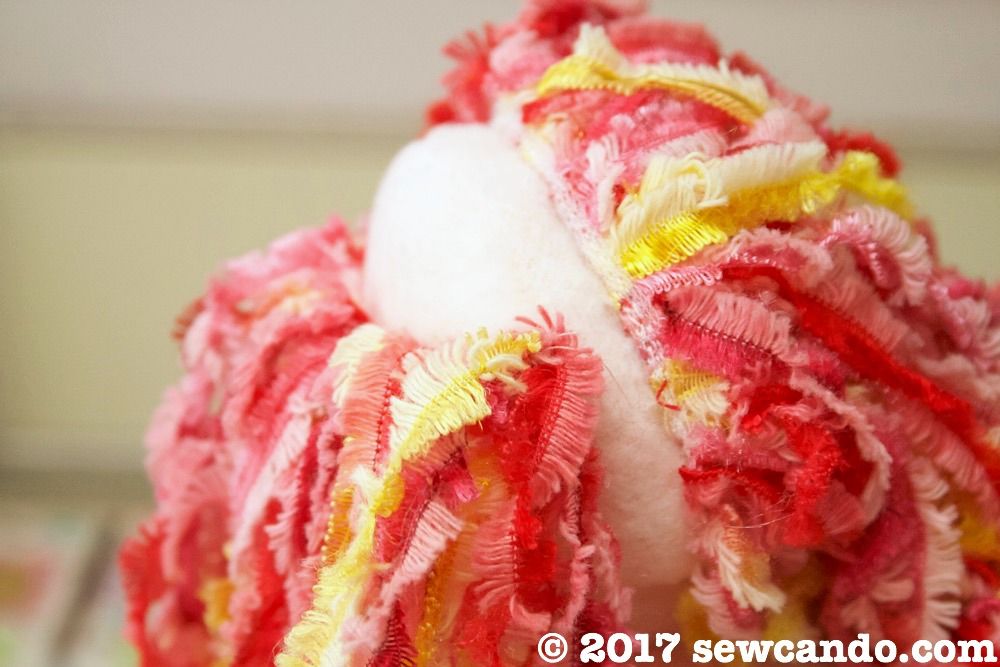
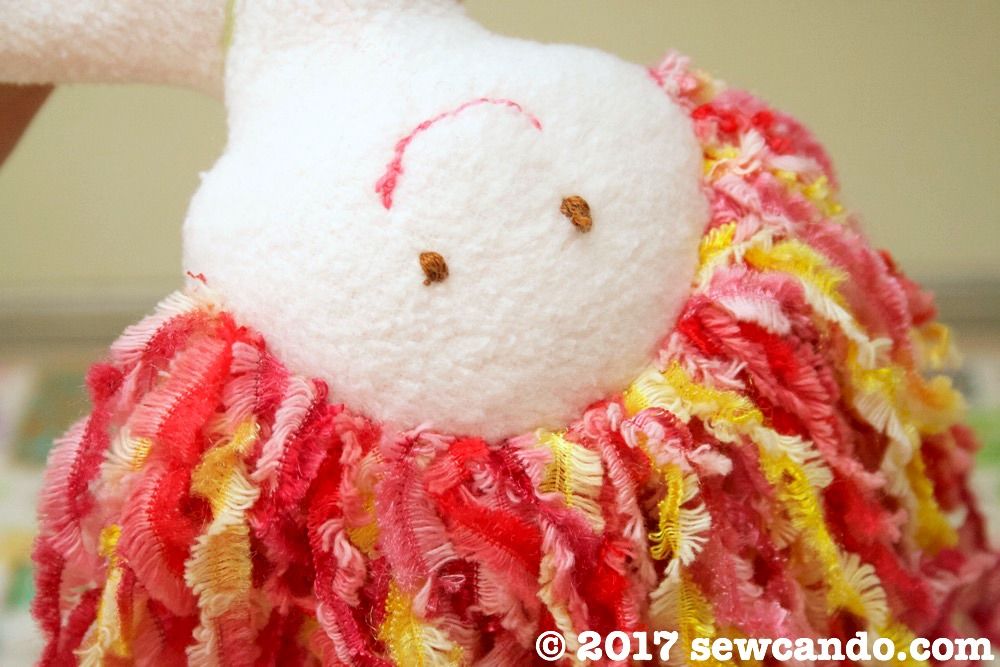
Flowing, full, style-able hair was a definite must:


I was inspired with the general look of the mermaid from the book Fleece Dolls by Fiona Goble, but I actually ignored the book's instructions and made it my own way.  The book has a couple of cute soft doll designs, but most of them are variations on the same general design and I hated that they all involved some teeny tiny line drawings instead of actual patterns you can use.  In the end I freehand drew out my own pattern rather than trying to wrestle with scaling up her tiny line drawings with a printer just to cut them out at a reasonable size.


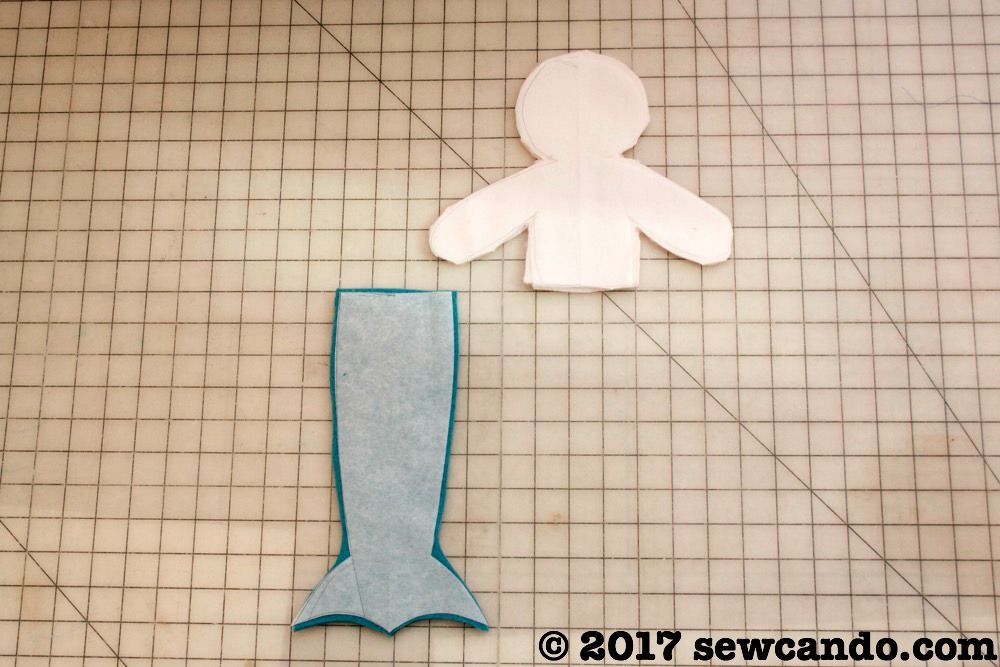
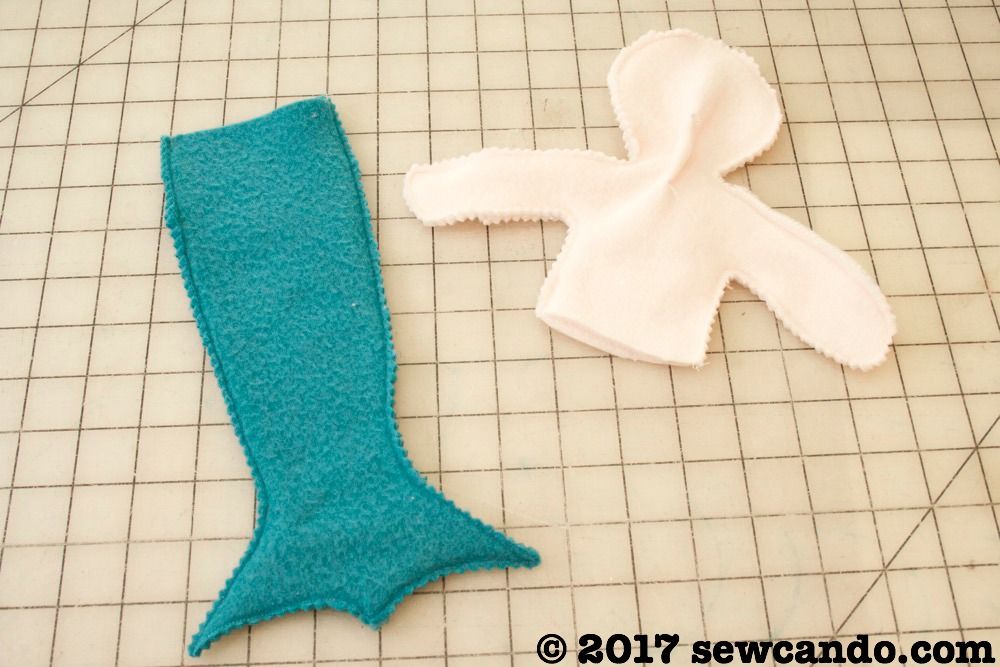
I drew a basic doll head and torso piece and used my French Curve ruler to help draw a decent mermaid tail for the lower half.  I had just enough peach colored scrap fleece left to cut out the body.  Oddly, that color isn't sold in stores and nearly impossible to find online anymore.  Ivory or light pink seem to be the only options these days or using super pricey doll-making jersey, which just isn't the same.  I can't be the only person in the universe that wants it.  Bring back the peach fleece someone!!  I cut the tail from some teal fleece and then got sewing.


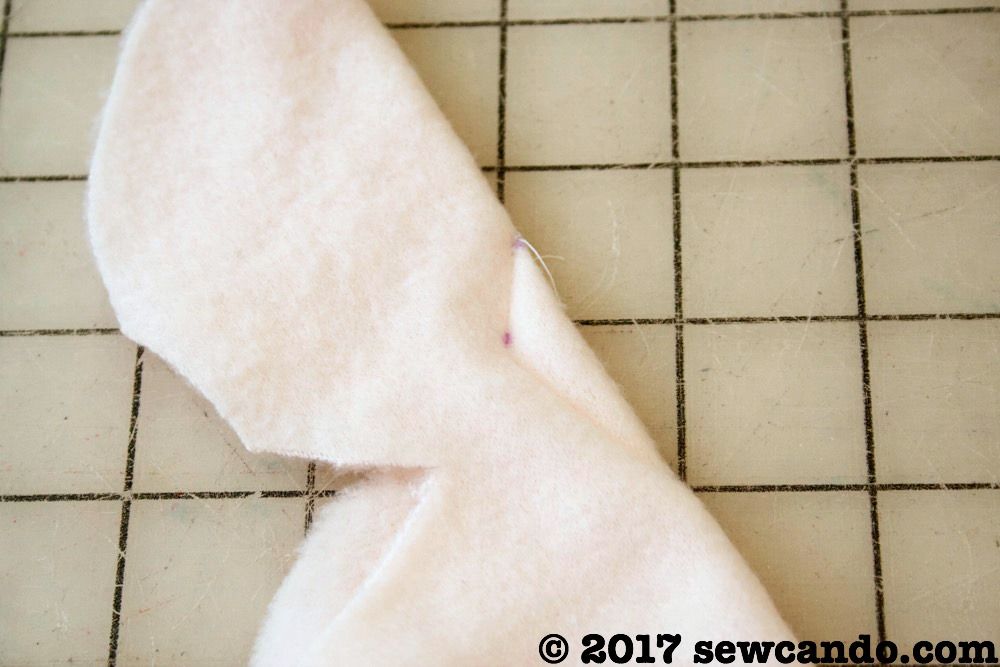
On the body piece that will be the front I marked a elongated diamond shape right at the neck:


I folded it in half, lining up the dots and stitched from the top dot, to the middle dot and then to the lower dot to add some dimension at the neck.  


Then I stitched together the body pieces, right sides facing and did the same with the tail pieces and trimmed down the edges:


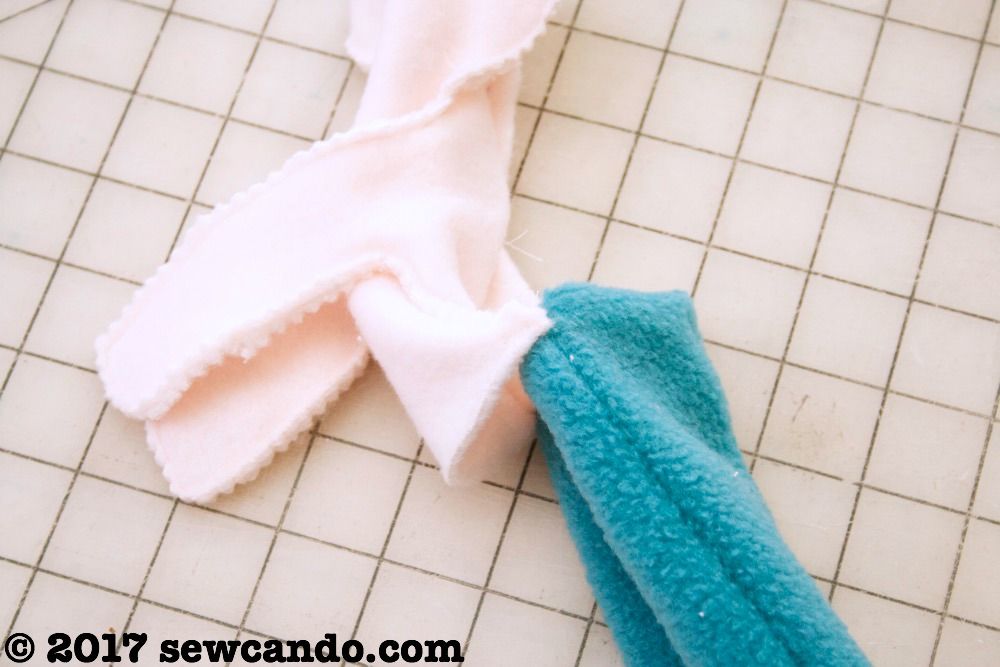
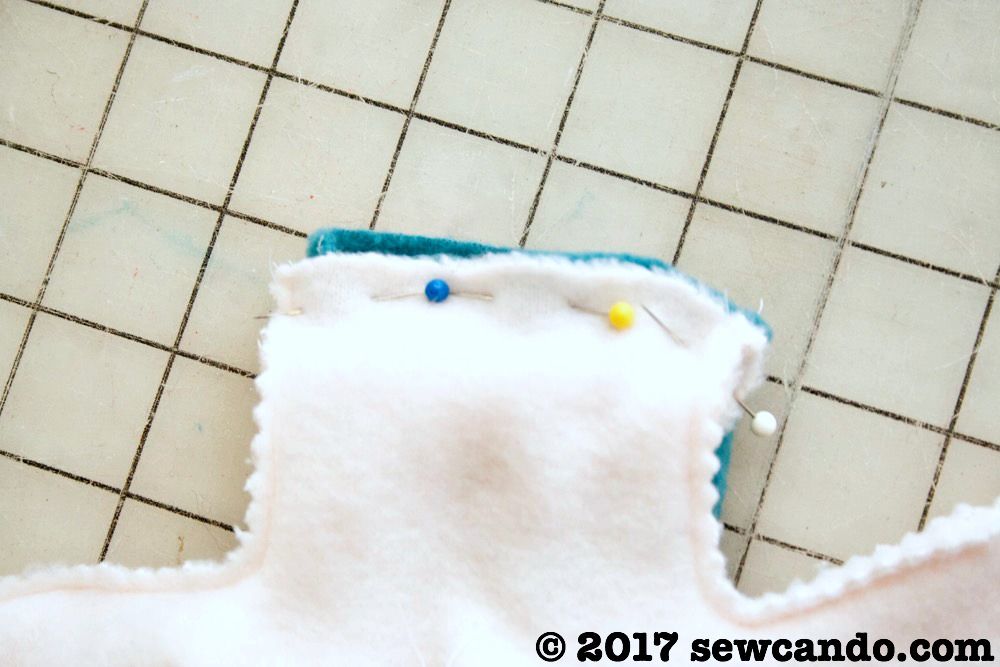
I turned the tail right side out and then matched up the top edge with one side of the body (right sides facing), like this:


It seems crazy, but hear me out because this is way easier than having to hand stitch it all together.  With the body bit facing down, pin and stitch together. Turn the body right side out and then all that's needed is to stuff and then slip stitch one side of the waist closed.


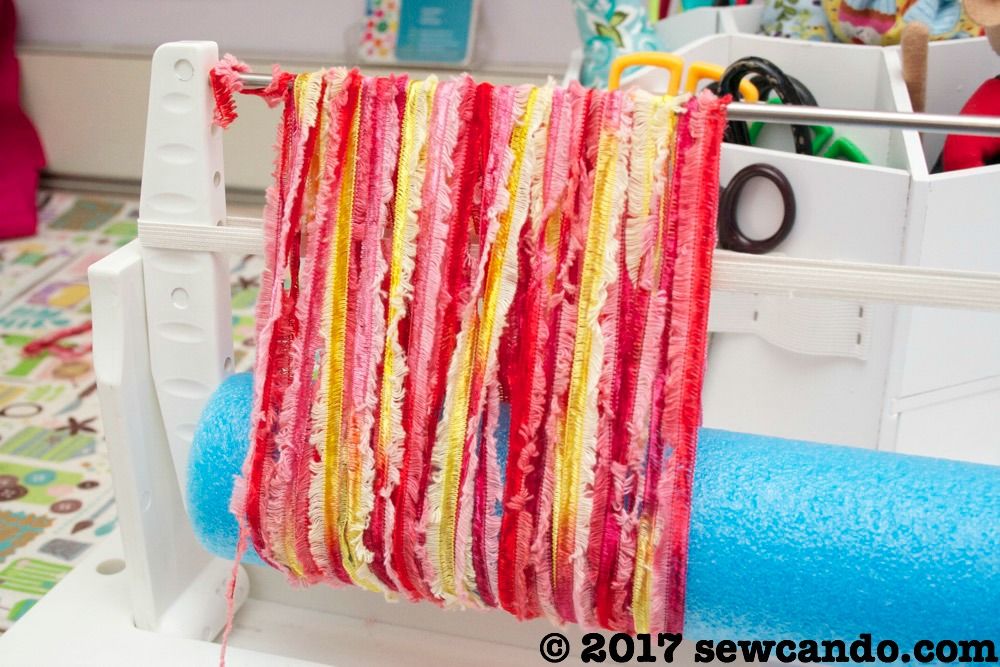
To do the thick, flowing, textured hair, I used some ribbony yarn and a tool called My Own Fringemaker.  I did a review of it here.  This made it super easy to get the hair thick enough and perfectly even in width and length.  I measured the dolls head from "ear to ear" along the top and around the back.  


I wound my yarn around the tool to be the same width as each of my measurements.  


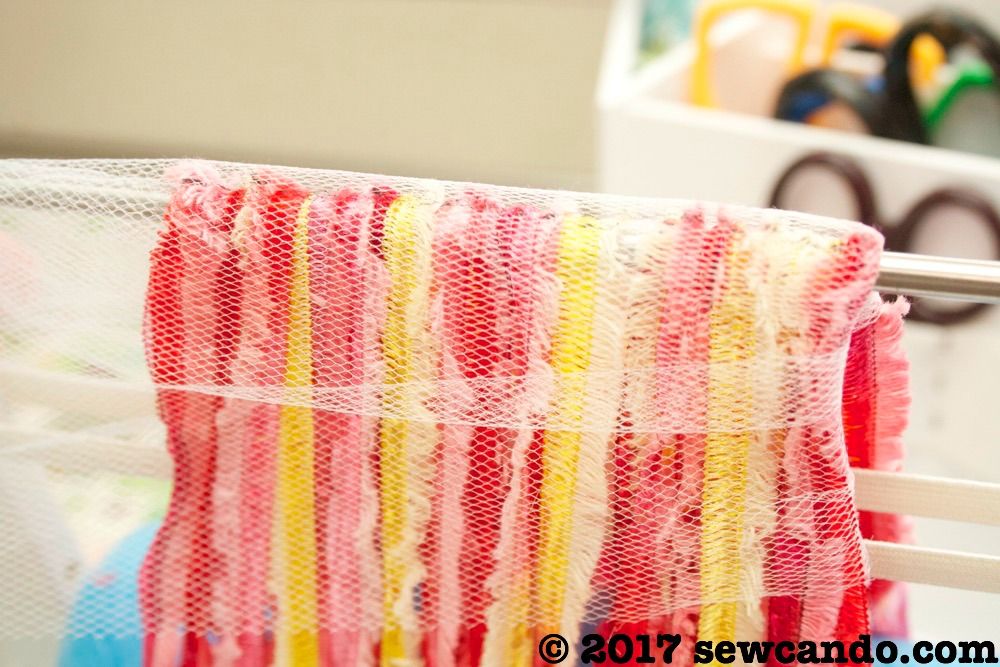
Then I slid a piece of tulle underneath one of the rods and wrapped it over.


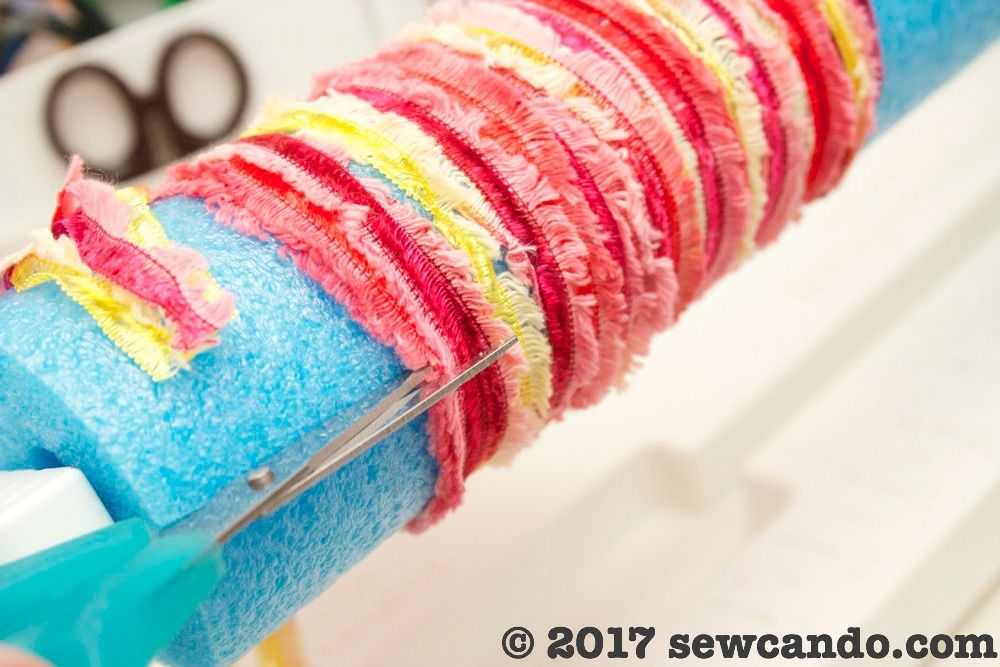
I cut the loop at the bottom rod (it's cover with a pool noodle to get extra inches of length):


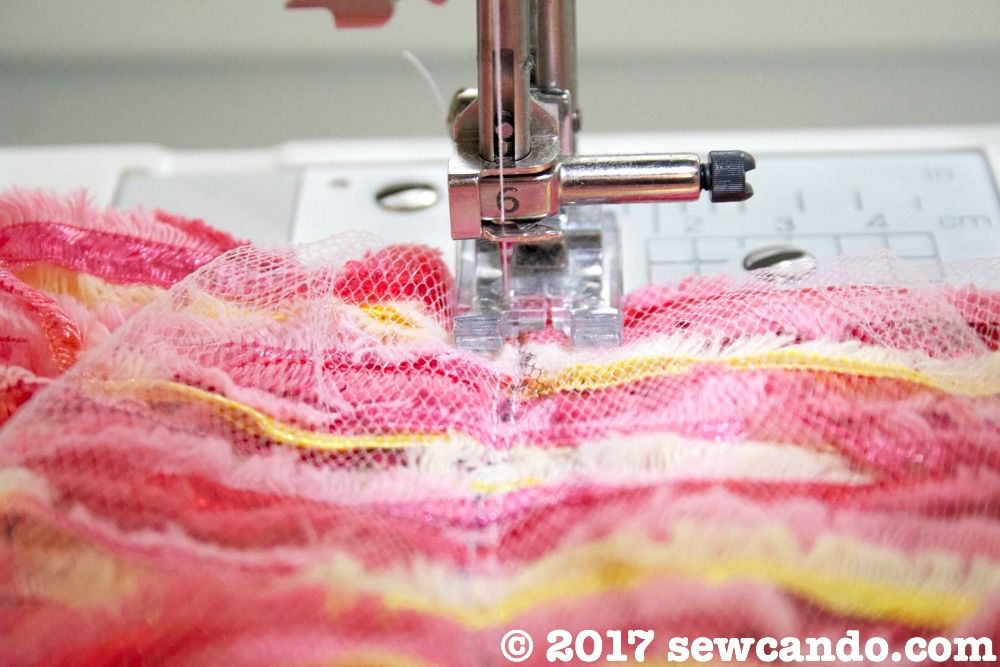
Then spread it out and stitched down the tulle several times to attach the yarn strands.  


I carefully cut away the tulle and now I had some lovely rows of hair.  I folded each along the stitching and hand stitched the first row onto the head horizontally.  


Then I pinned and hand stitched the other piece from where an ear would be, over the top to the other side.  By slipstitching, the hair was solidly attached, but impossible to see the stitching.  


With the hair being so nice and thick and how it's positioned, there aren't any massive bald spots that will peek through.


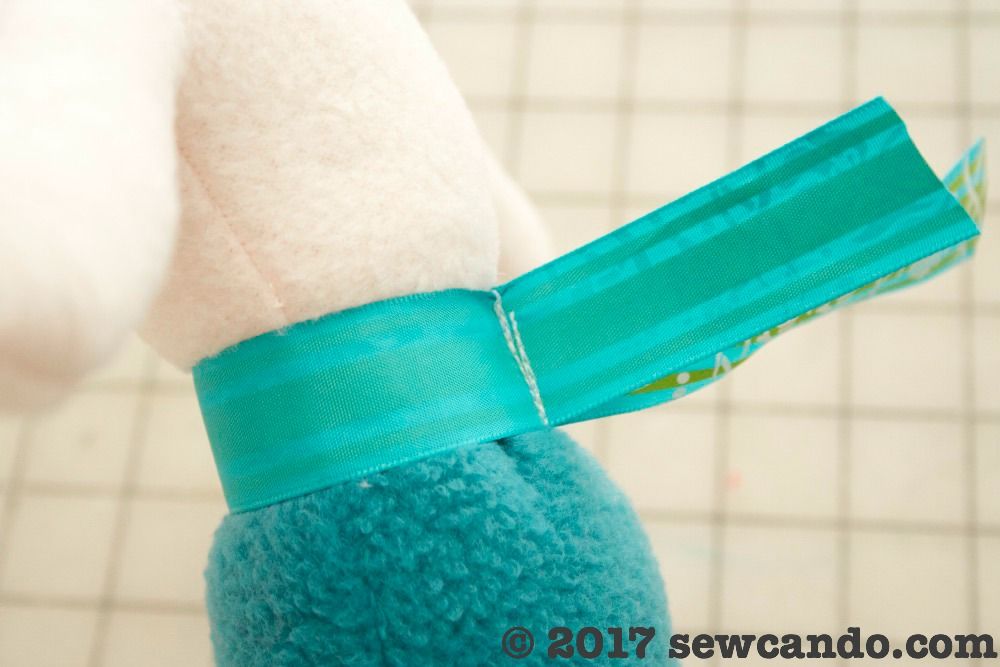
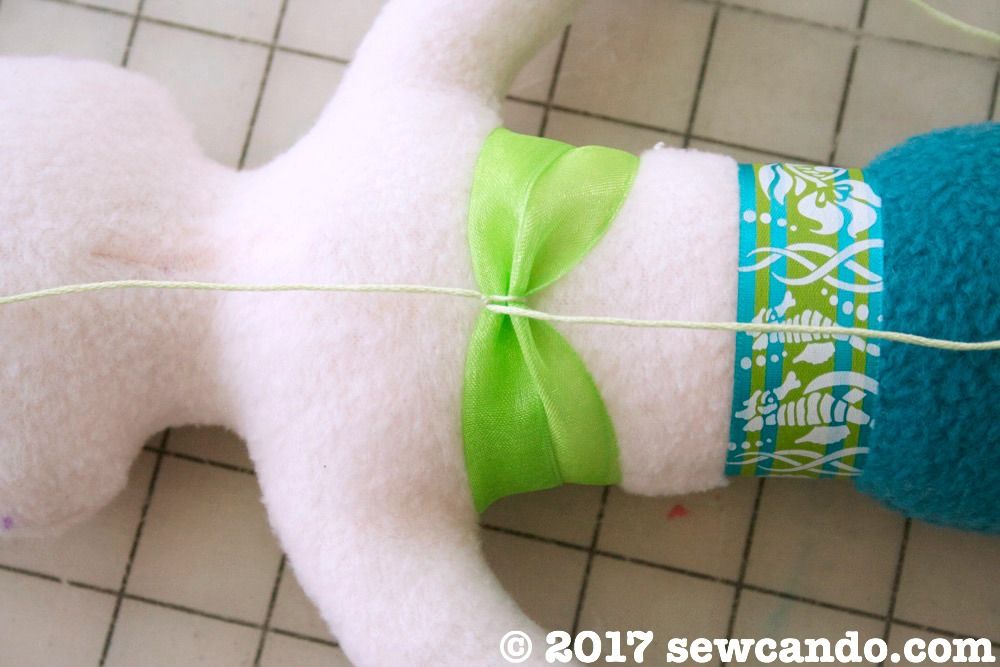
I had some sea-themed ribbon that I used to make a belt.  I cut a piece just larger than the waist and flipped it wrong side out.  Carefully pinching back the waist fabric, I stitched the ribbon ends together, trimmed and then flipped it right side out.  


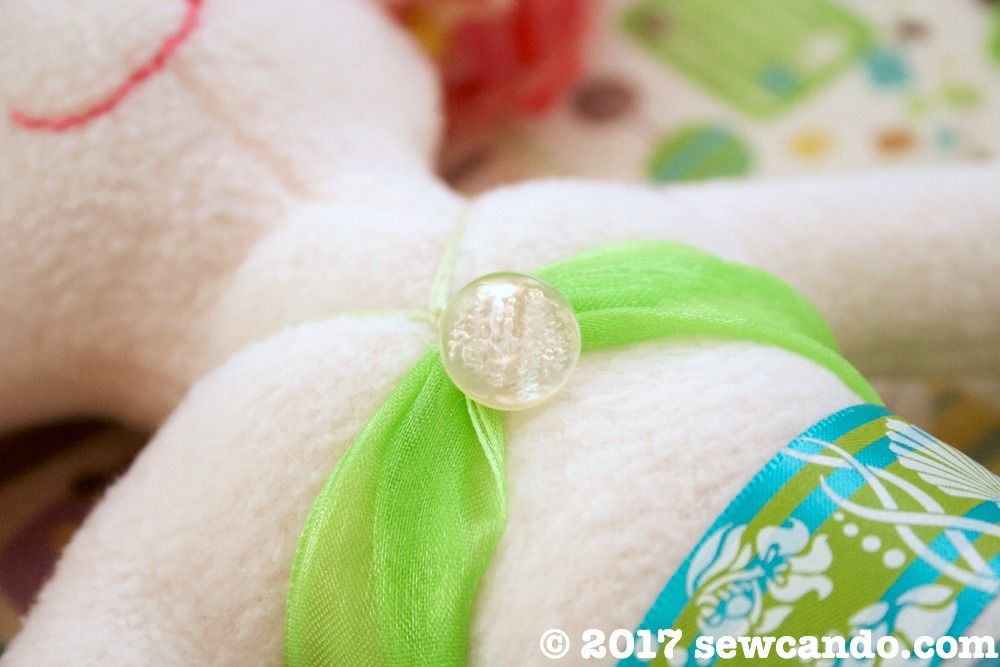
I did the same for the bikini top, except used a wider organza ribbon.  I tied it at the center with some embroidery floss and then tied it around her neck.  


I hand stitched a mother of pearl button onto the center.


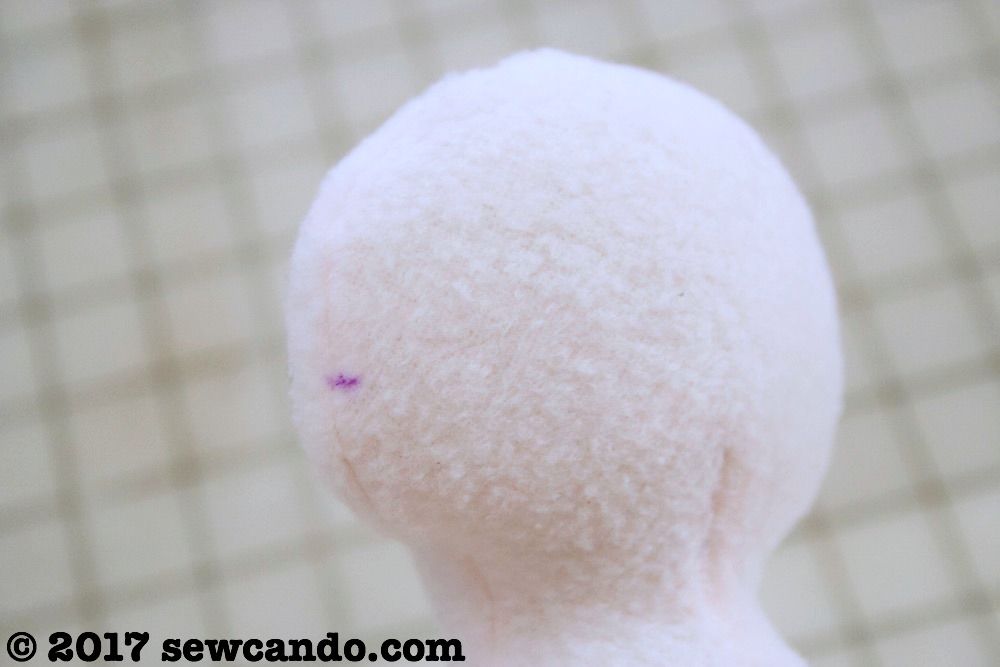
I hand stitched eyes and a mouth with embroidery floss.  That's always the part I like the least because I'm semi-terrible at it, but it wasn't the worst stitch job I've done.

It was such a nice feeling being able to make what my daughter wanted with just materials I had in my stash.  It might not be perfect, but this new little friend sleeps in her bed every night and is one of her favorite dolls, so it's a success to me.      


SaveSaveSaveSave

Wednesday, January 18, 2017

Yonderland Love: Our Parvuli Plush Toy


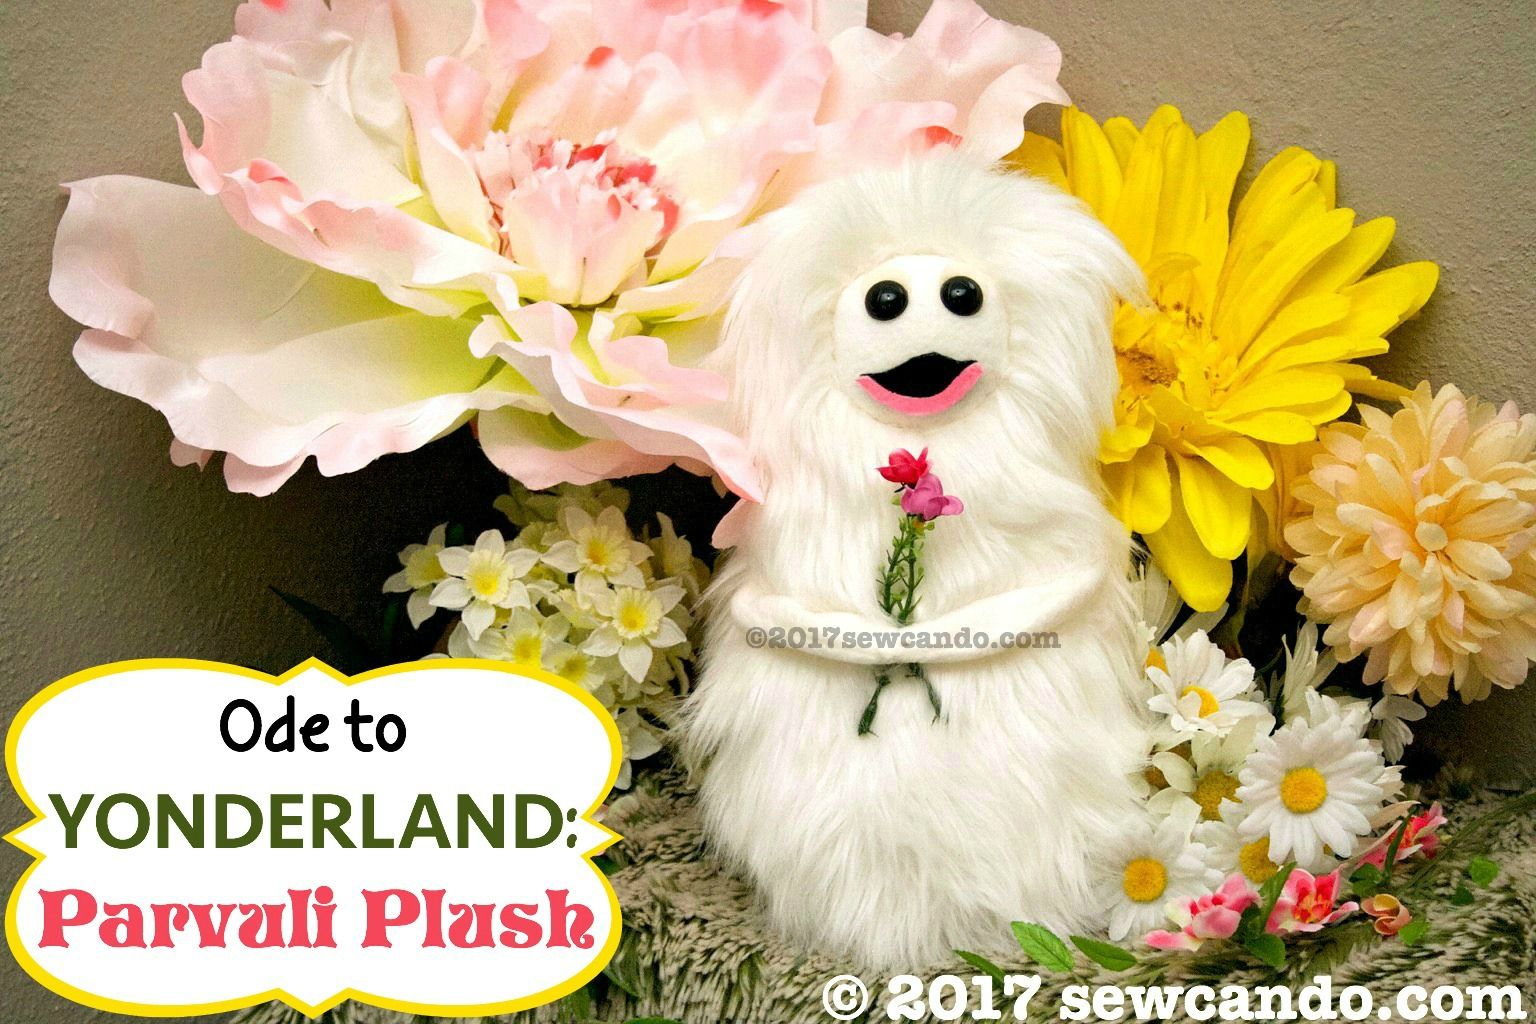
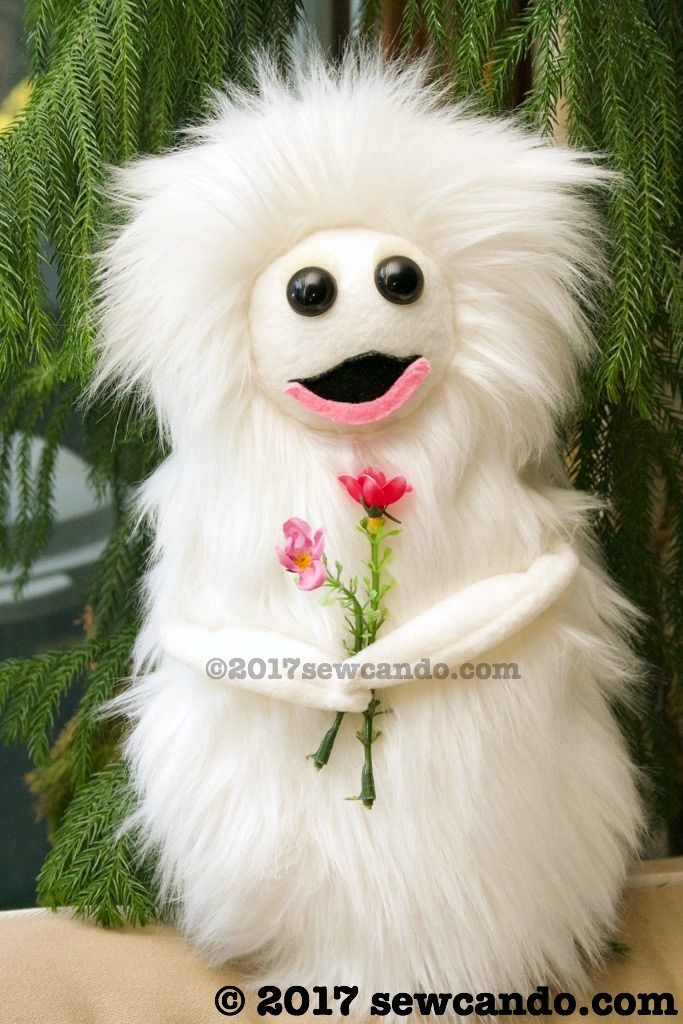
Amongst my DIY toy creations for this past Christmas was this fluffy little friend.  Honestly, it's hands down been my favorite plush to make to date: one of the Parvuli from Yonderland.


If you're not familiar with Yonderland, and you like awesome things, you need to discover it it asap.  It's a fantasy themed tv series from the UK that features fun characters, an alternative world and puppets.  It's considered a family show, so it's amusing & clever for adults and still entertaining for kids.  And no this isn't a paid/sponsored post to pimp it to you (although I'd totally jump at the chance to work with the peeps from Yonderland).  My kids LOVE it, as do my husband and I.  Santa brought them the new series 3 on dvd, so it seemed only fitting that I'd would make something inspired by  the show to go with it.  Of course I had all the supplies on hand, because I'm completely ridiculous craft gear hoarder. These adorable, furry creatures with the syrupy voices and high pitched songs seemed the ideal choice and a great way to use some of my massive plastic eye & faux fur collection. 


Now, if I want to get technical, I suppose I should call this little guy a Parvulus since Parvuli is plural and I've only made one so far (it means children in Latin btw).  My 11 yr old is learning Latin since he's crazy about ancient history, so we should probably be accurate from an educational standpoint, but I'm going to keep referring to it with the group name everyone knows here, so the grammar police can arrest me after this post.

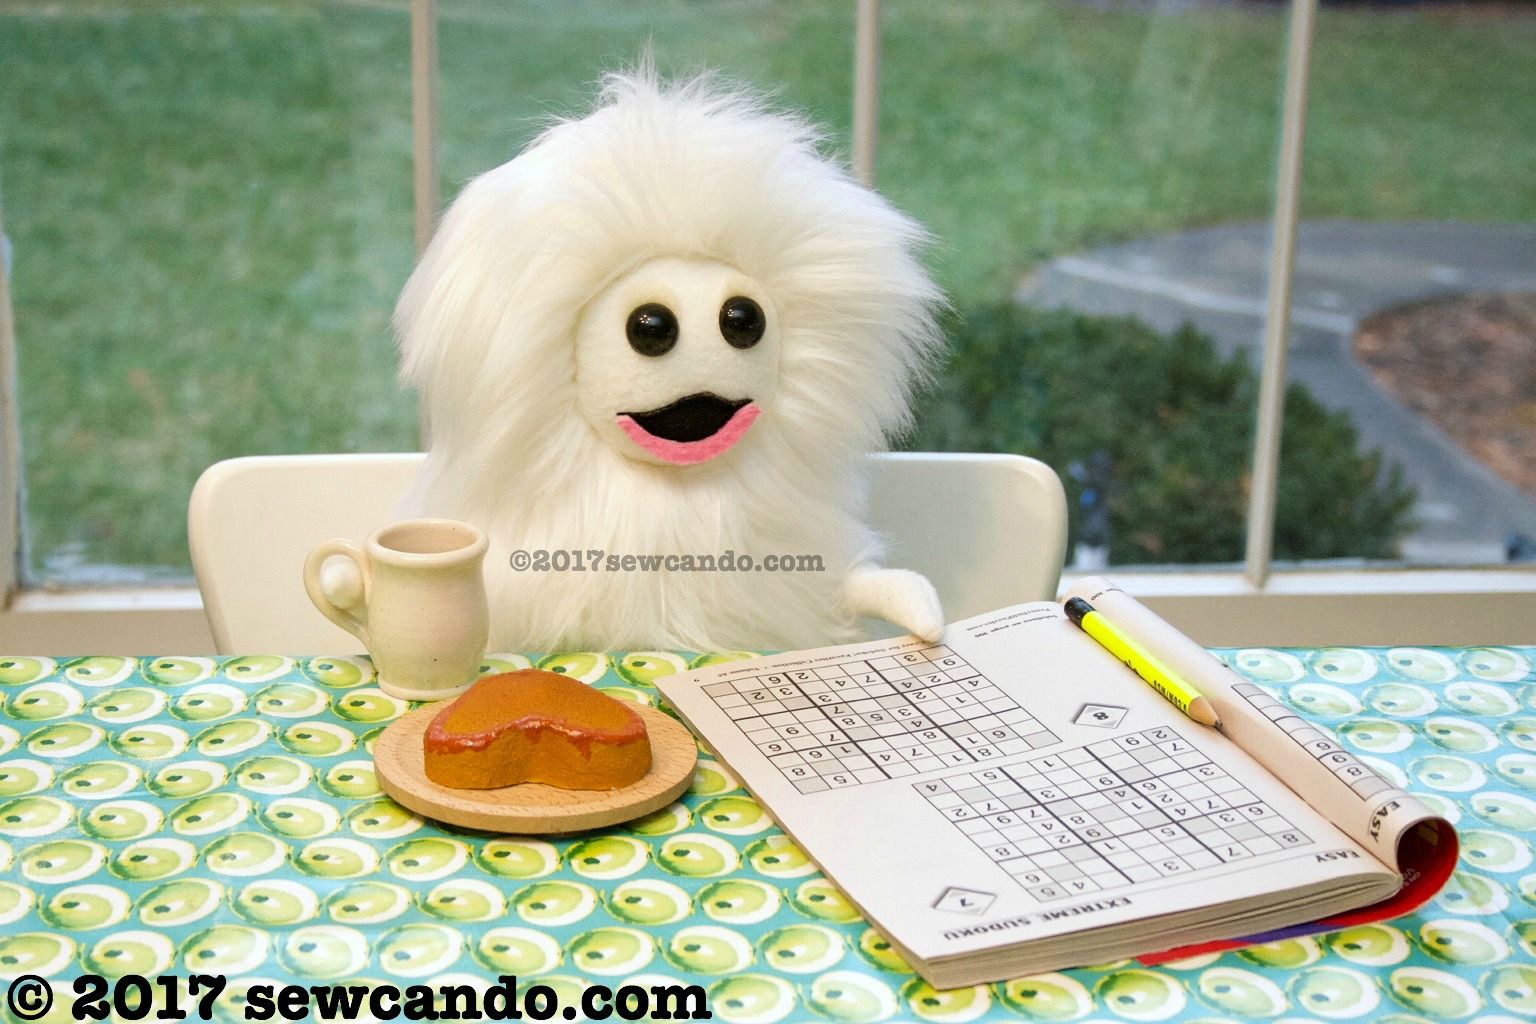
I can't tell who's having more fun with him - me or the kids.  The amusing vignette options are infinite.  It's like having a bit of the show in my house, which feels surreal.  Parvuli hobbies include chillin' in the kitchen with some cake and a Sudoku:


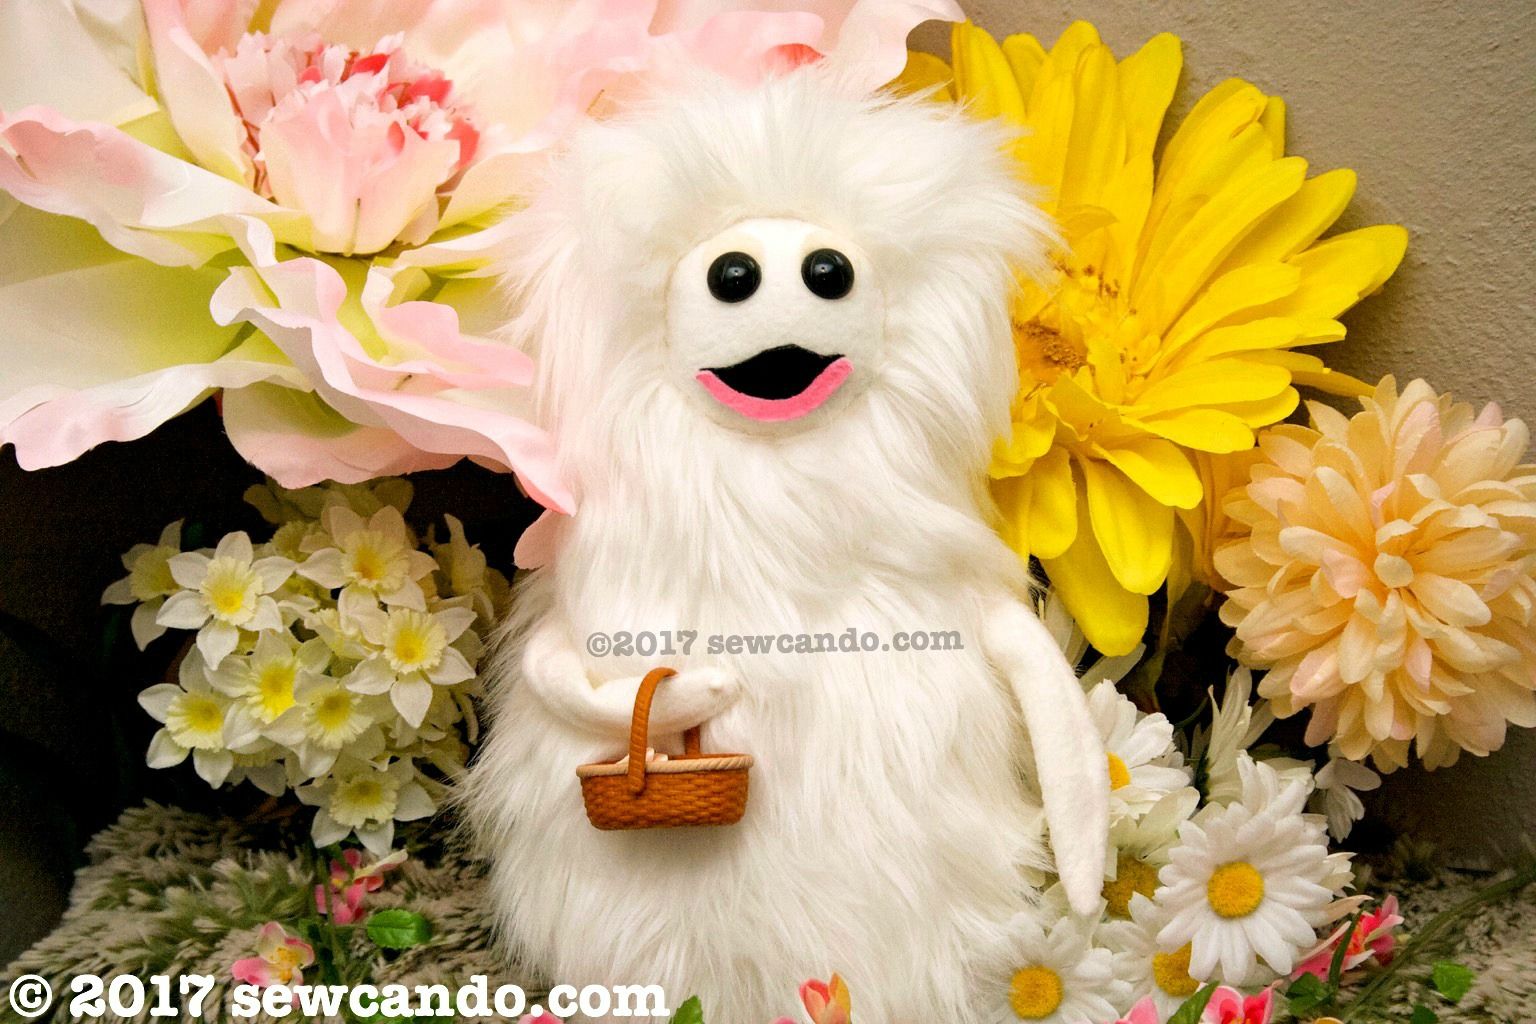
Singing while looking cute, just like in the show:


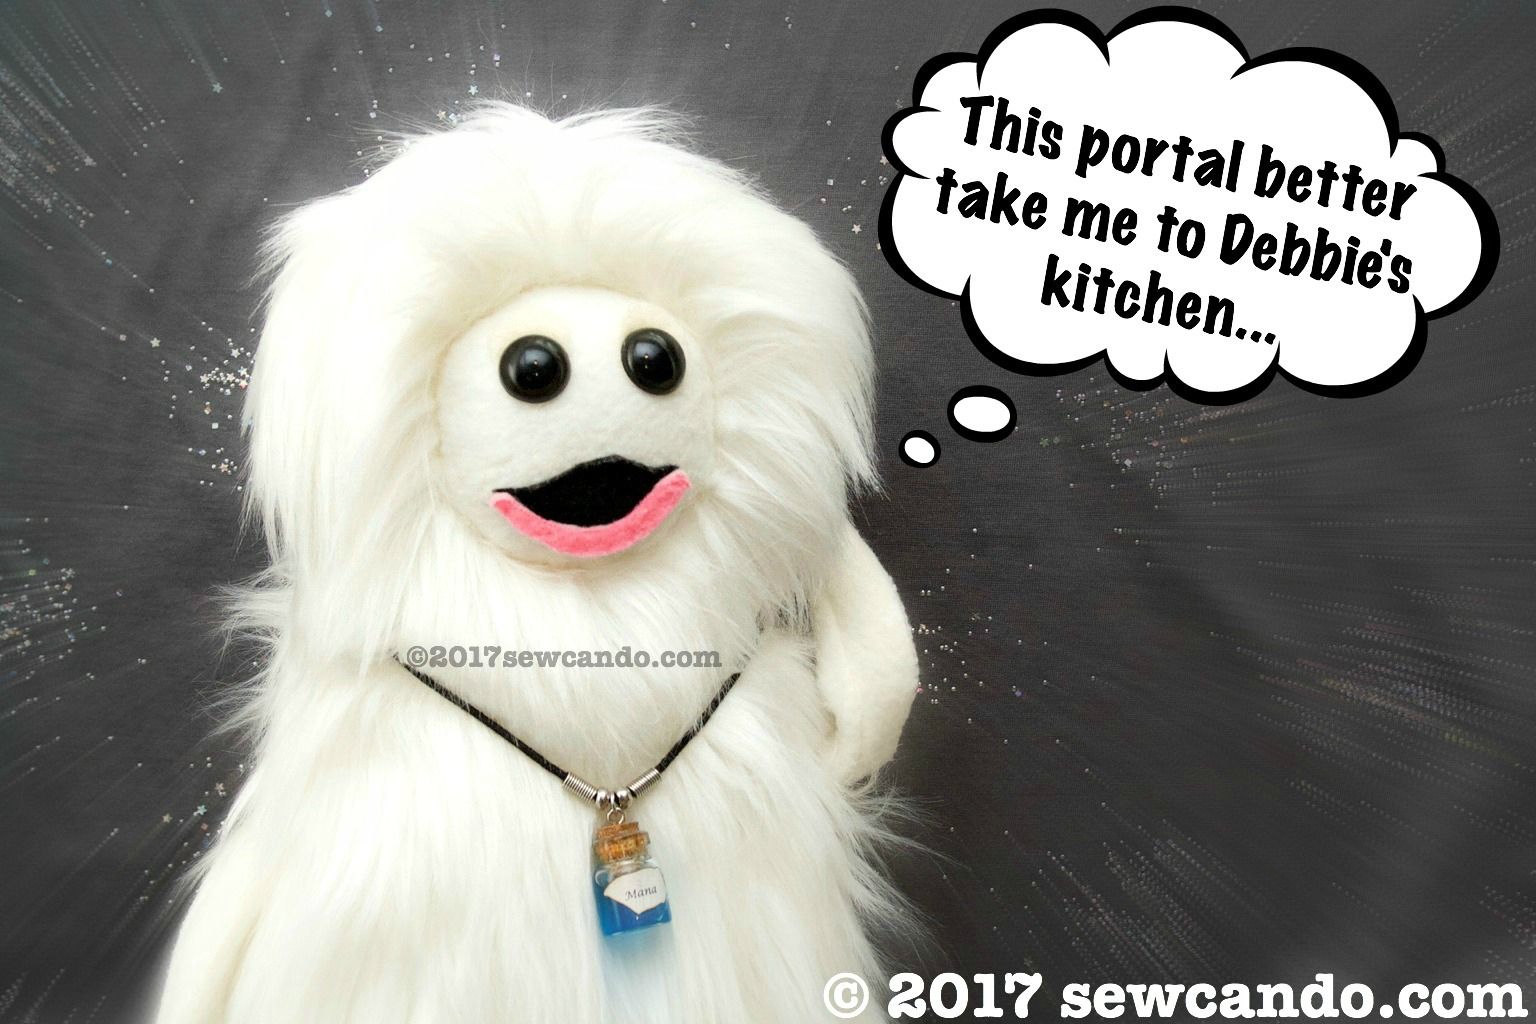
and dreaming about "The Chosen One" aka Debbie:


I made him with faux fur, fleece, felt and polyfil, so he's as close to the real deal as I could get DIY'ing and is still durable enough for the kids while playing. Of course, I literally waited until 4 days before Christmas to even think about how draft my pattern and figure out how to put it together, but within 48hrs I had him totally done.  It's weird, but I almost can't believe I made him, it's as if he just popped out of a cupboard rather than me sewing him together. Maybe some Yonderland magic was involved, who knows?  

Before anyone asks, I don't/won't make these to sell.  Sorry:(  I was asked this A LOT when I did my handmade BoxTroll plush, as that was another great screen story that had no real merchandise, so searches brought lots of people here.  The positive feedback is great and always appreciated.  I don't ever want to sound rude about it, because it's crazy flattering when someone offers to buy what I've made.  I'm just trying to being proactive on this one to cut down time spent on individual replies.  I feel sad & a little guilty saying no to fellow fans, but there's a good reason. 


Why say no?  The Yonderland crew owns the rights to their creations.  While I'm a big fan and loved making this creature for my own kiddies, it wouldn't be cool to make money off the show's name & character concept without their permission.  I'm not doing a Parvuli-specific tutorial for the same reason.  I don't want people to start selling them using my design.  I had enough trouble with a jerk Chinese company stealing my BoxTroll photos to try to scam "sell" their products, so I'm trying to keep that kind of drama to a minimum, but still be able to share projects I loved making here.  Hence my copyright all over the place in my photos even though I hate how that looks.   


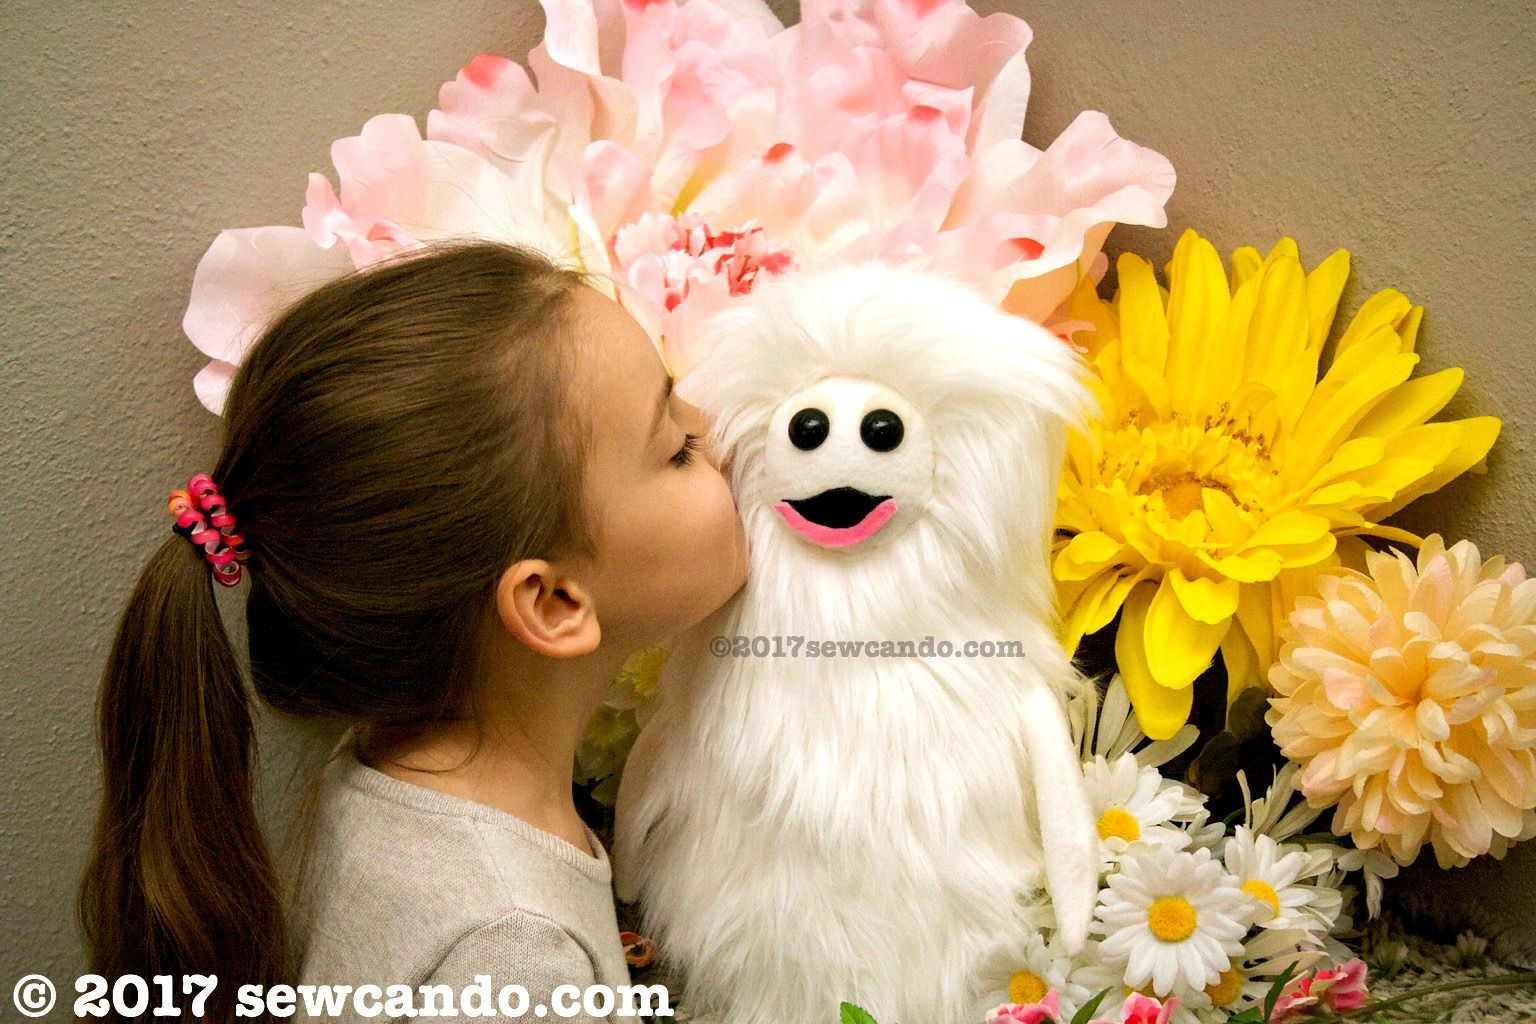
With that being said, let's get back to the cuteness, shall we?  Amusingly, I made this guy for my 14yr old (so getting a plush toy present wouldn't be babyish, but cool thanks to the awesome show), but in true Negatus (the show's semi-villain), I-takes-what-I-want-style, my 7yr old daughter promptly snatched him for herself and literally won't let him go.  Between that and the plural grammar issue, I feel like I need to make more now.  And figure out how to make some other characters.  The in-house pretending options would be unlimited!      


Wednesday, January 4, 2017

Bird Is The Word: A Cuddly Fleece Bird Softie


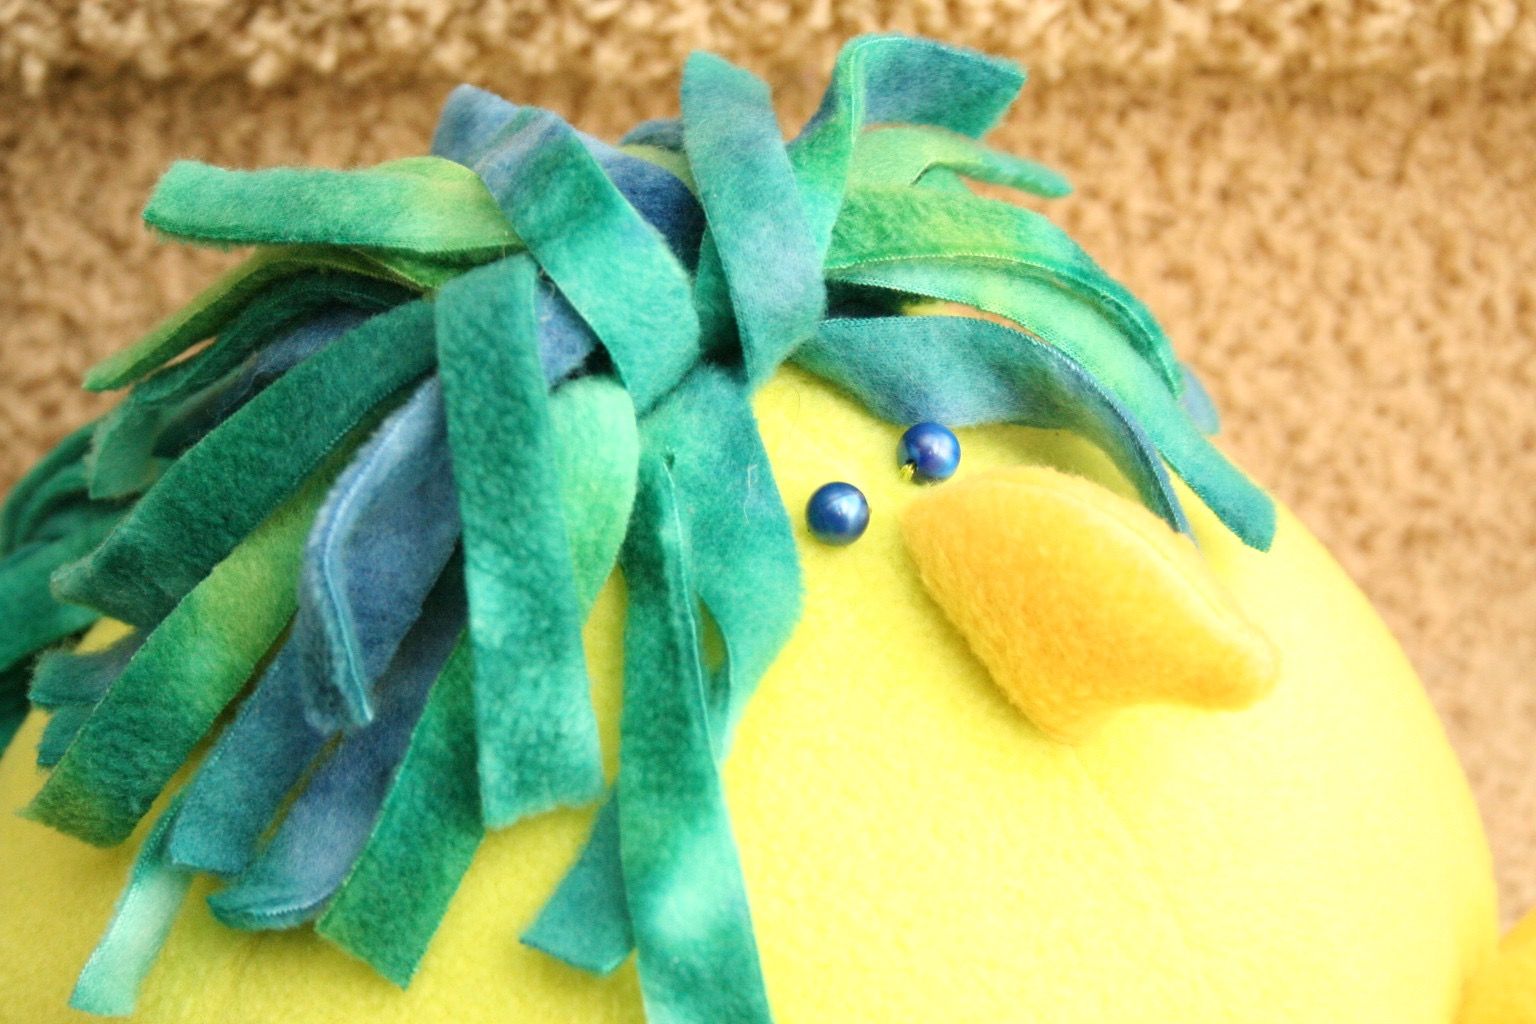
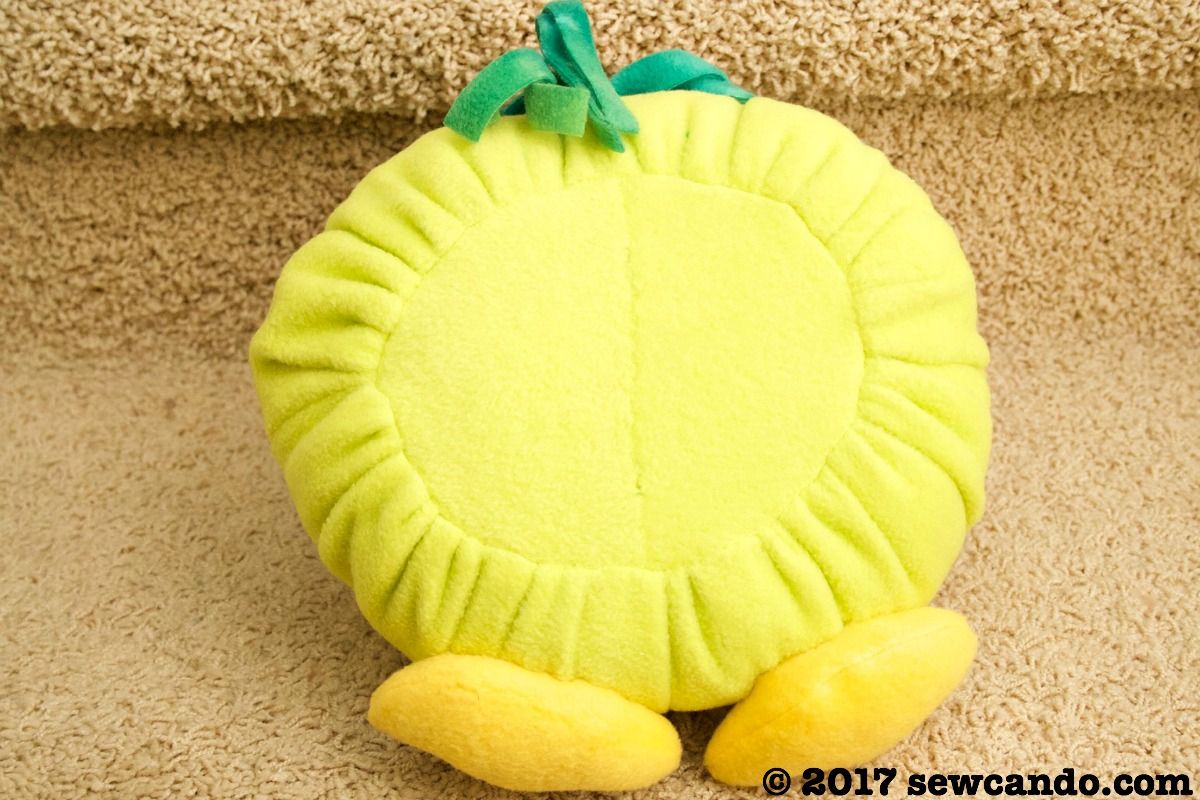
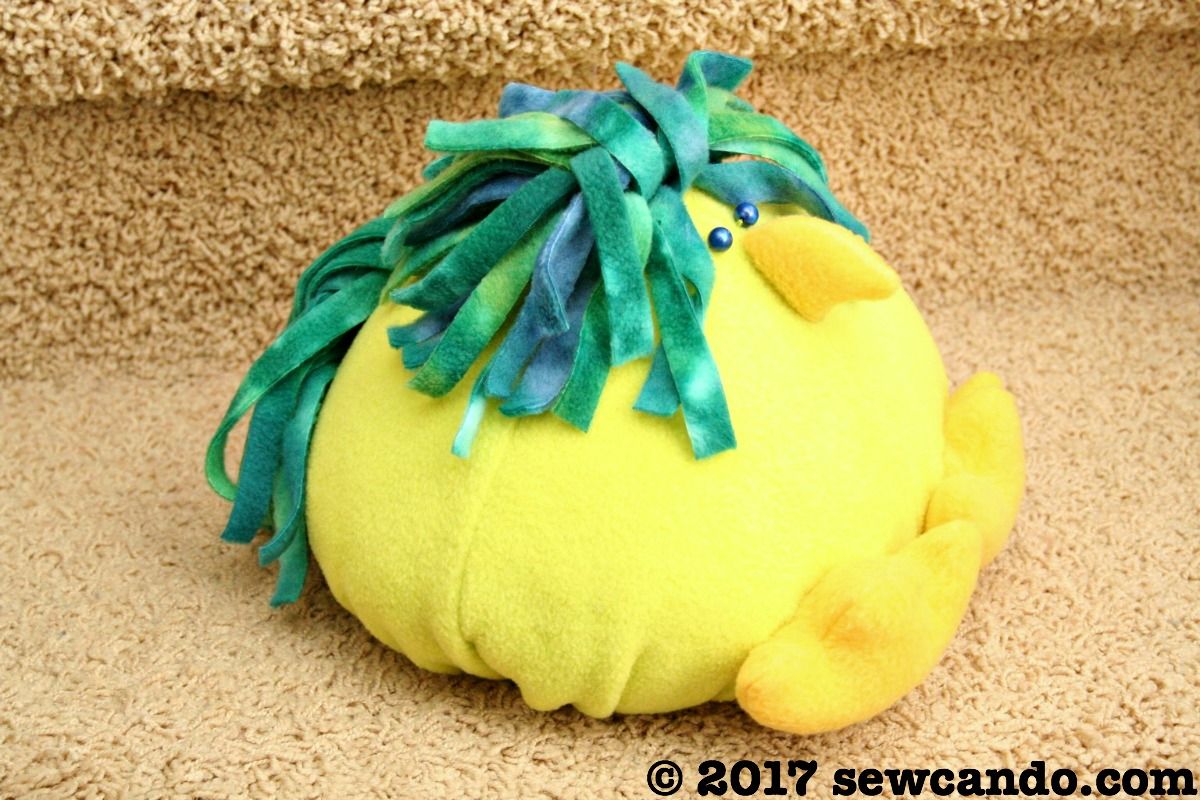
This is Doopy Bird.  At least that's what my kids have named him.  He's cute and weird and handmade so he deserves a fun name for sure.  


For Christmas I wanted to focus less on buying and more on making, so I made fleece plush toys for each of my kids.  I was a bit short on time to completely design 3 new patterns from scratch, so I finally broke open some softie pattern books I'd bought ages ago and still never used (aka typical craft hoarder scenario).  This fleece bird was one of them. His actual pattern name is Bitty Bird, but I think I prefer Doopy myself.


He's from the book, Fleece for Kids by Mary Emery Vollertsen.  I bought the book when I was new to sewing and just starting with fleece.  Fleece is the ideal fabric for making plush toys and for sewing beginners by the way.  8 yrs later I'm finally using it and no longer a beginner, but it was just what I needed in the holiday hurry.  There are a number of cute soft toys like dinosaurs, birds and a bee puppet included, plus lots of hats and tops. I liked it because it came with paper patterns, not the usual "here's a line drawing, now try to magically scale this up on your printer.  That was the the big plus of the book.  The second plus is a good sized section with technique info on smocking, tucking, fabric sculpting and appliqués.


The big minus?  Those handy paper patterns only applied to the toys in the book, not any of the clothes heavily featured, which was the main reason I wanted it in the first place. Showing a bunch of cute tops and hats, but then in the instructions saying "find a basic garment pattern" and then just some minor steps to embellish it with was a bit of a let down. As was the fact that said embellishments were for a single size.  Even if you found the ideal pattern to do the adorable smocked coat and bonnet, her measurements for the smocked bit were for newborn size only.  Not very helpful.

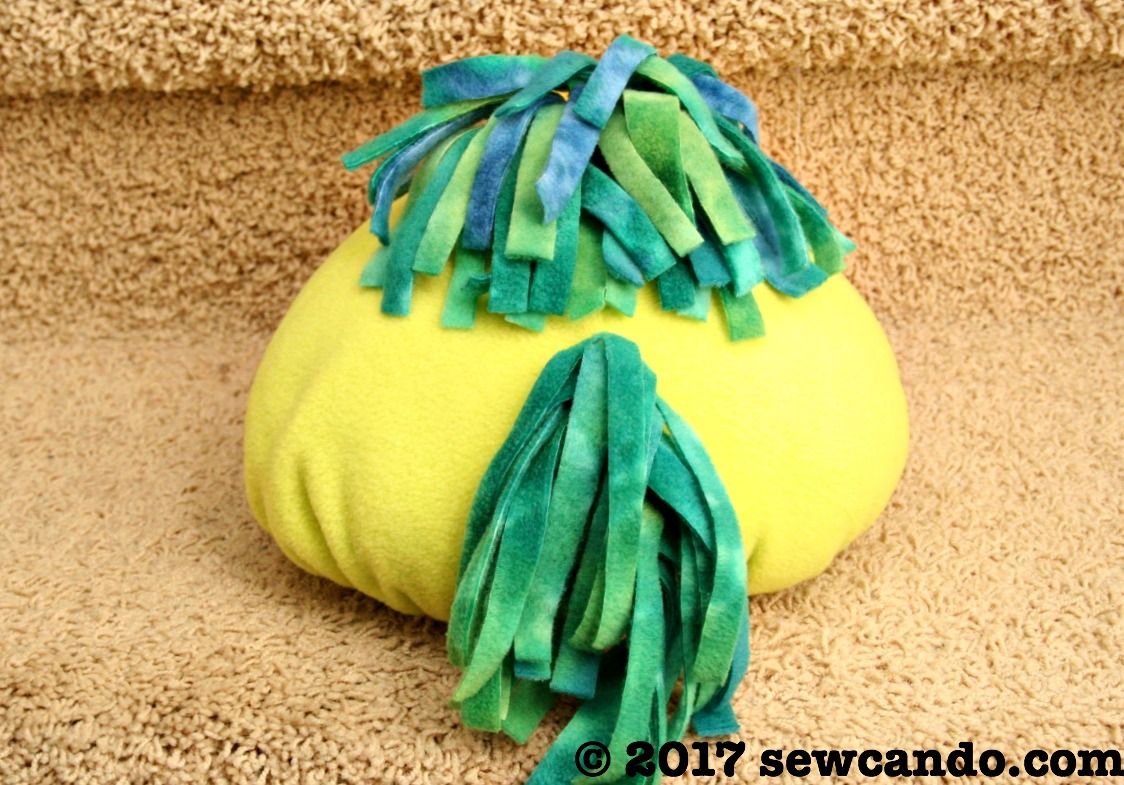
However, Doopy Bird was a pretty quick sew.  I made him in an afternoon.  The pattern and instructions were basic and easy to follow and it would be simple to change his look with different colors, prints and eyes.  He's got some fun tassel-y top and tail feathers that really make him interesting.  I'd definitely make him again.  


Right now, he's enjoying hanging around, being a fun bird and chilling out with my doopy kids.  Since he sewed up so fast, it gave me time to draft my other two softies, which will be coming up soon.


LinkWithin

Related Posts with Thumbnails