Showing posts with label Geek Stuff. Show all posts

Tuesday, October 31, 2017

Halloween Cartoon Cosplay: DIY Darkwing Duck Costume


Halloween 2017 almost bested me.  The costume requests from my kids required some serious time, effort and planning - none of which I had much of this Fall.  Being pregnant and busy with a bunch of other stuff at the same time didn't help.  The tallest order was that of my middle son, to be the signature hero from the 90's cartoon Darkwing Duck.  If they actually made this I'd have just bought one - that's the kind of season it's been - but of course his choice was too obscure for the store bought costume front.

Despite a number of last minute challenges, a little swearing and claiming several times "We're not doing anything this complicated next year!", my husband and I DIY'd the heck out of things to make his costume dream come true.


My husband used his significant foam-smithing skills to turn some pieces of foam flooring squares into a curved duck bill mask and Darkwing's swashbuckling hat.


He also intended to sort out the clothing bit of the costume, but realized this was beyond his skills & available time.  My 11th hour job was to make the double breasted blazer, turtleneck and cape.  In a week, with no perfect pattern to follow.  To say I was feeling panicked is an understatement.


I did a serious chop shop kind of job to pull it off.  I started with a base of a fleece v-neck pullover pattern, KwikSew 2745.  I deepened the v and added an extra overlapping panel to cross over the front to make it a faux double-breasted affair.  I whipped up some lapel pieces, borrowed from McCalls 8701(which I used a few years back to make a George Washington costume for my oldest), and stitched those to the v-neck area.  


I found some giant gold buttons that had been among my late grandma's button stash and added those to the front and sleeves to create the blazer.  


I didn't have the time or inclination to make a full turquoise turtleneck or want to spend hours searching for one I could buy, so I found some leftover teal rib knit in my fabric stash and threw together a sort of dickie to attach to the blazer. 


I literally just cut a rectangular panel to tack to the shoulder seams:


and then made a tube that I stitched to that and the back of the fleece shirt to make the fold down turtleneck:


For the legs, I used a pajama pant pattern to make some white fleece bottoms and dad cut some foam webbed feet to go over his shoes:


The hero's cape was just a basic rectangle out of suede cloth that I hemmed on all sides and made a casing at the top to gather and then pin to the blazer.  I wasn't even planning to hem it (time saving and all that), but of course the fabric frayed like crazy when I cut it so I didn't have a choice.


By some miracle, and a lot of prayer, we got it done just in time.  Our guy is a real ham, so he has been loving the chance to pose it up as his favorite character.  This mild mannered kid transformed himself to become "the terror that flaps in the night!" as the webbed superhero calls himself:


Later this week I'll share another and slightly easier costume done for my teen.  Next year they better take it easy on me!  


Wednesday, January 18, 2017

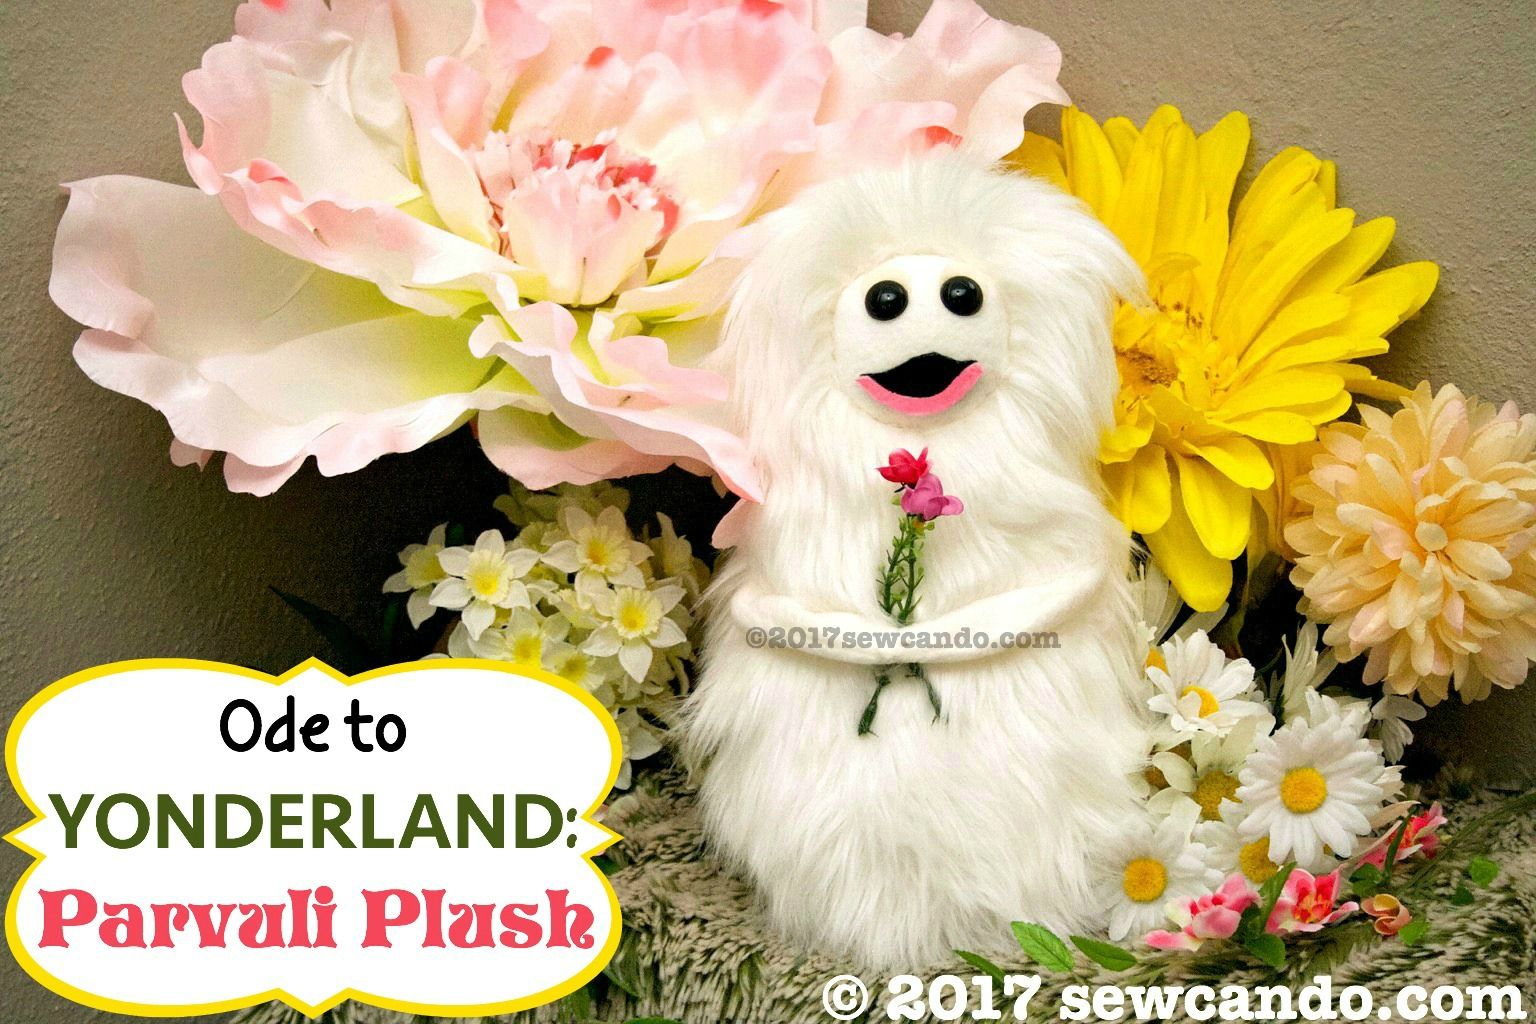
Yonderland Love: Our Parvuli Plush Toy


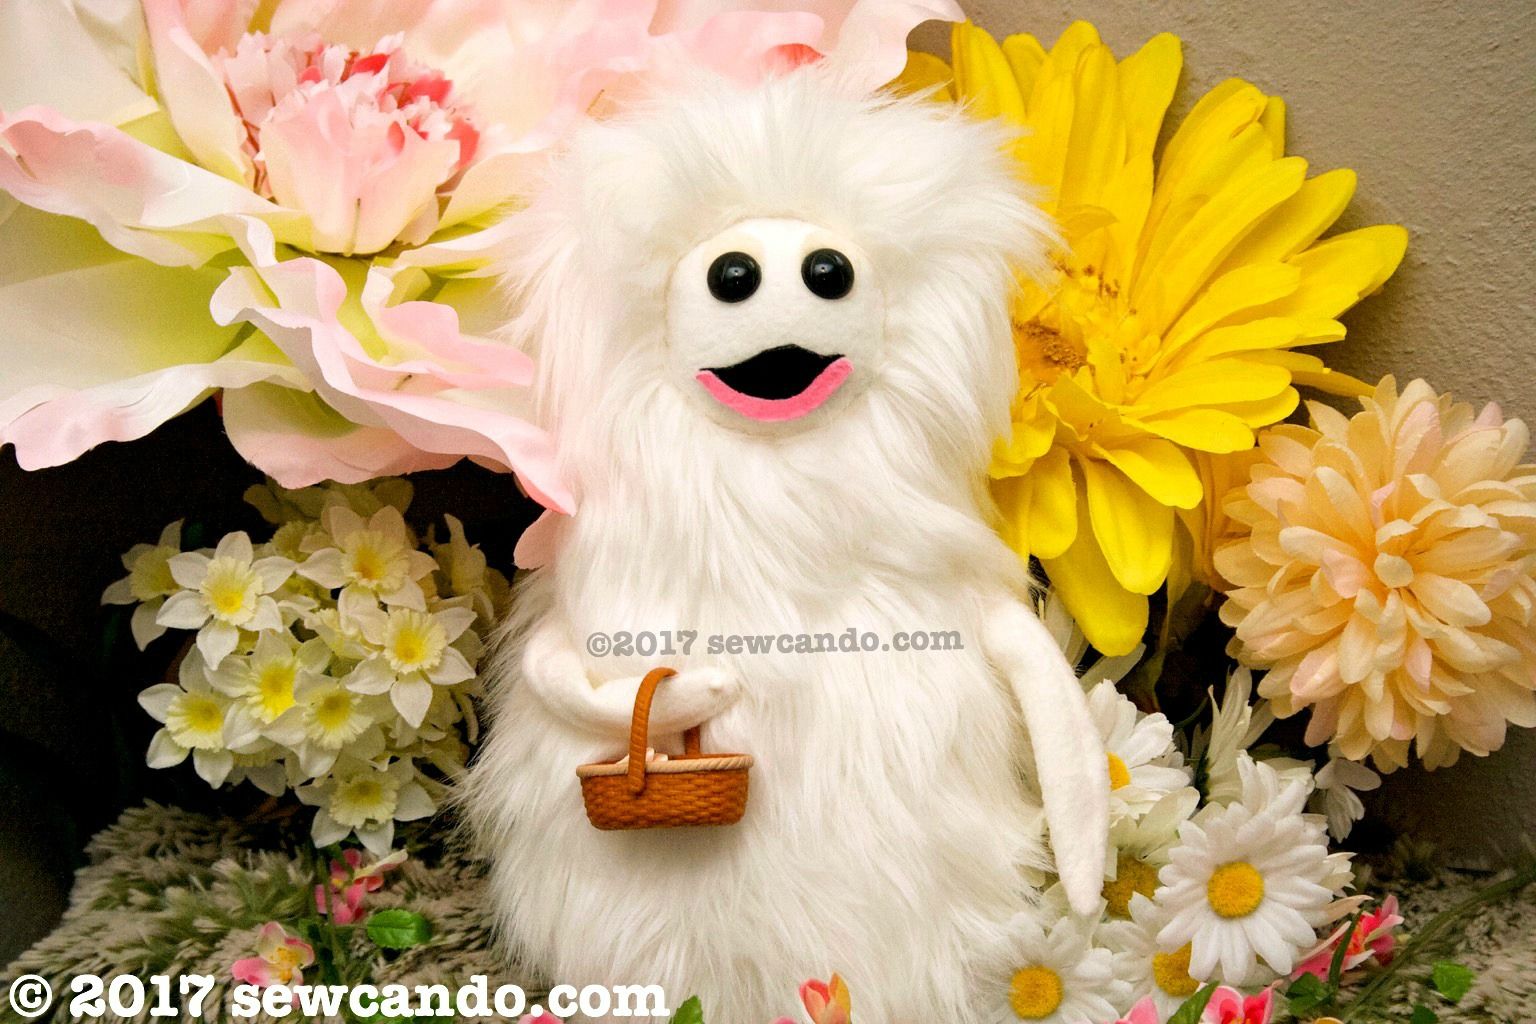
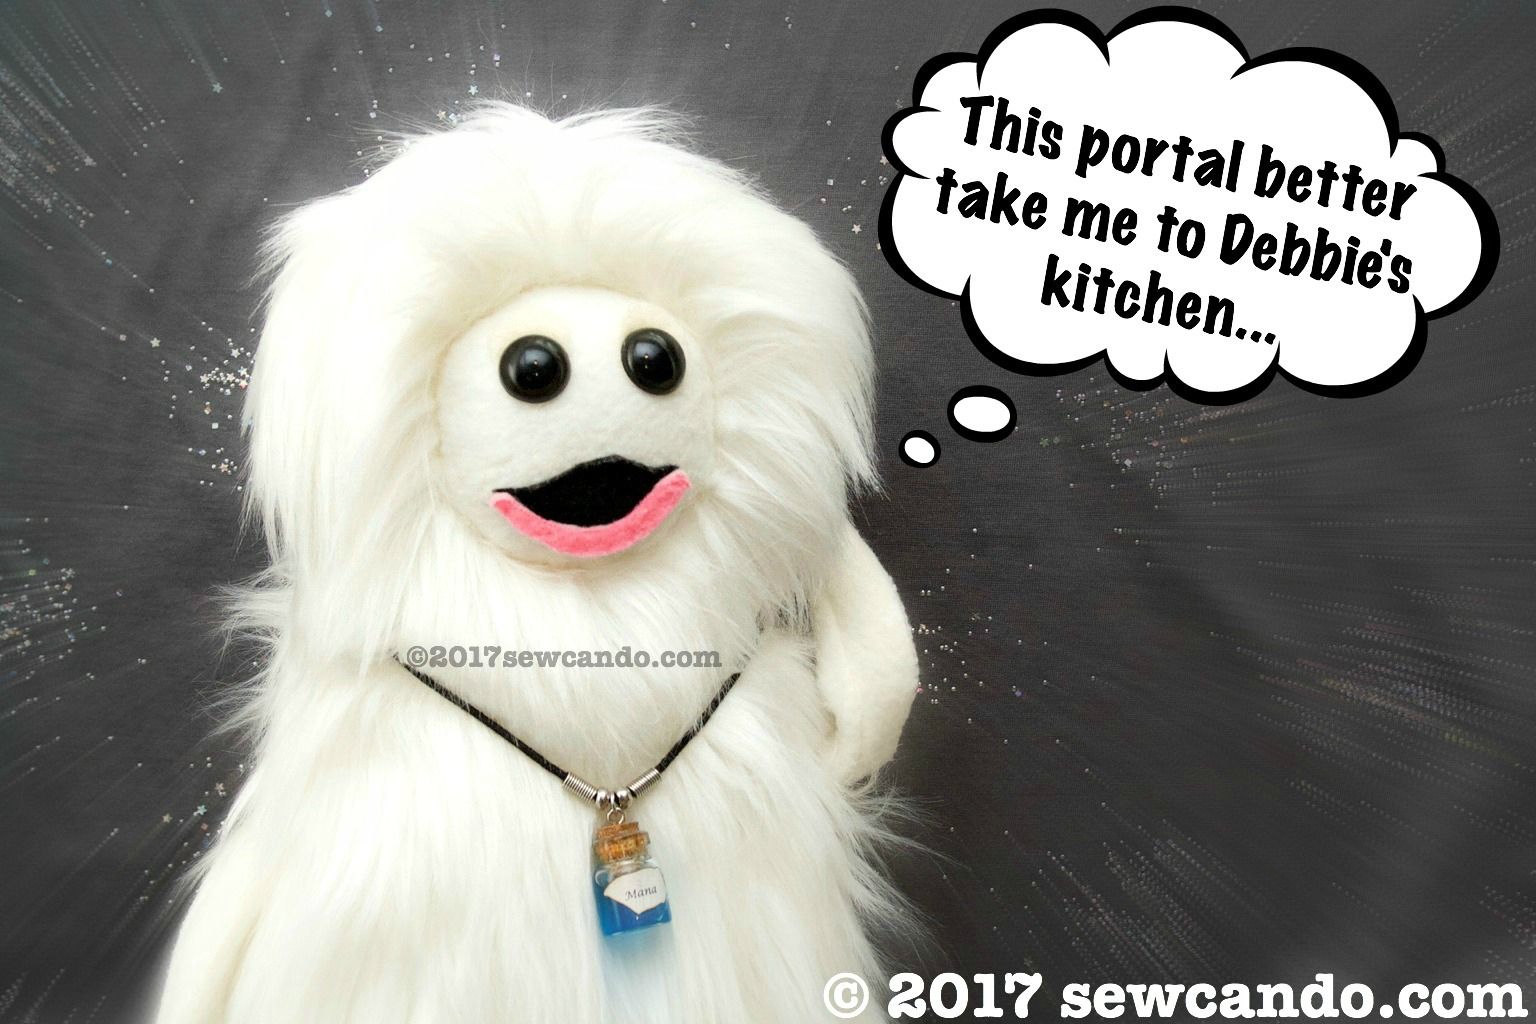
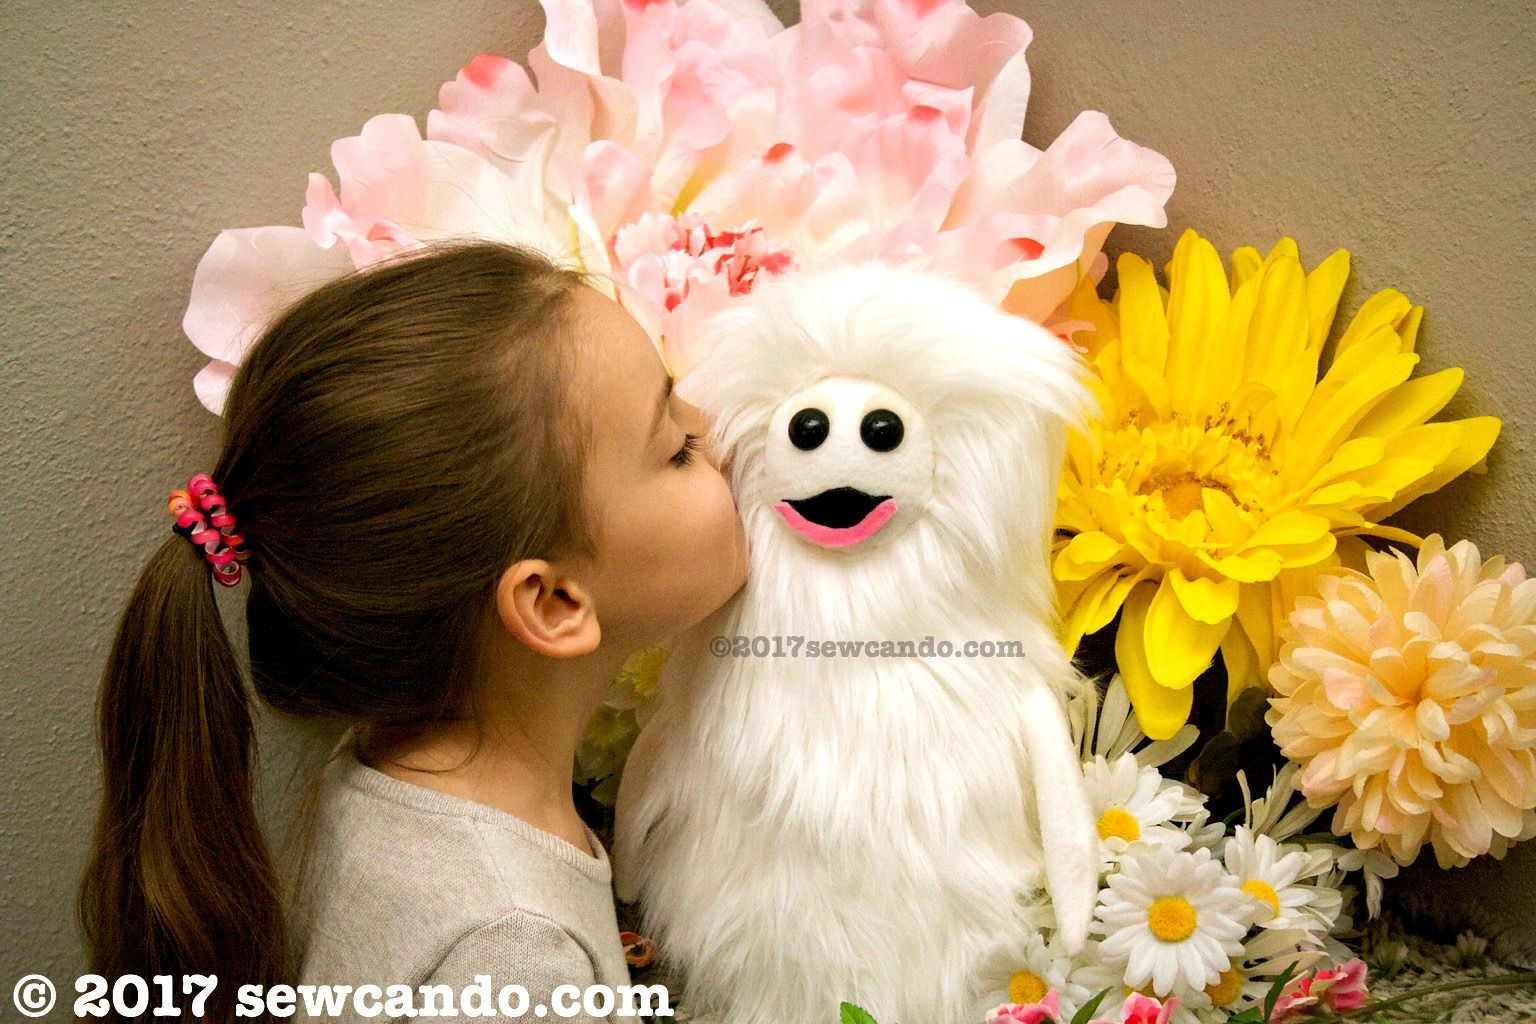
Amongst my DIY toy creations for this past Christmas was this fluffy little friend.  Honestly, it's hands down been my favorite plush to make to date: one of the Parvuli from Yonderland.


If you're not familiar with Yonderland, and you like awesome things, you need to discover it it asap.  It's a fantasy themed tv series from the UK that features fun characters, an alternative world and puppets.  It's considered a family show, so it's amusing & clever for adults and still entertaining for kids.  And no this isn't a paid/sponsored post to pimp it to you (although I'd totally jump at the chance to work with the peeps from Yonderland).  My kids LOVE it, as do my husband and I.  Santa brought them the new series 3 on dvd, so it seemed only fitting that I'd would make something inspired by  the show to go with it.  Of course I had all the supplies on hand, because I'm completely ridiculous craft gear hoarder. These adorable, furry creatures with the syrupy voices and high pitched songs seemed the ideal choice and a great way to use some of my massive plastic eye & faux fur collection. 


Now, if I want to get technical, I suppose I should call this little guy a Parvulus since Parvuli is plural and I've only made one so far (it means children in Latin btw).  My 11 yr old is learning Latin since he's crazy about ancient history, so we should probably be accurate from an educational standpoint, but I'm going to keep referring to it with the group name everyone knows here, so the grammar police can arrest me after this post.

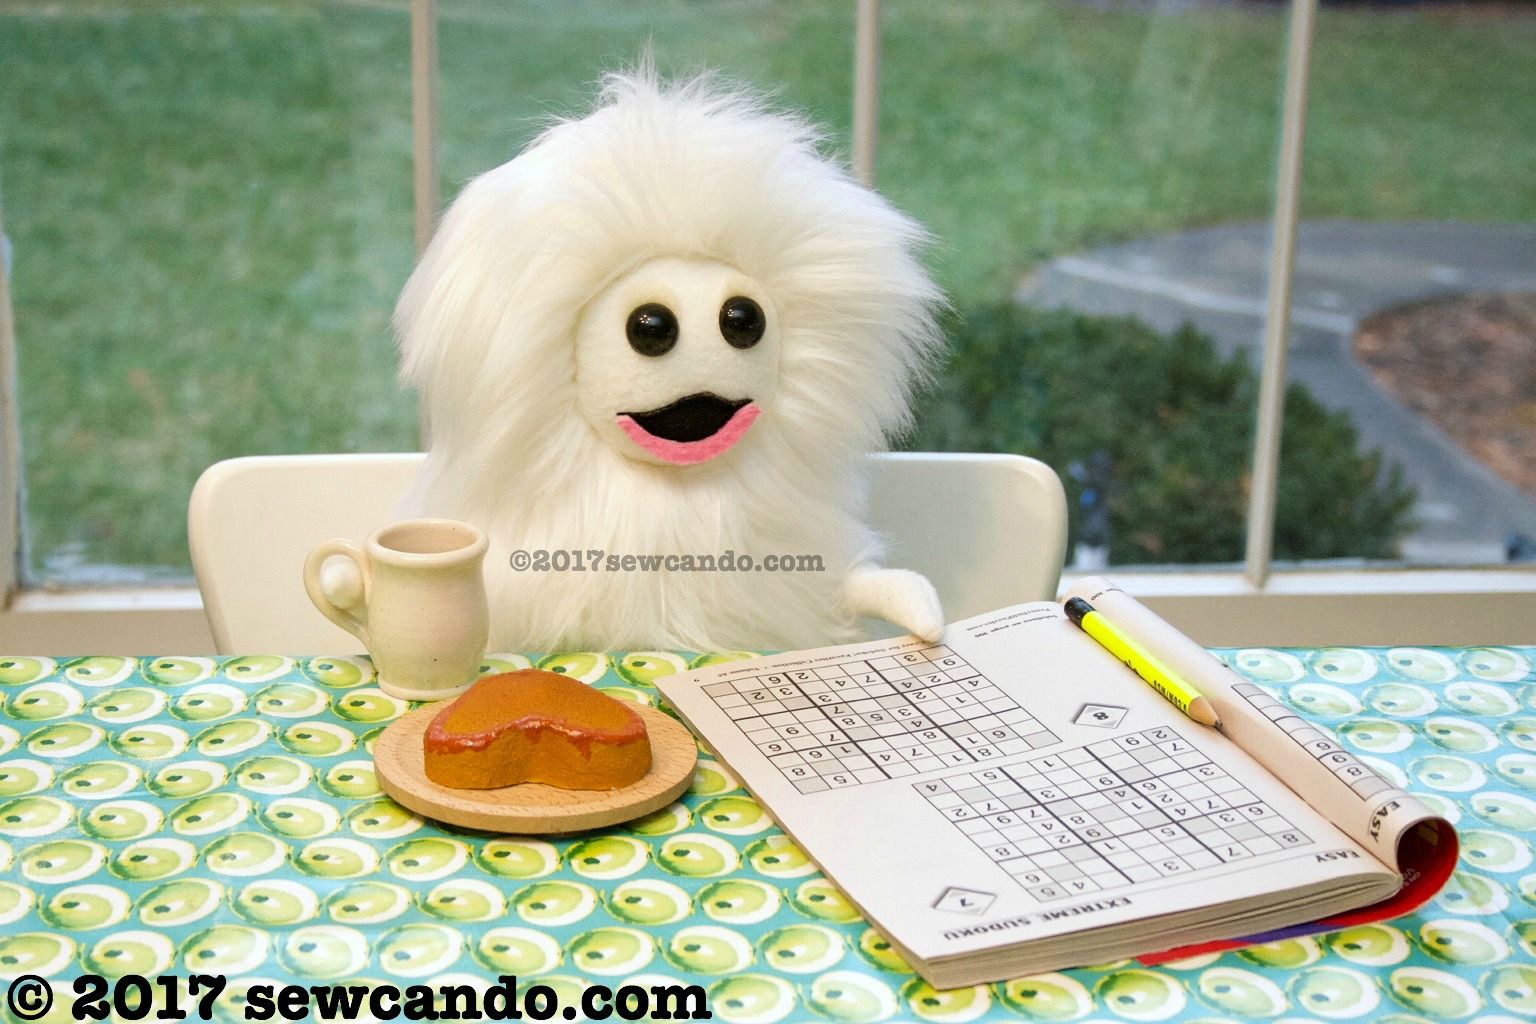
I can't tell who's having more fun with him - me or the kids.  The amusing vignette options are infinite.  It's like having a bit of the show in my house, which feels surreal.  Parvuli hobbies include chillin' in the kitchen with some cake and a Sudoku:


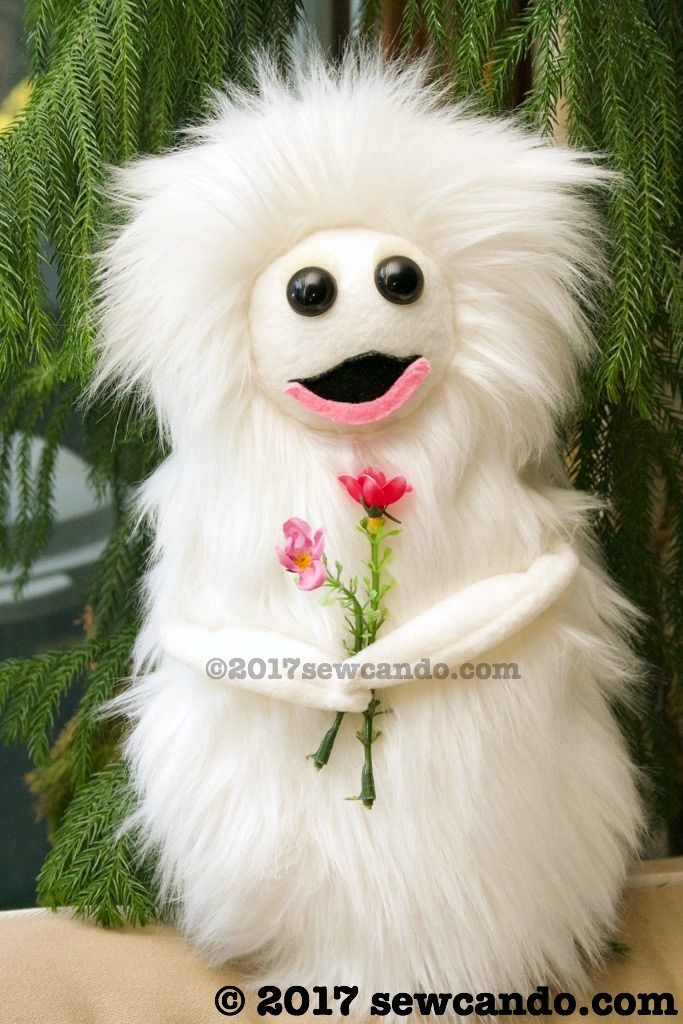
Singing while looking cute, just like in the show:


and dreaming about "The Chosen One" aka Debbie:


I made him with faux fur, fleece, felt and polyfil, so he's as close to the real deal as I could get DIY'ing and is still durable enough for the kids while playing. Of course, I literally waited until 4 days before Christmas to even think about how draft my pattern and figure out how to put it together, but within 48hrs I had him totally done.  It's weird, but I almost can't believe I made him, it's as if he just popped out of a cupboard rather than me sewing him together. Maybe some Yonderland magic was involved, who knows?  

Before anyone asks, I don't/won't make these to sell.  Sorry:(  I was asked this A LOT when I did my handmade BoxTroll plush, as that was another great screen story that had no real merchandise, so searches brought lots of people here.  The positive feedback is great and always appreciated.  I don't ever want to sound rude about it, because it's crazy flattering when someone offers to buy what I've made.  I'm just trying to being proactive on this one to cut down time spent on individual replies.  I feel sad & a little guilty saying no to fellow fans, but there's a good reason. 


Why say no?  The Yonderland crew owns the rights to their creations.  While I'm a big fan and loved making this creature for my own kiddies, it wouldn't be cool to make money off the show's name & character concept without their permission.  I'm not doing a Parvuli-specific tutorial for the same reason.  I don't want people to start selling them using my design.  I had enough trouble with a jerk Chinese company stealing my BoxTroll photos to try to scam "sell" their products, so I'm trying to keep that kind of drama to a minimum, but still be able to share projects I loved making here.  Hence my copyright all over the place in my photos even though I hate how that looks.   


With that being said, let's get back to the cuteness, shall we?  Amusingly, I made this guy for my 14yr old (so getting a plush toy present wouldn't be babyish, but cool thanks to the awesome show), but in true Negatus (the show's semi-villain), I-takes-what-I-want-style, my 7yr old daughter promptly snatched him for herself and literally won't let him go.  Between that and the plural grammar issue, I feel like I need to make more now.  And figure out how to make some other characters.  The in-house pretending options would be unlimited!      


Wednesday, April 13, 2016

Geek Crafts: My Doctor Who Quilt Adventure


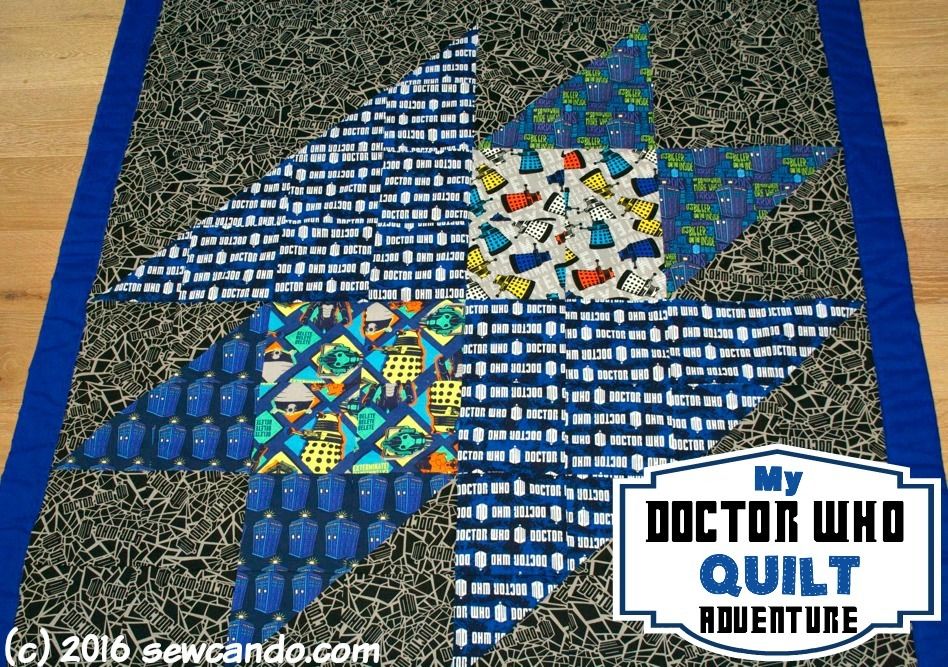
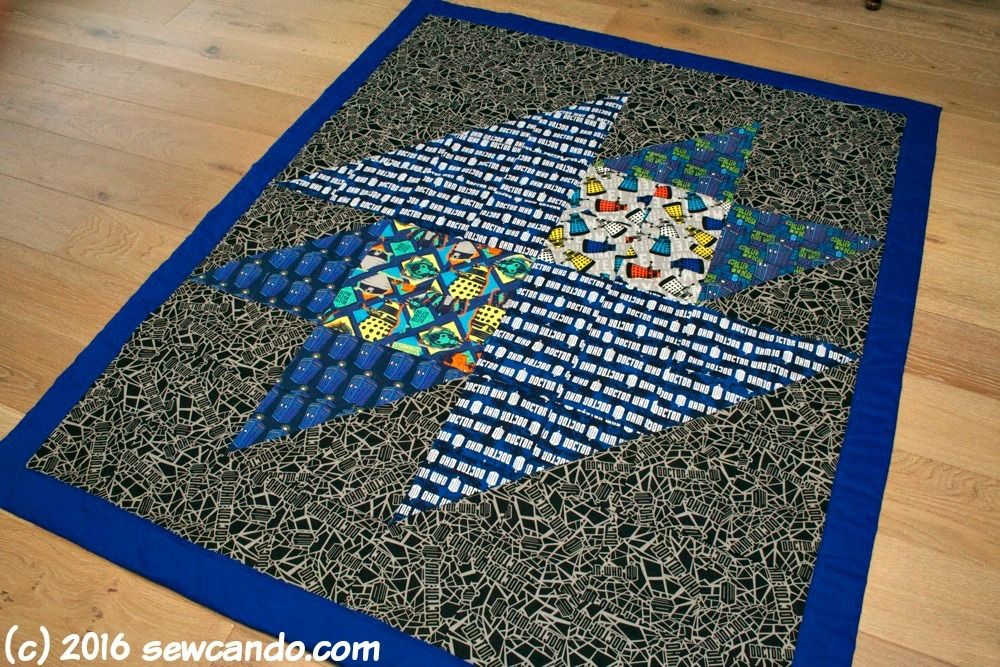
I'm going to start off by saying I am SO not a quilter.  This is literally the third quilt I've ever made in the 7 years I've been sewing.  It may be the last.  I'd be proud to retire on this one though - it's my Doctor Who Quilt!


I made this quilt as a donation for my oldest son's school's fundraising auction.  The school was really stumping for parents to donate cash & goods for this one.  With some pricey remodeling going on at the Sew Can Do house right now, I couldn't afford to donate a typical big ticket item.  I thought about what I could make that might get the auction paddles waving and remembered there were some serious Doctor Who fans amongst the school group.  So my crafty wheels got turning and I put together a design plan for a Whovian-themed quilt.

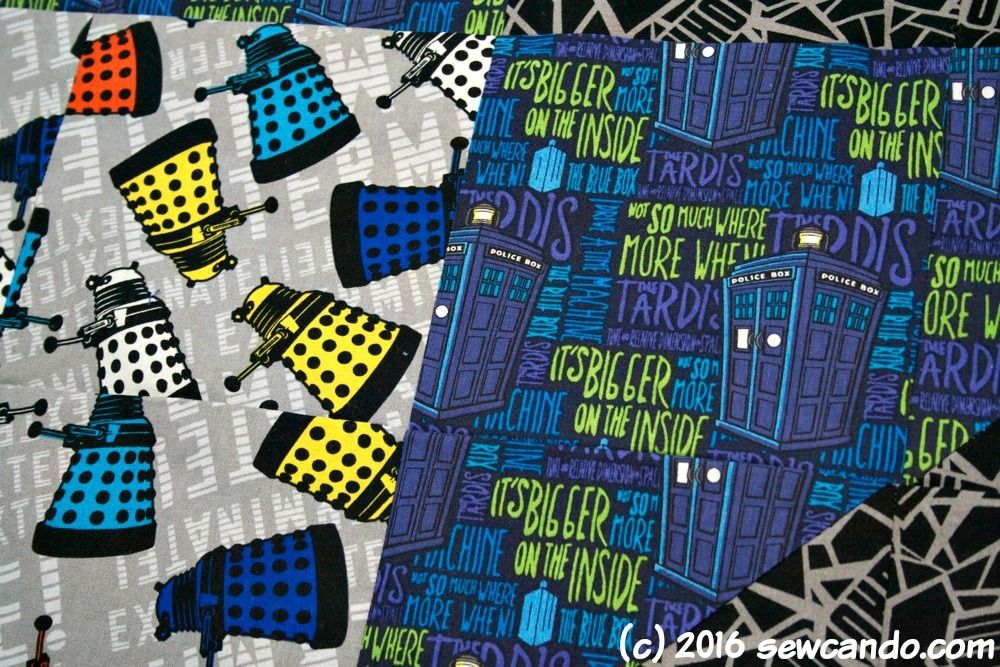
I got a bunch of fun Doctor Who cotton prints to make my ideal design.  Had to have Daleks and the Tardis:


and not just one or two fabrics either. I wanted this to have the ultimate fan experience so I got lots of designs to coordinate (I actually bought too much - big surprise- so I'm selling the rest in my shop here):


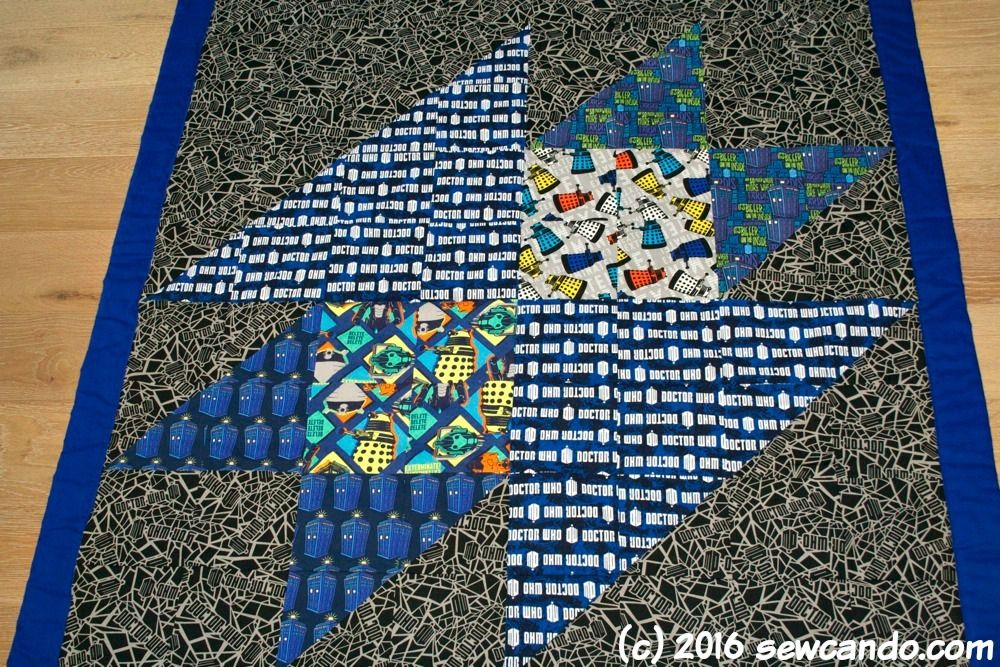
And of course the quilt design itself had to have a Doctor Who vibe, so I did an anvil pattern to look like the Doctor's bow-tie in the main logo and two Tardis prints:


I went with a grey Doctor Who crackle print for my background/filler fabric, so it would add even more geekery, but not take away from the central design or seem to crazy busy:


Since I'm beyond unskilled in quilt design & assembly it made total sense to not use any instructions and just wing it with a general design idea, right? Insert extremely sarcastic tone here.  Yeah, I was a dumbo and despite always telling myself not to do this sort of thing, I tend to do exactly that sort of thing and then wonder why I feel stressed out.  Why do I never learn?!?

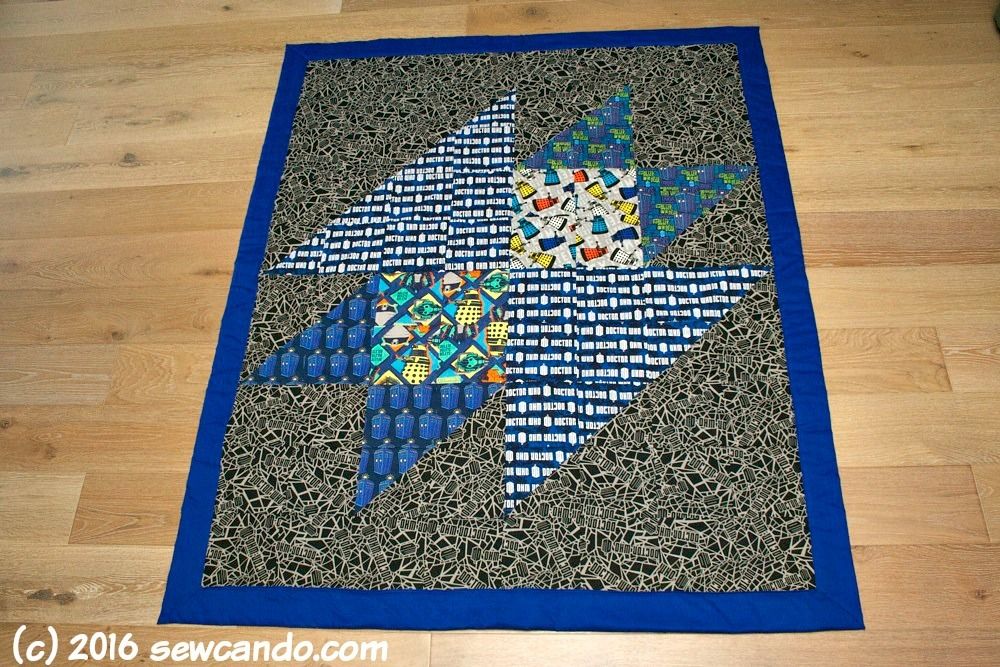
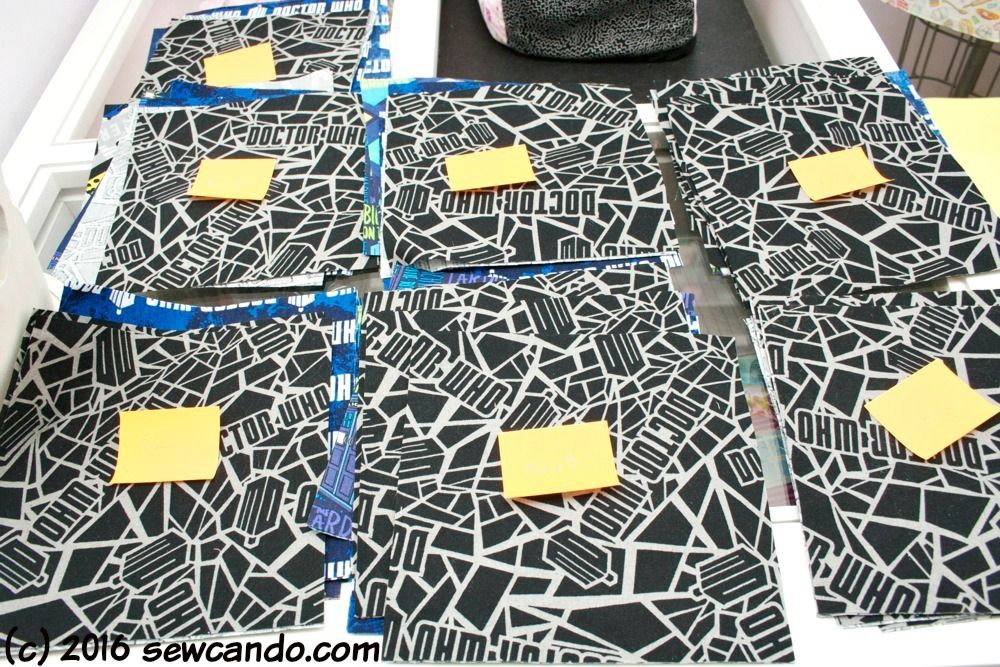
I drafted up a general plan on graph paper and mapped out my dimensions and which fabrics went where and calculated like crazy to figure out what I needed and how to cut it all out.  I did a 6 inch square block pattern in a finished lap size of 54 inches wide by 66 inches high.  Perfect for cuddling with while watching the show;)  I labeled each row while I was cutting to keep things straight.  

Things getting real with this quilting business

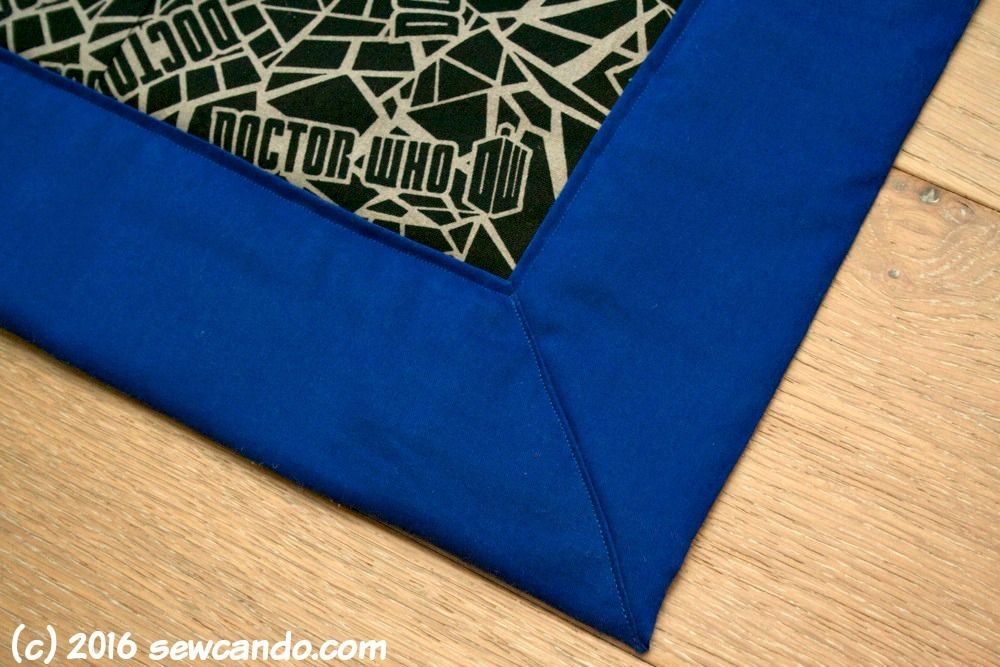
I did a solid blue back that wrapped around to the front to make a border and did some mitered corners.  This worked well with wrangling my batting in the middle.  I did top stitching around the borders and around the three bow ties.  I didn't have it in me to do more quilting at that point. 


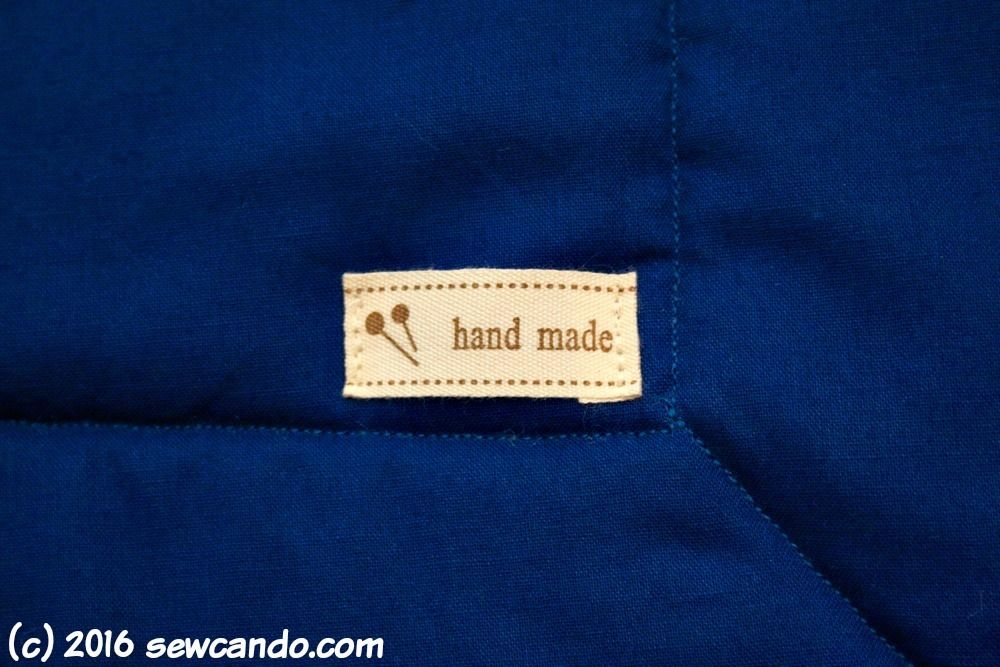
Of course I did have to add a little hand made tag to the back: 


The quilt took what seemed like forever (projects tend to do that when you only work on them a bit at a time because daily life keeps interrupting), but in the end it turned out as I'd imagined it.  The best part was the winning bid was almost $200, so I was proud that my quilt contribution did pretty well.  


Would I want to make a bunch of these?  Um...no.  Am I glad my big kid will be returning to homeschooling in the Fall so we don't have to do stuff like this next year?  Heck yes! Quilting together 80 squares just about sent me over the edge.  I've got mad respect for all the serious quilters out there who love to do this sort of thing.  I did take photos while I worked, so if anyone else wants to be crazy and make one I have the potential to do tutorial for it.  Once I recover from doing the actual project that is;)   


Wednesday, March 2, 2016

Geek Craft Tutorial: Star Trek Oven Mitts


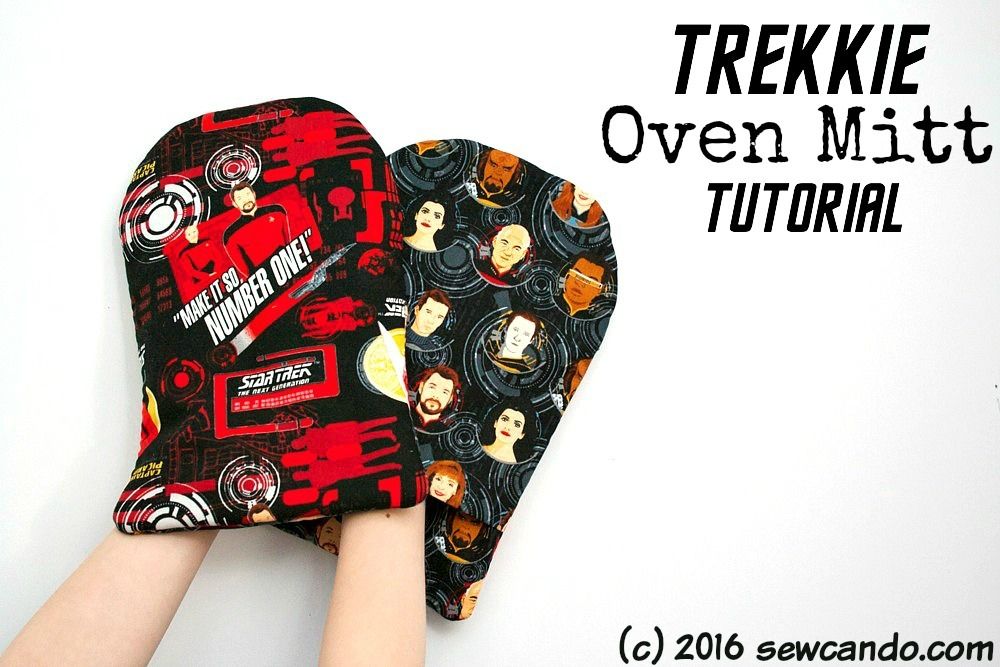
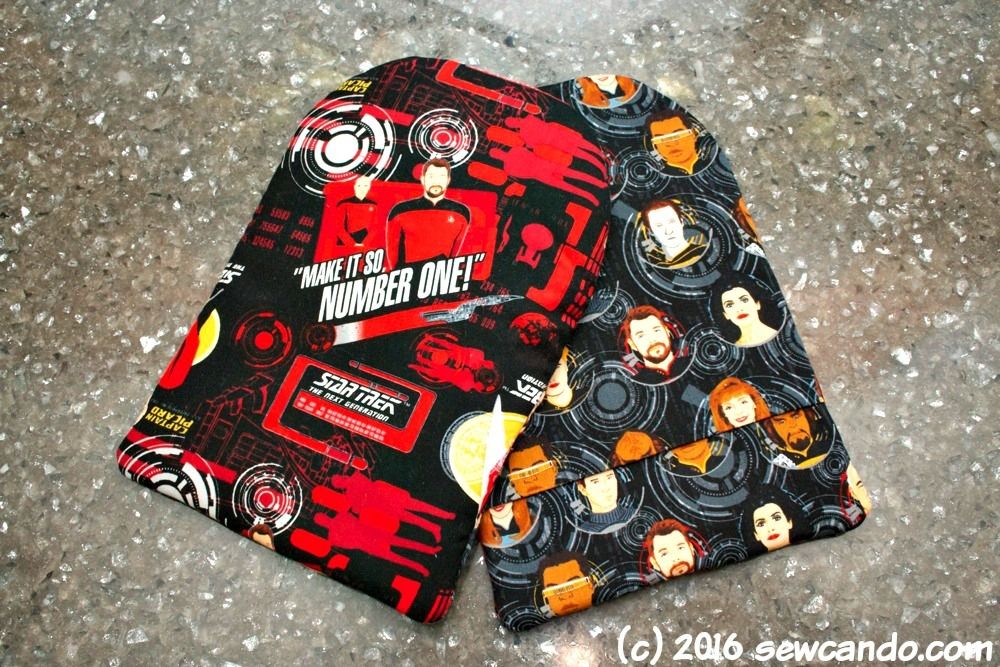
It's been a while since I've done some geek-themed crafting, but I'm back in action now and starting off a new month with this project: Trekkie Oven Mitts.


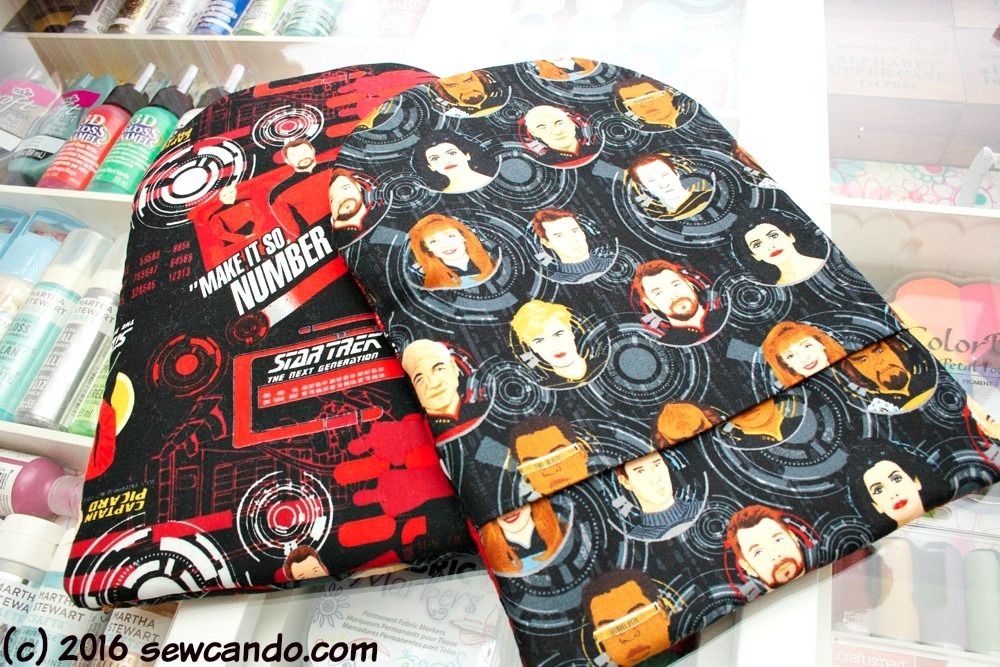
They're full insulated, have easy slip-on hand pockets and of course, the full Star Trek character effect:


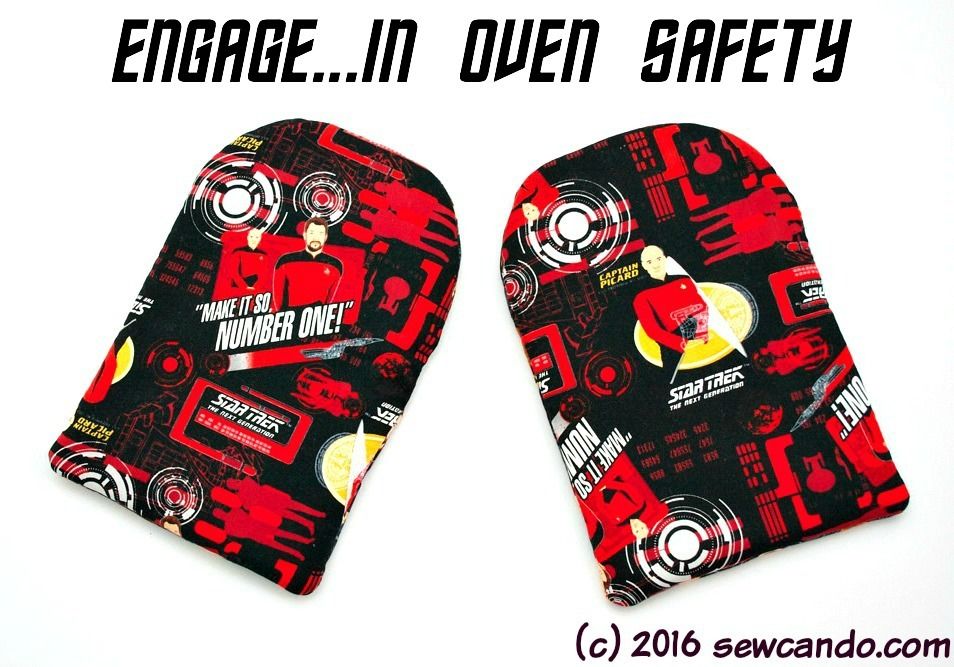
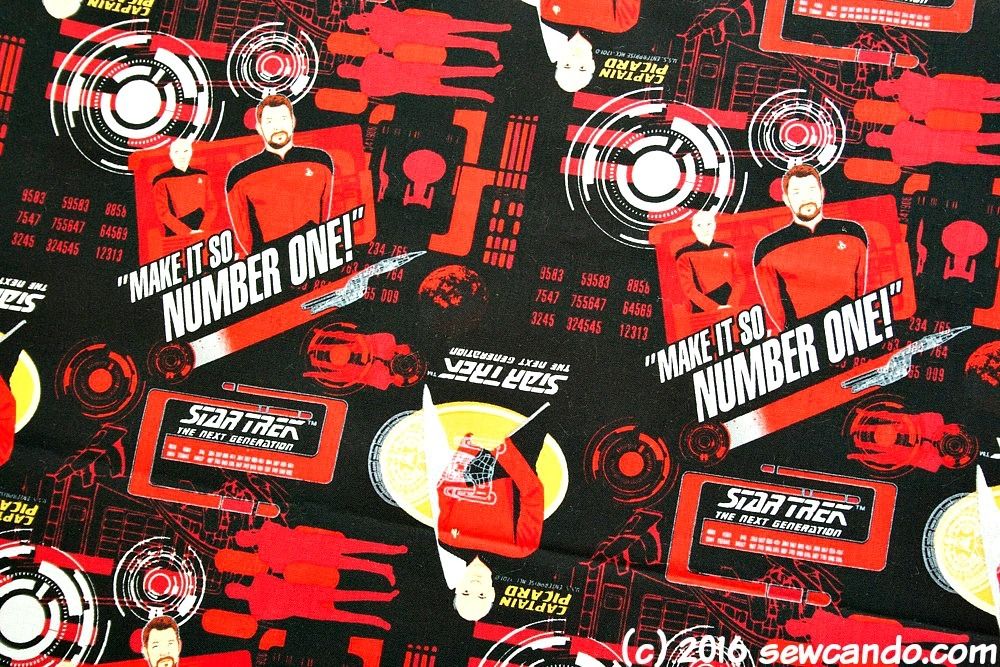
My Dad is a huge Star Trek The Next Generation fan, so when I stumbled across these fabrics I couldn't resist buying them.  He does a lot of grilling and oven cooking, so new mitts seemed right up his street.  This print's got the classic catch phrase for Captain Picard and his Number One, Will Riker:


and this awesome print had the full cast:


FYI, these oven mitts could be done in any motif/print, so if you're not a Trekkie or sci-fi fan, they'll work just as well with any other theme.


Here's how to make them....

Materials:
- Two 1/2 yards of cotton fabric (these Star Trek prints are by Camelot Fabrics
- 1/4 yard Insul-Bright

- 1/4 yard Cotton batting
- Shears/rotary cutter, pinking shears
- Heavy duty needle + hand sewing needle
- Small clips/clothespins
- Paper & pencil
- Optional: walking foot


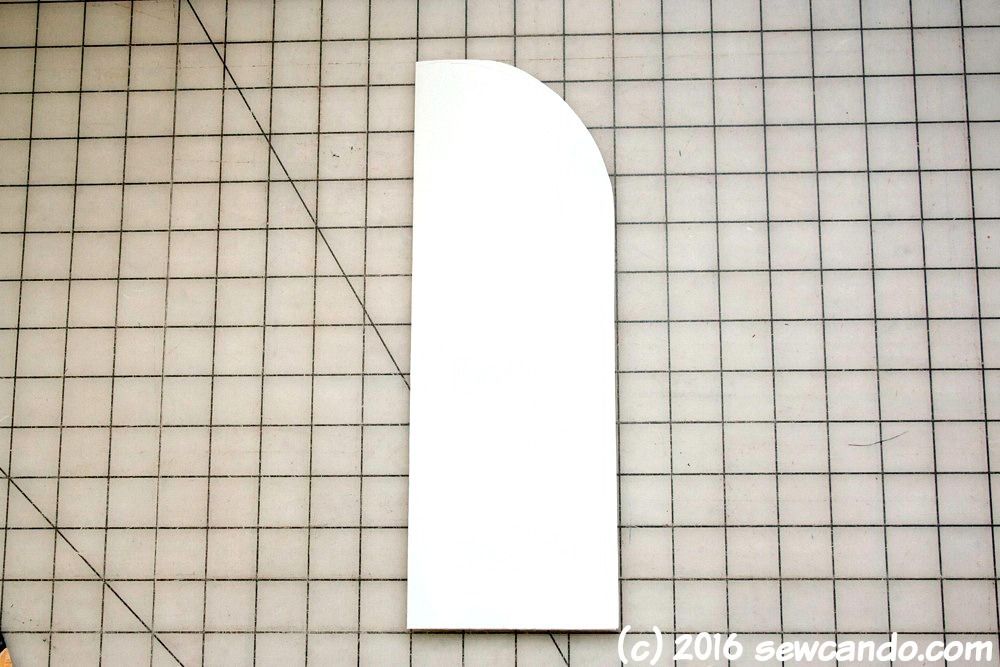
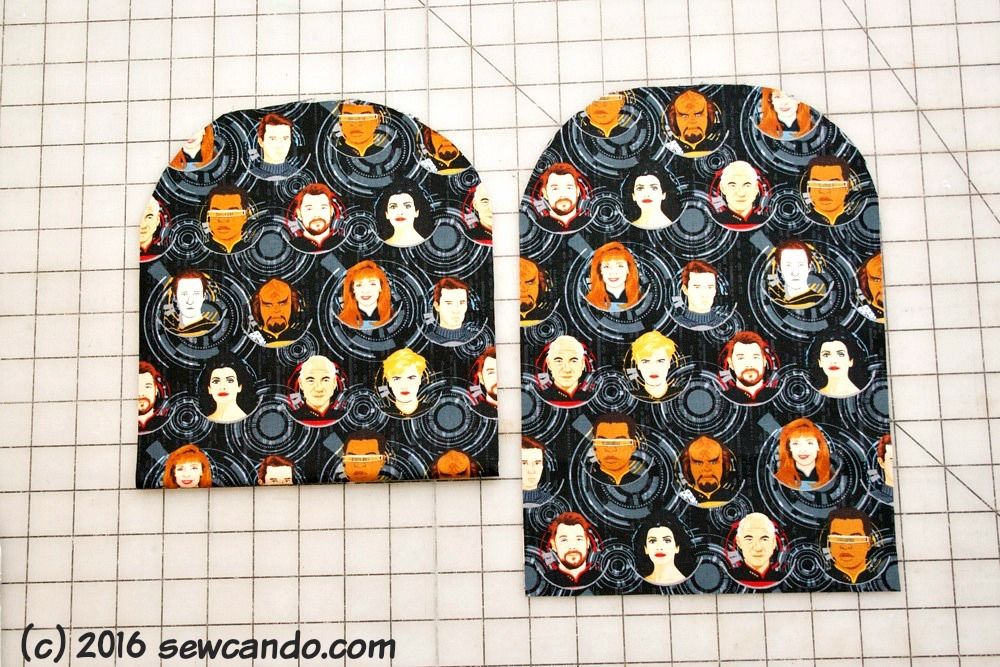
I started by drafting a basic pattern.  I folded a piece of paper and cut it to be 4 inches wide by 11 1/2 inches high.  I rounded the top corner using a plate about 2 1/2 inches from the top.  Opened it up and oven mitt pattern was now ready.


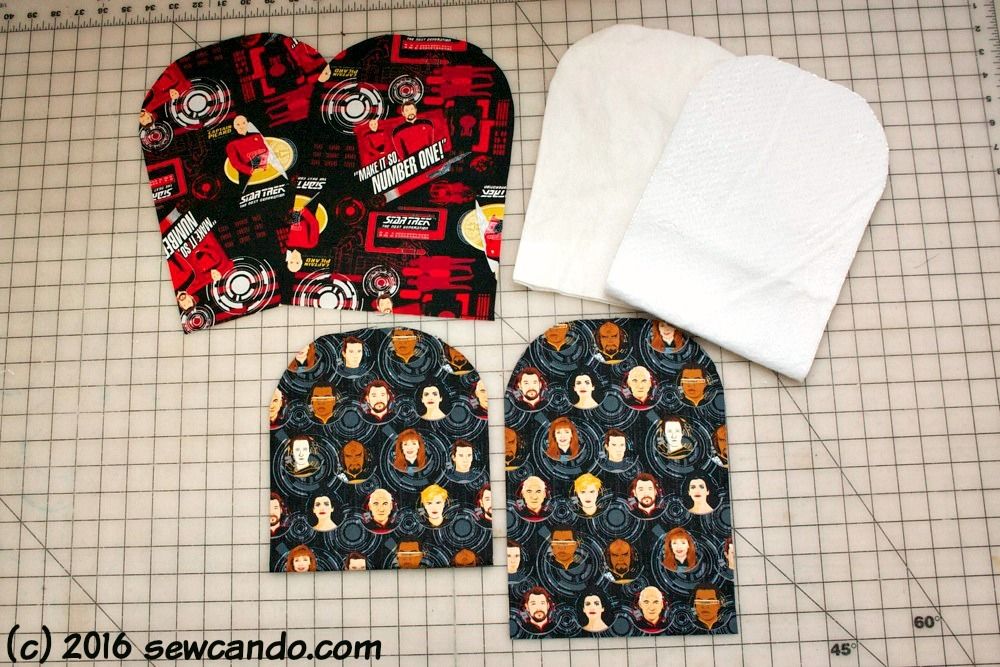
I cut out pairs from both fabrics, batting and insulating fleece. 


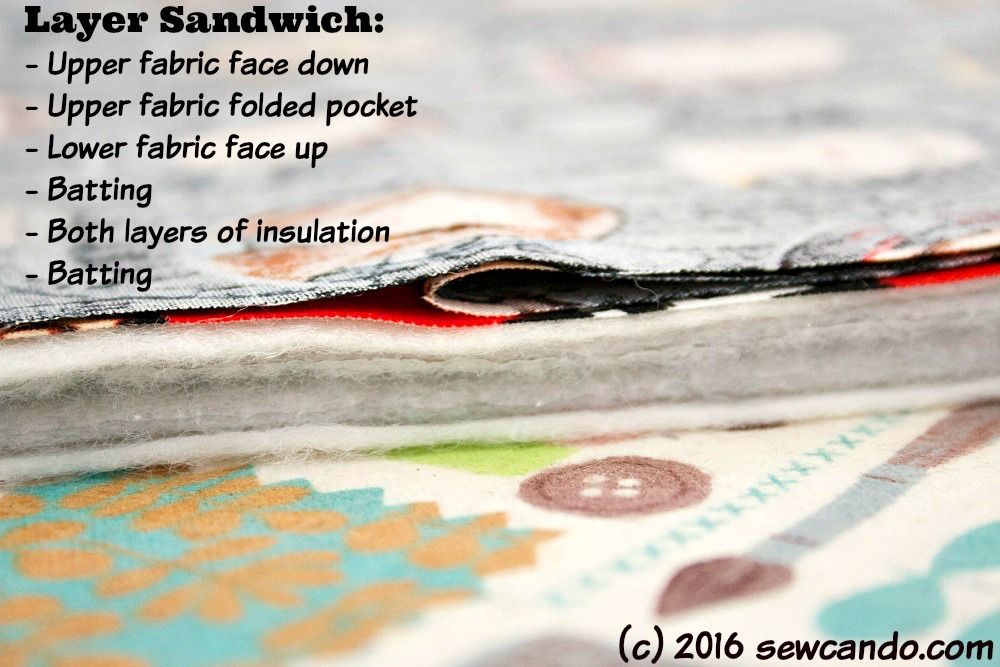
For the hand pocket, I also cut an extra pair from the Star Trek TNG Badges in Black, but made each 2 1/2 inches shorter and cut them with the fabric folded, so that the fold is the straight bottom (this makes for super easy pockets):


Now it's time to layer all the bits together:


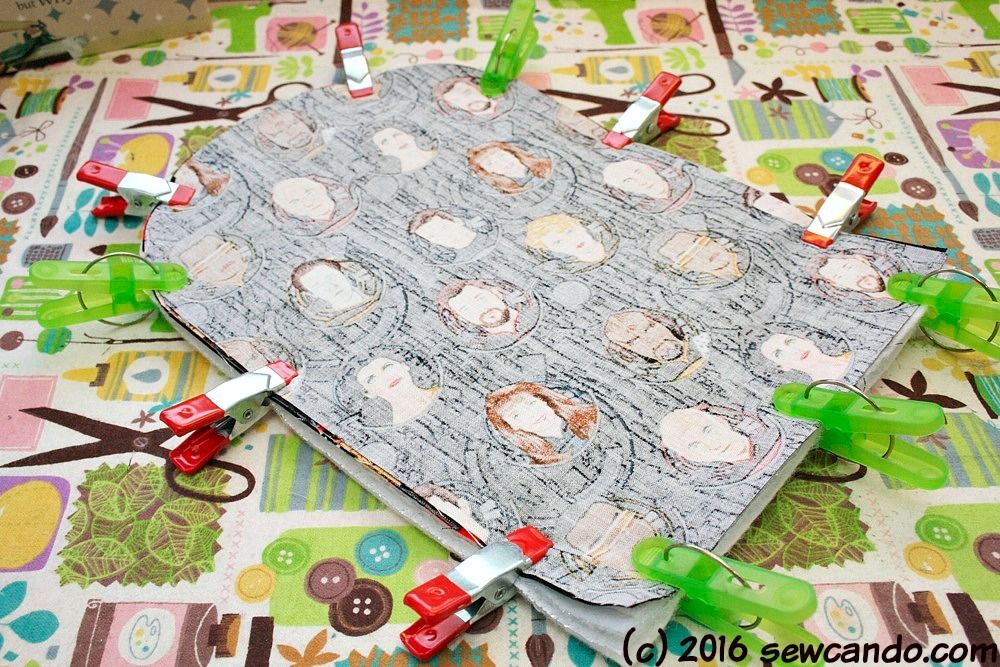
Since this is a pretty thick stack, I used clips all the way around instead of pinning:


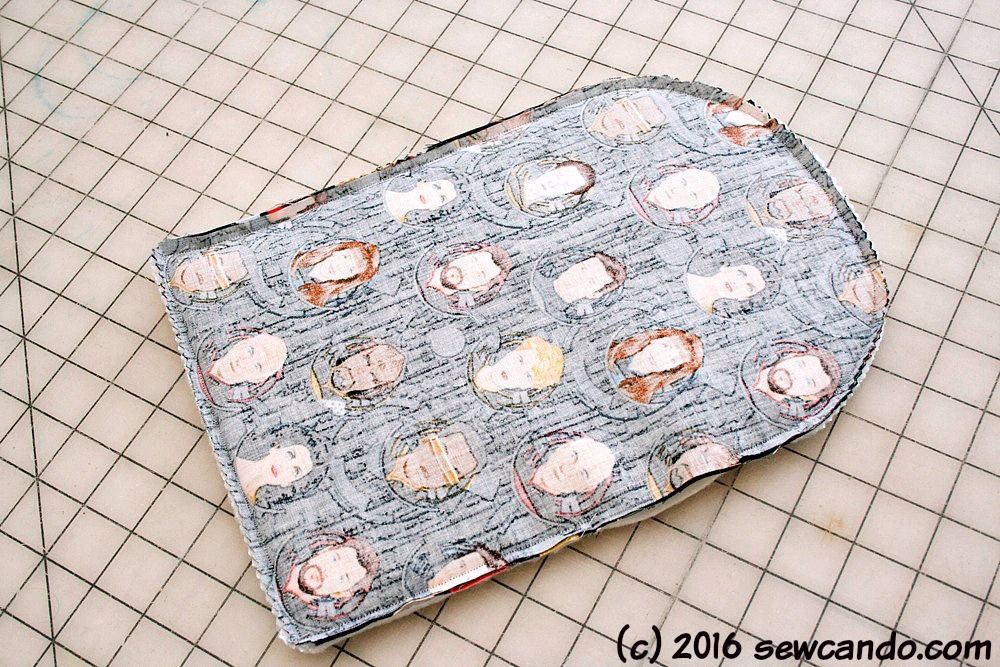
I stitched all the way around with a 1/4 inch seam allowance, leaving a several inch gap on one side for turning.  I highly recommend using a walking foot when sewing this many layers.  It really keeps the fabrics from shifting.


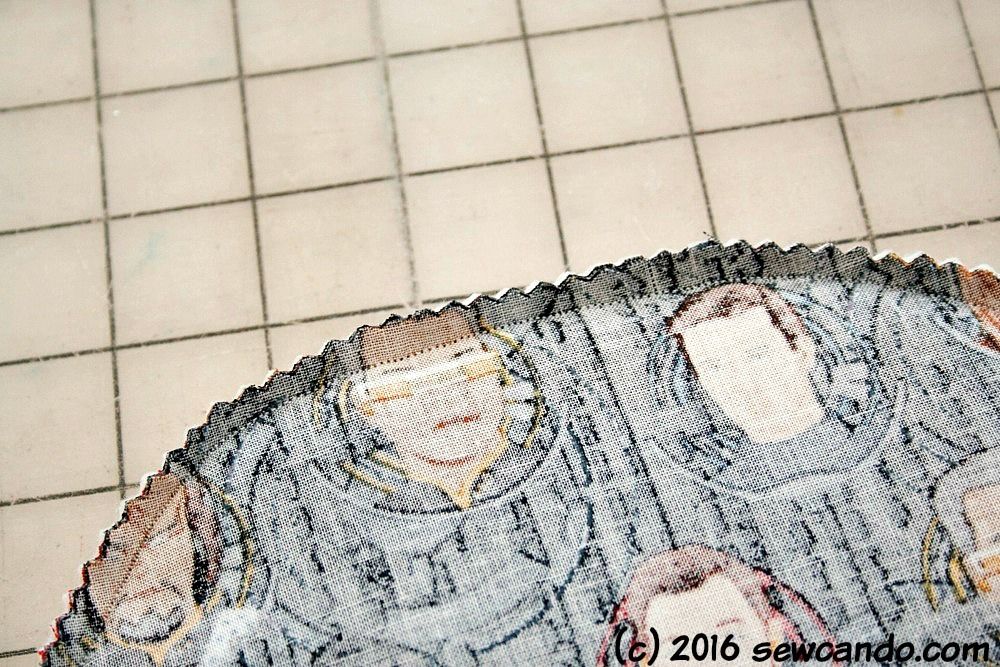
I trimmed the seam allowances with pinking shears.  It's quicker and just as effective as clipping into curves and there's no danger you'll clip through your seam:


Then I turned each one right side out and slipstitched the openings closed by hand.  These were a great birthday surprise gift and are sure to get my dad's cooking to boldly go where no one has gone before.  Yes, that was super corny, but I couldn't resist!  Now, I'm feeling the geek craft vibe again, it's time to think up some other geektastic projects...


Wednesday, April 15, 2015

Crazy Crafting: Our Jelly Soap Making Adventure


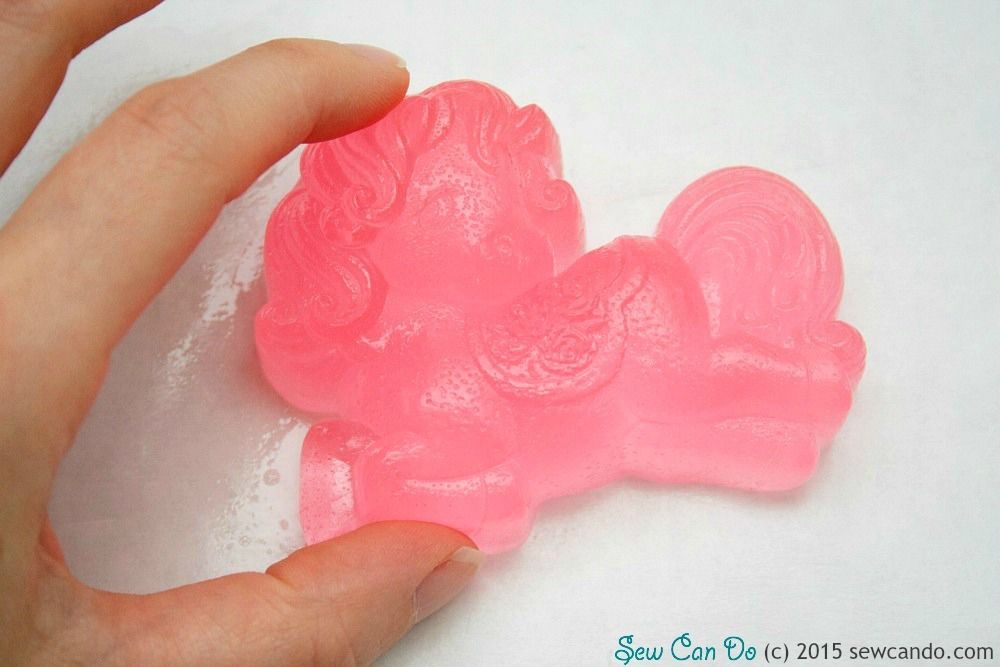
Today I've got that's a bit different.  Jelly soap.  That's right - it's soap...that's like jelly.  And it's AWESOME.


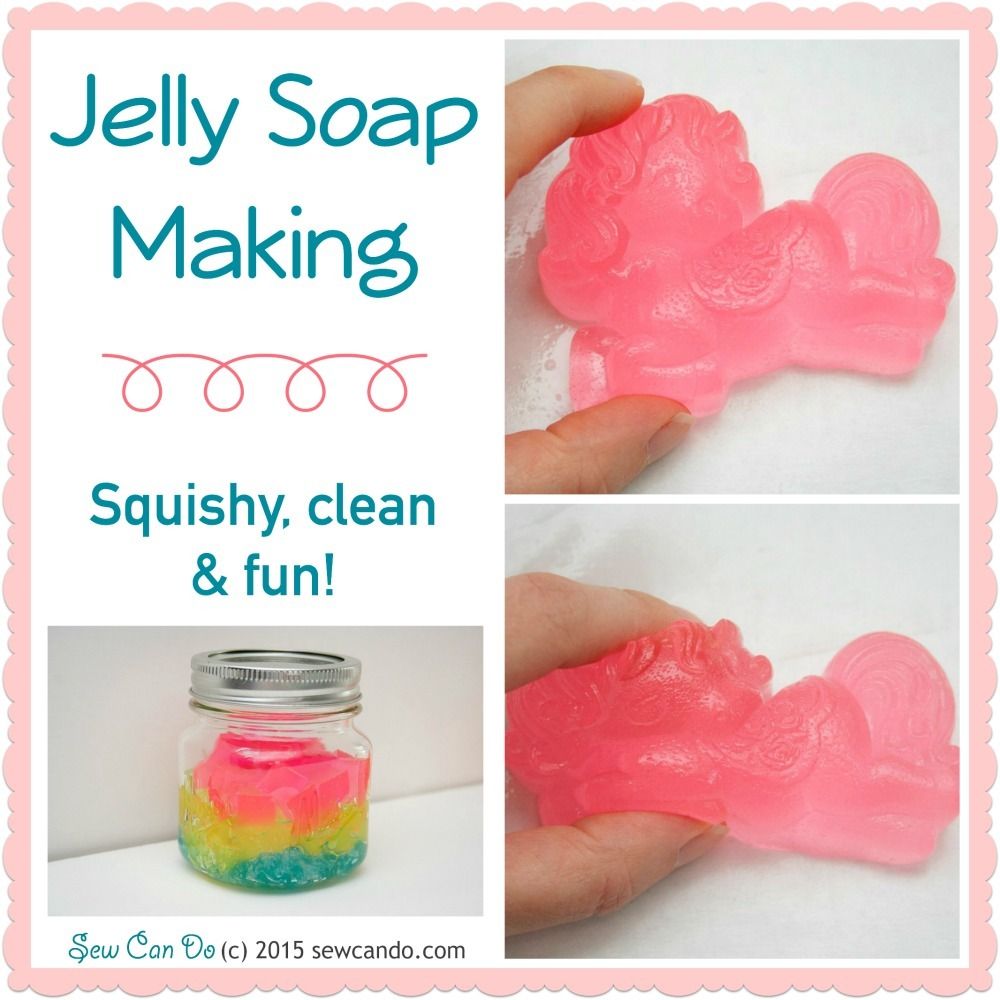
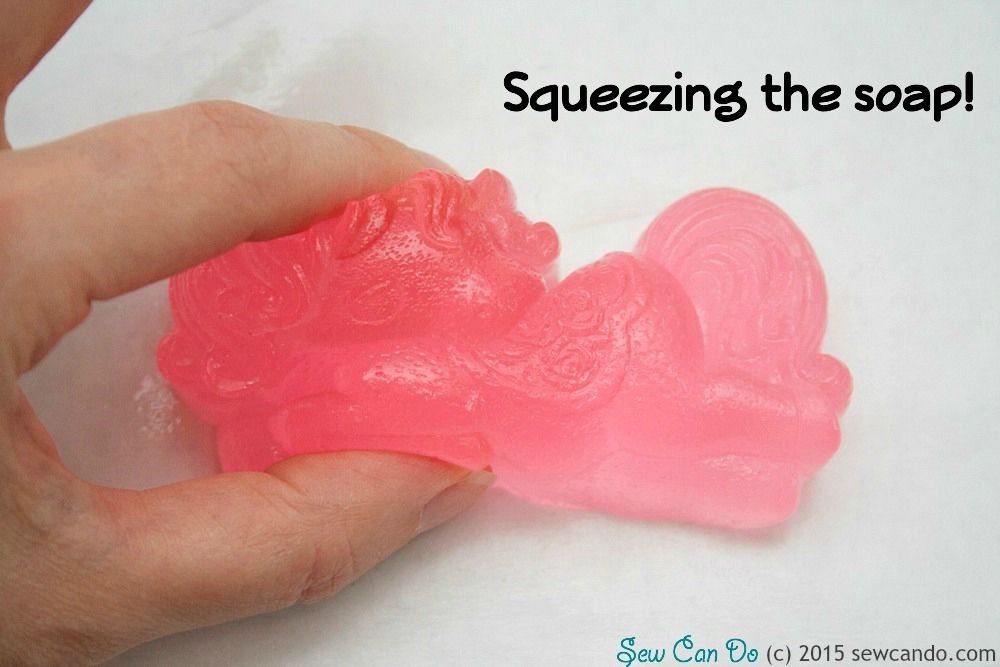
You can squish it.  


You can cut it.  


Mold it into shapes.  Scent it & color it however you want.  And it'll still clean like a regular bar of soap, except it has the consistency of Jell-O.  How crazy is that?  


I like making weird and wonderful things and I've been a long time home soap maker (see my other soapy projects here).  Soap was actually the very first crafty thing I ever made. So when I discovered jelly soap, I was all about giving it a go.  Now I'm sharing what we discovered on our jelly soap making adventure.  It's soapy, soapy jelly time!


Materials:
- Jelly soap base (available online)
- Cosmetic grade fragrance oil & color gel
- Pyrex pitcher or bowl
- Heatproof spoon
- Silicone molds
- Soap cutter/knife & plastic cutting board
- Thermometer
- Rubbing alcohol
- Small scale

You've got to start with jelly soap base.  It's available online from a number of places.  This is not a sponsored post (no hidden sales pitch folks), so I'd recommend just searching jelly soap base.  It's not as cheap as standard melt & pour soap base, but buying a 10lb or larger block makes it pretty inexpensive per pound (I think mine ended up around $4/lb including shipping). There are also some similar shower jelly recipes out there that are totally DIY, but they use gelatin to gel things, which 1.) doesn't work for vegetarians like me and 2.) means it's only usable for maybe a week at most since it's food base will go bad and has to be kept in the fridge because it can get moldy. No thanks!  

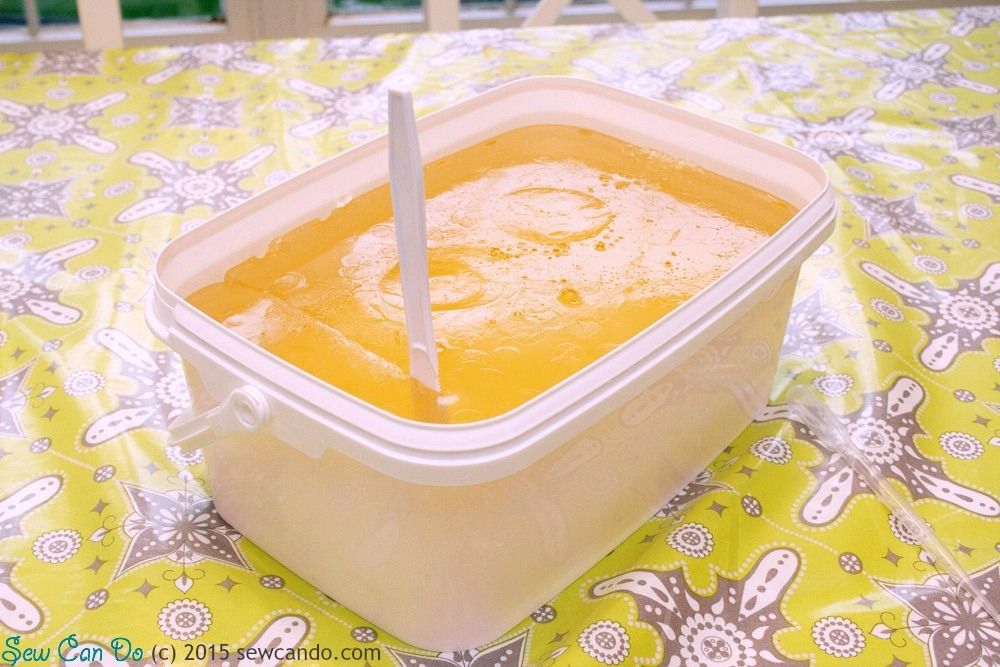
The jelly soap base comes in a big tub and it's already a firm gel.  The knife just stuck right in it:


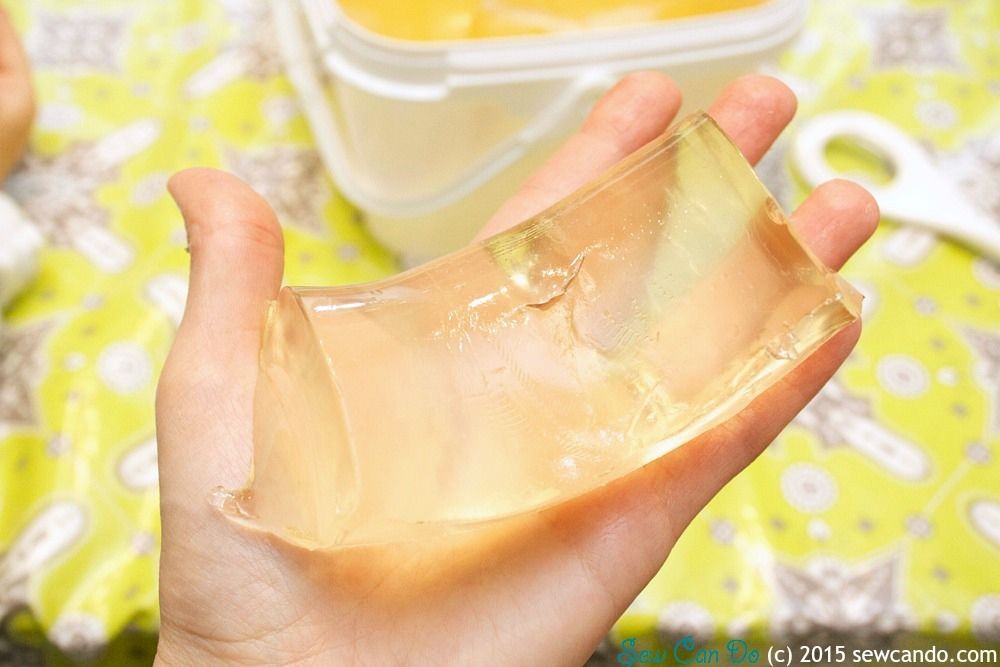
You start by cutting out a bit and weighing it to measure out enough for your molds.  It's got a good heft to it.  It'll also seem kind of yellowy in the container, but once it's out it's pretty clear:


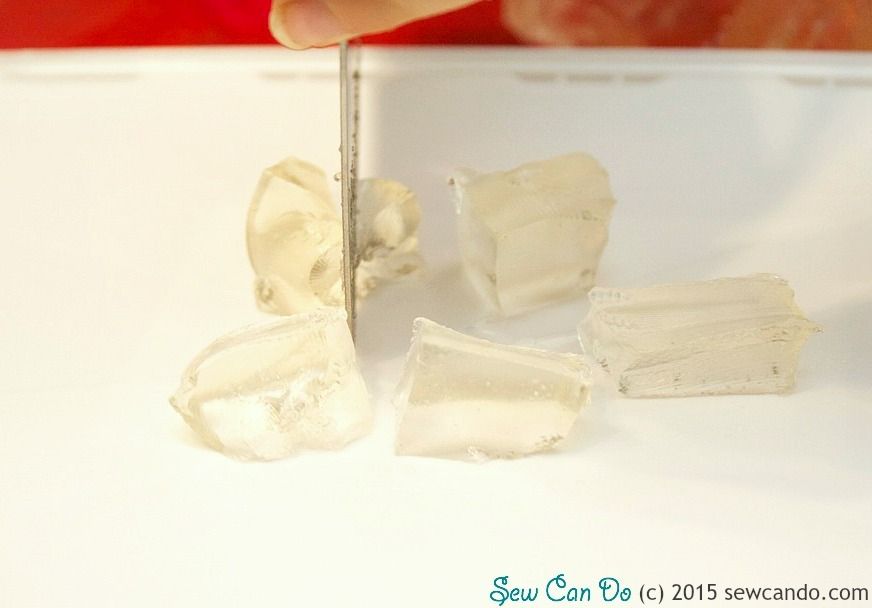
It's important to cut it up into small chunks.  This helps it melt quicker and more evenly:


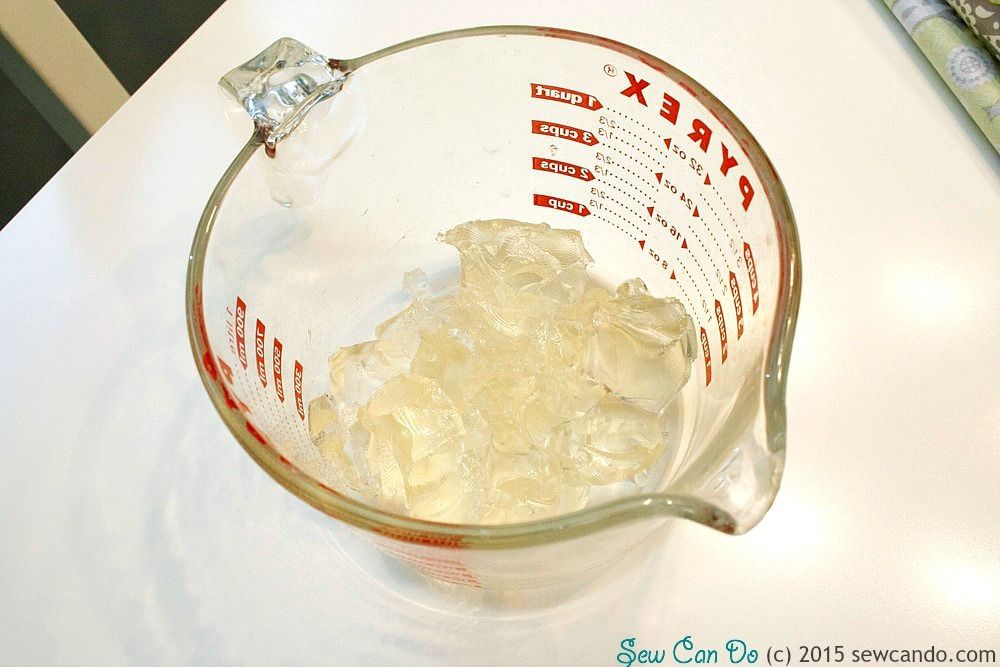
Plop it into a Pyrex container - a measuring cup is ideal:


Now it's time to melt it.  Using a microwave makes it easier to heat in small increments and keep checking little by little. It can be done on the stove as well, but I find it takes longer, the temperature then changes a bit too fast and it requires stirring to prevent scorching.  You don't want to have to stir it more than you have to as more stirring=more tiny air bubbles.

The instructions I had said to only heat it to 150° Fahrenheit (65° Celsius), but honestly that's just not hot enough.  The base will still be too gel-like to mix in the scent & color and pour out.  My first batch didn't turn out very well doing that.  

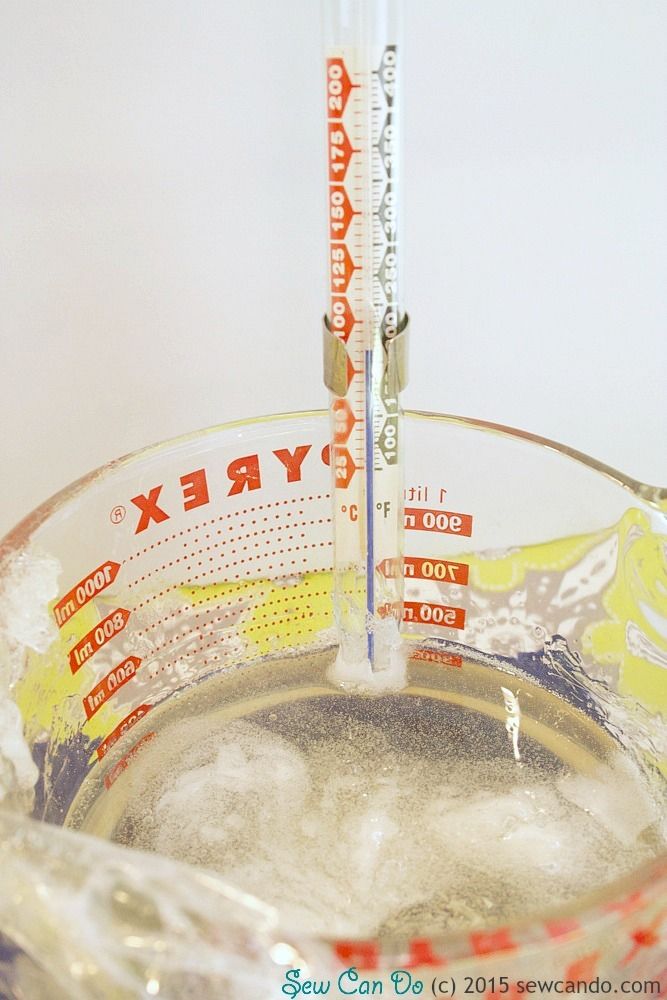
Then I just did 30 seconds at a time and as I saw it melting I'd keeping sticking my thermometer in at each interval to check the temp. When it was around 175-180° Fahrenheit (79-82° Celsius) it was properly liquified.  Note: covering the top of the container with cling film helps it melt evenly, just keep an eye on it so the film doesn't start to melt when the steam gets really hot.


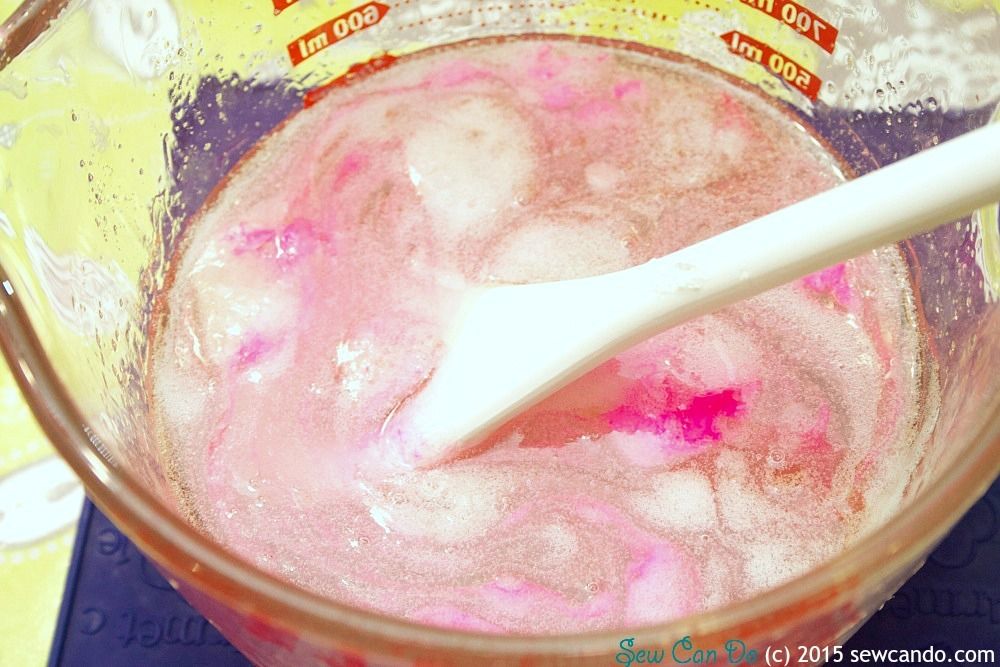
Then it's time to hustle on mixing in the fragrance oil & color (same quantities as used for regular melt & pour soap).  And I mean work fast - it starts cooling down right away and will start turning back to gel mid-pour if you don't move quick enough.   If you want to make a lot, definitely do a few smaller batches rather than one big one.  Remelting causes separation once it's solidified so the finished soap will ooze a bit of liquid over time, which is messy & looks bad (ask me how I know this).


Silicone molds are ideally suited to jelly soap.  Very easy to unmold and not mess up the shape or detailing.  You can either go with a fun shaped mold like I did with our pony soaps or a standard bar mold like this:


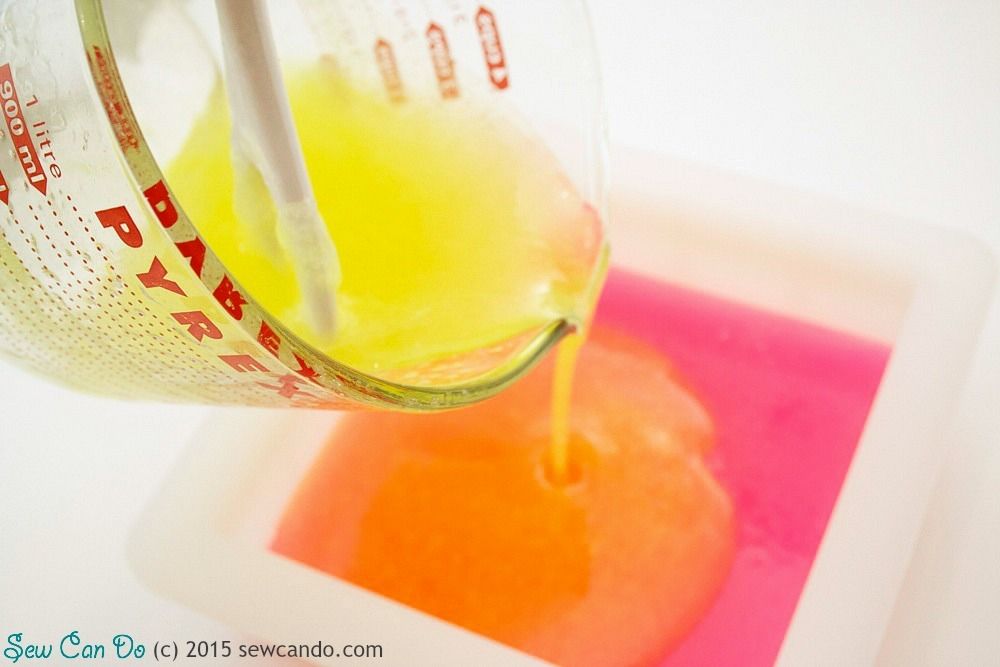
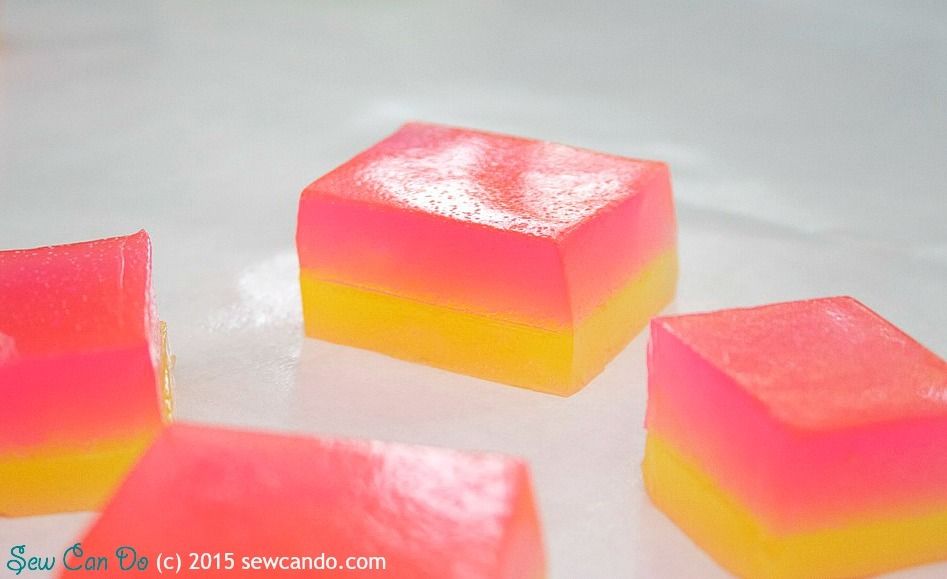
Or pour into a larger square or rectangular mold, then cut out shapes.  For this batch I did a two-tone where I poured a layer of hot pink first, let it cool for about 10 minutes, then sprayed with some rubbing alcohol (it helps soap layers stick to one another):


Then I poured a yellow layer on top:


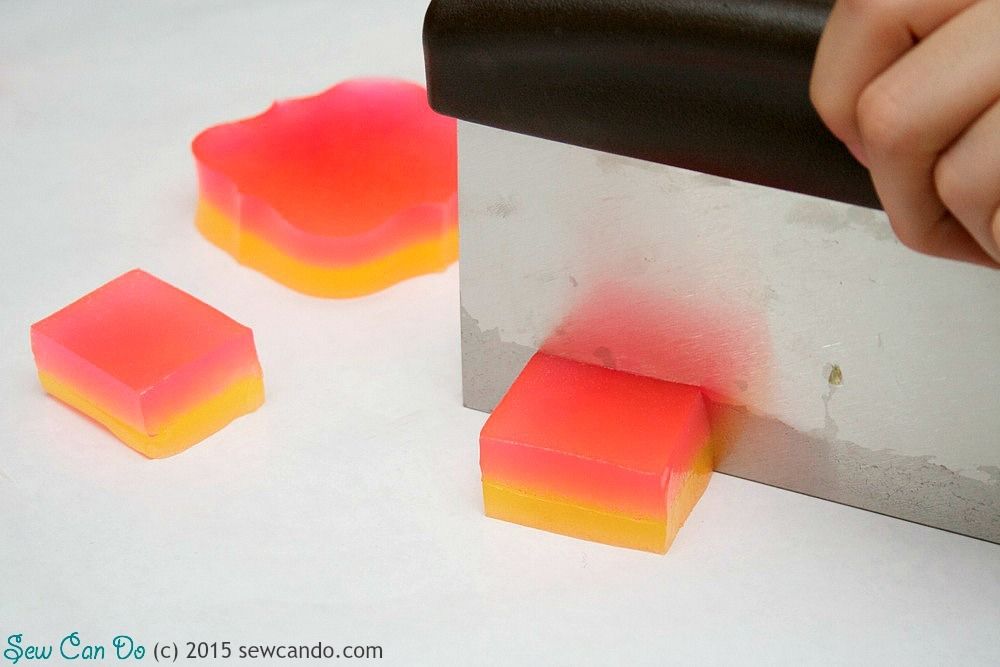
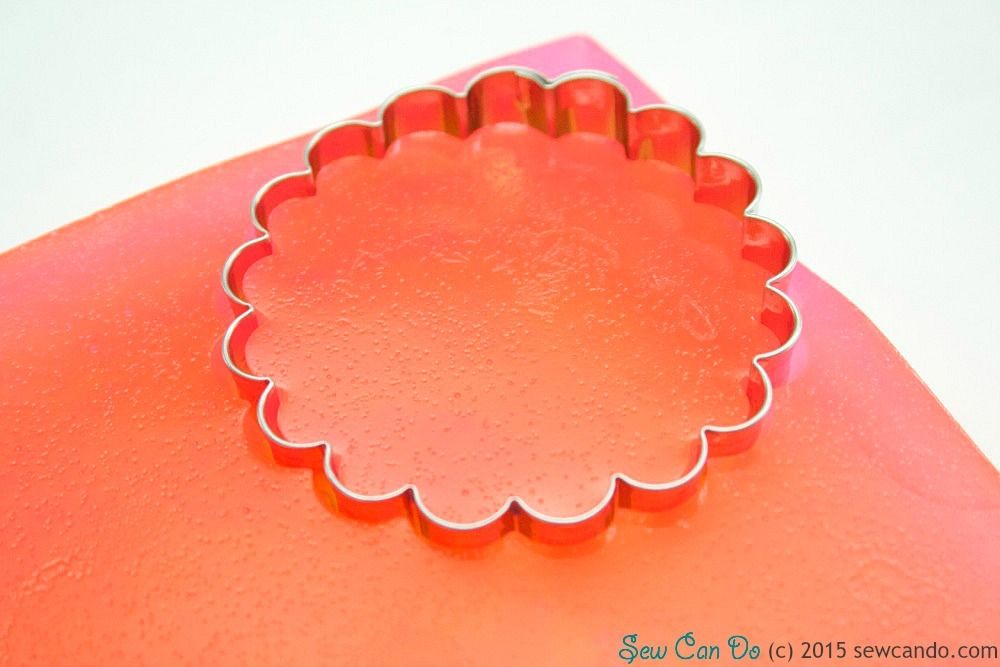
Once it had fully cooled (several hours) I turned it out onto a plastic cutting board and used some large shaped cutters to do a few:


And cut out a bunch of squares too:


It's funny because the soap seems like it's been stretched out or flattened during the cutting, but then springs right back up and stays firm in it's shape once cut:


Plus all the little remnants can be scooped up and used up too, so nothing gets wasted:


My kids loved squishing and poking their jelly soaps and others I made as gifts were a big hit too.  Handmade soap is always nice, but jelly soap is pretty unexpected and gets a lot of oohs & aahs.  Just use common sense on labeling what it is or the age of the intended recipient (not for under 3yrs folks).  You do not want to scent it like food, have someone assume it's gummy candy and take a bite or spread it on toast.  It's not actual jelly!  

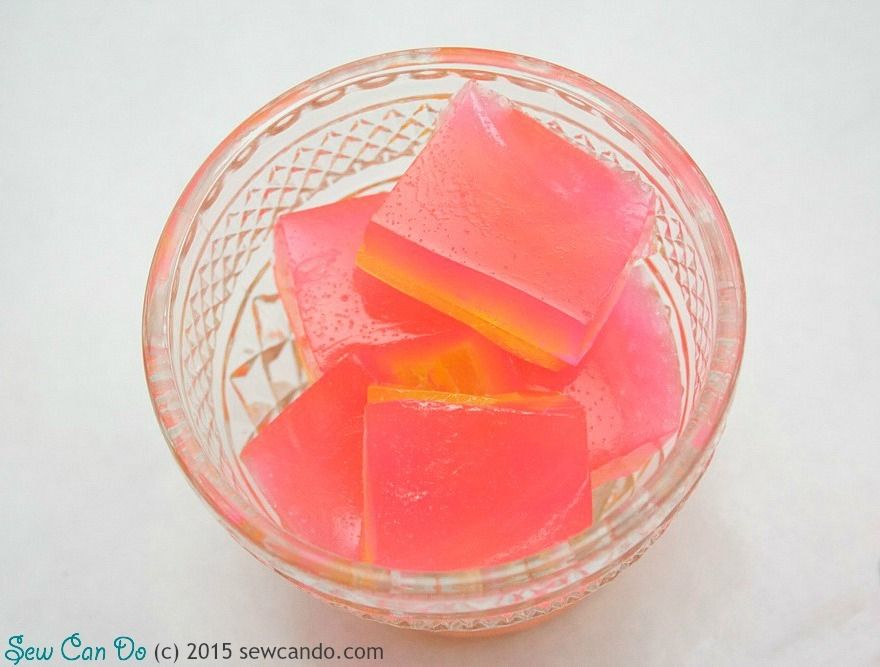
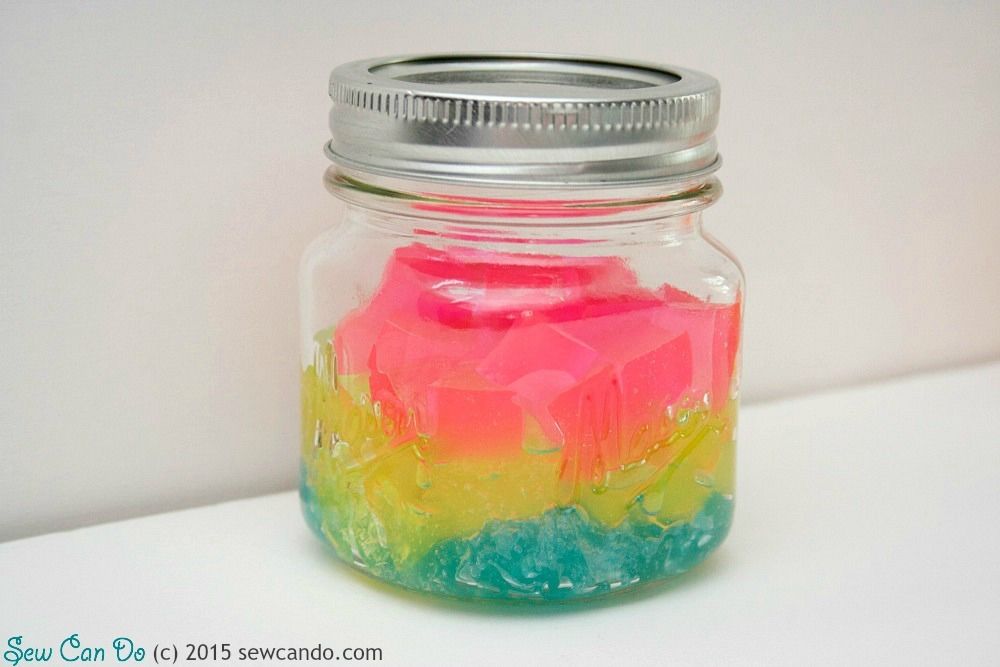
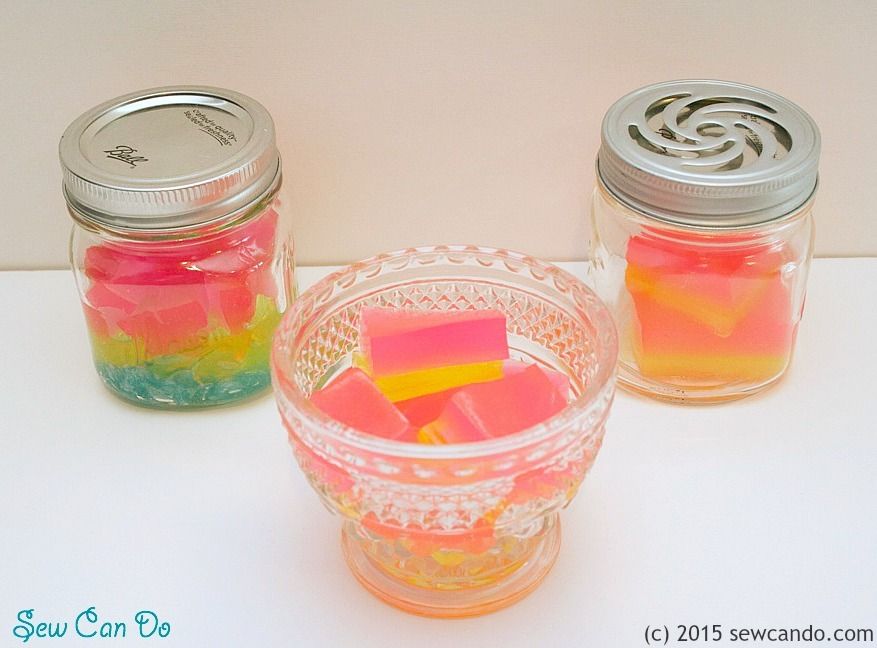
From our experience I'd recommend using them right away or storing in airtight containers so they don't shrink or dry out and stay nice & springy.  Jars look the prettiest, but plastic tubs or bags work too.  


Then share the Jelly Soap love!


LinkWithin

Related Posts with Thumbnails