Showing posts with label Soap. Show all posts

Wednesday, April 15, 2015

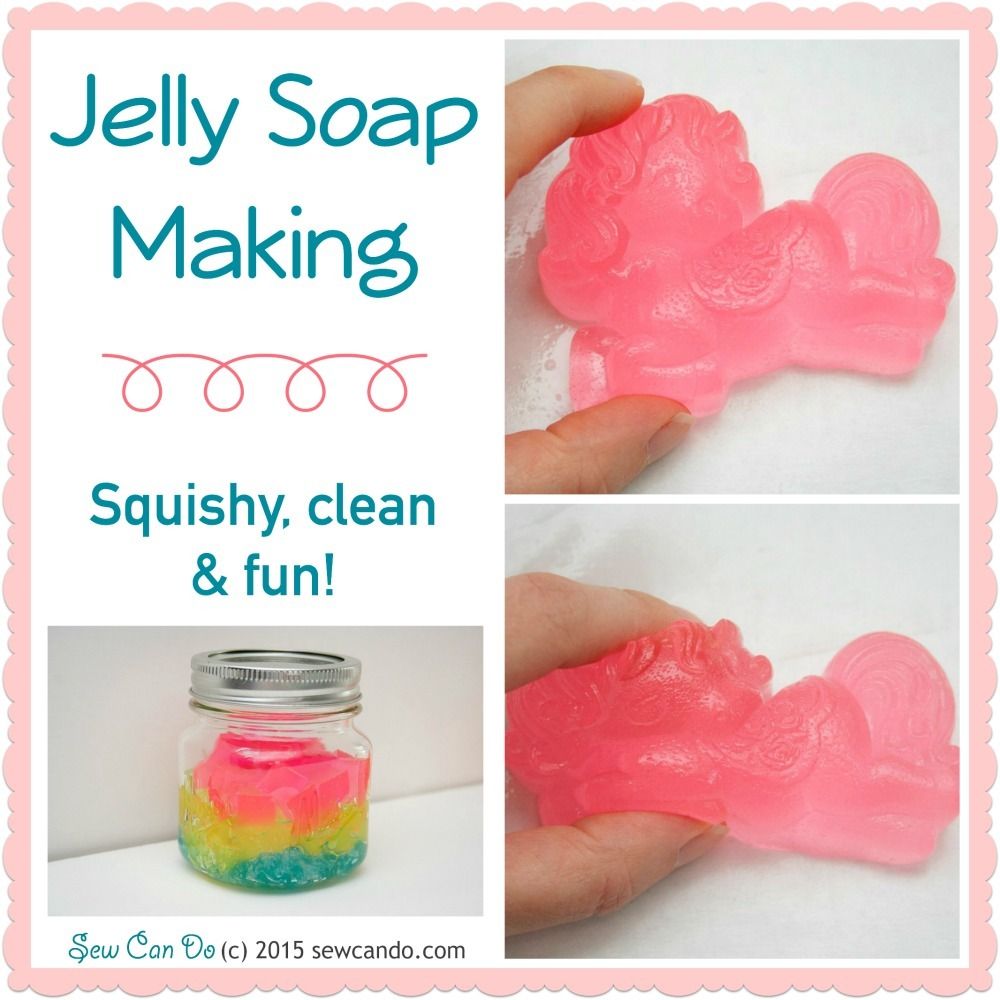
Crazy Crafting: Our Jelly Soap Making Adventure


Today I've got that's a bit different.  Jelly soap.  That's right - it's soap...that's like jelly.  And it's AWESOME.


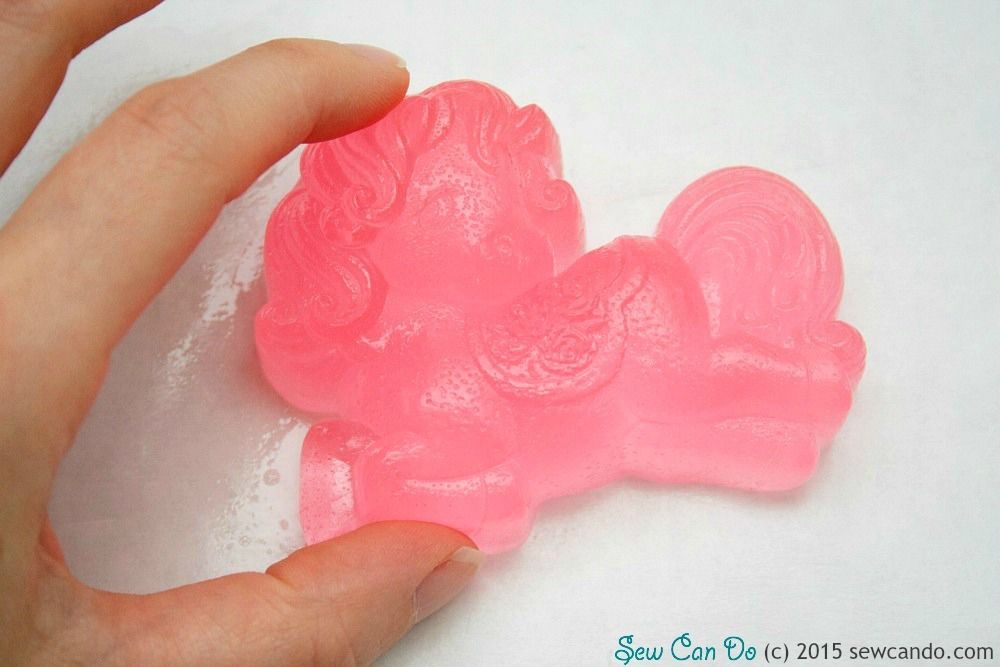
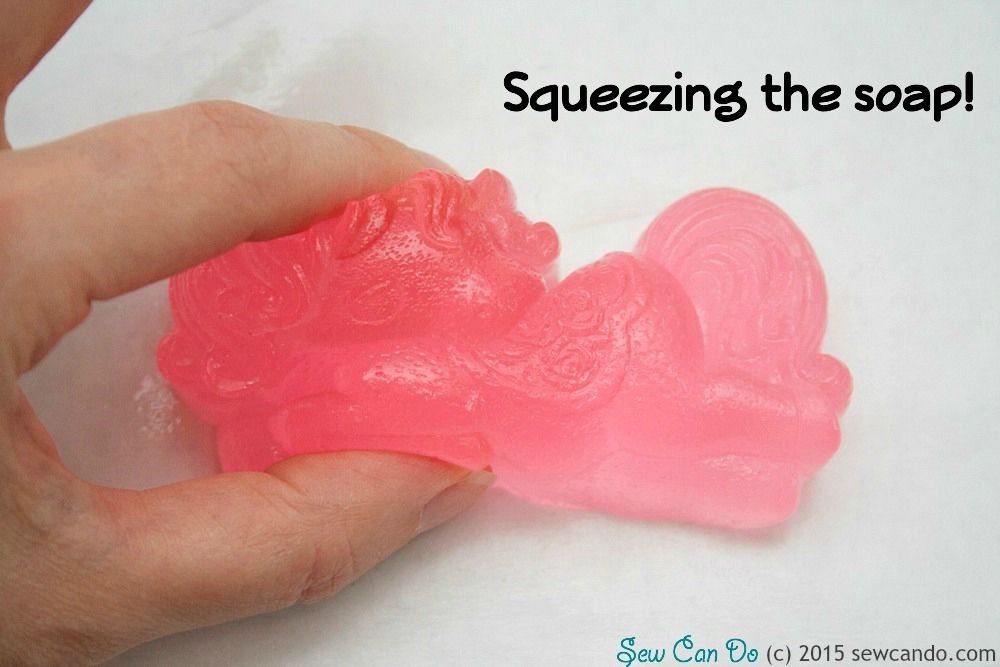
You can squish it.  


You can cut it.  


Mold it into shapes.  Scent it & color it however you want.  And it'll still clean like a regular bar of soap, except it has the consistency of Jell-O.  How crazy is that?  


I like making weird and wonderful things and I've been a long time home soap maker (see my other soapy projects here).  Soap was actually the very first crafty thing I ever made. So when I discovered jelly soap, I was all about giving it a go.  Now I'm sharing what we discovered on our jelly soap making adventure.  It's soapy, soapy jelly time!


Materials:
- Jelly soap base (available online)
- Cosmetic grade fragrance oil & color gel
- Pyrex pitcher or bowl
- Heatproof spoon
- Silicone molds
- Soap cutter/knife & plastic cutting board
- Thermometer
- Rubbing alcohol
- Small scale

You've got to start with jelly soap base.  It's available online from a number of places.  This is not a sponsored post (no hidden sales pitch folks), so I'd recommend just searching jelly soap base.  It's not as cheap as standard melt & pour soap base, but buying a 10lb or larger block makes it pretty inexpensive per pound (I think mine ended up around $4/lb including shipping). There are also some similar shower jelly recipes out there that are totally DIY, but they use gelatin to gel things, which 1.) doesn't work for vegetarians like me and 2.) means it's only usable for maybe a week at most since it's food base will go bad and has to be kept in the fridge because it can get moldy. No thanks!  

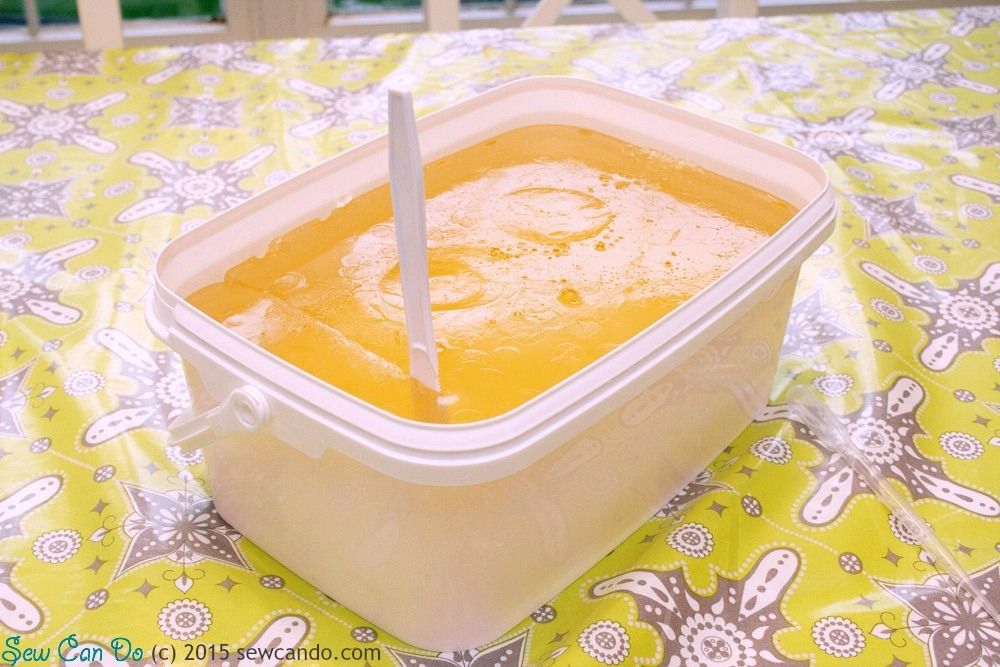
The jelly soap base comes in a big tub and it's already a firm gel.  The knife just stuck right in it:


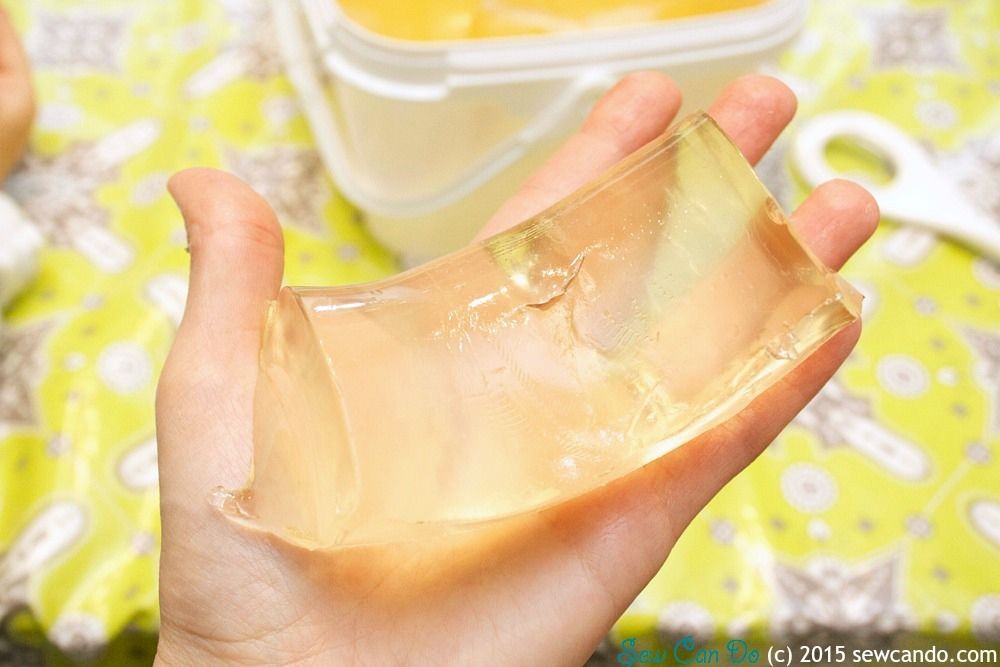
You start by cutting out a bit and weighing it to measure out enough for your molds.  It's got a good heft to it.  It'll also seem kind of yellowy in the container, but once it's out it's pretty clear:


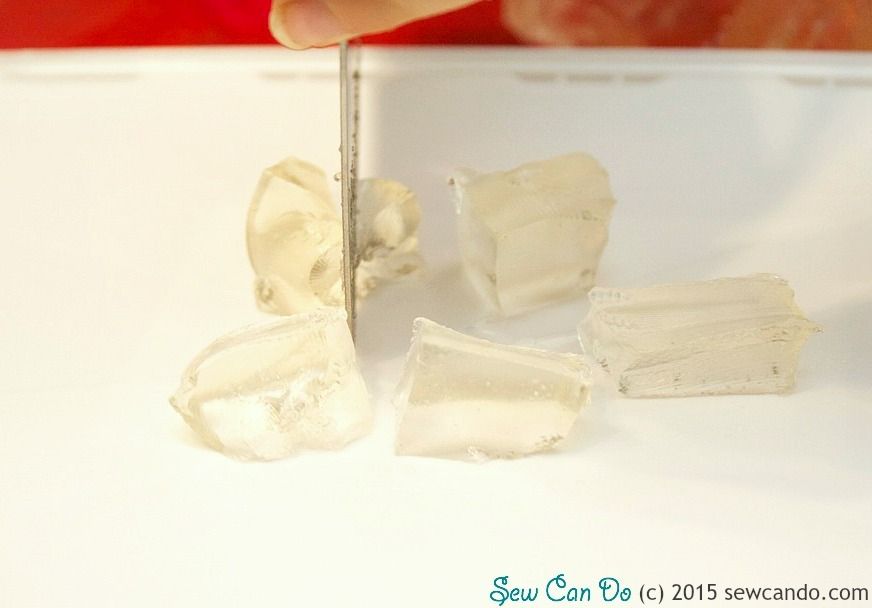
It's important to cut it up into small chunks.  This helps it melt quicker and more evenly:


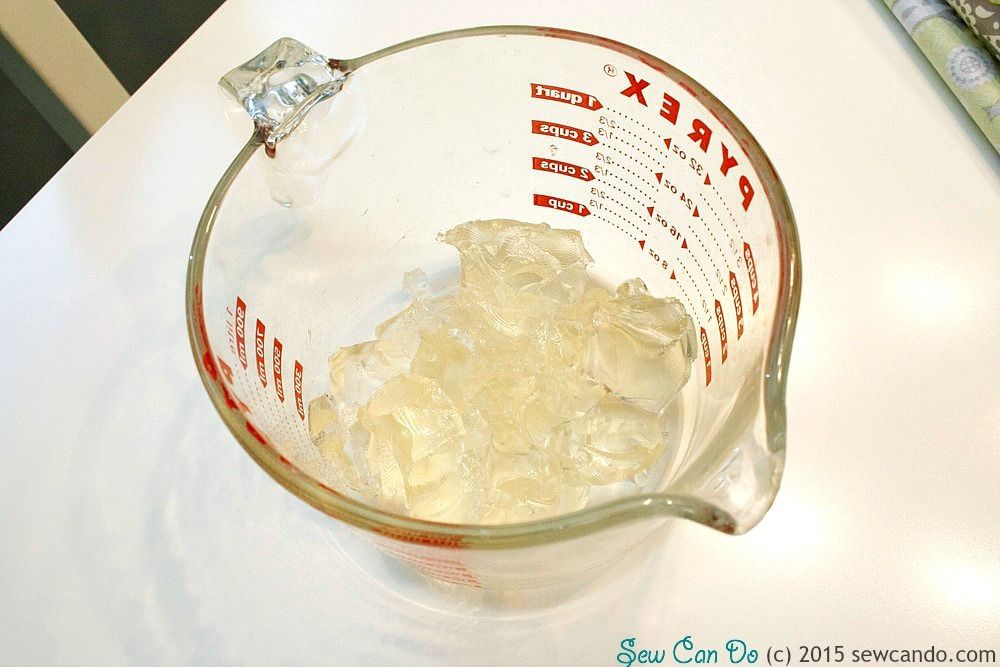
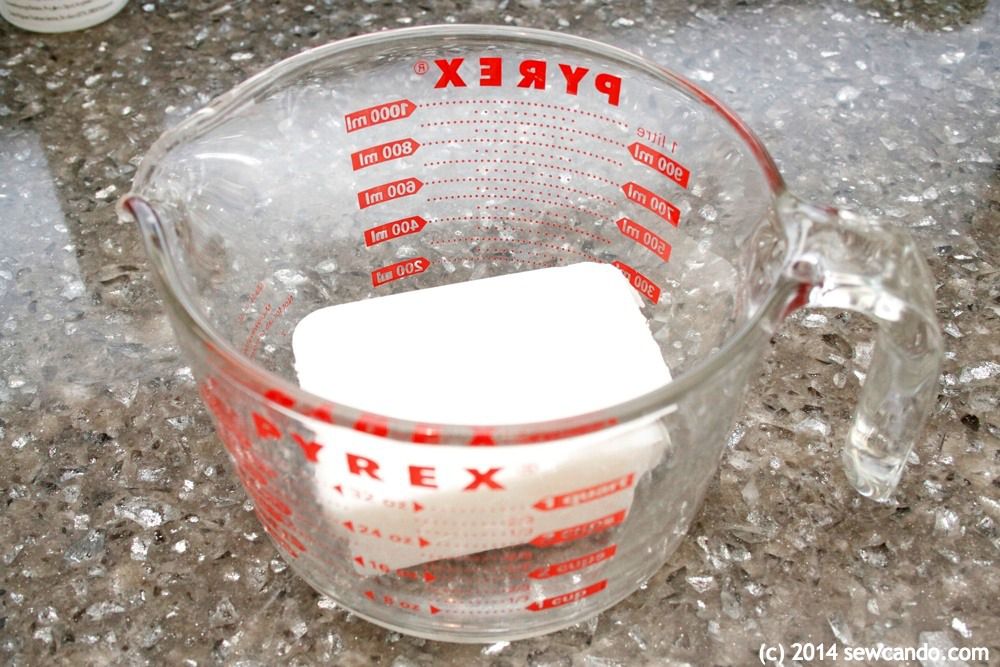
Plop it into a Pyrex container - a measuring cup is ideal:


Now it's time to melt it.  Using a microwave makes it easier to heat in small increments and keep checking little by little. It can be done on the stove as well, but I find it takes longer, the temperature then changes a bit too fast and it requires stirring to prevent scorching.  You don't want to have to stir it more than you have to as more stirring=more tiny air bubbles.

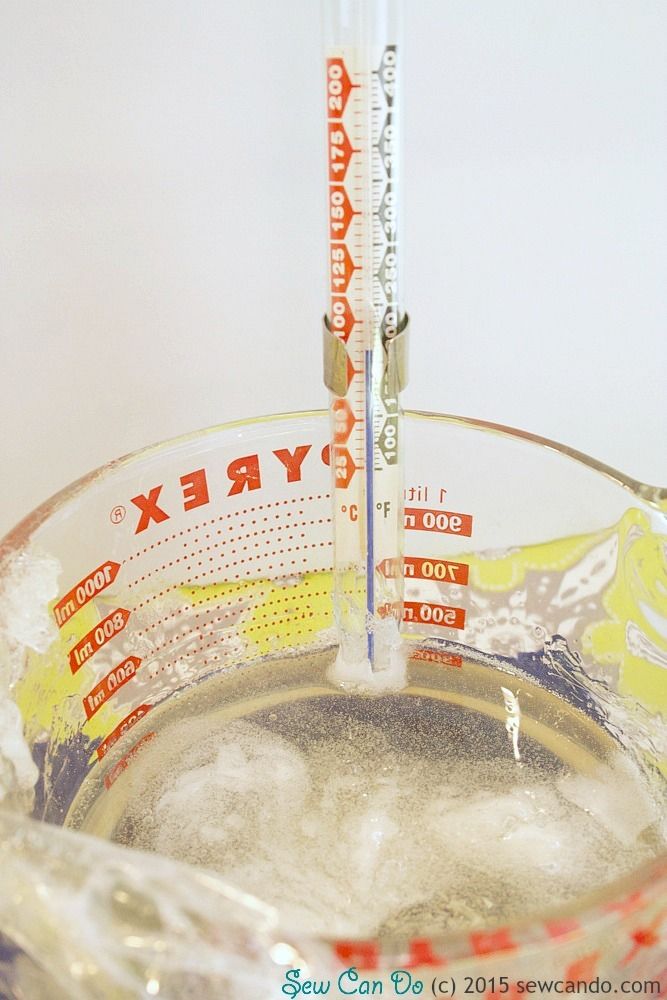
The instructions I had said to only heat it to 150° Fahrenheit (65° Celsius), but honestly that's just not hot enough.  The base will still be too gel-like to mix in the scent & color and pour out.  My first batch didn't turn out very well doing that.  

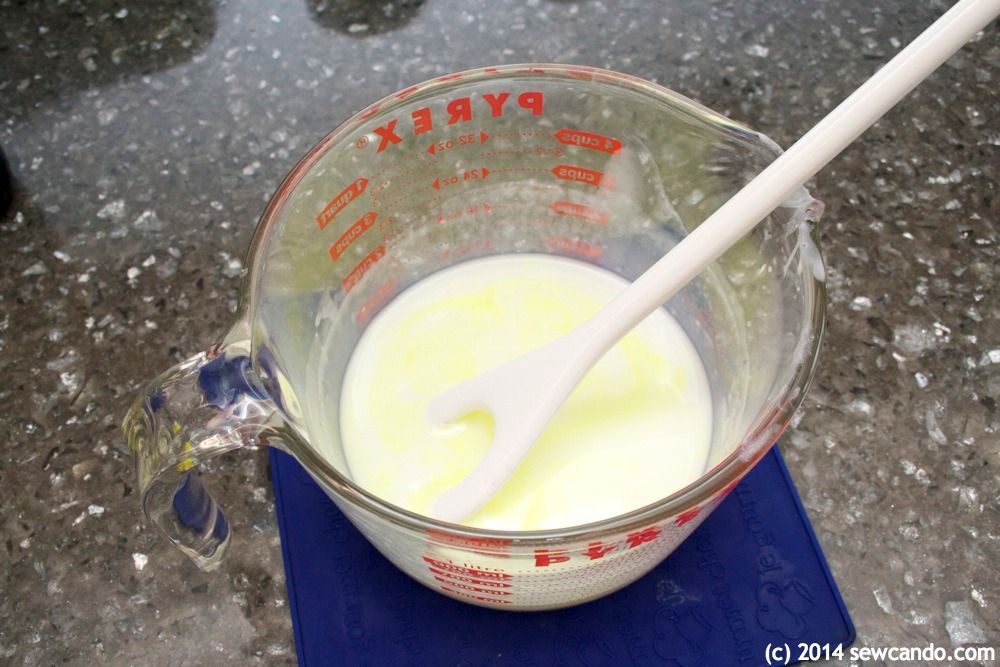
Then I just did 30 seconds at a time and as I saw it melting I'd keeping sticking my thermometer in at each interval to check the temp. When it was around 175-180° Fahrenheit (79-82° Celsius) it was properly liquified.  Note: covering the top of the container with cling film helps it melt evenly, just keep an eye on it so the film doesn't start to melt when the steam gets really hot.


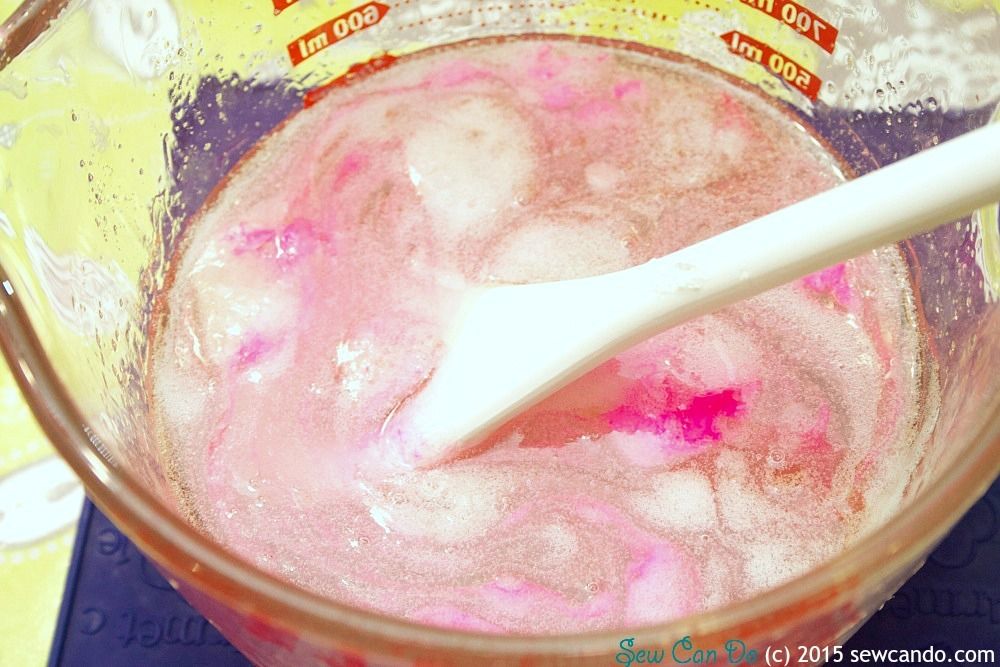
Then it's time to hustle on mixing in the fragrance oil & color (same quantities as used for regular melt & pour soap).  And I mean work fast - it starts cooling down right away and will start turning back to gel mid-pour if you don't move quick enough.   If you want to make a lot, definitely do a few smaller batches rather than one big one.  Remelting causes separation once it's solidified so the finished soap will ooze a bit of liquid over time, which is messy & looks bad (ask me how I know this).


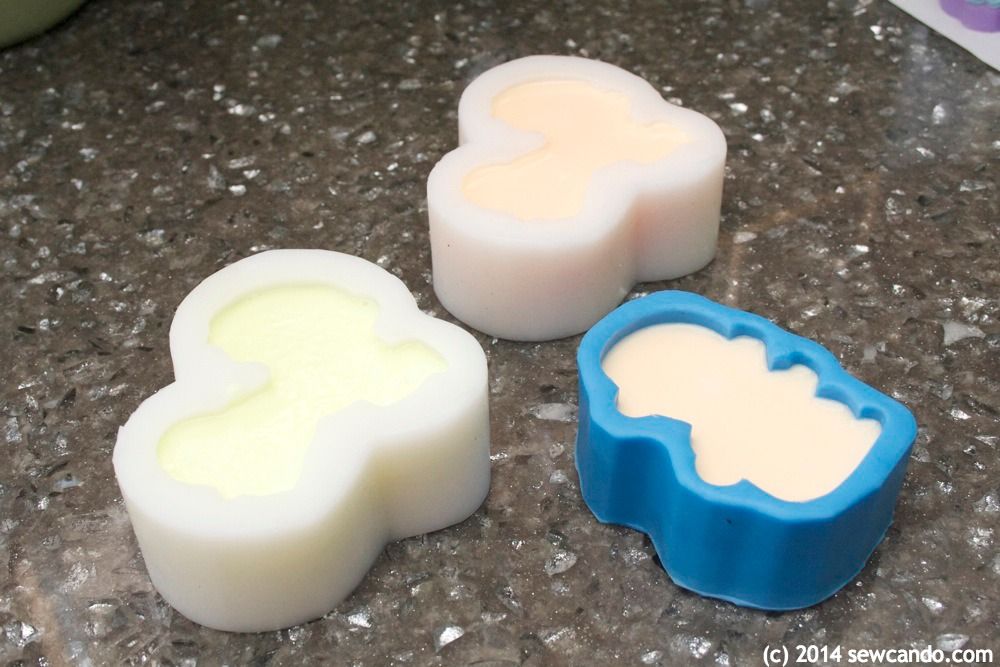
Silicone molds are ideally suited to jelly soap.  Very easy to unmold and not mess up the shape or detailing.  You can either go with a fun shaped mold like I did with our pony soaps or a standard bar mold like this:


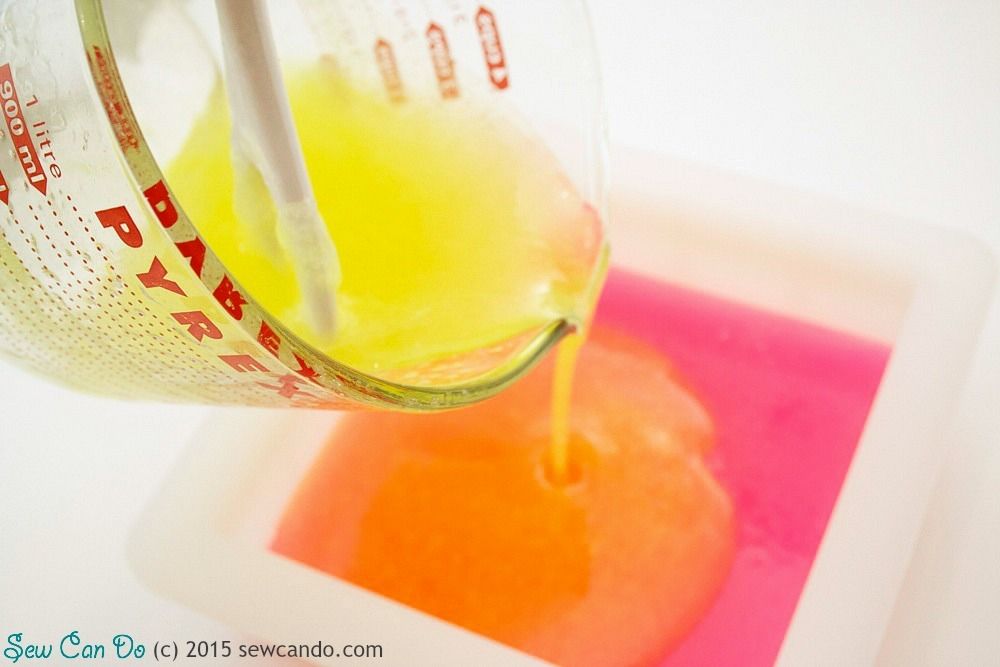
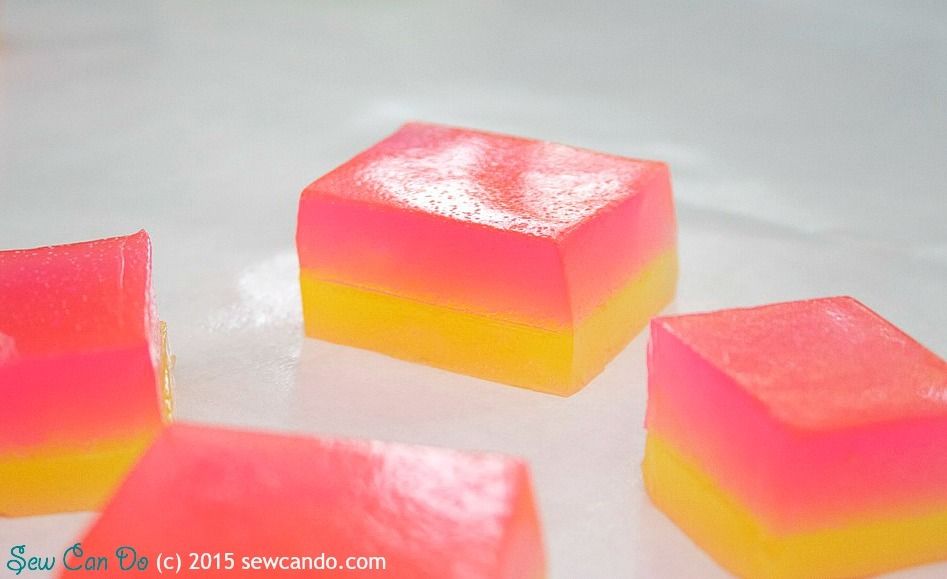
Or pour into a larger square or rectangular mold, then cut out shapes.  For this batch I did a two-tone where I poured a layer of hot pink first, let it cool for about 10 minutes, then sprayed with some rubbing alcohol (it helps soap layers stick to one another):


Then I poured a yellow layer on top:


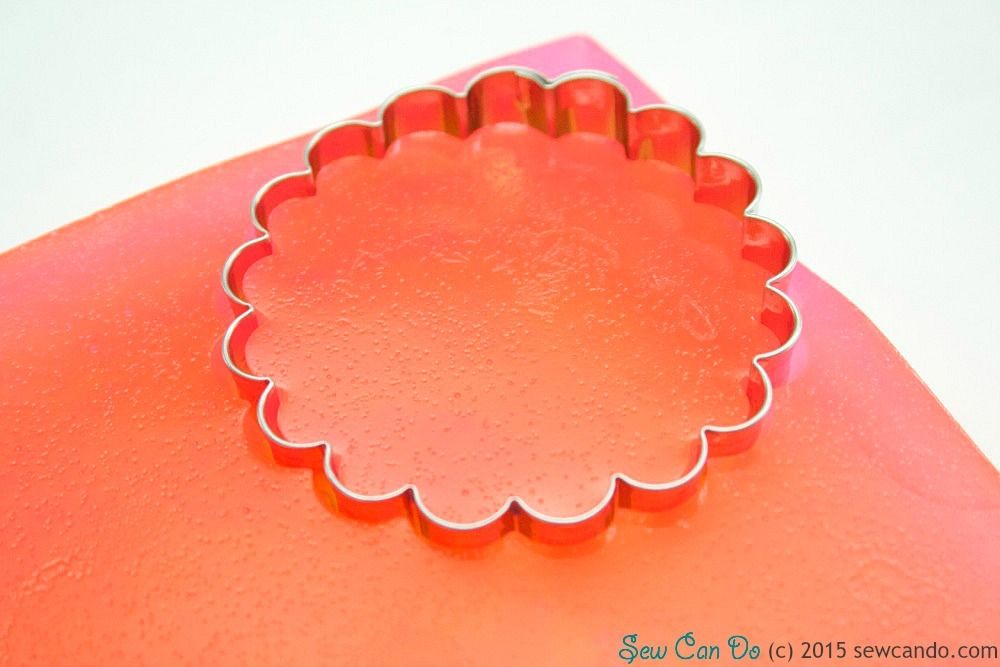
Once it had fully cooled (several hours) I turned it out onto a plastic cutting board and used some large shaped cutters to do a few:


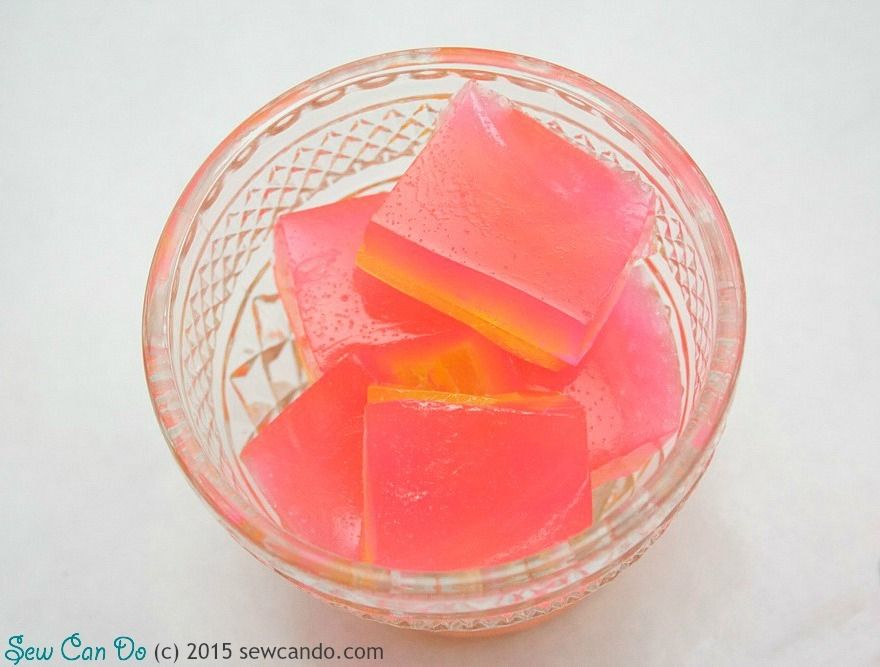
And cut out a bunch of squares too:


It's funny because the soap seems like it's been stretched out or flattened during the cutting, but then springs right back up and stays firm in it's shape once cut:
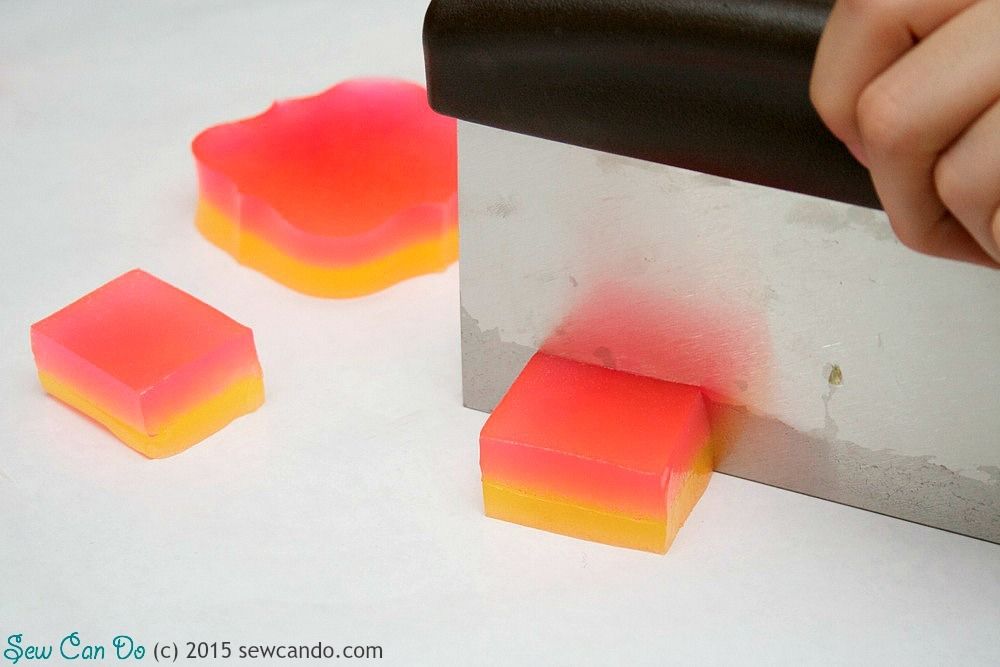


Plus all the little remnants can be scooped up and used up too, so nothing gets wasted:


My kids loved squishing and poking their jelly soaps and others I made as gifts were a big hit too.  Handmade soap is always nice, but jelly soap is pretty unexpected and gets a lot of oohs & aahs.  Just use common sense on labeling what it is or the age of the intended recipient (not for under 3yrs folks).  You do not want to scent it like food, have someone assume it's gummy candy and take a bite or spread it on toast.  It's not actual jelly!  

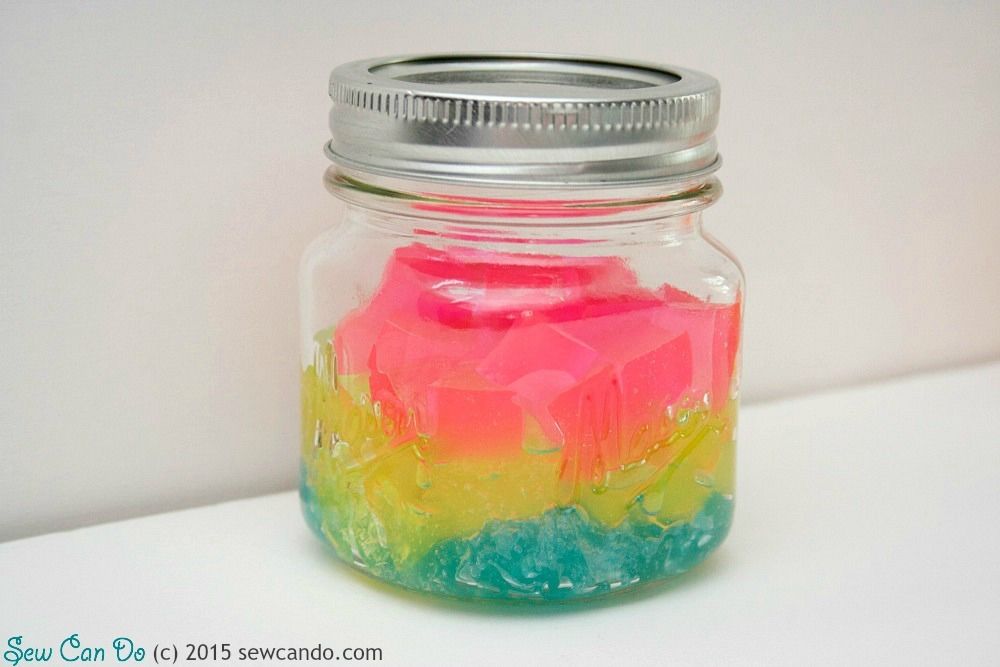
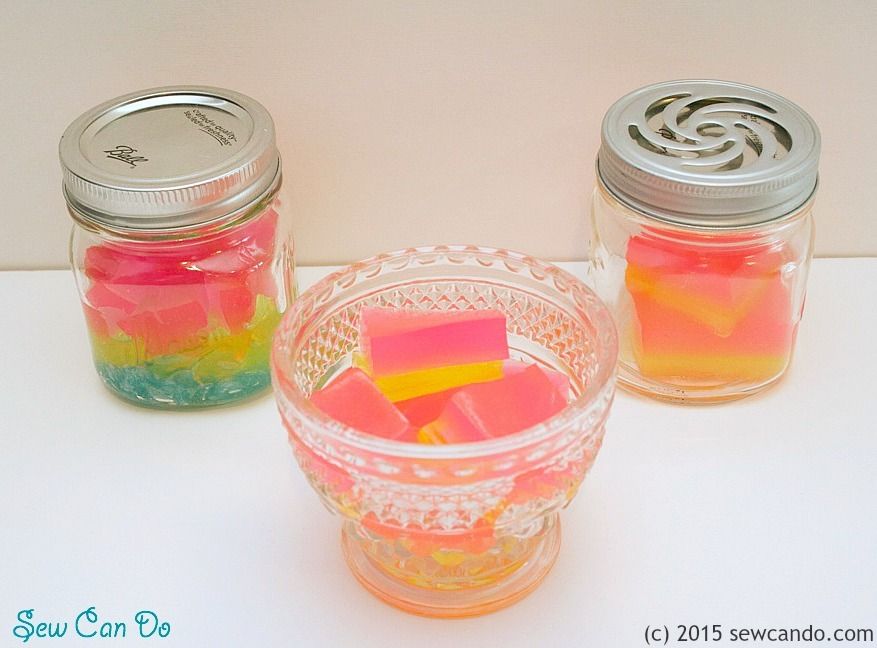
From our experience I'd recommend using them right away or storing in airtight containers so they don't shrink or dry out and stay nice & springy.  Jars look the prettiest, but plastic tubs or bags work too.  


Then share the Jelly Soap love!


Wednesday, July 23, 2014

How to Wow with DIY Soaping Painting


The very first type of crafting I ever did was soap making and it's been one of my favorites over the years.  It's pretty quick, relatively inexpensive and the results can look amazing. Ages ago I had some soap paints for decorating them, but no one seems to make them anymore.  After combing the internet I found scant info on painting soap, so I took what little I discovered, combined with my trial & error findings, to make these awesome babies: 


Making soap seem too complicated?  Don't worry you can use store bought for this too. You don't need awesome painting skills, or even know how to make soap, but I'm going to show you how to do both so you can make show stopping soaps from scratch.  I promise it's pretty easy.  You can also check out my full step-by-step soap making tutorial from a while back if you want even more details.


In case you're wondering, you can always color different sections of soap as you make it for a longer lasting effect, but this can be tricky.  You need to pour them carefully into the desired section of the mold, wait for them to set, then pour the remaining color(s) and mind the temperature so they don't bleed together.  It can be a lot of work and if you mess up, well, there's no going back.  It's also nearly impossible on molds with teeny tiny details or very shaped designs. 


Now let's make & paint some soap!!  

Materials:
- Melt & pour clear glycerin soap base (available online & at craft stores)
- Cosmetic Grade Fragrance Oil & Color Gel*
- Three Dimensional Silicone molds (mine are from WholePort)
- Pyrex measuring pitcher, heat resistant spoon, hot pads
- Spray bottle of alcohol
- Waxed or freezer paper

- Cornstarch
- Non-toxic acrylic craft paint & fine artist paint brushes

* Special Note – be sure that all fragrance oil & color gels used are labeled cosmetic grade. There are a lot of other types out there and while it's tempting to use them, they are not made to be safe for skin!

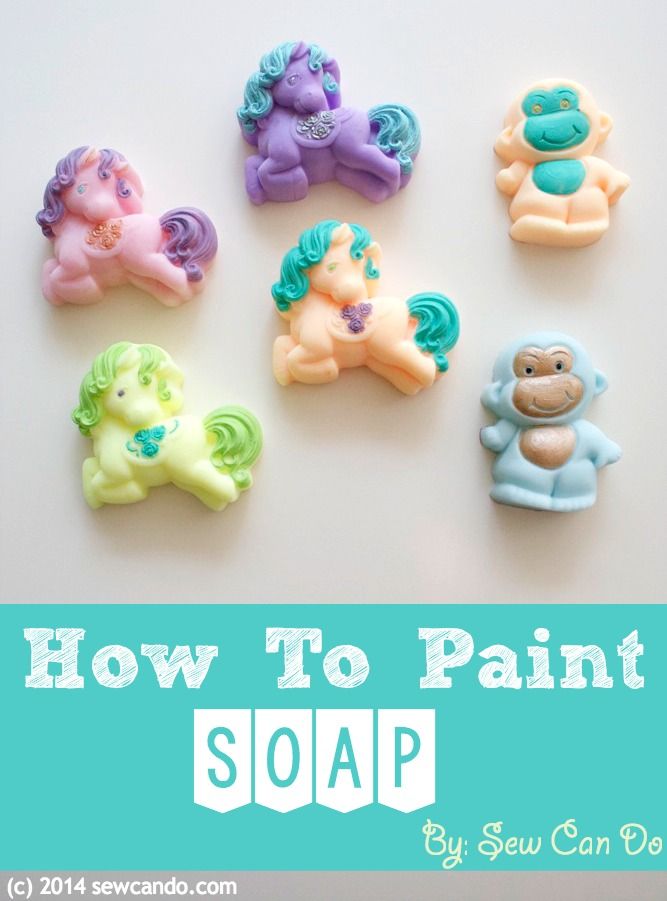
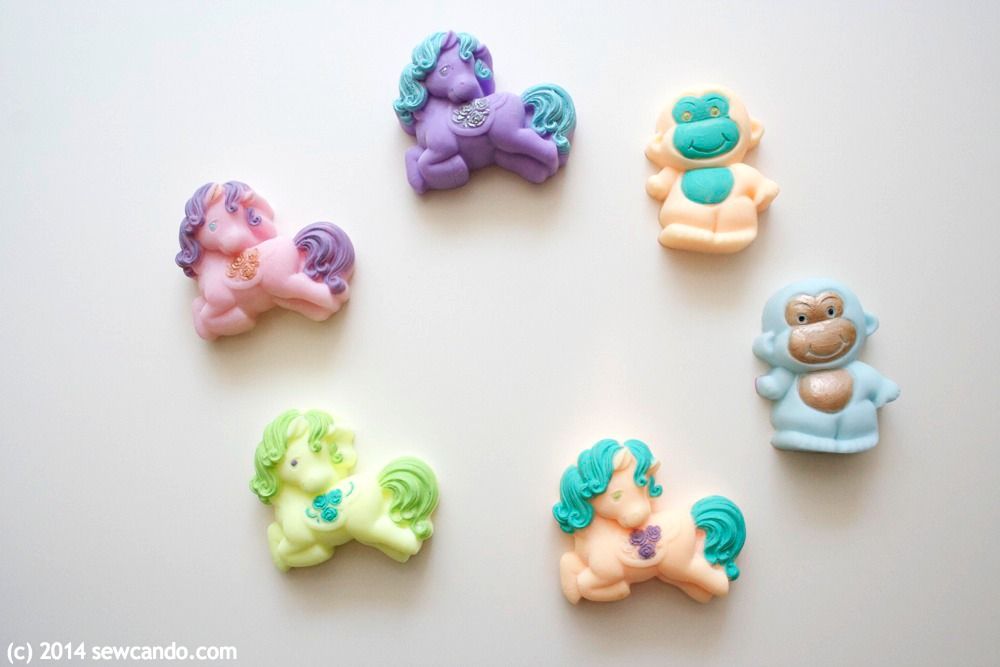
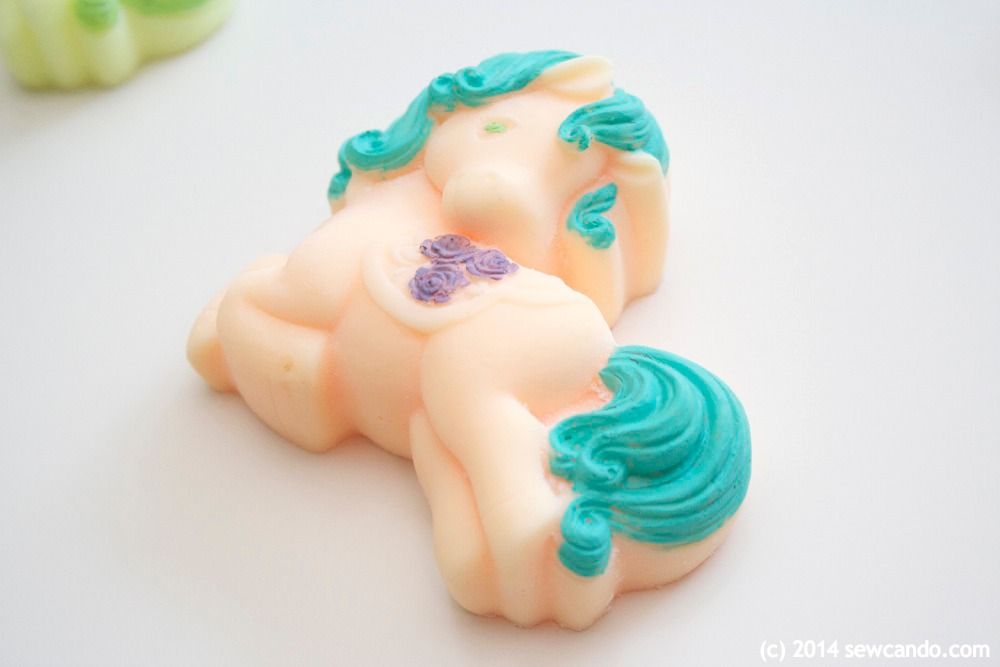
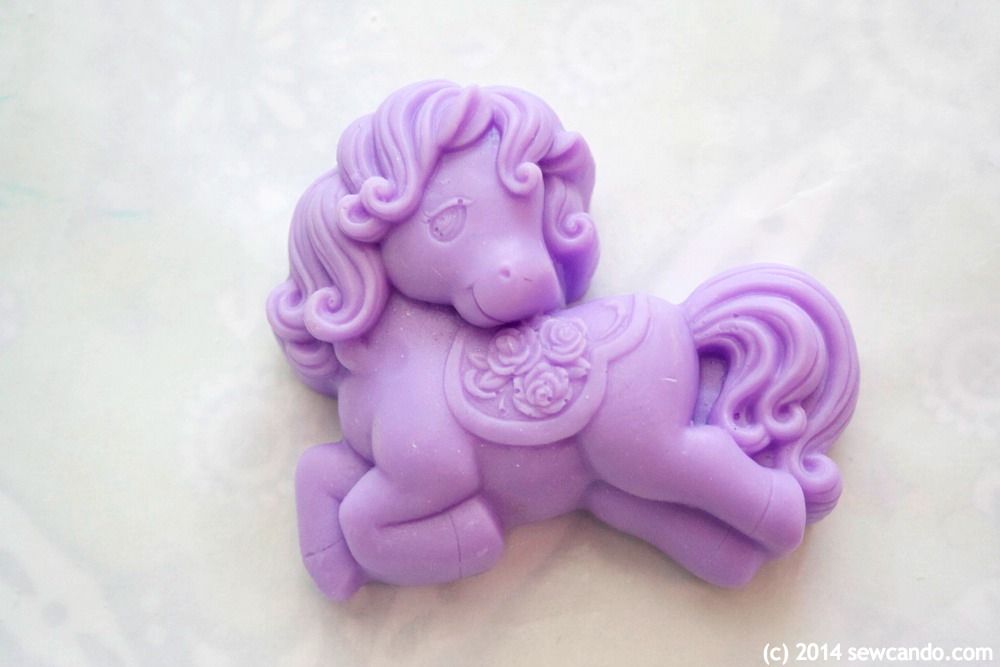
One of the key factors in wow-factor painted soaps is the soap shape. The more sculpted the design, the better the painting will look (and the less painting skills you will need).  The paint really brings out the details in a raised design, so you don't need to be Rembrandt to make a soap masterpiece.  My kids are serious My Little Pony fans so I was super excited when I found this similar pony soap mold.  I was able to make a stable full of different ponies:


Painting the mane & tail and saddle really brought out the fine detailing of the design. 


I got the lovely monkey mold that was really cute too and the little guys I made with it look even cuter with some contrasting color:


Making The Soap:
Start by cutting and melting the soap base in the Pyrex container.  2 lb blocks of soap base are readily available at craft stores and online.  These make it pretty easy to measure out what you need before it's liquified.  Melt slowly in microwave (1 min intervals until melted) or in double boiler, stirring occasionally, until liquified. You do not want it to get boiling hot, just smooth and pourable. 


Add some fragrance oil and colorant.  Just do a few drops at a time until it's to your liking. Be sure to stir it up!  If you're using white base like me the colors will turn out lighter than the gel is in its bottle.  Several of mine were actually neon colors, but using just a couple of drops turned out nice and soft.


Pour into the silicone molds and spray the surface with alcohol to remove any air bubbles.


Let soap sit for a couple of hours to harden and then flip upside done and push soap out of molds.


Soap Painting:
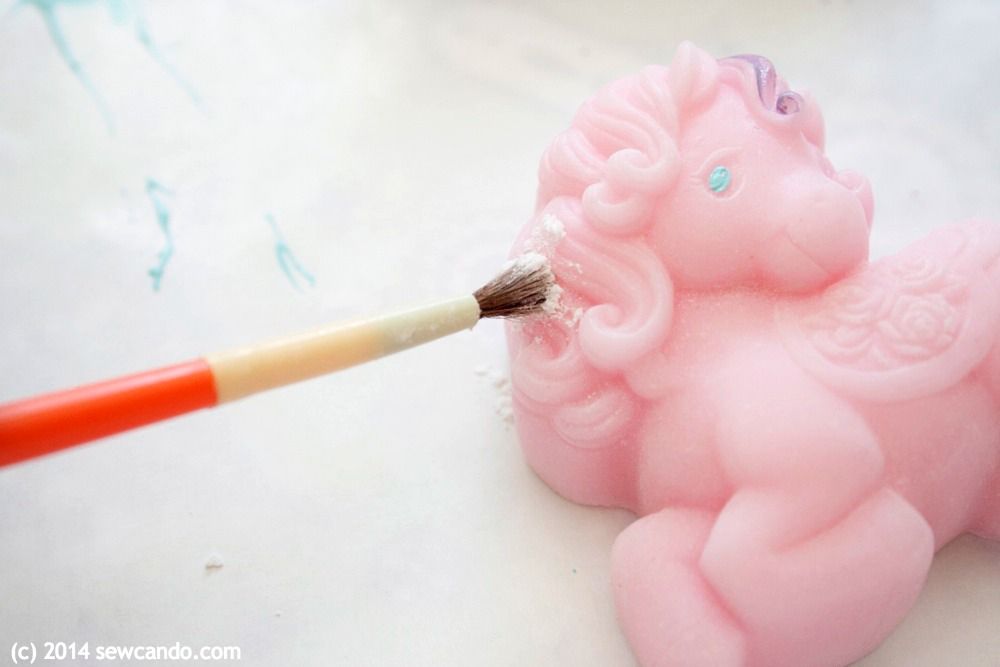
Now for the painting part - dust the surface of the soap lightly with cornstarch.  This is key. It will help the paint adhere to the soap.  You don't need to be able to see it - think face powder dusting (even coverage, but you can't really see it once brushed all over).  Give it a minute or two to stick to the surface before painting.


I recommend using paint colors that are at least a little darker than the soap color so the color will look best, even if it doesn't go on super smooth.  Really light colors can look streaky or uneven.  Also be sure to use fresh paint and really it shake up.  I used some older paint on one and it glopped up when I applied it and didn't look so hot:  


Could look better

Now here's the real trick.  Load up the brush with a good amount of paint and try to work in single strokes to cover.  The more you paint over previously painted sections, the more likely the paint will pull away, so the less strokes, the better. When the paint dries you can do a little touch-up, but try to keep it to a minimum. Using a good quality artist brush also helps - especially for getting into little details.


Goof up and get paint in the wrong spot?  Use a toothpick or q-tip to wipe it away. This will work even if it's dry since the paint is just lightly adhered to the soap. 


Keep in mind, the paint will wash away as the soap gets used, so if you want your beautiful paint job to remain as it is, the soap will need to be of the decorative "display soap" variety. I say go ahead and use 'em though.  Now you know how to easily make more;) 


I'm also sharing this with my FAVE LINK PARTIES.
Click HERE to check them out!

I was not financially compensated for this post.  I selected items from my Sponsor, Wholeport, to review.   The opinions are completely my own based on my experiences.  I am an affiliate of Wholeport.  For my complete disclosure policy, click here. 

Wednesday, February 6, 2013

Make Your Own Handmade Soaps Tutorial


There's something special about decorative soaps.  They look lovely, they seem fancy.  They make a great gift (everyone uses soap, right?).  My mom & grandma would always save any they got because they were "too pretty to use".  But why hide them on a shelf to get dusty?  I want mine to get noticed and used, so I make my own and never run out.  I actually make all our household bar soap too - it's been over 10 years since I bought any! Wouldn't you like to tell people you can make soaps like these:


You totally can.  It's easy.  Come on - I'll show you how.

You'll Need: 
- Melt & pour clear glycerin soap base*
- Cosmetic Grade Fragrance Oil*
- Cosmetic Grade Color Gel*
- Silicone molds & resin soap stamps
- Large Pyrex measuring pitcher
- Heat resistant spoon
- Hot pads
- Spray bottle of alcohol
- Waxed or freezer paper

*You can get basic soap making supplies at craft stores like Hobby Lobby or Michaels, but online places like Brambleberry.com and Wholesale Supplies Plus offer a lot more fragrance & color choices and their prices per pound for the bases are better.  I buy a single 24lb block which is enough for a year's worth of soap for my family of 5 (and costs about a third of the same amount of basic store bought soap).


First, cut desired amount of soap base and place into Pyrex container.  Cutting it up into chunks makes it melt a bit faster.  


Melt slowly in microwave (1 min intervals until melted) or in double boiler, stirring occasionally, until liquified.  You do not want it to get boiling hot, just smooth and pourable.


Add a few drops of cosmetic grade fragrance oil & stir with slotted spoon to mix thoroughly (a little goes a long way and it's easy to add a few more drops, but use less than ½ oz unless making several pounds at once).

Special Note – be sure that all fragrance oil & color gels used are labeled cosmetic grade. There are a lot of other types out there and while it's tempting to use them, they are not made to be safe for skin! 

Add soap gel coloring a drop at a time & mix until color desired is achieved.


I used a pearlized pink gel.  Just a few drops gave this vibrant color:


Carefully pour hot soap into silicone molds.  I prefer silicone molds over plastic because they can achieve a lot more details and sculpted 3D shapes.  They also don't require greasing and hold up a lot better over time.  I got mine from Wholeport - they've got a huge selection of silicone soap molds and the designs are really gorgeous.


Spray surface of soap with alcohol to remove any air bubbles.  This gives the backs a nice, smooth finish.  Let soap sit for a couple of hours to harden and then flip upside done and push soap out of molds.


The soap just pops right out.  What could be easier or more lovely-looking? This was the result from the Peace Dove Medallion mold:


But my favorite is the rose bouquets.  I used a 3D Rose Flower Trio mold and love the delicate details.  So intricate, but also goof-proof!


And I also tried something new to me: soap stamps.  It's a hard resin stamp you simply place over a flat bar of soap and gently hammer in.


The effect looks so fabulous and it is beyond easy to do.  I picked out this little love bird stamp since Valentine's Day is coming up:


It takes just a few minutes too, so this is an ideal project.  Almost as easy as the DIY lip balm I shared recently.  It feels great to stock up the bathroom with products you've made yourself.  Now there's nothing stopping you from making your own beautiful soaps any time you want!

I'm also sharing this with my FAVE LINK PARTIES.
Click HERE to check them out!

LinkWithin

Related Posts with Thumbnails