
)
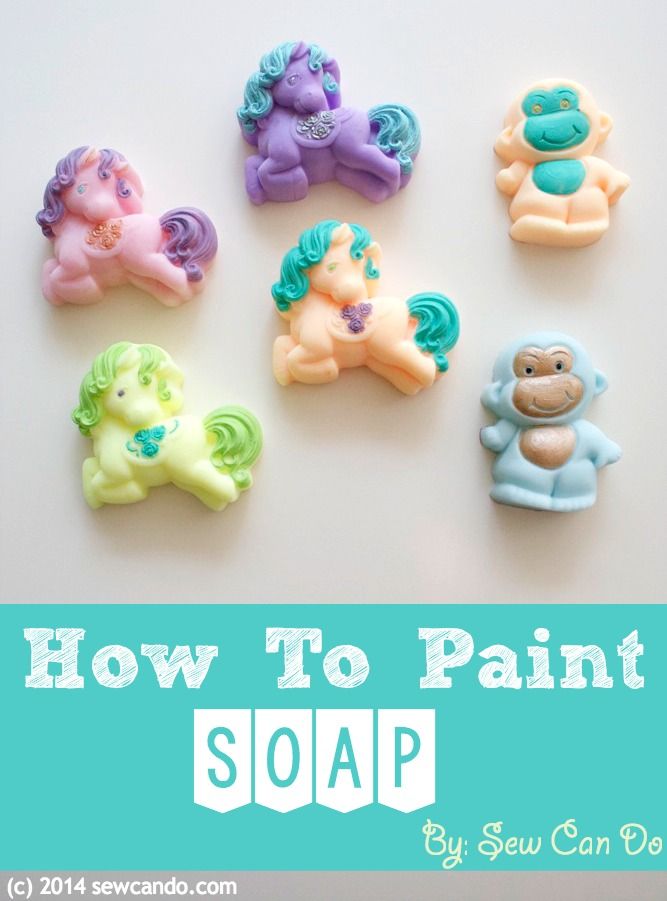
The very first type of crafting I ever did was soap making and it's been one of my favorites over the years. It's pretty quick, relatively inexpensive and the results can look amazing. Ages ago I had some soap paints for decorating them, but no one seems to make them anymore. After combing the internet I found scant info on painting soap, so I took what little I discovered, combined with my trial & error findings, to make these awesome babies:

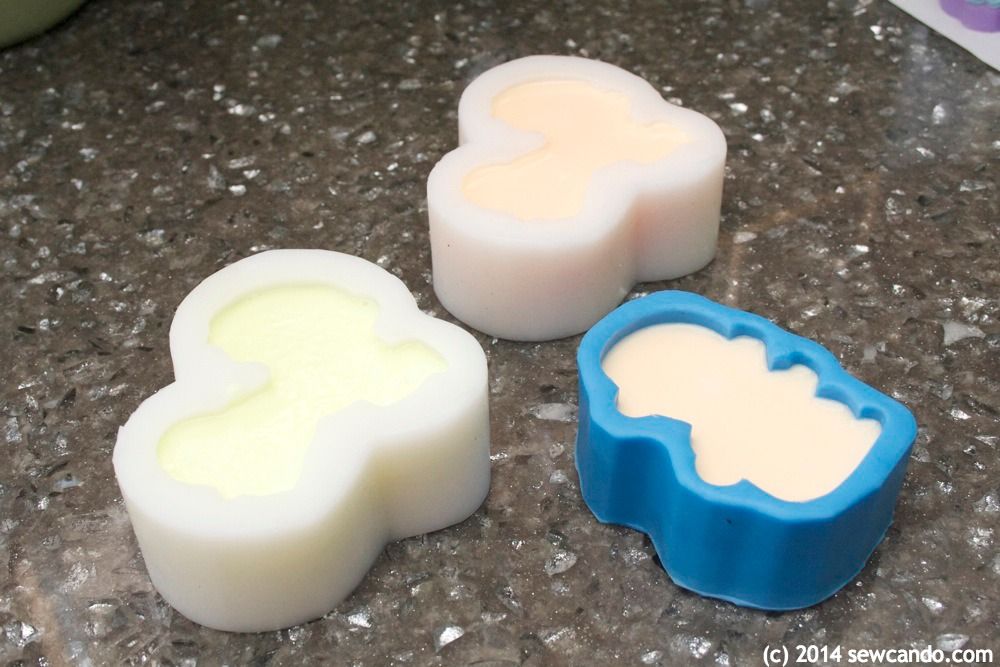
In case you're wondering, you can always color different sections of soap as you make it for a longer lasting effect, but this can be tricky. You need to pour them carefully into the desired section of the mold, wait for them to set, then pour the remaining color(s) and mind the temperature so they don't bleed together. It can be a lot of work and if you mess up, well, there's no going back. It's also nearly impossible on molds with teeny tiny details or very shaped designs.
Now let's make & paint some soap!!
Materials:
- Melt & pour clear glycerin soap base (available online & at craft stores)
- Cosmetic Grade Fragrance Oil & Color Gel*
- Three Dimensional Silicone molds (mine are from WholePort)
- Pyrex measuring pitcher, heat resistant spoon, hot pads
- Spray bottle of alcohol
- Waxed or freezer paper
- Cornstarch
- Non-toxic acrylic craft paint & fine artist paint brushes
* Special Note – be sure that all fragrance oil & color gels used are labeled cosmetic grade. There are a lot of other types out there and while it's tempting to use them, they are not made to be safe for skin!
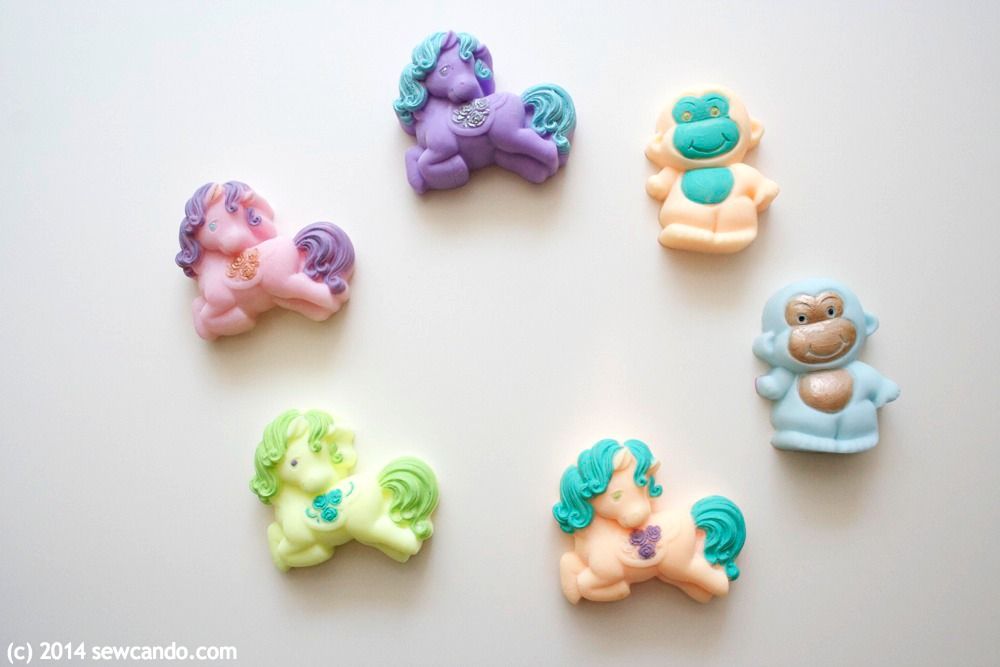
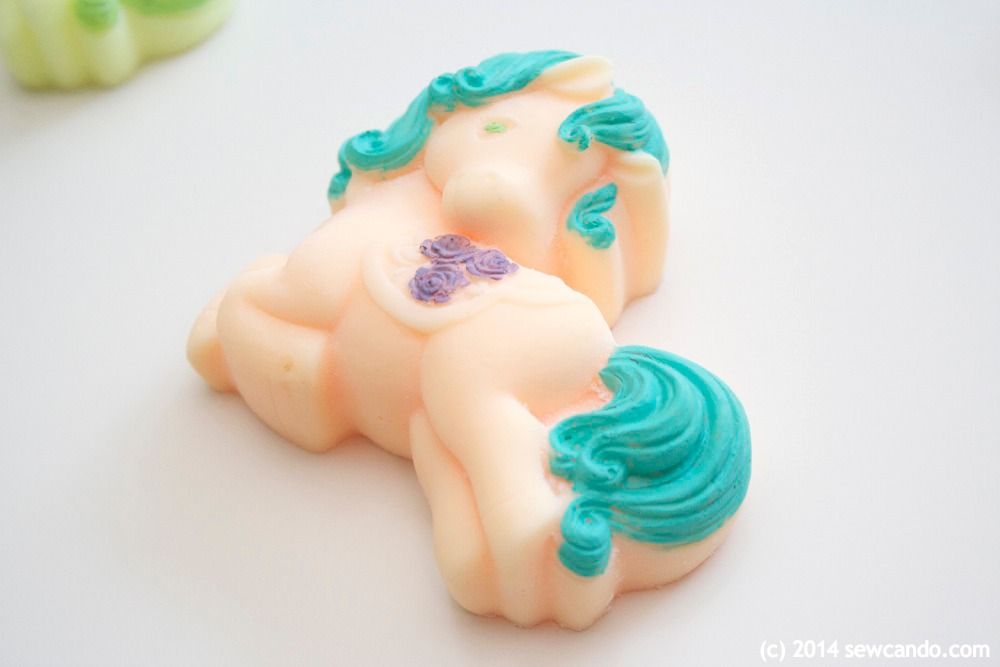
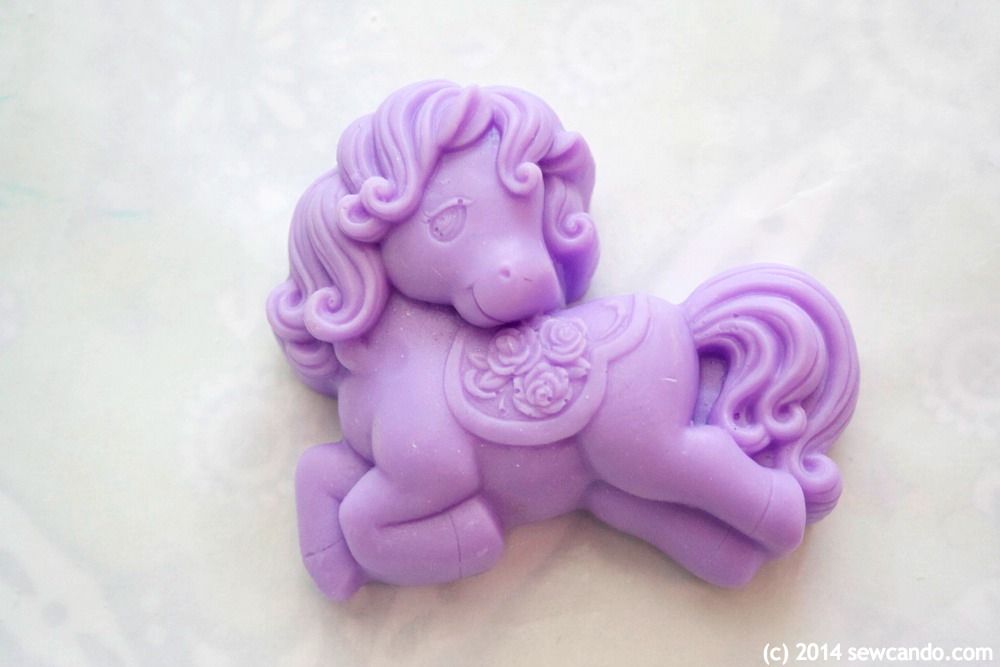
One of the key factors in wow-factor painted soaps is the soap shape. The more sculpted the design, the better the painting will look (and the less painting skills you will need). The paint really brings out the details in a raised design, so you don't need to be Rembrandt to make a soap masterpiece. My kids are serious My Little Pony fans so I was super excited when I found this similar pony soap mold. I was able to make a stable full of different ponies:

I got the lovely monkey mold that was really cute too and the little guys I made with it look even cuter with some contrasting color:

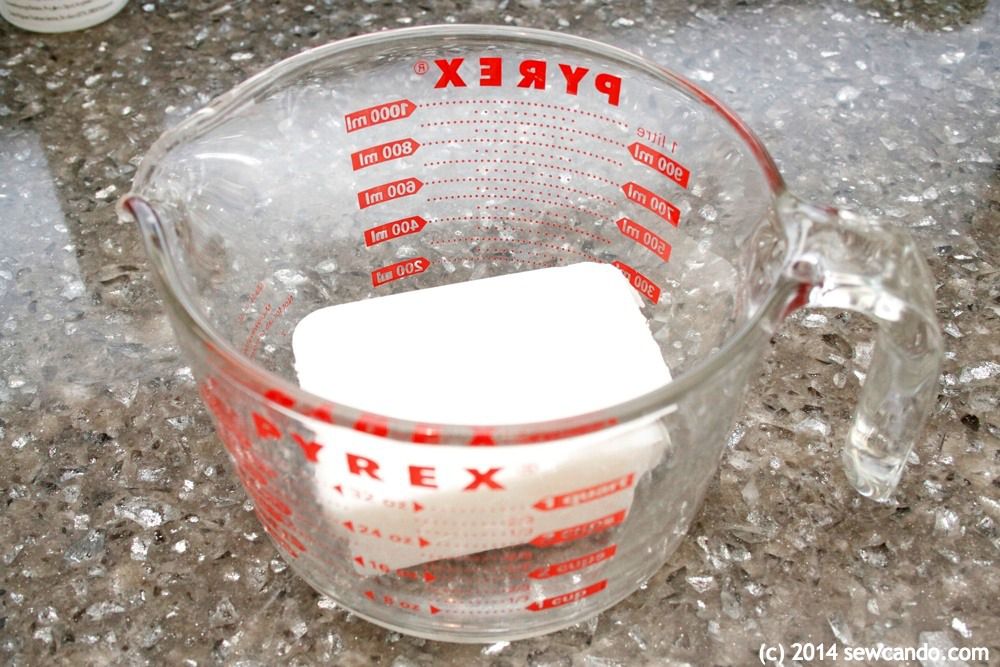
Making The Soap:
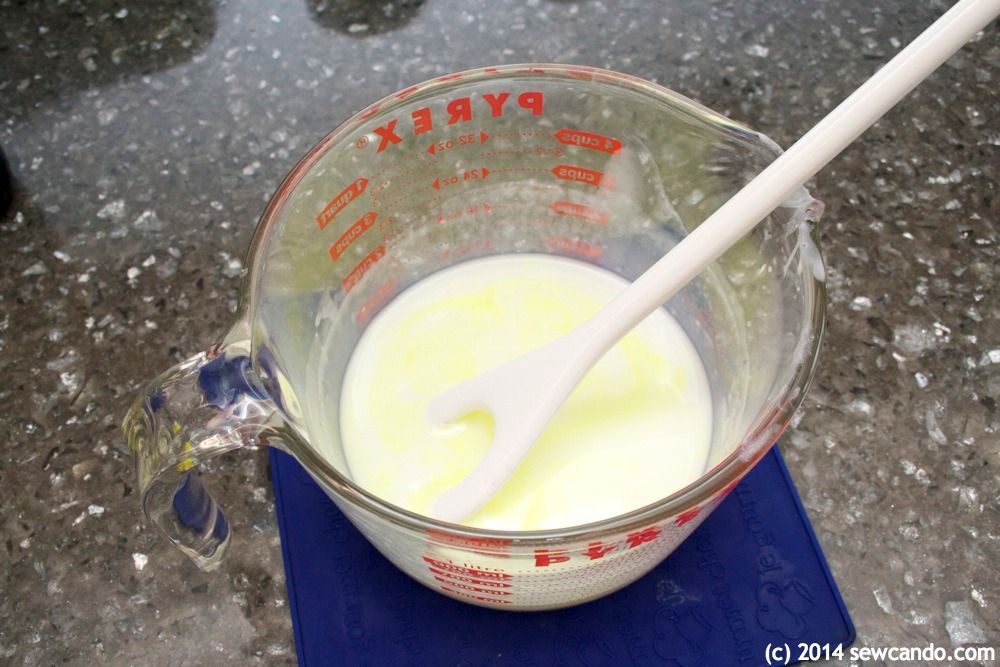
Start by cutting and melting the soap base in the Pyrex container. 2 lb blocks of soap base are readily available at craft stores and online. These make it pretty easy to measure out what you need before it's liquified. Melt slowly in microwave (1 min intervals until melted) or in double boiler, stirring occasionally, until liquified. You do not want it to get boiling hot, just smooth and pourable.
Add some fragrance oil and colorant. Just do a few drops at a time until it's to your liking. Be sure to stir it up! If you're using white base like me the colors will turn out lighter than the gel is in its bottle. Several of mine were actually neon colors, but using just a couple of drops turned out nice and soft.
Pour into the silicone molds and spray the surface with alcohol to remove any air bubbles.
Let soap sit for a couple of hours to harden and then flip upside done and push soap out of molds.
Soap Painting:
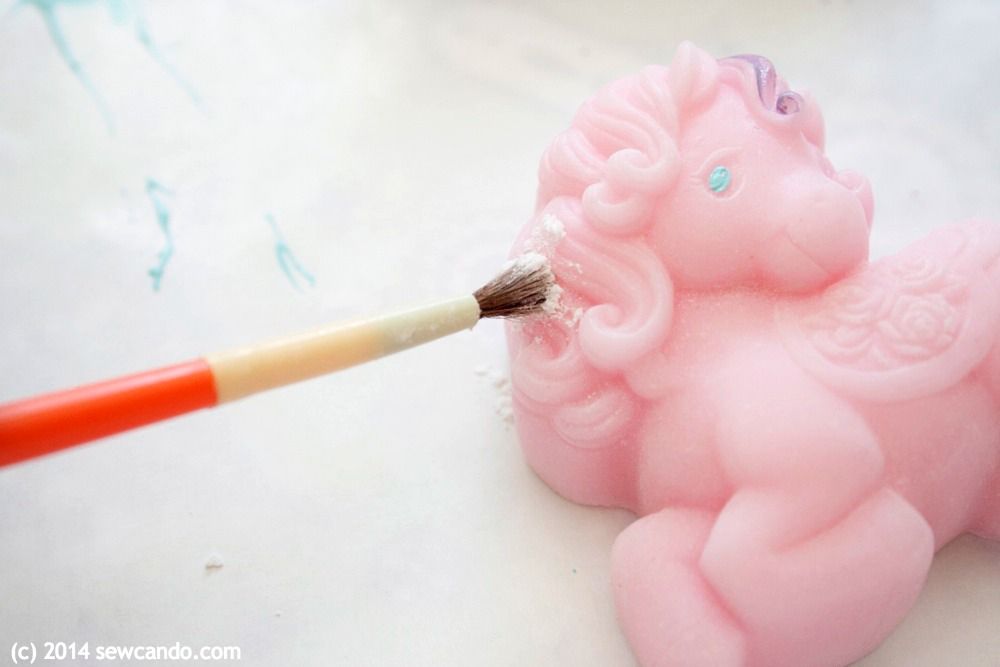
Now for the painting part - dust the surface of the soap lightly with cornstarch. This is key. It will help the paint adhere to the soap. You don't need to be able to see it - think face powder dusting (even coverage, but you can't really see it once brushed all over). Give it a minute or two to stick to the surface before painting.
I recommend using paint colors that are at least a little darker than the soap color so the color will look best, even if it doesn't go on super smooth. Really light colors can look streaky or uneven. Also be sure to use fresh paint and really it shake up. I used some older paint on one and it glopped up when I applied it and didn't look so hot:
 |
| Could look better |
Now here's the real trick. Load up the brush with a good amount of paint and try to work in single strokes to cover. The more you paint over previously painted sections, the more likely the paint will pull away, so the less strokes, the better. When the paint dries you can do a little touch-up, but try to keep it to a minimum. Using a good quality artist brush also helps - especially for getting into little details.

Goof up and get paint in the wrong spot? Use a toothpick or q-tip to wipe it away. This will work even if it's dry since the paint is just lightly adhered to the soap.

Keep in mind, the paint will wash away as the soap gets used, so if you want your beautiful paint job to remain as it is, the soap will need to be of the decorative "display soap" variety. I say go ahead and use 'em though. Now you know how to easily make more;)

I'm also sharing this with my FAVE LINK PARTIES.
too cool! I love the idea of painting soap! Brilliant idea and would be such a fun craft to do with the grands!
ReplyDeleteThese little painted soaps are so sweet! Thanks for the painting tips---both children and adults can have fun with these.
ReplyDeleteHi which colors did u u
ReplyDeleteR regular acrylic colors safe to use on soap..
This post was from a long time ago so I'm not 100% on what the exact colors were, but they are all regular non-toxic craft acrylic paints - the DecoArt & Plaid brands (FolkArt, Americana, Apple Barrel, etc.). Just make sure the version says non-toxic, water based and use whatever colors you want:)
Delete