Showing posts with label Wholeport. Show all posts

Wednesday, July 23, 2014

How to Wow with DIY Soaping Painting


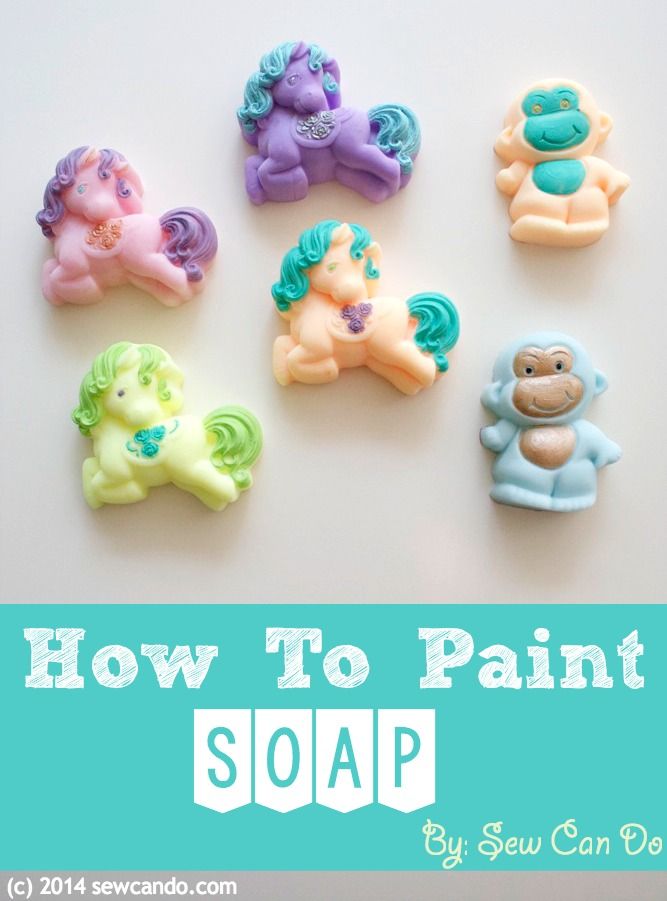
The very first type of crafting I ever did was soap making and it's been one of my favorites over the years.  It's pretty quick, relatively inexpensive and the results can look amazing. Ages ago I had some soap paints for decorating them, but no one seems to make them anymore.  After combing the internet I found scant info on painting soap, so I took what little I discovered, combined with my trial & error findings, to make these awesome babies: 


Making soap seem too complicated?  Don't worry you can use store bought for this too. You don't need awesome painting skills, or even know how to make soap, but I'm going to show you how to do both so you can make show stopping soaps from scratch.  I promise it's pretty easy.  You can also check out my full step-by-step soap making tutorial from a while back if you want even more details.


In case you're wondering, you can always color different sections of soap as you make it for a longer lasting effect, but this can be tricky.  You need to pour them carefully into the desired section of the mold, wait for them to set, then pour the remaining color(s) and mind the temperature so they don't bleed together.  It can be a lot of work and if you mess up, well, there's no going back.  It's also nearly impossible on molds with teeny tiny details or very shaped designs. 


Now let's make & paint some soap!!  

Materials:
- Melt & pour clear glycerin soap base (available online & at craft stores)
- Cosmetic Grade Fragrance Oil & Color Gel*
- Three Dimensional Silicone molds (mine are from WholePort)
- Pyrex measuring pitcher, heat resistant spoon, hot pads
- Spray bottle of alcohol
- Waxed or freezer paper

- Cornstarch
- Non-toxic acrylic craft paint & fine artist paint brushes

* Special Note – be sure that all fragrance oil & color gels used are labeled cosmetic grade. There are a lot of other types out there and while it's tempting to use them, they are not made to be safe for skin!

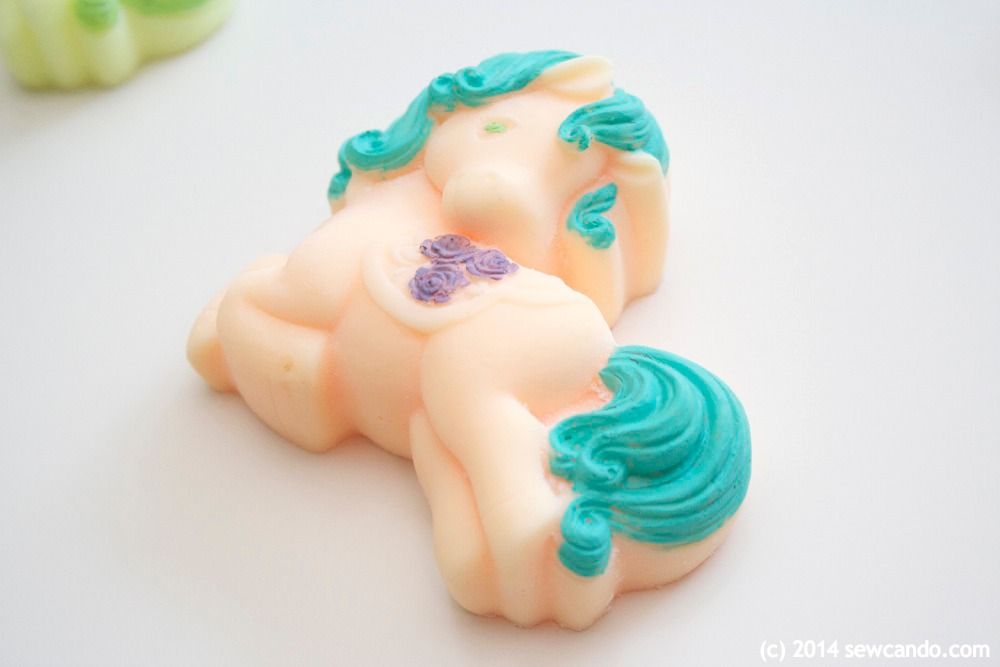
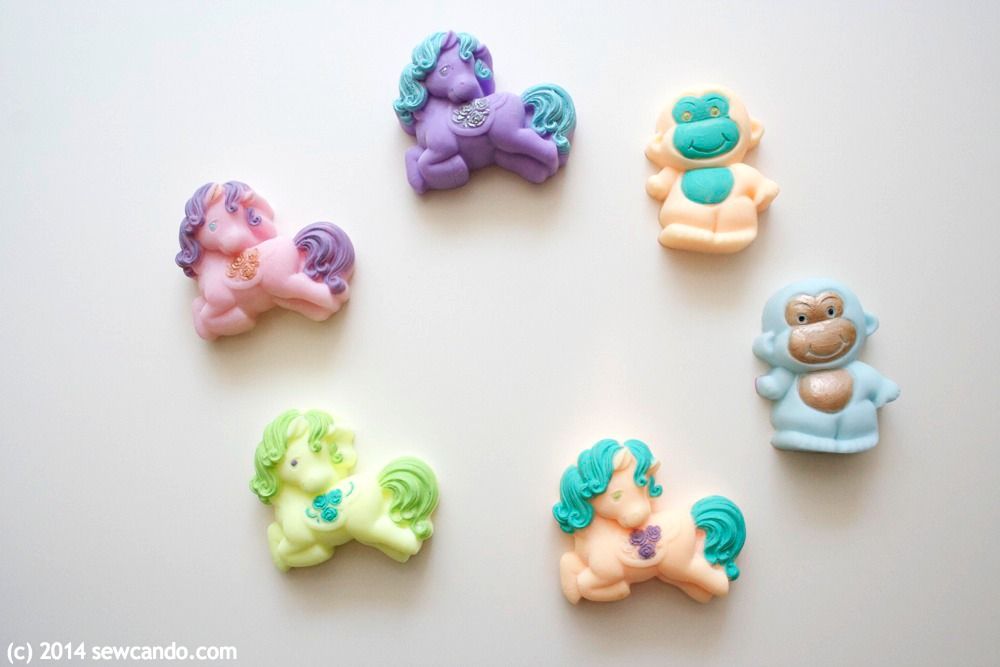
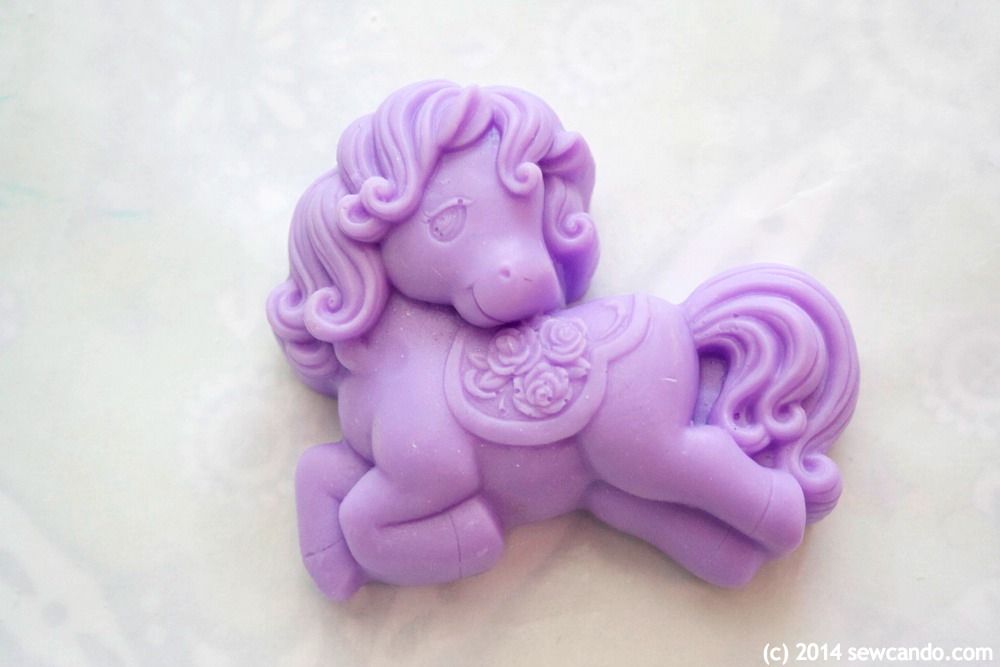
One of the key factors in wow-factor painted soaps is the soap shape. The more sculpted the design, the better the painting will look (and the less painting skills you will need).  The paint really brings out the details in a raised design, so you don't need to be Rembrandt to make a soap masterpiece.  My kids are serious My Little Pony fans so I was super excited when I found this similar pony soap mold.  I was able to make a stable full of different ponies:


Painting the mane & tail and saddle really brought out the fine detailing of the design. 


I got the lovely monkey mold that was really cute too and the little guys I made with it look even cuter with some contrasting color:


Making The Soap:
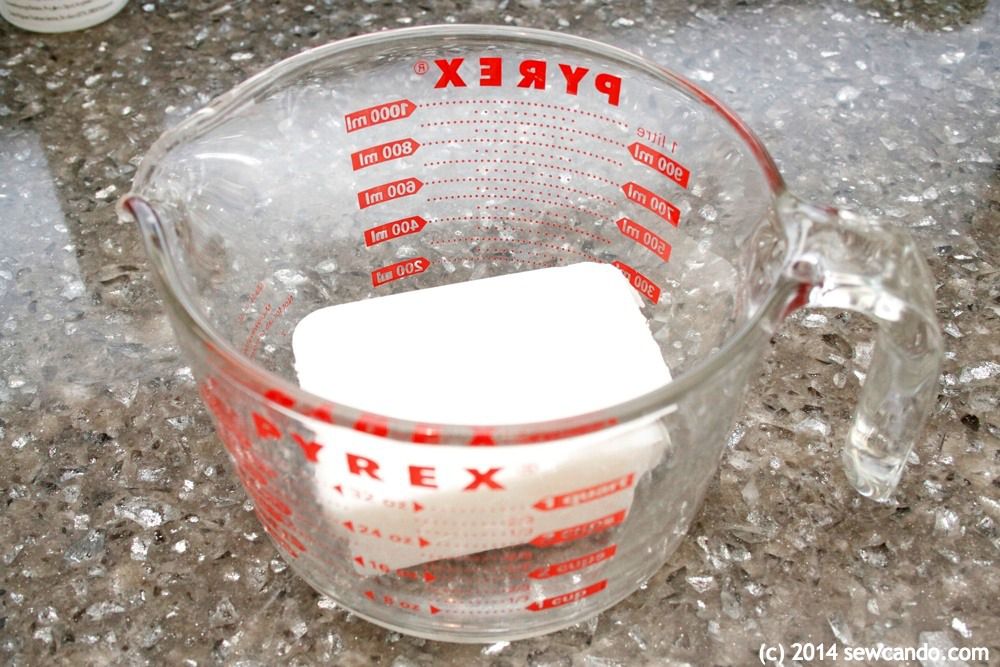
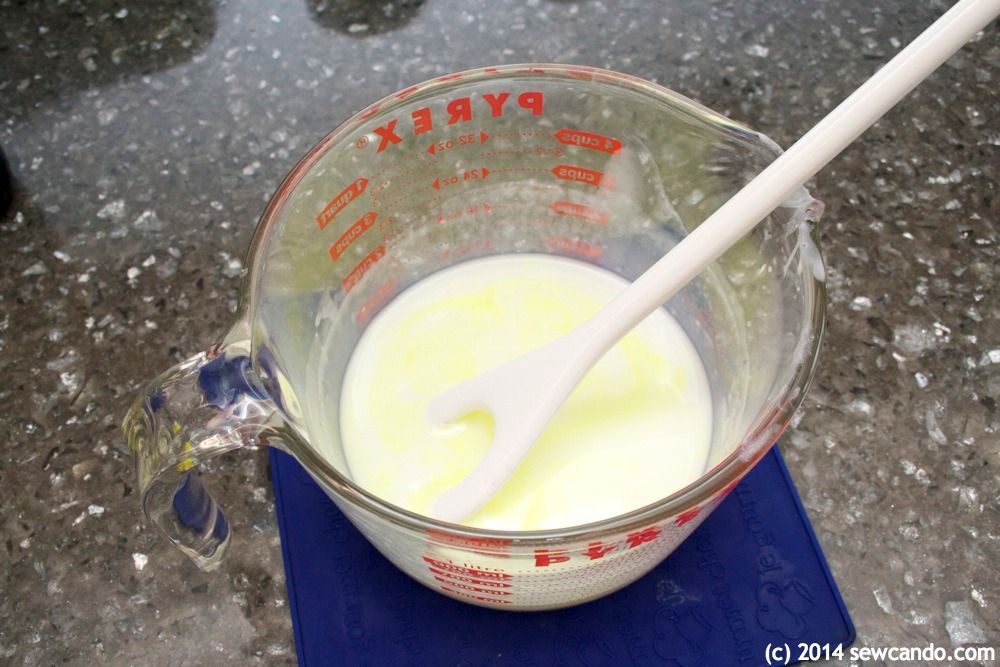
Start by cutting and melting the soap base in the Pyrex container.  2 lb blocks of soap base are readily available at craft stores and online.  These make it pretty easy to measure out what you need before it's liquified.  Melt slowly in microwave (1 min intervals until melted) or in double boiler, stirring occasionally, until liquified. You do not want it to get boiling hot, just smooth and pourable. 


Add some fragrance oil and colorant.  Just do a few drops at a time until it's to your liking. Be sure to stir it up!  If you're using white base like me the colors will turn out lighter than the gel is in its bottle.  Several of mine were actually neon colors, but using just a couple of drops turned out nice and soft.


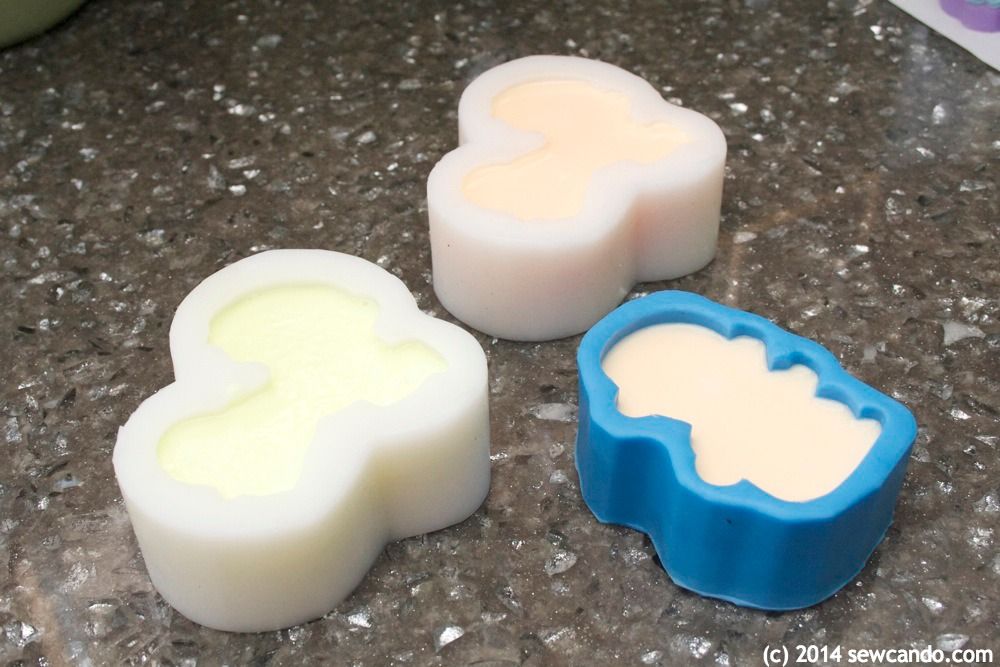
Pour into the silicone molds and spray the surface with alcohol to remove any air bubbles.


Let soap sit for a couple of hours to harden and then flip upside done and push soap out of molds.


Soap Painting:
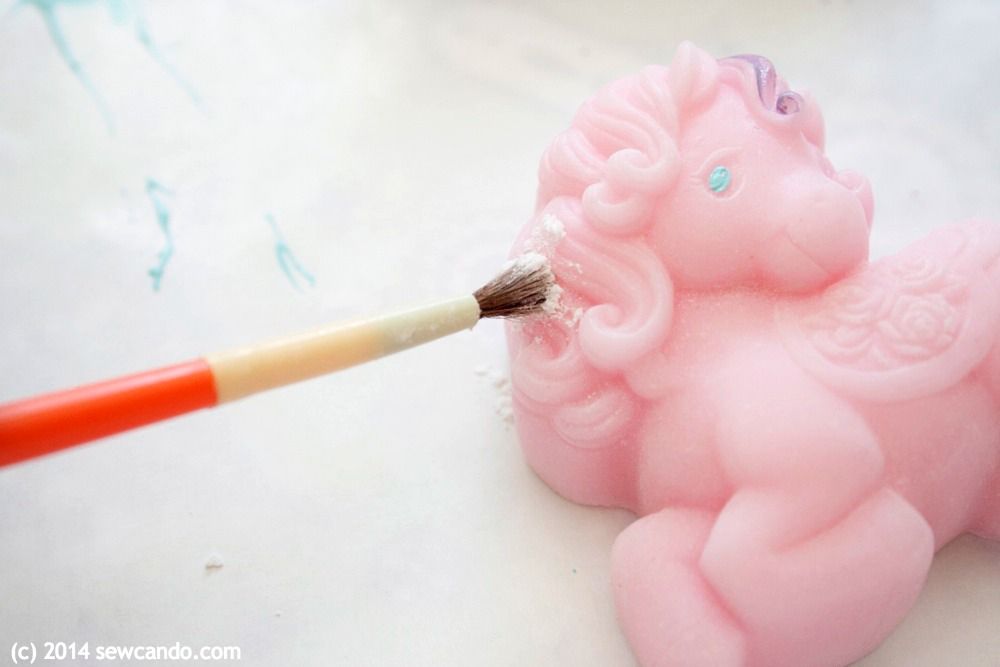
Now for the painting part - dust the surface of the soap lightly with cornstarch.  This is key. It will help the paint adhere to the soap.  You don't need to be able to see it - think face powder dusting (even coverage, but you can't really see it once brushed all over).  Give it a minute or two to stick to the surface before painting.


I recommend using paint colors that are at least a little darker than the soap color so the color will look best, even if it doesn't go on super smooth.  Really light colors can look streaky or uneven.  Also be sure to use fresh paint and really it shake up.  I used some older paint on one and it glopped up when I applied it and didn't look so hot:  


Could look better

Now here's the real trick.  Load up the brush with a good amount of paint and try to work in single strokes to cover.  The more you paint over previously painted sections, the more likely the paint will pull away, so the less strokes, the better. When the paint dries you can do a little touch-up, but try to keep it to a minimum. Using a good quality artist brush also helps - especially for getting into little details.


Goof up and get paint in the wrong spot?  Use a toothpick or q-tip to wipe it away. This will work even if it's dry since the paint is just lightly adhered to the soap. 


Keep in mind, the paint will wash away as the soap gets used, so if you want your beautiful paint job to remain as it is, the soap will need to be of the decorative "display soap" variety. I say go ahead and use 'em though.  Now you know how to easily make more;) 


I'm also sharing this with my FAVE LINK PARTIES.
Click HERE to check them out!

I was not financially compensated for this post.  I selected items from my Sponsor, Wholeport, to review.   The opinions are completely my own based on my experiences.  I am an affiliate of Wholeport.  For my complete disclosure policy, click here. 

Wednesday, March 12, 2014

Scrap Buster Project: DIY Fabric Brooches


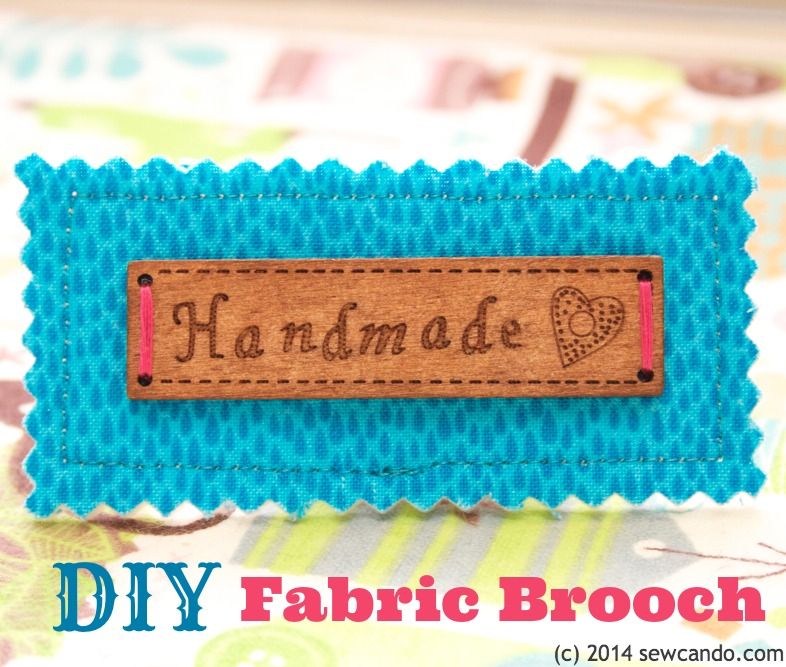
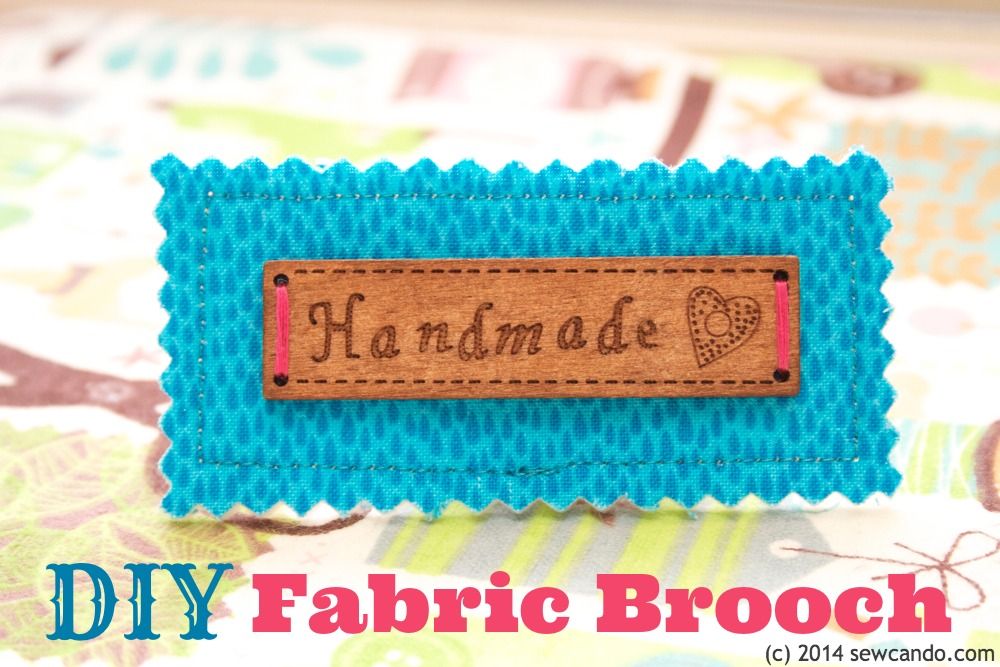
Got some pretty fabric scraps that are too small for most projects?  Or want to highlight a fabric's fun print on a small scale?  Then this project is for you!  Make pin-on brooches in minutes & add to any outfit or bag for some extra fabric fabulousness.  

I literally whipped this project up an hour before going to a craft event.  I wanted to be able to wear something crafty, that I'd made, and this worked out perfectly.  It's also a great way to feature a design or character from a busy fabric as well.

Materials:
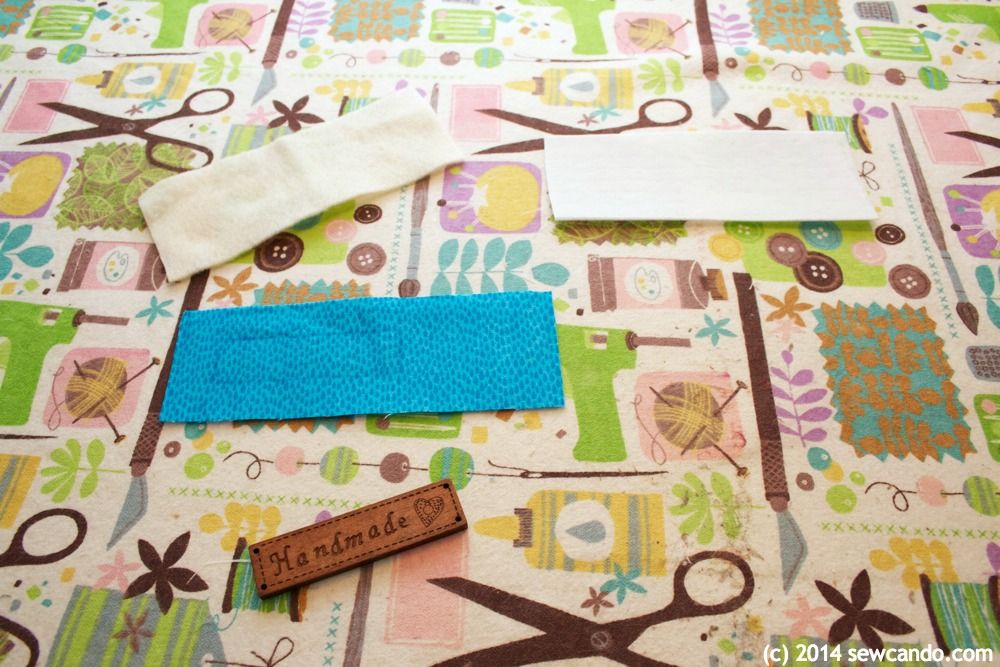
- Scrap of quilting cotton (the fabric I used is Rain Basic in Aqua by Timeless Treasures)
- Scrap of felt
- Small piece of ultra firm stabilizer
- Safety Pin
- Sewing notions (disappearing marker, shears/scissors, iron)

Optional: paper-backed fusible web, button/embellishment, pinking shears, embroidery floss, hand sewing needle.  The "Handmade" wood embellishment I used can be found here

Start by cutting your desired shape from your fabric, felt and stabilizers.  Since I was going to add a rectangular embellishment on top, I echoed that shape, but made it about an inch wider and higher all the way around.


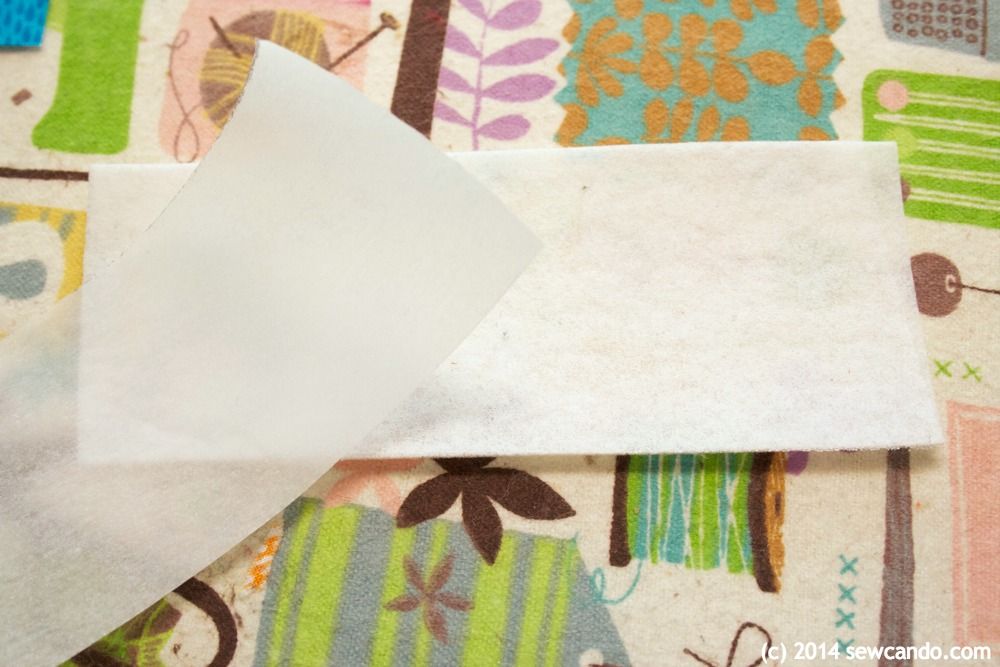
Next iron on some paper backed fusible to the wrong side of the fabric, peel aways the paper and then fuse to the ultra firm stabilizer.  Using paper backed fusible isn't required, but it will keep things from shifting while you sew, so it's a sanity saver.


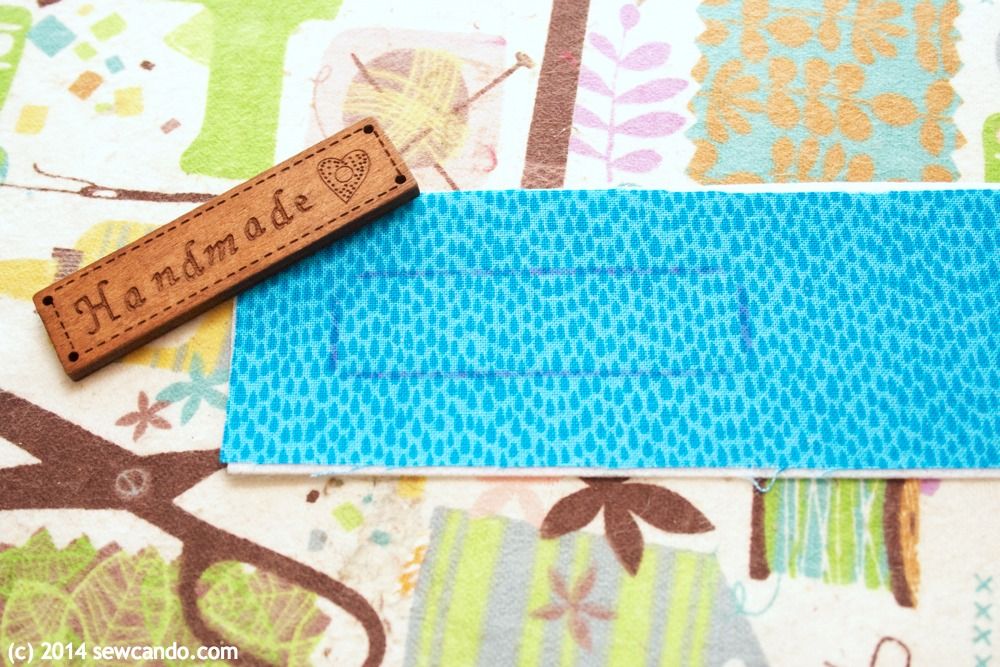
Use disappearing marker to draw the outline of any embellishment if that will be the shape you want to sew around. This makes sure things centered & gives a guide to sew around to make sure the topstitching will be even and straight.


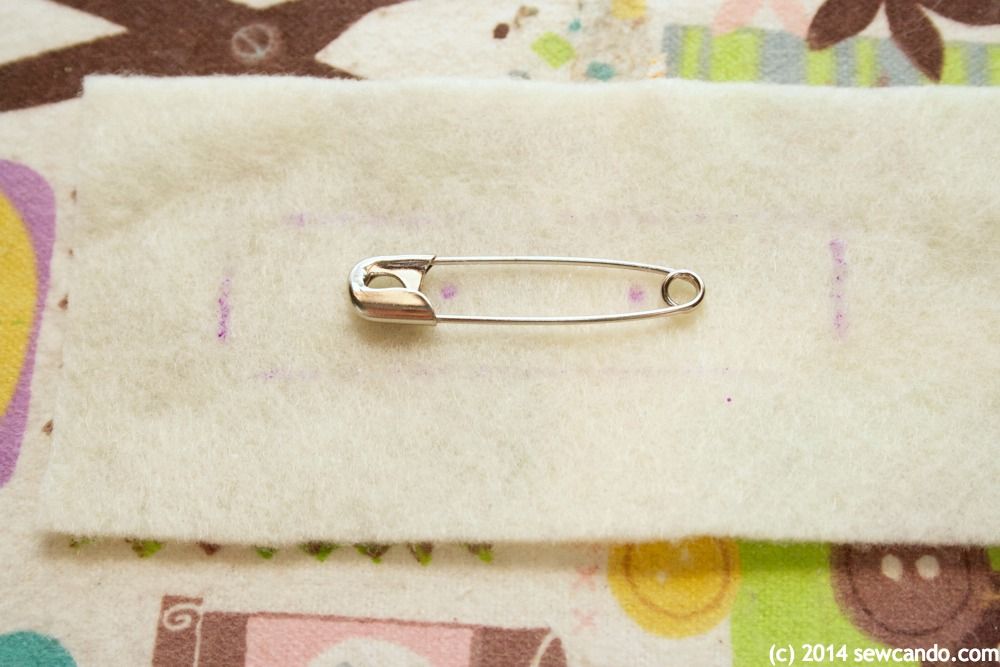
Lay the safety pin on the felt and center.  I used disappearing marker to draw the outline of my wood again to make sure I had things perfectly centered.  Make two small marks as shown:


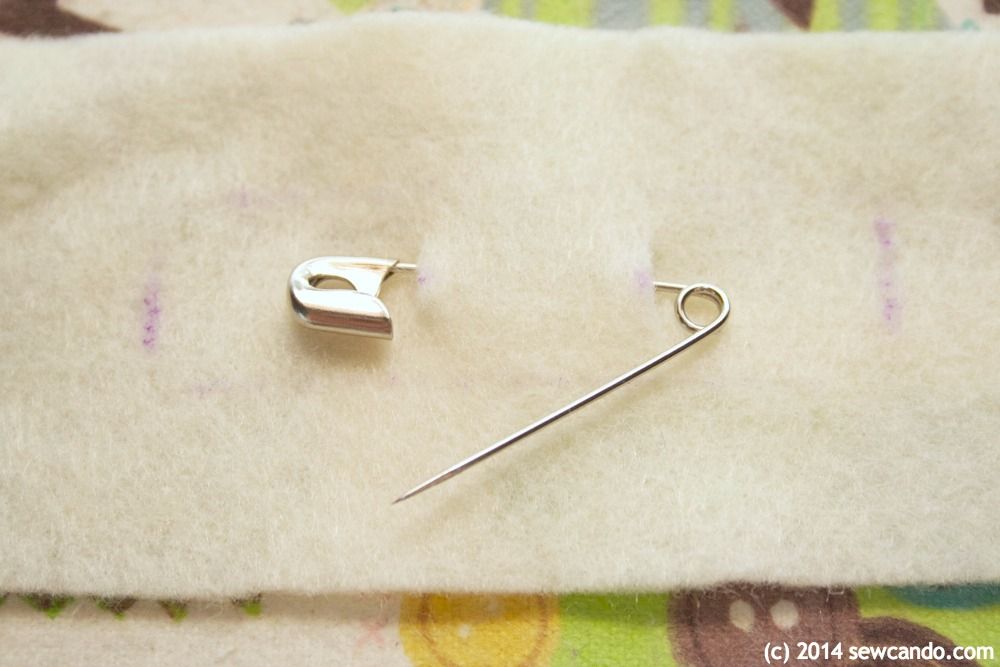
Snip the two marking points to about 1/4 inch high and slip safety pin in to make sure it fits. Slip back out and add after brooch is complete.


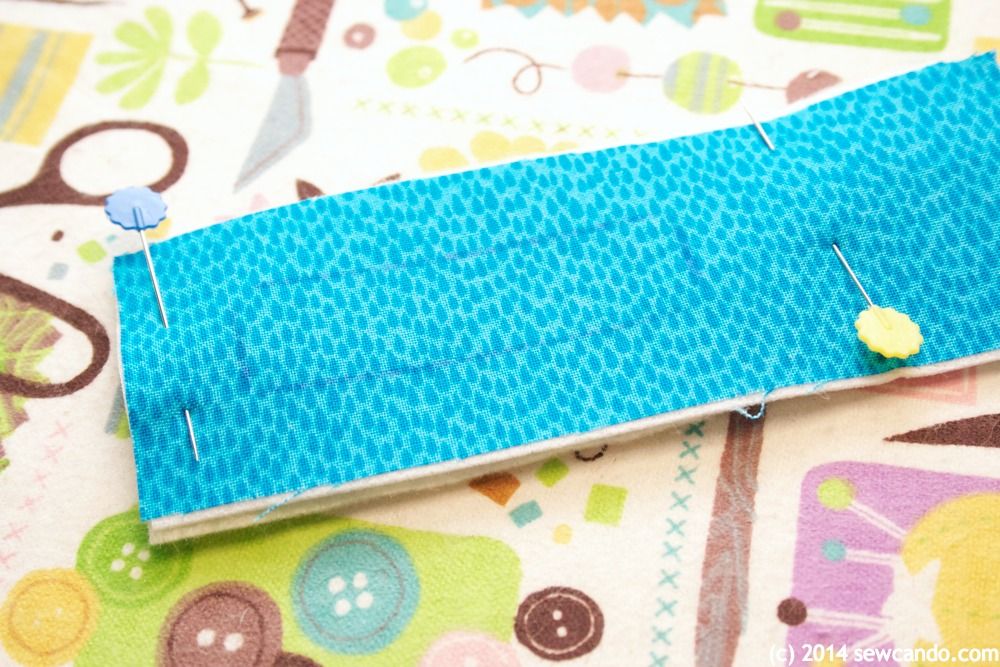
Place felt behind the fabric "sandwich" you've made and pin layers together:


Topstitch all the way around. I did about 1/4 inch away from the outline of my wood piece. Trim just outside the stitching.  I used pinking shears for some extra decorative detail and to prevent fraying.  If using regular shears, add a little Fray Check around the raw edges to seal them.


If you're using an embellishment or decorative button(s) like I did, hand sew them on.  I used bright pink embroidery floss for some extra color.  Slip safety pin through slits in the back. Now the button is done and ready to wear!


I'm also sharing this project with my FAVE LINK PARTIES.
Click HERE to check them out!

Friday, February 21, 2014

Tutorial Time: Super Easy Linen Laundry Jar


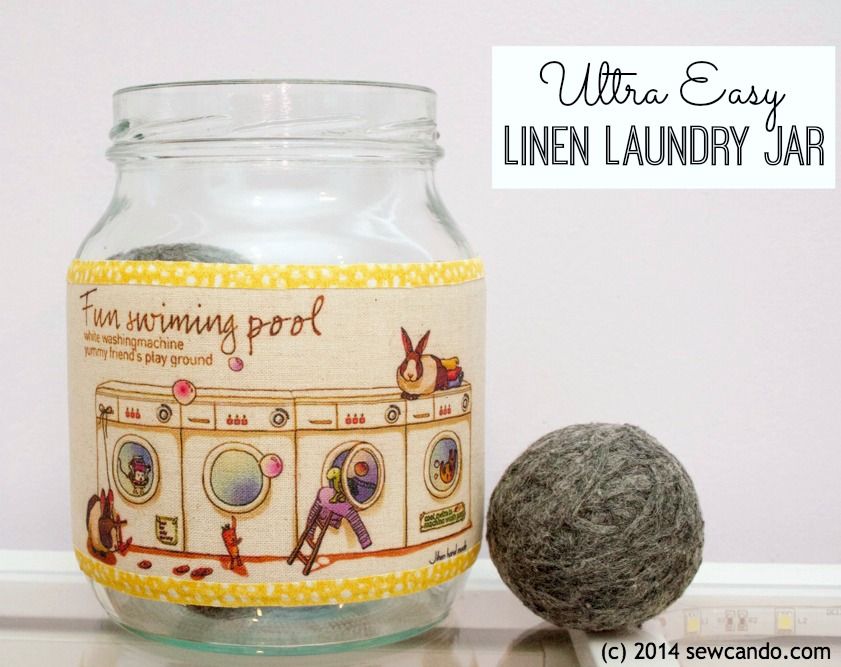
Sometimes projects can be super simple and still have a big impact, like today's Linen Laundry Jar.  For Christmas my sister got me a set of wool dryer balls.  I've been using them a lot, but I needed a place to put them when not in use.  I decided to spruce up a glass jar so they'd have a home that wouldn't be knocked over easily and would still show me what's inside at a quick glance.  It would also work great to hold powder detergent, dryer sheets, clothespins.


This is SO easy to do and a great way to spruce up boring spaces & plain containers. Totally works for craft spaces, bathrooms & kid's rooms too.


Materials:

- Wide mouth glass jar
- Decorative Linen Panel
- Duck Fabric® Crafting Tape
- Scissors, ruler

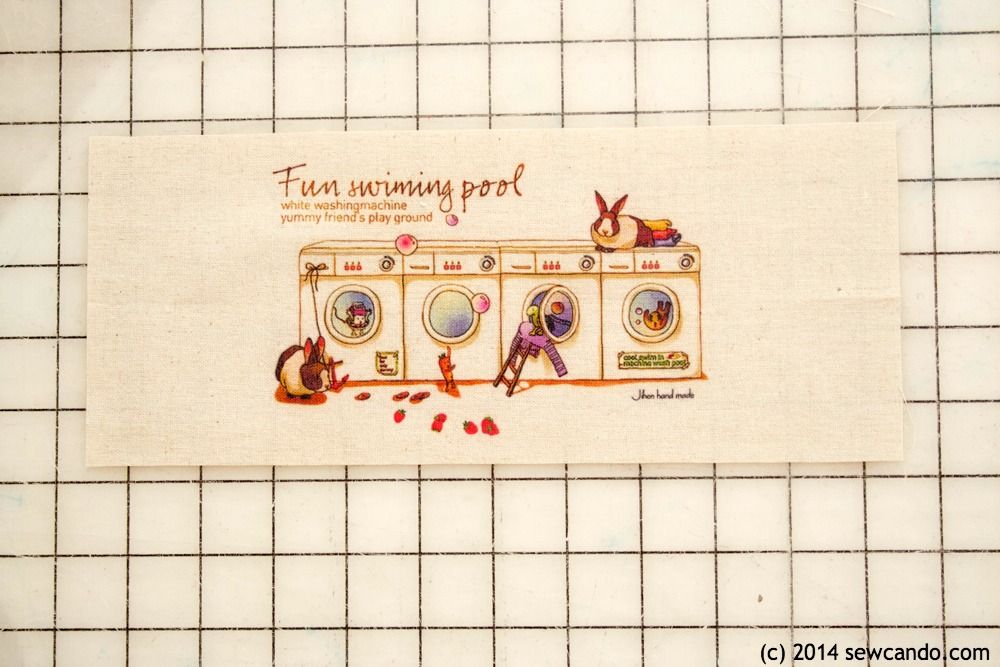
I found this super cute, laundry themed linen mini panel at Wholeport.  Cute bunnies, dinosaurs & vegetables playing in the laundry? I LOVE it!  And they have loads of other cute designs in their linen fabric section (you can scope them all out here).  I snagged a few more for some other projects I have in mind.  


I trimmed down the panel so it would fit the side of my jar and then cut 1/4 inch wide strips of the fabric tape that were about 1/2 inch longer than the panel sides.


I centered the panel and attached it to the jar on the sides first to make sure it was straight. Then I added the tape on the top and bottom and smoothed everything in place. 


That was it.  All decorated and good to go.  The best part is if I ever decide I want to use the panel or the jar for something else, it's all removable & reusable.  I'm kind of a commitment phobe with décor (I hate using stuff up if I'm not sure I'll love it long term), so if you are too, this is an ideal project.  

If my basement was even remotely decent in appearance I'd show you how it looks on my dryer, but since the jar is now the only ray of sunshine in that dungeon, I figure it's best to stick to that and not horrify anyone with it's surroundings.


Have a great weekend!


I'm also sharing this project with my FAVE LINK PARTIES.
Click HERE to check them out!

I was not financially compensated for this post.  The opinions are completely my own based on my experiences.   I selected items from my Sponsor, Wholeport, to review.  I am an affiliate of Wholeport.  For my complete disclosure policy, click here. 

Wednesday, January 8, 2014

Fun & Easy Craft Projects Using Polymer Clay Canes


With the right supplies you can craft up some great creations using minimal effort.  Today I thought I'd share something I used during my holiday break to craft up some seasonal goodies in mere minutes: polymer clay canes.

I discovered these babies on Wholeport and thought they'd be a good way to get the maximum crafting options, for minimal cost & effort.  I wasn't sure if my plan would pan out, since I haven't done much crafting with polymer clay, but I thought I'd give it a go. It's not like I have to sculpt the designs - just cut them!


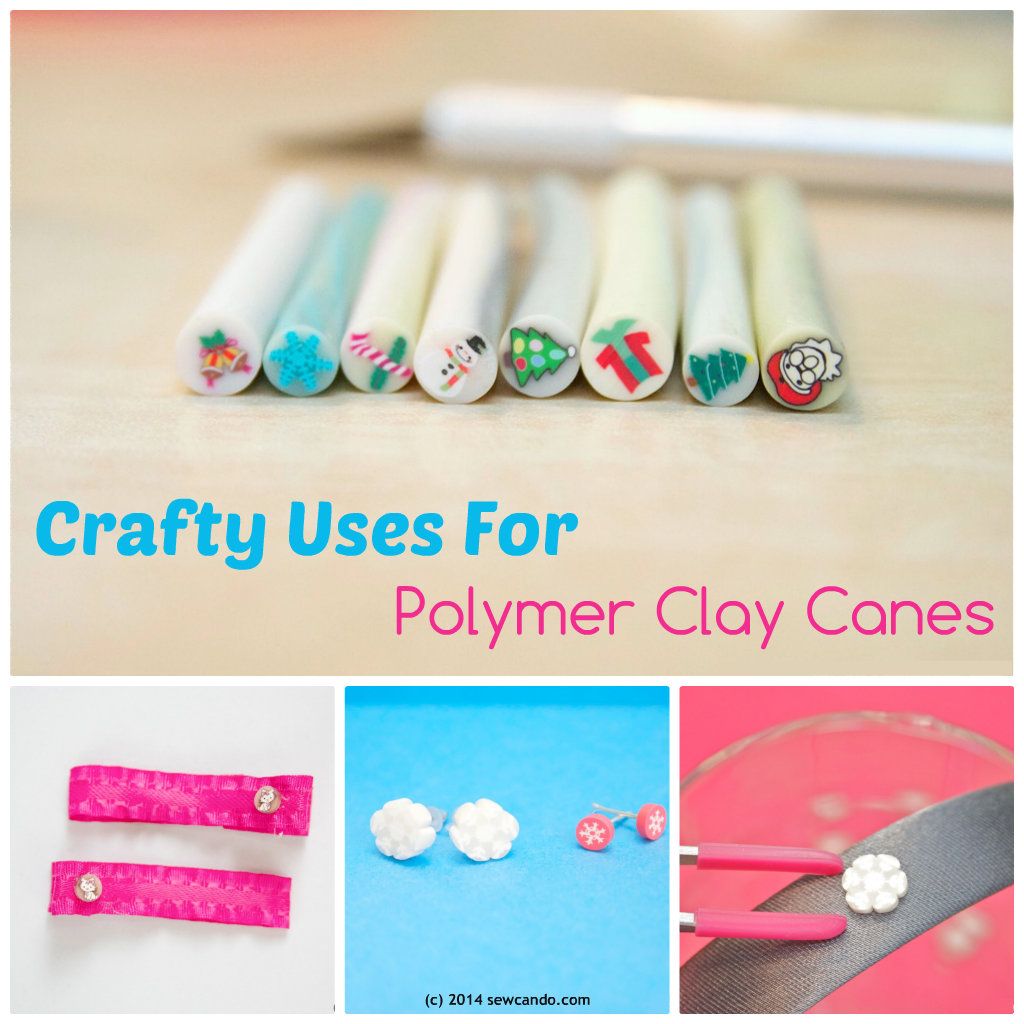
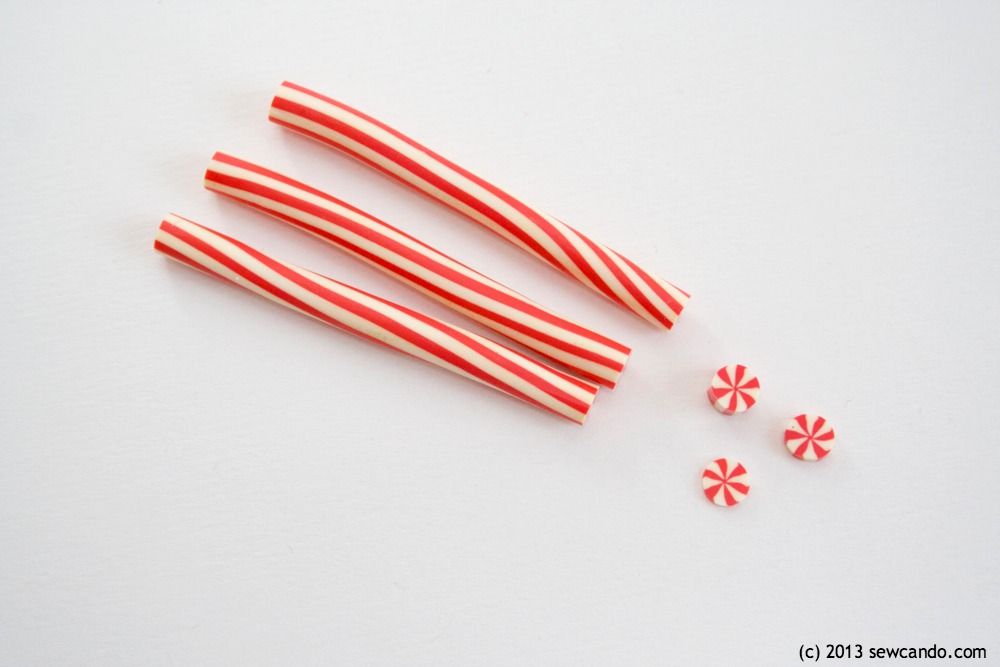
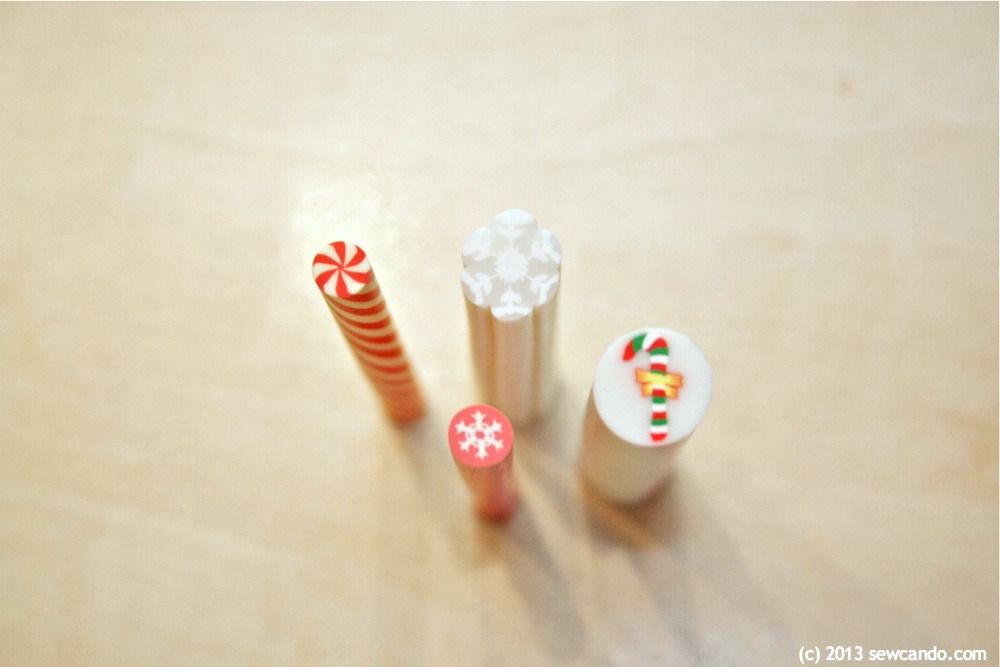
Now, in case you're wondering what I'm talking about, polymer clay canes are rolled sticks of hardened clay that have fun millefiore-style designs inside.  Just cut them to the desired thickness with a sharp blade and they can be used for all sorts of things.  Earrings, barrettes, card/scrapbook embellishments, decorations - whatever you can dream up.  

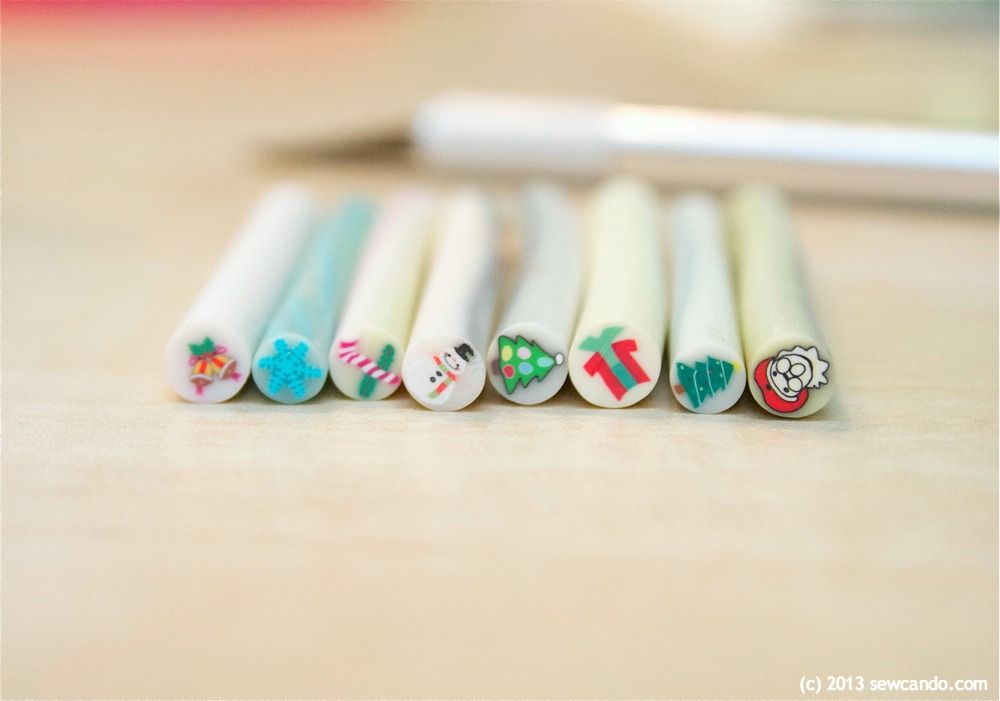
I got an assortment of wintery-designs.  Each cane is a couple of inches long. I was a little worried about them being so small (the diameters varied between 1/4-1/2 inch), but I had no trouble coming up with loads of ways to use all of them.  


This set had 8 holiday sticks for less than $1 total.  Seriously, that's it.  Talk about budget friendly.  And I've made lots of things and still have a good amount left.  The cheapskate in me LOVES that.


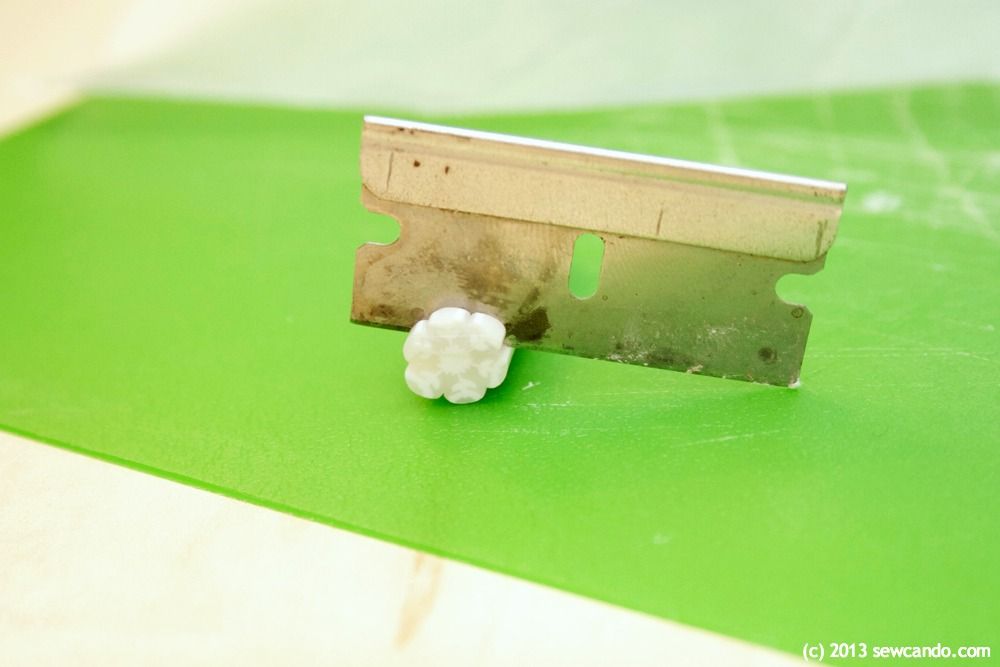
I found it easiest to cut mine with a razor blade on a cutting board and doing it slowly to keep the slices even.  Slice them super thin and they can even be used for nail art!


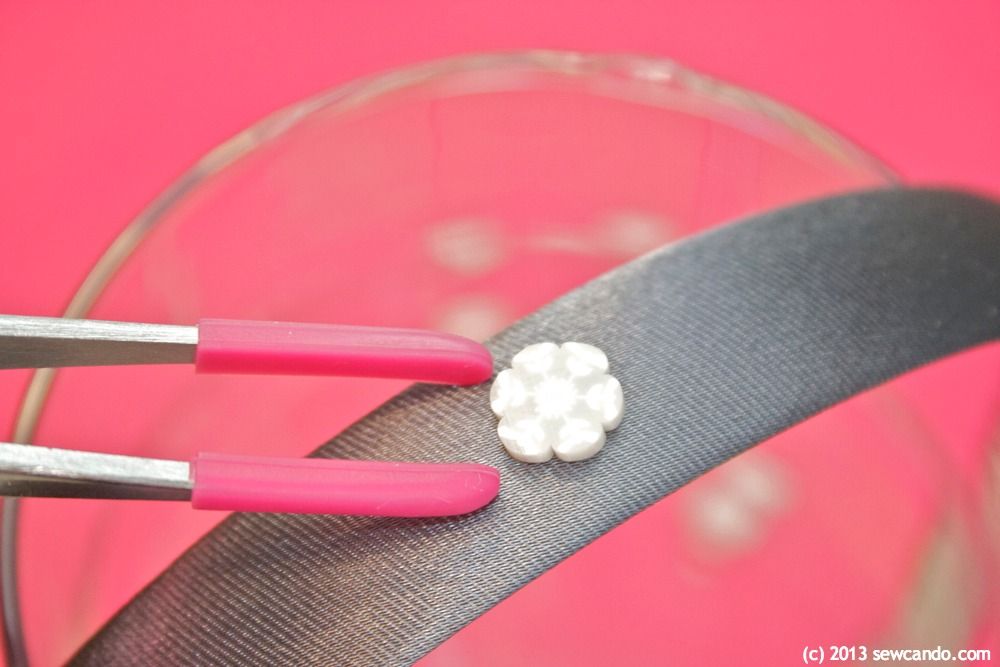
To adhere my clay disks, I used E6000 glue.  It's super strong and easier to use with small items than hot glue.  It is a bit noxious, so have some good ventilation and try to keep it off your hands.  Using tweezers made it easier to adhere mine:


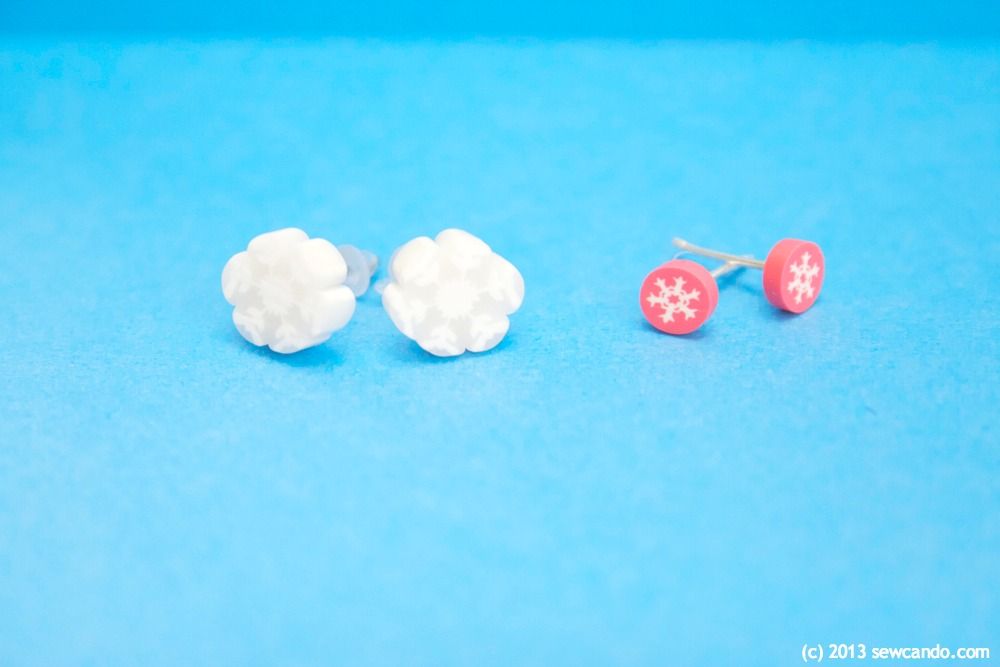
I glued a few pairs to some earring posts to make these cute seasonal studs:


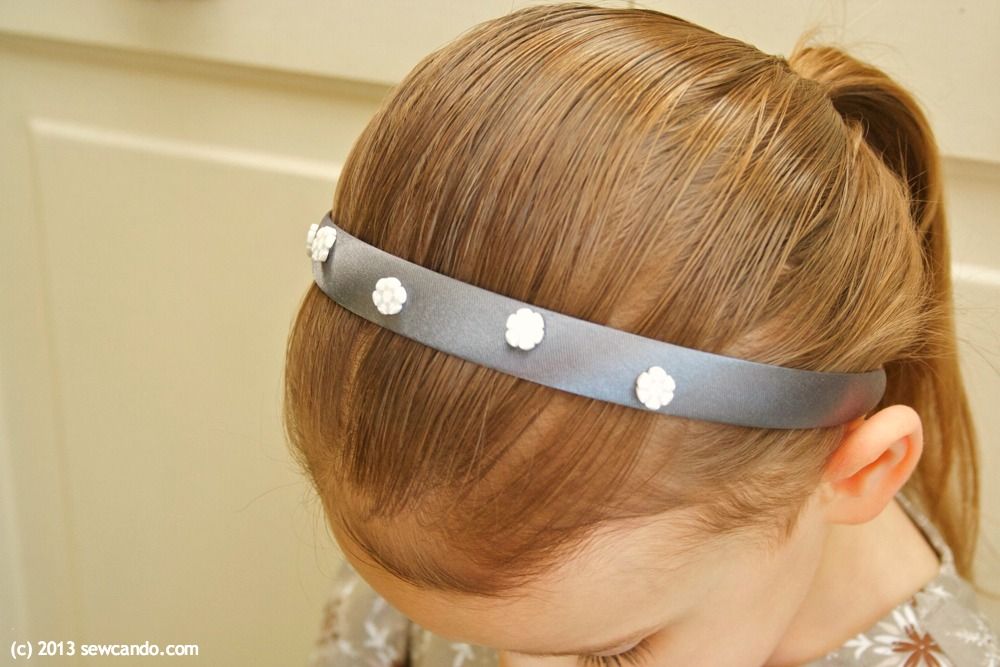
And added a handful of the larger snowflakes to this satin headband to go with a silver snowflake dress I recently made (dress reveal coming soon):


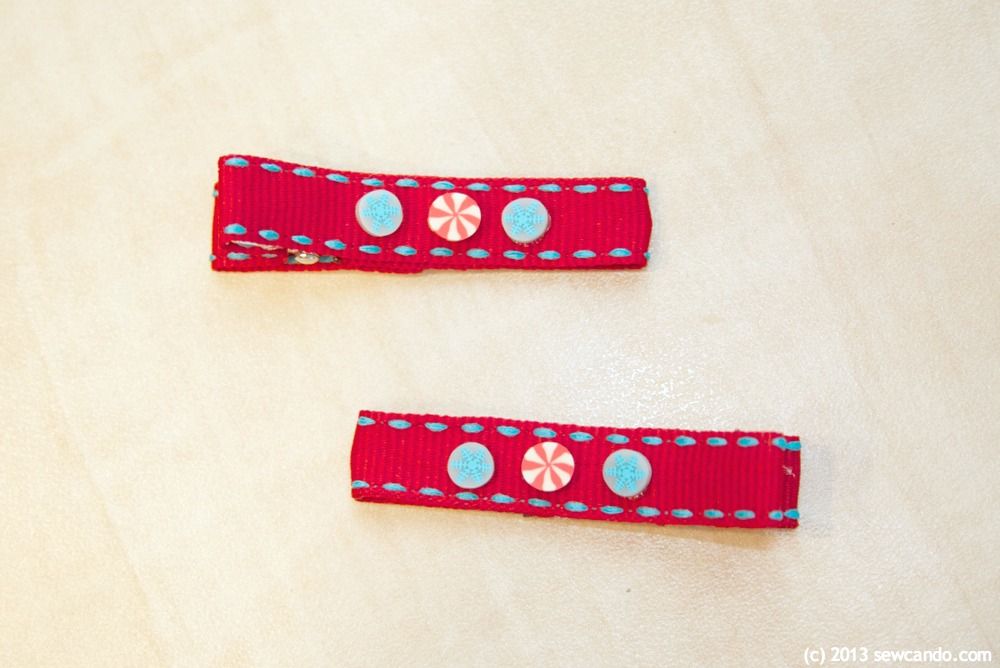
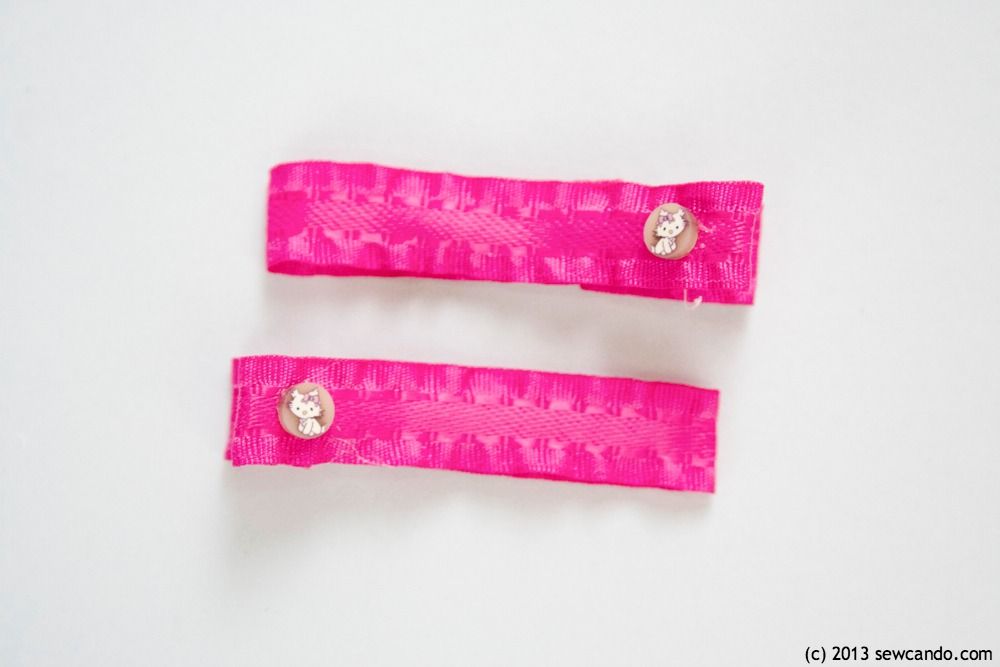
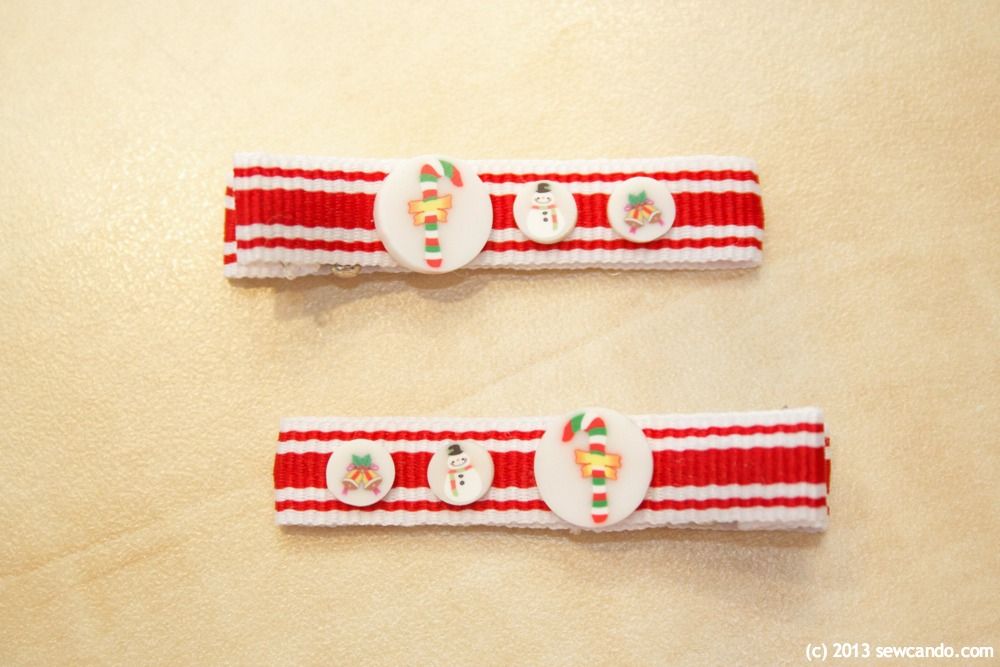
I made several ribbon covered hair clips with them too.  Here's a little peppermint & snowflake combo:


And a winter medley that is holiday festive, but won't be totally passé now that Christmas is over:


I especially loved using these tiny grey kitties with a little ruffle edged ribbon.  So dainty!


I'm thinking about gluing a few onto some bottle caps to make some dollhouse/My Little Pony play food cookies for the Little Miss and maybe slicing up a bunch for the kids to use for art projects.  I'd definitely get these again & as an added bonus, they don't take up much space, so storing the leftovers is easy too!

You can find lots more polymer cane designs here.  There are flowers, fruits, cute critters, colorful shapes, etc. I can't wait to expand my stash with some more:)


I'm also sharing this project with my FAVE LINK PARTIES.
Click HERE to check them out!

I was not financially compensated for this post.  The opinions are completely my own based on my experiences.   I selected several items from my Sponsor, Wholeport, to review.  I am an affiliate of Wholeport.  For my complete disclosure policy, click here. 
Friday, November 29, 2013

I Made It! Using Tags & Labels To Show Your Handmade Pride


Do you sign your handmade items?  I don't mean actually sign them, but adding a label or tag to show it was made by hand.  If you put in effort, time & love, to make something, doesn't it deserves to get a shout out when finished?  Here are a bunch of great ways to share that handmade pride:

Go the twill tape label route.  These Zakka and Sweet Heart styles have multiple designs by the yard:


They can be used to tie up a handmade gift or cut apart to make separate labels like this:


Embellish It.  These Wooden Handmade tags come in a 10 piece assortment (I'd already used two on projects by the time I took this).  I like that you can just glue them in place or use the holes to stitch them on.  


I stitched one onto my favorite bag (from my original free Off To Market pattern).  Even though it's been 2 years since I made it, I still hear compliments on it when I'm carrying it, so it feels good being able to add a handmade tag for a little extra polish.  


And there's the added bonus that the bird version was a perfect match to the fabric design:


Sassy Stitched Labels.  If you're feeling more cheeky, these fabulous labels from Sublime Stitching express the true sentiment behind some of those more pain-in-the-backside projects:


Metal Accents.  Go all sleek with some metal handmade tags & zipper pulls for a more upmarket finish:


There are even functional ways to add the handmade message, like this handmade snap fastener:


The custom label route is always an option too, but it can get pretty expensive per piece or require a lot bigger quantities than these options.  In my personal crafting I like to use different labels on a pair of kid's pajamas than I would on a swanky handbag or a gift to a sassy friend, so it's nice to have a lot of options that are budget friendly so I can keep a bunch of styles in my stash.

An artist wouldn't leave a painting unsigned to get lumped in with machine made prints, so why shouldn't a crafter add a little handmade flourish too?


I was not financially compensated for this post.  The opinions are completely my own based on my experiences.   I selected several items from my Sponsor, Wholeport, to review and am also sharing information on products from other sources I happen to like.  For my complete disclosure policy, click here. 

LinkWithin

Related Posts with Thumbnails