Showing posts with label Recycling. Show all posts

Thursday, July 15, 2021

Baby & Toddler Hack: Upcycled Rompers Into Tank Tops

This summer has been SO hot & humid.  90 degree days started in May and the rain just will not quit around here.  It's crazy.  Having more sleeveless & tank style tops has become key for the whole family, but time to create more from scratch hasn't been a-plenty and I didn't want to spend more $ on clothes mid-season.  Instead, I've been doing some hacks to make last summer's baby clothes work as this summer's toddler wardrobe. 

Several of last year's cute 3-6months rompers have been rejuvenated as stylish swing tops for my 17 month old and it's been the ideal solution.  Minimal time & no cost!  

From this cottony yellow romper:  


To this little ensemble:


And this colorful bird print bamboo romper:


Has become:


To make these fast, I used another tank top to determine the ideal length:


I started by cutting off the romper bottoms, as low as possible, just above the leg areas.  I used my French curve ruler to give a slightly rounded hem:


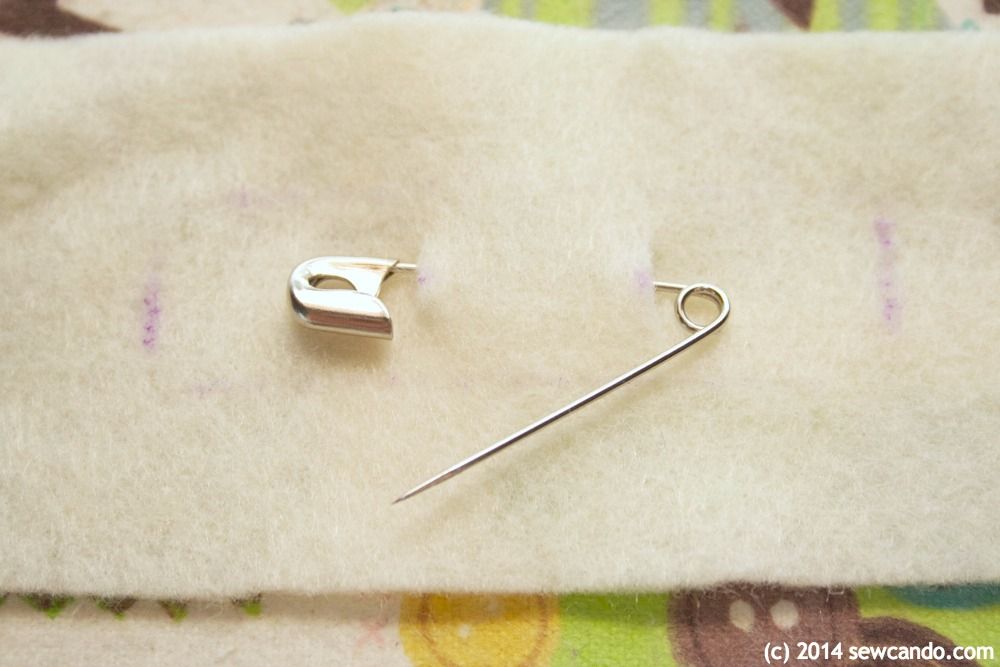
For the two layer cotton romper I pressed the raw edges inward 1/4inch:


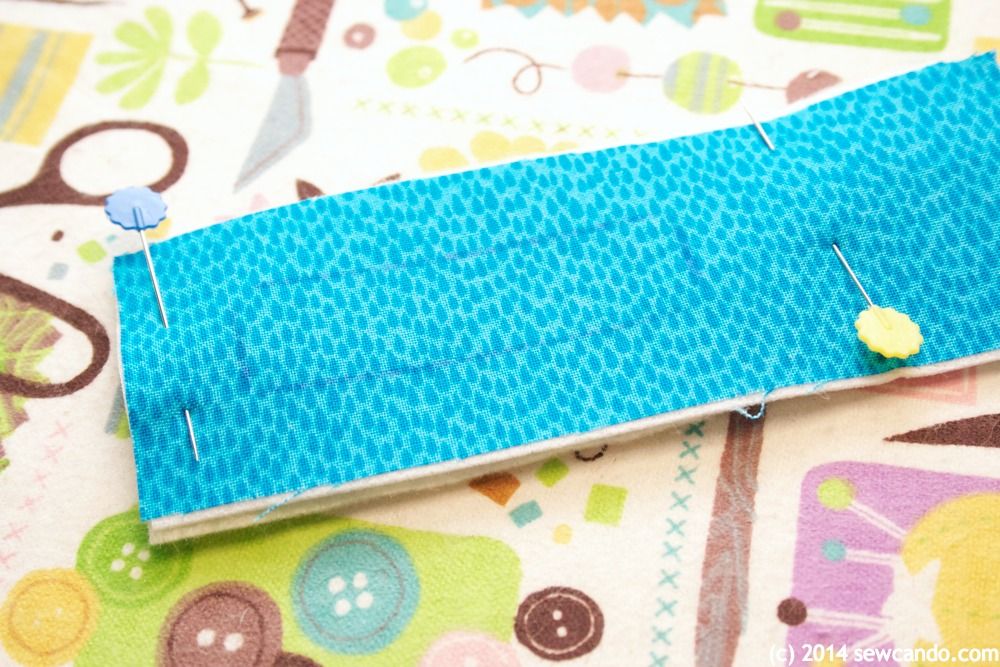
Then pinned them together:


And top stitched through both layers:


I paired them with some chambray shorts I'd made my now 3yr old son when he was this age and we had an instant sweet summer outfit:


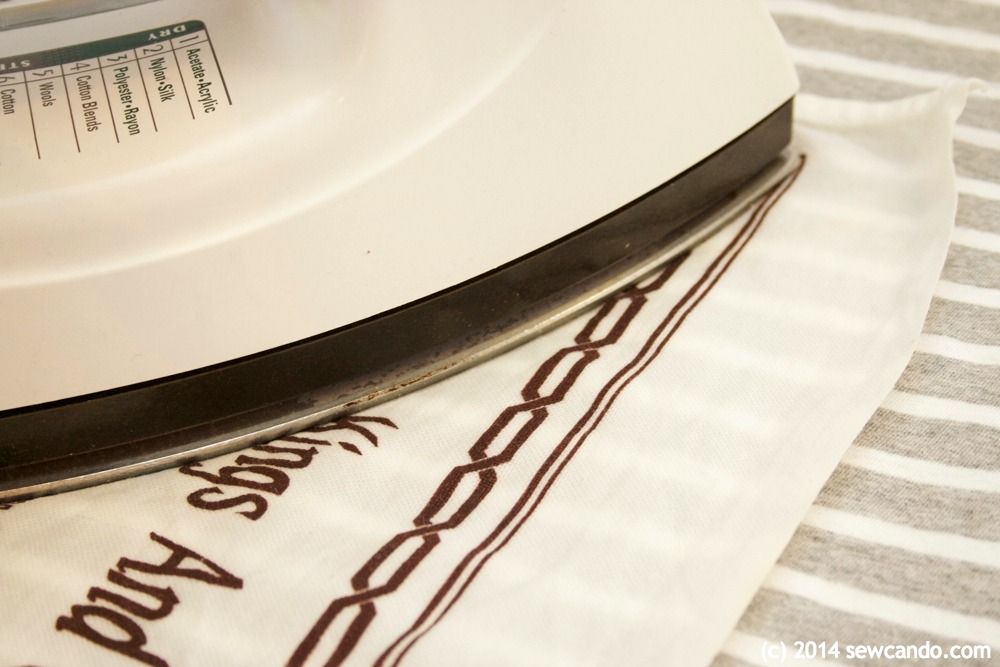
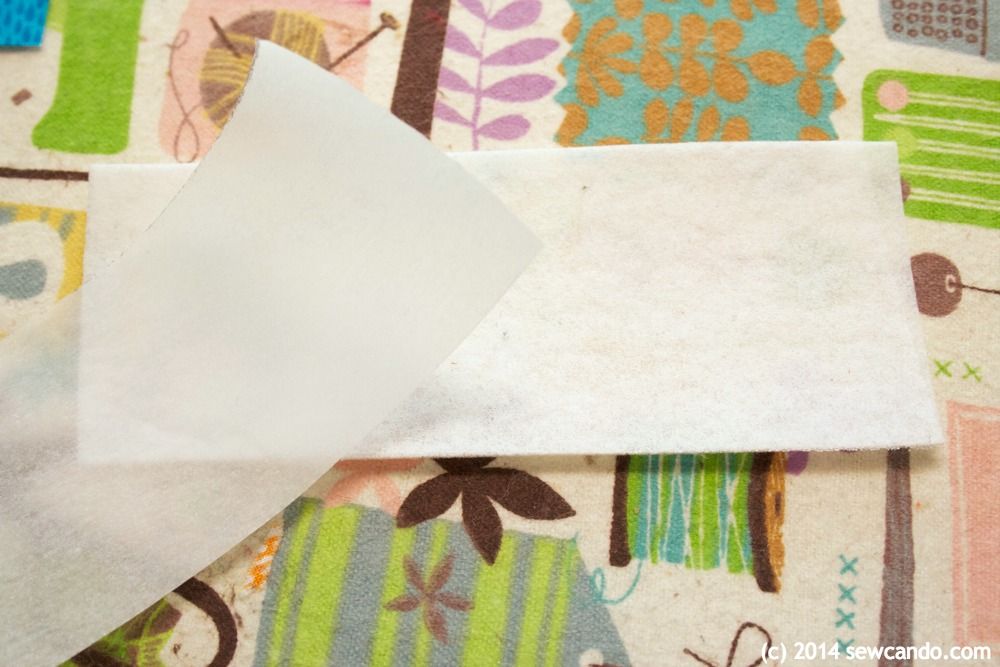
For the bamboo knit romper I folded the raw edge under and used fusible tape to hold it and give it some stability, then used a twin needle to hem it:


That gave it a lovely, stretch-able finish:


My little lady loves wearing both and has been staying cool despite the heat.  I had a soft spot for these little rompers too, so it feels good to get another season of wear out of them and have it cost $0 to boot. 


It's just tough to get any decent photos since she's super fast now & it's so steamy outside.  These were the best I could do before my camera fogged up.  Guess we just need to beat the heat inside & make more tank tops!


Friday, June 13, 2014

"Repair A Shirt" Applique: Birds On A Wire


Patching clothes usually isn't a fun project, but I can honestly say that today's how-to wasn't a total chore.  In fact, it made a kinda boring shirt look more interesting!  Here's the story:

My 8yr old somehow got holes in the back of a new shirt.  I think he wore it one time and suddenly it had holes.  It's not like it was some special shirt, but I just couldn't bring myself to toss it when it was in great shape.  Of course he managed to make three of them (what do kids get up to that causes this stuff?!?).


However, the odd hole locations kind of stumped me at first.  


I needed a creative way to patch it that wouldn't look really obvious.  The stripes kind of made it a challenge.  Then it came to me how I could use them to my advantage - birds on a wire!

Materials:
- Holed-up striped shirt (or really anything with a narrow stripe for this look)
- Scrap fabric (mine was some Timeless Treasures Rain Basics quilting cotton)
- Paper-backed fusible
- Notions (Iron & ironing board, disappearing marker, disappearing marker, shears)
- Optional: Cricut or Silhouette

To make the birds, I searched around online and found this cute lovebirds image over on Clker.com:


Love birds clip art by: 1225design on clker.com

I just discovered this site and LOVE it.  It's full of free clip art you can download in a bunch of different file formats - including svg - so they'll work with a cutting machine like the Cricut or Silhouette.  

I enlarged the images slightly & cut 'em out on card stock to make my templates.  If you don't have a cutting machine you could just print it on card stock and cut by hand. 


I traced around the templates with my disappearing marker on some scrap fabric and paper-backed fusible and cut them out.  I did two pairs of birds - one for the front & the other for the more critical back.  


You could also iron the fusible to the fabric first, then trace & cut.  I tried that with one to see if it was any faster...it wasn't, so it's really just personal preference.


I ironed the fusible onto the wrong side of each bird.  When they were cool, I peeled off the paper:


For placement, my birds needed to "perch" on the stripes and that key birdie on the back needed to completely cover the hole trifecta:


Then I fused them in place with a press cloth between them and the iron, using the wool setting.


For extra security and keeping the edges neat I topstitched around the edges.  


I used a triple stitch so it would and give a nice, thick, border stitch.


Now the holes on the back are all hidden, covert-style:


And our little shirt looks more fun and has loads more life left in it too.  I love it when a repair turns into something better than where it started!


Wednesday, March 12, 2014

Scrap Buster Project: DIY Fabric Brooches


Got some pretty fabric scraps that are too small for most projects?  Or want to highlight a fabric's fun print on a small scale?  Then this project is for you!  Make pin-on brooches in minutes & add to any outfit or bag for some extra fabric fabulousness.  

I literally whipped this project up an hour before going to a craft event.  I wanted to be able to wear something crafty, that I'd made, and this worked out perfectly.  It's also a great way to feature a design or character from a busy fabric as well.

Materials:
- Scrap of quilting cotton (the fabric I used is Rain Basic in Aqua by Timeless Treasures)
- Scrap of felt
- Small piece of ultra firm stabilizer
- Safety Pin
- Sewing notions (disappearing marker, shears/scissors, iron)

Optional: paper-backed fusible web, button/embellishment, pinking shears, embroidery floss, hand sewing needle.  The "Handmade" wood embellishment I used can be found here

Start by cutting your desired shape from your fabric, felt and stabilizers.  Since I was going to add a rectangular embellishment on top, I echoed that shape, but made it about an inch wider and higher all the way around.


Next iron on some paper backed fusible to the wrong side of the fabric, peel aways the paper and then fuse to the ultra firm stabilizer.  Using paper backed fusible isn't required, but it will keep things from shifting while you sew, so it's a sanity saver.


Use disappearing marker to draw the outline of any embellishment if that will be the shape you want to sew around. This makes sure things centered & gives a guide to sew around to make sure the topstitching will be even and straight.


Lay the safety pin on the felt and center.  I used disappearing marker to draw the outline of my wood again to make sure I had things perfectly centered.  Make two small marks as shown:


Snip the two marking points to about 1/4 inch high and slip safety pin in to make sure it fits. Slip back out and add after brooch is complete.


Place felt behind the fabric "sandwich" you've made and pin layers together:


Topstitch all the way around. I did about 1/4 inch away from the outline of my wood piece. Trim just outside the stitching.  I used pinking shears for some extra decorative detail and to prevent fraying.  If using regular shears, add a little Fray Check around the raw edges to seal them.


If you're using an embellishment or decorative button(s) like I did, hand sew them on.  I used bright pink embroidery floss for some extra color.  Slip safety pin through slits in the back. Now the button is done and ready to wear!


I'm also sharing this project with my FAVE LINK PARTIES.
Click HERE to check them out!

Friday, January 24, 2014

Cutie Booty - My New Obsession With The Monkey Pants Pattern


Last month I shared some super cute pants patterns from one of my advertisers, Terra's Treasures.  There was one I just HAD to have: The Monkey Pants Pattern.  I bought my copy that day and couldn't wait for my break time between the holidays to try it out. To say I fell in love with this pattern is an understatement - look at the backsides you can make with it:


Appliqued animal bums.  Beyond cute.  I made my first pairs out of fleece and they are fabulous.  The polar vortex isn't getting to my little miss when she's wearing these babies! They're warm, cuddly and hardwearing. The best part of the pattern is the cute critter applique designs that are included; 7 different animal friends.  I tried the penguin and the owl first.


I really love them.  I literally squealed when I pulled them off my machine. And they look just as adorable on too.  Everyone who's seen her wearing them has commented on how cute they are:


I did the appliques in fleece, but using jersey, interlock or any other somewhat stretchy fabric would work too.  I like the professional look of doing a satin-stitch on the edges, but a plain zig-zag or straight stitch is even faster to do.  The 3-D ears really make the designs stand out and since you can pick whatever fabrics & colors, you can really make your own unique looks.


Making them without the appliques is crazy quick too - less than an hour.  Definitely a great pattern for any sewing skill level and an enjoyable sew.  I made this pair with some leftover lime & pink organic velours and they are SO buttery soft.  My daughter's worn these at least 4 times in the few weeks since I made them.


If I hadn't needed to get other sewing done, I'd have a giant stack of these pants by now, but I've already earmarked a bunch of other fabric in my stash to make more.  Terra recommends using old t-shirts too and I realized this would be a great way for my daughter to continue to wear some of our favorite outgrown items by using their appliques or prints as the bum panel on a new pair of pants.  I'm also planning to do some machine embroidery options too since that bum piece will easily fit through my machine's hoop.

I specifically made the owl pants to pair up with this little forest friends shirt I made using another of Terra's patterns, The Provincial Top (my review of that pattern can be found here). They've both been worn many times already, so I'm definitely getting a great return on wear time versus time mom spent making it.  


As someone who loves fun knit fabrics and sewing without a serger, these patterns have been ideal.  I'm also very happy to say the sizing is generous too (the smaller sizes are perfect for cloth diaper wearers).  My little lady usually wears 4-5T in store sizing, but the 3T of this pattern was perfect.  Which means I can still get a couple more years out of this new favorite pattern and continue to cover her backside cutely.  Yay!!


I received compensation for this post.  I purchased this pattern with my own funds and the opinions are completely my own, based on my experiences. For my complete disclosure policy, see HERE.

LinkWithin

Related Posts with Thumbnails