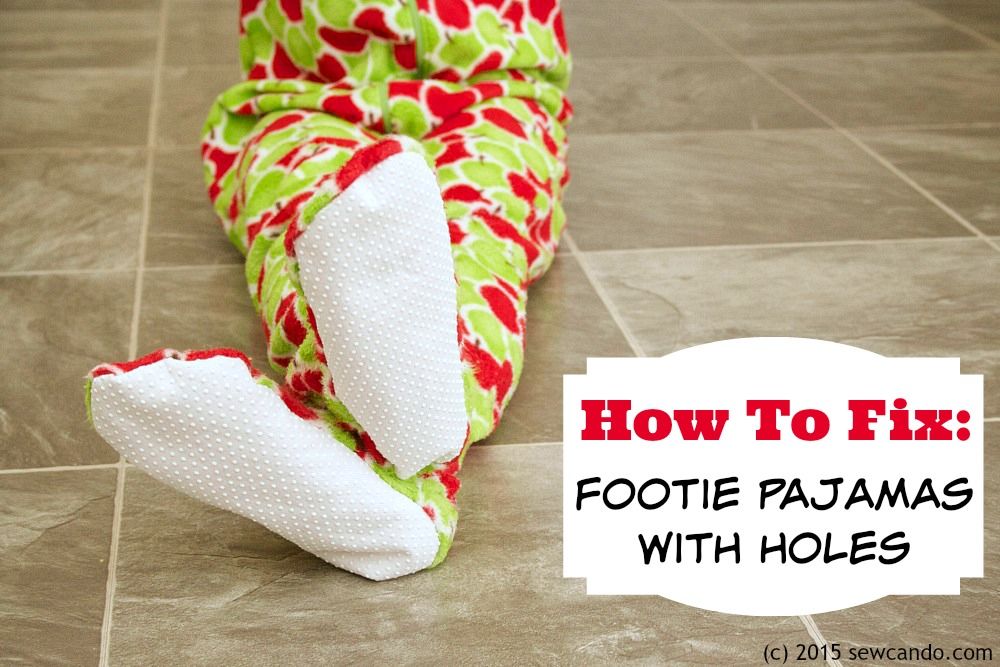
.%20%20Tutorial%20shows%20how%20to%20add%20new%20anti-skid%20bottoms%20%26%20fleecy%20lining%20in%20no%20time.)
I know I can't be the only one out there who's had this issue: footed pajamas in great shape...except for the feet part. It's a shame to toss a perfectly good pair of footie pjs just because the soles are worn out, so today I'm sharing how to do a quick repair job to make them like new, but even BETTER!
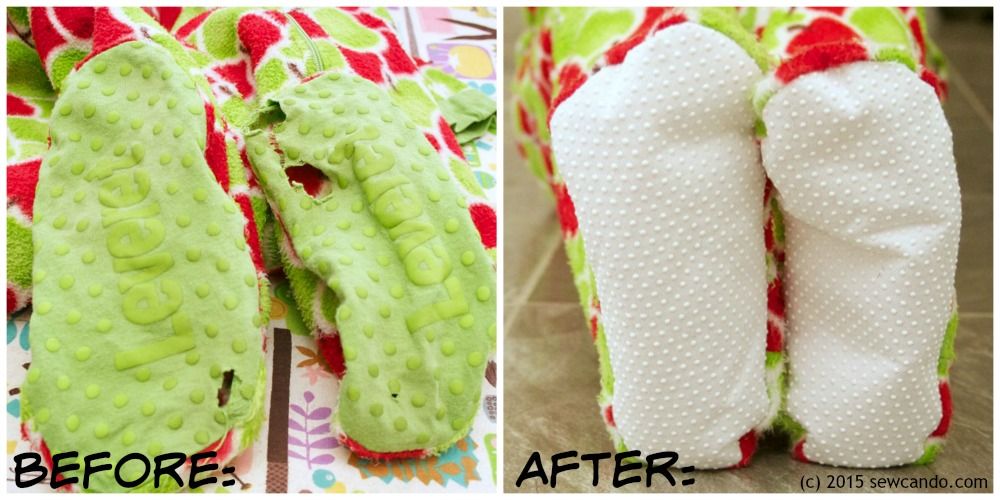
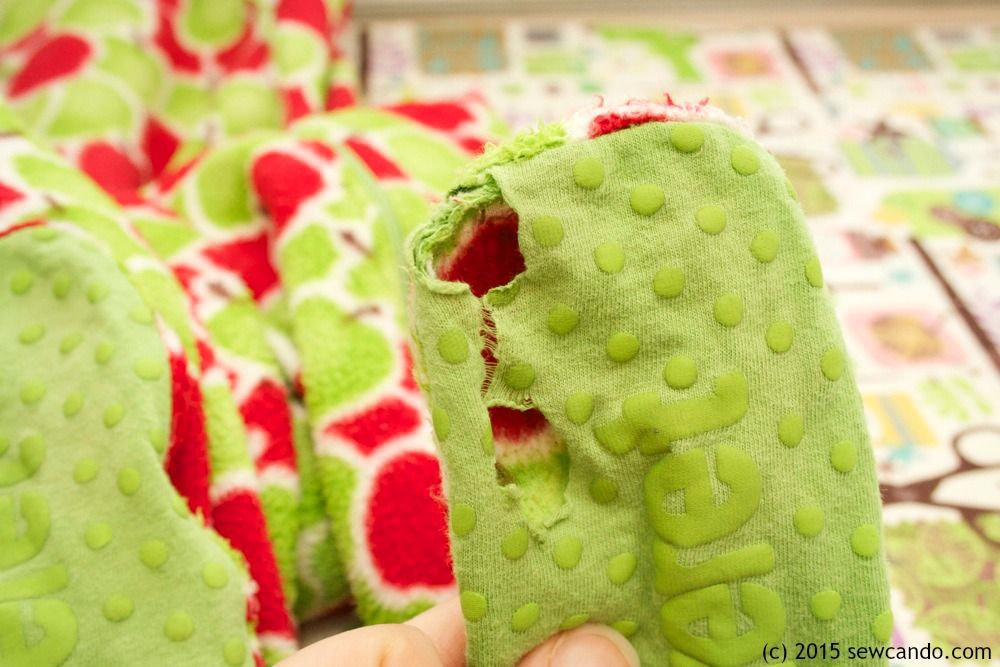
For some odd reason, on this style of pajama the part that will get the most wear just isn't made to be very durable. Or even comfortable for that matter. Like this pair of pajamas belonging to my 5 year old. She's still got plenty of growth room in them and the fleece of the main part is still in great shape, but the soles of the feet wore away in no time:
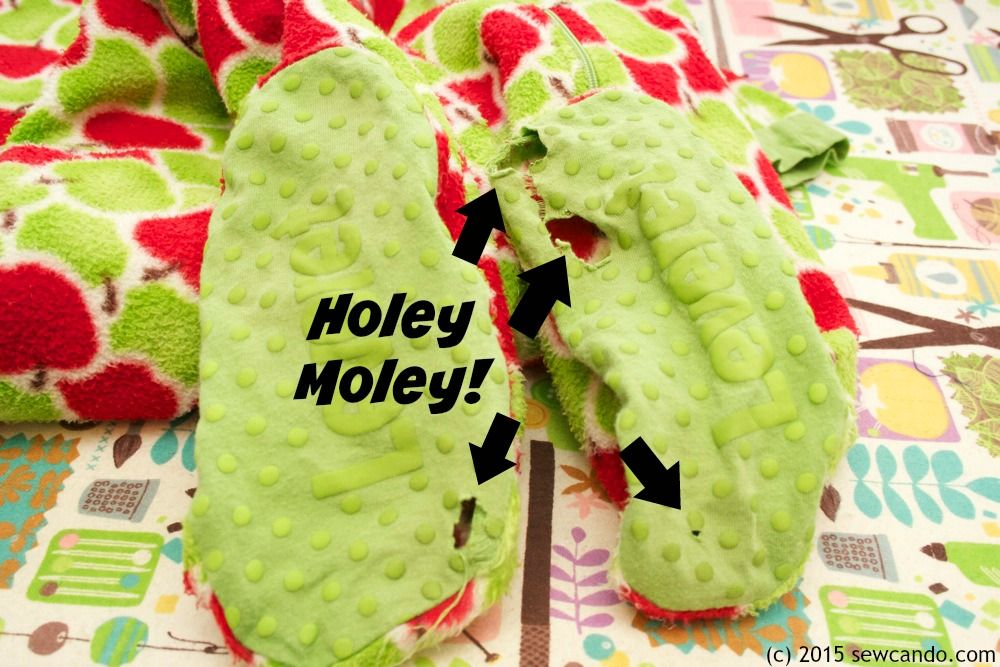
Hers had just flimsy t-shirt weight knit with some anti-slip spots fused to it for the soles. There's no way that'll last with the foot traffic of the average toddler! And it's certainly not that comfy or warm for little feet in the winter. The ones with the plastic-y soles are even worse (I recall hating the feel of the rough vinyl-like bottoms on those I wore as a kid). Such a basic flaw makes me wonder if their designers have even met kids?
Here's how to repair & improve those
worn out footie pajamas.
Materials:
- Footie pajamas with torn-up/holed-up/beat-down soles
- Seam ripper
- Anti-slip fabric (aka Jiffy Grip™)
- Iron, rotary cutter/shears, pins
- Optional: fleece scraps, paper backed fusible
First step is to remove the broken down soles. Turn the pajamas inside out and grab a seam ripper to carefully remove the stitching. This step takes a little patience - the sole will be needed as the template for the new ones:
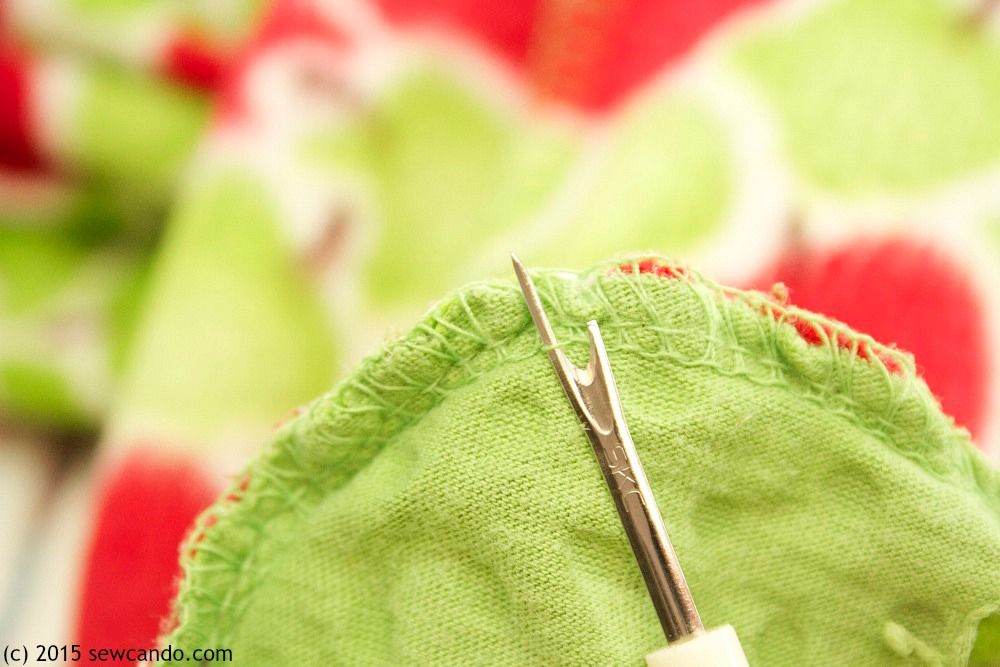
You'll be left with an open bottom:

Iron the sole piece smooth and flat.
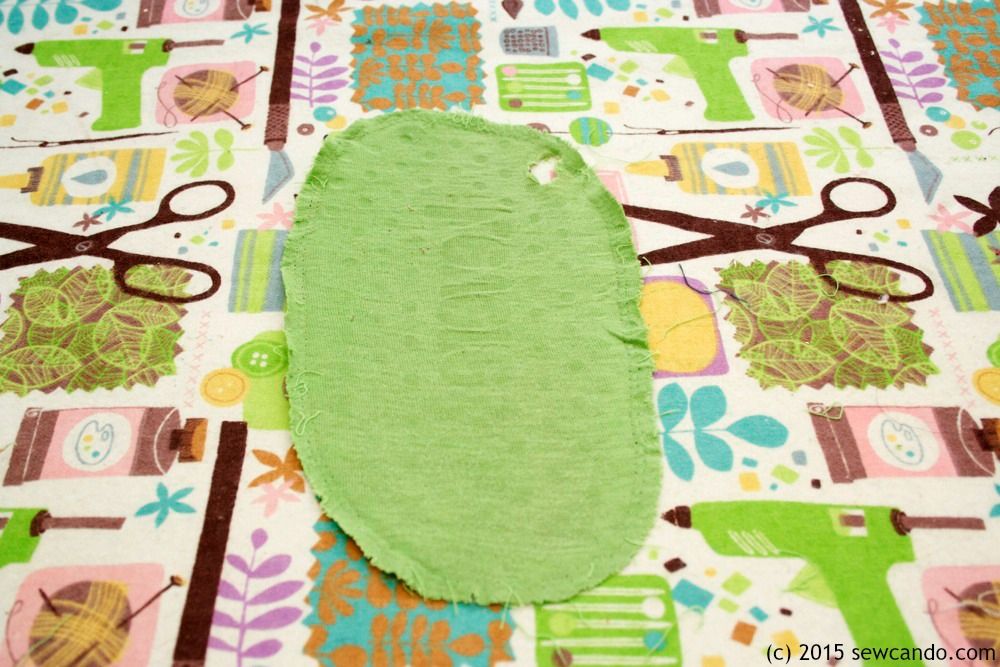
Use the bottom piece as the template for cutting new soles. Cut the fabric while folded to get both the feet sides if the soles have definite left & right like mine did.
Fabric Note: This anti-slip fabric is available in most fabric stores (in the utility/home dec section). A branded name for it is Jiffy Grip™. It's a heavy weight fabric with raised plastic dots that is perfect for this use. Key tip: You can get a lot more, and for a cheaper price, when buying it cut from the bolt instead of the measly & overpriced package version in the notions section.

Now this part is optional, but since I wanted mine to be a bit more durable and softer than the originals, I also cut sole pieces from anti-pill fleece to act as a lining. To keep the layers together (and from separating or wrinkling when washed), iron paper-backed fusible to the wrong side of the fleece.
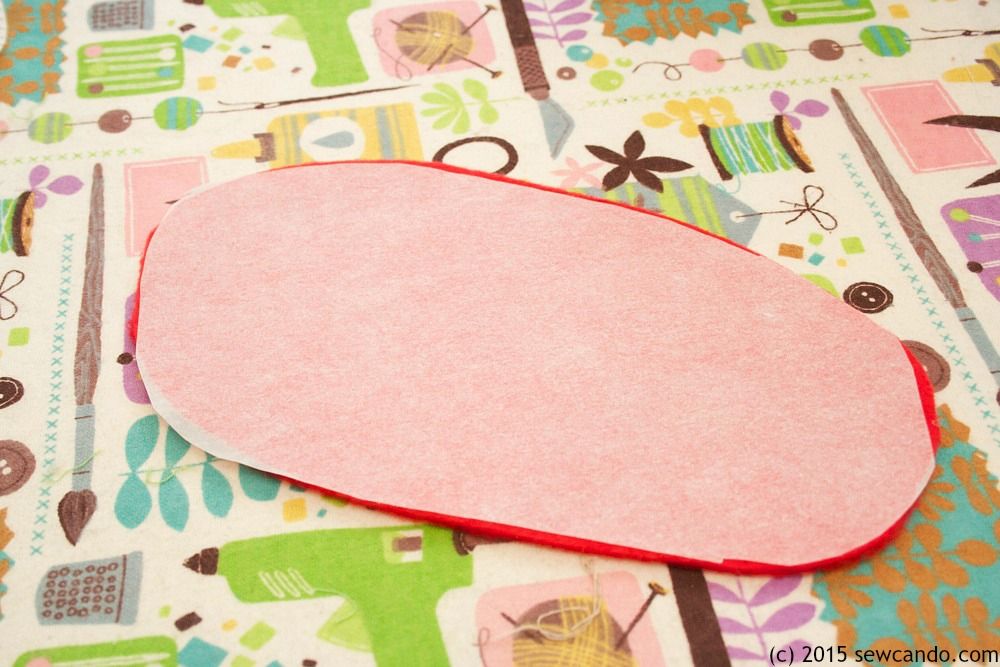
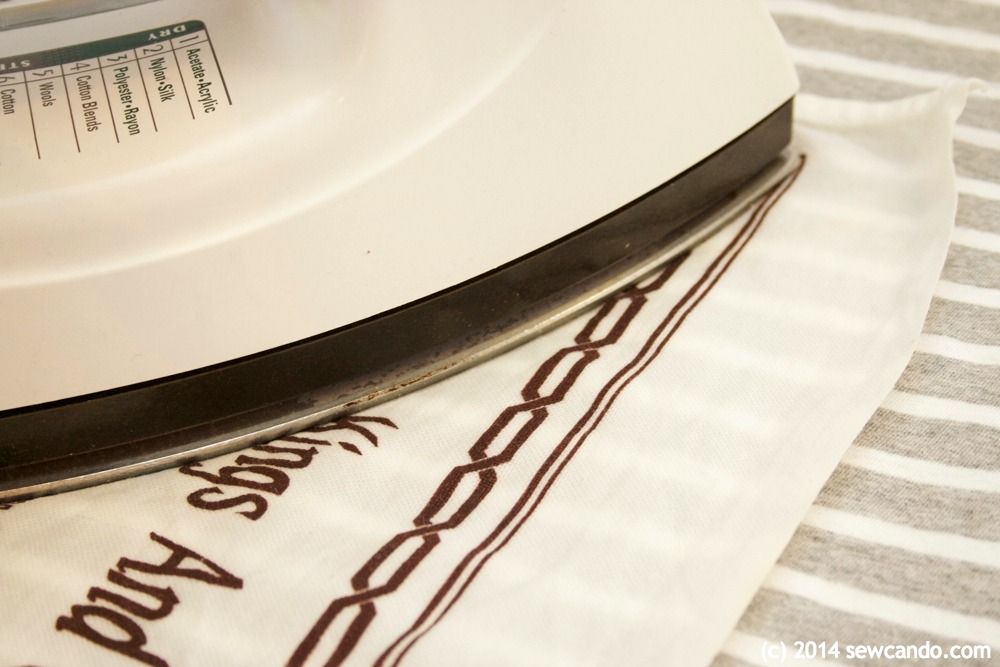
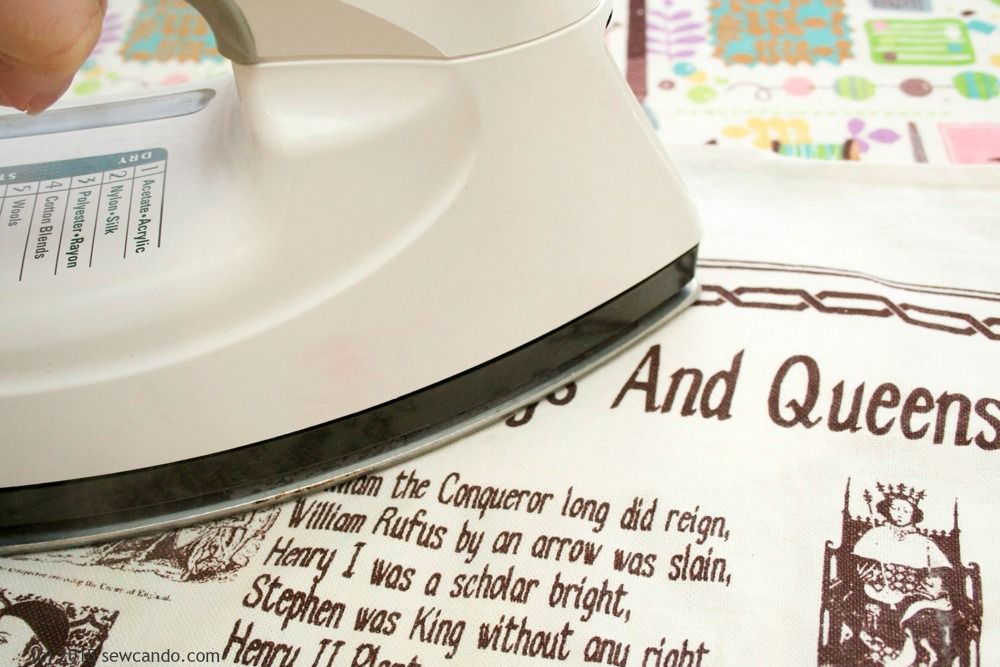
Then peel off the paper and iron it to the wrong side of the anti-slip sole. I didn't want to risk melting the anti-slip dots, so I used a press cloth between the fabric & iron:
Now it's time to pin the new soles to the pajamas (that should still be inside out). The fleece side should be facing out. Pin around entire foot.
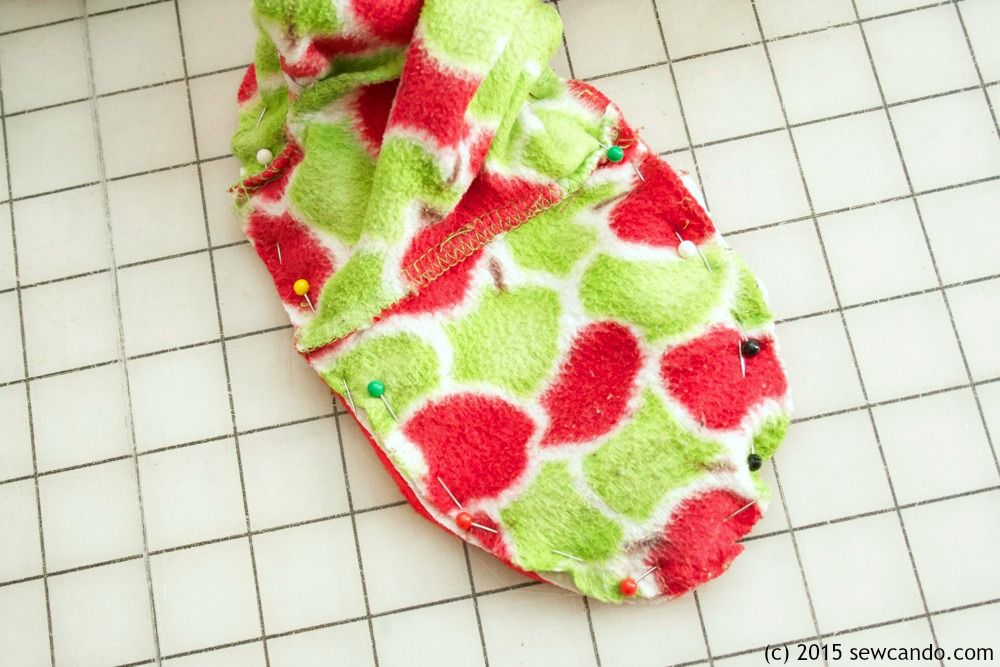
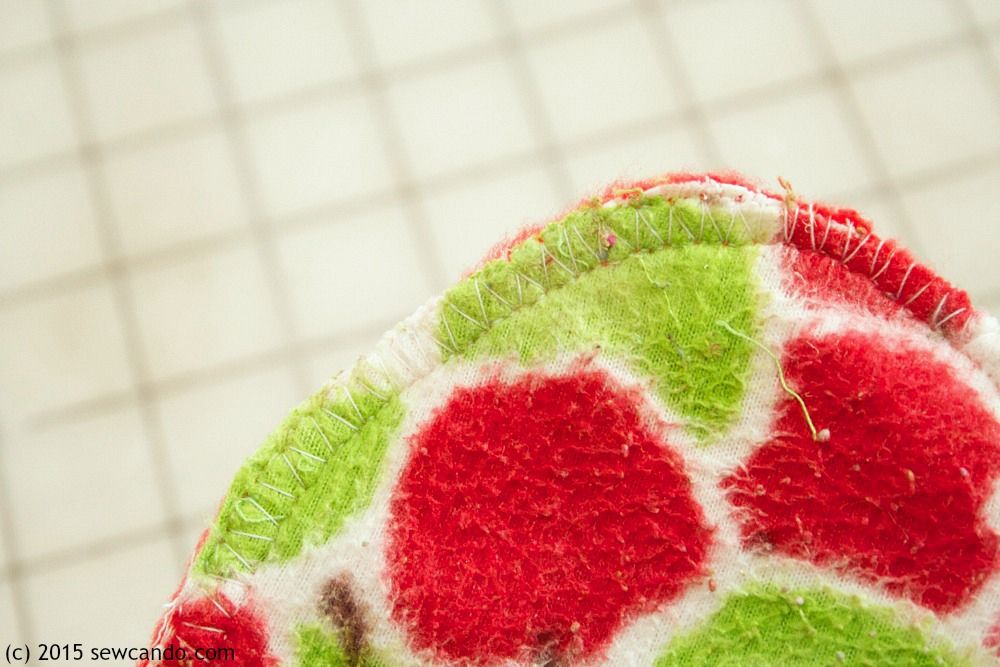
Serge all the way around. If you don't have a serger, use an overcast stitch like I did. Even most basic sewing machines have at least one or two overcast stitches (check your manual). It'll do the same job as serging and is nice & strong:
Pull the legs right side out and the new and improved footie pajamas are ready to wear!
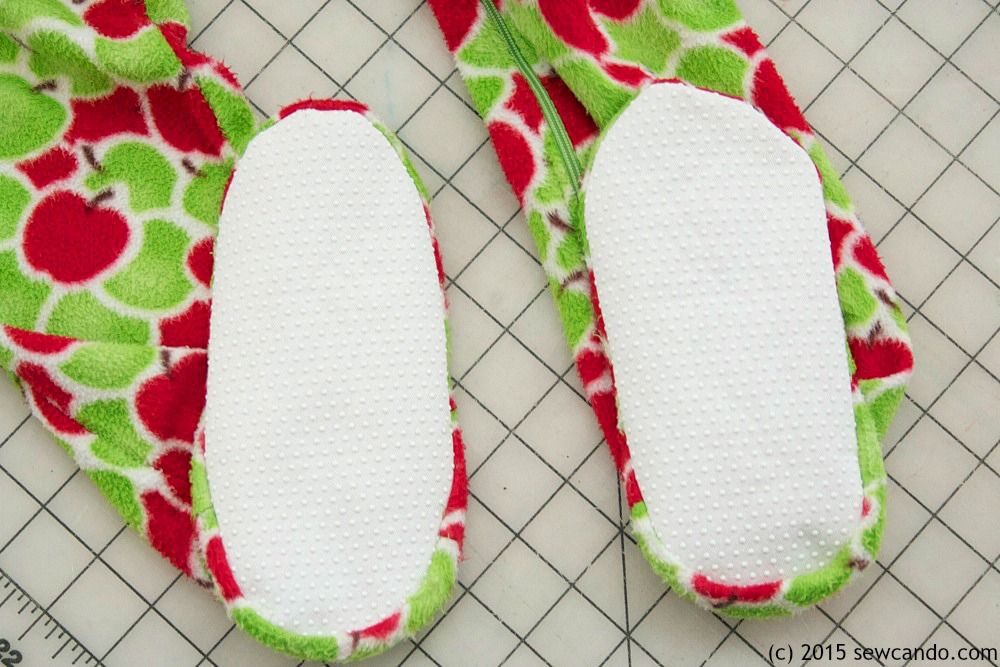
Now these pajamas have loads of life left in them and are even nicer to walk around in. Adding a fleece unicorn hat is totally optional;)

A huge improvement and easy way to get the most out of those footie pajamas this winter!