I've finally gotten some sewing projects started this year!! This one was a long time coming too, but it was worth it - a cuddly little outfit full of bears!

I made a soft & stretchy raglan pullover top:

And a camouflage-style pair of matching pants with plush cuffs:

There's even a big bear peeking out the back of the shirt too:

I used the same patterns from the book Kwik Sew for Toddlers that I shared almost exactly a year ago when I made this outfit for my little guy:

This time I did the next size up and paired a fantastic Euro lycra knit with some green stretch velour to make this fun grumpy bear shirt and matching pants:

Using a fabric rapport is what makes this little set special. It makes a total boutique outfit look with minimal fabric yardage. When it comes to sewing
clothes for kids, rapports are probably my favorite option because they
are super versatile and usually pretty economical.
So what is a fabric rapport? Basically, it's a fabric panel printed with multiple sections. It's a single cut that has a repeat design section and usually one or more "panel" sections, all printed as one piece. Because knits are typically 58-60 inches wide, it gives a lot of usable space and less fabric wastage.
Rapports are usually Euro Knits - it just seems to be a more common design option from European fabric makers, so you have to look in shops that carry those (mainly online if you live in the US). Some US based custom fabric groups design them too, but usually have a limited-time only, pre-order availability so that's another potential source (more on those here).
 |
| I recently bought this cute 25in French terry one called Rainy Day by Katschinka |
This means you have "different" fabrics to work with from just one cut rather than having to buy extra coordinating yardage. Like this Mia & Max squirrel design from Mamaliebchen:


This is especially handy when you're sewing for little ones and you don't need a lot of material. A piece like this one gives you loads of project options since the star section can be used as part of the navy panel or cut away and used for making cuffs, neckbands or another type of trim. It takes away the challenge of trying to find the right colors for coordinating fabrics or prints (which can be really tricky when shopping online).

The lengths of rapports can vary - usually varying somewhere between 1/2 - 1 yard (except noted in cm), so it's always good to check on that before buying. Most are printed on knit with 4 way stretch which gives more cutting options to maximize every bit of the fabric.
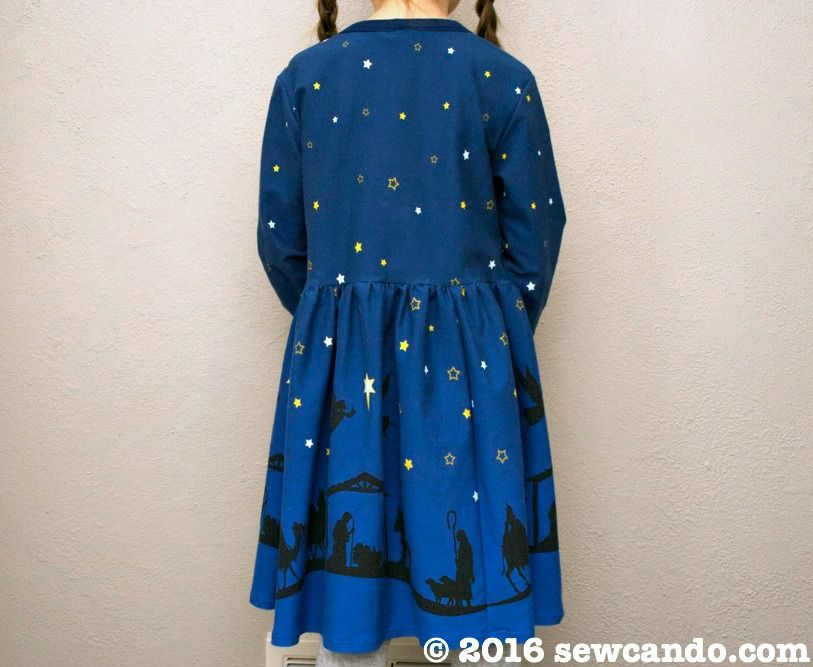
This Christmas rapport's nativity design was printed lengthwise instead of parallel to the selvage, but it didn't matter because the fabric was 4-way stretch and the generous fabric width meant I was able to cut the bodice and sleeves from the same piece, laying them all in different directions to get everything to fit.
For today's project I used a rapport that had loads of applique shapes as the "bonus" section. The manufacturer is Hamburger Liebe & it's from their "Be Wild" collection. The length per rapport was 18 inches, so I bought two in order to have them cut as a continuous yard for maximum project options. I forgot to photograph it before I cut it up, but I bought the wolf version from the same collection too, which is laid out the same:

The variety of appliques included gives plenty of options - shirts, bags, knees of pants or even little soft toys. Much more useful than random scraps I'm usually left with after cutting this kind of project out and there's still a lot left to embellish other things later.

I decided to use the repeat portion to make the pants and do the raglan shirt sleeves. I used some leftover green plush knit velour for the front & back and the trim sections to pop against the warm brown bears and pick up the color in grumpy bear's striped top.

I also wanted a nice solid background to add the big appliques for a complete outfit look.

I did the applique part after I had the sleeves and neckband attached to the raglan front & back, but before sewing the side seams, so it would be easy to center them just right on the shirt and to be able to turn the fabric around as I sewed them in place.

To do the appliques for the body of the shirt I cut out two large bears from the rapport and laid them on some paper-backed fusible (right side up, fusible side up).
Why use fusible if I'm not ironing? I wanted to give the appliques a bit more body so the edges wouldn't curl up over time. It also better stabilizes it for stitching, but not so much that it would be stiff on the shirt itself. I'm not a fan of appliques that don't bend with the fabric when it moves & neither are most little kids.

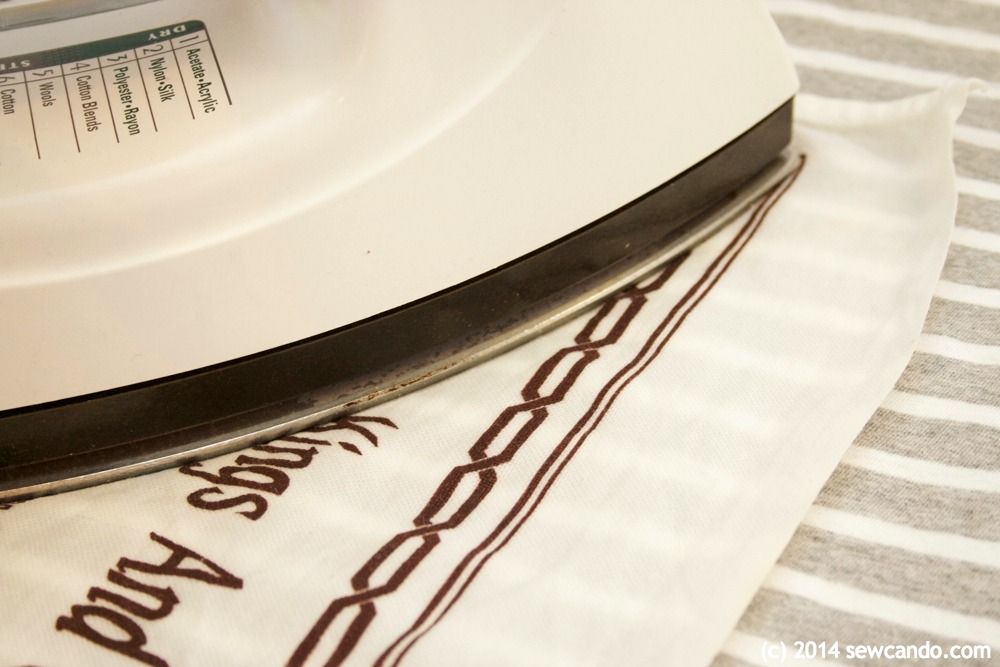
Since they were already cut out, it was easier to just lay a piece of parchment paper on top and iron rather than trace the shapes onto the paper and cut them out first. When they were cool, I easily peeled the parchment off and cut around the bear shapes.

Then I peeled the paper backing off.

Normally this is the part where you iron it onto the fabric, but because this was a plush polyester, ironing it would crush the fabric and potentially melt it. Neither is a desired result, so I sprayed the backs with quilt basting instead to provide a good anchor to sew it onto the shirt.

It worked like a dream to hold the appliques in place without needing pins - with this many curves and the thickness of the fabric, pins, would risk shifting the fabrics and I wanted these large central designs to be nice & straight.

I'd made sure to leave a 1/4 inch white border around my bears so I wouldn't have to stitch into the design. I like to use a triple stitch, which is a straight stitch that does 3 overlapping rows (rather than the side-by-side the symbol looks like).

It gives a nice thick outline like factory-made appliques and also has some stretch to it.

I've washed this a number of times and the applique edges have stayed nice & flat - no curling, so this technique definitely works.

My guy LOVES his bear outfit. He's worn it at least 4 times in the past month and despite being rough on clothes 9being a normal 2 yr old), it's very durable and still looks freshly made. Euro knits tend to be high quality, so they're worth splurging on because they look great longer...not to mention the designs are beyond cute.

I
bought the cozy velour in several colors when I was fabric shopping spree in
Canada a few years ago and it may be my favorite solid plush fabric.
Easy to sew, great stretch, no piling or crushing with wear and looks
new wash after wash. I've used it to make pants, leggings, shirts & more, so it's a great wintertime fabric and doesn't get static-y either. When these stupid restrictions everywhere are over I cannot wait to head back and snap up some more.

In the meantime, I'll be sewing up some more sweet ensembles with my rapport stash. Some fun tops & pajamas for my bigger kids...maybe a few two piece outfits, rompers, dresses and accessories for my smaller two. After all, this grumpy guy needs some company in the closet;)