Showing posts with label Fall clothes. Show all posts

Thursday, November 17, 2022

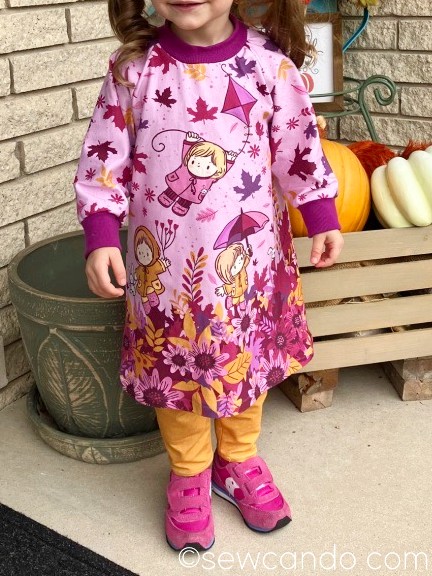
Fab Fall Outfit Making for Smalls


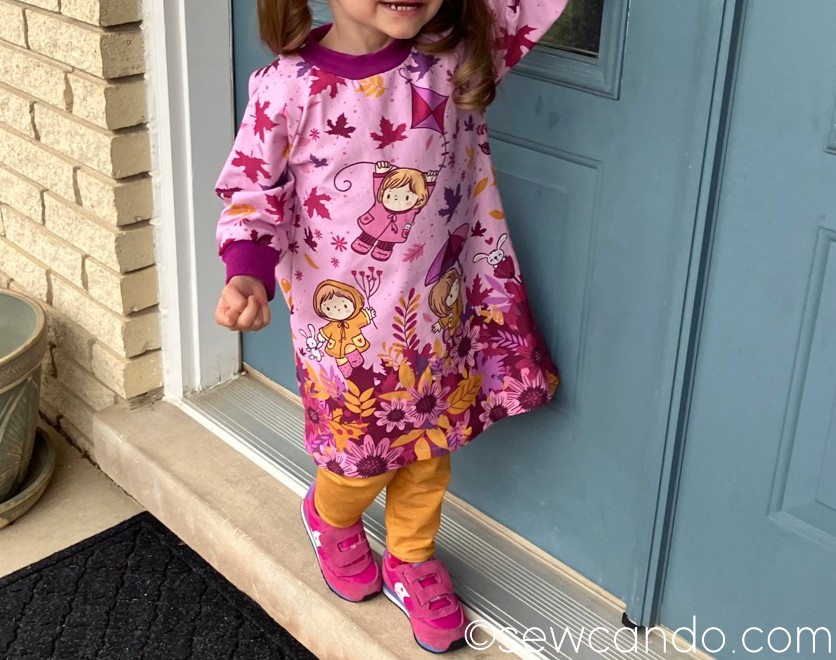
With a busy season of running my shop, homeschooling & family appointments for everything under the sun, fall sewing has been minimal this year.  Cue the wah-wah sound effect for me & my fellow sewing fanatics.  The good news is that I was able to eek out the fun two piece outfit above for my littlest lady.  So if you're like me and struggling to fit something in, there's hope!

I'd fallen in love with this vibrant autumn print panel by Katschinka, a European fabric maker.  The rich colors and sweet leaf & little girl design were so darn cute!  Most things in stores this season (and the last few falls for the that matter) were super bland, so this was the perfect antidote to that.

The back is just as charming as the front (and is a slightly different design too):


I used coordinating two Euro knit French terry fabric rapports to make it from Jumping June Textiles (these exact ones aren't available anymore, but there are other cute designs).  I'd bought them a few autumns ago but hadn't had time to do anything with them until now.  As I shared in a previous post here, rapports are fabric panels printed with multiple sections.  It's a single cut that has a repeat design section and usually one or more "panel" sections, all printed as one piece.  


They usually have a 4-way stretch which means you can turn them in different directions to suit your project.  I was able to turn the panel sideways to be able to use the entire scene for both the front & back and have enough to do the sleeves too.


To make the leggings I used the free girl's leggings pattern from Life Sew Savory.  It's a great pattern (covers sizes 18mos-12yrs) and the fit is ideal.  I literally had just enough of the solid side of my rapport fabric to make a pair for my 2T daughter.


For the dress I used my trusty raglan top pattern from the book Kwik Sew for Toddlers.  It's easiest to find used on eBay or Alibris these days, but is well worth grabbing (just ignore the horribly dated photos).  This has been one of my all-time favorite patterns for my smalls - I've used it for the top half of my recent sheep costume:


To easily pair up plush fabrics with applique:


Using a small amount of rib knit for the neckband and cuffs means it's an easy sew, with no real fiddly bits, which is key for me since sewing time is minimal.  I didn't want to waste any of the beautiful design, so I used a yard stick to lengthen my pattern and make it an extended A-line shape to turn it into a full dress:


I sew all my knits on a regular sewing machine using a triple stitch and stretch needle.  For finishing the hems I use paper backed fusible tape.  Just iron on, peel off the paper, fold hem up and press again and the hem is perfectly uniform.
 

I use a twin needle to topstitch so it looks professional, but is still super easy:


And both pieces have some growth room so I'm pretty sure I can add some rib knit to the legging cuffs if needed and then it'll be more of a tunic & bottoms ensemble for next year, so we can get maximum wear of of them.  I'm probably going to make more pairings like this for winter since they can be done in an afternoon.  My daughter couldn't wait to put these on and the fabric can withstand all the running & climbing she can throw at it.  It's a small bit of fall sewing, but it's been worth squeezing in!



Thursday, October 13, 2022

Free Little Owl Toddler Top/Baby Dress Pattern


Everything old is new again, or so the saying goes, right?  It blows my mind that it's been over 10yrs since I originally made this little pattern.  


I was still relatively new to sewing back then and did this as a jumper-style dress for my then new baby girl.  Who is now thirteen.  Wow does time fly!  The roomy fit worked well from about 3mos-12mos as a little dress.  I saved it for my next daughter who was born in 2020.  I found it at the back of the closet recently and I was thrilled to discover it also make a perfect toddler top for her size now 2T body, so this really is a grow-with-me DIY item!


It's a relatively simple sew - just 4 pieces to cut out.  Totally easy to whip up in an hour or two with basic sewing skills.  Not bad for an item that can be worn for 2yrs and then passed down to another kid!


You can use any woven fabric and it only takes 1/2yd.  I had this adorable corduroy:


And it looks so cute from the front and the back:


 Just excuse the ancient, so-so quality step-by-step photos (taken before I had a decent camera or any photo editing skills).  They're basic, but I think they do the general how-to job.

Materials:
- 1/2yd woven fabric (cotton, corduroy, etc)
- 1/2yd double fold bias tape
- 2 snaps
Notions: Iron, pins, tailor's marking pen or chalk 


Printing the Pattern:  Print at 100% (actual size) no scaling.  

Cutting: Front body (1 cut on fold), Back body (1 cut on fold), Front collar (cut 2), Back collar (cut 2)

Mark all pieces with front and back notations and start & stop points of collar.  Put the front and back pieces together with right sides facing and pin along side seams.  Stitch with a 3/8in seam allowance.  To easily keep the raw edges from fraying I trim them with pinking shears, but you could serge them too.  Press seams open. 


 Encase the raw edge of the underarms in bias tape and stitch in place:


 With right sides facing, put together the flat short end of a front and a back piece of the collar and stitch together.  Do the same with the remaining pair and press seams open.  When complete, that seam will go over one shoulder and the open end will go over the other.


 Pin those collars together (again right sides facing) and stitch together starting on the outside at one marking point and stitching all along the inside and back over the other end as shown:


Trim the seam allowance down and clip around the curves to make it easy to turn right side out.  Press the flat.  Then take the raw opening edges and press those under, toward the wrong side of the collar fabric.  Insert the raw edge neckline of the top's front and back in the collar openings and pin together.  Top stitch close to the folded edge, making sure you sandwich the top between the collar's inside and outside edges. Go all the way around the entire collar edge to attach everything together on the front and the back.


Fold the hem up 1/2in and fold again and stitch in place.  Attach the snaps and the shoulder opening.  Back then I didn't have a snap press so I did the old hammer & setting tool:


It's been really rewarding seeing this little item get a second life and for so long.  It seemed like a good one to pass onto others here so they can enjoy making some too!  Happy sewing:)


Wednesday, November 3, 2021

A Little Dress For Fall


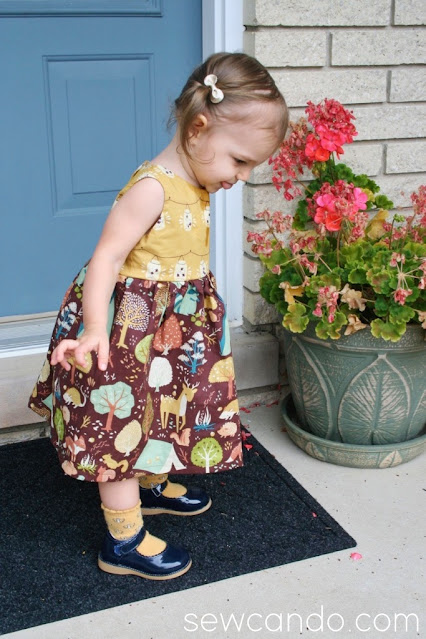
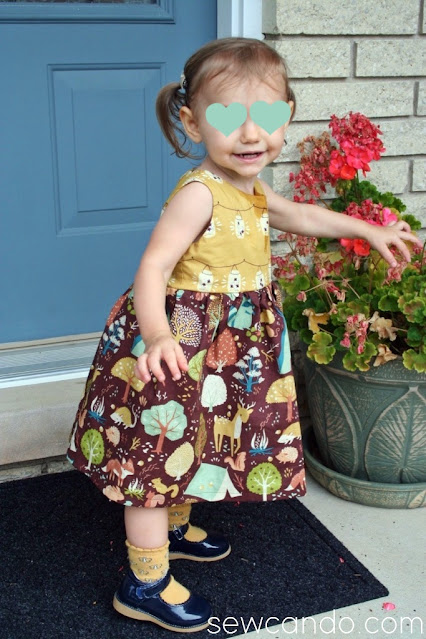
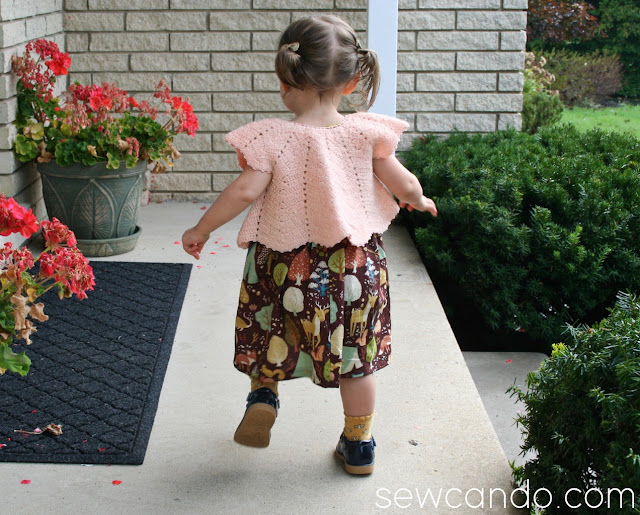
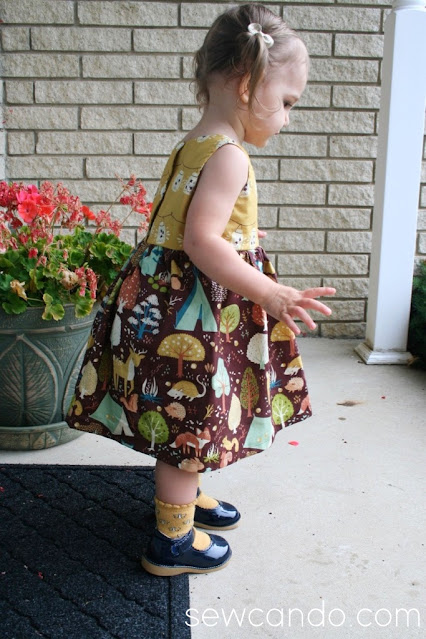
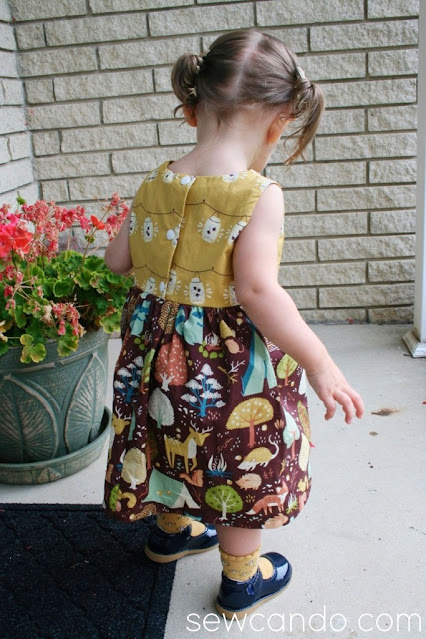
When this season started things were still quite warm outside and the autumn-themed dresses I'd bought for my little lady were still too heavy.  I wanted to make a good layering dress for the in-between weather and came up with this simple one:


It's a littler girl version of my Sleeveless Sunday Dress, which I have free PDF patterns for in size 8-10


  I'd been wanting to make a smaller one so my two girls can have matching dresses and finally got around to mocking one up with these fabrics.


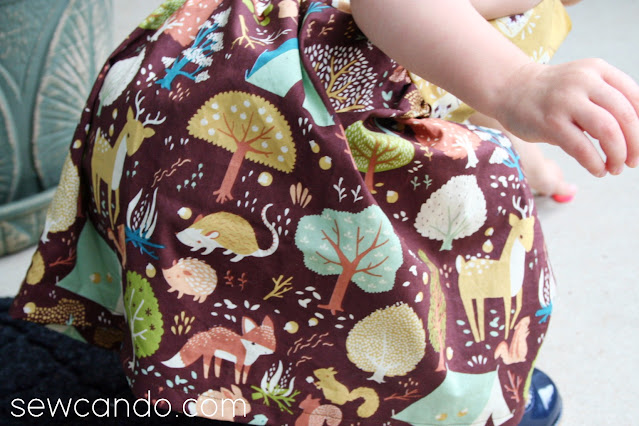
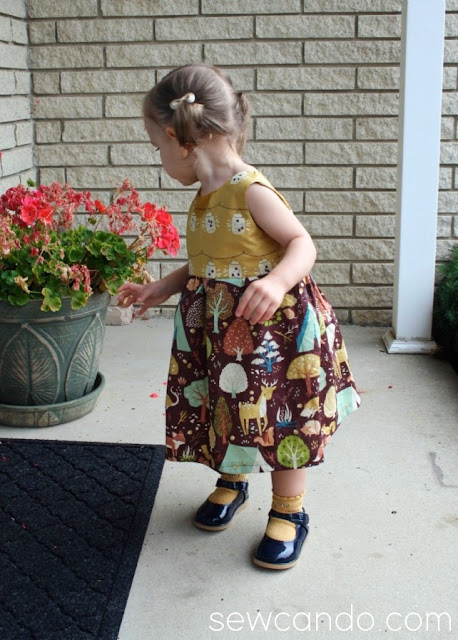
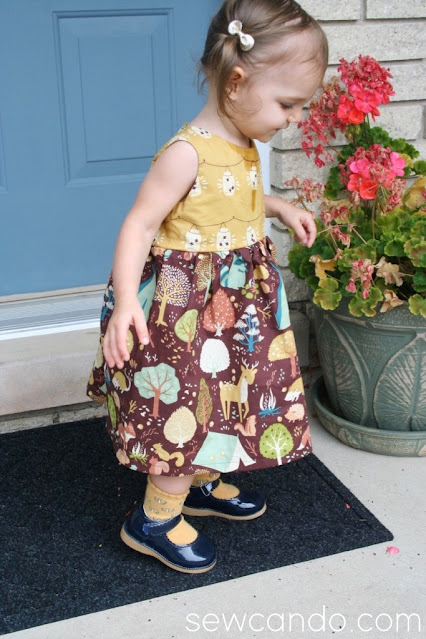
I'd been hoarding this fall-themed organic cotton fabric (Fort Firefly by Birch) for AGES.  I had a selection of these pretty coordinating 1/2yd cuts but could never come up with a good enough project to justify cutting into them.  So they sat on the shelf for many an autumn.  Since this was a small enough sized dress, it meant they finally got used, which is great since they're so cute:


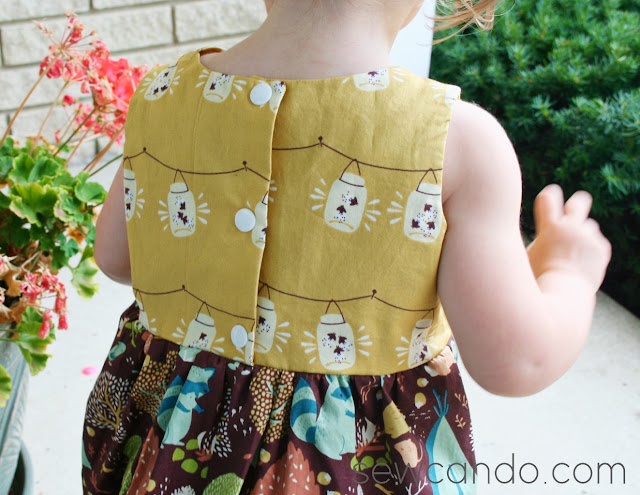
Like my bigger girl versions, this lined bodice dress snaps up the back:


  I paired it with a little crochet sweater I'd found tucked away amongst my great grandmother's things.  She'd made it more than 25 years ago, but had never gifted it to anyone.  She had been an avid crocheter her whole life and had made countless sweaters, hats and blankets for us when we were small.  I'd loved putting them on as a child.  It warmed my heart to see my littlest daughter wearing this one, as though it was meant just for her:


I made the bodice a bit shorter on this toddler size.  


I do plan to offer this as a free PDF pattern like my bigger ones, but this was my test version to make sure the fit was right.  Apart from her drooling all over it just before I took the photos, I was happy with it.


Since I only had 1/2yds of these particular prints, the skirt wasn't as full as I'd originally planned.  I've got a lot more yardage of a Christmas print that I'm planning to use with this pattern to make her holiday dress this year so that version will be fuller and I'll roll out the free pattern with that one:)


Now that the weather is turning colder, I'm pairing it with some cable knit tights and either a long sleeved onesie underneath or a cardigan over it.  A cute little outfit and I finally stash busted a bit.  Hooray!


Wednesday, October 14, 2020

Quick & Easy Little Pumpkin Baby and Toddler Shirt


We're in the holiday home run season folks.  3 months in 3 holidays.  Yikes!  It can be a challenge to find time to craft and not feel like the relevant time frame is over the second you've made it.  I especially feel like that about holiday themed wearables.
 
I love cute kid's Halloween outfits, but with 5 kiddies, it seems like a waste to buy stuff with a 1 month or less wear time.  Especially with my two smalls who are less than 2 years apart.  I can't justify making/buying stuff for my 2 yr old boy, then chucking it and for something similar but "girly" for my 8 month old daughter the next year.  Longevity in kid's wear is key people!

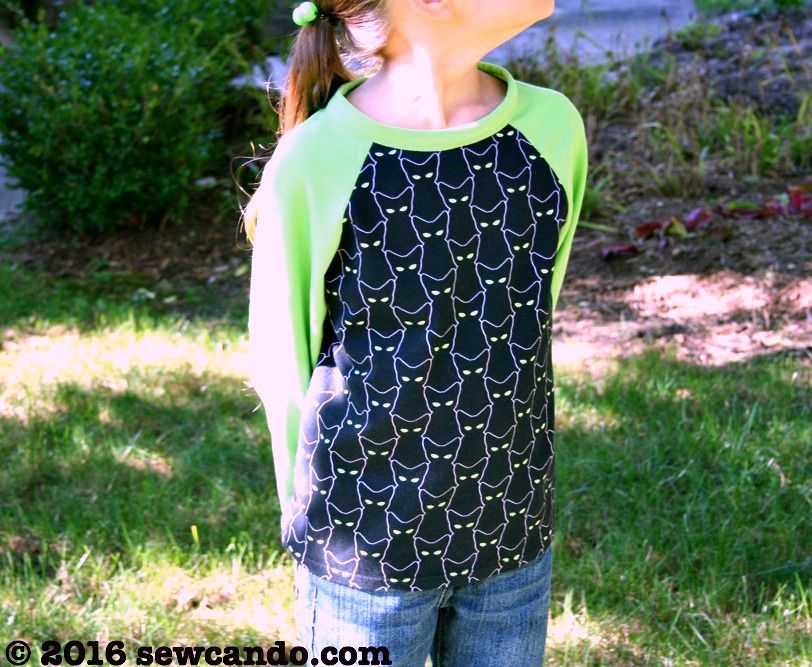
A few years back I made these spooky cat raglan shirts for my 3 big kids and they've gotten tons of wear as they've been handed down from one to the other to the other:


Yet, I realized I didn't have anything Halloween-y for my toddler (which happens when there's an 8 yr gap between two of the kids).  Baby girl is sporting his too small pumpkin face onesie this year.  Already being nearly mid-October, I wanted to use stuff I had at home rather than spend $.  I also needed to make sure it would work for my little lady to wear next year.  Mission accomplished:
 

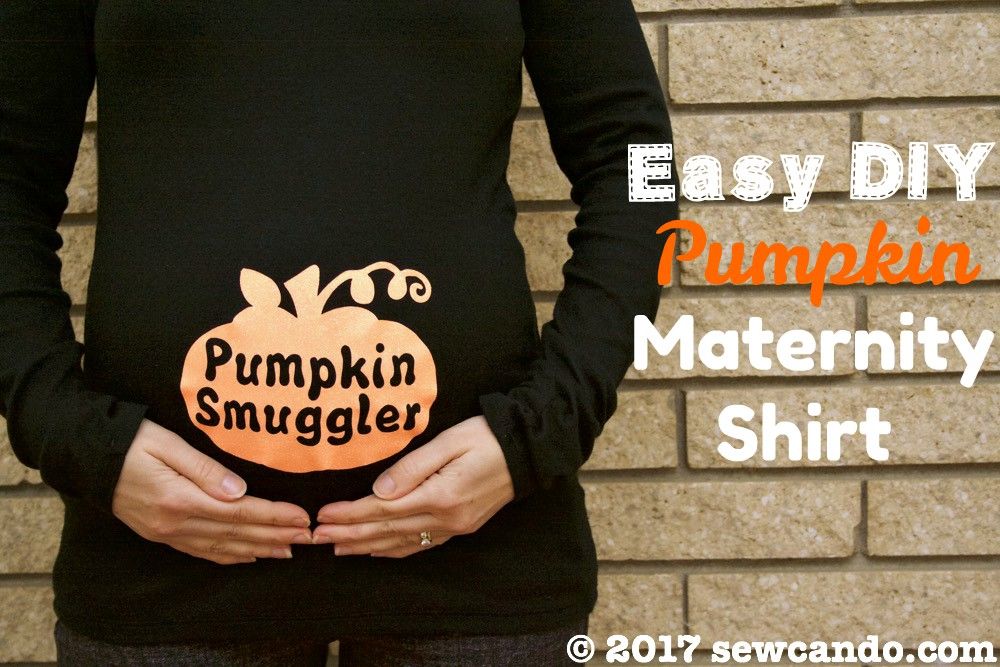
This project was a little nod to the heat transfer DIY Pumpkin Maternity Shirt I made (and sported the past few Halloweens):


I used the same pumpkin file, fonts and leftover orange glitter heat transfer vinyl.  The design is cute for boys or girls so it'll be just as cute on my sweet girl next year as it is on my little guy now.   


I couldn't find a cheap basic black shirt in his size ('rona restrictions make shopping is such a hassle these days), so I scrounged his closet and found an olive green onesie that still fits well.  


Materials:
- Onesie or t-shirt
- Heat transfer material (mine is the glitter variety)
- Cutting machine or exact-o and patience.  
- Cricut EasyPress (or iron)
 
I used a pumpkin silhouette image found online and opened it in Cricut Design Space then turned it into a cut file there.  
I added the Mommy's Little Pumpkin text in free fonts (Bubblegun and Milkshake) that are nice and thick, so ideal for cut files. You can right click to save my file to cut your own.  
 
I sized it at 5 inches by 5 inches in Cricut Design Space to be the perfect size for a 24 month sized top/onesie.  It also needs to be mirrored before cutting since the material is cut face down on the mat.  


Since the details are pretty small, I used a weeding tool to get all the tiny bits out.  The letters need to be removed for the shirt to peek through inside the pumpkin, but you need to keep the tiny bits inside the "o", "e" and "l" in place.   
 

It ends up looking like this on the carrier sheet:


I've gotten a lot of use out of my Cricut Easy Press the past couple years (you can get my full, unbiased review of it here) & this was no exception.  I used the recommended settings from Cricut for my EasyPress model & the glitter material: 340 degrees for 30 seconds followed by 15 seconds on the backside and waiting until cool to peel.  I always use a thick towel underneath for best results.


By using green rather than traditional black as the background color, it's still Halloween-y, but also more generally fall, so wearing it in September and November won't look weird.  


Thanks to that happy accident, I figured out how to make it wearable for about 3 months rather than 3 weeks!! And it'll be perfect for the entire season on baby girl next year.


Not bad for $0.  Even my small fry guy agrees!!


LinkWithin

Related Posts with Thumbnails