
I had so many plans for Halloween projects this year. I was going to have lots of posts and be all festive too. Between an out-of-state craft show, kid birthdays, home renovation planning, complicated costume requests and an unexpected city-wide water issue, most of my ideas got sidelined for more pressing issues. Halloween's less than a week away and I'm scrambling just to get the costumes done. UGH.
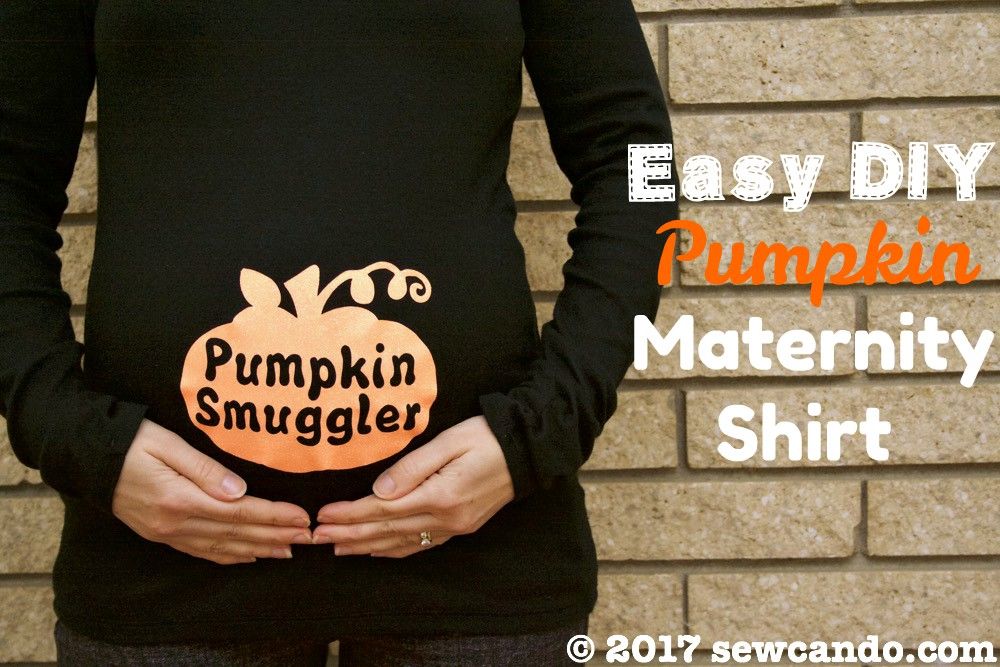
There's also another new development that's made finding craft time a little trickier and the very reason for today's DIY Cute Pumpkin Maternity Shirt tutorial:
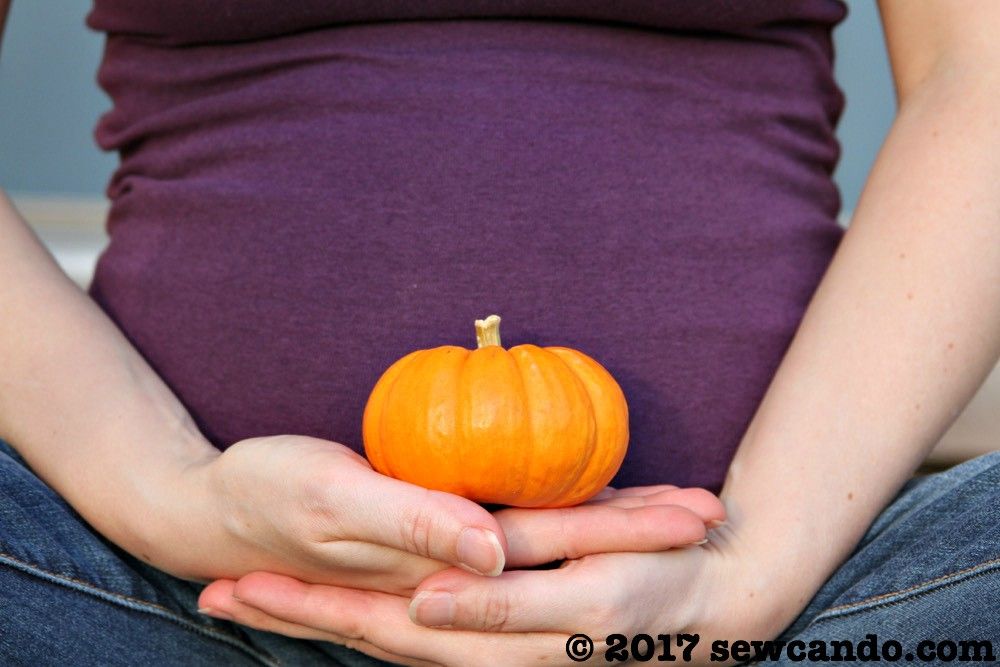
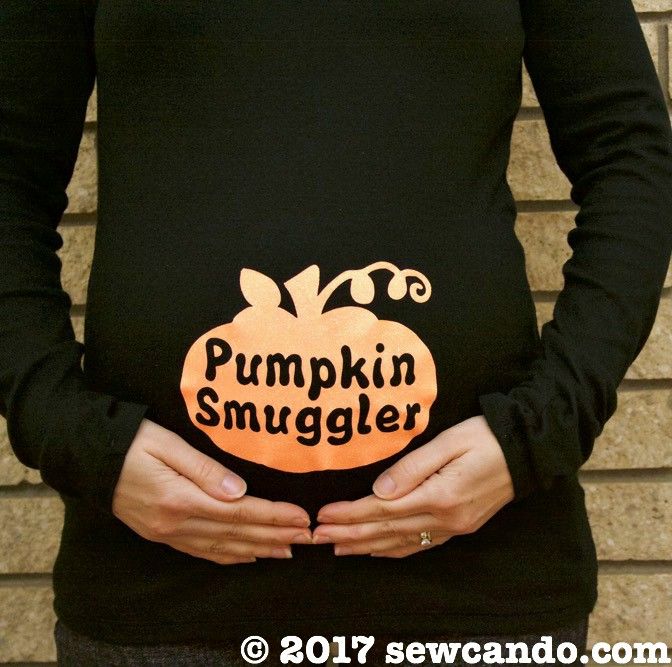
A new Sew Can Do baby is on its way:) And that means maternity & baby things are now at the top of my need-to-make list.
Maternity clothes are always a challenge for me since I'm petite and really short. I tend to start showing pretty fast & very roundly in the bump area, so I can't get by with my regular clothes for very long. This being baby #4, it's happened even sooner.
I also hate the baggy, blobby "can't tell if I'm really overweight or pregnant" look most maternity tops create on me and the price of a cute maternity top you're only going to wear a couple of months (or even less if it's seasonal/holiday) is almost criminal and nearly impossible to find. So today I'm sharing how to make cute, bumptastic maternity tops on the cheap.
Materials:
- Stretchy solid t-shirt*
- Heat transfer material (mine is the glitter variety)
- Cutting machine or exact-o and patience.
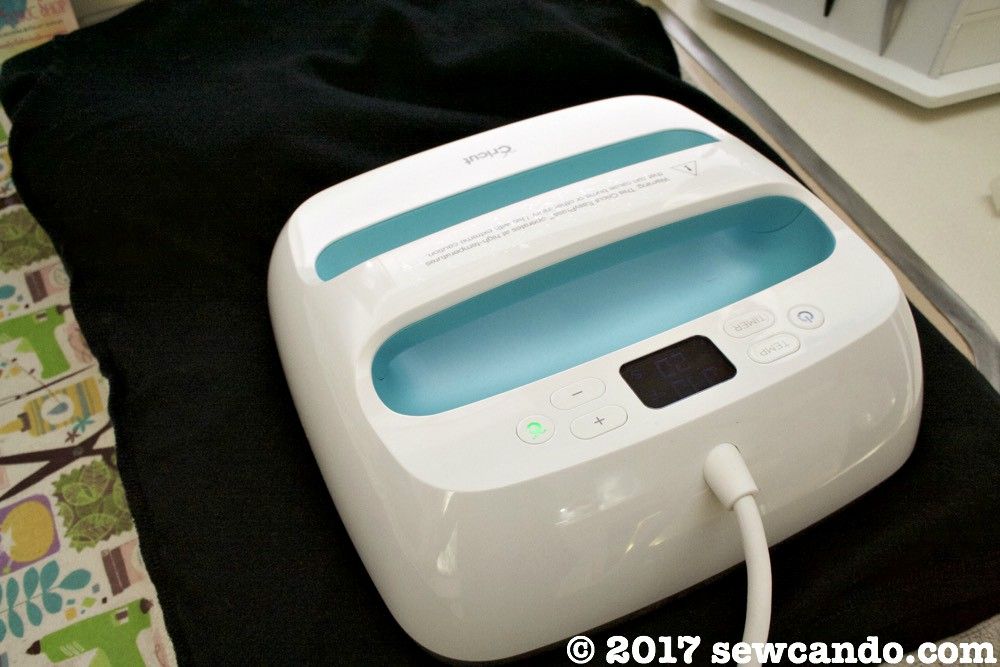
- Iron or heat press. I used my new Cricut EasyPress.
*A basic, stretchy solid tee is the key base. There are some maternity versions that aren't too pricey, but I've found the regular size ones at Target work best and are by far the cheapest. Their old Merona brand or the new A New Day brand (which is the same thing) run about $9 for a long-sleeve, even less for short sleeve or tank style and are good quality. They are super stretchy & ultra soft. Most importantly, they are very long, which is ideal for the growing middle. I buy them in a size larger than my usual and they're perfect - there's enough give and length to go the whole 9 months.
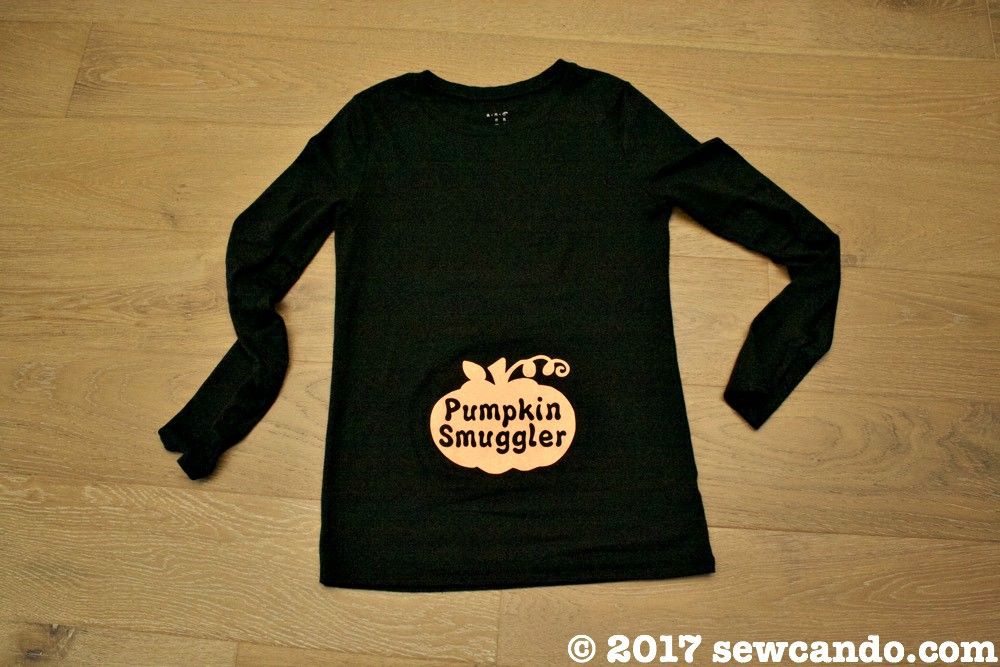
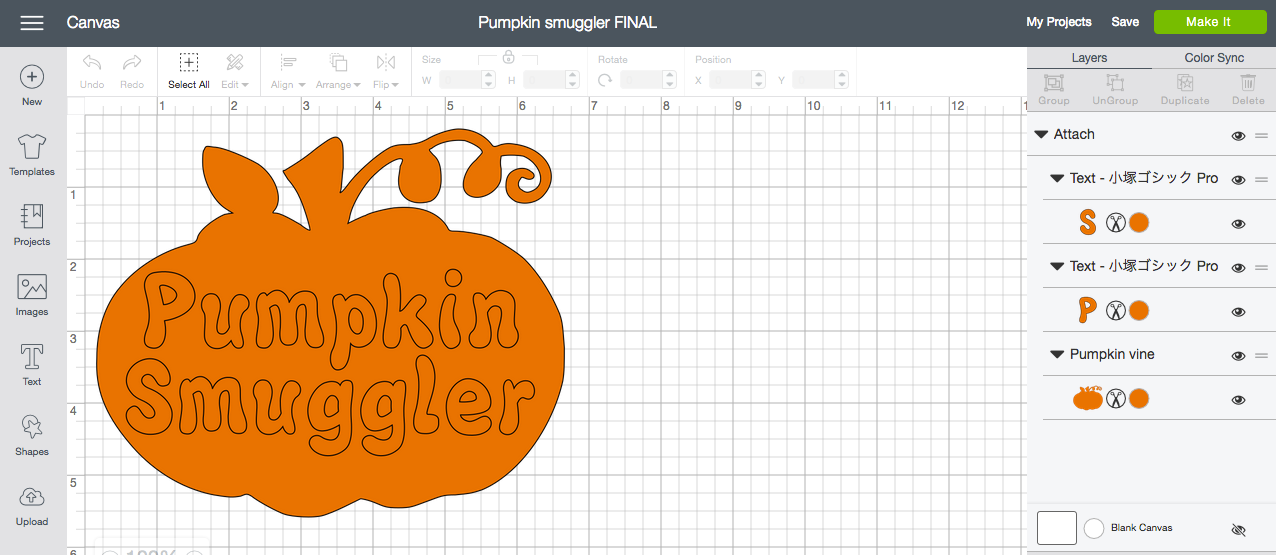
After pre-washing my shirt I got my design together. I used a pumpkin silhouette image found online and opened it in Cricut Design Space then turned it into a cut file there.
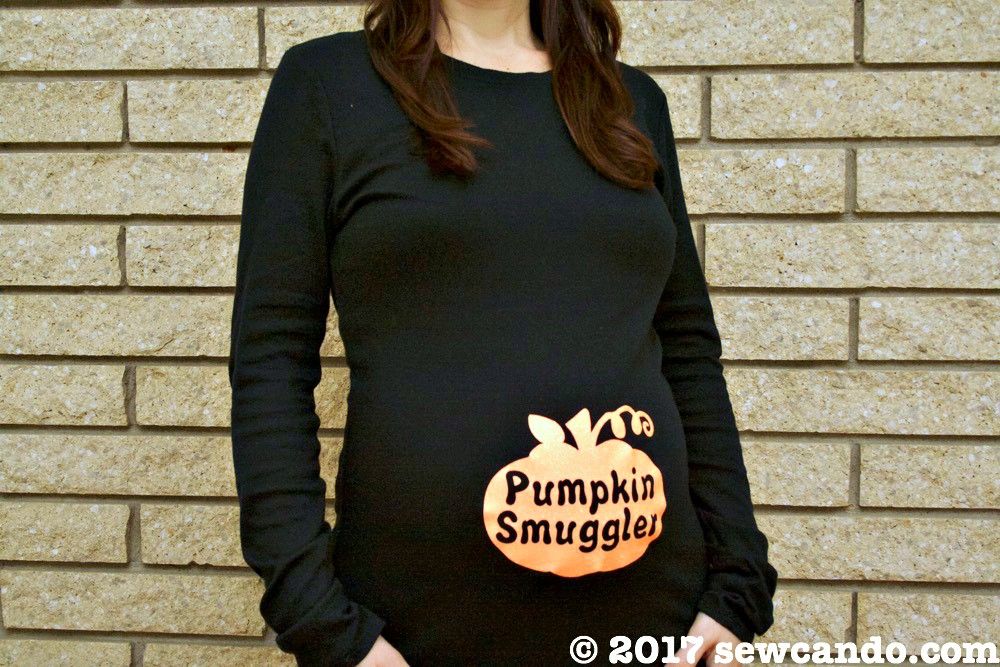
I added the Pumpkin Smuggler text in a fun font and then had the machine cut it out. Remembering to mirror it before cutting is key since the material is cut face down on the mat. If you don't have a cutting machine you could print out a paper copy to lay over the heat transfer materials and then use an exact-o to cut out the details, but a machine is way easier & faster.
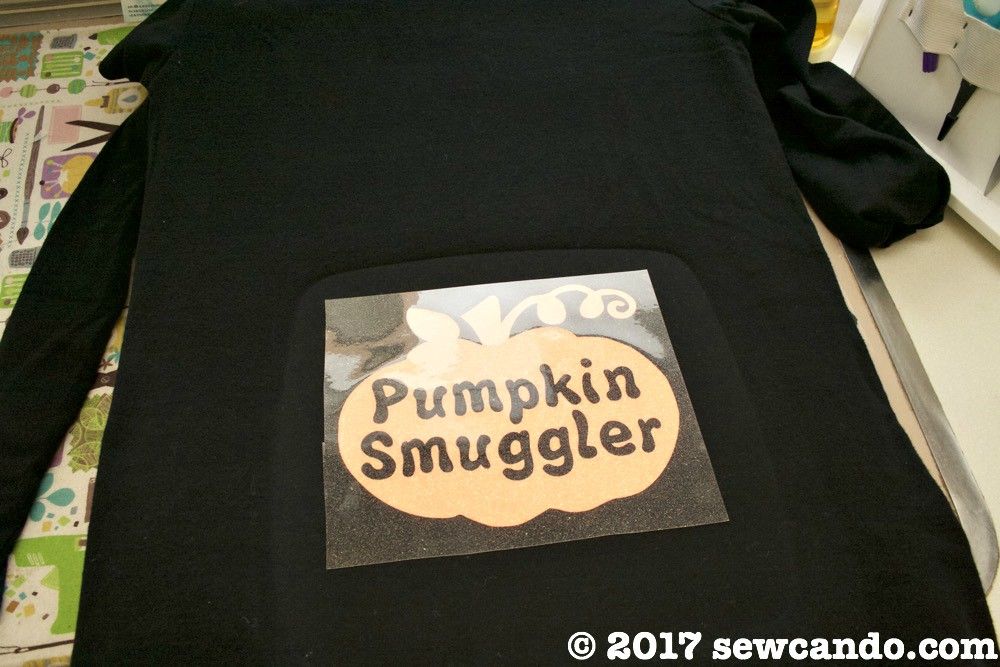
I tried my shirt on and noted the exact spot I wanted my design to be. After a quick press to warm the fabric up, I placed my heat transfer on it and pressed away according to the directions.
Once cool, I pressed it again on the wrong side with the shirt inside out and then peeled off the protective cover sheet when completely cool. I'll be sharing my unbiased, bought with my own money opinions & experiences with the new Cricut EasyPress in a coming post.
I've already worn it 3 times and can't wait to wear it again for several upcoming Halloween activities. Not bad for a $13 top I made myself! Now I can't wait to make some fun & thrifty looks for winter, Thanksgiving & Christmas!

You did a great job on this! Such a cute idea for a simple Halloween shirt - or even a costume. :)
ReplyDelete-Lauren
www.shootingstarsmag.net
Love this cute idea! I always thought it would be fun to be pregnant for Halloween and paint the belly to look like a pumpkin, hehe. Pinning this. Great project to make as a gift at a friend's baby shower, and will come in handy for me, one day. Congrats on your little one!
ReplyDeleteAlexandra
EyeLoveKnots.blogspot.com