Showing posts with label shirts. Show all posts

Wednesday, December 21, 2022

Merry Christmas Bozo: A Holiday Heat Transfer Tale


I know today's project title sounds strange, but I promise the story about it is worth it!  I last minute made this heat transfer shirt for my 4yr old as a special surprise:


It's a direct quote from him about the character pictured with it.  Yes, he's wishing a squirrel Merry Christmas.  And yes, he's calling him a bozo.

Backstory: In October we had a bunch of pretty pumpkins out on our front porch as part of our festive decorations.  After a while we noticed a few small chunks taken out of one of the "fairy tale" varieties.  Days went by and more small chunks.  A week went by and it was looking pretty beat up.  We figured something about it must have been appealing to a bird or chipmunk so we tossed it out.  The rest were untouched so it must have just been something about that one, right?

The next day a couple had small bite marks and a large classic pumpkin had a giant hole in it.  The porch was also sprayed with pumpkin innards and seeds.  Like someone had blown it up with a stick of dynamite like in a cartoon.  I didn't think to take a photo at the time, but it was a MASSIVE mess.  About 15min later I spied this guy through the glass in the door (it looks like there are 3 of him, but it's the effect of the cuts in my door's glass):


Yep, it was a squirrel.  A giant, chubby, almost-as-big-as-a-cat squirrel.  Eating seeds out of a pumpkin.  In two decades of putting pumpkins out, we've never had any bitten into, let alone torn apart and chowed on!  Then I saw him in action :


It seemed crazy!  He was carving it by eating!  So my 4yr old pranced over and began dancing a little jig to a spontaneous song he made up for the squirrel, "Bozo, bozo, you are a bozo!" in a sort of school-yard nah-nah tone while peering at him through the glass.  Squirrel didn't care - he kept eating.  But as soon as he left we tossed all the remaining pumpkins out and washed the mess away, so I'm sure he was disappointed when he came back and his buffet was gone.

We haven't seen him since, but he came up in conversation last week.  Not missing a beat, my little guy commented in a disgruntled tone "Merry Christmas Bozo." and I knew I had to immortalize it into a shirt.

I found a free silhouette image of a squirrel and another of a Santa hat and combined them using iPiccy.  

I imported it into Cricut Design Space to make a cut file and adding the wording and cut them out.  The words with plain heat transfer vinyl and the squirrel in flocked.


I applied them with my heat press (more on the ones I use here and here).  Since I was using two different kinds, I did them in phases.  The flocked was first at 295 degrees for 30sec front/15sec back.


  Then I did the lettering on 330 degrees for the same time, carefully not overlapping the press on anything.  I peeled when cool and our inside joke Christmas shirt was born:


Everyone in the house is now in love with this shirt.  My teens are now requesting them.  Maybe next year it should become a family Christmas photo....;)

Wednesday, October 25, 2017

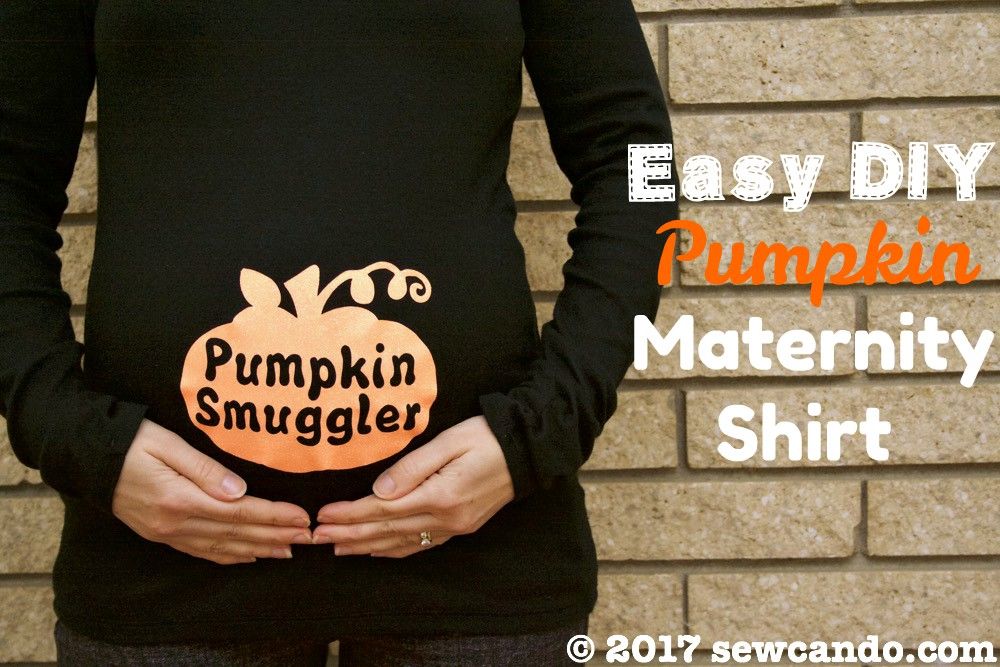
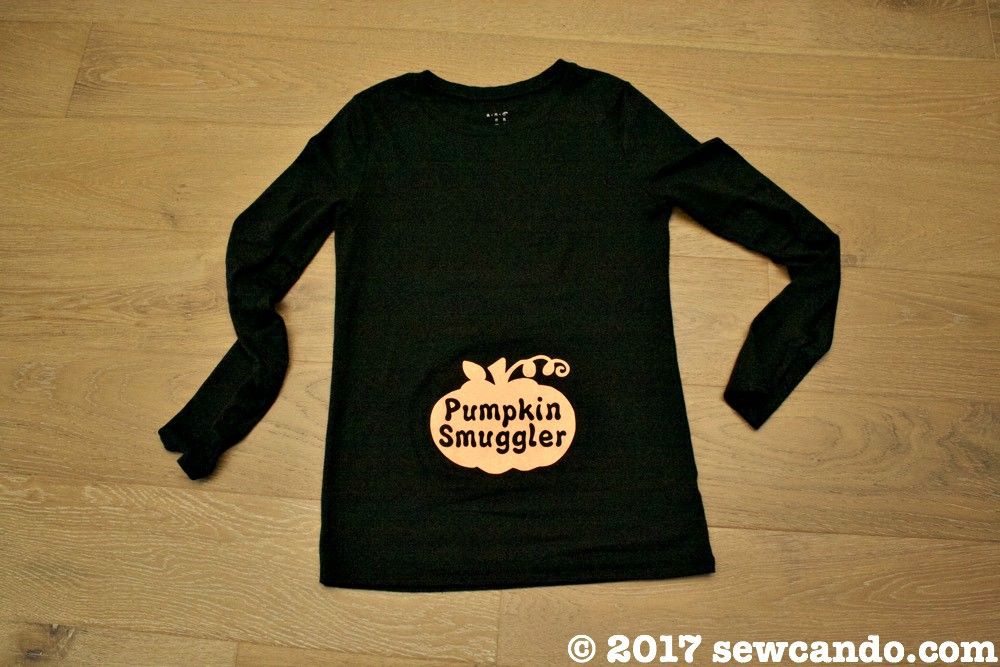
Easy & Cute DIY Pumpkin Maternity Shirt


I had so many plans for Halloween projects this year.  I was going to have lots of posts and be all festive too.  Between an out-of-state craft show, kid birthdays, home renovation planning, complicated costume requests and an unexpected city-wide water issue, most of my ideas got sidelined for more pressing issues.  Halloween's less than a week away and I'm scrambling just to get the costumes done.  UGH.

There's also another new development that's made finding craft time a little trickier and the very reason for today's DIY Cute Pumpkin Maternity Shirt tutorial: 


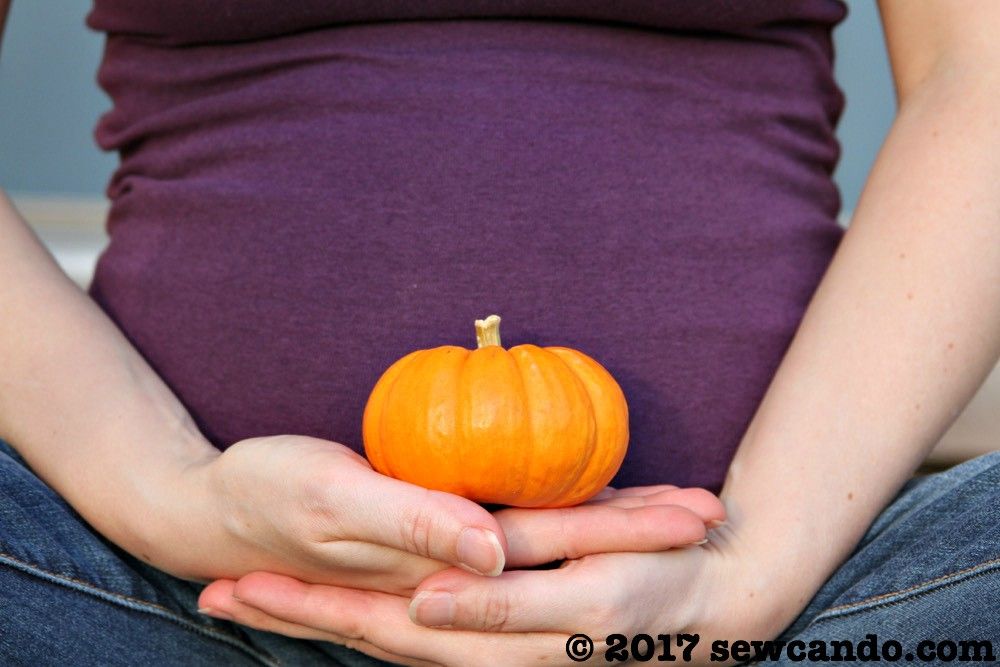
A new Sew Can Do baby is on its way:)  And that means maternity & baby things are now at the top of my need-to-make list.
Maternity clothes are always a challenge for me since I'm petite and really short.  I tend to start showing pretty fast & very roundly in the bump area, so I can't get by with my regular clothes for very long.  This being baby #4, it's happened even sooner.


I also hate the baggy, blobby "can't tell if I'm really overweight or pregnant" look most maternity tops create on me and the price of a cute maternity top you're only going to wear a couple of months (or even less if it's seasonal/holiday) is almost criminal and nearly impossible to find.  So today I'm sharing how to make cute, bumptastic maternity tops on the cheap.


Materials:
- Stretchy solid t-shirt*
- Heat transfer material (mine is the glitter variety)
- Cutting machine or exact-o and patience.  
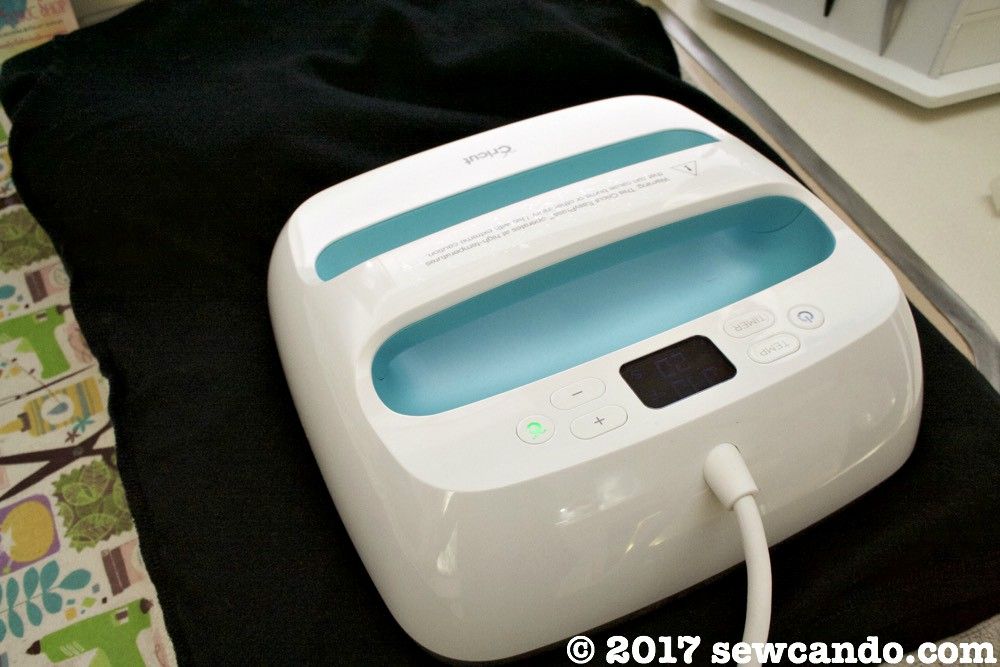
- Iron or heat press.  I used my new Cricut EasyPress.

*A basic, stretchy solid tee is the key base.  There are some maternity versions that aren't too pricey, but I've found the regular size ones at Target work best and are by far the cheapest.  Their old Merona brand or the new A New Day brand (which is the same thing) run about $9 for a long-sleeve, even less for short sleeve or tank style and are good quality. They are super stretchy & ultra soft. Most importantly, they are very long, which is ideal for the growing middle.  I buy them in a size larger than my usual and they're perfect - there's enough give and length to go the whole 9 months.


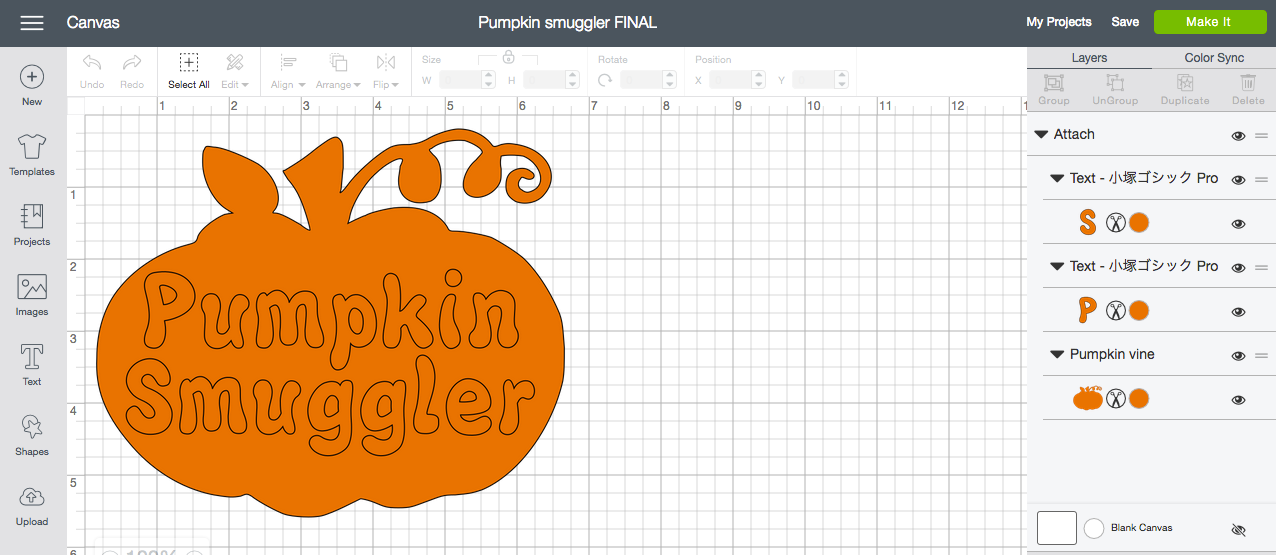
After pre-washing my shirt I got my design together.  I used a pumpkin silhouette image found online and opened it in Cricut Design Space then turned it into a cut file there.  

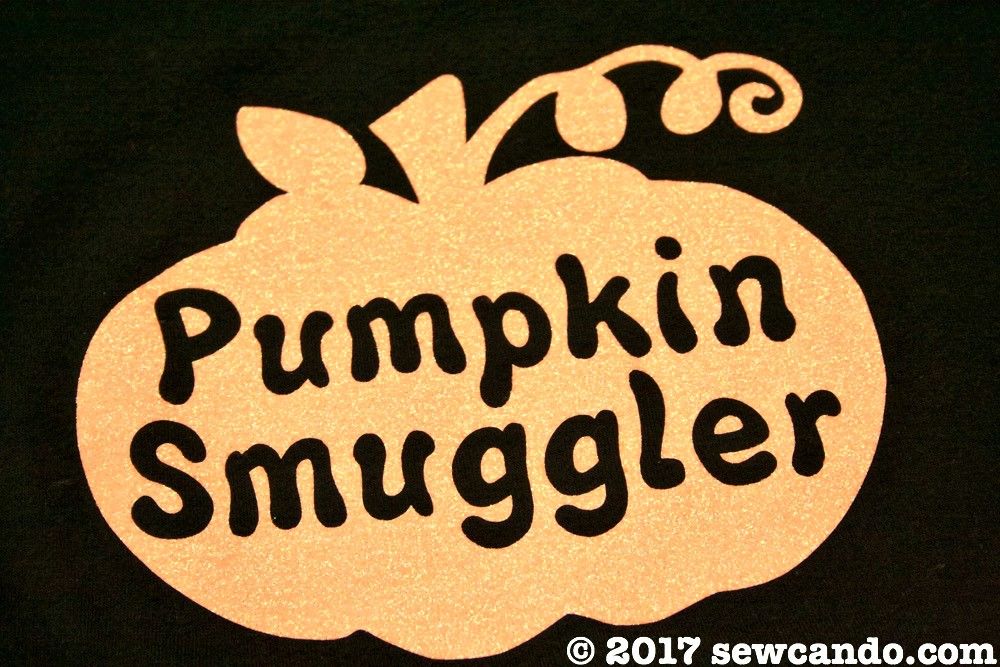
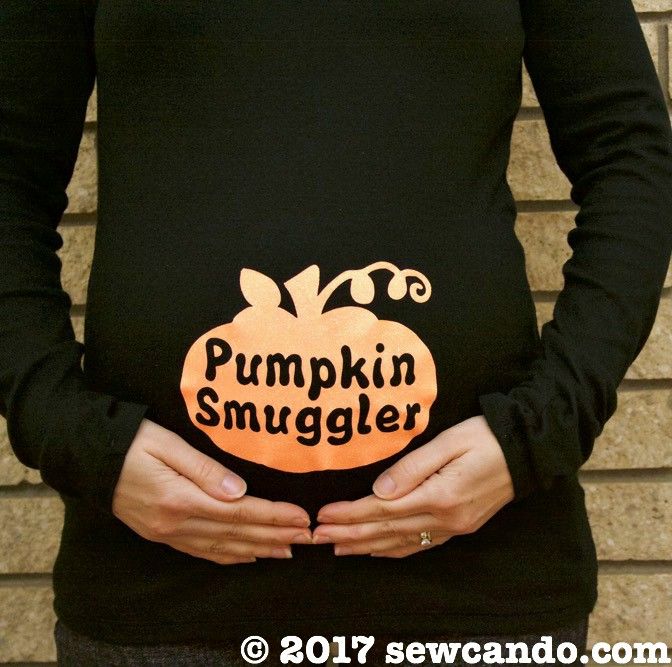
I added the Pumpkin Smuggler text in a fun font and then had the machine cut it out. Remembering to mirror it before cutting is key since the material is cut face down on the mat. If you don't have a cutting machine you could print out a paper copy to lay over the heat transfer materials and then use an exact-o to cut out the details, but a machine is way easier & faster. 


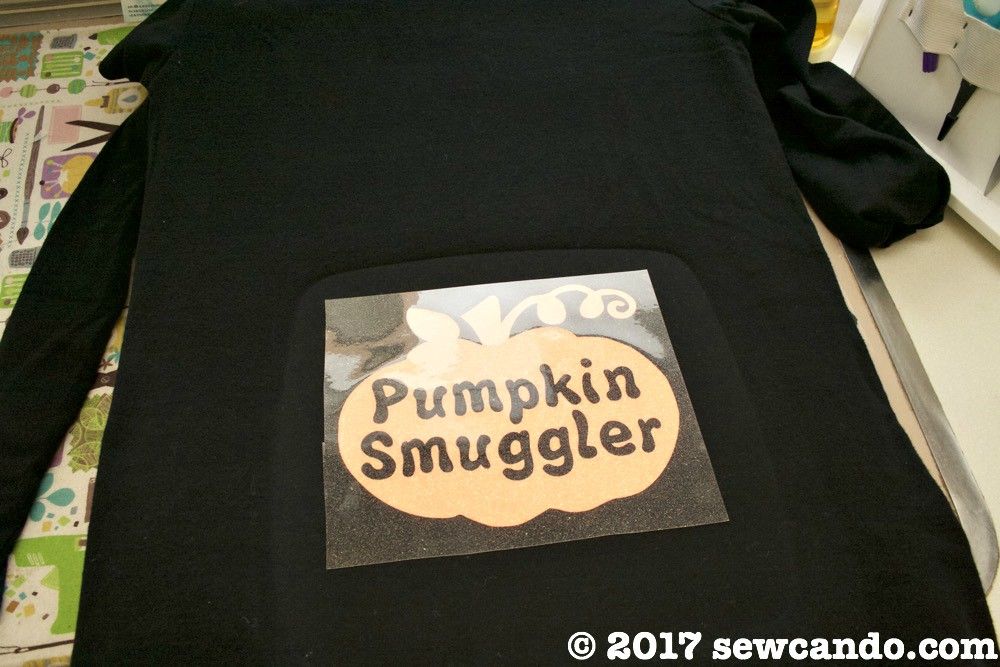
I tried my shirt on and noted the exact spot I wanted my design to be.  After a quick press to warm the fabric up, I placed my heat transfer on it and pressed away according to the directions.  


Once cool, I pressed it again on the wrong side with the shirt inside out and then peeled off the protective cover sheet when completely cool.  I'll be sharing my unbiased, bought with my own money opinions & experiences with the new Cricut EasyPress in a coming post.


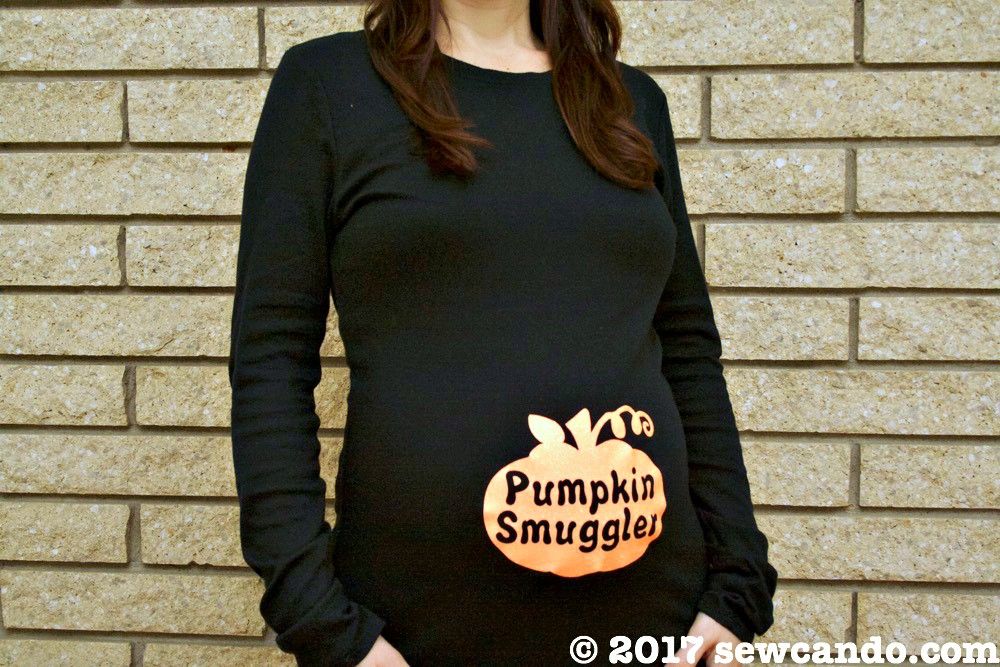
The shirt turned out exactly as I'd hoped and the size of the design means it doesn't pull or distort over my round middle which is key.    The glitter finish adds a glitzy, festive feel too:


I've already worn it 3 times and can't wait to wear it again for several upcoming Halloween activities.  Not bad for a $13 top I made myself!  Now I can't wait to make some fun & thrifty looks for winter, Thanksgiving & Christmas!


Friday, October 21, 2016

Fave Raglan Shirt Patterns + Spooky Cats for Halloween & Beyond!


Halloween season is usually one of my craftiest times of the year, but there barely seems time to get it all up here on the blog before the big day has passed!  I'd planned to show lots of fun photos for today, but the weather had other ideas, so I've got to settle for the few snaps I took beforehand.

With my kids getting older it's sometimes harder to do holiday sewing.  A lot of prints are too babyish or are so gender specific that I can't use it for both my sons and daughter.  And realistically, I can't see spending loads on fabric that will be in-season for about a month and then be out of season and outgrown by next year.


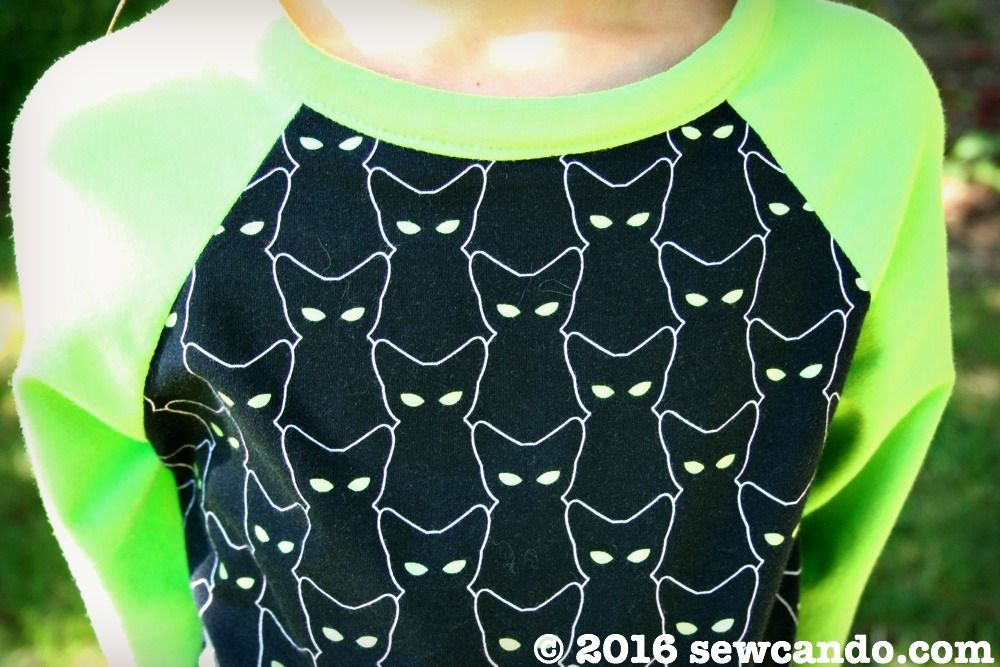
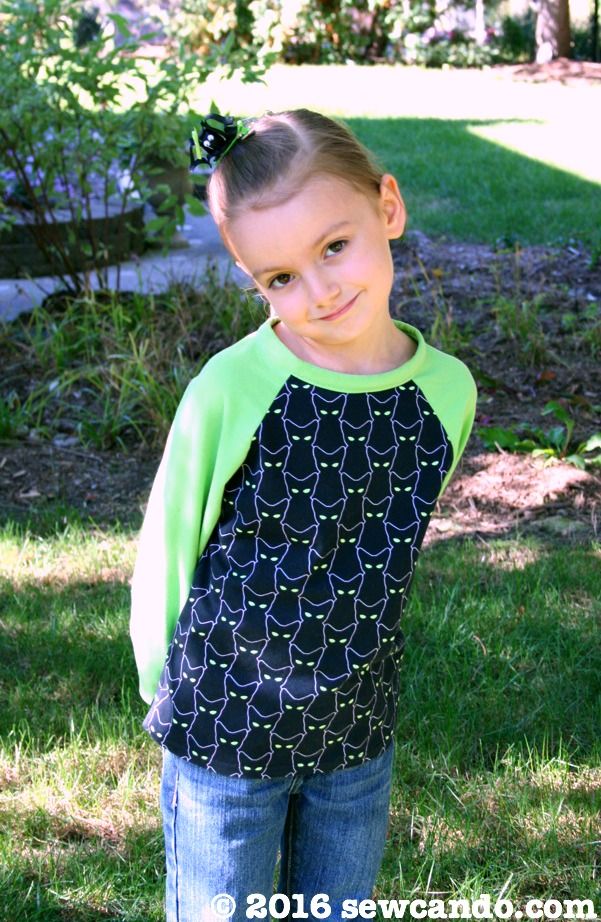
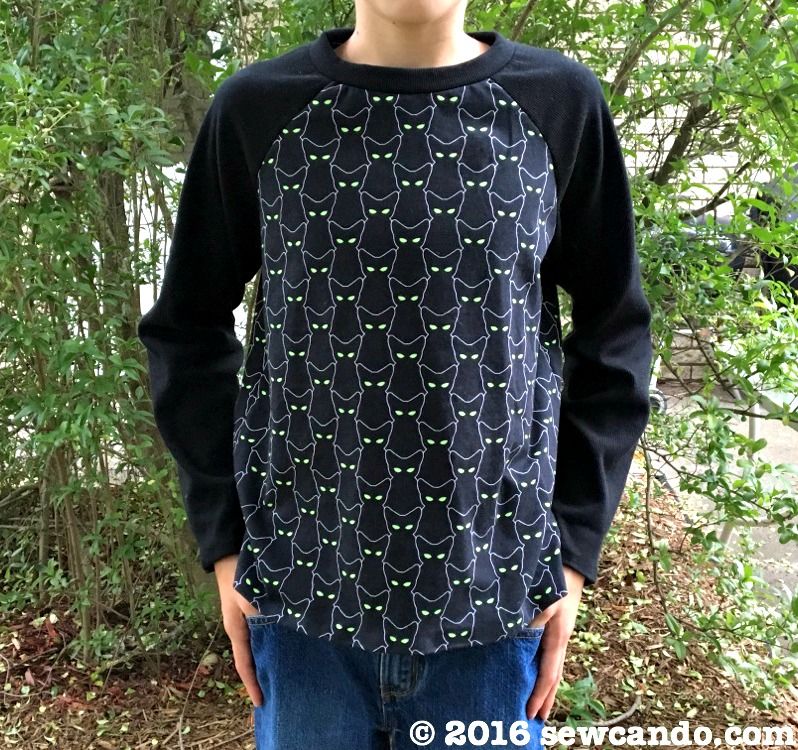
For Halloween this year I was determined to find my perfect fit and I think I found it.  One of my favorite places for great knit fabric, Sahara Fabrics, released this awesome Spooky Black Cat Cotton Spandex and I knew I had to buy some and make some fun shirts for the kids:


It's got the Halloween vibe, but can still be worn long after the pumpkins get put away and the solid Lime knit I also bought was a perfect match to those green cat eyes. Most importantly, it's a print both my little 7yr old daughter and older 10 and 14yr old sons can wear and enjoy:


Custom print knit fabrics like this are typically more expensive than the stuff you can get at the chain stores or bigger fabric websites, but the quality is hands down better.  I'll admit I used to only buy the cheap stuff, but it was temperamental to sew with and the weight was always super flimsy or too heavy.  Lesson learned? If you want to make nice knit clothing, get the good stuff.  I bought 1.5 yds of this fabric and, by pairing it with some less expensive green solid for my daughter's and some basic black rib knit for my guys, I was able to make 3 shirts.  I even have about 1/4yd leftover I can use to make undies or doll clothes or some other small projects, so it made it pretty economical.  

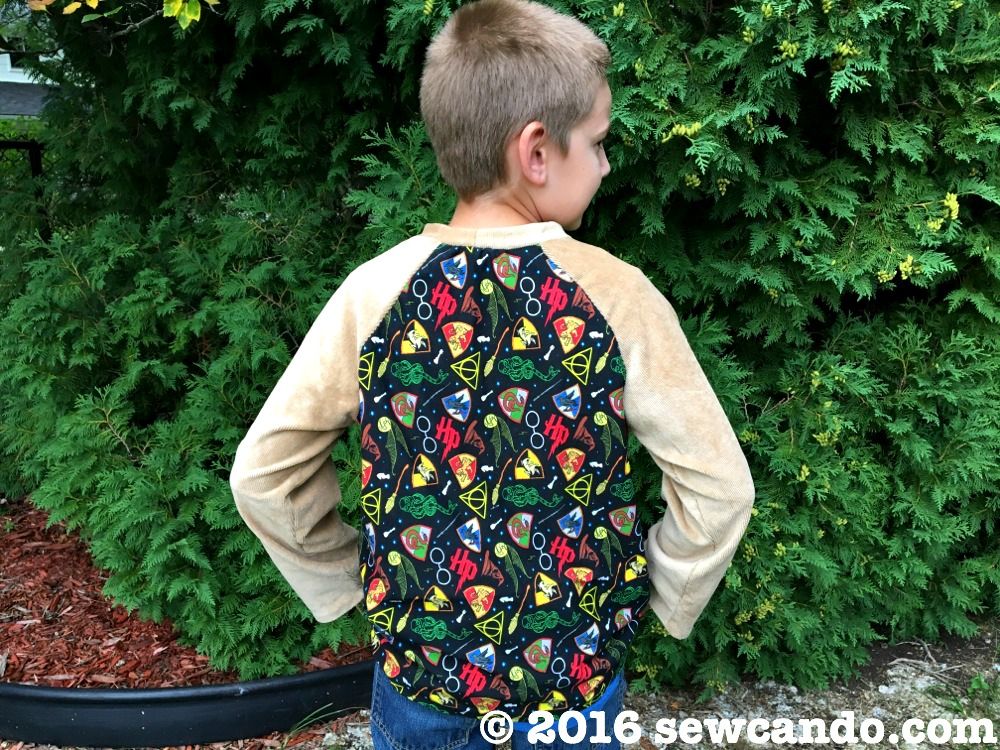
To make things easy I turned to one of my new favorite shirt patterns, McCalls 7379, which is quick to sew and really versatile for the bigger kids.  I used it to make this Harry Potter print shirt a while back too:


Fun prints look so good with the style and the cut it makes it easy to match up the sides and seams of directional prints like this one.


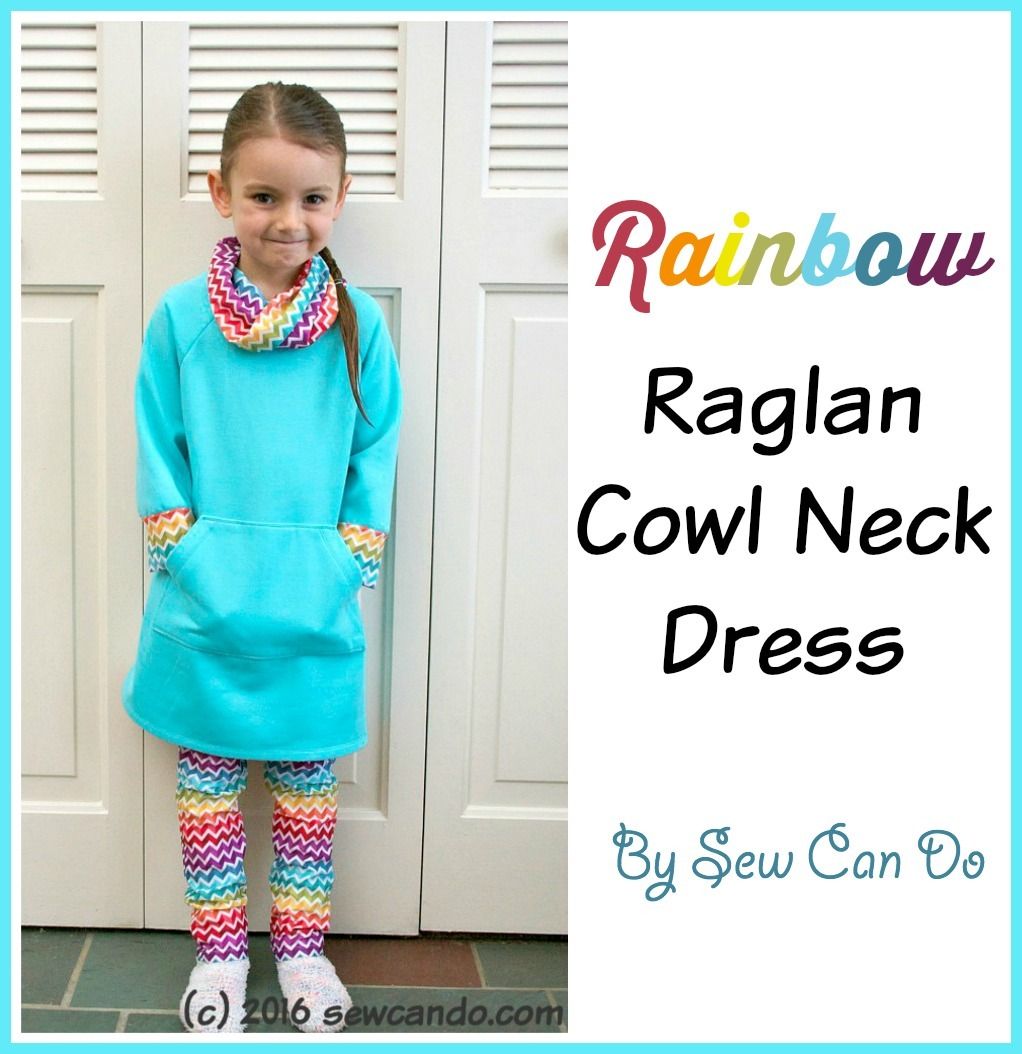
I drafted my daughter's smaller shirt pattern myself, modifying my previous Raglan Cowl Dress:


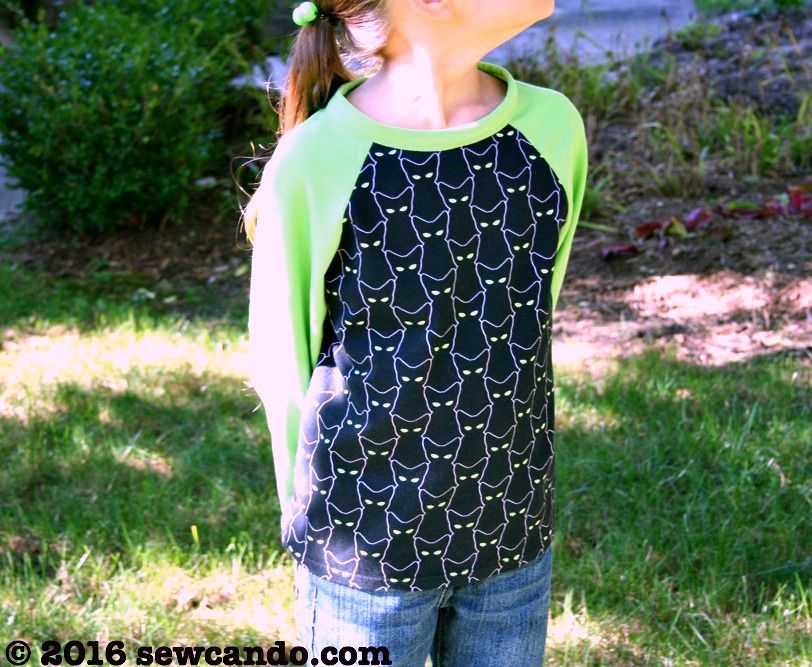
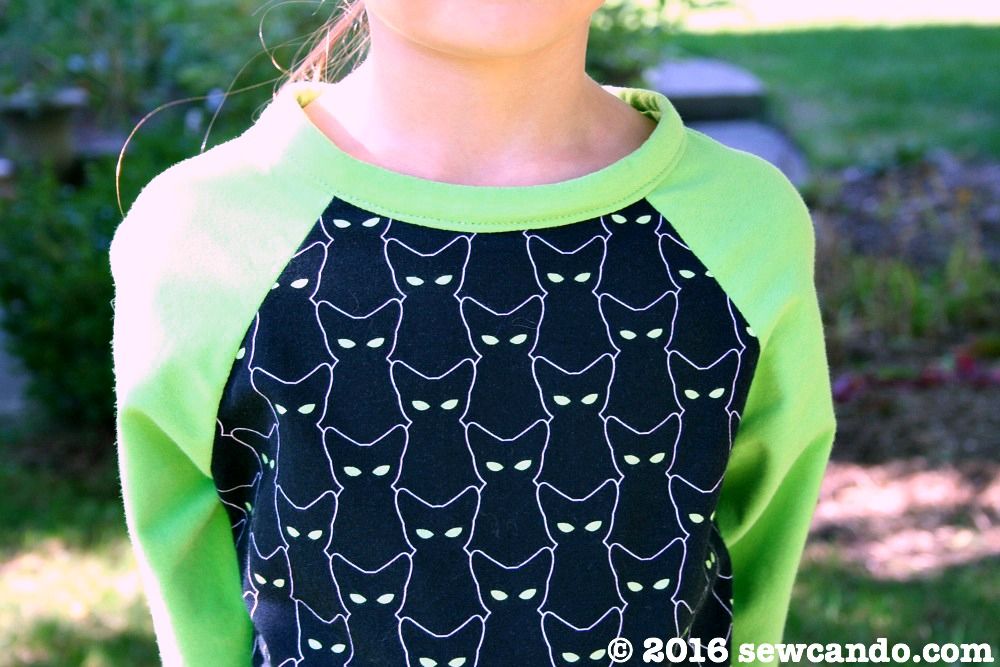
I just shortened the length and switched to a neck binding instead of the cowl.  Next time I'll probably cut the binding a little shorter so it stretches more and lies flatter (neckbands that stick up drive me crazy) - I've notice that's needed when not using rib knit, like I did here:


Now we've got some fun shirts that look spooktacular and will still be fun to wear the rest of the cool weather season too:)


I was not compensated for this post.  Although Sahara Fabrics is an advertiser, I purchased this knit fabric myself and was not required to review or promote this fabric or their shop.  The opinions are completely my own, based on my experience. For my complete disclosure policy, click here. 

Wednesday, February 11, 2015

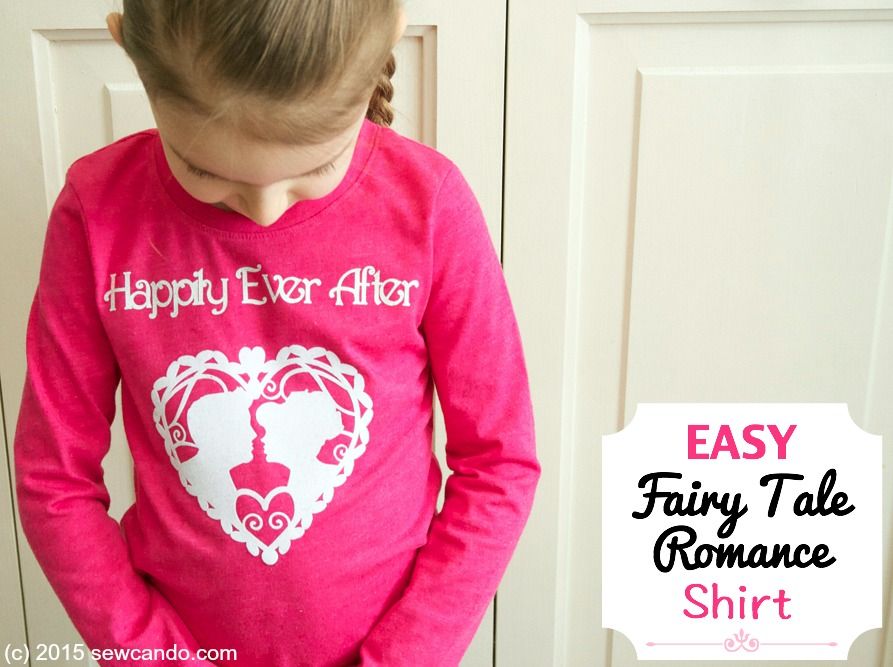
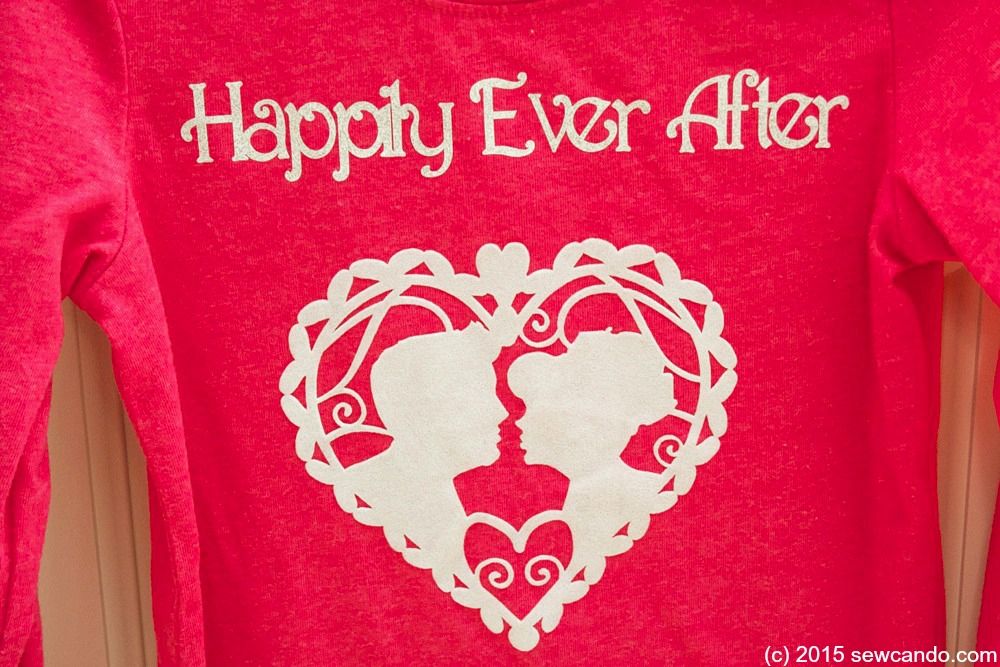
Easy Fairy Tale Romance Flocked Shirt


Do you love fairy tales?  Want to make a fast & easy Valentine's Day top that can be worn all year long?  Then today's project is for you: a super Easy Fairy Tale Romance Shirt!  


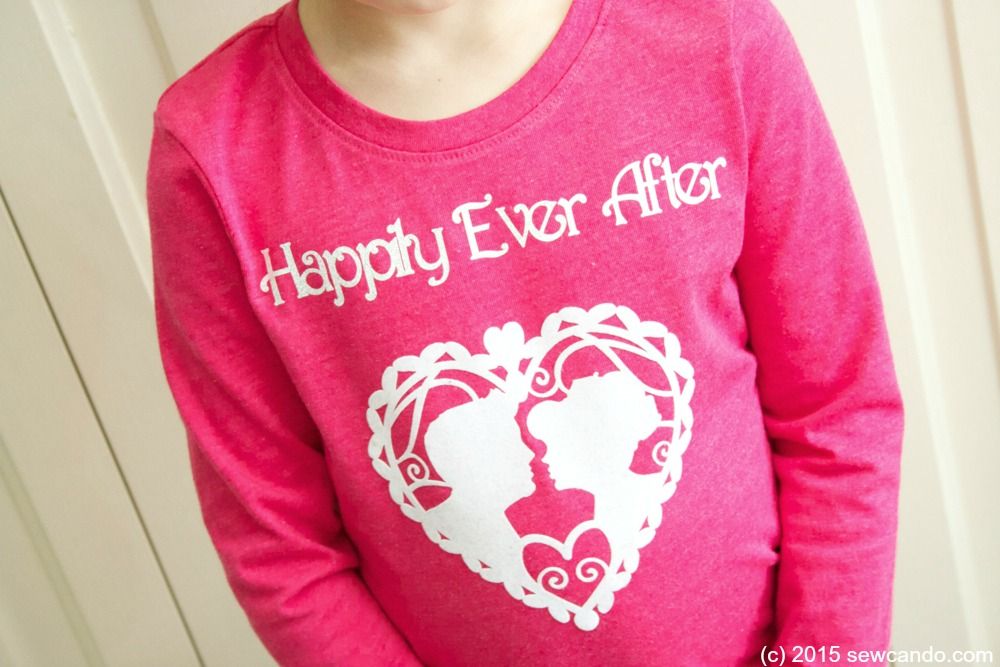
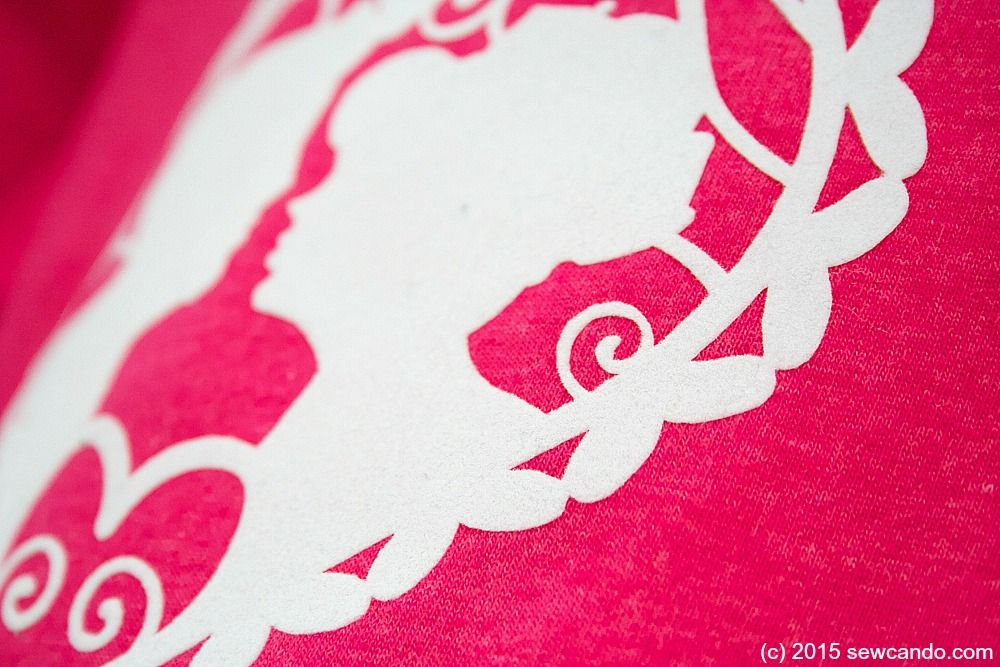
What makes this shirt a little "fancier" is what I used for the main design.  The cut-out heart is actually flocked heat transfer material.  I thought this would be nicer than the usual shiny plastic look of most iron-on transfers and give a richer, velvety finish:


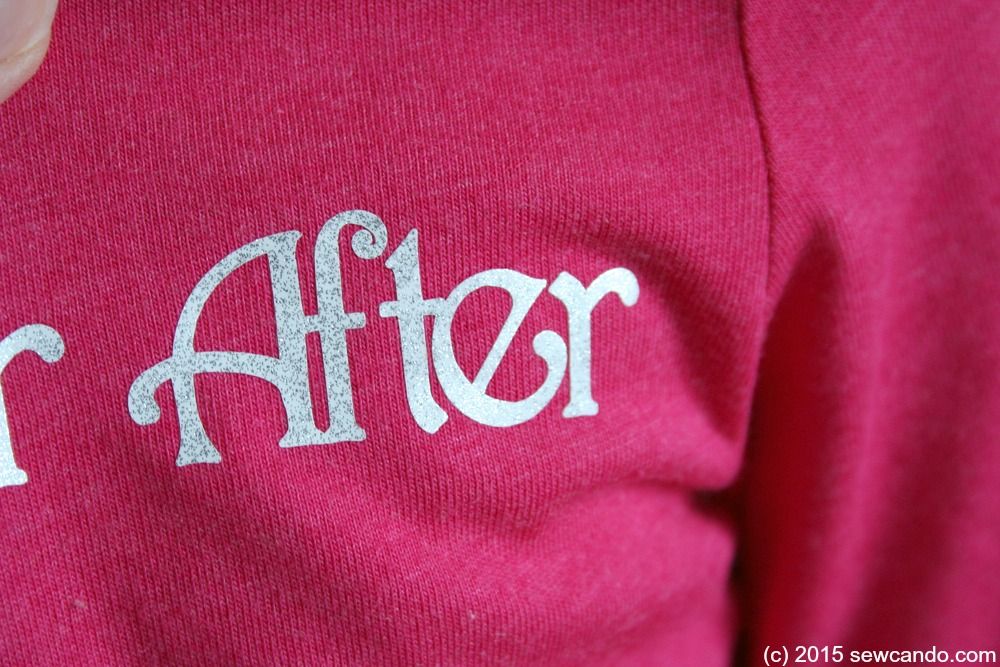
For the lettering I used glittered heat transfer material for a bit of sparkle.  It's hard to photograph glitter, but it looks more metallic and eye-catching in person:


Materials:
- Flocked and glitter heat transfer material 
- Blank t-shirt
- Iron and press cloth
- Cricut Explore or Expression or other cutting machine*
- Optional: weeding tool/pick

I don't get any sort of compensation from Cricut or Silhouette. I've always bought my own machines and have no vested interest in promoting any particular brand, so what you see here is a regular person experience.  No amped-up enthusiasm or over-simplified rave reviews from an affiliate/team member/recipient of free branded products.  Seriously, how objective is that opinion really going to be?  I'll be sharing more as I try things further and will do some brand comparisons + detailed reviews in the future too.

Design Info: If you want the same prince & princess heart shape, you'll need to buy it from Cricut's online design store or use the cartridge Love Struck 2010.  I bought myself a Cricut Explore a couple months back, when I saw a fantastic sale price under $200.  It even came with a free 3 month subscription, plus free bluetooth, so it's gotten me to try their designs more frequently than I had before.  Still trying to decide if I'm going to pay to keep the subscription when the freebie period is up...


In the Cricut Design Space online software you can select your project canvas, so I picked a shirt.  You can also specify general size.  I did Toddler (the custom size feature doesn't seem to work right) and picked a pink color close to my actual shirt.  This made it really easy to figure out my sizing for the lettering & heart.  I hid the background layer on the heart so only the lace bit remained.  For the lettering I used the font Nursery Rhymes.  I inched the spacing a bit closer so most of them could be welded together for easier placement on the actual shirt.  The lettering was also mirrored so it faced the correct side when cut.


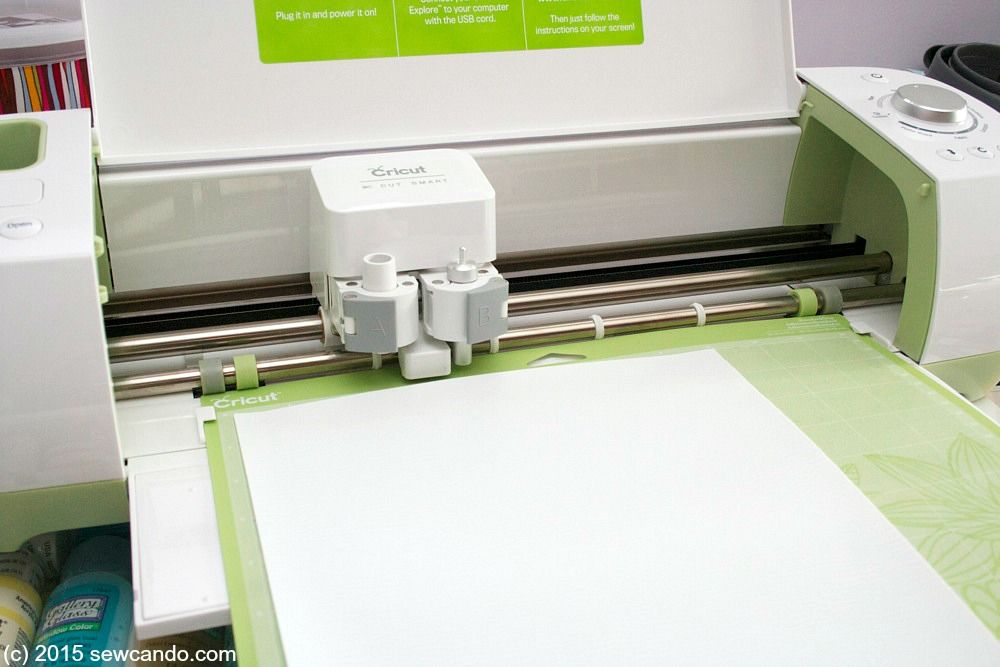
The material goes face down on the mat, with the plastic carrier still on.  I set the machine to heat transfer and cut.  Even though the flocked one is a bit thicker, the Explore still did a good job cutting.  I was glad I had a weeding tool though, since it took a little patience getting all the tiny bits out of the nooks and crannies.  Then it was iron time. 


I'll be honest, I hadn't had success with heat transfers in the past. No matter how well I thought they were fused, they started coming off right away, & got worse after washing.  I gave up on them for years.  Then I got this machine and figured there had to be some tricks. I researched, then tested a few and found a couple of key tips that really work:

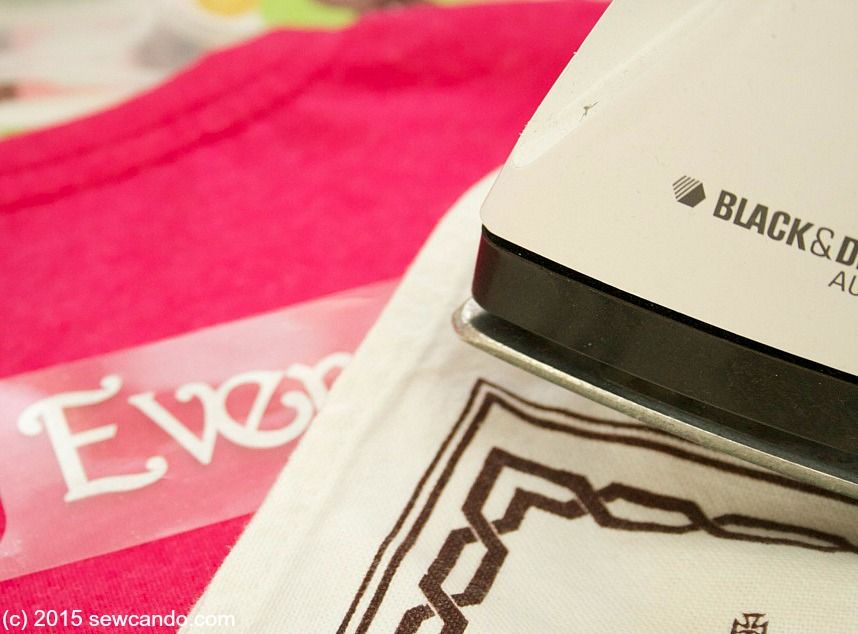
1. Iron the shirt first so it's warm when the iron-on is placed on it - this helps it adhere better.  Then use a press cloth between the iron and plastic carrier when adhering the transfer.  When cooled turn the shirt inside out and iron on that inner side too.  Peel the plastic off when totally cool.   


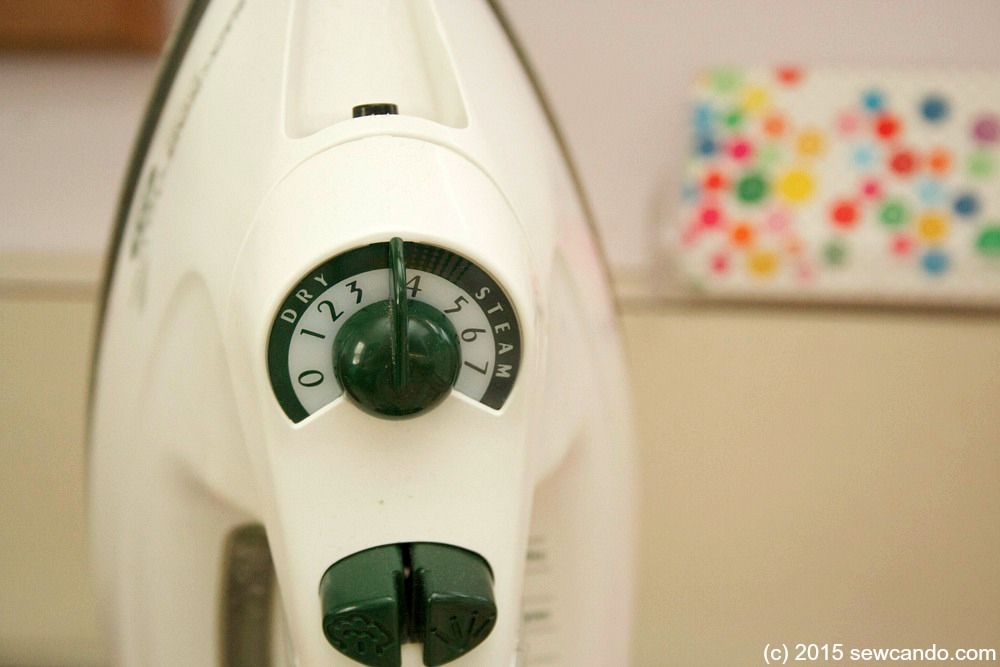
2.  Keep the iron temperature moderate - Cotton no steam.  It's better to make several passes (with cooling time in between) on that temp than going hotter and just melting the material. Higher temperatures won't make it stick any better - just wreck the transfer.


3.  Wash it on delicate, inside out and line dry.  Too much turbulence or hot temps in the washer & dryer are just going to stress the iron-on and make it peel off around the edges.  DIY versions using a home iron aren't just like manufactured shirts.  Nobody really mentions the longevity of their transfer shirts or shows how they look after a few washes, but here's ours after some washing:


4. Be prepared to re-iron a little.  After a full day of active wear on my daughter (aka rolling around on the ground, stretching like a maniac...aka a 5yr old being a 5 yr old), I noticed the tip of the heart coming up a little and re-iron it before washing it.  I also did a little lint rolling since she'd collected a lot of fuzz on the flocking from the aforementioned rolling around.  I examined it when it was dry & it looked just as good as when first fused. Heat transfer success at last!

My little lady's first comment when she saw the shirt was "It's you and Daddy!".  It's pretty nice to know she thinks of us as being Happily Ever After.  And to know this heat transfer shirt experience has a happy ending too:)


Thursday, August 7, 2014

FREE SVG File: Mini Muscle Man Freezer Paper Stencil Shirts


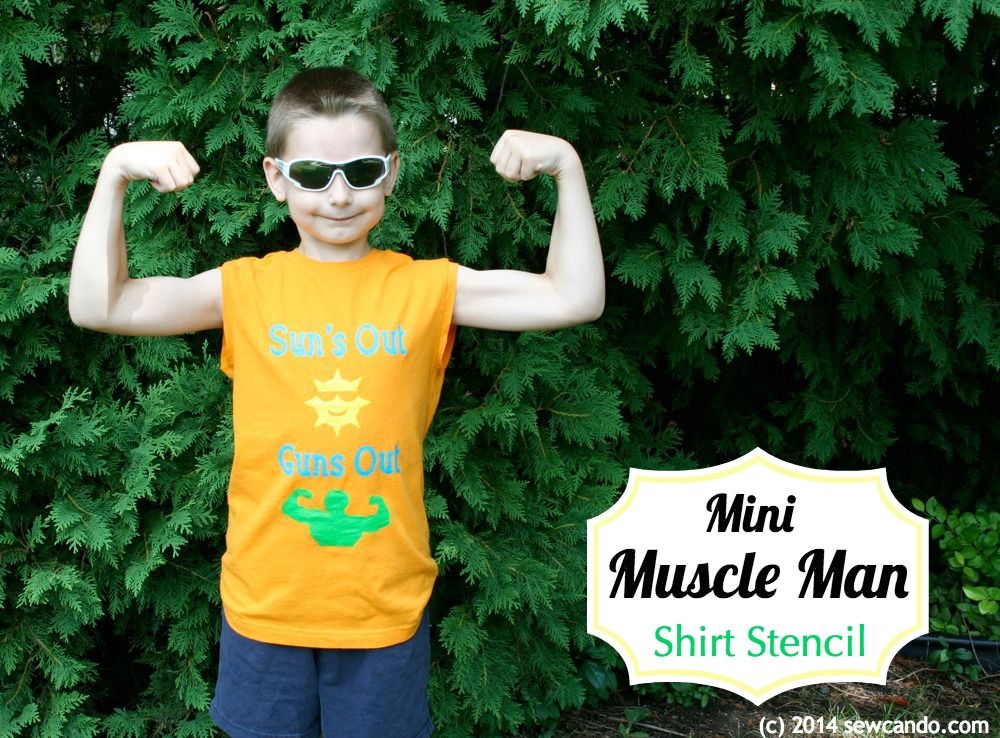
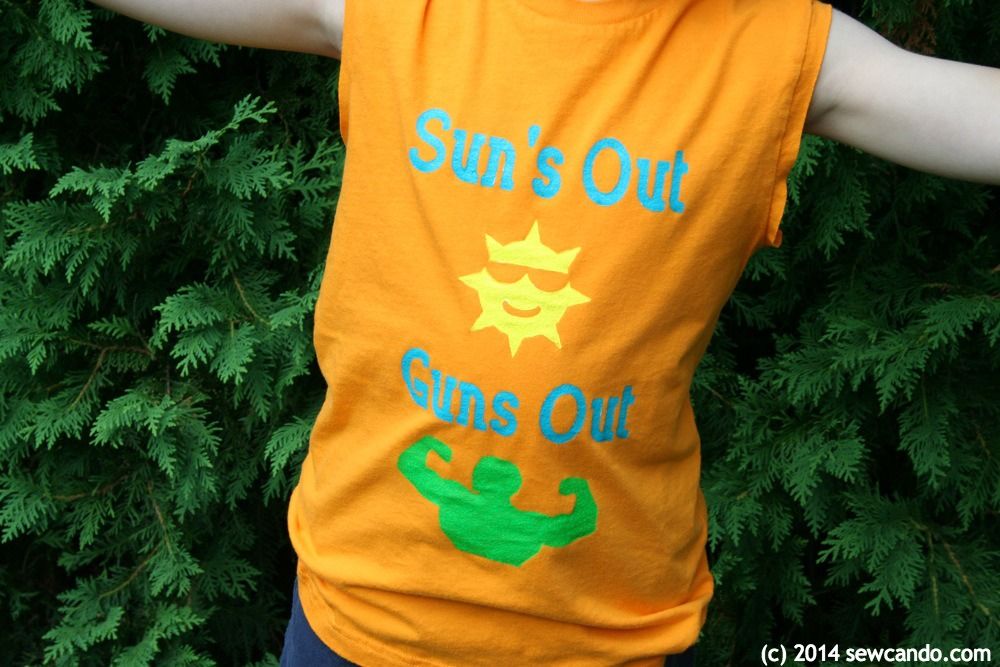
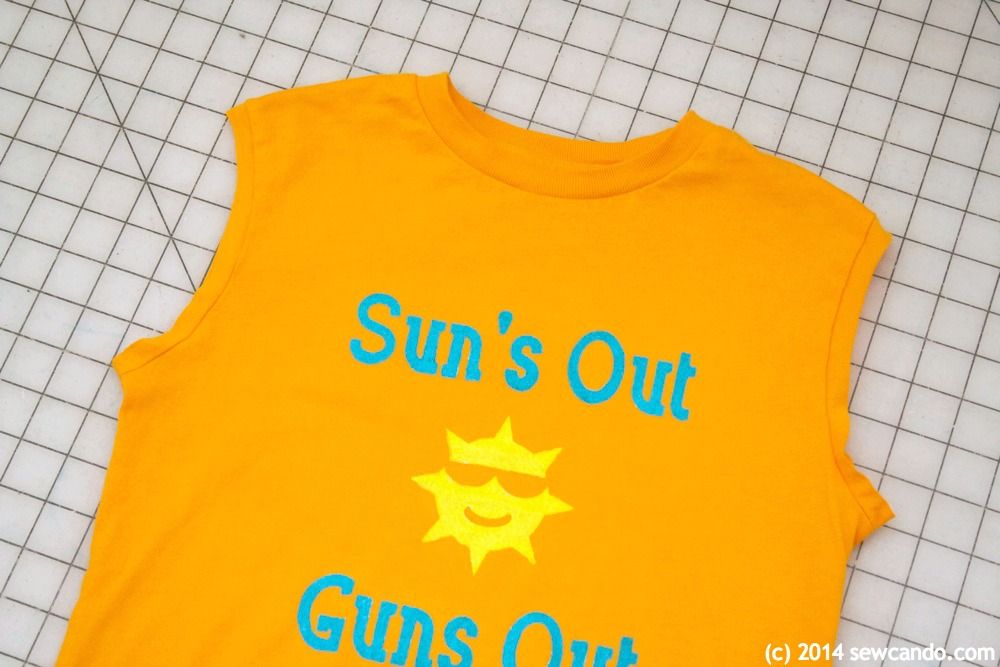
As much as I hate to admit it, I haven't done a lot of crafting this summer.  Between being sick on & off, a ton of home/yard improvements and all the kids' activities, there just hasn't been much free time.  And when I do get a little window I just haven't felt the creative bug like I usually do.  This project however, had been on my mind and got me out of my rut because my kids were so excited to have them: our Sun's Out, Guns Out Shirts!!


The idea for this came from some summertime people watching.  I saw a totally 80s looking guy when we were out one day.  He was wearing a neon pink tank top that said "Sun's Out, Guns Out" across the front.  He looked somewhat ridiculous (his muscles were practically non-existent), but the phrase stuck with me and I thought it could turn from cheesy to cute if done up right for a kid.  I think these "guns" are much more fun to see flexing than those on some middle aged dude with a mullet:


So, to bring our own version to to life I made a freezer paper stencil design and whipped up this baby.  Here's how you can too:

Materials Needed
- Freezer Paper
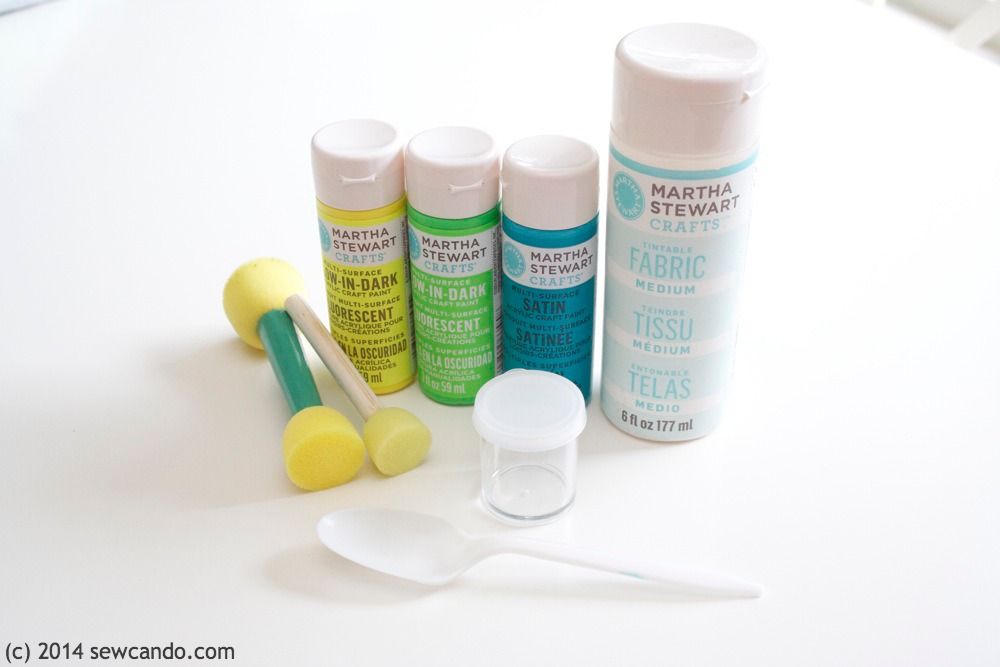
- Fabric paint or Acrylic paint + fabric medium
- Sponge pouncers
- Cardboard
- T-shirt
- Iron
- Cutting machine (Cricut, Silhouette, etc.) or an exacto blade + patience
- My FREE svg file: Download HERE

First, I created a design as an svg file using my handy Sure Cuts A Lot software.  I created the shades-wearing sun and modified a clipart bodybuilder silhouette I found online to be just the arms (aka guns) to go with my phrase.  I also reversed it so it would face the right way when cut out.


Then I cut out my design on freezer paper with my old Cricut Expression.  I know I'm "behind the times" since I'm not using a Silhouette here.  I actually have a new Silhouette Portrait I won in a giveaway in January, and hear everyone rave about all the projects they make with it, but I still find my Cricut/SCAL software combo to be easier to use for designing.  Maybe it's just because I'm lazy and don't want to spend hours relearning how to do everything on another tool.  Sooner or later I'll have to just bite the bullet and do more with it.  Much like I'll have to finally get a cell phone with a camera & texting.  Yes, I'm still using a prehistoric flip phone. Can you tell I'm a real technology wizard?

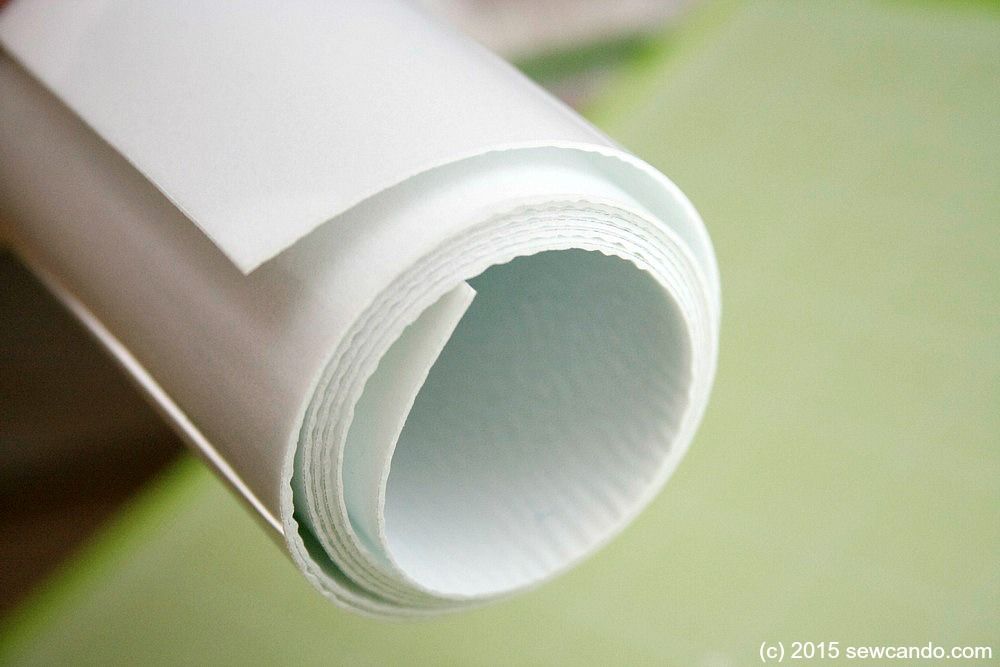
Anyway, in case you're not already a pro at machine cutting freezer paper stencils (I've only done a couple myself), it's key to load the paper shiny side up:


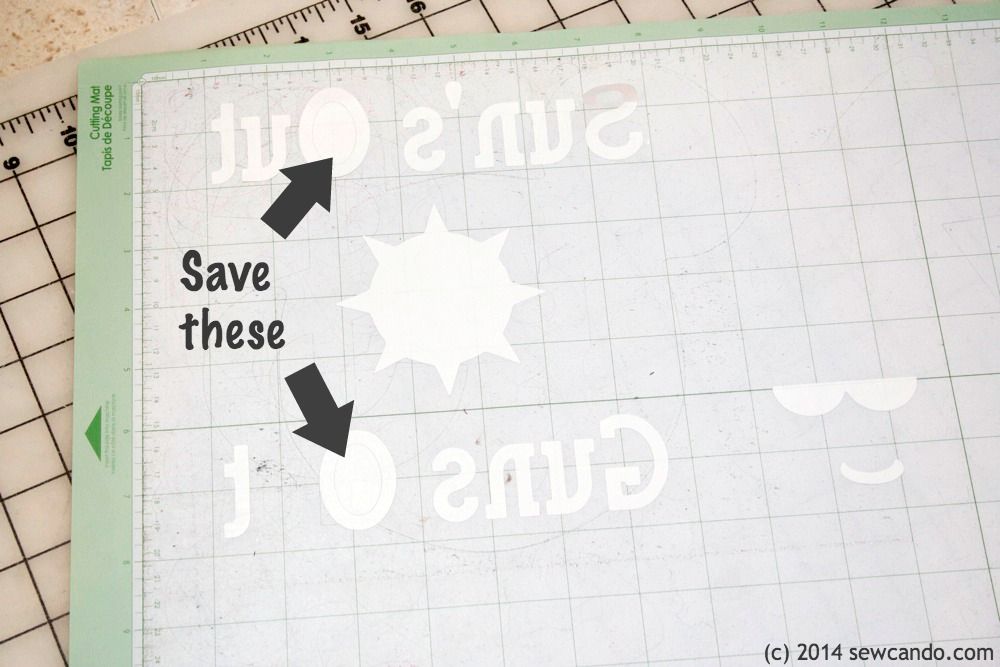
Also be careful when weeding (removing the excess paper).  You'll need the centers of the "O"s for the shirt:


Slip a piece of cardboard inside the shirt to prevent the paint from bleeding through:


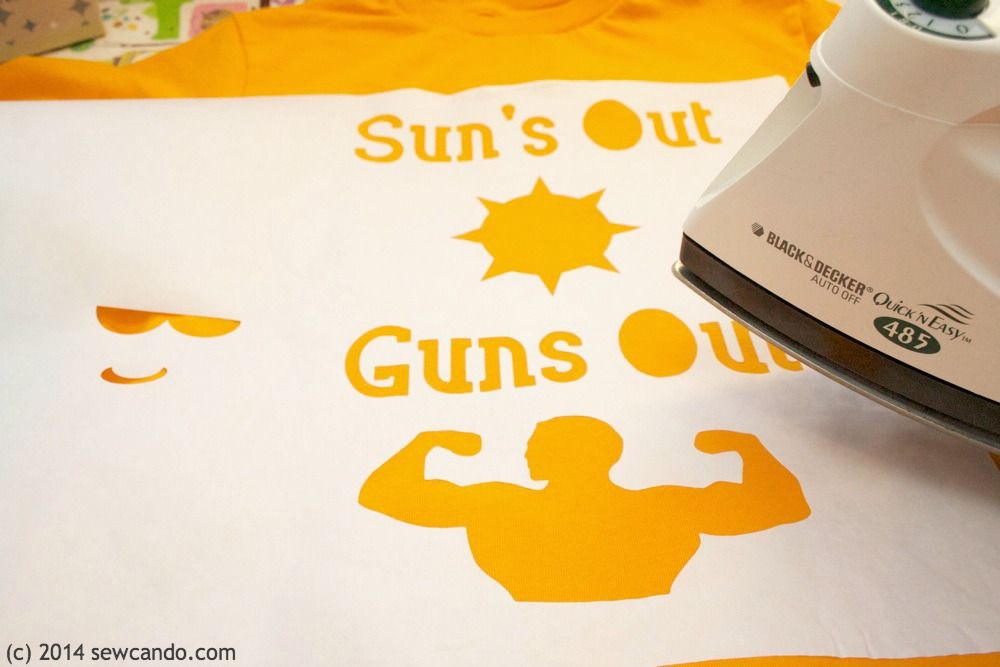
Iron on the freezer paper, shiny side down, using the cotton setting.  I added the shades and smile to the sun after the outline.


Now you could just start painting if you have fabric paint, but of course I never make it that easy for myself.  When I was shopping for the paint for this I fell in love with colors that weren't fabric paint.  I really liked the brightness of these and the fact they also glowed in the dark.  I figured I'd use them for other things besides fabric, so I bought them knowing I'd need to use fabric medium to make these washer-friendly.


To blend the paint & medium, I did one spoonful of medium to two spoonfuls of paint and mixed with a toothpick in some little plastic paint jars I found in the same aisle.  These were really handy because they have lids and can be reused.  Since I want to make more than one of these, it means no paint gets wasted and I can easily work on the second one a few days from now.


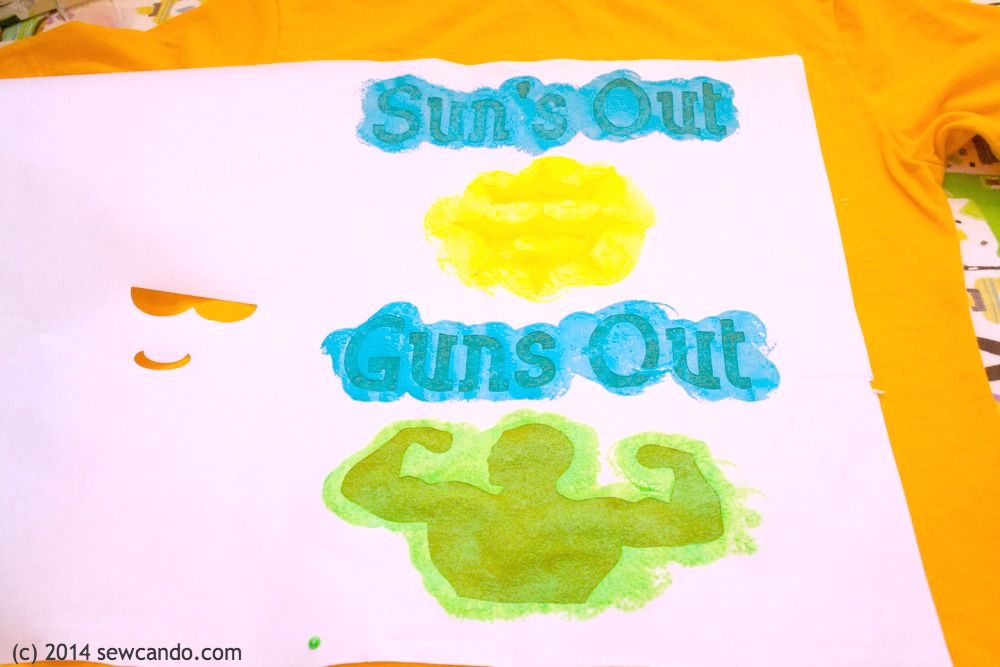
Once the paints are well mixed with the medium, grab some sponge pouncers and start painting.  I did several coats, with dry time in-between, to make sure the colors were nice and solid.


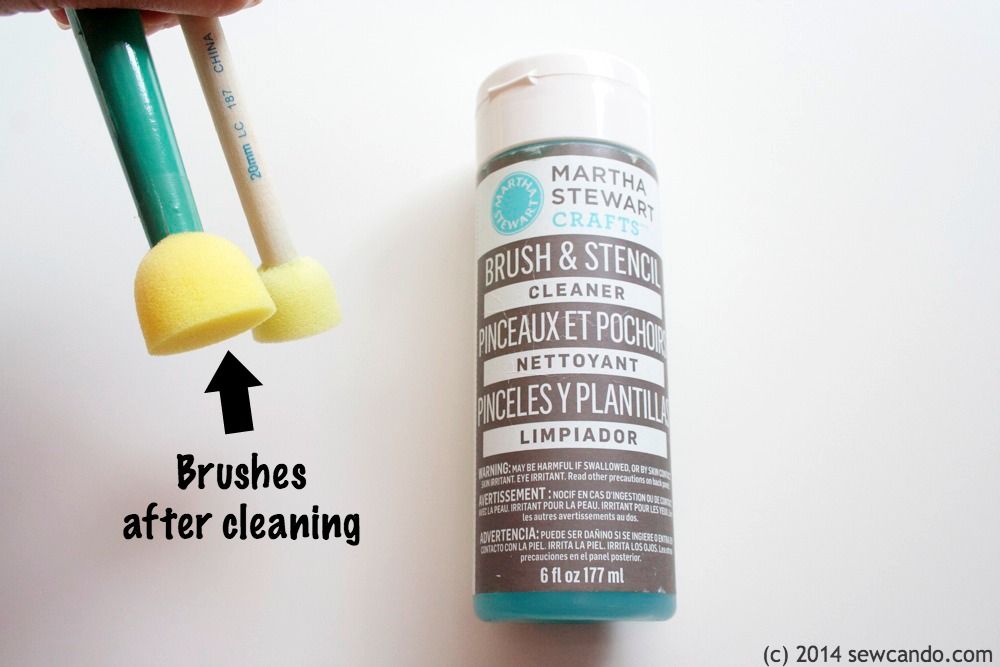
Side note: I wrapped my pouncers in cling film between coats to keep them moist and when all done I used brush cleaner to make them good as new.  I used to think that stuff was a waste of money "Soap & water works the same and it's practically free!", but I've realized the cleaner is totally worth it.  Sponge, bristle, whatever the brush is, the paint comes off easily and they look & feel like new.  No stiffness and I can use the same few over and over so it does save me money. I happen to like the Martha Stewart Crafts version, since I also like using those paints (and btw I'm not getting these for free or paid to talk them up, I just like 'em).  Any kind is better than having to throw away your brushes after one use!


When the last coat is dry, pull away the stencil and heat set the paint with the iron, using a press cloth in-between.  Now you can either roll up the sleeves or cut them off to fully expose the "guns".  I'd wanted to just buy a blank boy's tank top from the get-go, but it proved impossible to find (isn't it still summer?), so I just used t-shirts and cut the sleeves off with my rotary cutter:


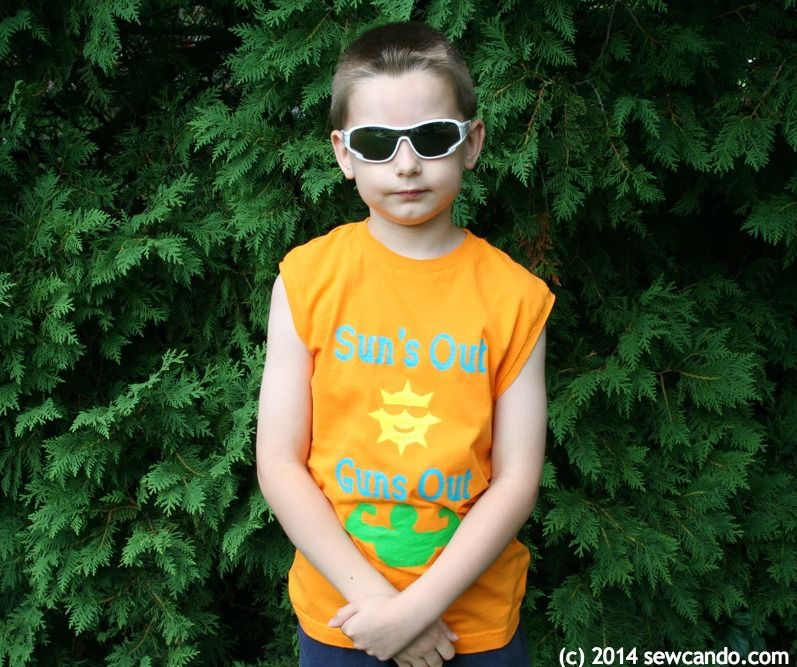
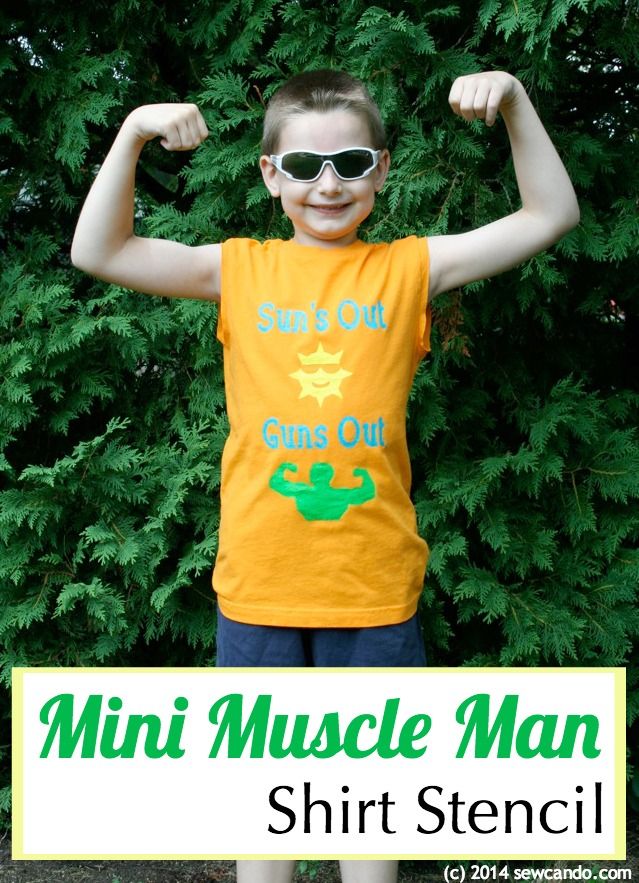
Now all we need is a little muscle man to rock the look.  This guy hopes you've got tickets 'cause he's about to start the "Gun Show"!


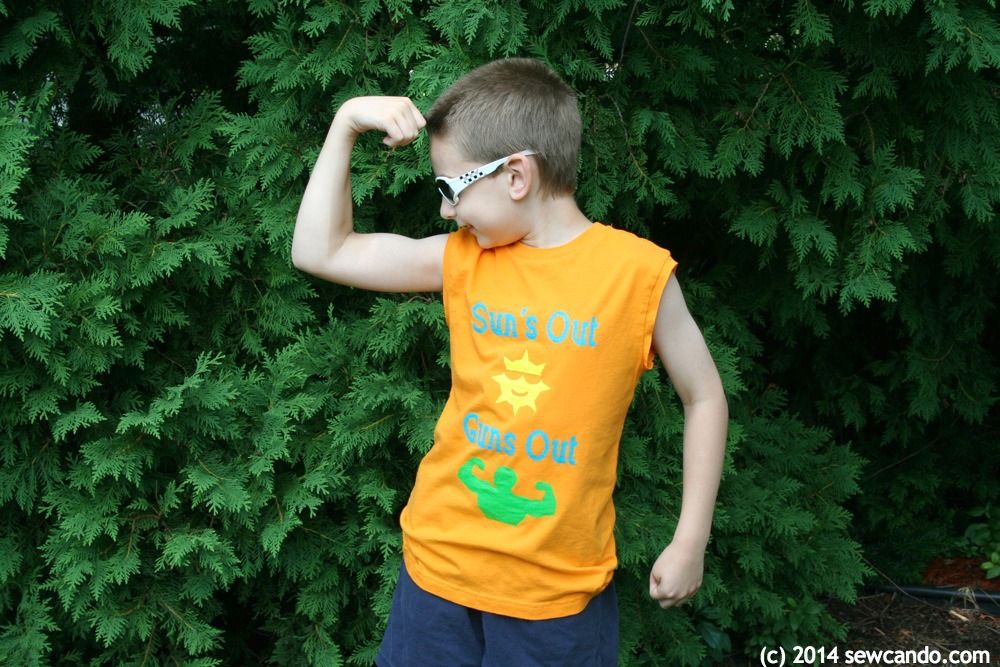
And it also works in serious mode, for when a tough guy doesn't need to flex his muscles to show he's strong:


But this look is definitely the most fun: 


LinkWithin

Related Posts with Thumbnails