Showing posts with label heat transfer. Show all posts

Wednesday, February 10, 2021

Easy Love My Mom Valentine's Day Heat Transfer Shirts


Need a last minute idea for Valentine's Day?  How about this cute little heat transfer to make a holiday shirt or bag?  I've got you covered with this holiday heat transfer project.  It even shows Mom some extra ❤️:


I literally just dreamed it up and made it yesterday, so that's why it's pretty simple.  Sometimes projects need to be quick & easy so you can enjoy the actual occasion rather than be caught up in the project making part.  It occurred to me around mid-day that this Valentine's Day will be the first one for my little nephew. I wanted to send him a little something to celebrate that, but  obviously it being just days away I needed to hurry.  And use what I happened to have on hand in the house.  No challenges, right?  LOL.  That's how I tend to roll....

Thankfully I had some sheets of red heat transfer vinyl left from some previous Christmas projects and a blank 18 month sized t-shirt I never got around to embellishing for my almost 3yr old (luckily said nephew is big for his age).  Added bonus was that I found I had a blank 2T long sleeved tee in my stash too and my little guy is on the small side, so I was able to make one for him too!


 These worked out ideally.  I'm a big fan of "holiday" themed wearables that you can still wear well after the actual day is over and these definitely tick that box too.  YAY!!!

 Now, how to make them

Materials:
- Heat transfer vinyl
- Shirt, bag or other fabric item (unwashed)
- Cutting machine (I used my 6yr old Cricut Explore)
- Cricut Easy Press or Iron
- My FREE Mom Heart design below
 

 Here's my FREE design for the I Love Mom Heart.  Just right click to save the jpeg.  You could use it as a graphic or printable too;)


Using Cricut Design Space I turned my design into a cut file (making cut lines around the Mom part as well as the outer edges) and sized it to fit baby/toddler sized shirts (about 4 inches high by 6.5 inches wide).  Then mirrored it before cutting:


 It took just seconds to cut them both out:


Weeding out just the Mom part - remembering to leave the center of the "O":


Press time!!  It's key to check the fabric composition to make sure you get the settings right.  And don't wash the shirts first - having that factory sizing in them helps htv adhere better.  These were both cotton poly blends and this was basic htv, so the Cricut Heat Guide recommended 330 degrees.  I always press mine on a folded fluffy towel too - I didn't get good results using the special heat press mat in the past.


I wanted my design to be centered, but you could get creative with placement or angling.  The shirts got a 5 second preheat with the press and then I put the heat transfer vinyl on.  FYI, if you're new to using htv, you leave the carrier sheet on.


30 seconds on the front, 15 seconds on the back and then wait until cool to peel the carrier sheet off.  One of them wasn't fully adhered around one of the letter edges so I gave it another 15 second on the front and 5 more on the back.  Just don't go too long when re-pressing or it'll melt the htv. 


Wait 24hrs before washing and always wash on cold, delicate and line dry to keep the transfer nice.  I've had some shirts like this last for years and dozens of washes by doing all that, so it's worth it.  I can't wait to see my nephew and my little guy wearing these.  He's my sister's first baby, so it makes it extra special that it's Mom-themed.


I've also got these other fun shirt Valentine's Day tutorials using Heat Transfer Vinyl:


and this sweet Love Bug Applique too:

Happy Valentine's Day!



Wednesday, February 20, 2019

Easy Tutorial: DIY Inspirational Message Bookmarks


We have a house full of avid readers, but we never seem to have any bookmarks.  I got tired of using old receipts/scraps of paper and decided to make some that would be durable, easy to see, and most of all pretty!  It was time to make these Inspirational Message Bookmarks.

I feel like these are a huge step up from a bent Post-it or gas station receipts we've been using around here:


I was inspired to create them by these beautiful ethereal angel glass cabochons I started carrying in my shop.  They're just so lovely and dreamy.


The colors were a perfect match to this Heavenly Sky fabric, so some heavenly themed bookmarks seemed ideal!


They also add a little inspiration to every read by having a glittery message too:


The beautiful glass angel cabochon adds some special detail,


 and makes sure they don't slip out of place.


This is an easy project and makes a beautiful handmade gift!


Materials:
- Fat quarter cotton fabric (mine is Heaven Sent Heavenly Sky)
- Glass cabochons (mine are these& glue 
- Card stock or firm stabilizer 
- Heat transfer vinyl 
- Cricut or other cutting machine*
- Iron and/or Cricut Easy Press

* If you don't have a cutting machine you could print my files on paper and lay them over the heat transfer to cut them out by hand with an x-acto knife.

For each bookmark, cut two pieces of cotton fabric 3 inches wide by 9 inches high.  Also cut a piece of the card stock/stabilizer that's 1 3/4inches wide by 7 1/2 inches high.  


With right sides facing, stitch the fabric together on three sides with a 1/2 inch seam allowance.  Leave one short end open for turning.  Trim down the raw edges and turn right side out, poking out the corners with a knitting needle or chopstick.


Insert the card stock or stabilizer inside and fold raw edges of the open end inward and press.  I used a fusible stabilizer so it would all adhere together smoothly.  Top stitch all the way around.


To do the lettering, right click to save my file for these inspiring words & shapes:


Upload them to your cutting machine software and size so they are 1 inch high.  Mirror the image (since it's cut with the right side facing down) and cut out the heat transfer vinyl.


Weed all the material around and inside the letters:


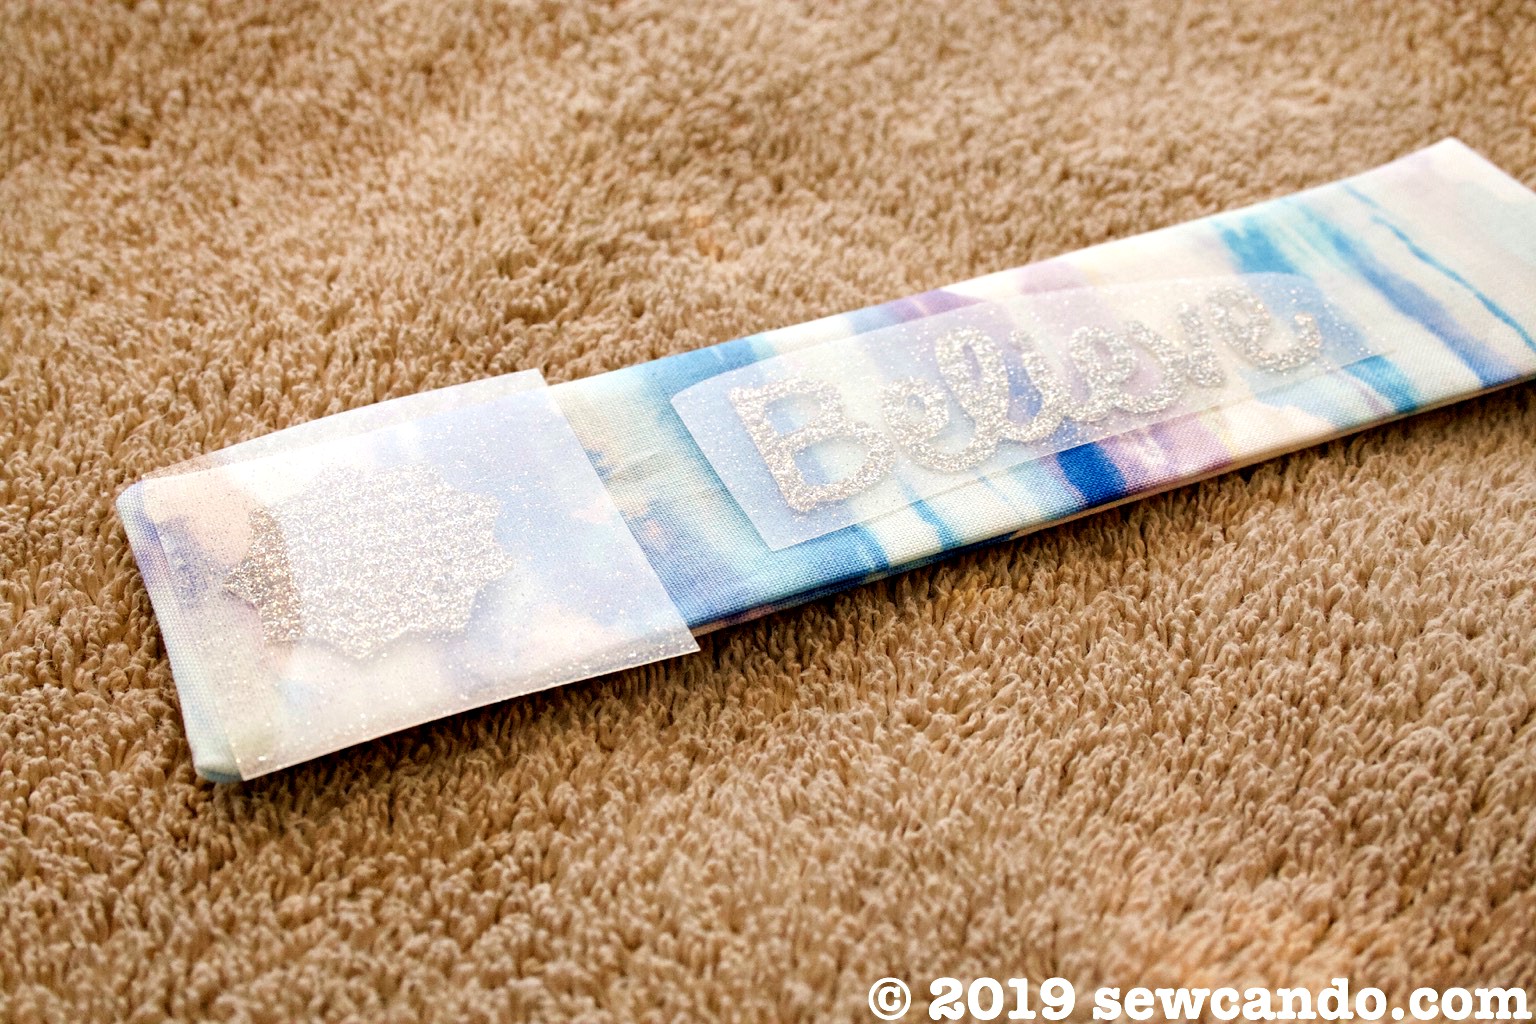
Place a star shape on one end and then center the wording.  Adhere the HTV to the bookmark with an iron or Easy Press, following the HTV directions for time & temperature (since it can vary) pulling off the carrier sheet while still hot.  


Once cool, glue a cabochon onto the top with some glue.  I use E6000 since it's the strongest.  Let dry.


Now you have some beautiful, inspiring bookmarks to brighten the day!


Wednesday, February 6, 2019

DIY Love You Gnome Matter What Valentine's Day Shirt

Disclosure: Some links below are affiliate links, meaning, at no additional cost to you,
I will earn a commission if you click through and make a purchase.

My littlest guy's first Valentine's Day is coming up and I wanted something cute for him to wear that wouldn't be outmoded the very next day and also wasn't white (aka a baby stain magnet).  There was just nothing cute in the stores, so I decided to make something sweet for him instead using stuff in my stash.  Everybody loves gnomes, so....


I came up with this "Love you gnome matter what" shirt!  The play on words and cute little gnome seemed perfect.

I thought it would be fun to share how I did it, 
so you can make one too!

Materials:
- Blank cotton shirt
- Heat transfer vinyl (I get mine from Happy Crafters)
- Cricut Explore or other cutting machine
- Iron and/or Cricut Easy Press*
Optional: fabric scrap and Heat & Bond Ultra

You could use an iron for all of it, but I find HTV holds up a lot better when using an Easy Press or heat press (as in no peeling or puckering over time).  

I started with a blank baby shirt I'd bought on sale for less than $4 a while back.  It was patiently waiting in my stash for a project like this!


I started by making my cut-able fabric for the mushrooms.  Since I use the older Cricut Explore model, to cute fabric it needs to have Heat & Bond Ultra on the back to get a clean cut.  To make my mushrooms I used some scrap mini heart fabric with Heat & Bond Ultra fused to the wrong side with an iron (following the package directions). 


The paper gets peeled off and then it's primed to cut out on the Cricut.  


For the designs themselves, I used a free gnome & mushroom clip art found here to make a cut file for the center of my shirt.  I used the free iPiccy online editing tool and the free font Leckerli One to make my lettering of "Love you" and "matter what" into this png file.


I used Cricut Design Space to turn my png into a cut file and sized it to fit my little guys shirt (using the onesie template for a digital visual).


I mirrored the lettering before I cut it out from my heat transfer vinyl, since it gets cut carrier side facing down:


I used my several years old, but still works great, Cricut Explore to cut it out:


I did the same for the gnome and then cut the mushrooms out of the fabric (which gets cut fabric side up).


I did some quick weeding of my lettering to get it ready to press:


Then I got everything placed how I wanted it.  I heat fused the mushrooms on first with my iron since they required a different amount of time and the use of a press cloth.  Then I switched over to my Cricut Easy Press to fuse the heat transfer vinyl according to the temperature and material guide on the front and back side for the best adherence.  


Then pulled the carrier sheets off while still warm.


My Valentine gnome shirt was ready for my little Valentine to wear and it's gotten some big love from all of us already:


Happy Valentine's Day!


Wednesday, April 18, 2018

Make A Heat Transfer Angel Wings Baby Gown


Years ago, when my 12yr old was a newborn, I had a cute baby shirt that had the words "Heaven Sent" embroidered on the front and little satin wings on the back.  It was super cute, but unfortunately it was white, so it didn't last over the years.  And could I find another one this time around?  Nope.  So I made my own the easy way & you can too: Heat Transfer Angel Wings Baby Gown.


Not only is it adorable, but it's a simple and quick project.  No sewing or special skills are required.  


Materials:
- Blank baby gown or bodysuit 
- Heat transfer vinyl
- Cutting machine
- Free clip art  
- Weeding tool or pick
- Cricut Easy Press or iron
- Towel

I started by searching for some free clip art to make our wings.  I found this cute design here that was just perfect.


For my text I used a favorite free font, Pacifico, and drafted it using iPiccy (also free) so the lettering would be connected.  Cricut Design Space weirdly separates letters if you just type them in directly as text and connecting & welding them didn't space as nicely so I saved some trouble by doing it beforehand.
I uploaded my images to Cricut Design Space, made the into cut files, sized them to fit my gown and then mirrored them before cutting.


Weeding for the wings took a little time since they were so delicate and small, but well worth it.  It was easier with this little pick tool:


Then it was time to apply.  I prefer using solid color baby clothes for things like this.  It's really weird to me how most baby clothes are white.  Babies are not known for being neat.  Unless you want it ruined after just a wearing or two, it's best to just avoid white for daily wear baby clothes.  I went with a stain-hiding navy blue:


I centered my wings to be at shoulder level for my little angel


I set my Easy Press to the temperature and time needed for my heat transfer material (following the maker recommendations is key, since different brands have different settings).  I pressed my gown over a thick towel.  


I always turn my item inside out and press the wrong side for the best adhesion.  Since I had vinyl on the front and back sides, I slipped another towel in-between so they wouldn't accidentally get stuck together at that point:


I also did a "hot peel" of pulling off the carrier sheets while the vinyl was still hot.  I find it puts less stress on the vinyl and is easier to remove fast this way:


Wings on little babies are always so fun:


I'm totally in love with it on our little angel:


Since this was so fun, making more goodies like this is on the horizon....at least there is if I can get a little more angel nap time!


LinkWithin

Related Posts with Thumbnails