Showing posts with label Kid's Clothes. Show all posts

Thursday, July 15, 2021

Baby & Toddler Hack: Upcycled Rompers Into Tank Tops

This summer has been SO hot & humid.  90 degree days started in May and the rain just will not quit around here.  It's crazy.  Having more sleeveless & tank style tops has become key for the whole family, but time to create more from scratch hasn't been a-plenty and I didn't want to spend more $ on clothes mid-season.  Instead, I've been doing some hacks to make last summer's baby clothes work as this summer's toddler wardrobe. 

Several of last year's cute 3-6months rompers have been rejuvenated as stylish swing tops for my 17 month old and it's been the ideal solution.  Minimal time & no cost!  

From this cottony yellow romper:  


To this little ensemble:


And this colorful bird print bamboo romper:


Has become:


To make these fast, I used another tank top to determine the ideal length:


I started by cutting off the romper bottoms, as low as possible, just above the leg areas.  I used my French curve ruler to give a slightly rounded hem:


For the two layer cotton romper I pressed the raw edges inward 1/4inch:


Then pinned them together:


And top stitched through both layers:


I paired them with some chambray shorts I'd made my now 3yr old son when he was this age and we had an instant sweet summer outfit:


For the bamboo knit romper I folded the raw edge under and used fusible tape to hold it and give it some stability, then used a twin needle to hem it:


That gave it a lovely, stretch-able finish:


My little lady loves wearing both and has been staying cool despite the heat.  I had a soft spot for these little rompers too, so it feels good to get another season of wear out of them and have it cost $0 to boot. 


It's just tough to get any decent photos since she's super fast now & it's so steamy outside.  These were the best I could do before my camera fogged up.  Guess we just need to beat the heat inside & make more tank tops!


Wednesday, February 6, 2019

DIY Love You Gnome Matter What Valentine's Day Shirt

Disclosure: Some links below are affiliate links, meaning, at no additional cost to you,
I will earn a commission if you click through and make a purchase.

My littlest guy's first Valentine's Day is coming up and I wanted something cute for him to wear that wouldn't be outmoded the very next day and also wasn't white (aka a baby stain magnet).  There was just nothing cute in the stores, so I decided to make something sweet for him instead using stuff in my stash.  Everybody loves gnomes, so....


I came up with this "Love you gnome matter what" shirt!  The play on words and cute little gnome seemed perfect.

I thought it would be fun to share how I did it, 
so you can make one too!

Materials:
- Blank cotton shirt
- Heat transfer vinyl (I get mine from Happy Crafters)
- Cricut Explore or other cutting machine
- Iron and/or Cricut Easy Press*
Optional: fabric scrap and Heat & Bond Ultra

You could use an iron for all of it, but I find HTV holds up a lot better when using an Easy Press or heat press (as in no peeling or puckering over time).  

I started with a blank baby shirt I'd bought on sale for less than $4 a while back.  It was patiently waiting in my stash for a project like this!


I started by making my cut-able fabric for the mushrooms.  Since I use the older Cricut Explore model, to cute fabric it needs to have Heat & Bond Ultra on the back to get a clean cut.  To make my mushrooms I used some scrap mini heart fabric with Heat & Bond Ultra fused to the wrong side with an iron (following the package directions). 


The paper gets peeled off and then it's primed to cut out on the Cricut.  


For the designs themselves, I used a free gnome & mushroom clip art found here to make a cut file for the center of my shirt.  I used the free iPiccy online editing tool and the free font Leckerli One to make my lettering of "Love you" and "matter what" into this png file.


I used Cricut Design Space to turn my png into a cut file and sized it to fit my little guys shirt (using the onesie template for a digital visual).


I mirrored the lettering before I cut it out from my heat transfer vinyl, since it gets cut carrier side facing down:


I used my several years old, but still works great, Cricut Explore to cut it out:


I did the same for the gnome and then cut the mushrooms out of the fabric (which gets cut fabric side up).


I did some quick weeding of my lettering to get it ready to press:


Then I got everything placed how I wanted it.  I heat fused the mushrooms on first with my iron since they required a different amount of time and the use of a press cloth.  Then I switched over to my Cricut Easy Press to fuse the heat transfer vinyl according to the temperature and material guide on the front and back side for the best adherence.  


Then pulled the carrier sheets off while still warm.


My Valentine gnome shirt was ready for my little Valentine to wear and it's gotten some big love from all of us already:


Happy Valentine's Day!


Wednesday, August 24, 2016

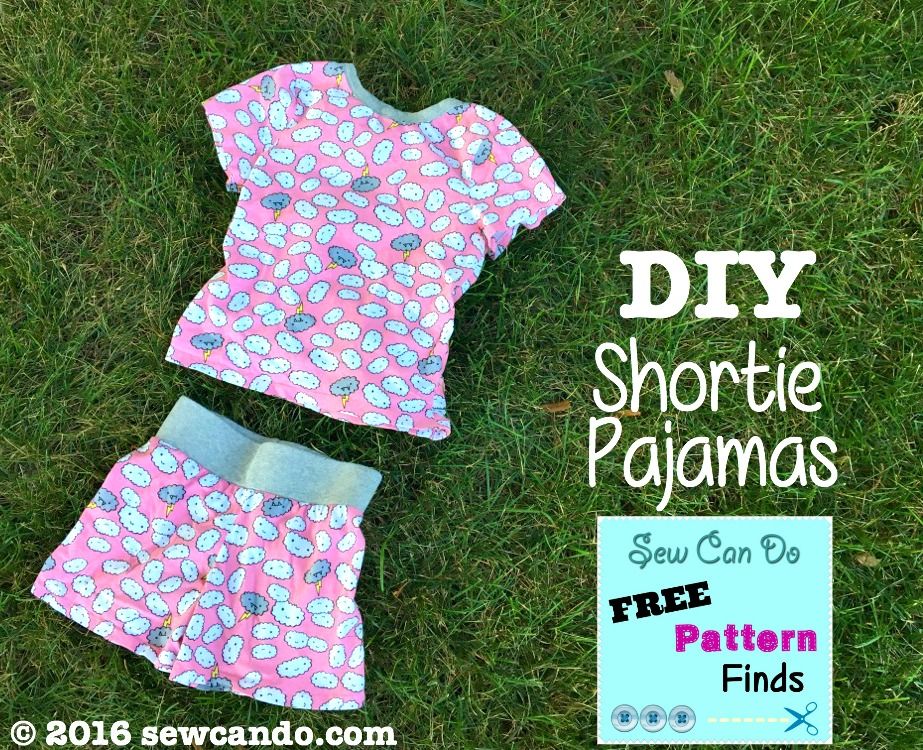
Free Pattern Finds: DIY Shortie Pajamas + Ginger Shorties Pattern


It's time for another edition of my new monthly feature: Free Pattern Finds.  It's a simple concept - I share details on free patterns I've found and add my experience trying them out. No sponsored or biased reviews, no blog tour that's really just an advertorial to buy a pattern.  These are patterns that don't cost a thing, so you can go grab 'em yourself for FREE!   


Today is actually sort of a 2 for 1 pattern freebie.  The first part is the Ginger Shorties Pattern by Sew Like My Mom.  

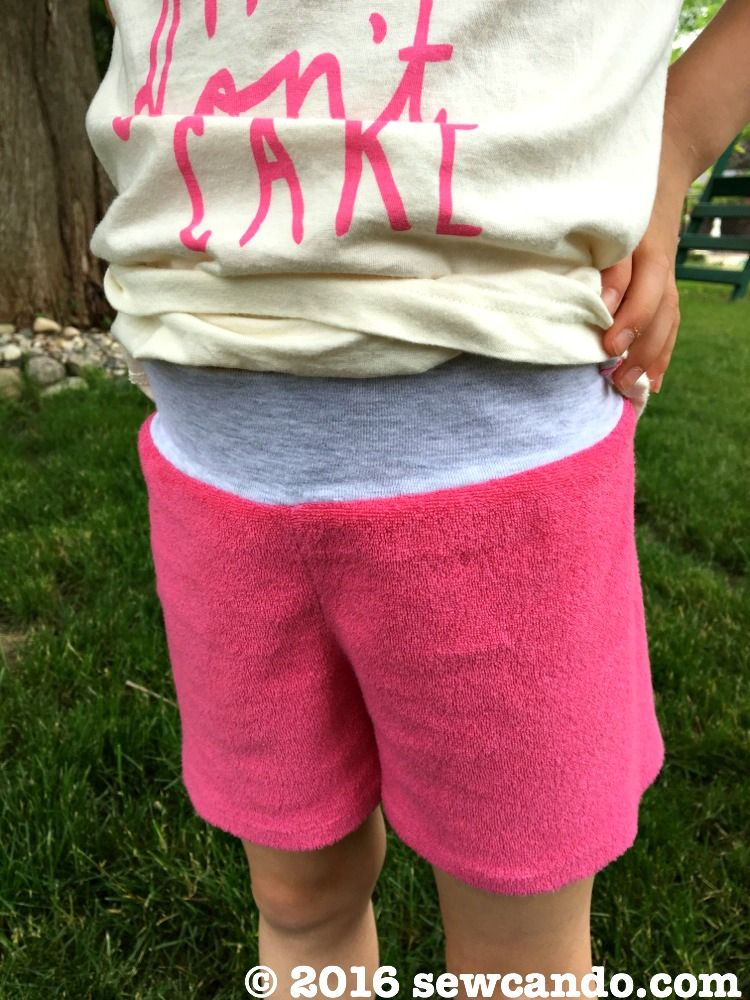
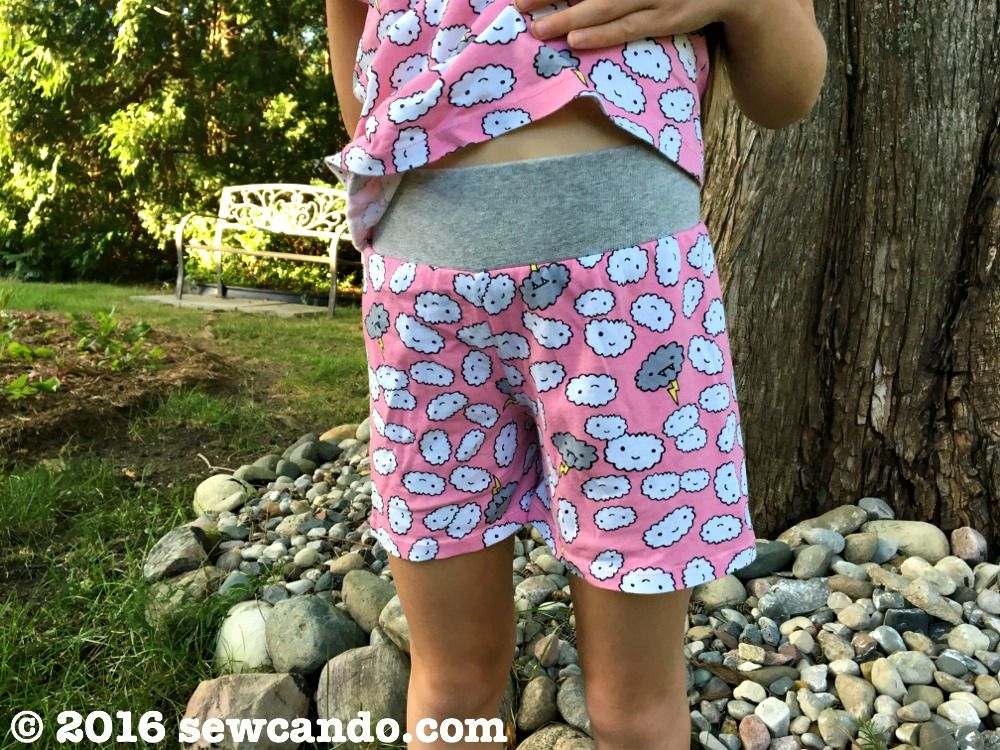
Pattern Details: Versatile knit shorts with a wide waistband in sizes 12months-8yrs. Simple enough for a beginner and no serger required.  I made these with some pink terry remnants I had leftover from making my own shorts:


I really love this pattern.  It's incredibly quick to sew up and uses very little fabric - such a great way to use up those precious knit scraps or make the most of pricey prints.


Those pink shorts have been put through their paces this summer with running around and being tugged on & off, yet they still look as fresh as the day I made them.  I LOVE that.


And now for the second pattern part: 
DIY Shortie Pajamas!

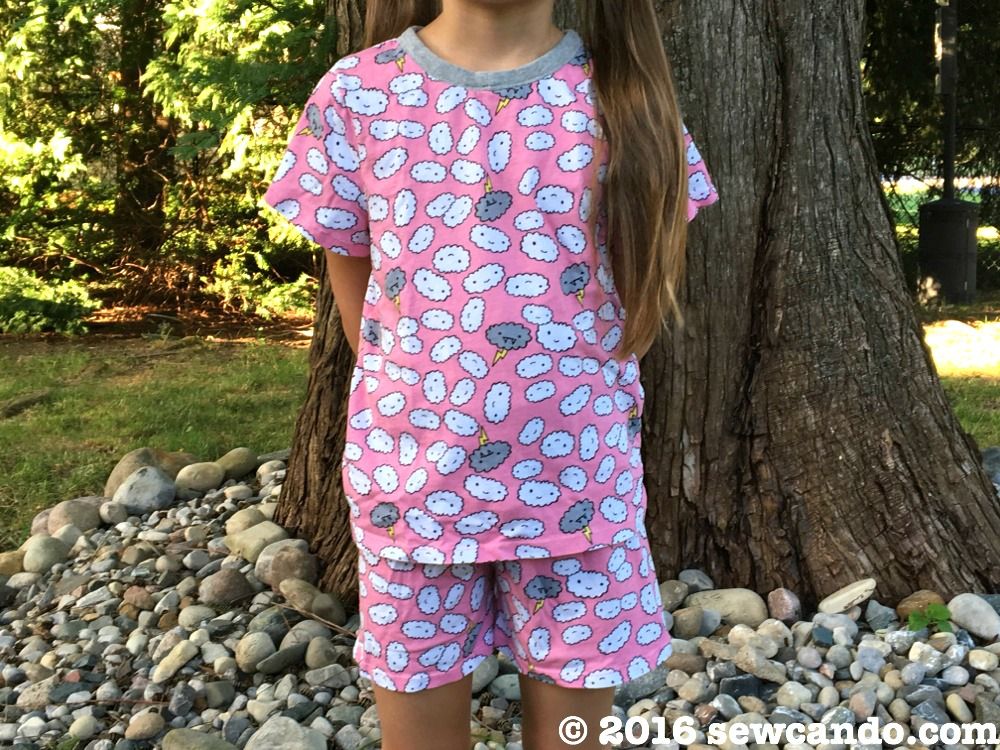
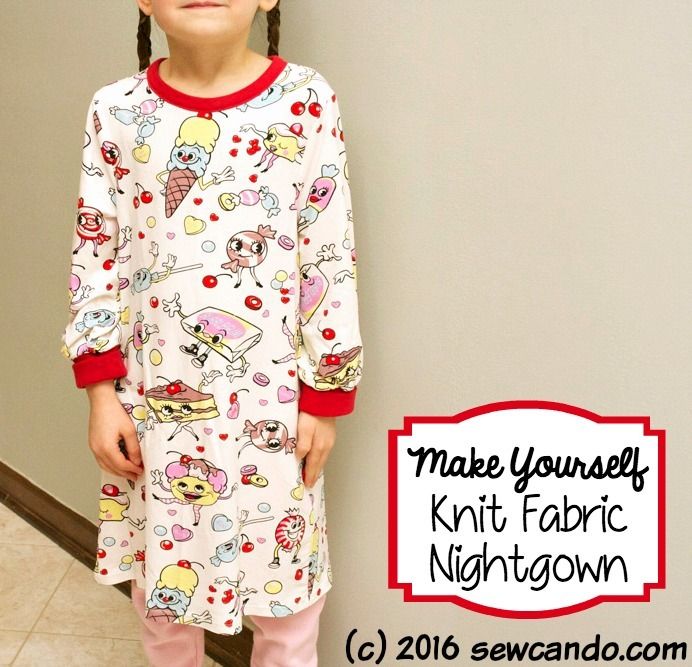
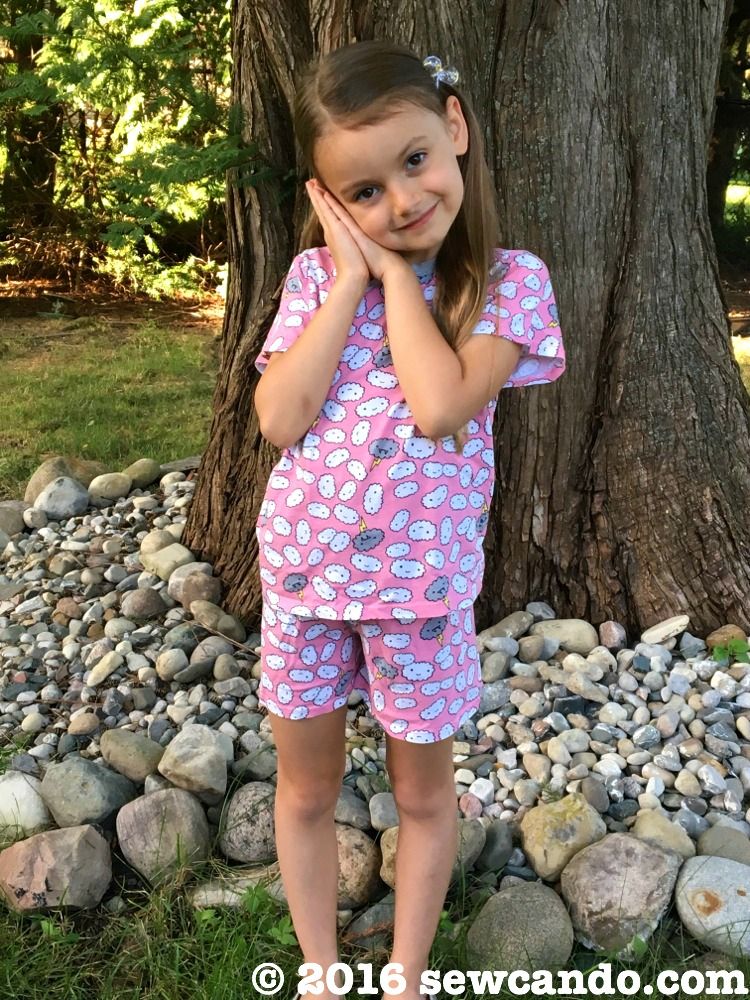
I combined the Ginger Shorties with my own top pattern to make the perfect DIY shortie pajama set.


Pattern Details: I modified a shirt pattern I made for these poo-themed pajamas a few months back.  I used my Lots of Looks DIY Pattern as the base shape and just did short sleeves and no hem band instead.  


In that original post I showed how to take a shirt from the closet and use it to draft a handy top (or dress or nightgown) pattern.


I used grey rib knit for the waistband on the pj shorts, but the great thing with Ginger Shorties pattern is that you can also use the main knit fabric and it works just as well.  Just one addition was I added 2 inch wide elastic to the band.  The pattern didn't call for it, but it would have been way too floppy without it on my slim waisted girl:


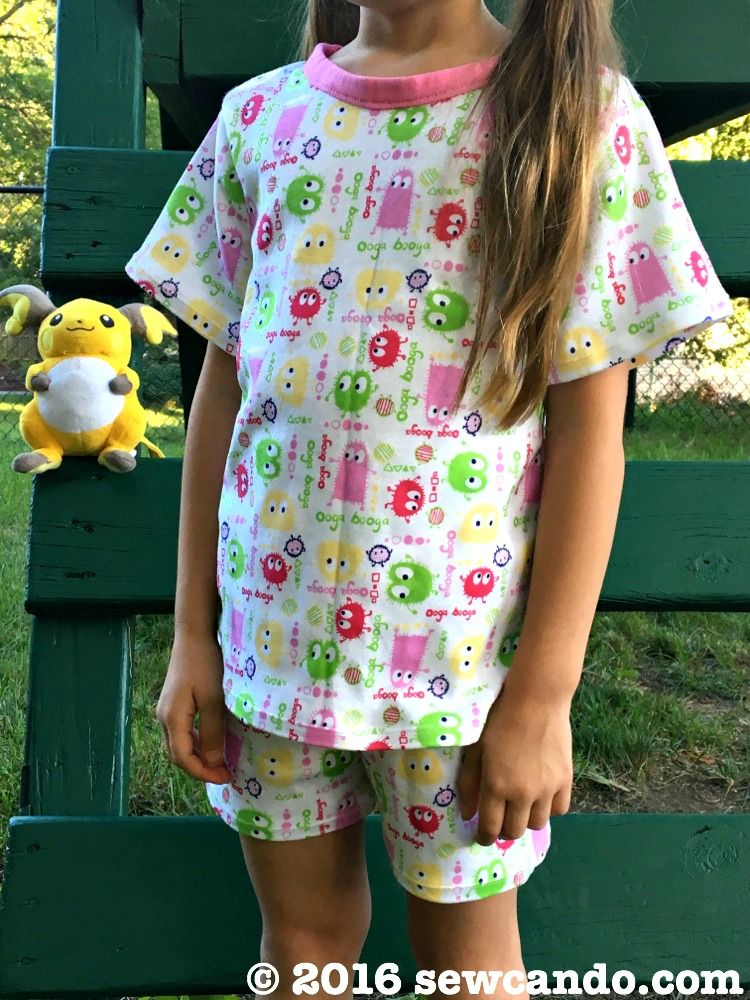
I finally cut into some of my ridiculous collection Ooga Booga knits to make this little set.  I didn't make them snug in the hopes they can been worn through next summer too:


I'd been saving hoarding this fabric for way too long and am glad to make it useful (she even wanted to keep wearing them after the photo shoot):


As my kids get bigger it's getting harder and harder to find cute knit pajamas that are cotton.  For some stupid reason a lot of stores switch to that horrible cheap polyester that's laden with flame retardant chemicals or charge upwards of $35 for a small selection of cotton versions like my DIY'd sets.  With this simple combo, it's fairly fast and much cheaper to do my own.  Nite-nite!


Got a freebie pattern find you love? Share it in the comments so we can all try it out!

Wednesday, January 21, 2015

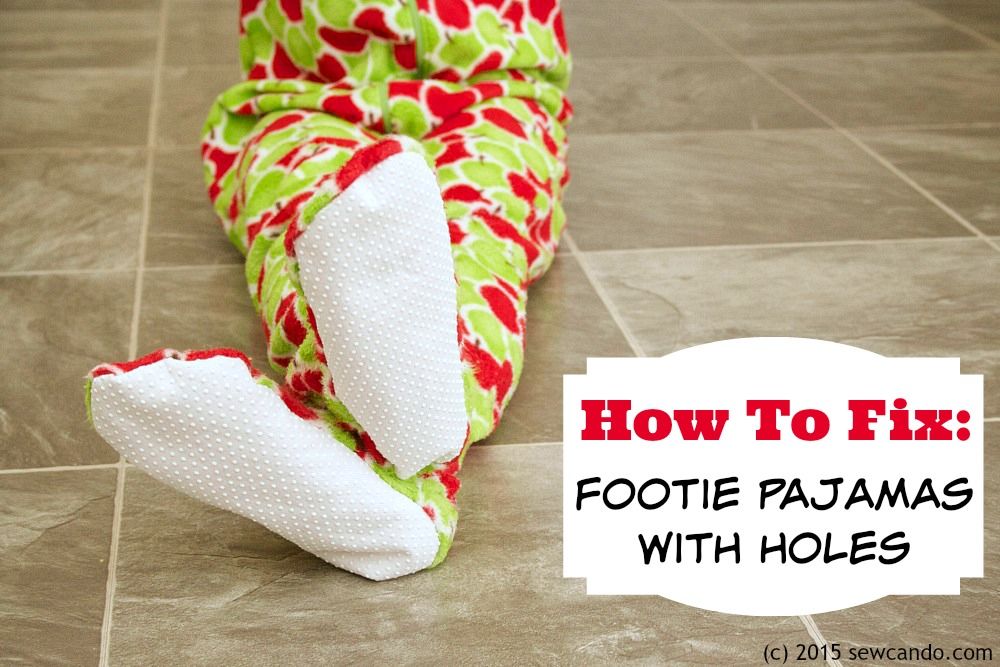
Tutorial Time: How To Fix Holes In Footie Pajamas


I know I can't be the only one out there who's had this issue: footed pajamas in great shape...except for the feet part.  It's a shame to toss a perfectly good pair of footie pjs just because the soles are worn out, so today I'm sharing how to do a quick repair job to make them like new, but even BETTER!  


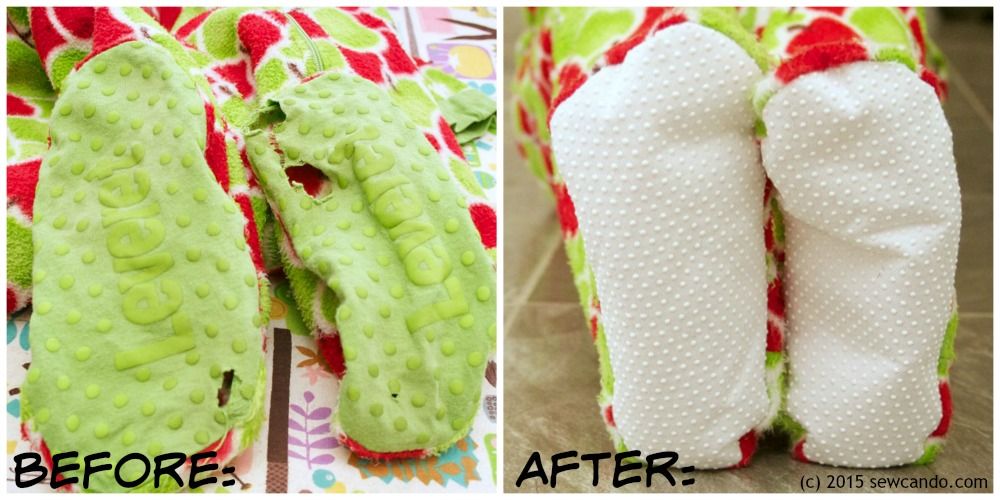
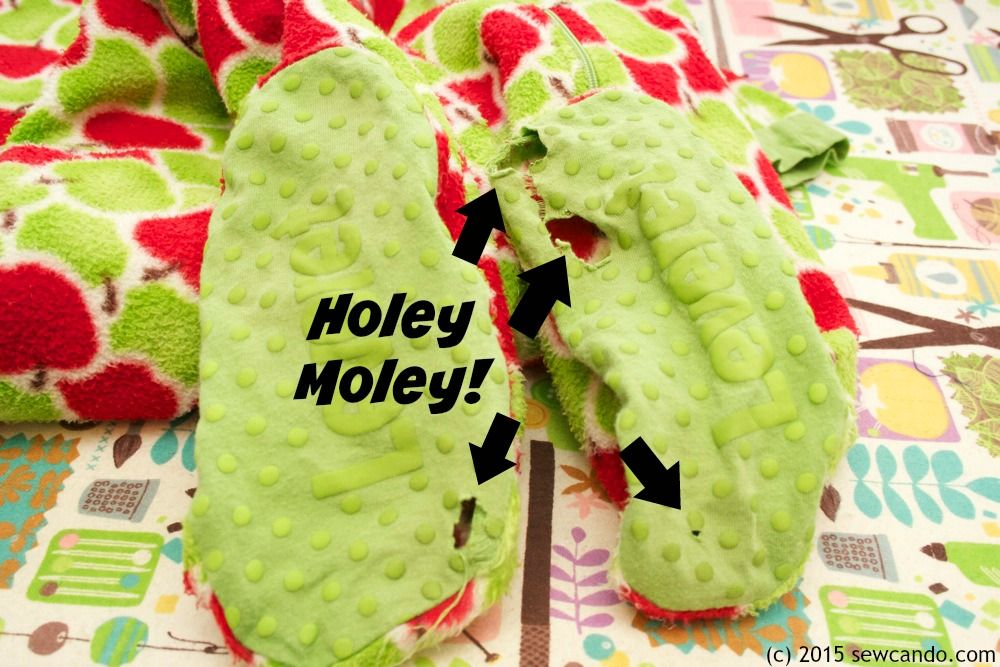
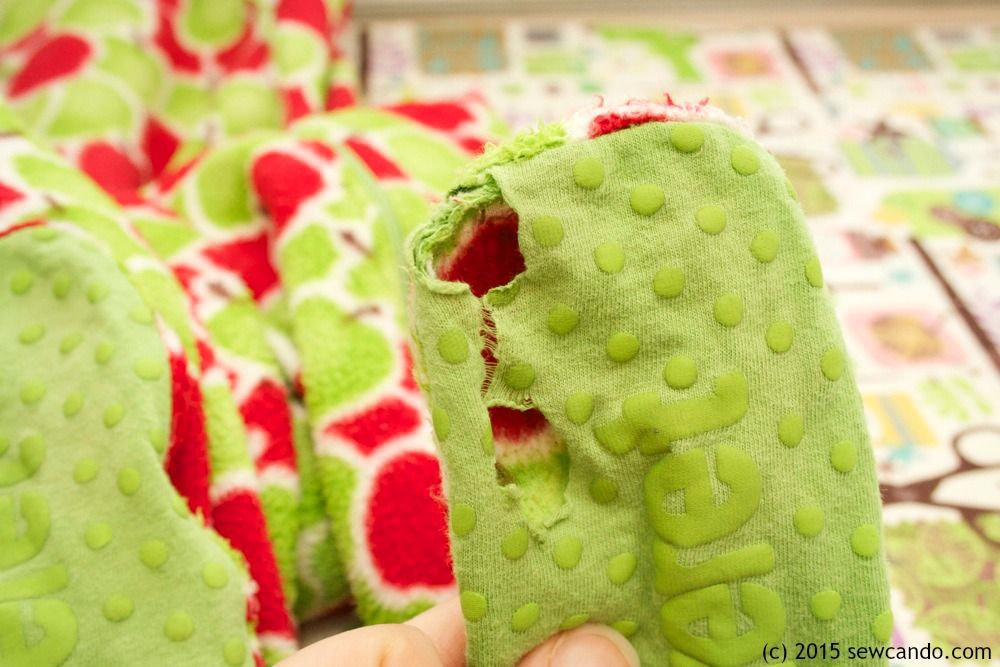
For some odd reason, on this style of pajama the part that will get the most wear just isn't made to be very durable.  Or even comfortable for that matter.  Like this pair of pajamas belonging to my 5 year old.  She's still got plenty of growth room in them and the fleece of the main part is still in great shape, but the soles of the feet wore away in no time:


Hers had just flimsy t-shirt weight knit with some anti-slip spots fused to it for the soles. There's no way that'll last with the foot traffic of the average toddler!  And it's certainly not that comfy or warm for little feet in the winter.  The ones with the plastic-y soles are even worse (I recall hating the feel of the rough vinyl-like bottoms on those I wore as a kid). Such a basic flaw makes me wonder if their designers have even met kids? 


Here's how to repair & improve those
 worn out footie pajamas.

Materials:
- Footie pajamas with torn-up/holed-up/beat-down soles
- Seam ripper
- Anti-slip fabric (aka Jiffy Grip™)
- Iron, rotary cutter/shears, pins
- Optional: fleece scraps, paper backed fusible

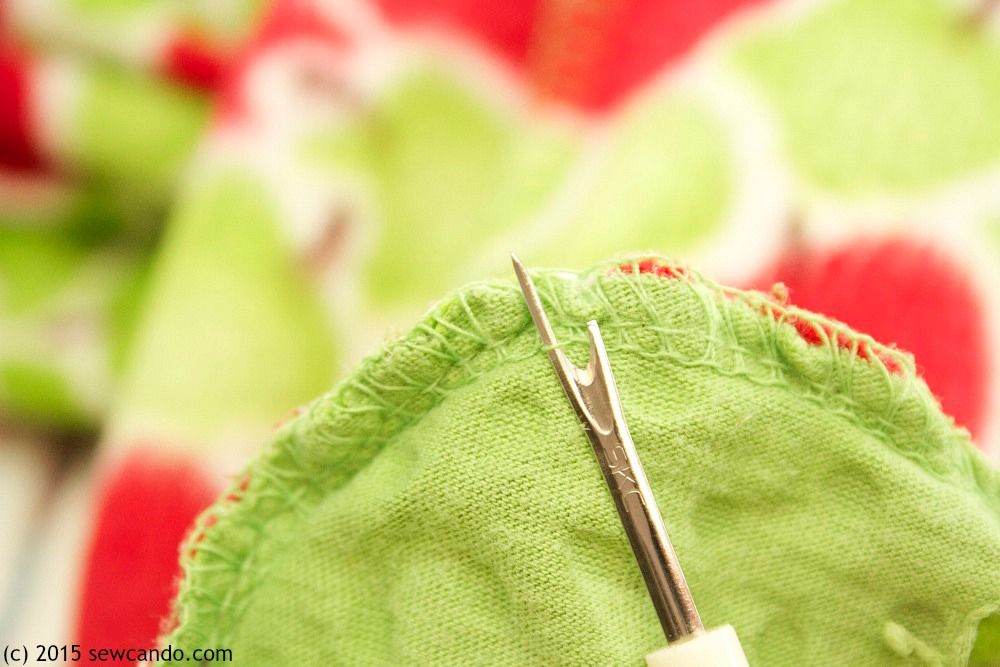
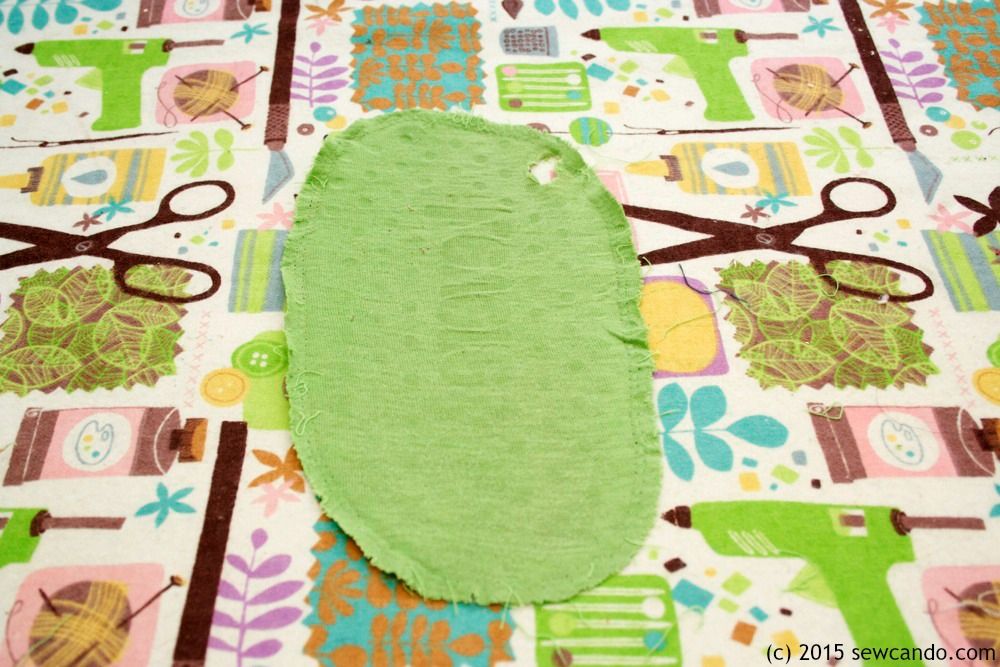
First step is to remove the broken down soles.  Turn the pajamas inside out and grab a seam ripper to carefully remove the stitching.  This step takes a little patience - the sole will be needed as the template for the new ones:


You'll be left with an open bottom:


Iron the sole piece smooth and flat.  


Use the bottom piece as the template for cutting new soles.  Cut the fabric while folded to get both the feet sides if the soles have definite left & right like mine did.  

Fabric Note: This anti-slip fabric is available in most fabric stores (in the utility/home dec section).  A branded name for it is Jiffy Grip™.  It's a heavy weight fabric with raised plastic dots that is perfect for this use. Key tip: You can get a lot more, and for a cheaper price, when buying it cut from the bolt instead of the measly & overpriced package version in the notions section.  


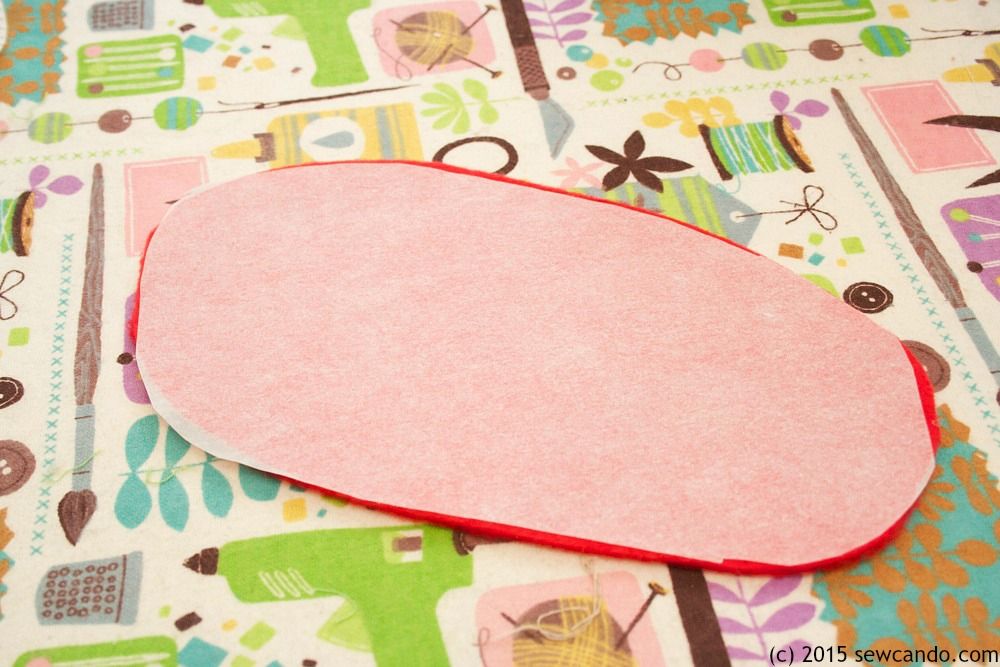
Now this part is optional, but since I wanted mine to be a bit more durable and softer than the originals, I also cut sole pieces from anti-pill fleece to act as a lining.  To keep the layers together (and from separating or wrinkling when washed), iron paper-backed fusible to the wrong side of the fleece.


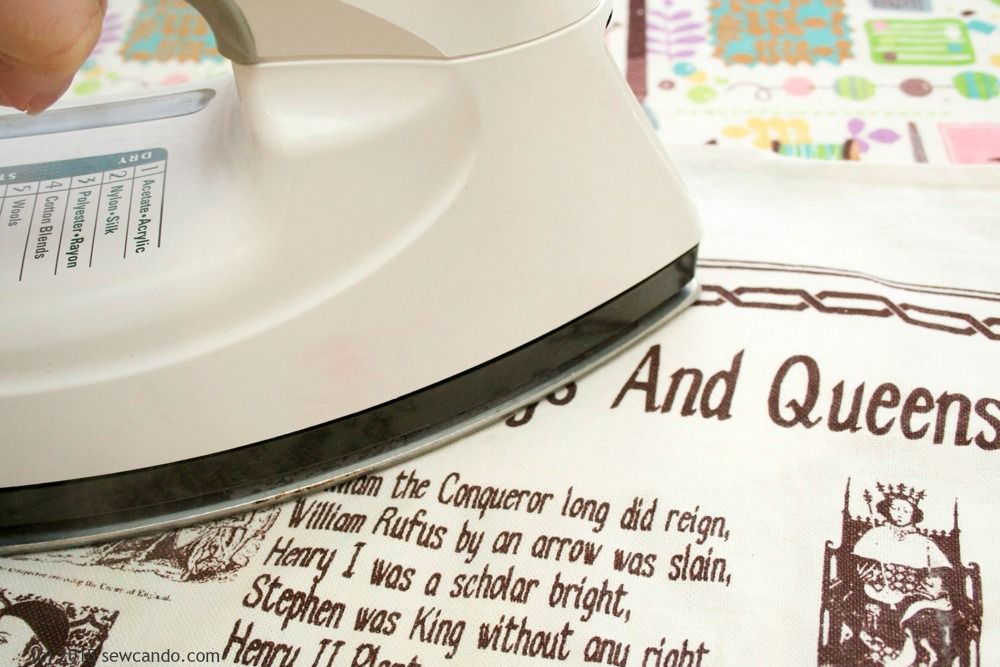
Then peel off the paper and iron it to the wrong side of the anti-slip sole.  I didn't want to risk melting the anti-slip dots, so I used a press cloth between the fabric & iron:


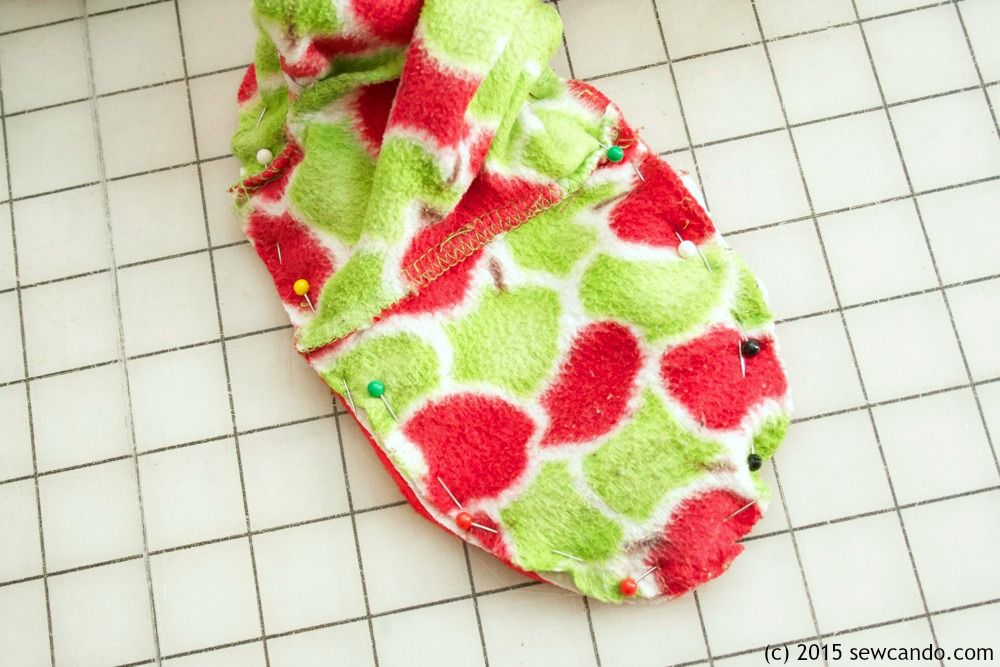
Now it's time to pin the new soles to the pajamas (that should still be inside out).  The fleece side should be facing out.  Pin around entire foot.  


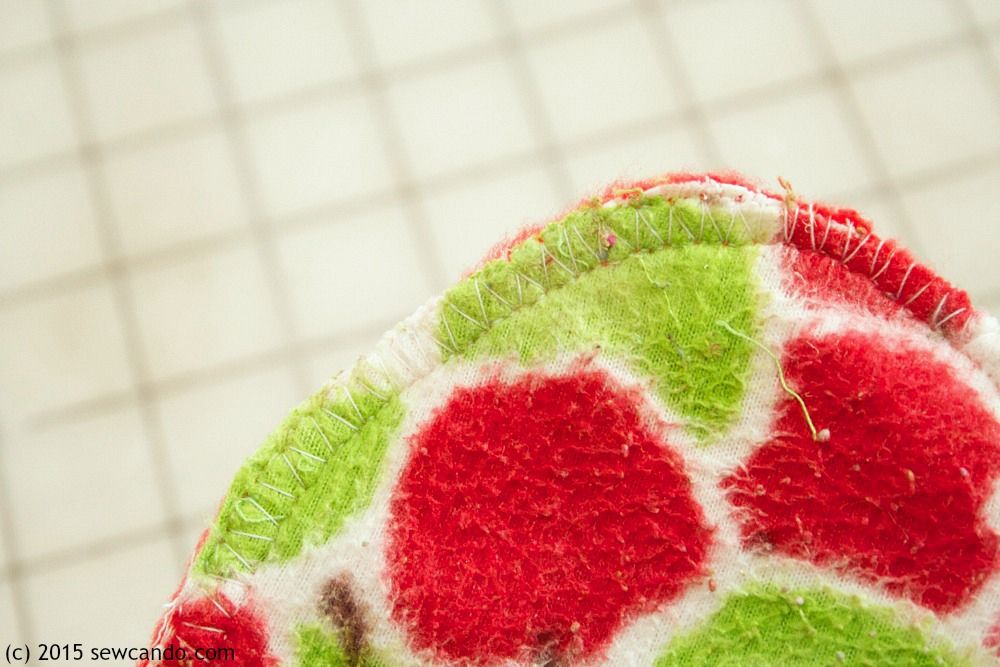
Serge all the way around.  If you don't have a serger, use an overcast stitch like I did.  Even most basic sewing machines have at least one or two overcast stitches (check your manual).  It'll do the same job as serging and is nice & strong:


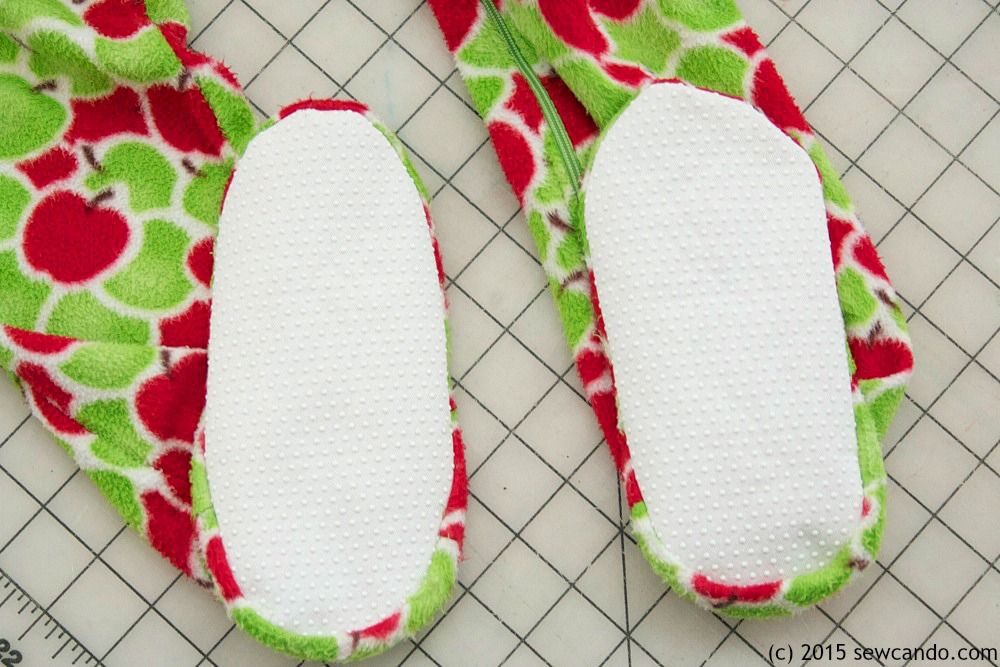
Pull the legs right side out and the new and improved footie pajamas are ready to wear!


Now these pajamas have loads of life left in them and are even nicer to walk around in. Adding a fleece unicorn hat is totally optional;)


A huge improvement and easy way to get the most out of those footie pajamas this winter!


LinkWithin

Related Posts with Thumbnails