
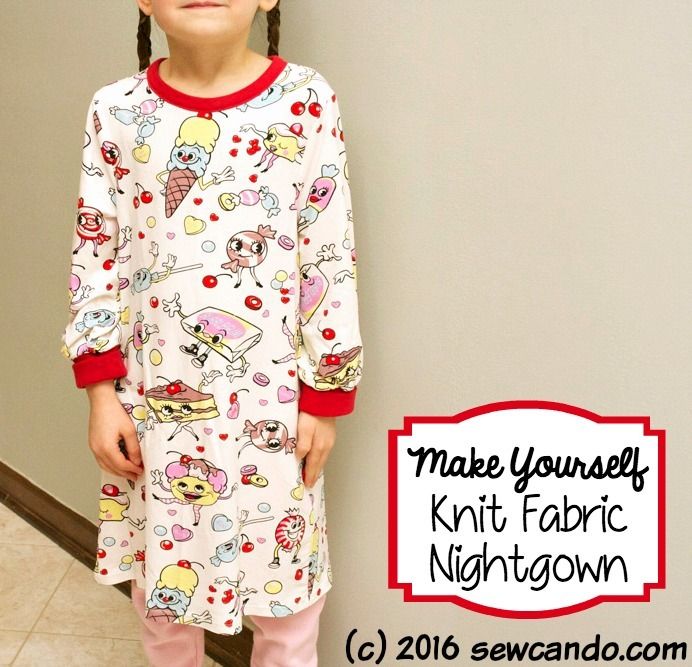
As part of my stash-busting & work "smarter not harder" approach to sewing this year, I've challenged myself to re-invent patterns and see just how versatile I can be with minimal things. Today's project, the Knit Fabric Nightgown, is the start of my effort to DIY a basic pattern. I'm calling this my Lots of Looks For Knits Pattern, and it can used to make loads of different styles. You don't need super drafting skills to make one either!
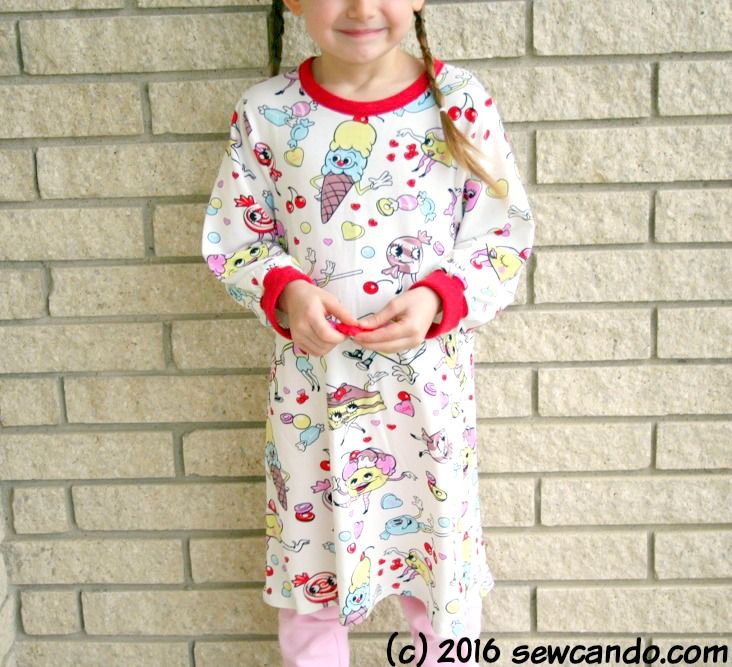
This first variation is an easy pull-on nightdress. Technically this could also double as a flowy day dress, but by using a knit with loads of stretch, it's comfy feel and soft neck & cuffs are ideal for sleep time. I'm not a fan of the girl's flame-retardant polyester nightgowns sold in stores. The pajamas I wear aren't drenched in questionable chemicals, so I don't like my sensitive skinned kids in them either.

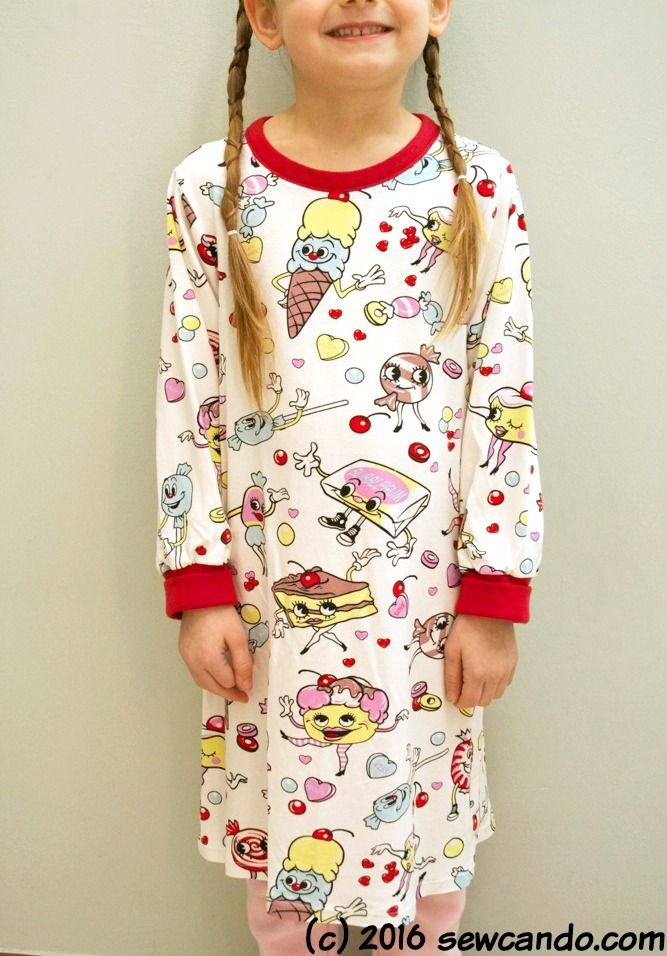
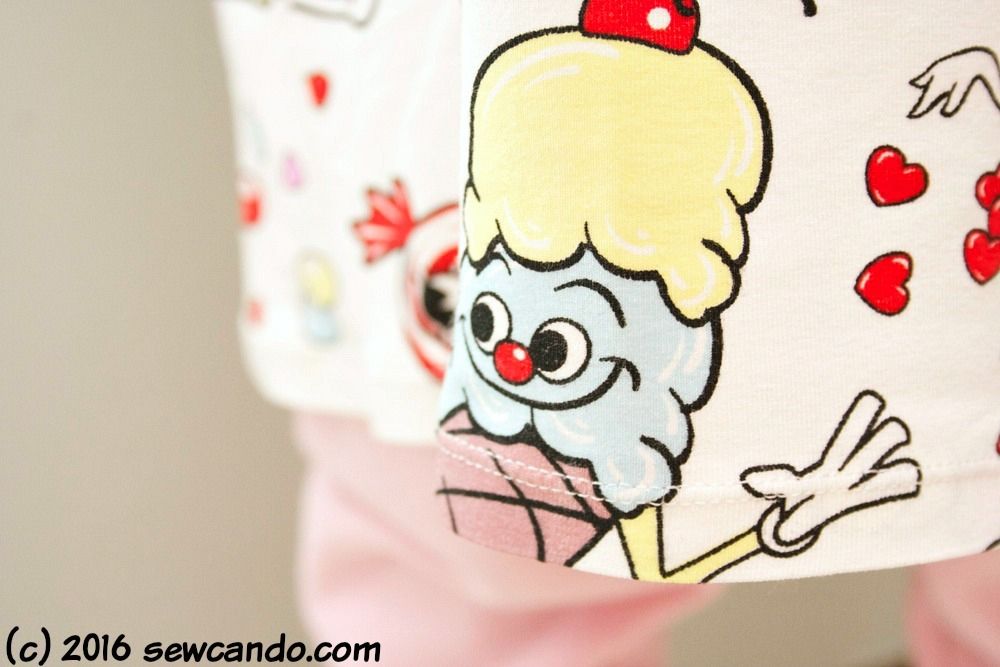
I bought this cotton blend knit last year in Canada at Fabricland. I loved the vintage sweets print and thought it would be perfect for Valentine's Day with it's red & pink colors and conversation hearts:

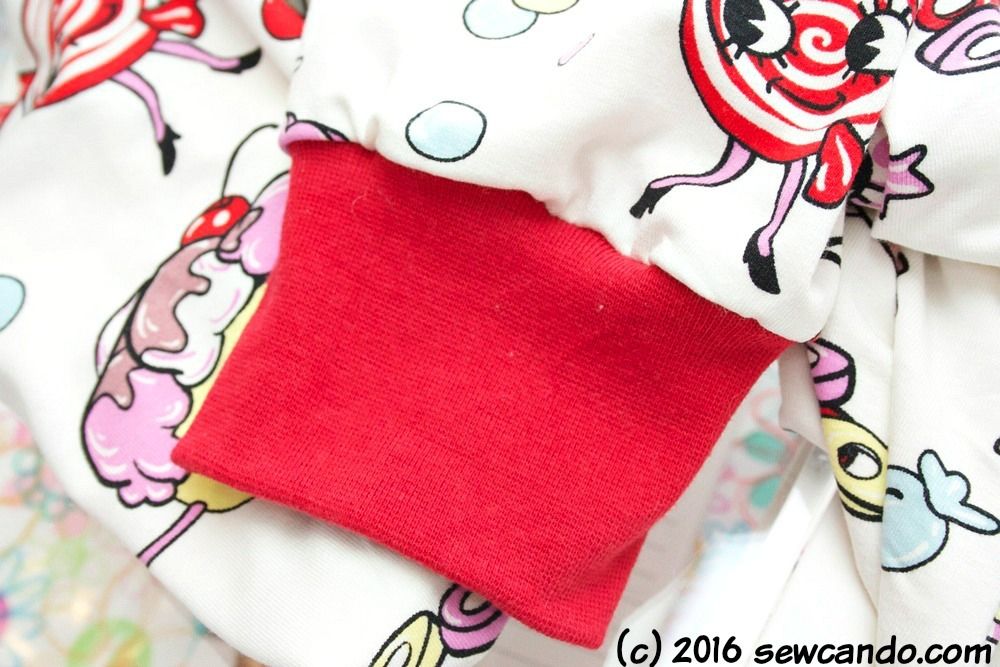
Some red rib knit from my stash gives an ideal trim to the neck and fold-over cuffs:
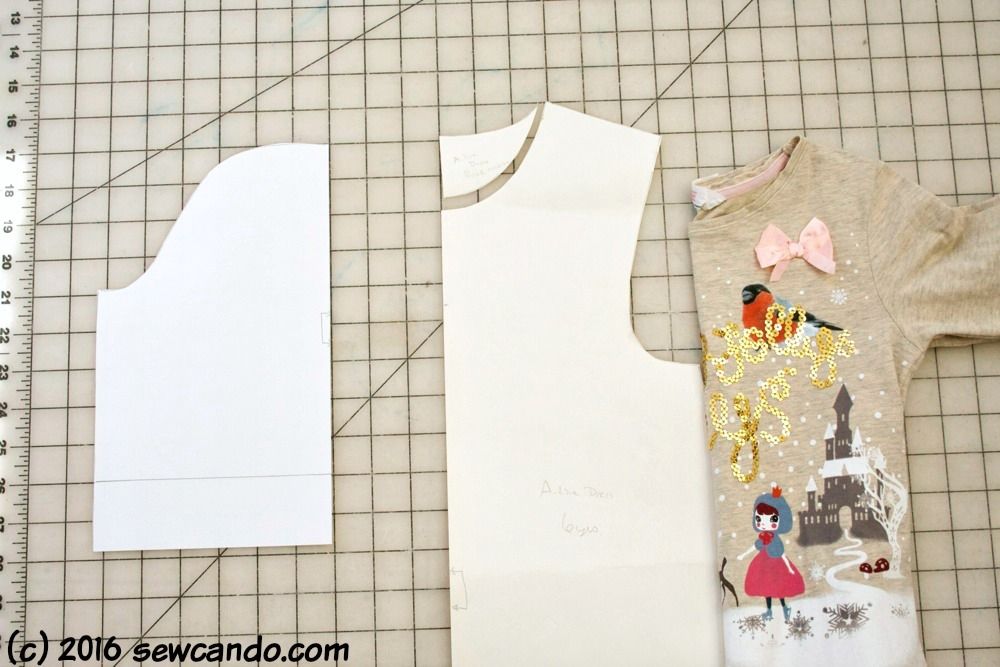
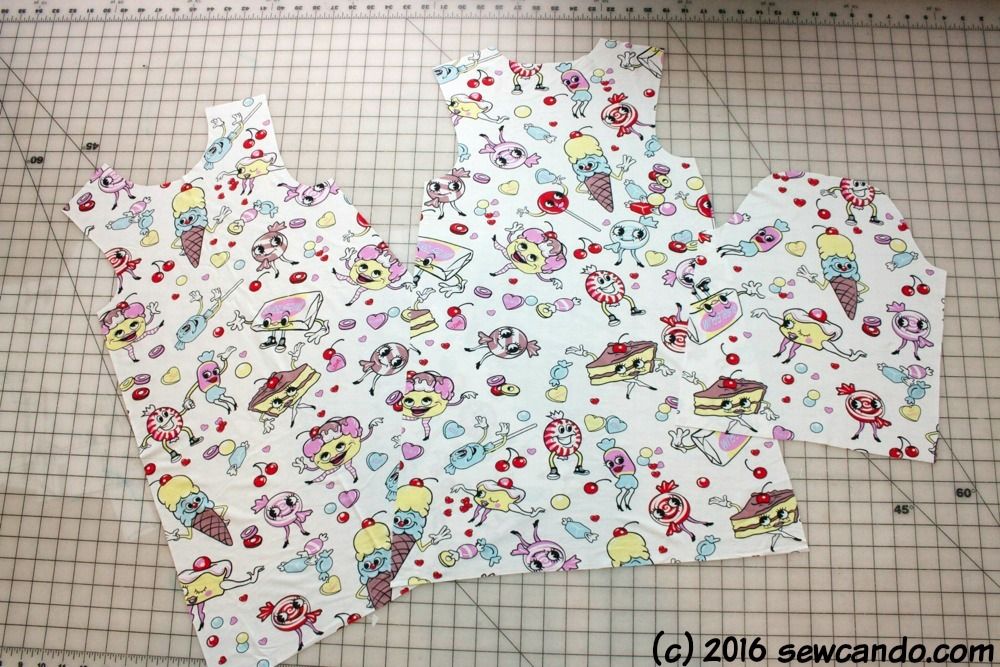
Making the pattern: For the pattern I started with making a basic body piece using a good-fitting knit shirt folded in half as my size and shape guide. I did a single piece for both front & back - just different neckline cuts, but extended the length to be a dress instead of top and then gave it an A-line shape by flaring it out with a yard stick.
I also made sure when tracing around the armscye part I tweaked it so the front and back curves were the same. That made drawing the curved portion of the sleeve pattern very simple using my design ruler (more on this handy tool here). I just did straight sides, since my sleeve with gather at the cuff. If you're a bit intimidated by drafting the sleeve part, use an old shirt you can pick apart at the seams and then use the separate sleeve as a trace guide.
I laid out my pattern with the back insert piece along my fabric while folded and weighed it down instead of pinning to save time:

I repeated this with the insert removed for my front piece and then cut out both sleeves, but made them about 4 inches shorter since I'd be adding cuffs.
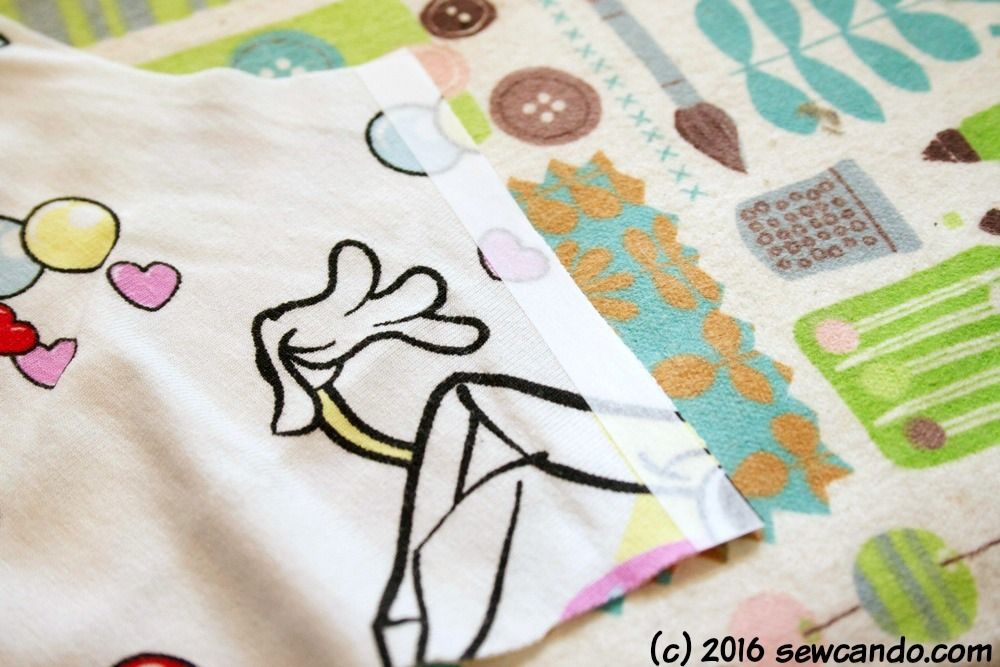
I started with attaching the front and back pieces at the shoulders. My fabric had a lot of stretch and medium weight. I was concerned the weight might pull too much at the seams, so before I stitched, I added a small strip of fusible stabilizer:
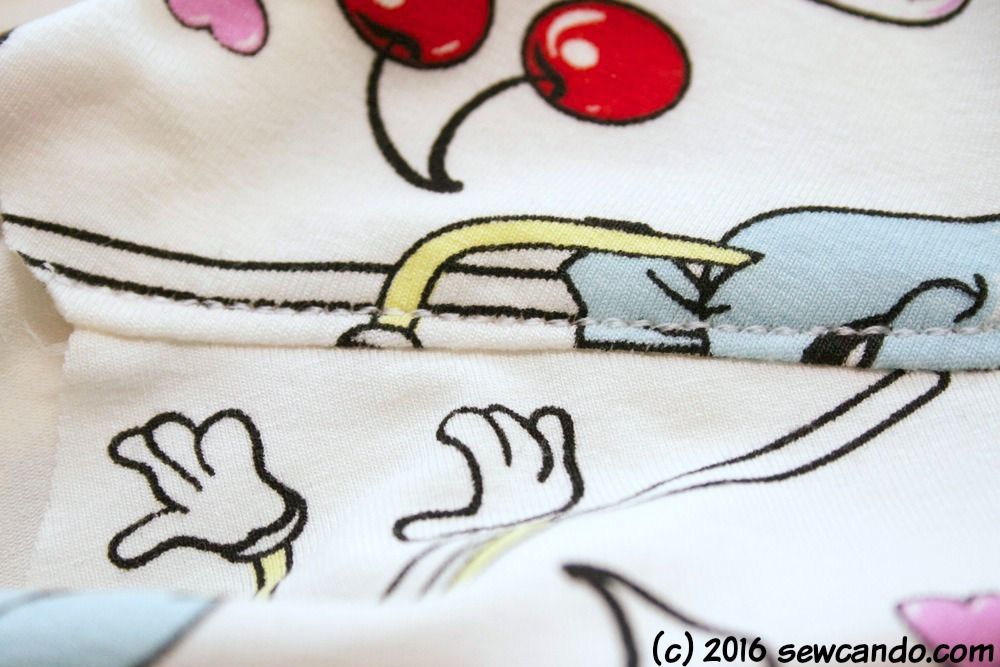
I used my handy, knit-favorite, triple stitch (more on that stitch here) and a 3/8 inch seam allowance. I also used a walking foot to keep the fabric from shifting - another of my sewing with knits favorites. I also top stitched along the seam, making sure to catch the seam allowance underneath, to add some extra stabilizing:
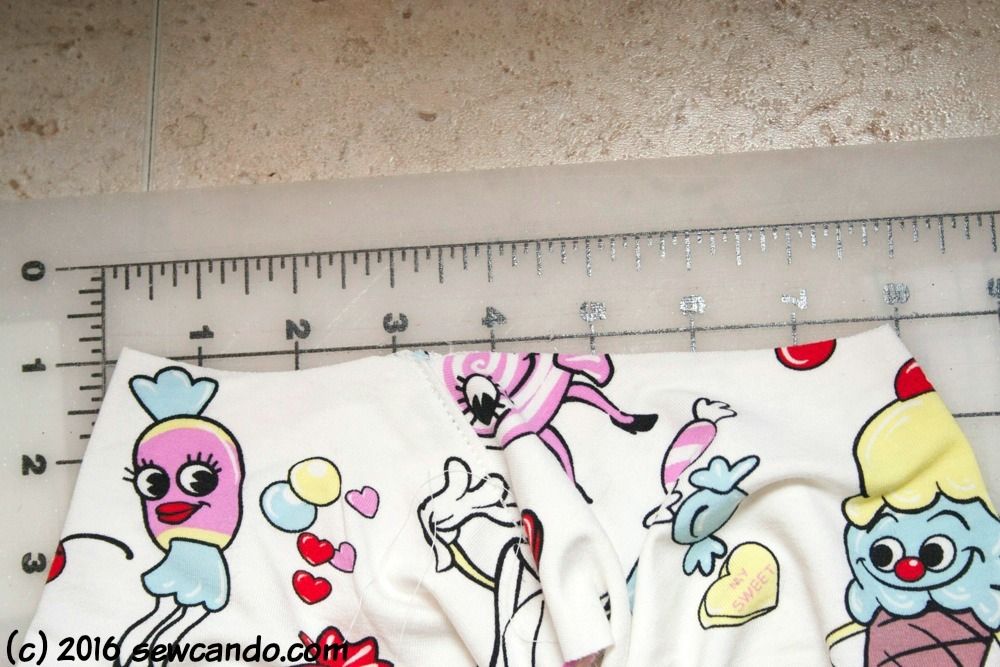
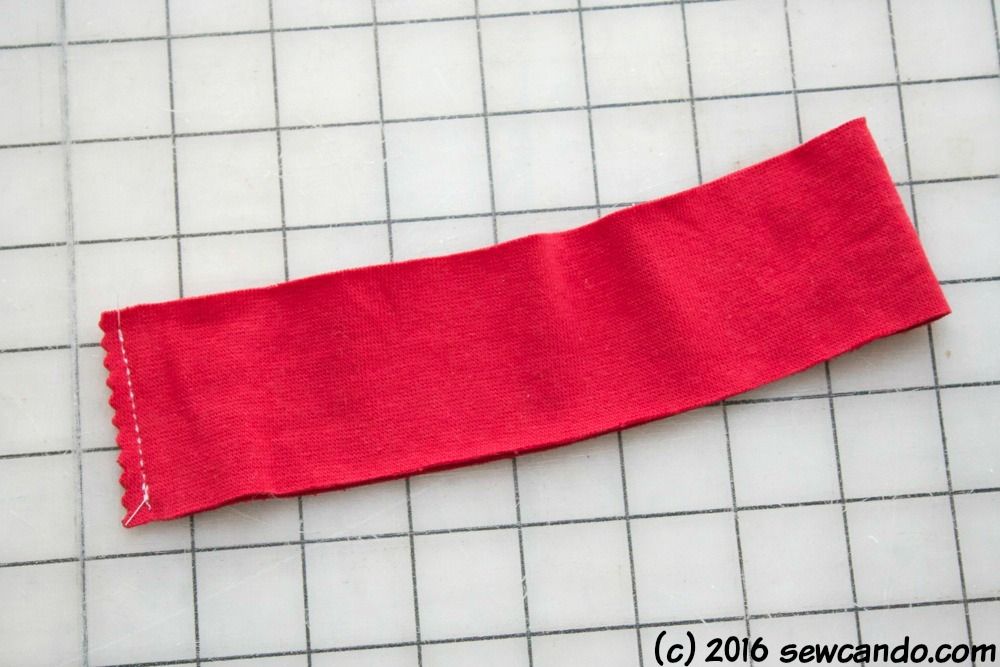
To determine my neckline ribbing length I measured the neck hole, which was 16 inches, and then cut a strip of rib knit that was the same length and 2 inches high. I don't add any seam allowance in order to make the ribbing is slightly smaller. Then it would curve a bit when sewn and not stick up.
I stitched the short ends together (right sides facing).
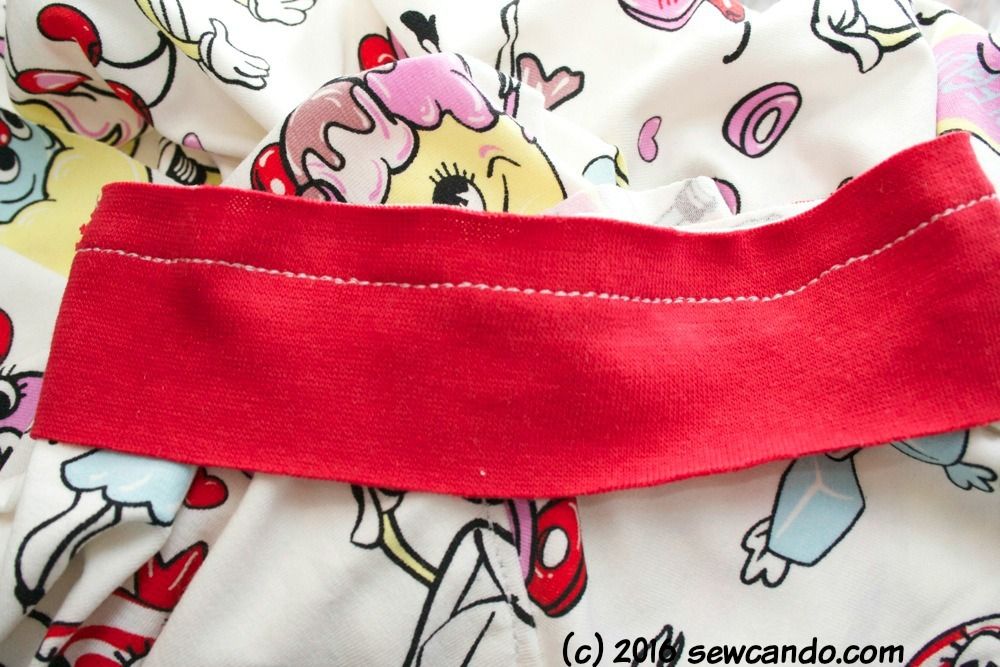
Then, centering the seam on the center back of the nightgown, I pinned the neckband along the neck hole of the gown, right sides facing and then stitched with a 5/8 seam allowance.
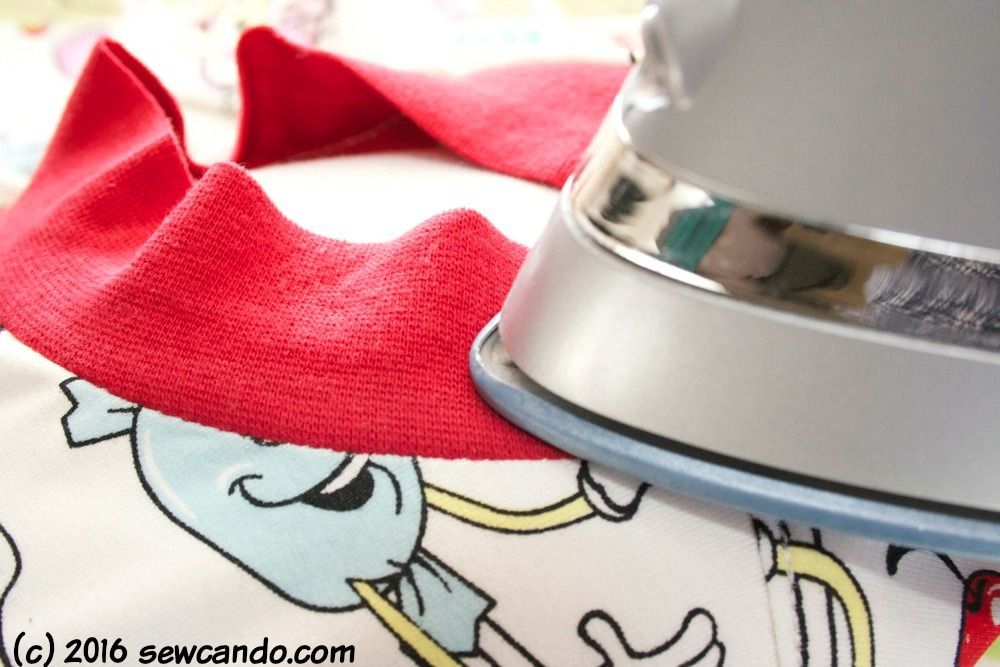
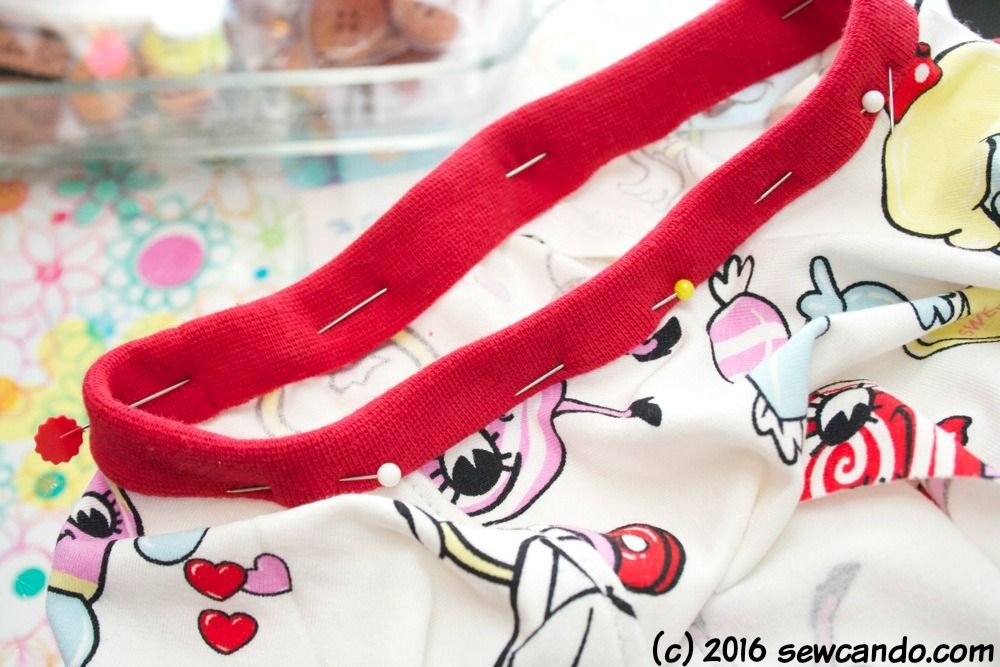
I pressed the ribbing upward, using a tailor's ham to better curve it in shape and then folded it over the raw edge (going to the wrong side) and pressed it in in place.
After pinning, I topstitched the neck band down just along the seam.
I don't attempt to fold the raw edge under on the wrong side because 1. knit doesn't fray so it's not necessary and 2. I've always found the bulk of folding it under just messes up my topstitching and it never looks even, nice or any more "professional" on the wrong side than just trimming down the raw edge.

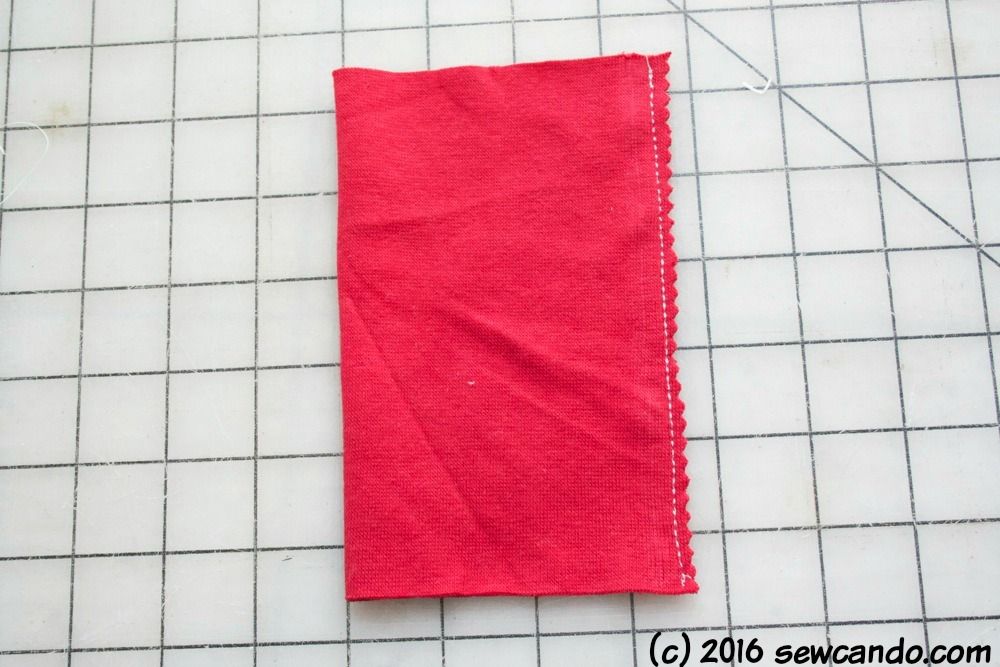
I attached the sleeves to the arm area, matching up the center of each sleeve top to the seam at each shoulder. Then I pinned the sides together and stitched down from sleeve edge down to hem. For the cuffs, I cut my rib knit 8 inches wide by 6 inches high for each cuff. I folded each one width-wise, and stitched down the side. I like to trim down my seams with pinking shears to reduce bulk.
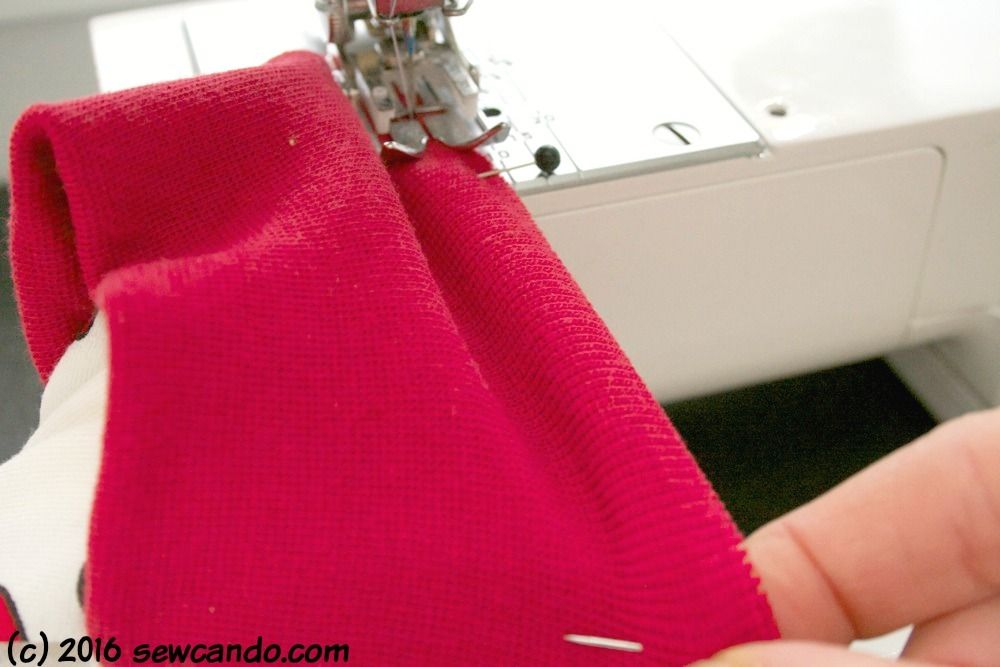
Then I opened them up and folded each with wrong sides together and then pinned the raw edges along the raw edge of the sleeve edge of the dress. Since the cuff is smaller so that the sleeve will have some gather, I matching seams and marked both my sleeve and the cuffs into quarters, and then stitched together, pulling the cuff to stretch to the length of the sleeve fabric.
Then I trimmed my seam allowances down and pulled my lovely cuffs out:
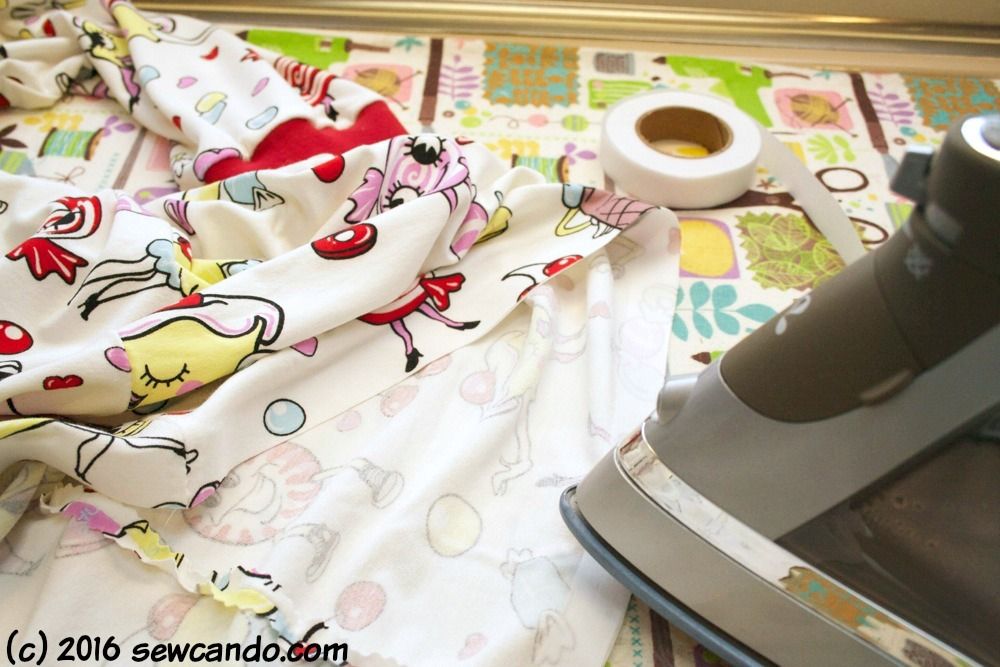
As usual when I sew with knits, I used my paper backed fusible tape ironed onto the wrong side of the raw hem, then folded up and pressed. Added bonus is that when using a single fold, there's no need for pins since it's fused in place!
My last step was topstitching with a twin needle to do a professional-look hem.
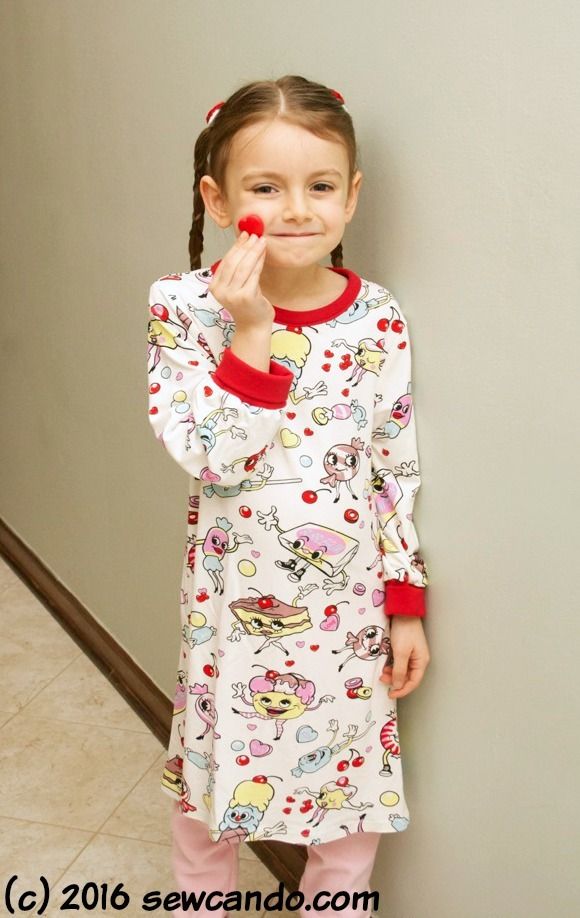
The real test was whether or not my little lady would like it. She instantly wanted to put it on when she saw it for the first time and has made it her first choice when picking out nighttime attire, so I'm pretty sure that's a thumbs up. Now, on to making more Lots of Looks For Knits Pattern designs!

Wow I love the pattern! And her braids... I've got to try this on my little gals! Thanks for sharing.
ReplyDeleteThanks so much Jane. It's so much easier than they looks too (both the nightgown and the braids!).
DeleteThese are so cute! I love knit fabric pjs for my daughter..and me!!
ReplyDeleteI co-host Everything Kids Link and Pin Party. Your post would fit perfectly with what we love to see! We'd love you to come share with us!!
Starts Sundays @ 10pm est.
I'd love to link this (and other new things), but the blogs linked to your profile look like they haven't been updated in a long time. Is there another? Just send the link and I'd be happy to link up and add it to my party page.
DeleteYou did such a great job of laying this out and helping those who want to sew it. Thanks for sharing with the Thursday Blog Hop!
ReplyDeleteThat's aways my main goal Pam (besides making something fun for myself). Hearing that makes my day:)
DeleteIt got here to day, thank you so much. Love the fabric
ReplyDelete