Showing posts with label Pajamas. Show all posts

Wednesday, March 9, 2016

When It Hits The Fan: Making Poo Pajamas


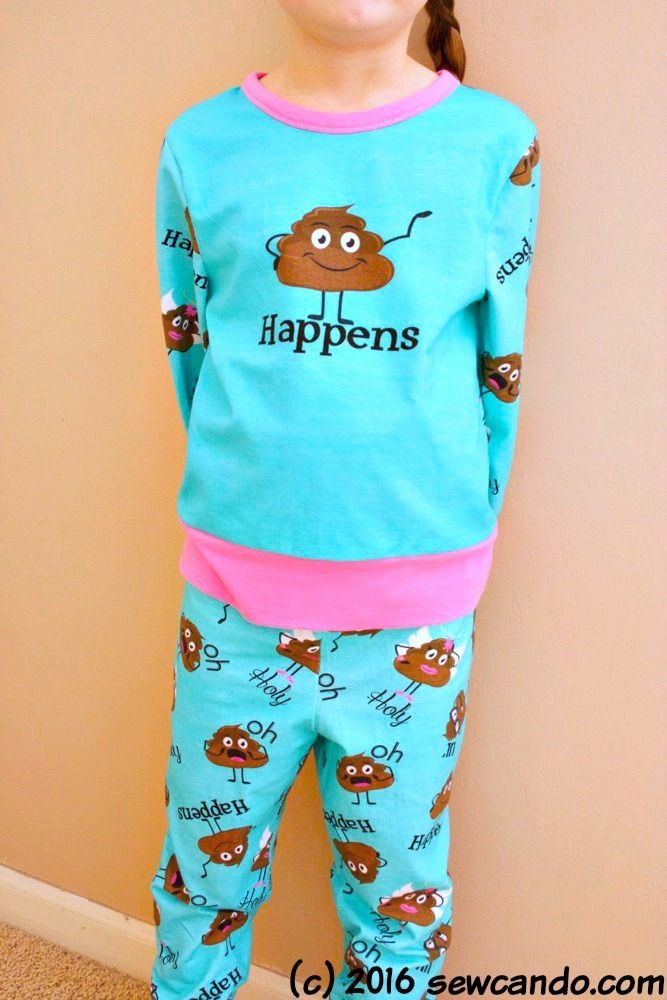
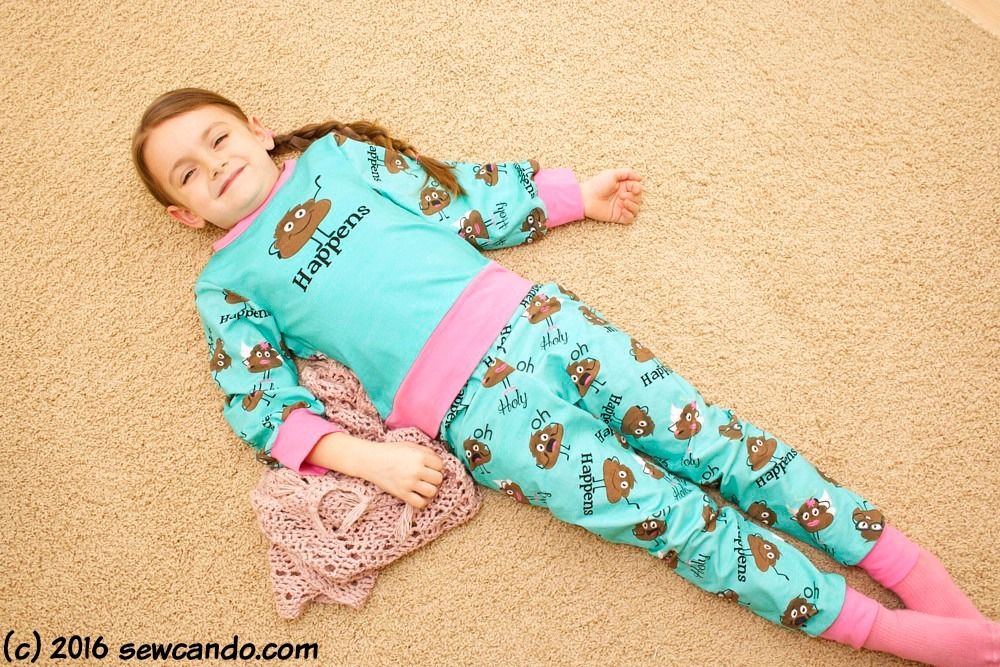
It's been one of those weeks around here.  We're into week 6 of a disruptive and seemingly never-ending bathroom remodel, plus a furnace break down, that's been followed by a cracked kitchen drain pipe in the wall 48hrs later. Such fun. It's a time when this sort of thing is what you want to wear everyday:


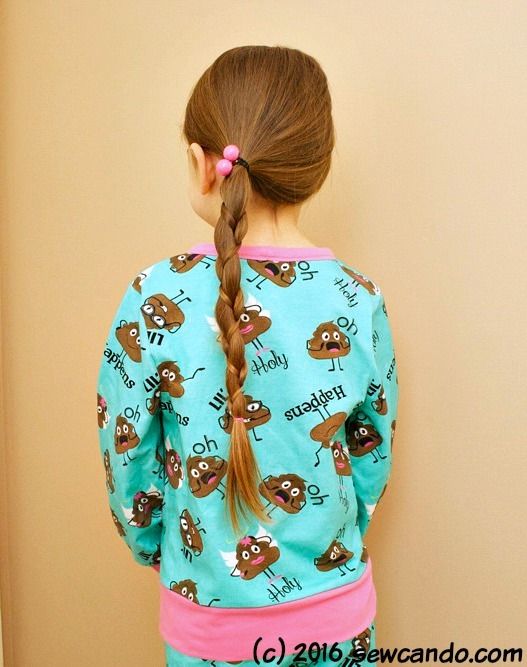
That's right folks, these are Poo Pajamas:


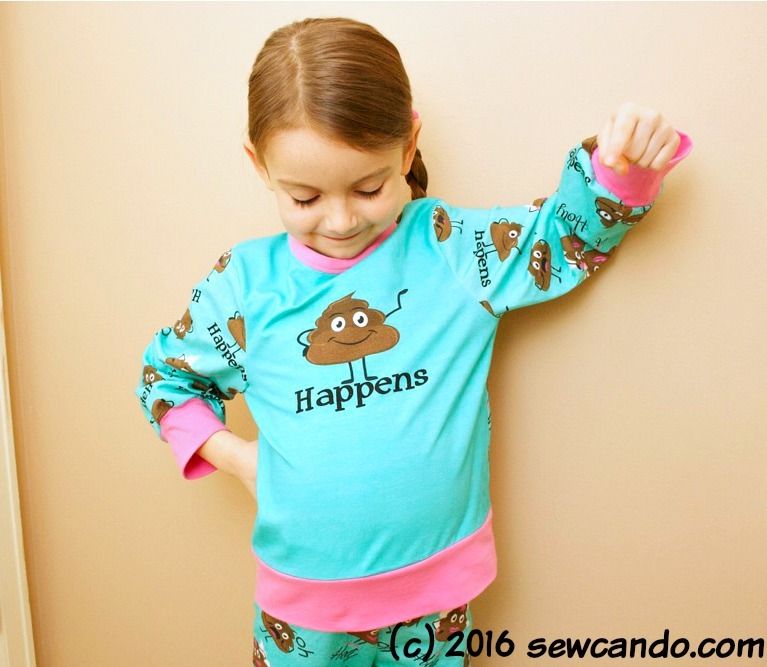
My daughter is trying to capture the main poo's pose in this one:


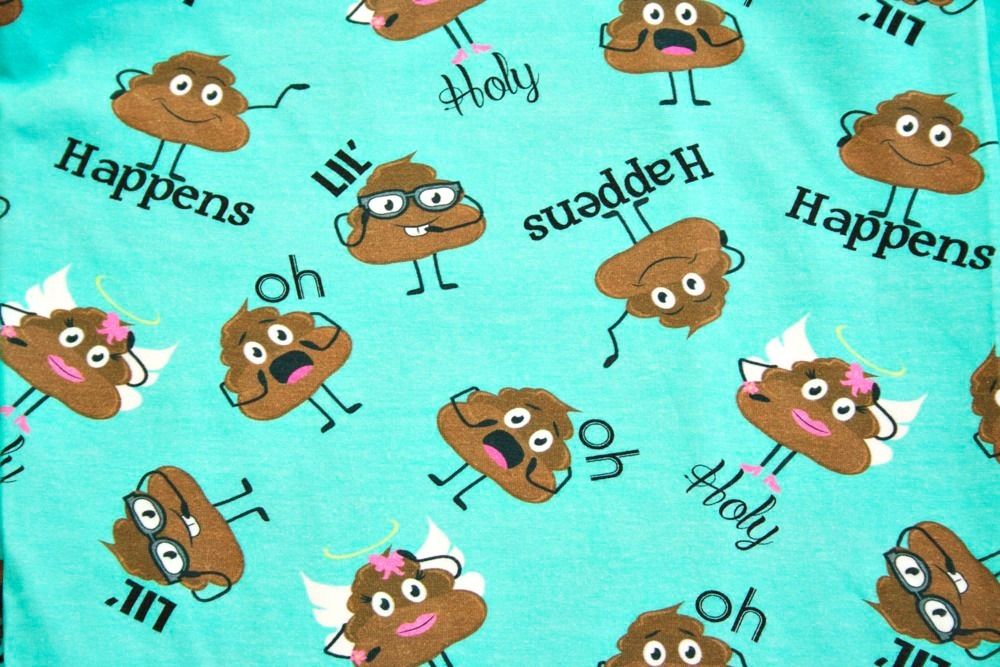
When I saw this fabric as a custom fabric group pre-order (shout-out to Bebe Flow!), I was ALL ABOUT IT. Funny, irreverent and just plain accurate to life lately.  I ordered several yards and the main poo panel piece.  Custom knits aren't cheap, but I didn't care.  I didn't know what exactly I'd make, but I knew I needed it.  Still a recovering fabric hoarder, remember?  As you can see, it covers all the bases of when things hit the fan:


Once it arrived, I thought about the best way to showcase it's cheeky charm and loungewear sounded ideal.  Plus, it was a great way to do yet another look with my new favorite DIY pattern.     


Here's how I made them....

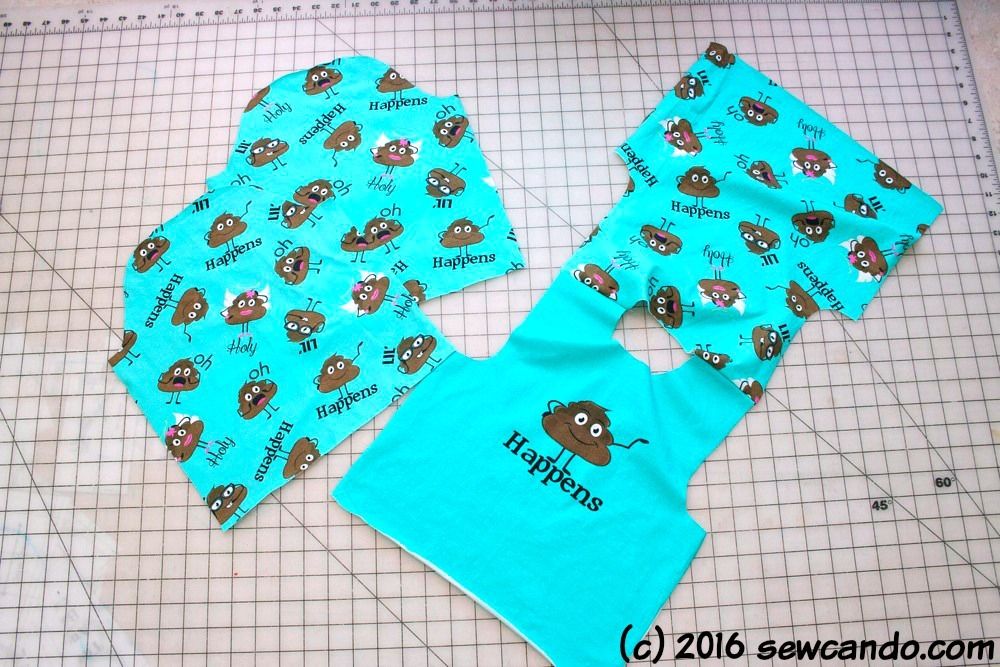
I used my handy, made-myself, Lots of Looks For Knits Pattern as my base to cut my front, back and sleeves (the details on how to make the pattern are HERE).  The front piece of my pj top was a small rectangular panel, which would have been a little too short on its own, so adding an extra wide hem band was my solution. 


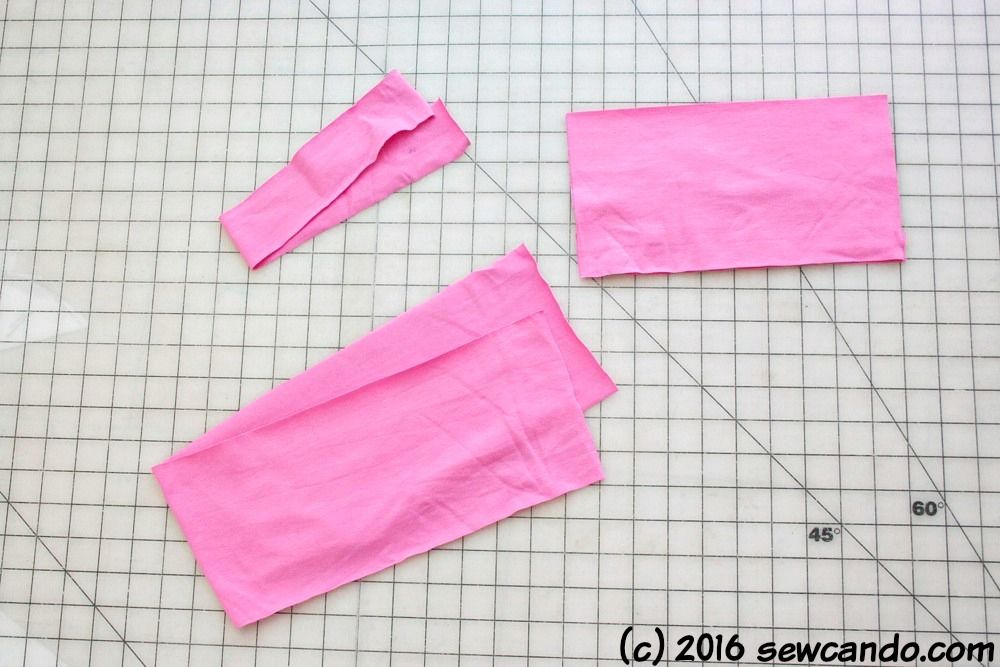
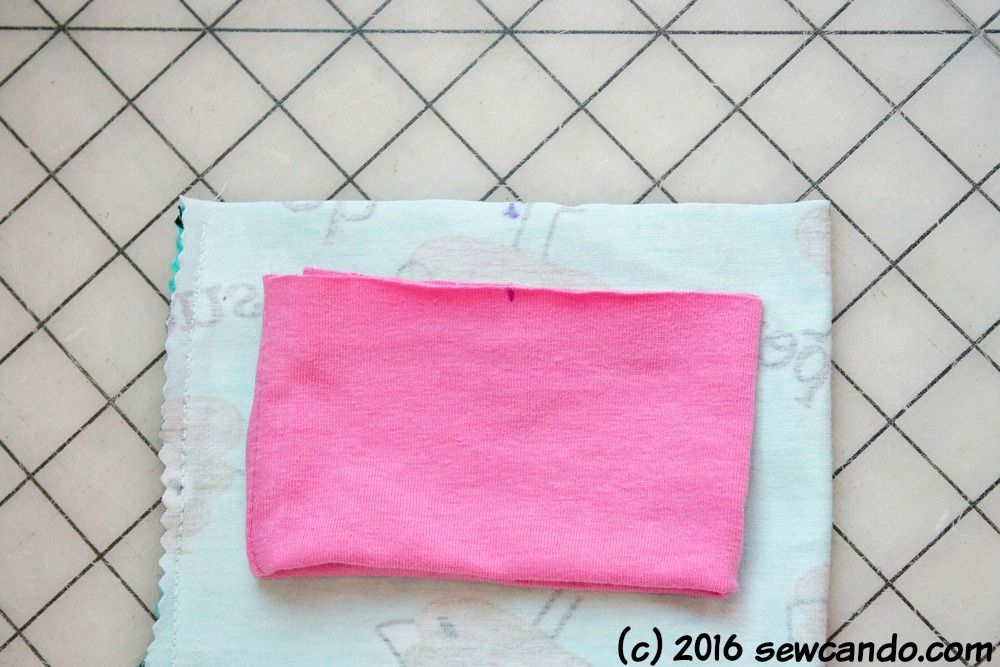
I also cut neck binding, the band for the waist hem and sleeve + pant cuffs from a solid pink knit left from a previous project. It was the perfect shade to coordinate with the pink in my poo print.  I measured the neck hole, which was 16 inches, and then cut a strip of rib knit that was an inch narrower and 2 inches high.  The cuffs and band were each 2 inches narrower than their corresponding poo-pieces and 5 inches high. 


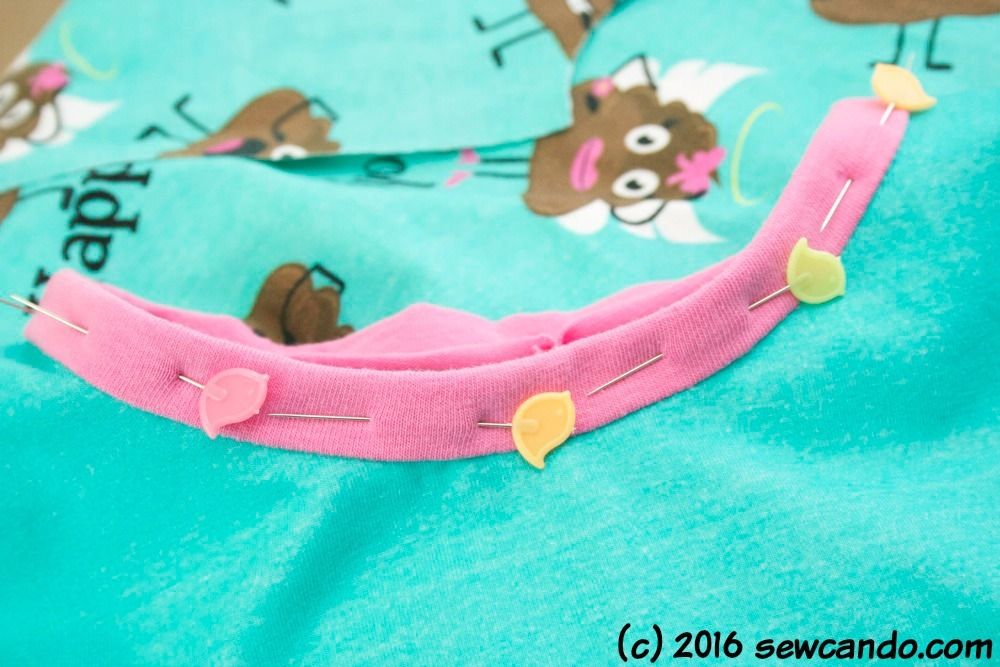
I stitched the short ends of the neck binding together (right sides facing), then, centering the seam on the center back of the top, I pinned the neckband along the neck hole with right sides facing.  I sewed them together with a 5/8 seam allowance, triple stitch, as usual with my knits.


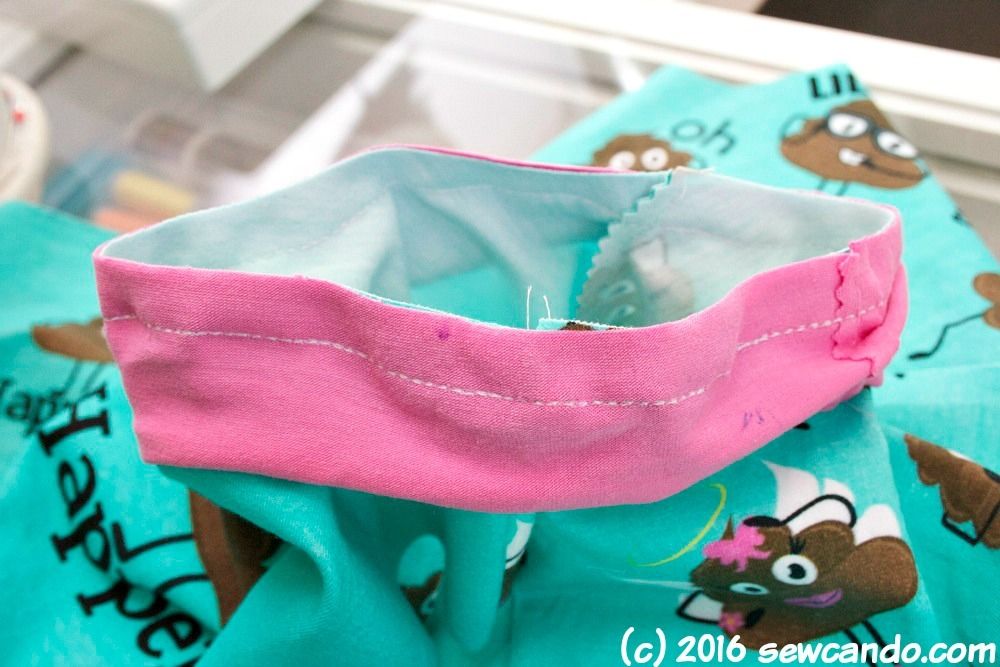
I pressed the binding up and over around to the wrong side of the top and pinned.  Then I topstitched it in place:


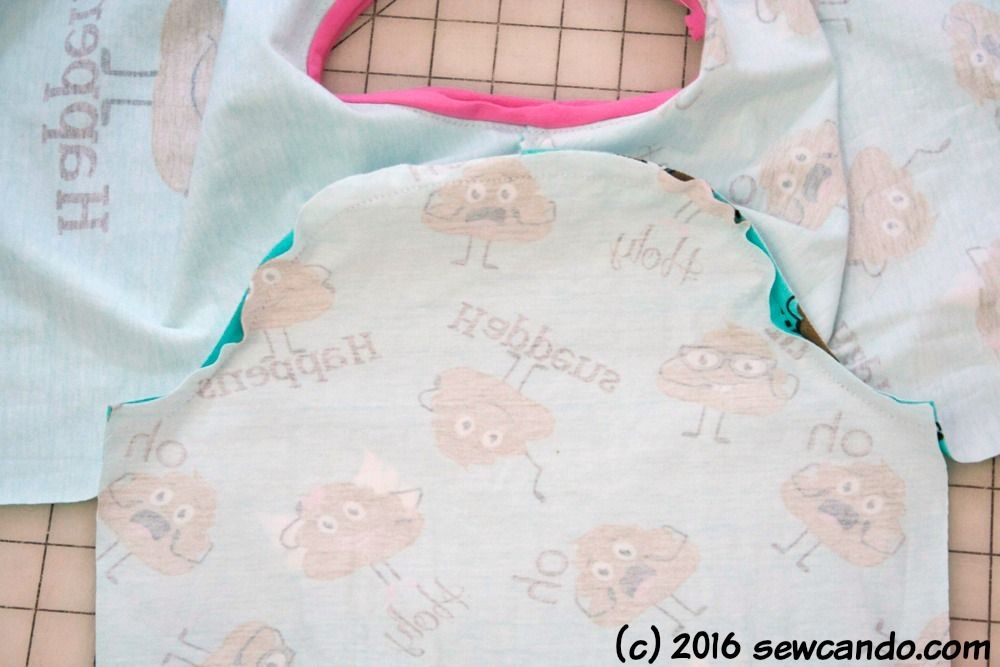
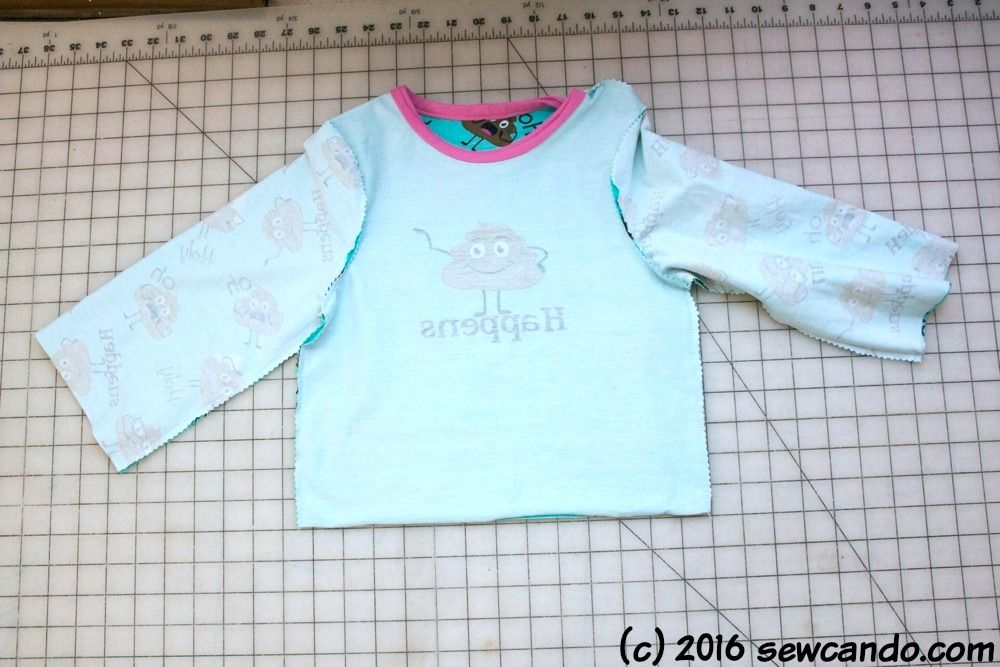
I stitched the sleeves to the arm area of the top matching up the sleeve's top center with the shoulder seam and trimmed down the raw edges.


Then I pinned the sides together and stitched down from sleeve edge down to hem. 


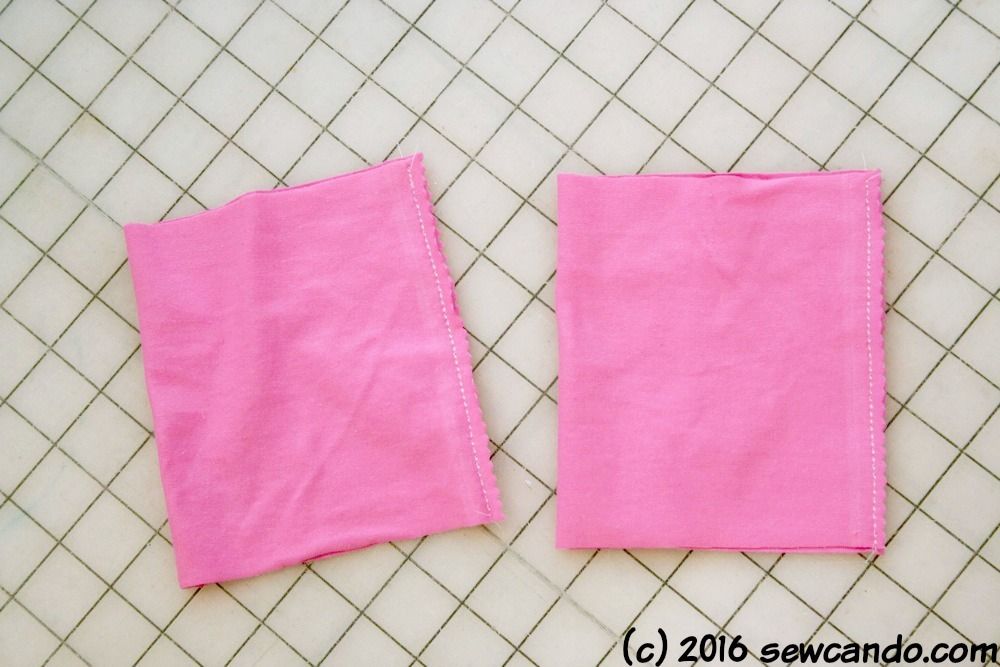
For the cuffs, I folded each one width-wise, right ends facing, and stitched down the side.  I like to trim down my seams with pinking shears to reduce bulk.


Then I opened them up and folded each with wrong sides together.  Since the cuff is smaller so that the sleeve will have some gather, I matching seams and marked both my sleeve and the cuffs into quarters.


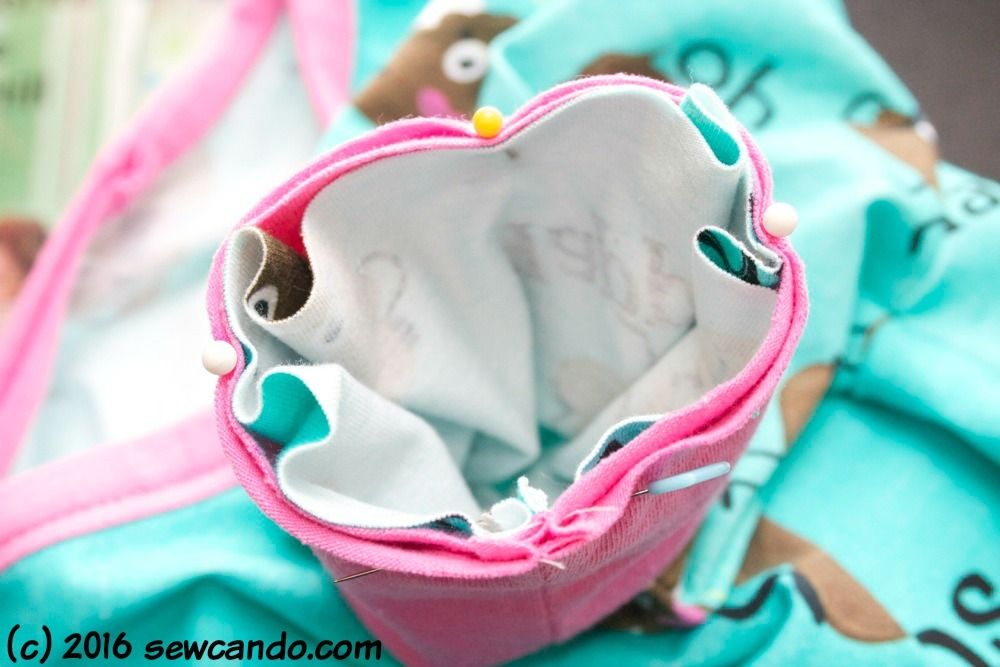
I then pinned the raw edges along the raw edge of the sleeve edge of the top.  I stitched them together by pulling the cuff to stretch to the length of the sleeve fabric.


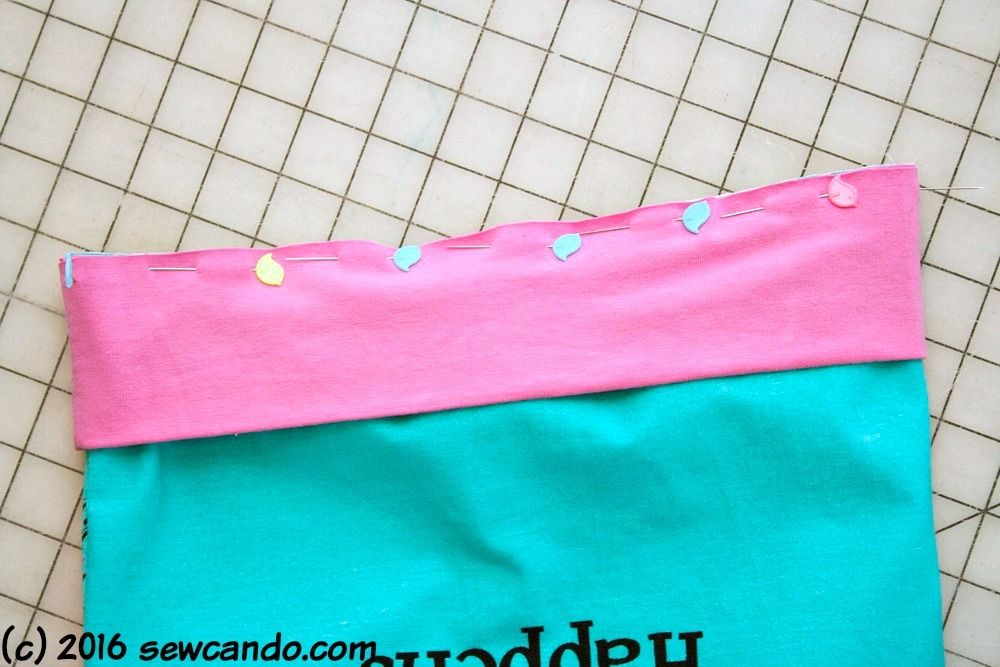
I did the same deal on the waist band:


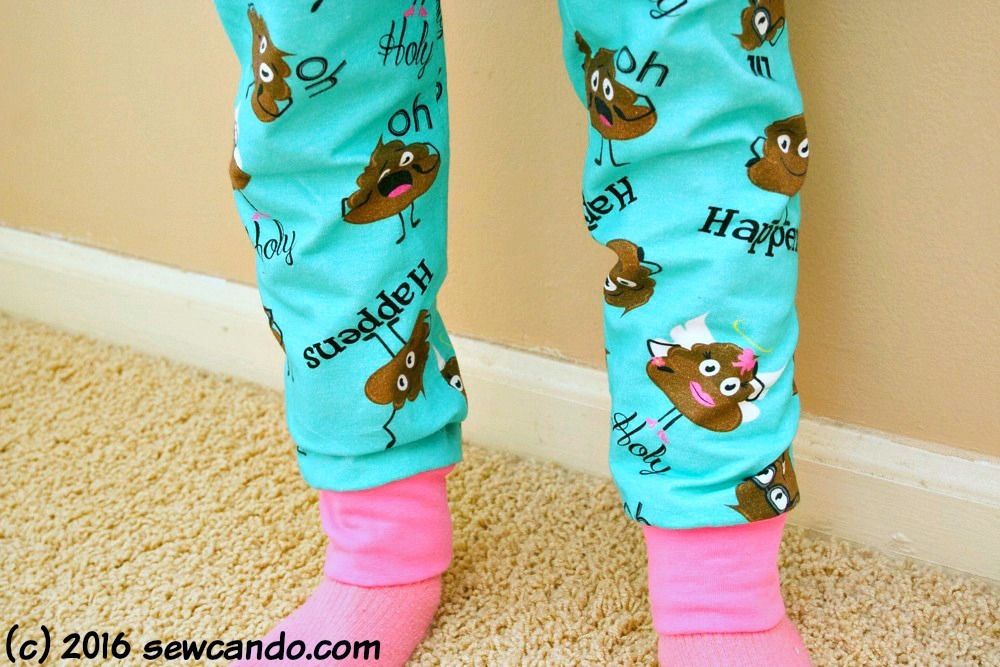
For the bottoms I used the legging pant pattern of Simplicity 1511.  I added a cuff to the bottoms just like the top and bam! We had some poo-tastic pajamas.


As soon as the pjs were done, my daughter was begging to put them on.  I've never seen anyone so excited to be covered in poo;)  These have become her all-time favorite pajamas and are constantly in use.  The poo print has some serious charm.  I'm really eager to get a little extra time to make myself a pair too!  $#it happens...at least wearing these brings a smile to the situation;)


Wednesday, January 21, 2015

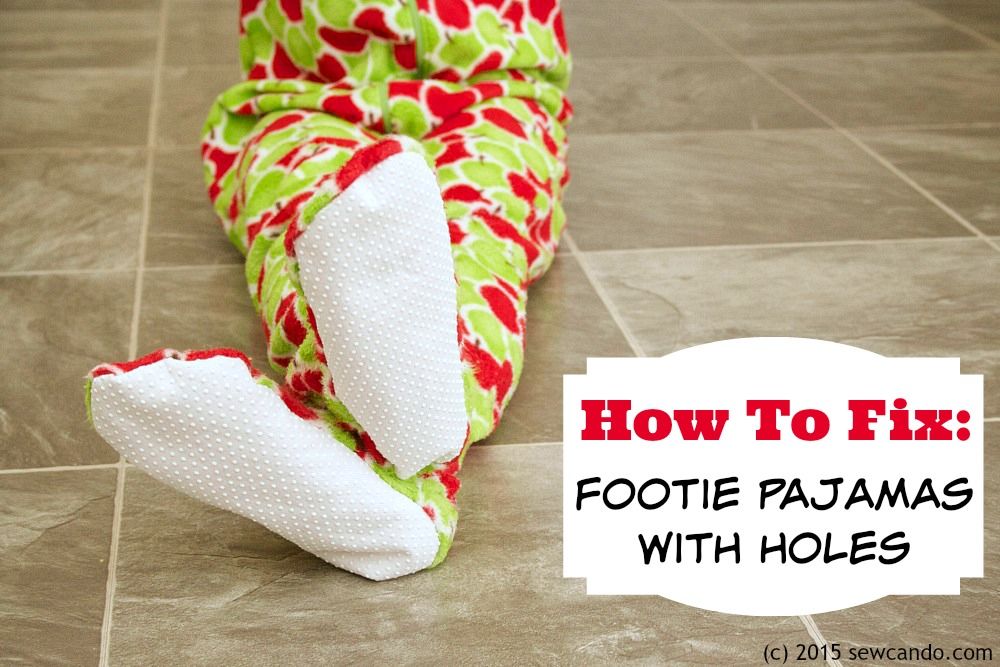
Tutorial Time: How To Fix Holes In Footie Pajamas


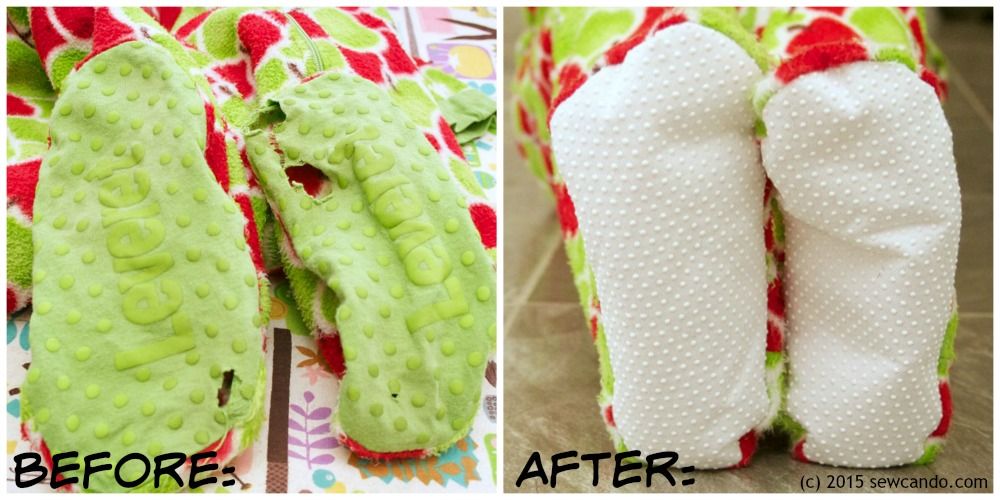
I know I can't be the only one out there who's had this issue: footed pajamas in great shape...except for the feet part.  It's a shame to toss a perfectly good pair of footie pjs just because the soles are worn out, so today I'm sharing how to do a quick repair job to make them like new, but even BETTER!  


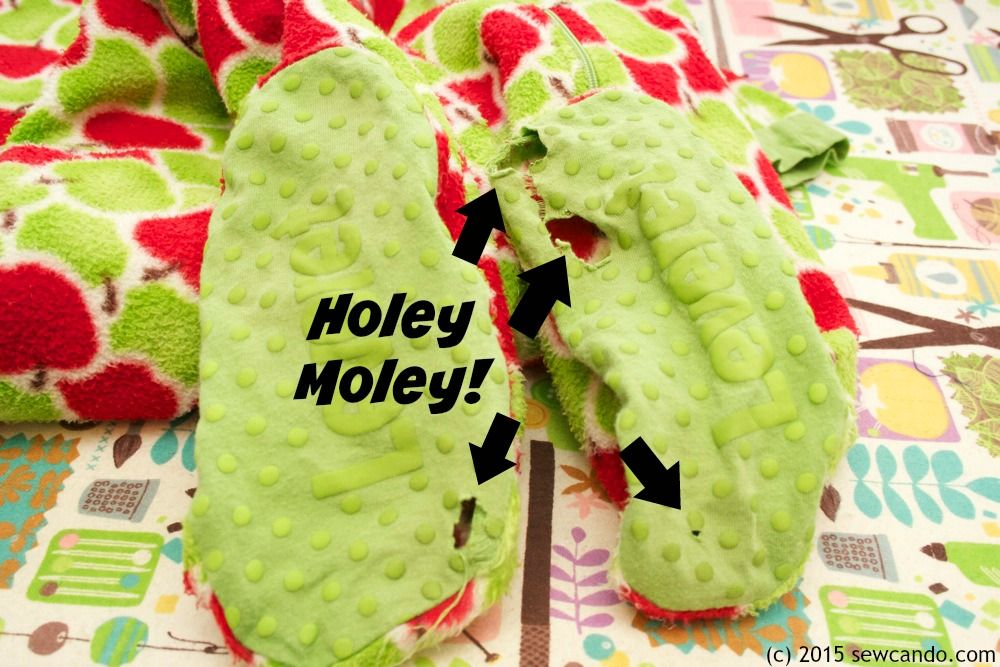
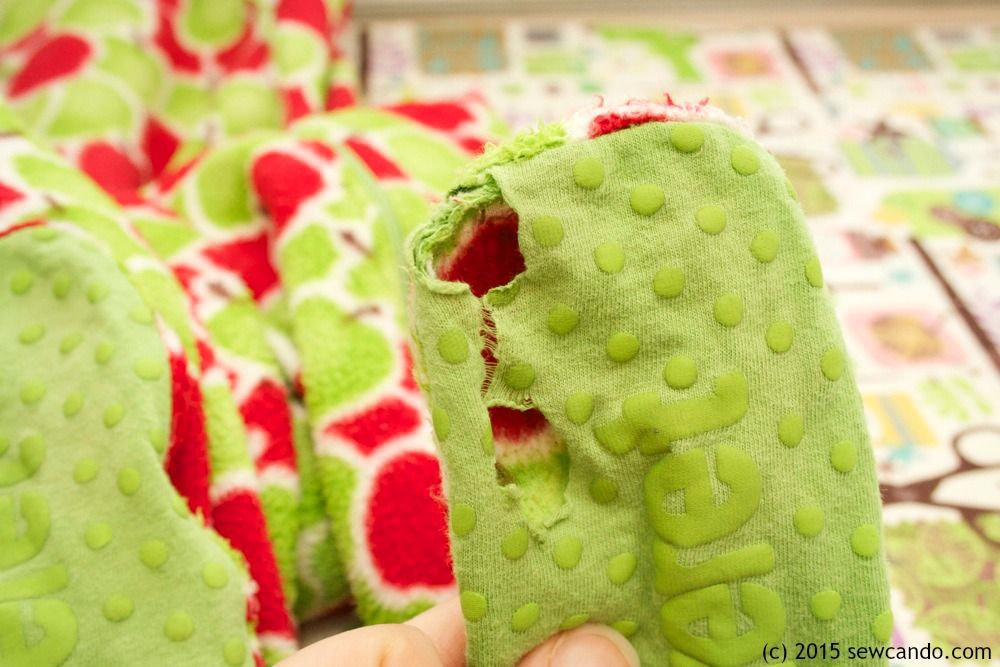
For some odd reason, on this style of pajama the part that will get the most wear just isn't made to be very durable.  Or even comfortable for that matter.  Like this pair of pajamas belonging to my 5 year old.  She's still got plenty of growth room in them and the fleece of the main part is still in great shape, but the soles of the feet wore away in no time:


Hers had just flimsy t-shirt weight knit with some anti-slip spots fused to it for the soles. There's no way that'll last with the foot traffic of the average toddler!  And it's certainly not that comfy or warm for little feet in the winter.  The ones with the plastic-y soles are even worse (I recall hating the feel of the rough vinyl-like bottoms on those I wore as a kid). Such a basic flaw makes me wonder if their designers have even met kids? 


Here's how to repair & improve those
 worn out footie pajamas.

Materials:
- Footie pajamas with torn-up/holed-up/beat-down soles
- Seam ripper
- Anti-slip fabric (aka Jiffy Grip™)
- Iron, rotary cutter/shears, pins
- Optional: fleece scraps, paper backed fusible

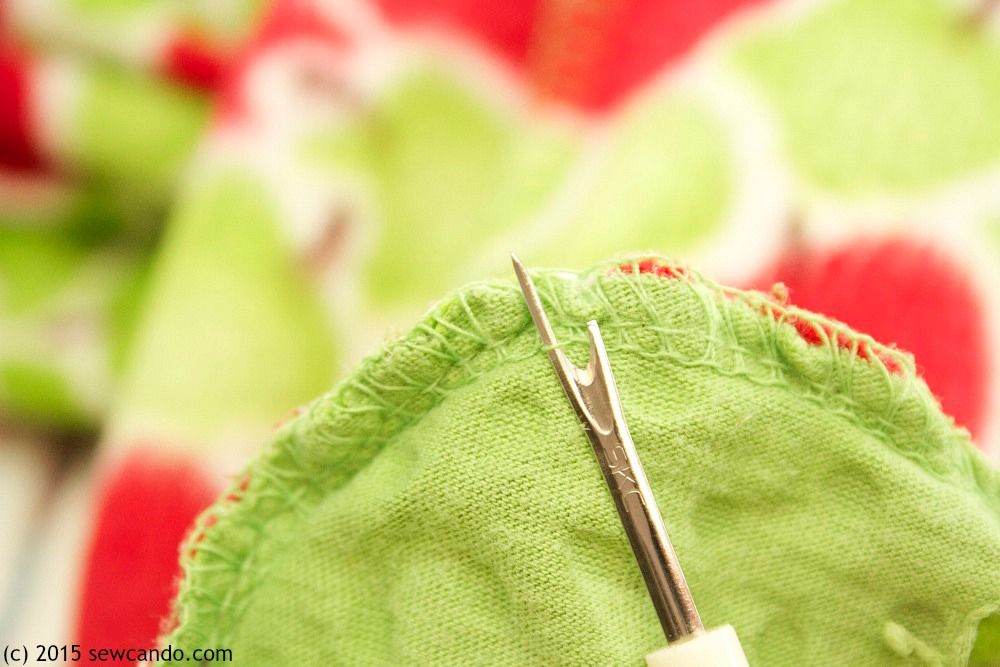
First step is to remove the broken down soles.  Turn the pajamas inside out and grab a seam ripper to carefully remove the stitching.  This step takes a little patience - the sole will be needed as the template for the new ones:


You'll be left with an open bottom:


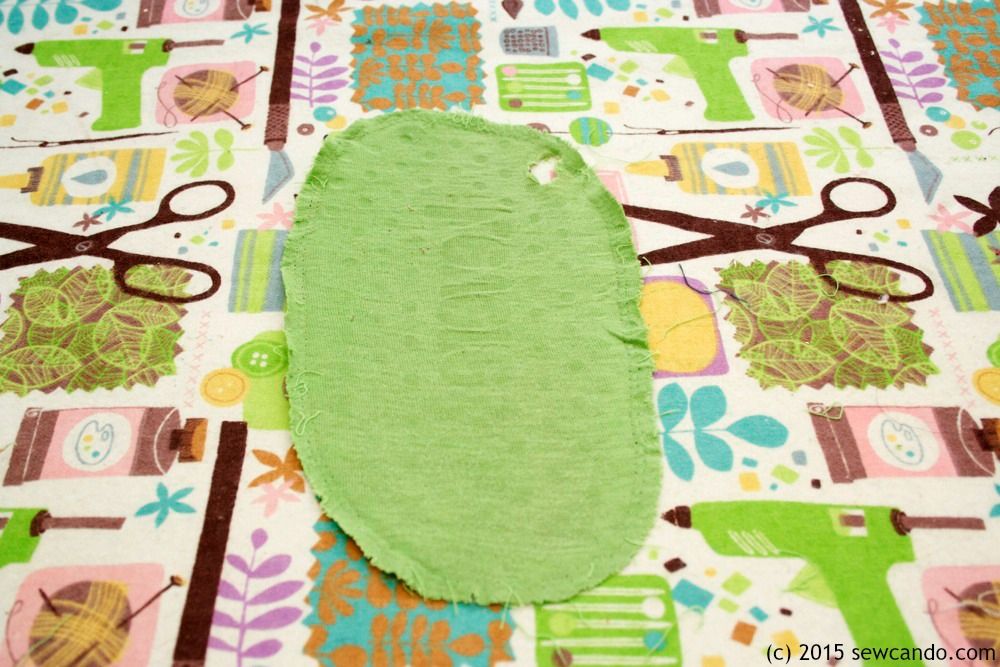
Iron the sole piece smooth and flat.  


Use the bottom piece as the template for cutting new soles.  Cut the fabric while folded to get both the feet sides if the soles have definite left & right like mine did.  

Fabric Note: This anti-slip fabric is available in most fabric stores (in the utility/home dec section).  A branded name for it is Jiffy Grip™.  It's a heavy weight fabric with raised plastic dots that is perfect for this use. Key tip: You can get a lot more, and for a cheaper price, when buying it cut from the bolt instead of the measly & overpriced package version in the notions section.  


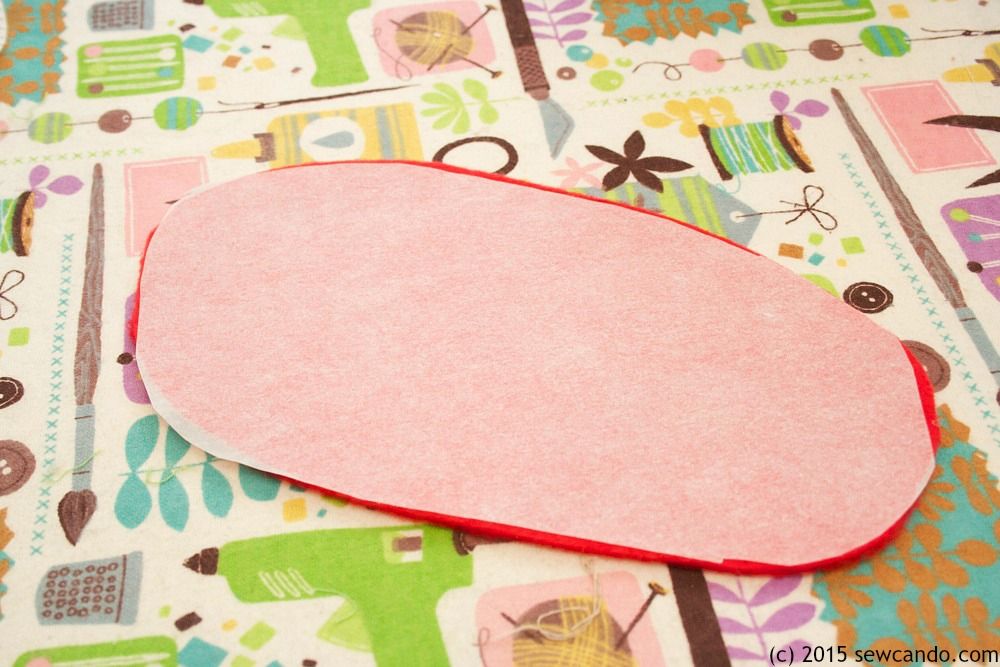
Now this part is optional, but since I wanted mine to be a bit more durable and softer than the originals, I also cut sole pieces from anti-pill fleece to act as a lining.  To keep the layers together (and from separating or wrinkling when washed), iron paper-backed fusible to the wrong side of the fleece.


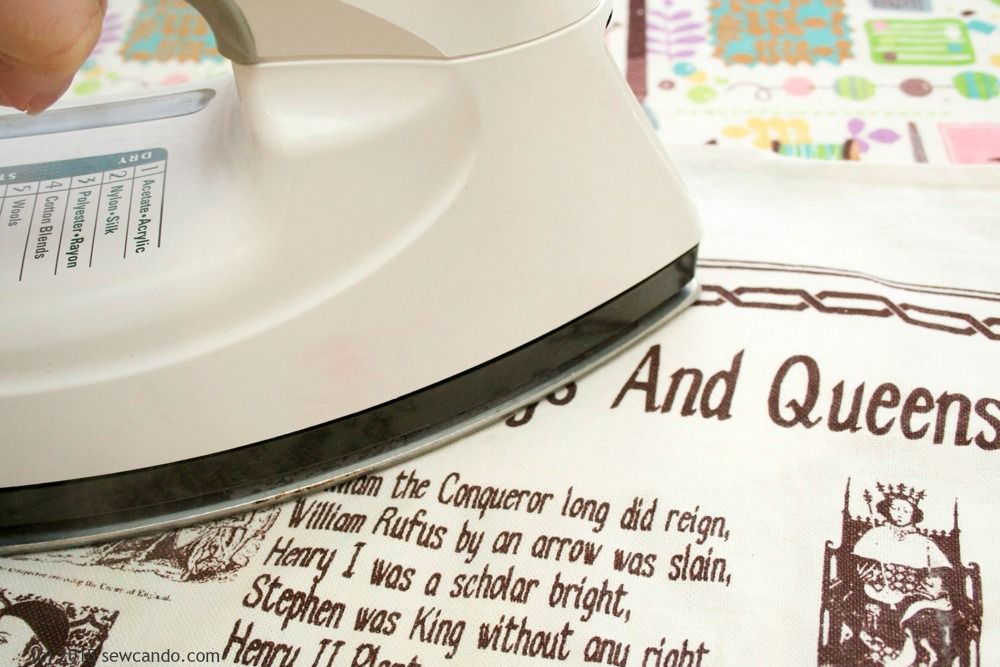
Then peel off the paper and iron it to the wrong side of the anti-slip sole.  I didn't want to risk melting the anti-slip dots, so I used a press cloth between the fabric & iron:


Now it's time to pin the new soles to the pajamas (that should still be inside out).  The fleece side should be facing out.  Pin around entire foot.  


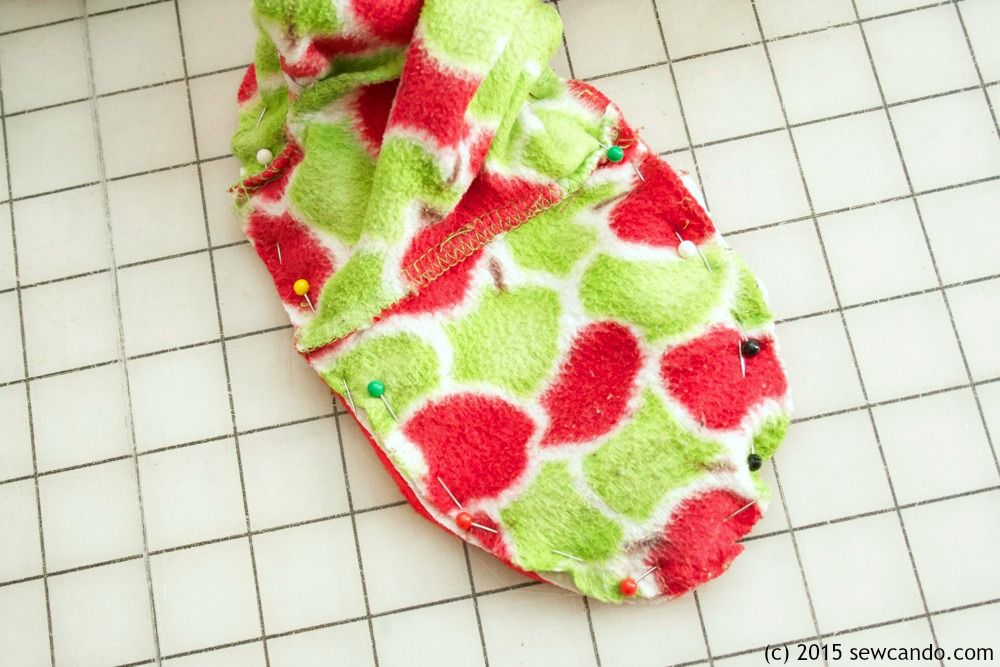
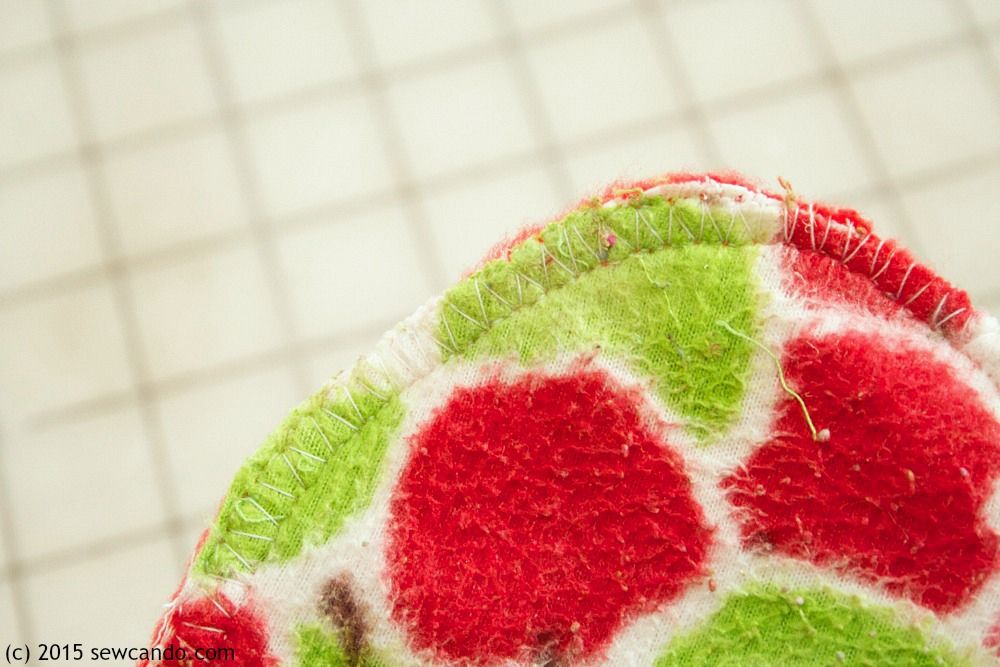
Serge all the way around.  If you don't have a serger, use an overcast stitch like I did.  Even most basic sewing machines have at least one or two overcast stitches (check your manual).  It'll do the same job as serging and is nice & strong:


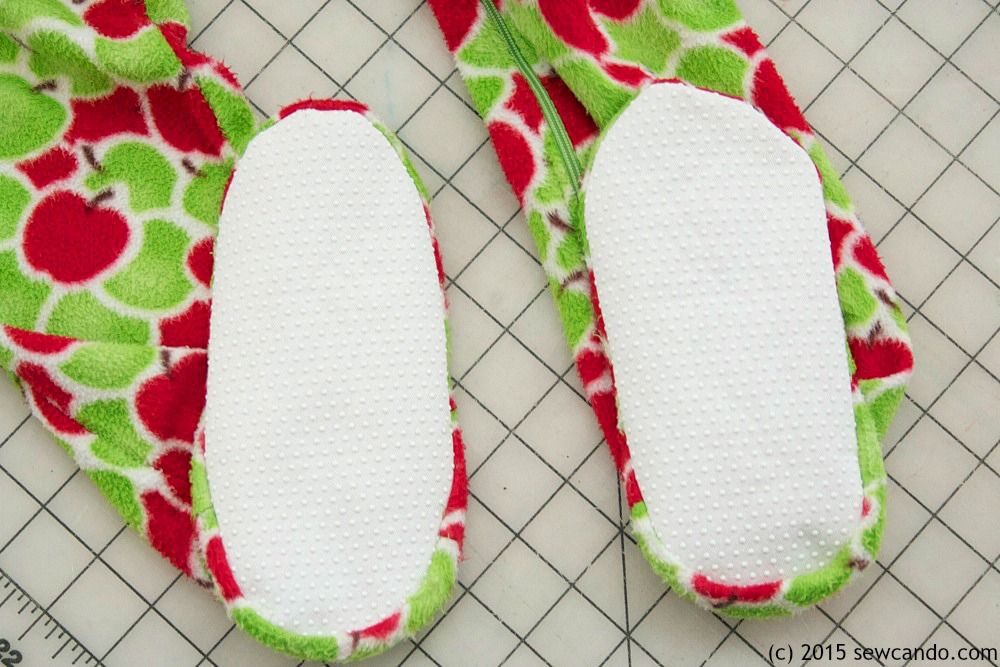
Pull the legs right side out and the new and improved footie pajamas are ready to wear!


Now these pajamas have loads of life left in them and are even nicer to walk around in. Adding a fleece unicorn hat is totally optional;)


A huge improvement and easy way to get the most out of those footie pajamas this winter!


Tuesday, July 10, 2012

Timeless Treasures Organic Vikings Fabric Giveaway


Today I've got a great fabric giveaway for you!  Timeless Treasures has a new organic cotton collection that is beyond cute: Organic Vikings.  I love how whimsical and unique these prints are - vibrant colors paired with a fun Viking motif.  These prints are great for boy's projects.  I could see these being great for blankets, quilts, toys and room decor.  And for fun wearables like the pajamas I made:
I used the Viking boats & green crosshatch prints with the pattern Simplicity 5809 to make this set.  I also made some covered buttons to really coordinate the shorts & shirt trim:
I like the results and so did my little Viking:
My 6yr old loves adventure-related prints, so he was thrilled to have some Viking stuff made just for him.  It goes perfectly with my Viking Hairdo Hat design too;)
I used the orange crosshatch & navy Viking prints to make some matching slippers:
For these I had to go with my own slipper design.  The slipper version included in the Simplicity pattern was a complete fail. The largest size was supposed to coordinate with the size 8 pajamas, but my 6yr old could barely get them on - they fit my 2yr old better.  And their recommendation of using lightweight stabilizer and batting made them way to floppy to really be worn by an active kid.  So I came up with my own version that worked out much better.  I'll be sharing my how-to for those later this week.  

How about a chance to win some of this fabric for yourself?  One winner will receive:
A complete fat quarter set of Timeless Treasures Organic Vikings collection.  
All 10 coordinated prints!

To Enter:
Tell me what you'd make if you won this fabric.  Be sure to include an email address if it's not on your profile.

For Additional Entries (leave a separate comment for each one):
- Like Timeless Treasures on Facebook
- Follow Timeless Treasuresblog
- Follow Timeless Treasures on Twitter
- Follow Timeless Treasures on Pinterest
- Follow Sew Can Do
- Like Sew Can Do on Facebook
- Follow Sew Can Do on Twitter
- Follow Sew Can Do on Pinterest
- Link to this giveaway on your blog, Facebook or Twitter

Giveaway IS CLOSED will be open until 11:59PM EST July 17th, 2012. Giveaway is open to residents of U.S. and Canada only.  Void where prohibited.  The winner will be chosen at random and announced later that week.  Good Luck Everyone! 
 

LinkWithin

Related Posts with Thumbnails