Showing posts with label valentine's. Show all posts

Thursday, February 10, 2022

Last Minute Valentine's Day Projects


Need some ideas for Valentine's Day, but short on time?  I hear ya!  I've rounded up some of my past holiday creations that are fun and, most importantly, fairly easy to put together.

 Make some of my sweet Edible Love Notes:


Create a Valentine's light in no time with my Conversation Heart Lamp how-to:


Do some quick-make wearables like my Love My Mom Heat Transfer Shirt Tutorial:


Or the pretty (and simple) Valentine's Day Hair Jewelry:


And, of you've got a little extra time, make a Hearts Aflutter Faux Leather Tote Bag:


❤️ Happy Valentine's Day! ❤️


Wednesday, February 10, 2021

Easy Love My Mom Valentine's Day Heat Transfer Shirts


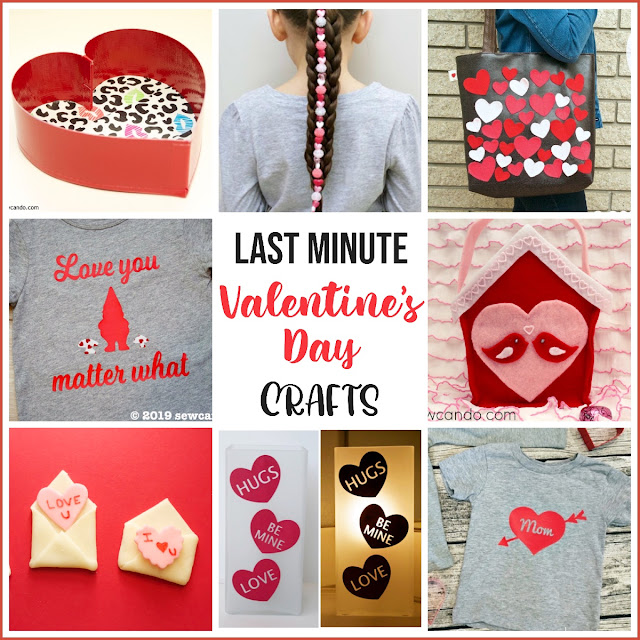
Need a last minute idea for Valentine's Day?  How about this cute little heat transfer to make a holiday shirt or bag?  I've got you covered with this holiday heat transfer project.  It even shows Mom some extra ❤️:


I literally just dreamed it up and made it yesterday, so that's why it's pretty simple.  Sometimes projects need to be quick & easy so you can enjoy the actual occasion rather than be caught up in the project making part.  It occurred to me around mid-day that this Valentine's Day will be the first one for my little nephew. I wanted to send him a little something to celebrate that, but  obviously it being just days away I needed to hurry.  And use what I happened to have on hand in the house.  No challenges, right?  LOL.  That's how I tend to roll....

Thankfully I had some sheets of red heat transfer vinyl left from some previous Christmas projects and a blank 18 month sized t-shirt I never got around to embellishing for my almost 3yr old (luckily said nephew is big for his age).  Added bonus was that I found I had a blank 2T long sleeved tee in my stash too and my little guy is on the small side, so I was able to make one for him too!


 These worked out ideally.  I'm a big fan of "holiday" themed wearables that you can still wear well after the actual day is over and these definitely tick that box too.  YAY!!!

 Now, how to make them
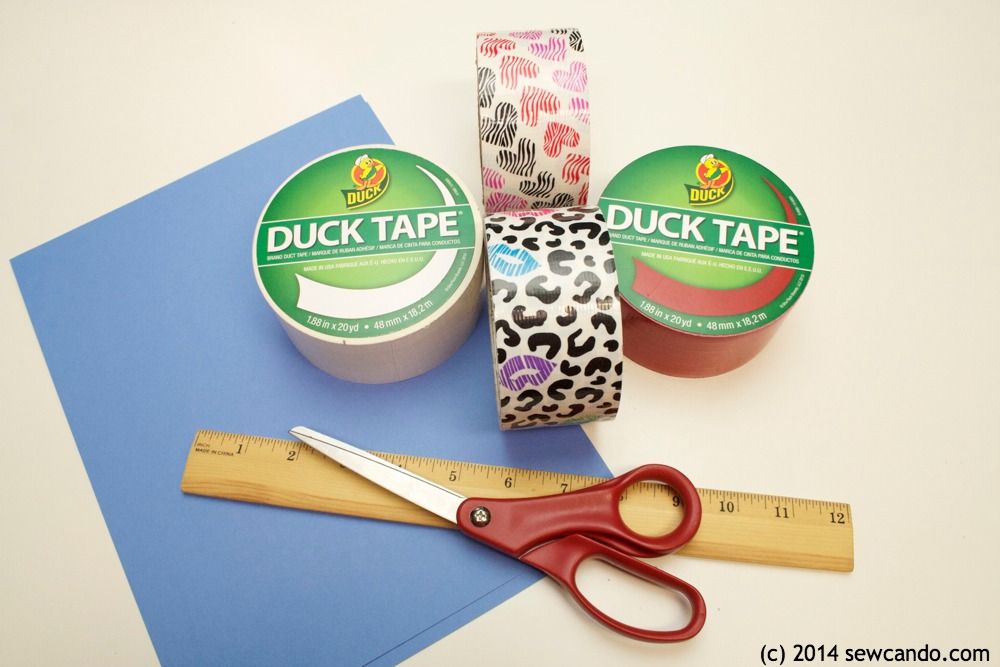
Materials:
- Heat transfer vinyl
- Shirt, bag or other fabric item (unwashed)
- Cutting machine (I used my 6yr old Cricut Explore)
- Cricut Easy Press or Iron
- My FREE Mom Heart design below
 

 Here's my FREE design for the I Love Mom Heart.  Just right click to save the jpeg.  You could use it as a graphic or printable too;)


Using Cricut Design Space I turned my design into a cut file (making cut lines around the Mom part as well as the outer edges) and sized it to fit baby/toddler sized shirts (about 4 inches high by 6.5 inches wide).  Then mirrored it before cutting:


 It took just seconds to cut them both out:


Weeding out just the Mom part - remembering to leave the center of the "O":


Press time!!  It's key to check the fabric composition to make sure you get the settings right.  And don't wash the shirts first - having that factory sizing in them helps htv adhere better.  These were both cotton poly blends and this was basic htv, so the Cricut Heat Guide recommended 330 degrees.  I always press mine on a folded fluffy towel too - I didn't get good results using the special heat press mat in the past.


I wanted my design to be centered, but you could get creative with placement or angling.  The shirts got a 5 second preheat with the press and then I put the heat transfer vinyl on.  FYI, if you're new to using htv, you leave the carrier sheet on.


30 seconds on the front, 15 seconds on the back and then wait until cool to peel the carrier sheet off.  One of them wasn't fully adhered around one of the letter edges so I gave it another 15 second on the front and 5 more on the back.  Just don't go too long when re-pressing or it'll melt the htv. 


Wait 24hrs before washing and always wash on cold, delicate and line dry to keep the transfer nice.  I've had some shirts like this last for years and dozens of washes by doing all that, so it's worth it.  I can't wait to see my nephew and my little guy wearing these.  He's my sister's first baby, so it makes it extra special that it's Mom-themed.


I've also got these other fun shirt Valentine's Day tutorials using Heat Transfer Vinyl:


and this sweet Love Bug Applique too:

Happy Valentine's Day!


Tuesday, February 13, 2018

Easy Valentine's Day Bead Hair Jewelry Tutorial


The holidays this year seem to close together - it feels like it was just a hot second ago it was Christmas, now it's nearly Valentine's Day and St. Patrick's Day and Easter are just a couple weeks apart.  What's a busy crafter to do at the last minute?  Keep the holiday projects fast & easy, like with this Valentine's Day Hair Jewelry!


I used items I had in my stash for this inexpensive, but fun Valentine's Day look.  These sparkly berry beads are what gave me the idea:


And some heart shaped pony beads:


I had just enough to make a super long one for my daughter.  Her hair is so long these days, it's hard to even fit it all in a photo!


Now, Let's Make The Hair Jewelry!


Here's what's needed:


Materials:
 - Assorted beads: berry beads (mine were from Sugar Pink Boutique), pony beads (local craft store)
 - Clear elastic string
 - Pencil, pen or knitting needle
 - Clear hair elastic

Cut a piece of the clear string double the length desired.  Fold in half over a pencil and double knot it.  


String the beads in the pattern desired.  I alternated a berry bead for every two hearts.


Once strand is full, double knot at the end to secure and trim off the tail.


Remove pencil from the top and loop a clear hair elastic to it.  Now it's ready to use.


To make an easy and full faux 6 strand braid to decorate, start by making a ponytail and splitting it into two braids.  


Loop the elastic of the hair jewelry over the hair band.  Since I used a ball-style band it was easy to anchor it between the balls:


Next take some hair pins and every couple of inches, pin the bead strand down against each braid.  This will hold all 3 parts together.


Secure at the bottom with a clear elastic.


Now there's a pretty Valentine's Day hairstyle in just a few minutes:


Happy Valentine's Day!


Tuesday, February 4, 2014

Ultra Easy Valentine's Day Craft: Heart Shaped Duck Tape® Boxes

This is a Sponsored post written by me on behalf of Duck Brand provided by ShurTech Brands, LLC. All opinions are 100% mine.


Today I've got a fun & easy Valentine’s Day craft using just Duck Tape® & cardstock: Heart Shaped Boxes!
Use them to hold treats, cards or gifts.  Or to decorate for the holiday.  The best part?  You don't need any fancy cutting machine or stencils to make them.  Super simple and great for showing some DIY love this season!
Materials:
- Duck Brand® Tape in favorite prints or colors
- Utility knife/scissors & plastic cutting board or mat
- Cardstock
- Ruler
- Pencil

I got a mix of prints & solids to make mine. Duck Brand® has some fun holiday designs Valentine's prints like Wild Hearts and Cheetah Kisses I used, as well as all the coordinating solids to make lots of festive looks. These are also great for other themed projects like tape flowers, Valentine stickers & card boxes.


Start by cutting two strips of card stock that are 8.5 inches long and as wide as the Duck Tape® (about 1.87inches).  Unroll tape about 18 inches and place one strip on top of tape, smoothing into place.

Fold tape over other side, then cut.
Repeat with other piece and trim edges, if needed.
Using a small strip of tape, tape together one short end of each piece and then add another small strip over top and bottom to hold the ends together to make the "dip" of the heart.
Bring together remaining ends and fold a small piece of tape over their edges to secure the heart:
Now the sides of the box are done.
Place heart on top of card stock and trace the inner edge with pencil and cut out.
Put heart base on plastic cutting board or mat and begin adding strips of Duck Tape® until covered.  Carefully peel off mat and repeat for other side.
Trim around edges and now the box is ready to assemble.
Cut two thin strips of tape that are 8.5 inches long by .25 inch wide.  Starting at the pointed end of the sides of the box, attach one strip along top edge so half of strip is above edge as shown:
Place base along side edge, fold over the strip and press into place to attach base to side. Attach remaining strip and fold over (I found it easier to do it this way rather than attache both strips first):
The finished base will look like this:
Now the box is ready for whatever goodies you want to add.  I made one of each of my kids as a little Valentine's Day surprise.
Want more fun project ideas using Duck Tape®?  Follow Duck Brand® on Twitter @TheDuckBrand. And share your own ideas on Twitter & Pinterest with #DuckValentine hashtag!

Visit Sponsor's Site


I'm also sharing this project with my FAVE LINK PARTIES.
Click HERE to check them out!

LinkWithin

Related Posts with Thumbnails