Today's post is kinda different, kinda bold for me. Instead of being a project or sharing my experience with a new craft product, I'm sharing my thought process with holding back on buying a craft product. It feels a little weird, but hear me out.
I'll be honest, over the years I've been a huge impulse craft supply shopper. If something was new & fun (or just new to me), I was ALL about buying it. My inability to walk out of JoAnn's, Michael's or Hobby Lobby with just a single item is proof of that.
 |
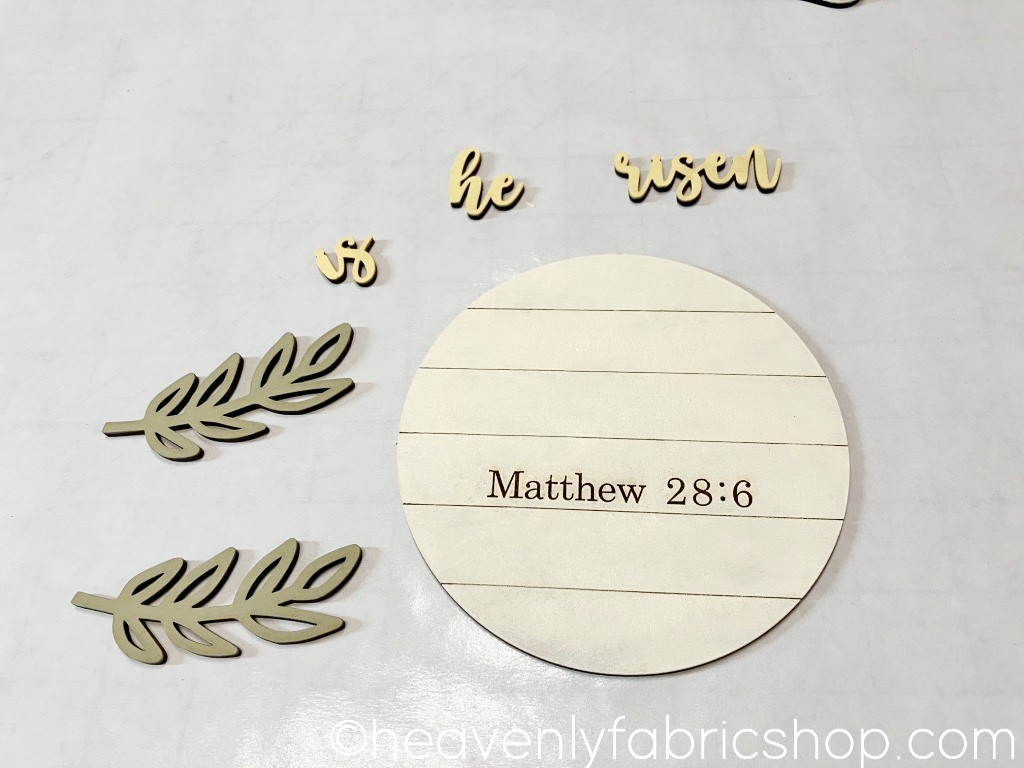
I needed all these...for something...although I didn't know what (and still don't).
|
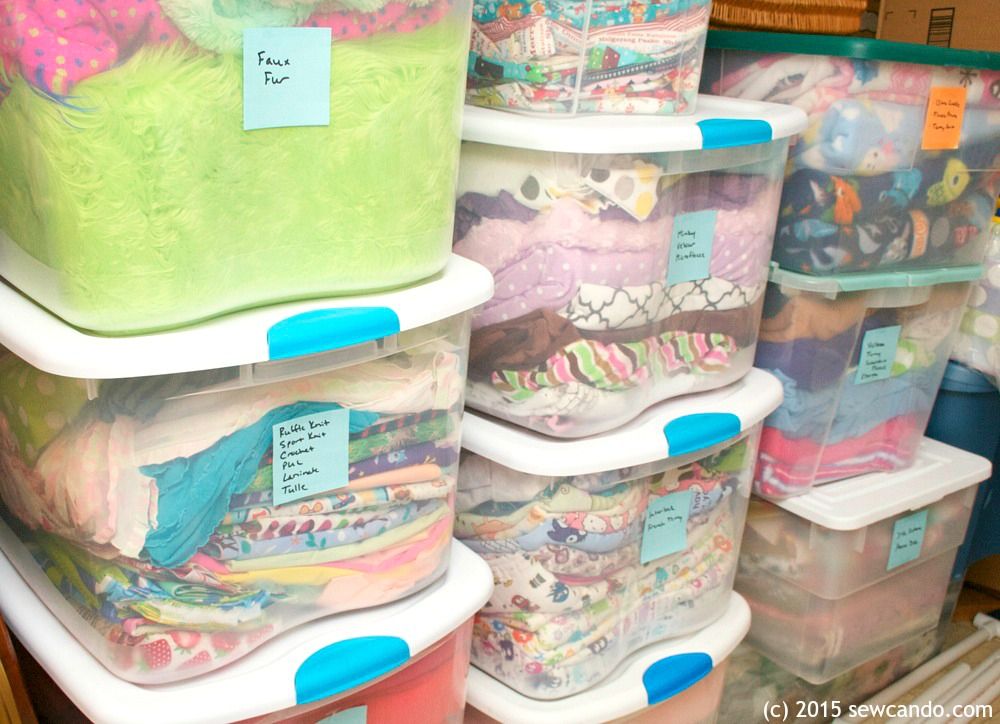 |
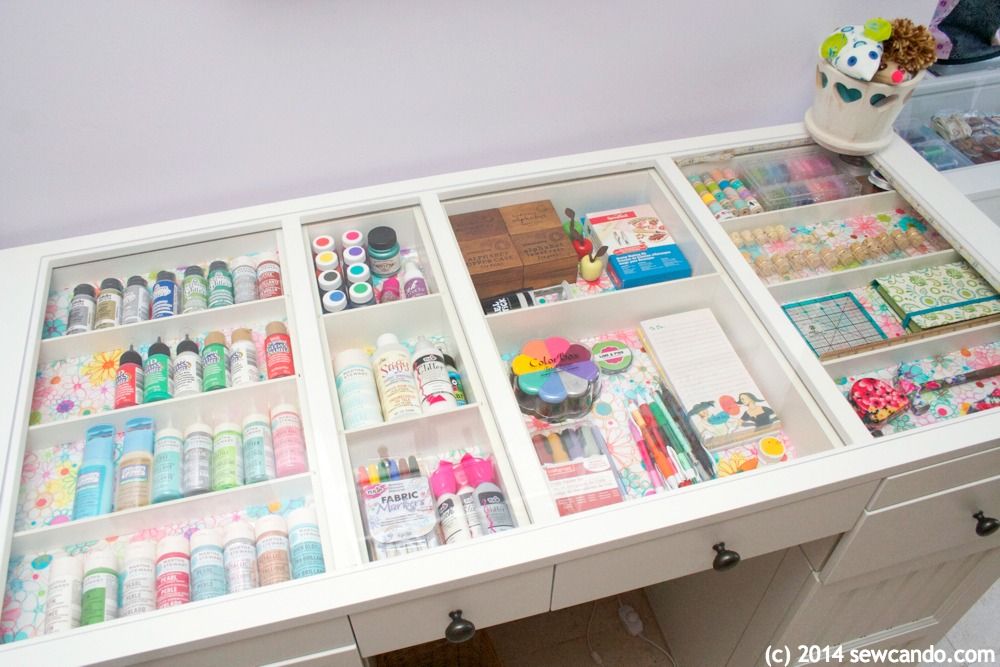
These just "accidentally" fell in my cart....every single time I went in.
|
Cricut has been a craft supply brand that I've felt the same about. They come out with new gadgets & supplies on the regular, with much online & in-store fanfare, and I always oohh and ahhh. Their marketing team really knows how to make us crafty types swoon! Their products are attractive, easy to use and made for the at-home hobbyist.
I've shared a number of posts with projects I've made using their Explore™ & EasyPress™, including one of my most visited posts ever:
So I feel like I can say I'm a fan of their work. A few weeks ago Cricut announced a new upcoming product, the Cricut Mug Press™. It started to make the rounds on blogs that the company has sponsor deals with - in posts showcasing what the blogger created with it and giving their key marketing talking points for the new product.
So what is the Cricut Mug Press™? A small scale sublimation press specifically for ceramic mugs.
How does it work? You make a digital design that will fit on a mug using Cricut Design Space™ and use a Cricut Explore™ or Maker™ (or another cutting machine/hand cut) to cut it out of some infusible ink transfer material, then stick it on the mug, pop it in the press and presto! You have a custom design mug that won't crack, peel or fade and is totally dishwasher & microwave save. You can also use their infusible ink markers with the press to draw or stencil a permanent design too.
 |
Image © cricut.com
|
My first impression was excitement and wanting to find out more details. The product video on their site had me imagining all kinds of coordinating mugs to fill up our cupboard (& finally get rid of the multi-shape/design hodge podge assortment we have) and the idea of making fun mugs that I could gift for all sorts of occasions. The product wasn't going to be released for another week so my buy-it-now impulse had a little think time to really weigh the pluses & minuses once the initial excitement calmed down:
Mug Press Pros
Easy push button use. No massive learning curve to use it or temperature calculating (although it can be adjusted slightly).
Permanent design - unlike using vinyl or Sharpie, these designs will stay exactly the same, even with heavy use and machine washing & heating.
Speed. The actual pressing is just a few minutes. The longest time spent is on the design/cut part & cool down time. You can have a completed mug ready to use in under an hour.
Cute edge designs. The short sides of your design that face the handle can be straight, scalloped, wavy, etc. which is fun.
Compact product size. It's as minimal as possible and the sleek shape can fit with many shelves and cupboards.
Mug Press Cons
Mug Limitations. The press is sized for straight wall 12 or 15oz mugs so forget about doing tall, oversized, latte or other shapes. Or other products.
Cricut mugs only. You can't just grab any old blank mug at the dollar store. You need to use specially formulated blank mugs to do the sublimation design. You might be able to find other sublimation blanks that are the same size, but Cricut won't promise they'll work with the press. Maybe it's 'cause they only want you to buy theirs, but you'd have to be willing to waste some $$ materials and do some trial & error to find out for sure and at your expense.
Designs can only be on the outside. You can't put a design on the inside, bottom or handle, just a wrap-around on the outer side.
Limited infusible colors & designs. The PR images give the impression you can do any design, but in reality, it's only what infusible sheets Cricut offers. It appears they only have 5 solid colors and 5 printed design options (like night sky or buffalo check). So it's not like you can create a totally custom design in whatever multi-color look you want - and forget about making photo mugs. And same as ⬆️ with using other brands sublimation sheets, maybe they're fine, but Cricut's not one to give handy tips on using competitor's products in their devices.
Availability. One of my big pet peeves about Cricut is the spotty availability if you do want to buy something new. There was such big fanfare the week before its release and now just a few weeks later it's still showing as "Coming Soon" on their site. Bundles of a machine with materials are Out of Stock in their shop. On Amazon a machine will be available to ship out in a week at soonest. A case of mugs (the most economical price/mug) will be 1-2 months. Some big box craft stores have various Mug Press stuff, but it's limited availability in-store or slow ship times online. And like most Cricut devices, it's excluded from sales & coupon discounts so the price is the same everywhere and likely will stay that way for some time.
Gives you the vapors. No seriously. In the fine print it says: Adult uses only. CAUTION: Use in a well-ventilated area—vapors from heating process may be irritating to sensitive individuals. So that's something else to consider if you're like me and have a bunch of kids in the house all the time or have any concerns about what you're breathing in...which is the entire world last time I checked, thanks to Covid mania.
Suddenly I wasn't so sure about forking over $200 for one.
And that's just the price of the machine itself.
Blank Mug Price: cheapest option is buying a 12 oz 6 pack at about $4.00/each
(unless you buy a set of 36, which would be just $2.16, but is conveniently out of stock)
Ink Price: the infusible ink sheets come 2 per box for about $7-11. If you use an entire mug-sized sheet mug, that's $3.50-5.50 per mug. Interestingly these mini sheets are considered compatible with the Cricut EasyPress (for using on fabric), but the larger, less expensive, infusible ink sheets they sell for the EasyPress state "Requires compatible Infusible Ink blank (sold separately) and Cricut EasyPress™ 2 or heat press that reaches 400°F (205°C). Will not work with incompatible base materials" which pointedly leaves out using them with the Mug Press.
Heat Resistant Tape Price: You need this to hold the transfer sheet onto the mug while it's in the press. That's about $5/roll too.
Actual Mug Total Costs: So each mug you make costs about $3.50-5.50 in just materials, and the machine itself is $200. So if you make 24 mugs (which seems like a lot for a hobbyist) the total per mug cost is about $12-18 per mug, assuming you already own a cutting machine (which would cost you another $200 if you don't).
Investment: you need to fork out a couple hundred on the Mug Press, a variety of transfer sheets and blank mugs. It's kind of a big splurge for something that's a one trick pony craft project-wise.
Limited Space: While Cricut does a good job making its machines small and unobtrusive, it is still another device to have to store. And collect dust in since it doesn't appear to have a covering for the actual press part, which is weird. I can't see using it as often as my Explore or EasyPress because it's strictly for making mugs of a certain size, so taking up more of my already extremely limited space isn't ideal.
Other Options: My husband did a quick search and found several other machines that cost a couple hundred more, looked a bit more commercial and were a bit larger, but were able to do mugs of all shapes & sizes, water bottles, glassware, etc. My feeling is if I were going to drop hundreds on a new craft device, I'd want it to be as versatile as possible to maximize use.
The Apple Effect: Cricut is the Apple of the craft machine world. They create innovative, cool looking products and market them well, but usually, about 12 months after a new product hits the shelves, they release a newer version of it. With better features, kinks worked out, more use options, etc. Suddenly that first version is outdated, but it's too big an investment for most of us to just toss and plonk down the same $$ for another one so soon after.
My BIGGEST reason to hold off: Zazzle, CafePress, Printify, VistaPrint, Printful and other custom print companies already offer the ability to do 100% custom mugs with your unique design. And offer it on bowls, glasses, bottles, jars, as well as a slew of other products. I did these that way a number of years ago and still love & use them regularly:
Custom Print Pros:
More Design Options: The design is still your original creation, except you can do whatever colors, patterns or photos you want. No limits on how much can go in one design compared to the small selection of transfer sheet options.
More Product Options: Want the mug to be two tone? Latte or espresso sized? Bone china? Or maybe be frosted glass or a water bottle or tumbler instead of a mug? You can do any of those with a custom printer.
Same or less cost per mug. They frequently have coupon codes & sales to lower the price even further and no quantity minimums.
Convenience. Making a digital design and clicking buy is a lot easier than having to drag out the cutter & a bunch of materials, cut a design, apply it in the press, wait until it cools and put all the devices away. All that is a bit of a hassle if you have small kids that can easily cause trouble with machines or a breakable project like a mug. I don't have enough spare counter space to leave all that stuff out and not be in the way either.
Guarantee. If your item doesn't look quite right or as you expected, most custom printers will offer a refund or replacement. If you goof on how straight you tape on your transfer sheet or leave a bit of dust on your mug with the Mug Press, it's a permanent mistake and materials wasted.
Custom Print Cons:
Lack of Instant Gratification. Yeah, if you have all the gear on hand, the Mug Press gives you the finished item in an hour, which is great craft turnaround time. In our Amazon Prime world, waiting a week for a printer to make & ship something feels like eternity, but realistically, it isn't that long.
So after doing some soul-searching and practicality consideration, I've decided this isn't the craft product for me. At least right now & with the current specs anyway. I may change my mind someday, but for now, it just doesn't make sense for a lot of reasons. Weirdly, I've never tried to do designs of any kind (paint, vinyl, marker) on mugs before but now my interest is piqued and I may give some a go. I hand wash a lot of baby bottles & glass and steel water bottles these days, so more items to hand wash isn't a huge turn off. Maybe I'll give some of those options a go and make some of my custom mug dreams come true, even if they aren't sublimated;)
I'd love to hear what others think. Will you buy a Cricut Mug Press™? Have you already? Are there reasons for or against buying one I've missed? Have you done custom mugs in another way? Share your thoughts or experiences in the comments!