Showing posts with label Hair Accessories. Show all posts

Wednesday, July 31, 2019

How To Make & Repair Ball Hair Bands (aka Ballies)


Hair ballies, ball hair bands, whatever you call them, these are the hair bands I loved in childhood.  All 3 of us girls wore ponytails and braids with these growing up.  They were so much easier to use, prettier and more comfortable than plain elastic hairbands and they always stayed in place.  I love using them on my own very thick-haired daughter now.  


The challenge is finding them.  When I was a kid every drug store had big packages with lots of colors and sizes available.  It's taken me some serious online & beauty supply store searching to find any the past couple of years and the selection & quality has been pretty limited.  The few I'd found were pretty wimpy and fall apart quickly.


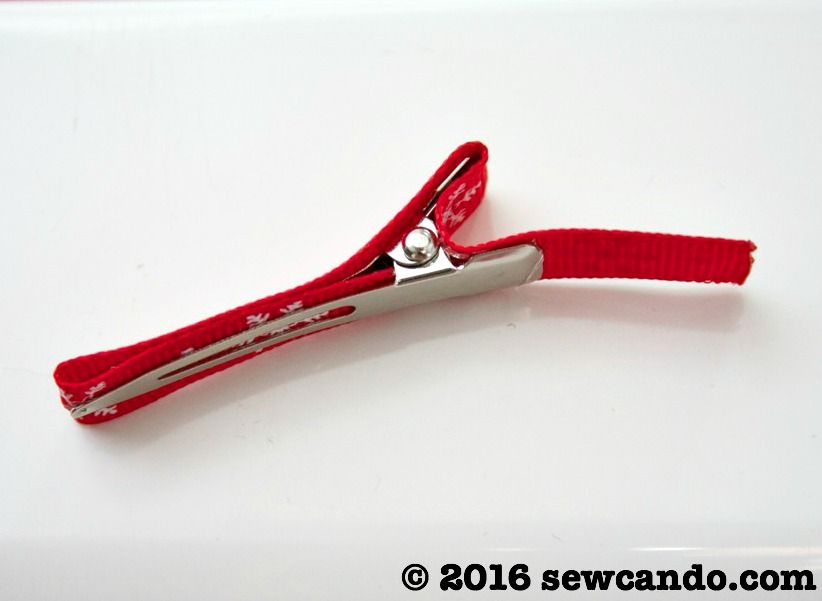
I grew tired of having the elastic stretch out like this:


Or having them just come apart after a couple of months of wear.  The ones I had as a kid lasted for decades, but the ones today don't make it past a few months!


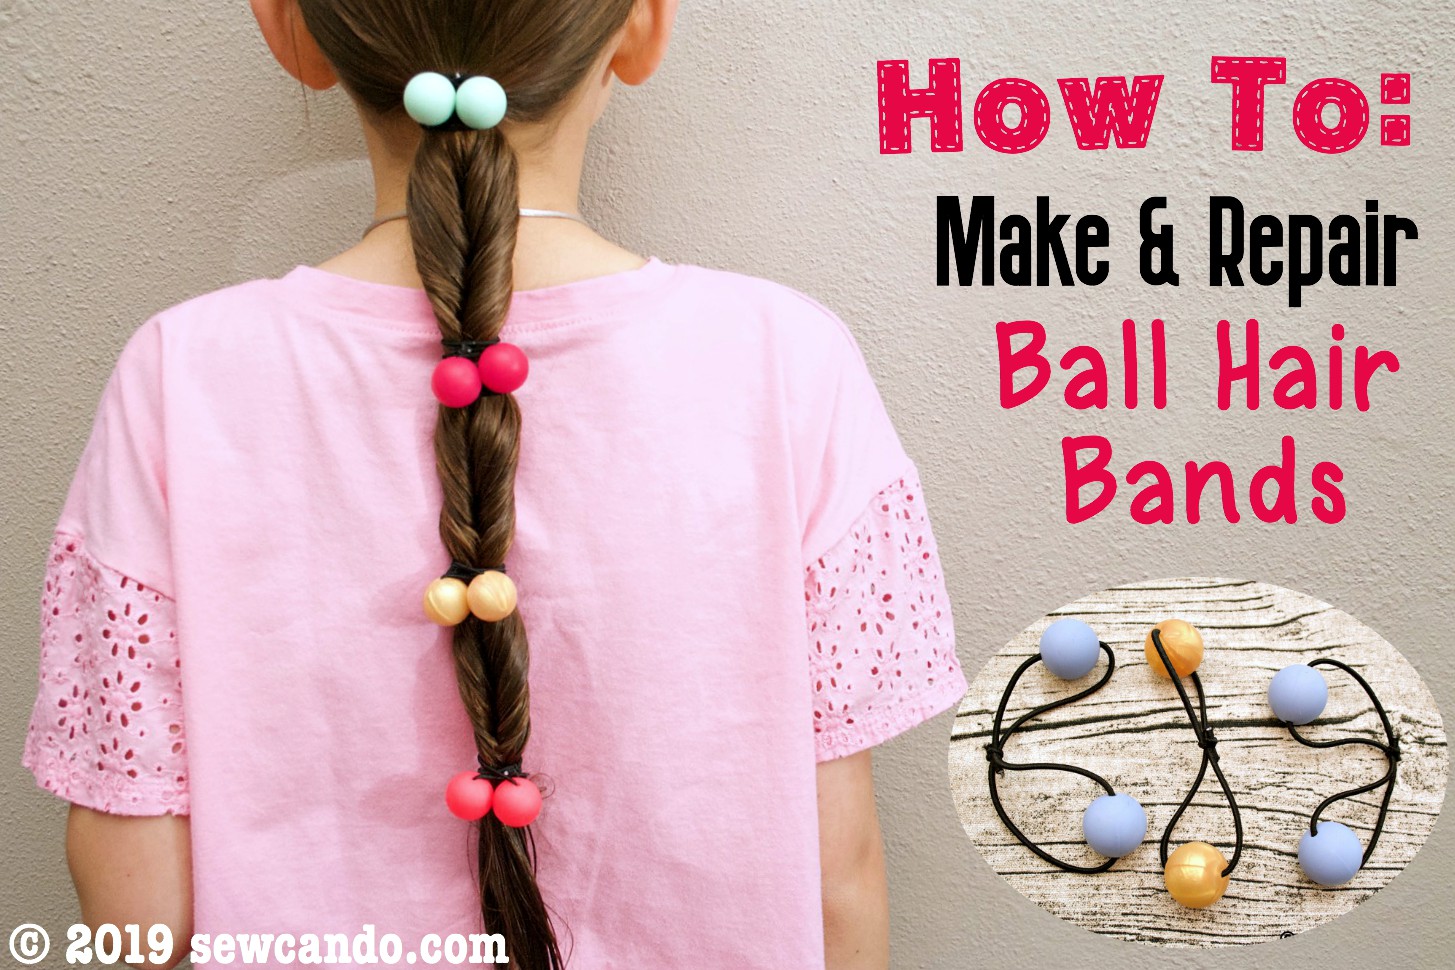
I figured there HAD to be a way to reuse the beads to make new ones and came up with this technique.  After months of using them, I can say my DIY'd hair ballies really hold up well - way better than the factory made versions. 


And I also figured out how to make the perfect hair ballies from scratch, using silicone beads.  These are perfectly sized, really durable and can be made in tons of colors.  They're the same kind that I used to make my silicone baby teethers.  


I used the 19mm size since we wanted to make hair bands that were for "big girl" ponytails, but the smaller 12 or 15mm would be ideal for smaller size hair bands. 


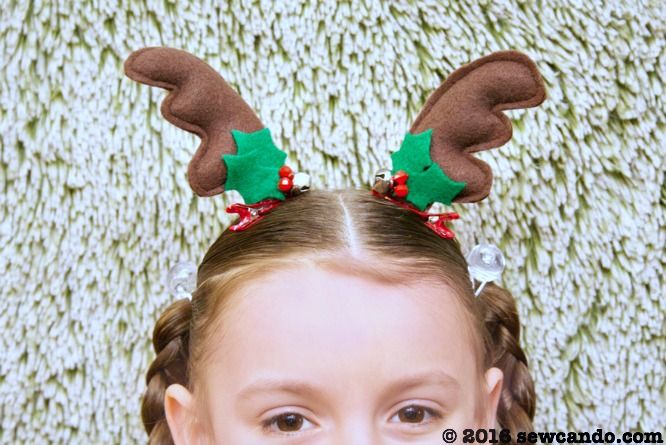
It's also very easy so anyone can do it.  I was able to make a bunch in all sorts of colors to match my daughter's outfits:


Now I'm sharing how to do it!


Materials:
- 2mm Elastic Cord (found in most craft stores)
- Plastic balls from hair bands or silicone beads
- Ruler
- Scissors

Cut a piece of elastic cord that's 12 inches long (25.4mm):


String on two beads and arrange them so the balls are 4 inches apart.  Cross the open ends of the elastic.  Fold the top strand of the elastic over the lower end and bring it down under the middle of the other side.


It helps to weigh down the balls or have someone hold them in place to keep things from shifting around.  It will look like this:


Bring the open ends upward and tie in a basic knot.


Knot again, pulling very tightly.


Snip the law ends close to the knot and the band is done. 


It literally takes less than a minute to make one, so you can make a bunch in no time.  Bring on the ponytails!


Wednesday, February 28, 2018

DIY St. Patrick's Day Hair Ribbon Accessory


Today I'm sharing a super simple project for St. Patrick's Day:  DIY Hair Ribbon Band and a recently learned lesson about letting go when life throws your plans out of the window.

I always LOVE the idea holiday themed shirts and outfits for kids, but after so many years as a mom I've realized it's a bit like throwing money out the window.  Holiday clothes rarely fit for more than one year and the seasons for them are so short, you get maybe a couple weeks of wear (if you're on top of the laundry and the kids don't fight you about wearing it a lot) and then boom! It's over and time to pack it up.  

This year especially, with St. Patrick's Day and Easter being less than 2 weeks apart, it feels extra insane.  It's also pricey when you have several kids (I'll soon have 4!).  A hat or hair accessory, however, will last for years, doesn't get outgrown and potentially works for multiple kids over time.  It's also cheaper.   WIN! 


Adding to that, I'm in the final weeks of my 4th pregnancy and there doesn't seem to be enough hours in the day to get to everything I feel needs attention.  Being busier than ever and more worn out than ever is not the ideal combination.  When just going up the stairs is exhausting, you've gotta adjust the priorities.  Lots has been put on hold and I feel really unproductive. 

Yet, despite lofty goals, it's got to be about the easy right now.  I've been trying to do a few simple projects just to give myself some moments of craft enjoyment (and being off my feet), but nothing that stresses me out, takes loads of time to do or takes away from daily needs.


This hair accessory is a way to still have some holiday flair, but only takes a little time to put together.


Materials:
- Assorted ribbons
- St. Patrick's Day Buttons & Charms (these are from my shop HERE
- Hair elastic
- Lighter, hot glue gun, scissors, ruler

This set of buttons & charms from my shop made this project really simple. I still had a bunch left to make a second one or to use to embellish something for my guys:


I scrounged my stash for various green and gold trimmed ribbons and cut several to be around 11 inches.  They didn't need to be exact since staggering them looks better:


I ran the cut edges under a lighter to heat seal them to prevent fraying.  I used my open shamrock charms with my thinnest ribbon and looped the ends around them and then put a dab of hot glue to hold them:


To keep the shamrock buttons facing up (instead of turning sideways) I pulled the ribbon upward and put a little more glue between the loop and the button back to keep it straight.


I layered them together and pinch in the center.  To attach them to the hair band, I wrapped a one inch piece of the widest ribbon around the center of the ribbon pile and the hair elastic, rolling it up and leaving a little tail:


I trimmed down the tail and heat sealed it and dabbed a line of glue before I rolled it closed:


Then I glued on my big Happy Saint Patrick's Day button over the seam and the hair band was good to go:


I'm grateful for simple wins like this right now.  I'd anticipated having all our baby stuff ready to go a month ago so I could focus on spending time with the kids and getting to a few long neglected craft projects before life really gets crazy, but my daughter's accident early in the year and other issues threw my whole plan out of whack.  Seeing this project done makes me feel a little more on top of things and at least we've got a hint of the holiday in the house!   


Tuesday, February 13, 2018

Easy Valentine's Day Bead Hair Jewelry Tutorial


The holidays this year seem to close together - it feels like it was just a hot second ago it was Christmas, now it's nearly Valentine's Day and St. Patrick's Day and Easter are just a couple weeks apart.  What's a busy crafter to do at the last minute?  Keep the holiday projects fast & easy, like with this Valentine's Day Hair Jewelry!


I used items I had in my stash for this inexpensive, but fun Valentine's Day look.  These sparkly berry beads are what gave me the idea:


And some heart shaped pony beads:


I had just enough to make a super long one for my daughter.  Her hair is so long these days, it's hard to even fit it all in a photo!


Now, Let's Make The Hair Jewelry!


Here's what's needed:


Materials:
 - Assorted beads: berry beads (mine were from Sugar Pink Boutique), pony beads (local craft store)
 - Clear elastic string
 - Pencil, pen or knitting needle
 - Clear hair elastic

Cut a piece of the clear string double the length desired.  Fold in half over a pencil and double knot it.  


String the beads in the pattern desired.  I alternated a berry bead for every two hearts.


Once strand is full, double knot at the end to secure and trim off the tail.


Remove pencil from the top and loop a clear hair elastic to it.  Now it's ready to use.


To make an easy and full faux 6 strand braid to decorate, start by making a ponytail and splitting it into two braids.  


Loop the elastic of the hair jewelry over the hair band.  Since I used a ball-style band it was easy to anchor it between the balls:


Next take some hair pins and every couple of inches, pin the bead strand down against each braid.  This will hold all 3 parts together.


Secure at the bottom with a clear elastic.


Now there's a pretty Valentine's Day hairstyle in just a few minutes:


Happy Valentine's Day!


Wednesday, December 7, 2016

Lil Reindeer Antlers Hair Clip Tutorial


Today I've got another holiday wearable tutorial.  This one is so fun & festive, you can't help but feel merry seeing them: my Lil Reindeer Antlers Hair Clips!


These are inexpensive to make and a great way to dress up any outfit this season.


And make for some terrific holiday photos:


They use basic craft supplies, so they're very simple to add to your holiday to-make list!


Materials:
- Brown & green felt
- Polyfil
- 3/8 inch wide grosgrain ribbon
- Round red beads
- Jingle bells
- Hair Clips
- Hot glue/E6000 glue
- Notions: Sewing machine, paper, marking pen, hand sewing needle, knitting needle or pencil, scissors

Start by drawing an antler shape on a piece of paper, about 4 inches high and cut out.  Cut out two pairs of 4in x 4in squares from the brown felt and trace the antler shape onto the top of each pair.


Stitch along the outline of each antler stack, leaving the bottom open.


Cut antlers out close to stitching and stuff with some polyfil, using a knitting needle or pencil to gently fill all the nooks and crannies.  Fold the raw edges of the openings inward.


Cut out some small holly leaves from the green.  I just freehanded those - they don't have to be perfect!


I dabbed a bit of hot glue to attach the leaves to the base of each antler and then stitched the beads and bells onto them by hand.  You could glue them, but I wanted to be sure they wouldn't fall off, so stitching was added security.


Cut a 4 1/4 inch piece of ribbon for each hair clip.   To wrap the clip, put a line of glue along an inch and open the clip and stick it to the underside of the clip's top half:


Then add some glue to the top, end and around the base to wrap the ribbon all the way around. 


Now that the clips are wrapped, dab a generous amount of E6000 glue onto the base of each antler and attach them to the clips.  This glue is super strong, so it'll support the weight of the antlers better than hot glue.  You'll want to make sure the clips face each other so the antlers mirror each other.  You don't want two facing the same way - that makes for wonky reindeer;)


I let them dry upside down and then they were ready to wear:


I made this festive shirt to go with them, since I'm on my machine embroidery kick for the holidays.  My kids love the movie "Elf", so this seemed the perfect fit to go with our new antlers:


Happy Crafty Christmas!  


And if you like making holiday hair clips, check out my other how-to's by clicking the photos below:

Ribbon Christmas Tree Hair Clips


LinkWithin

Related Posts with Thumbnails