Showing posts with label Duck Tape. Show all posts

Wednesday, February 26, 2014

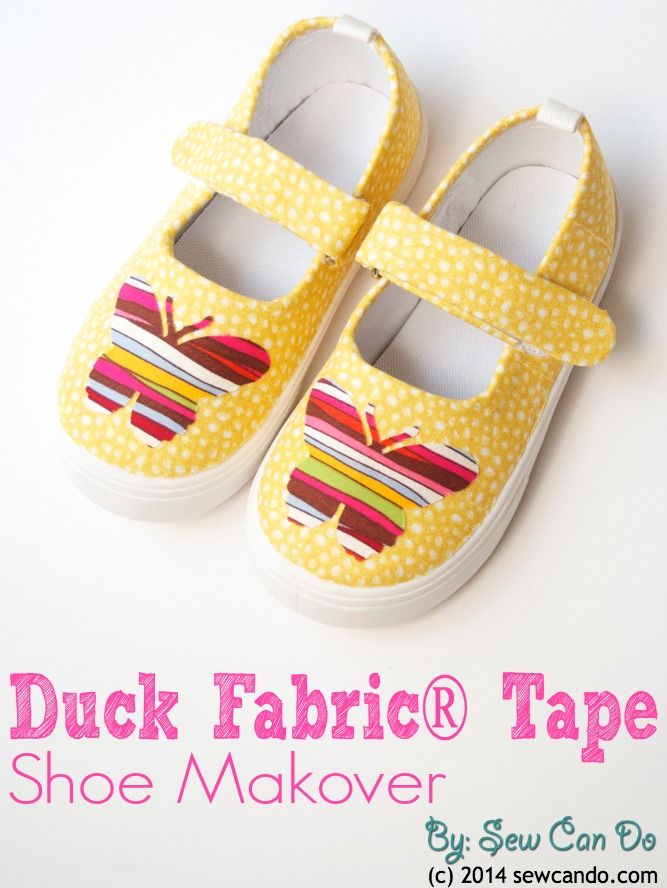
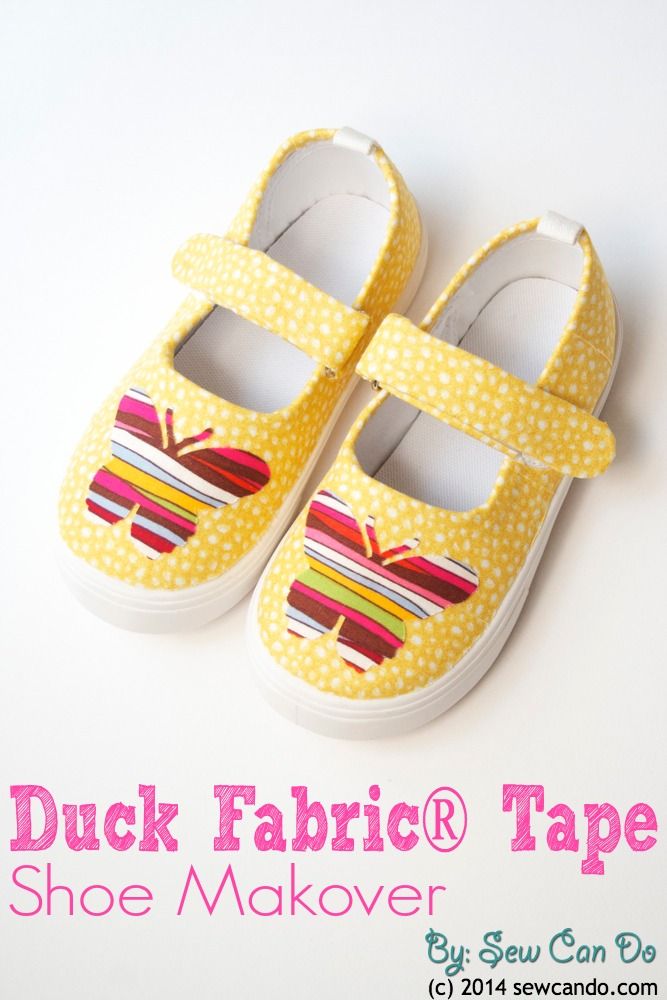
Tutorial Time: Duck Fabric® Tape Shoe Makeover

This post brought to you by Duck Brand. All opinions are 100% mine.


Today's project is one I'm very excited about because it's also a chance to share a new product I now love: Duck Fabric® Tape.  I was intrigued when I first heard about this new item from Duck Brand Craft Tapes. Fabric that's really a tape? It sounded magical!

Here's the 411 on it: It's a bit different than regular Duck® Tape since it's actually soft cotton fabric.  This means it behaves like fabric in being soft and smooth, but has a built-in grip adhesive on the back so it can function like a traditional tape to adhere to just about anything.  It also comes paper backed so you can plan things out before you peel.  
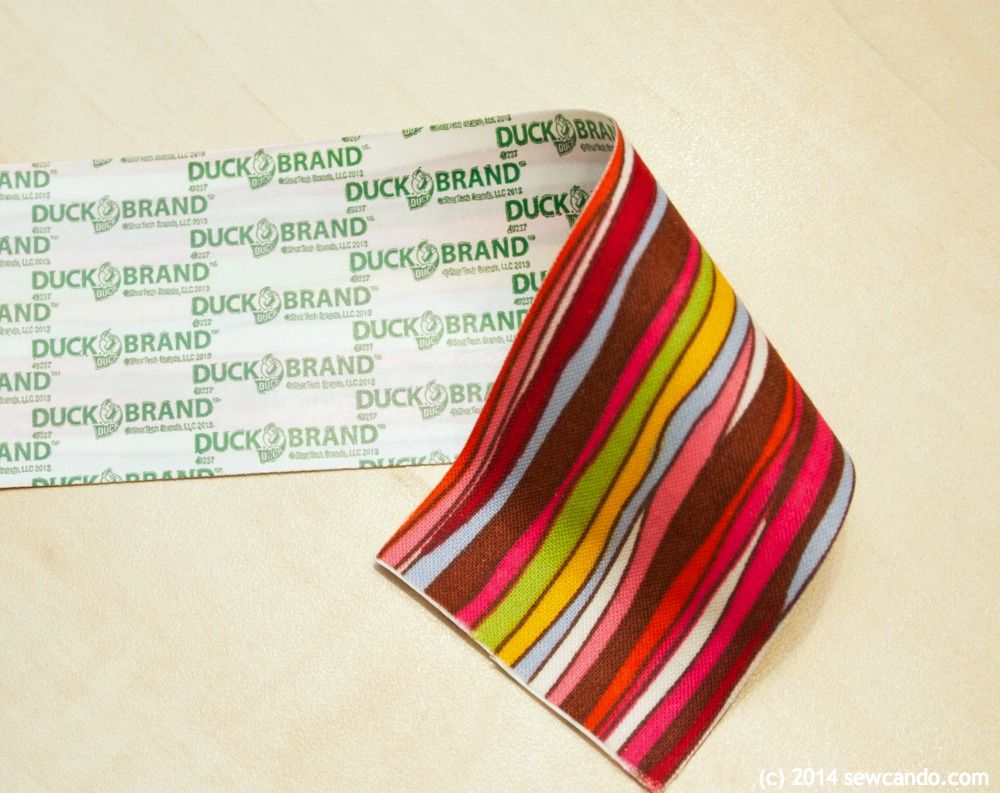


It sounded totally up my street, so you can imagine my excitement when I was asked to by Duck Brand® to come up with a craft using it.  This tape allows you to add fabric texture to just about anything - home decor, toys, cards, you name it.  You can even write on it!  It's as cool as it sounds.  I had a lot of ideas in mind, but this one really jumped out at me - Duck Fabric® Tape Shoes!  


Turn a boring or ugly pair of shoes into a custom design without messy glues, wrinkled fabric or complicated steps thanks to this special tape.  It's easy - here's how:


Materials:
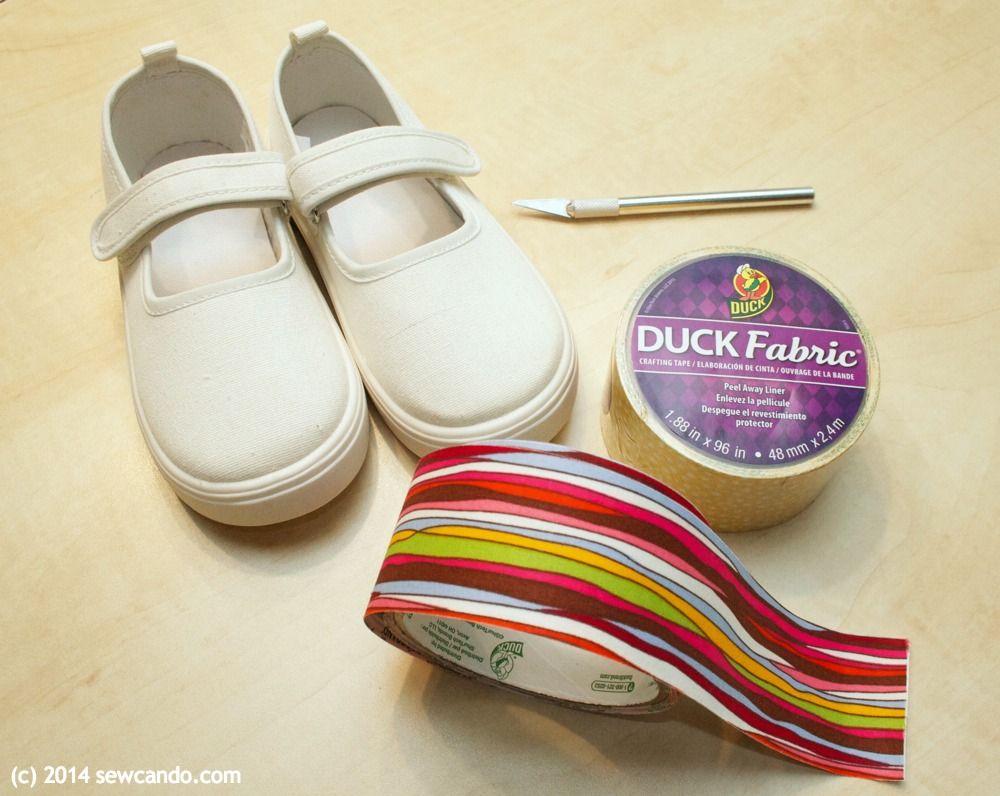
- Duck Fabric® Crafting Tape.  I used Yellow Speckled Dot & Coral Multi Stripe*
- Scissors
- Disappearing fabric marker
- Canvas shoes


*This fabric tape is available in a number of versatile prints in standard tape width shown, as well as 3/4in wide mini rolls and in 8x10in sheets.

Start by cutting a strip of fabric tape slightly wider than the toe cap of the shoe. Place tape over top of shoe so edges cover canvas of shoe and overlap onto the welt (rubber side).  Press firmly using a fingernail, or non-sharp edge of a blade cutter, so the indentation where the canvas meets the rubber will show through the tape.  Draw along that seam with the disappearing marker to make the cut line. 


Pull lower edge of tape up & away from shoe just enough to be able to cut along line with scissors.  Smooth tape back down after cutting.
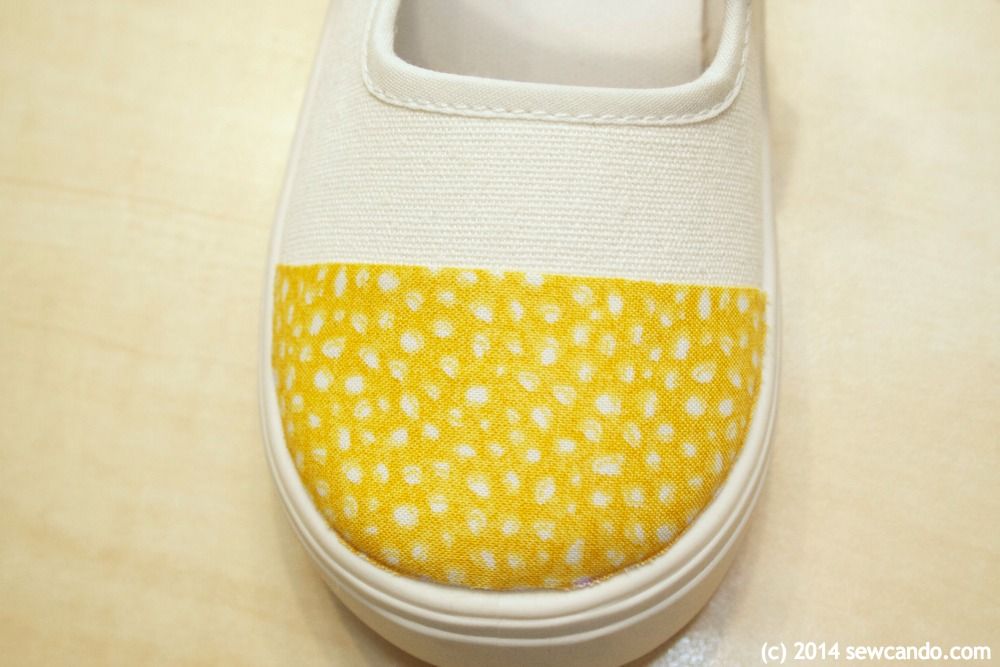

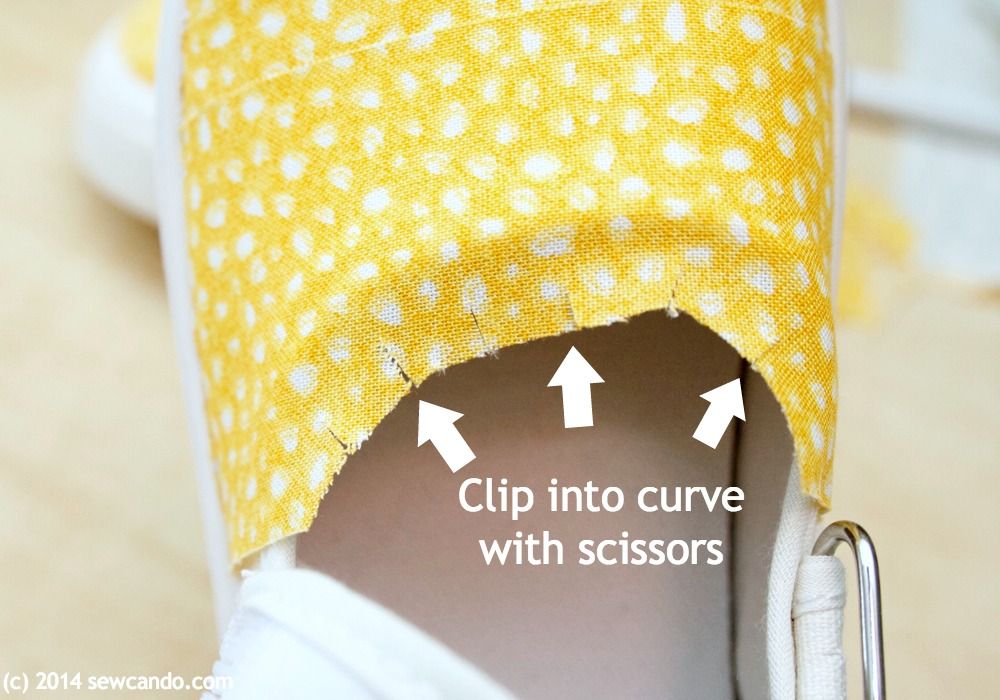
Add another strip of tape next to the first and repeat the creasing, marking & cutting along the sides.  Don't worry if it isn't perfectly aligned - the tape can be repositioned easily to get it just right.  To wrap around the upper edge, trim the overlapping portion of the tape to 1/4 inch and clip as shown so tape will easily wrap around the curve.  Press firmly to the inside of the shoe.

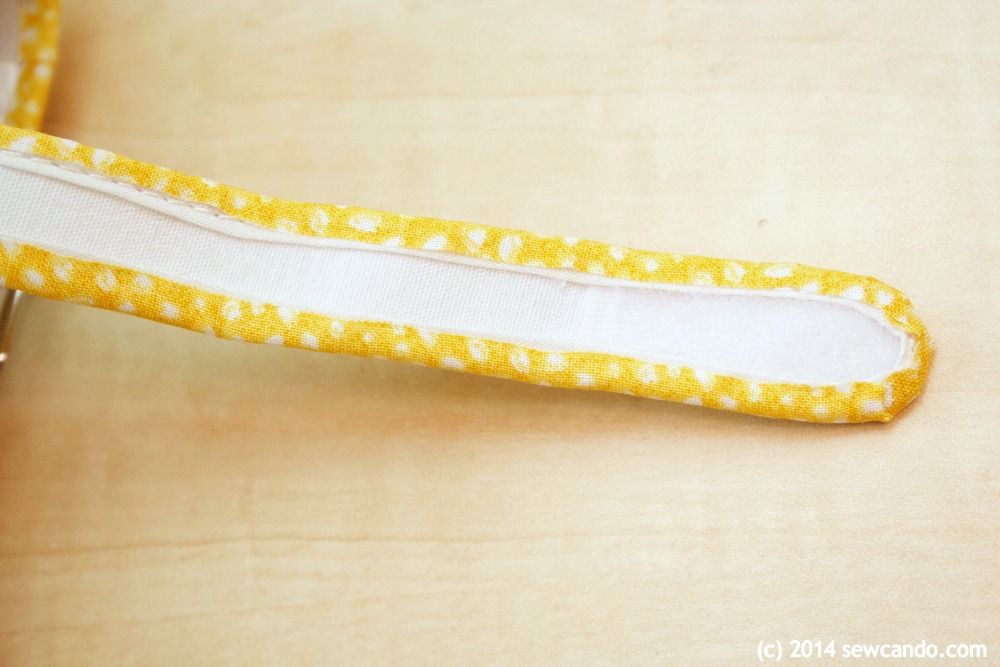
To do a strap, cut a strip of tape that is 1/4 inch wider than the strap on either side and place as shown.


Clip into the curved end and then fold tape over to the underside of the strap.

To cover any buckle edges, cut a tape piece to fit around buckle area first:
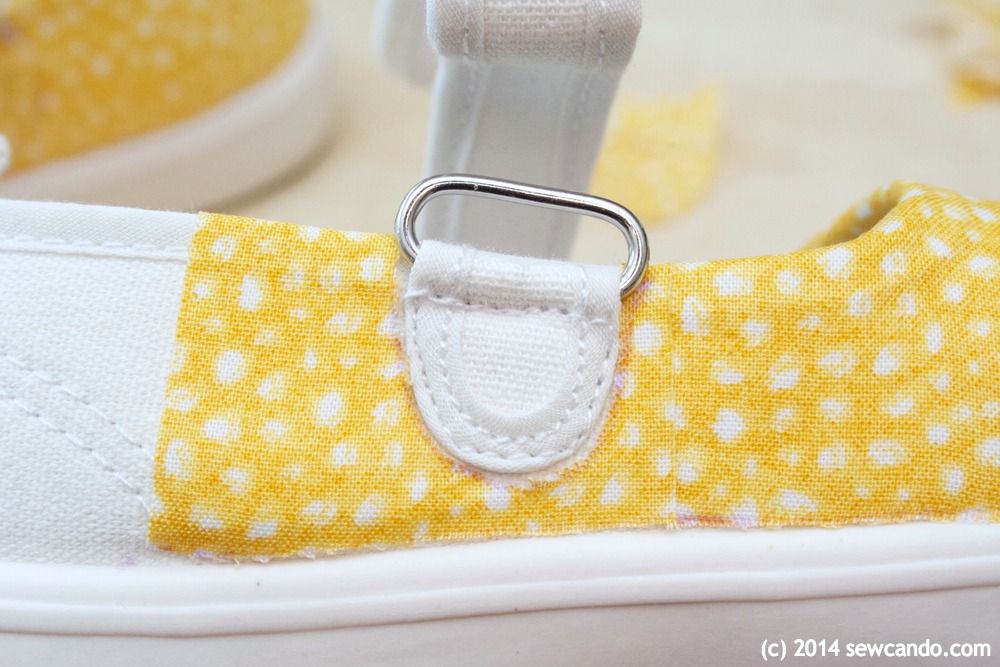

Then add an additional piece of tape, and cut with a slight edge to wrap around the buckle sides:
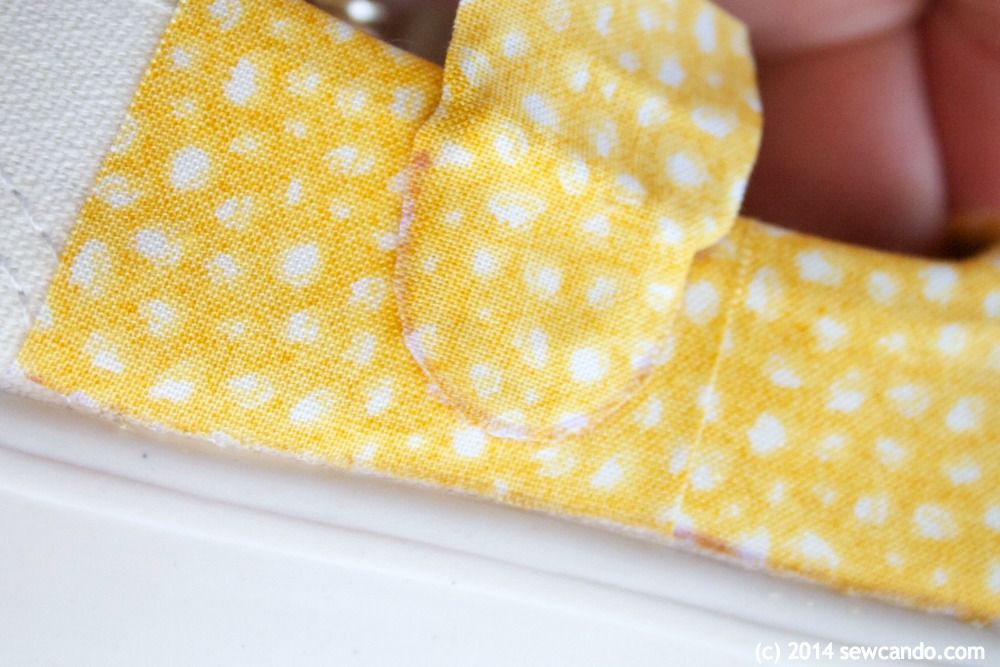

To add decorative touches, cut shapes in a contrasting print tape.  This part is what I really love about this tape - since it's paper backed, it's easy to trace on and to cut any shape.


I used my Cuttlebug and a die cut to make detailed butterfly shapes in seconds:
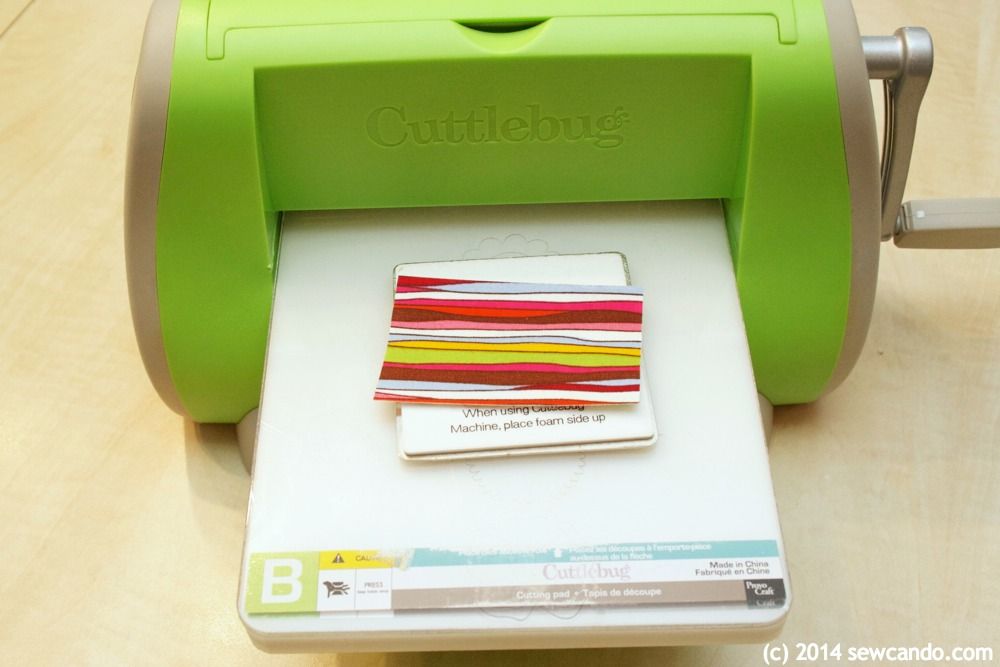

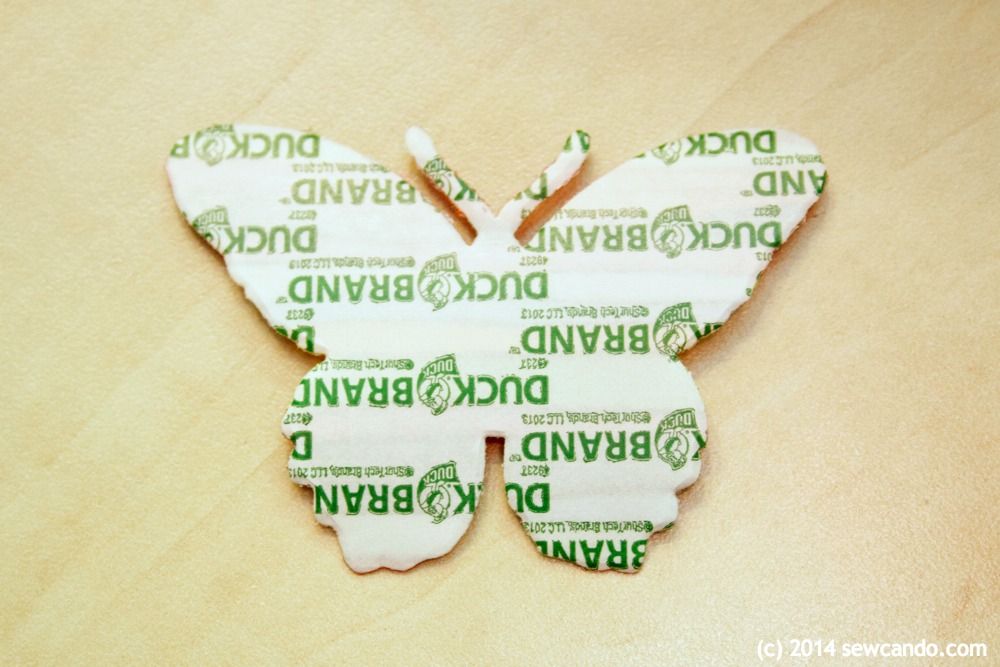
All I needed to do was peel away the paper and stick:

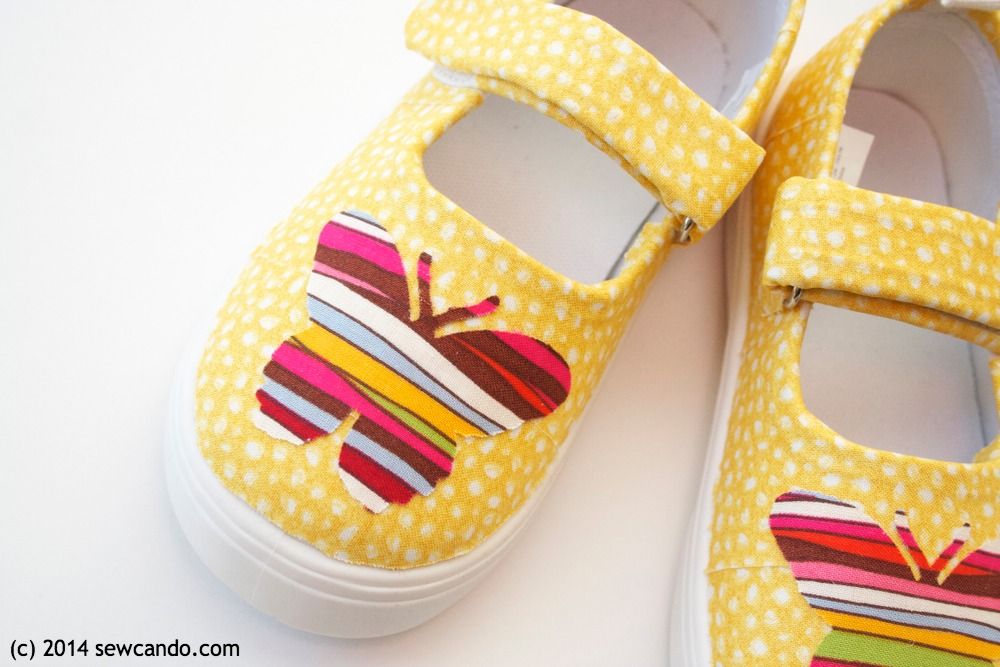
Now some plain shoes have a totally colorful & custom look:
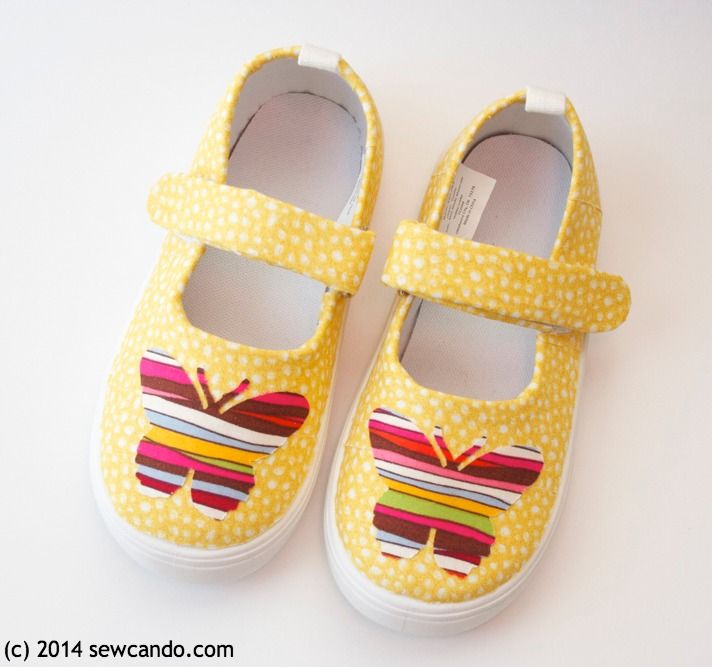

The transformation from drab to fab is incredible - and was easy to do.  It was so fun to work with, I'm planning to do some home decor and paper projects with it too.  I want to tape just about everything with this stuff!
  

Want more fun project ideas using Duck Tape®?  Follow Duck Brand® on Twitter @TheDuckBrand. And share your own ideas on Twitter & Pinterest with #DuckCraftTape hashtag!


I'm also sharing this project with my FAVE LINK PARTIES.
Click HERE to check them out!

Visit Sponsor's Site

Tuesday, February 4, 2014

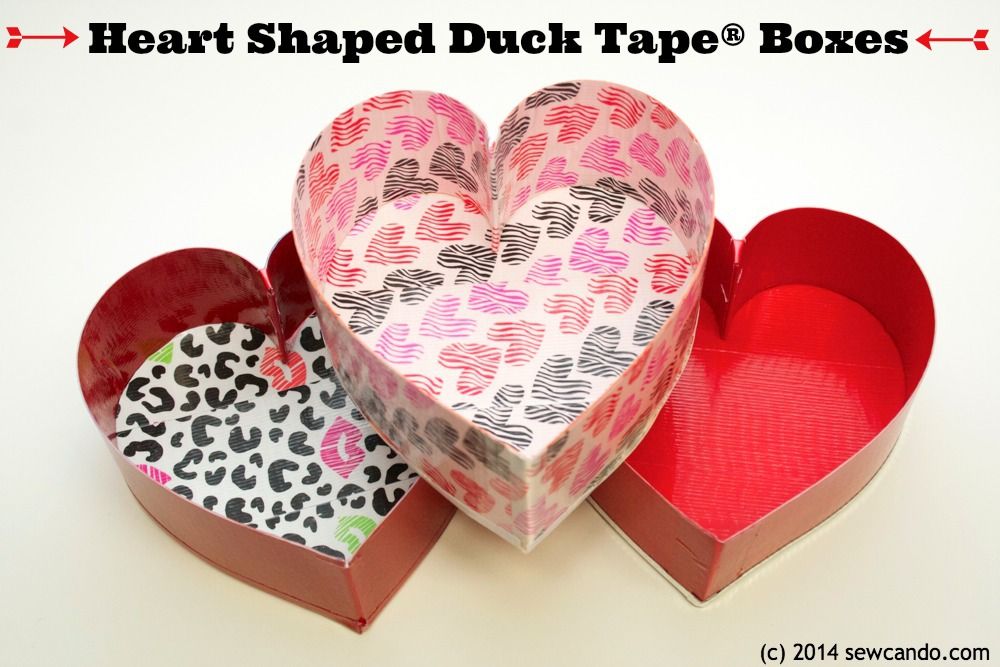
Ultra Easy Valentine's Day Craft: Heart Shaped Duck Tape® Boxes

This is a Sponsored post written by me on behalf of Duck Brand provided by ShurTech Brands, LLC. All opinions are 100% mine.


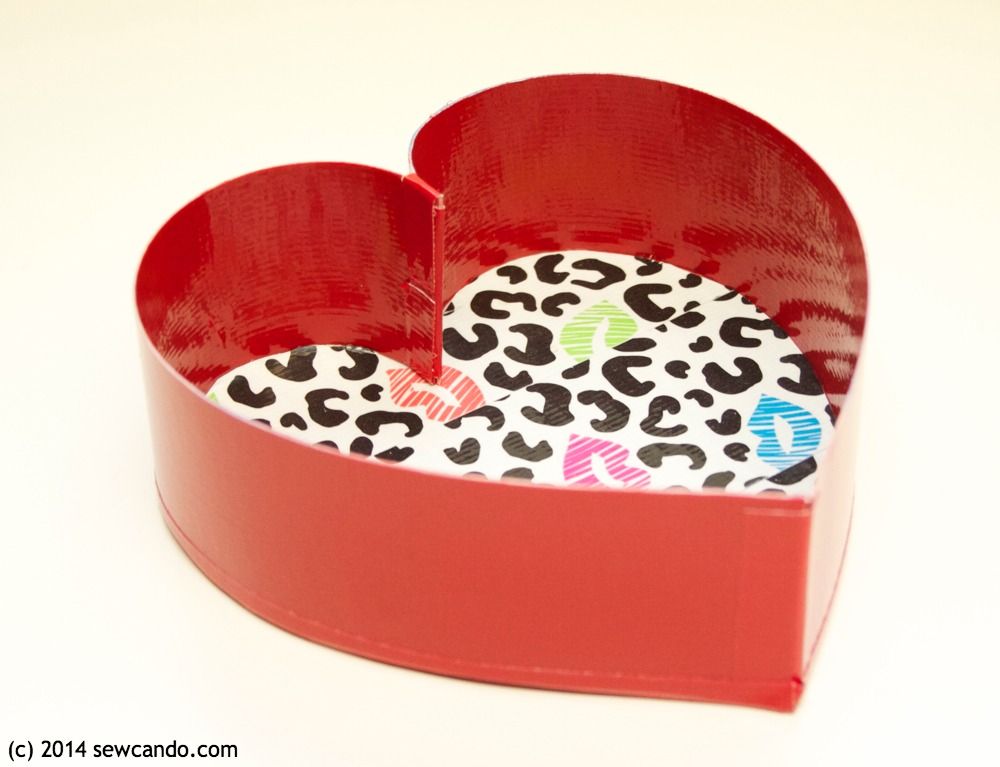
Today I've got a fun & easy Valentine’s Day craft using just Duck Tape® & cardstock: Heart Shaped Boxes!
Use them to hold treats, cards or gifts.  Or to decorate for the holiday.  The best part?  You don't need any fancy cutting machine or stencils to make them.  Super simple and great for showing some DIY love this season!
Materials:
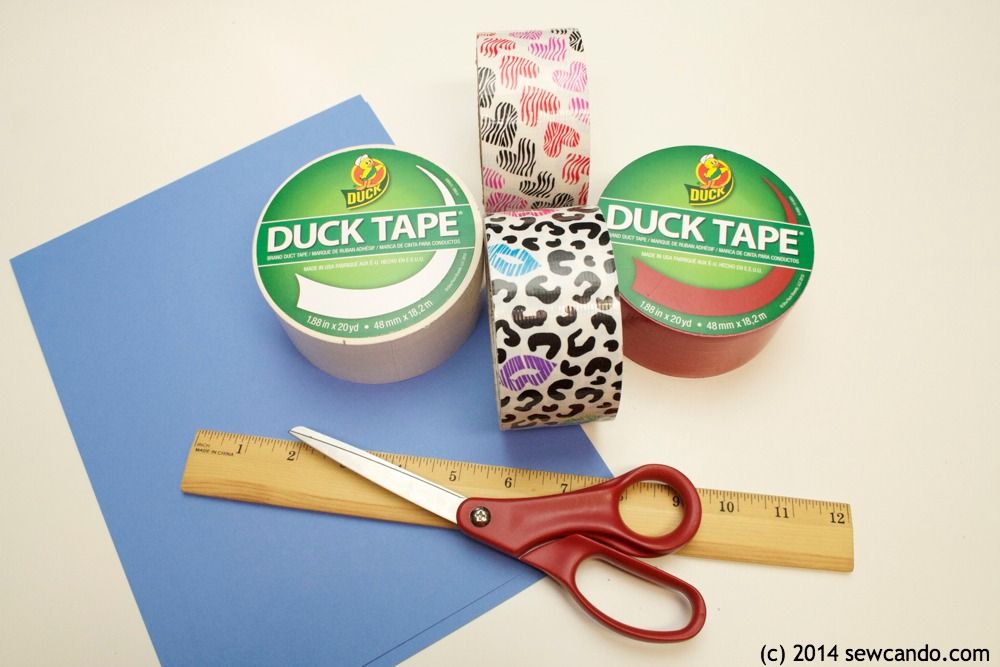
- Duck Brand® Tape in favorite prints or colors
- Utility knife/scissors & plastic cutting board or mat
- Cardstock
- Ruler
- Pencil

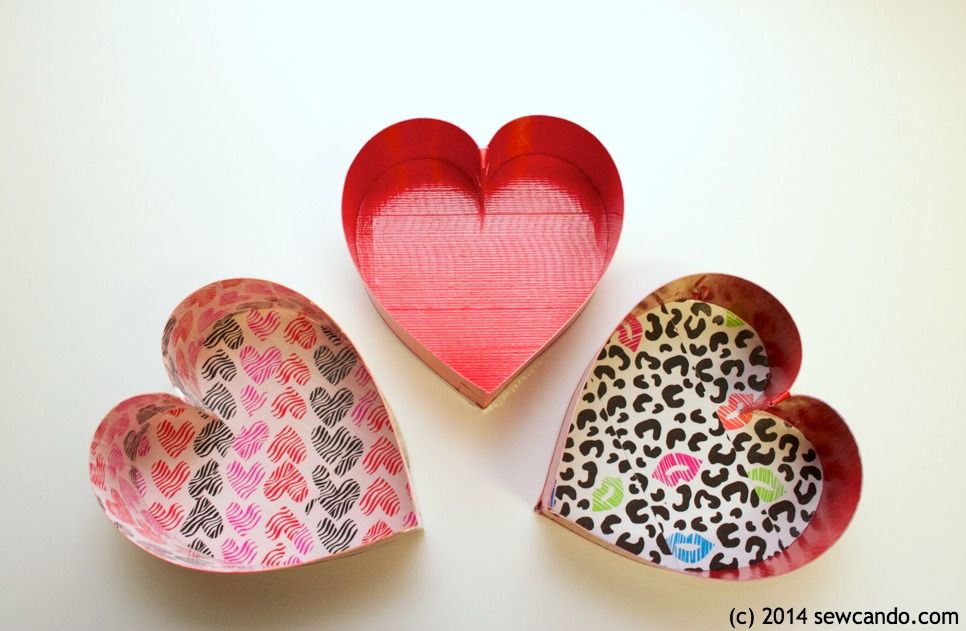
I got a mix of prints & solids to make mine. Duck Brand® has some fun holiday designs Valentine's prints like Wild Hearts and Cheetah Kisses I used, as well as all the coordinating solids to make lots of festive looks. These are also great for other themed projects like tape flowers, Valentine stickers & card boxes.


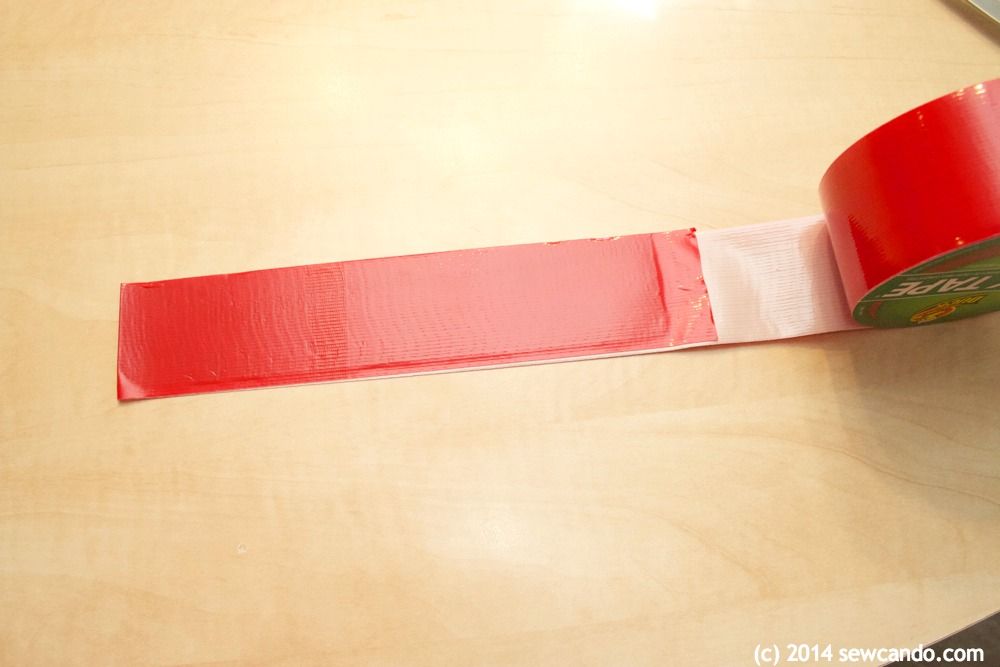
Start by cutting two strips of card stock that are 8.5 inches long and as wide as the Duck Tape® (about 1.87inches).  Unroll tape about 18 inches and place one strip on top of tape, smoothing into place.

Fold tape over other side, then cut.
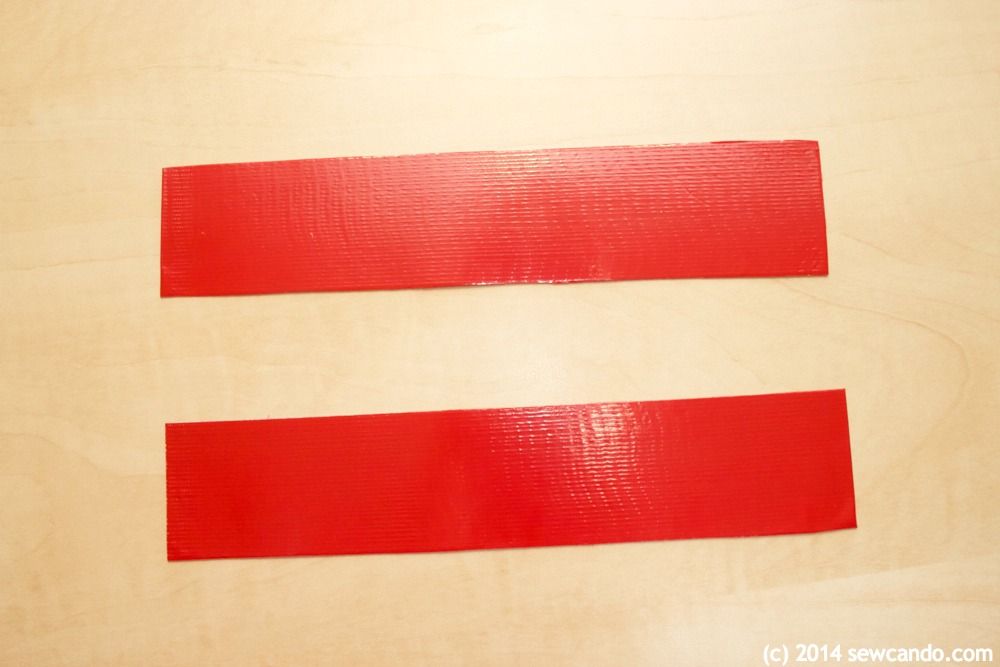
Repeat with other piece and trim edges, if needed.
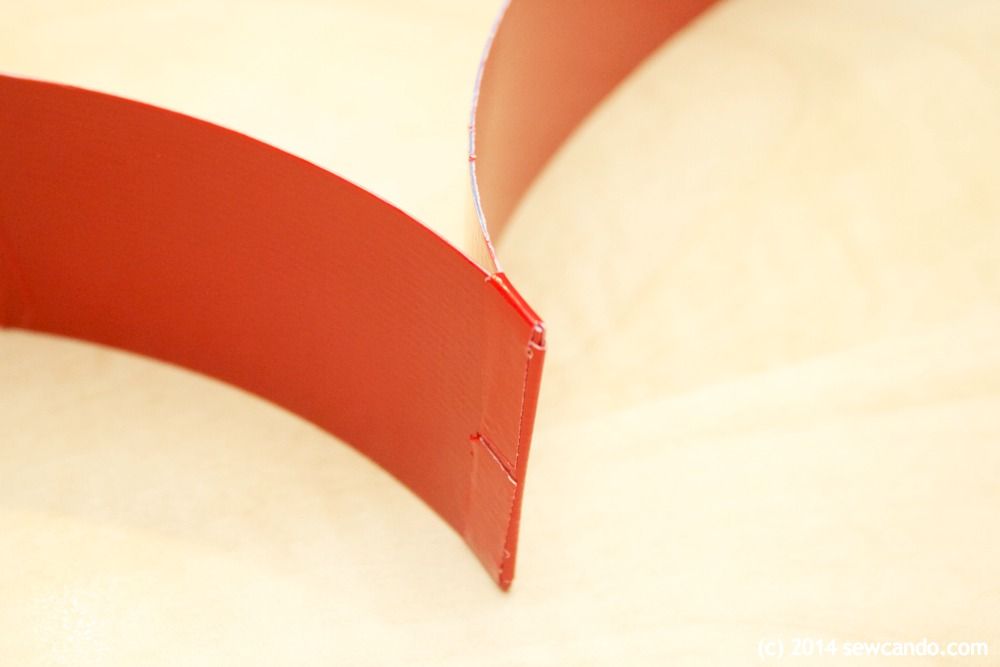
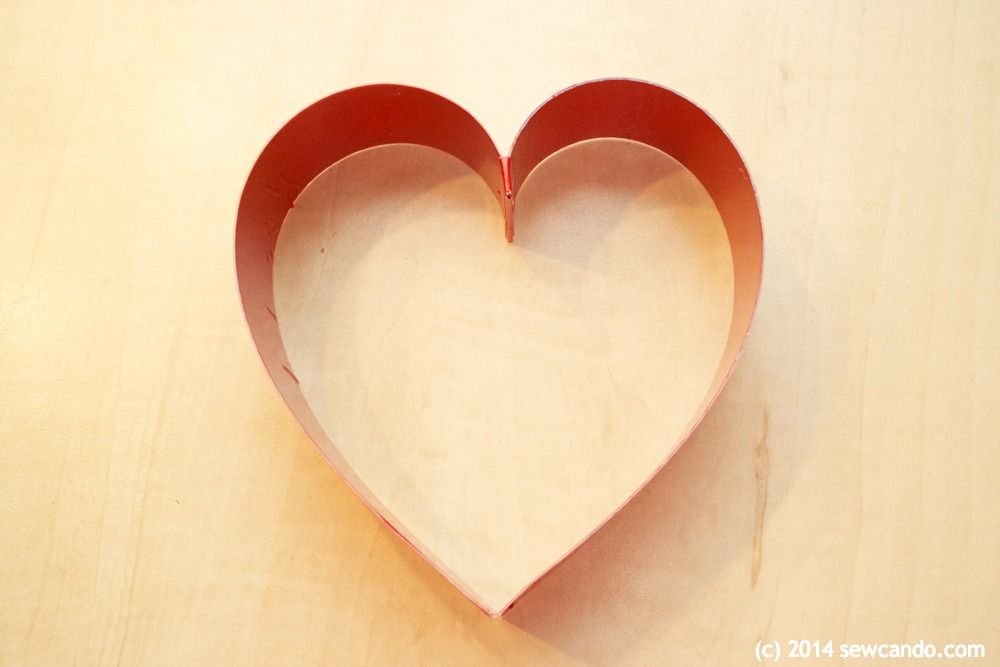
Using a small strip of tape, tape together one short end of each piece and then add another small strip over top and bottom to hold the ends together to make the "dip" of the heart.
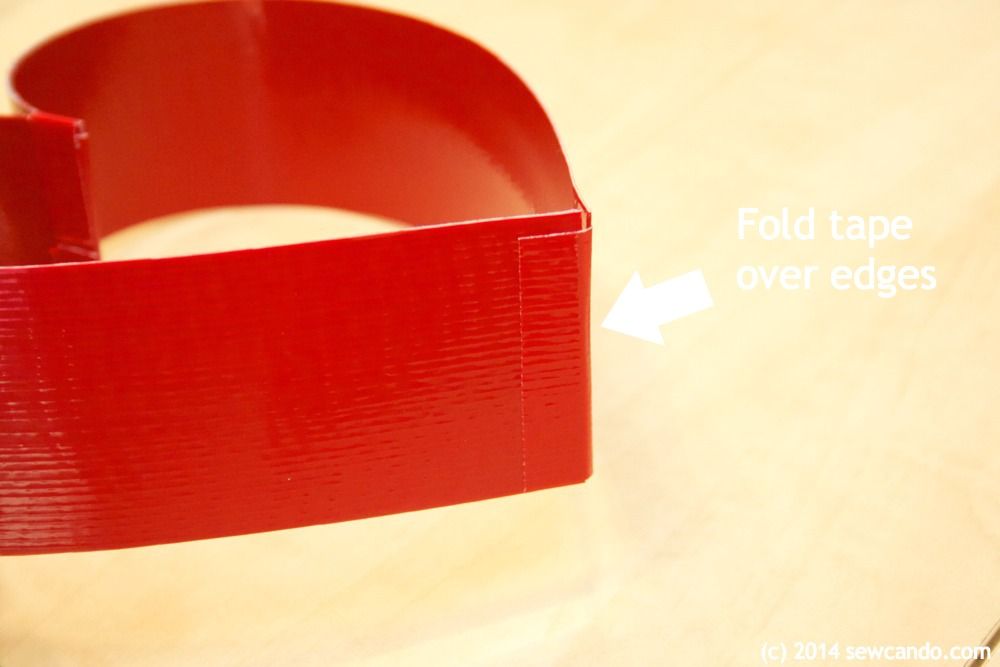
Bring together remaining ends and fold a small piece of tape over their edges to secure the heart:
Now the sides of the box are done.
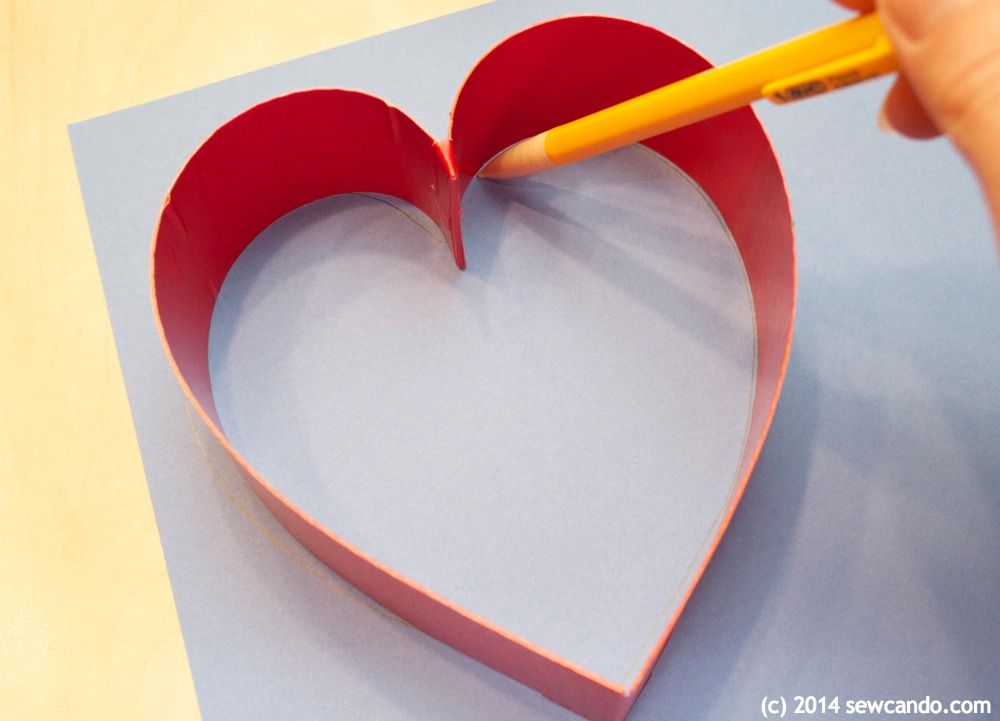
Place heart on top of card stock and trace the inner edge with pencil and cut out.
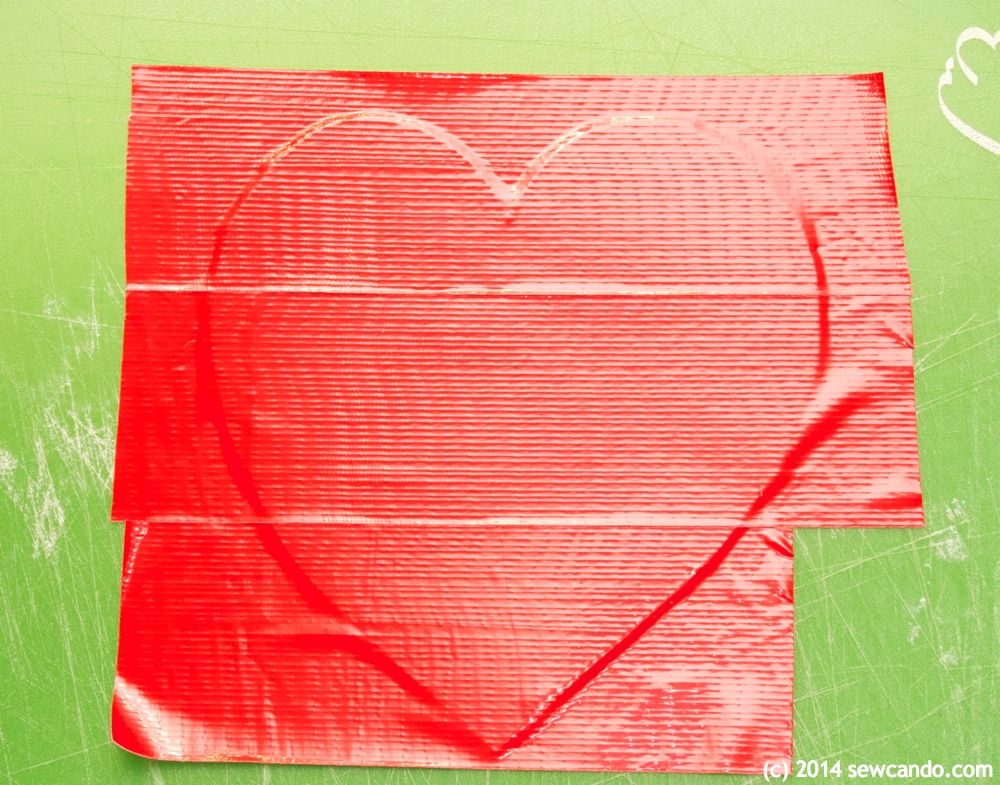
Put heart base on plastic cutting board or mat and begin adding strips of Duck Tape® until covered.  Carefully peel off mat and repeat for other side.
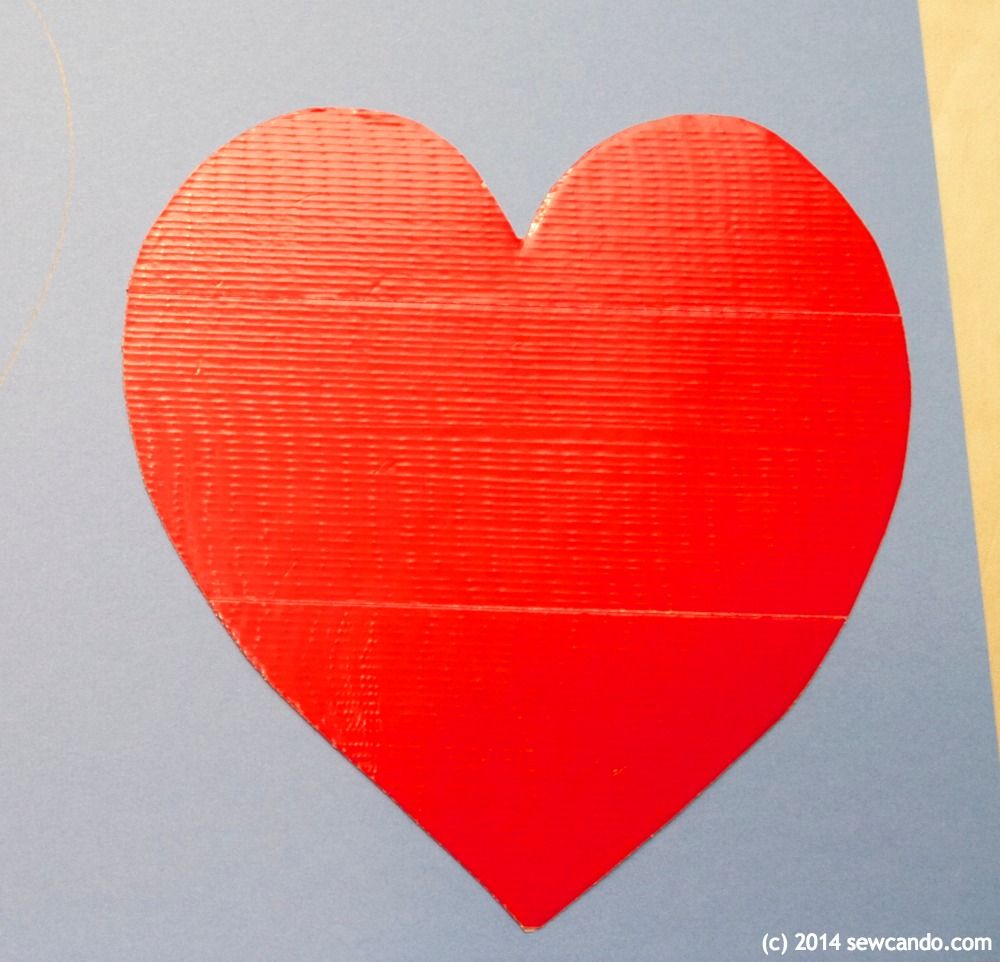
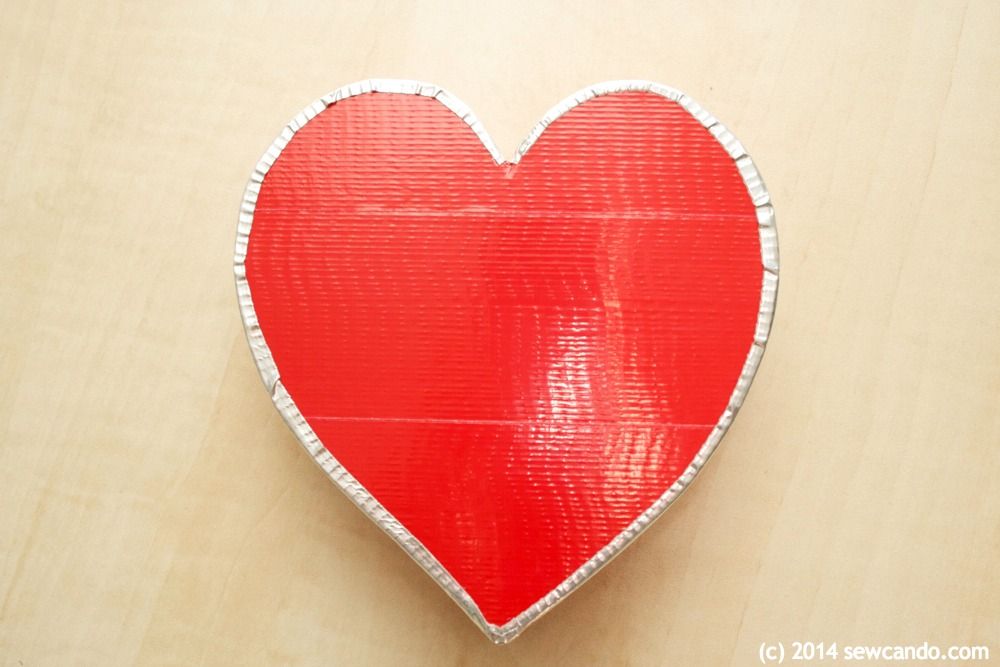
Trim around edges and now the box is ready to assemble.
Cut two thin strips of tape that are 8.5 inches long by .25 inch wide.  Starting at the pointed end of the sides of the box, attach one strip along top edge so half of strip is above edge as shown:
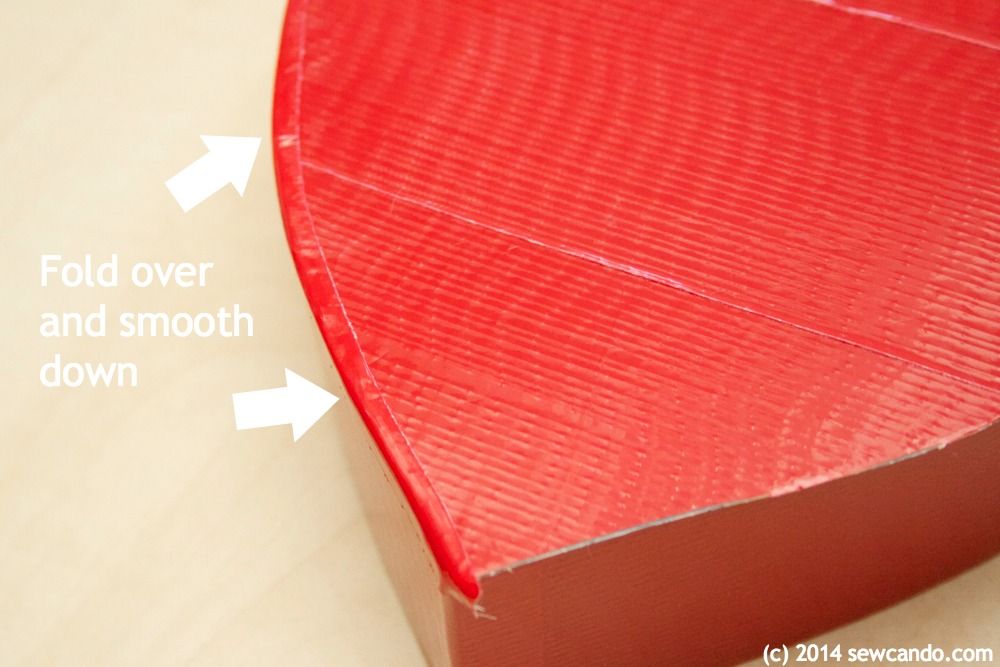
Place base along side edge, fold over the strip and press into place to attach base to side. Attach remaining strip and fold over (I found it easier to do it this way rather than attache both strips first):
The finished base will look like this:
Now the box is ready for whatever goodies you want to add.  I made one of each of my kids as a little Valentine's Day surprise.
Want more fun project ideas using Duck Tape®?  Follow Duck Brand® on Twitter @TheDuckBrand. And share your own ideas on Twitter & Pinterest with #DuckValentine hashtag!

Visit Sponsor's Site


I'm also sharing this project with my FAVE LINK PARTIES.
Click HERE to check them out!

Tuesday, December 17, 2013

Fabulously Festive: "Kiss Me" Hanging Mistletoe Decoration


I've been having a lot of fun making holiday crafts this year and thought I'd share a fun & super easy project I created with goodies I found at Jo-Ann Fabric and Craft Stores®.  They asked me to create a fabulously festive project to Celebrate the Season, so I came up with this Easy Hanging Mistletoe Decoration.  It's a great reminder to show love ones some affection this time of year.


It just takes some festive faux mistletoe berries:


and a little encouragement to get folks in the mood...


Now here's the how-to:


Materials:
- Holiday floral stem
- Seasonal ribbons
- Small Wooden plaque
- Acrylic Paint & paintbrushes
- Cardstock & cutting machine (or exact-o knife)
- Mod Podge
- Duck Tape/hot glue

* I got all my goodies at my local Jo-Ann Store.  

Start by cutting apart the single stem to make a more condensed bunch of mistletoe.  Mine had some strong wire inside so I borrowed these pliers from my husband to snip them up:


Next, I cut out the words Kiss Me in a scroll-y font using my Cricut.  If you don't have a cutting machine, just use an exact-o knife or stencil.


Paint the wooden plaque with some acrylic paint.  I did two coats with a soft gold to match my foyer's other holiday decor.  The plaque I got also had a handy wire already attached, which makes hanging easier. When the paint is dry, add a thin layer of Mod Podge:


Press on the letters and then cover with another two coats of Mod Podge:


When surface is all dry, flip over and tape or hot glue the ends of the mistletoe on the center of the back of the plaque:


Tie on some seasonal ribbon - I mixed some 1/8 inch wide satins with a candy cane striped ric rac.  If your plaque does have a hanger, you could always tape/glue a loop of ribbon onto the back instead:


Then hang the mistletoe over a doorway and let the seasonal smooching begin!


I'm also sharing this with my FAVE LINK PARTIES.
Click HERE to check them out!
I was not financially compensated for this post.  I received a Jo-Ann gift card and select craft supplies from Jo-Ann Fabric and Craft Stores® Celebrate the Season campaign.  The opinions are completely my own based on my experience.  For my complete disclosure policy, click here. 

LinkWithin

Related Posts with Thumbnails