Showing posts with label Celebrate The Season. Show all posts

Tuesday, December 17, 2013

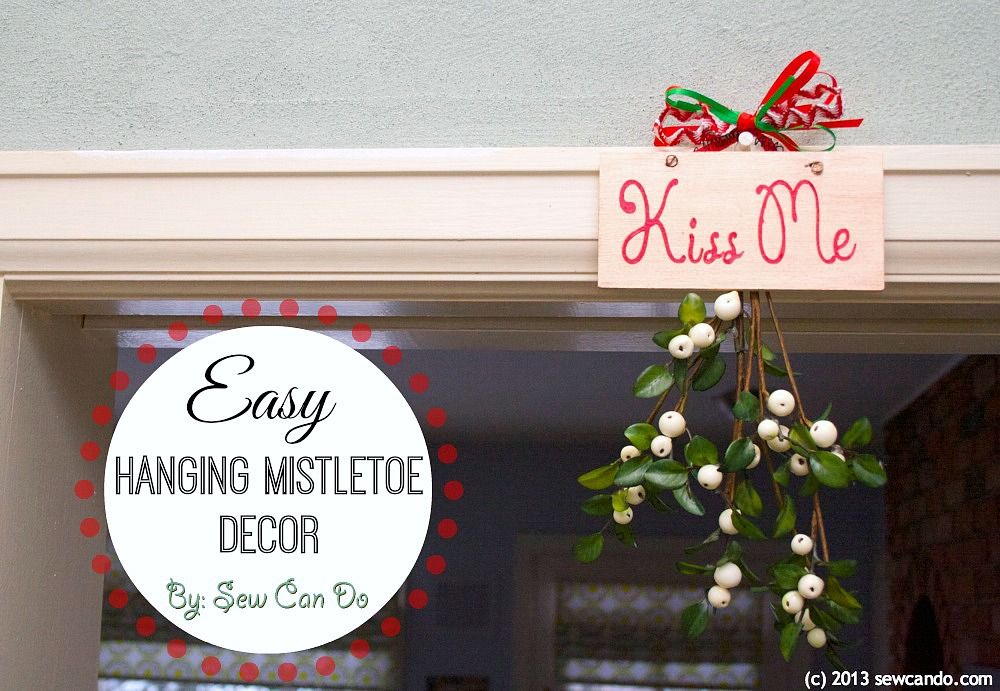
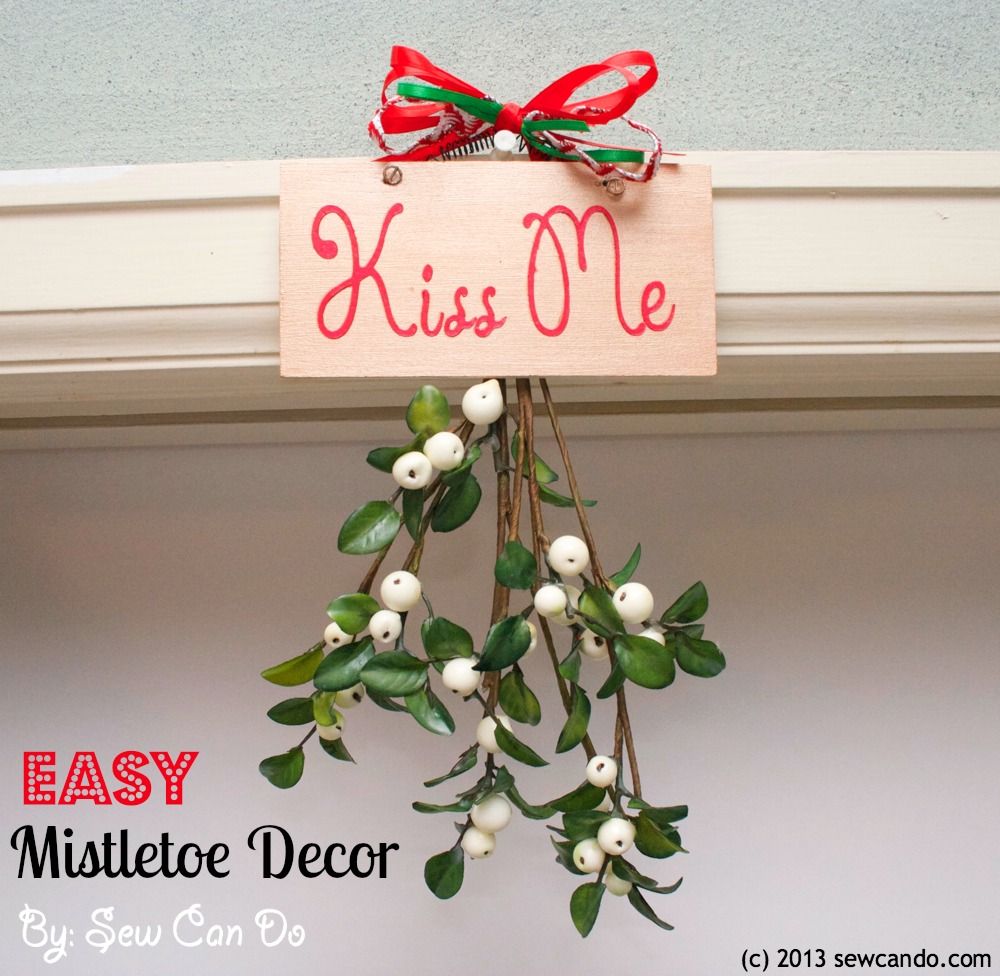
Fabulously Festive: "Kiss Me" Hanging Mistletoe Decoration


I've been having a lot of fun making holiday crafts this year and thought I'd share a fun & super easy project I created with goodies I found at Jo-Ann Fabric and Craft Stores®.  They asked me to create a fabulously festive project to Celebrate the Season, so I came up with this Easy Hanging Mistletoe Decoration.  It's a great reminder to show love ones some affection this time of year.
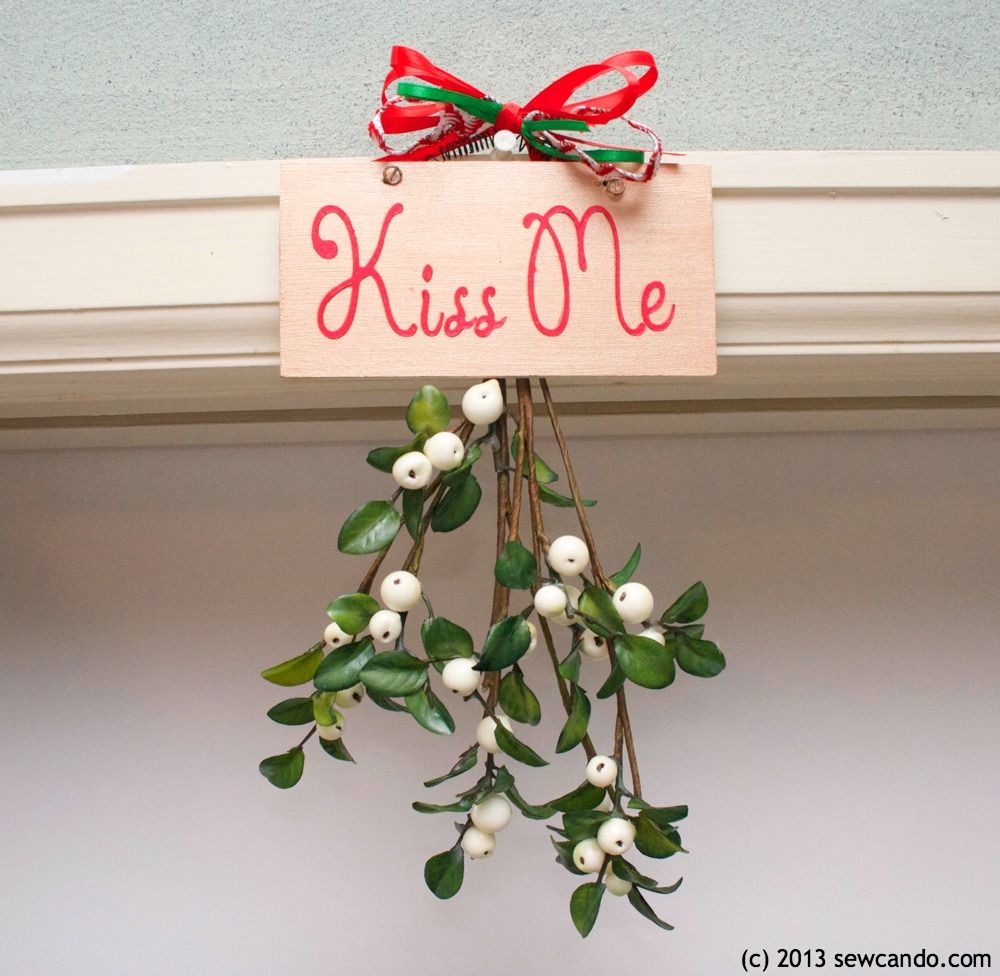

It just takes some festive faux mistletoe berries:
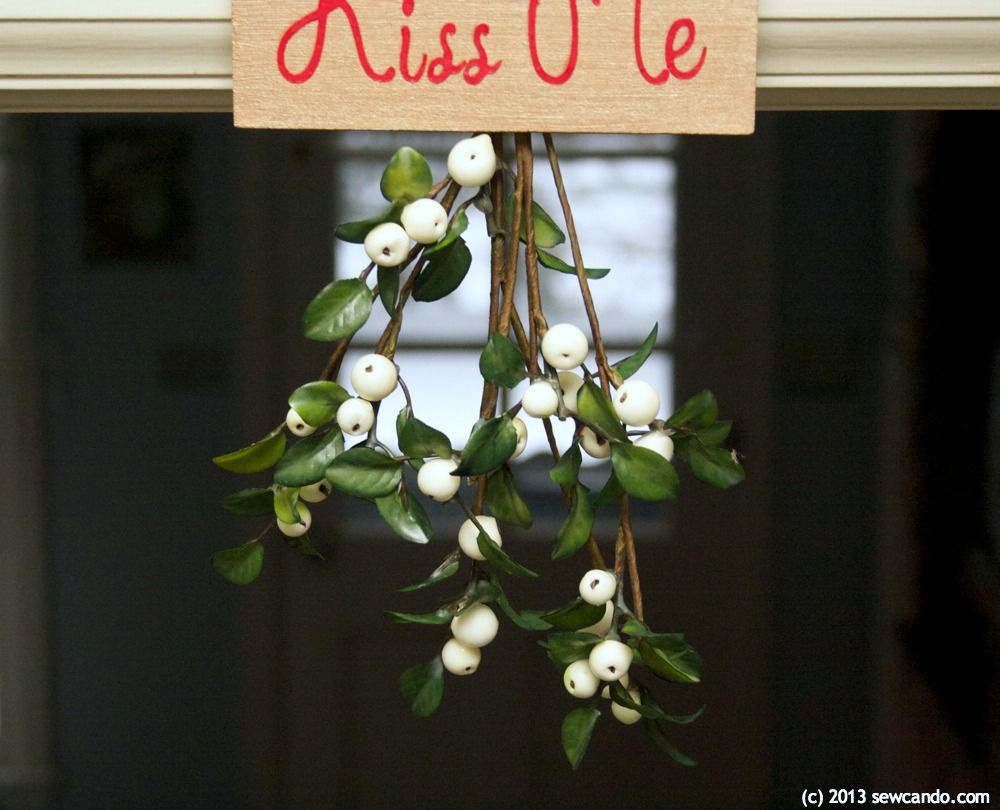

and a little encouragement to get folks in the mood...


Now here's the how-to:
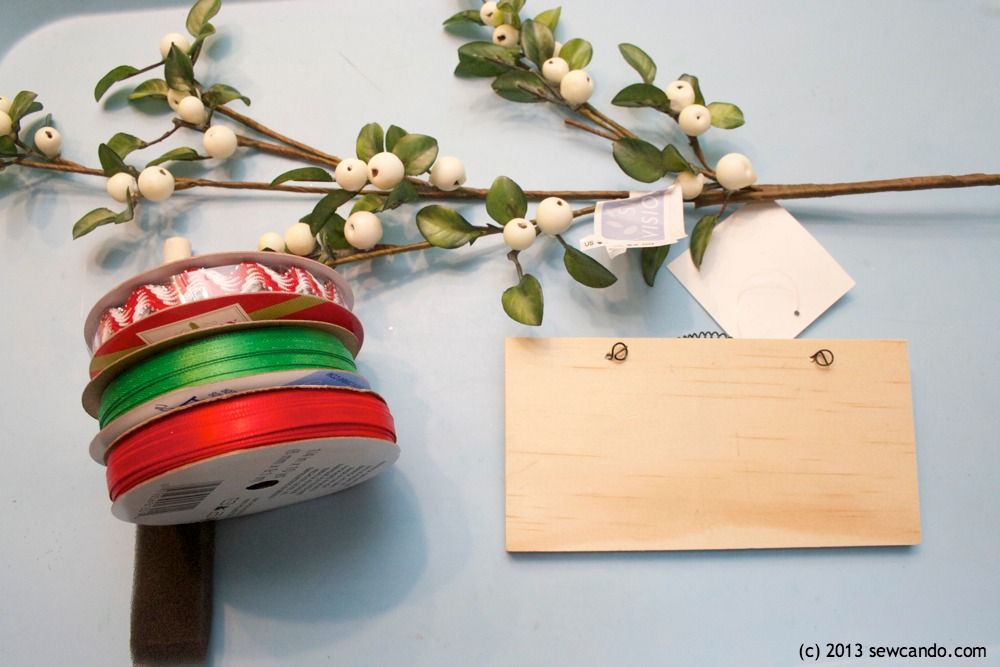

Materials:
- Holiday floral stem
- Seasonal ribbons
- Small Wooden plaque
- Acrylic Paint & paintbrushes
- Cardstock & cutting machine (or exact-o knife)
- Mod Podge
- Duck Tape/hot glue

* I got all my goodies at my local Jo-Ann Store.  

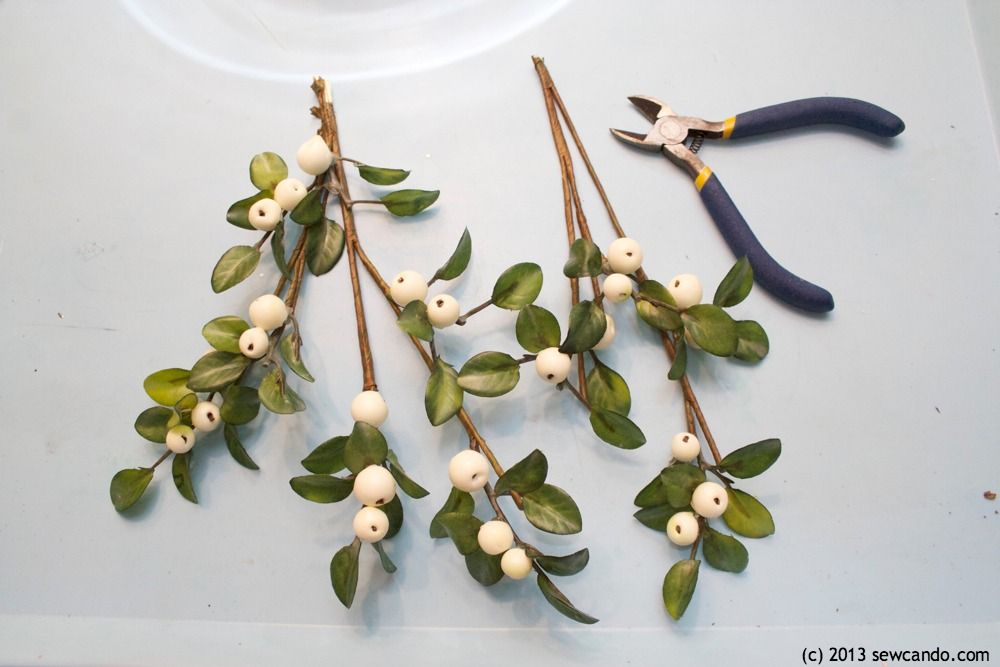
Start by cutting apart the single stem to make a more condensed bunch of mistletoe.  Mine had some strong wire inside so I borrowed these pliers from my husband to snip them up:

Next, I cut out the words Kiss Me in a scroll-y font using my Cricut.  If you don't have a cutting machine, just use an exact-o knife or stencil.


Paint the wooden plaque with some acrylic paint.  I did two coats with a soft gold to match my foyer's other holiday decor.  The plaque I got also had a handy wire already attached, which makes hanging easier. When the paint is dry, add a thin layer of Mod Podge:


Press on the letters and then cover with another two coats of Mod Podge:


When surface is all dry, flip over and tape or hot glue the ends of the mistletoe on the center of the back of the plaque:


Tie on some seasonal ribbon - I mixed some 1/8 inch wide satins with a candy cane striped ric rac.  If your plaque does have a hanger, you could always tape/glue a loop of ribbon onto the back instead:


Then hang the mistletoe over a doorway and let the seasonal smooching begin!


I'm also sharing this with my FAVE LINK PARTIES.
Click HERE to check them out!

I was not financially compensated for this post.  I received a Jo-Ann gift card and select craft supplies from Jo-Ann Fabric and Craft Stores® Celebrate the Season campaign.  The opinions are completely my own based on my experience.  For my complete disclosure policy, click here. 

Wednesday, October 2, 2013

Spooky Spaces For Halloween: Bats In The Belfry Mobile Tutorial


It's officially October and that means Halloween season is in full effect!  Jo-Ann Fabric and Craft Stores asked me to participate in their Celebrate The Season Campaign and create a fun #SpookySpaces themed project for Halloween.  I'm celebrating the holiday with my new Bats In The Belfry Mobile tutorial so it's easy & fun to make a spooky space just about anywhere.  


Not only is it fast to put together, but it's also inexpensive and has steps where the kids can lend a hand, so everyone can have fun decorating!

Materials:
- 1/4 yd black felt
- 1 skein black acrylic yarn
- 1 small embroidery hoop
- Jewelry line/invisible thread
- Cardstock or thick paper
- Scissors, hand sewing needle, hot glue gun, pencil
- Optional: Tulip Beads In A Bottle


Make a bat pattern in 3 sizes out of cardstock.  I just folded mine in half, drew half a bat & cut out to get perfectly symmetrical bats (way faster than dragging out the cutting machine and searching for a bat file, but hey, that works too).  Cut 4 of each bat size out of the felt:


To make some fun metallic eyes, I used Tulip Beads In A Bottle paint.  It's supposed to provide a faux bead effect (like those iron-on metal studs but without the hassle or ironing) and self-round so it won't have peaks like puff paint usually does.  Hold the bottle directly face down, not at an angle, squeeze out the desired bead size and then pull straight up.


I'll admit my expectations on this stuff looking bead-like were low, but it totally worked! Even eyes that started out super pointy rounded themselves as they dried and feel hard. Definitely a supply I plan to use again.  The metallic sheen looks pretty cool too:


Now for the mobile itself - take the embroidery hoop apart and use the inner hoop.  Begin wrapping black yarn along the edge in a single layer, covering the start tail:


Wrap all the way around until completely covered:


Now, start wrapping the yarn across the hoop and around the outside.  It doesn't have to be perfectly uniform, just enough criss-cross to look spider web-like:


Tie off the yarn with a double knot around one of the strands near the edge and trim off tail.


Cut 4 lengths of the jewelry line/invisible thread about 23 inches long each.  Tie one to the center of the hoop, one on either side and one at the back and eye the open end on a needle.  Starting with the largest bats, make a single stitch down the middle of the bat, on an angle, as shown below.  Repeat with medium size bat on opposite angle and then again with the smallest size bat.


Decide on desired spacing - I kept my bats about 4 inches apart - and stagger each strand a bit. Then did a dab of hot glue on the back of the line of each bat so they stay in place:


Cut four pieces of yarn to a desired length for hanging, evenly space around hoop and tie into place.  Then tie them together and the mobile is ready to hang.  Time to watch those bats fly!


And Jo-Ann Stores has given me this fabulous 50% off coupon to share, 
so everyone can get a great deal on some Halloween crafting goodies too:


Just print to use in-store or use the promo code online.  Want to get your own Spooky Space together? Visit the new Celebrate The Season site for other fun Halloween projects or check out the Jo-Ann Creativity Made Simple page for even more Halloween ideas and supplies.


I'm also sharing this with my FAVE LINK PARTIES.
Click HERE to check them out!

I was not financially compensated for this post.  I received a Jo-Ann gift card and select craft supplies from Jo-Ann Fabric and Craft Stores® Celebrate the Season campaign.  The opinions are completely my own based on my experience.  For my complete disclosure policy, click here. 

LinkWithin

Related Posts with Thumbnails