Showing posts with label t-shirts. Show all posts

Wednesday, March 14, 2018

Easy Textured Heat Transfer Easter Shirts for under $10!


Is it just me or despite the onslaught of things marketed for Easter, there seems to be less every year when it comes to Easter-themed wear for the kids?  Sure there are things for the babies & toddlers, but it's slim pickings for bigger kids or adults other than solid pastels. Time to DIY it with Easy Heat Transfers Shirts!


This year I made a couple of quick & fun Easter shirts for my kids to wear to feel festive, but also weren't much work for this tired mom.  With a new baby arriving any time now, my energy levels are pretty low and I want to do projects I can finish pretty fast (in case we have to make a mad dash to the hospital!).  The thought of having something time-sensitive partially cut or sewn, leaving it and having to race to finish it right before the holiday is just too stressful right now.

So heat transfer vinyl has become a new favorite.  I can put together a design, cut it and apply it in next to no time.  I didn't even have to go buy the supplies since I had some stuff and a couple of blank shirts in my stash already.  


And since I bought a Cricut Easy Press a few months back, they actually hold up wash after wash too.  I did an unbiased full review of the Easy Press here.


I also like to use different kinds of HTV so my shirts are more professional and for some nice variety of looks  Flocked is my favorite because it adds nice fuzzy texture and dimension, just like what you see in retail clothing:


It's key to keep things like this cheap, so I always look for free clip art & fonts to make my designs and make sure I buy the HTV & blank shirts on sale.  What's the point of DIY-ing it if you have to spend a couple of bucks on a pre-fab design, pay a fortune for the HTV and $10 for a blank t-shirt and it ends up costing more than $20?  By bargain shopping doing custom shirts still costs me less than buying store-designed items.  Each of these shirts cost me under $7.    

For my boy's shirt I did a quick online search and found some little chick silhouettes and used a block font to make this layout using Cricut Design Space.  I sized it so the lettering would be about 2 inches high:


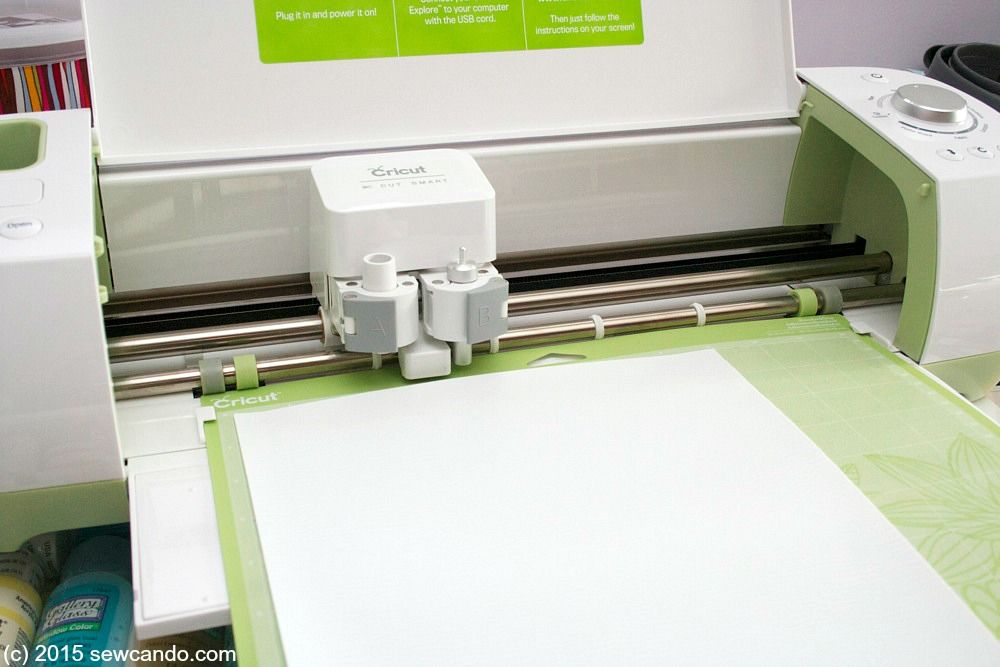
I mirrored the design and then cut it out with my Cricut Explore, face down (for flocked I use the regular HTV setting so it doesn't cut through the cover sheet):


I used two colors of flocked heat transfer vinyl, so I did the wording first, weeding it:


Then doing the same with my little chicks from the yellow:


I laid things out on the shirt to space them around the stripe so they'd stand out (the stripes also made it easy to keep them nice & straight):


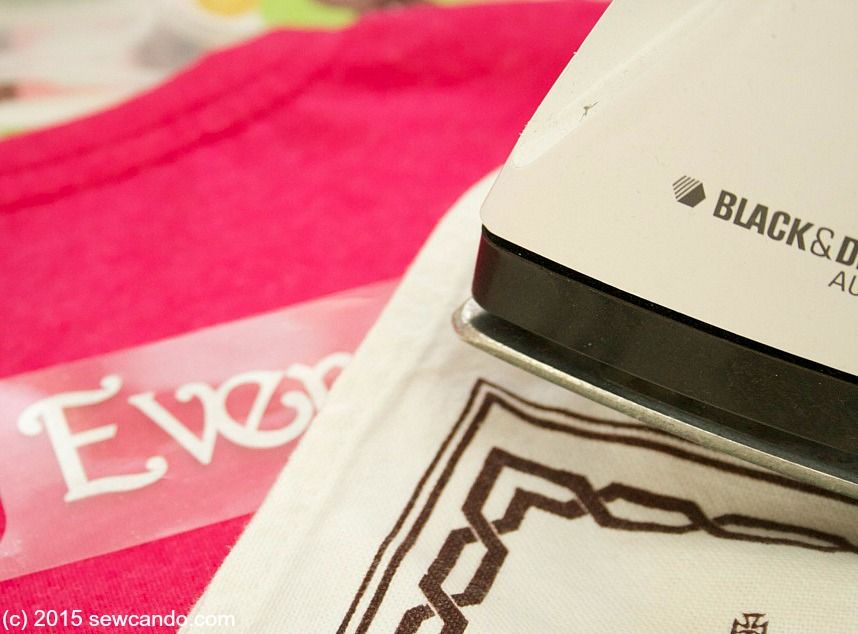
There's no suggested setting from Cricut for doing flocked HTV, but I did a little research and testing and keeping the temperature at 295 for 30 seconds worked well.  Making sure to pre warm the fabric, press the top and also to press it inside out to really set it is key.


For my daughter's shirt I'd seen some cute text-only designs reminding the "reason for the Easter season", so I did a variation on that with some other free clip art designs, the free Pacifico font and some hot pink glitter HTV to make it cuter:


I used a cute bunny and a flowery cross as my images & sized them to go with my text:


Both shirt designs were a little larger than the 9"x9" Easy Press, so I did them in sections.  I also find peeling off the transfer sheet while it's still hot is easier with the textured HTV, since it pulls less than when totally cool:


The color of the glitter is much more vibrant in person, but since it's sparkly & iridescent, it's hard to capture on camera, but still cute:


I'm happy I was able to throw these together in plenty of time, so they'll get lots of wear this season and my bigger kids can enjoy wearing them.  Happy Easter!!


Wednesday, February 11, 2015

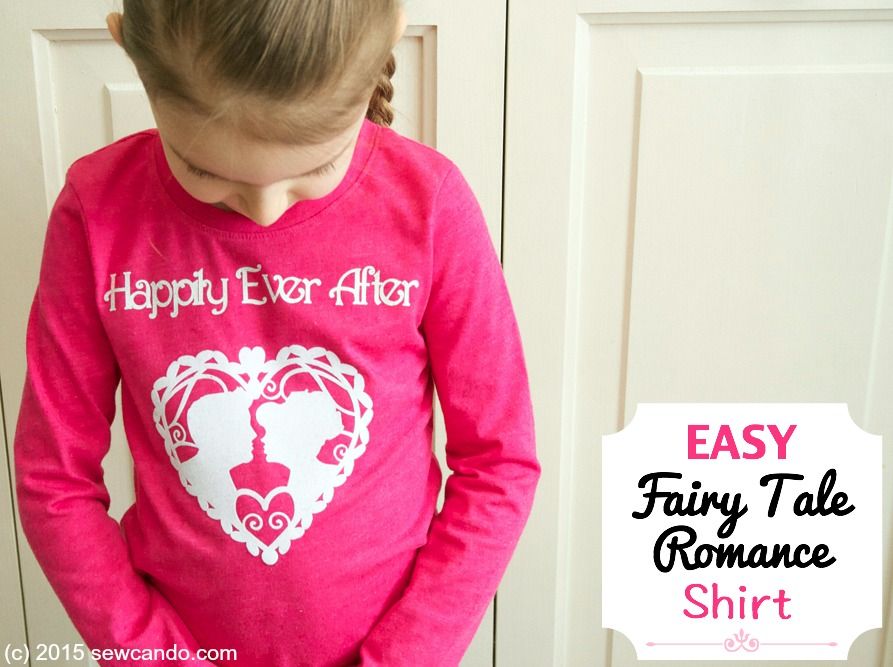
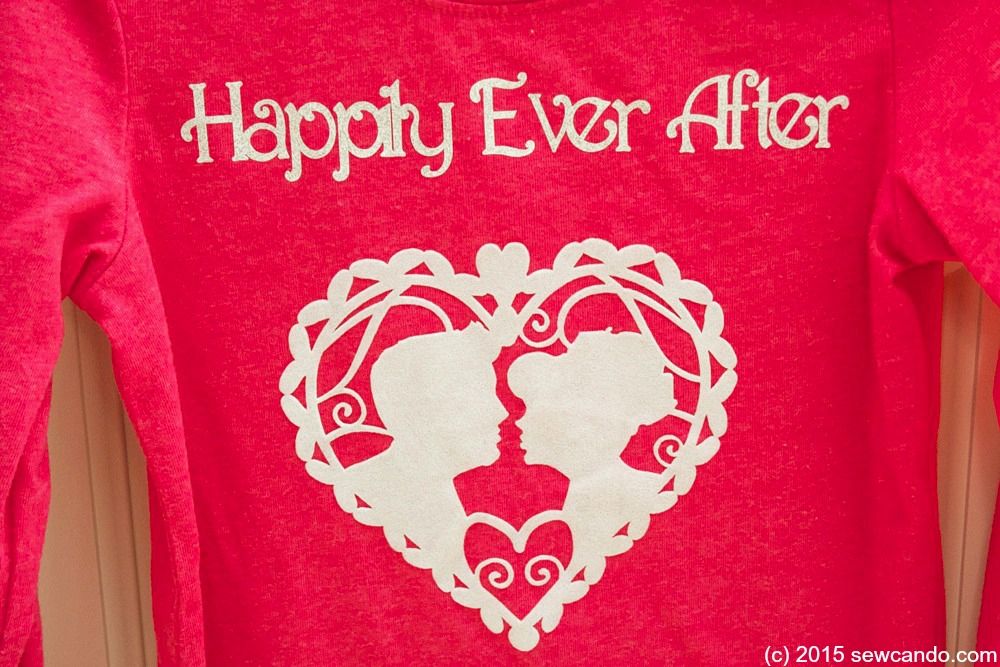
Easy Fairy Tale Romance Flocked Shirt


Do you love fairy tales?  Want to make a fast & easy Valentine's Day top that can be worn all year long?  Then today's project is for you: a super Easy Fairy Tale Romance Shirt!  


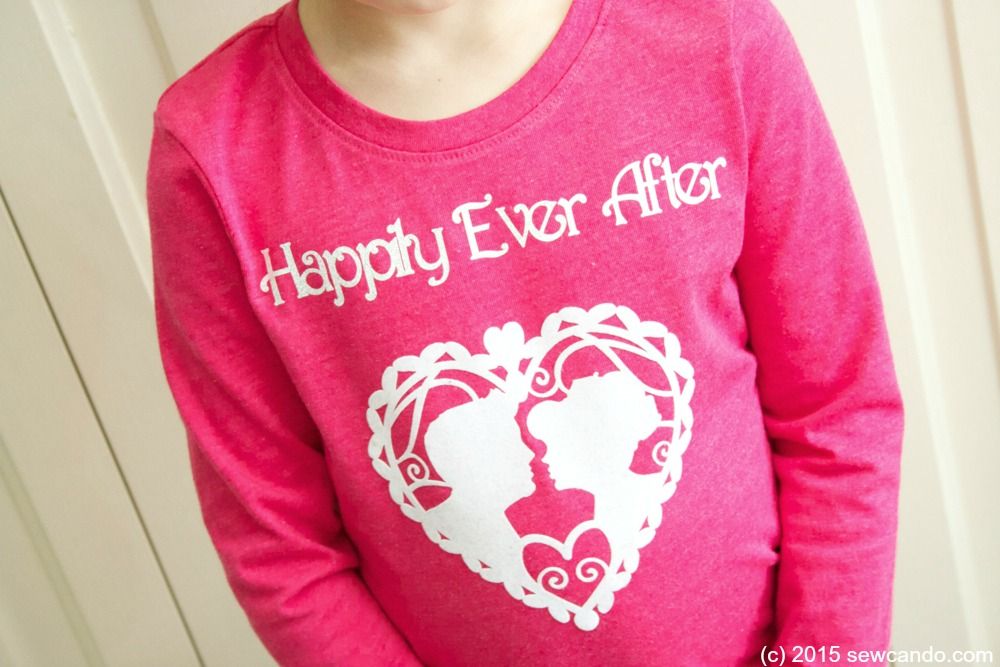
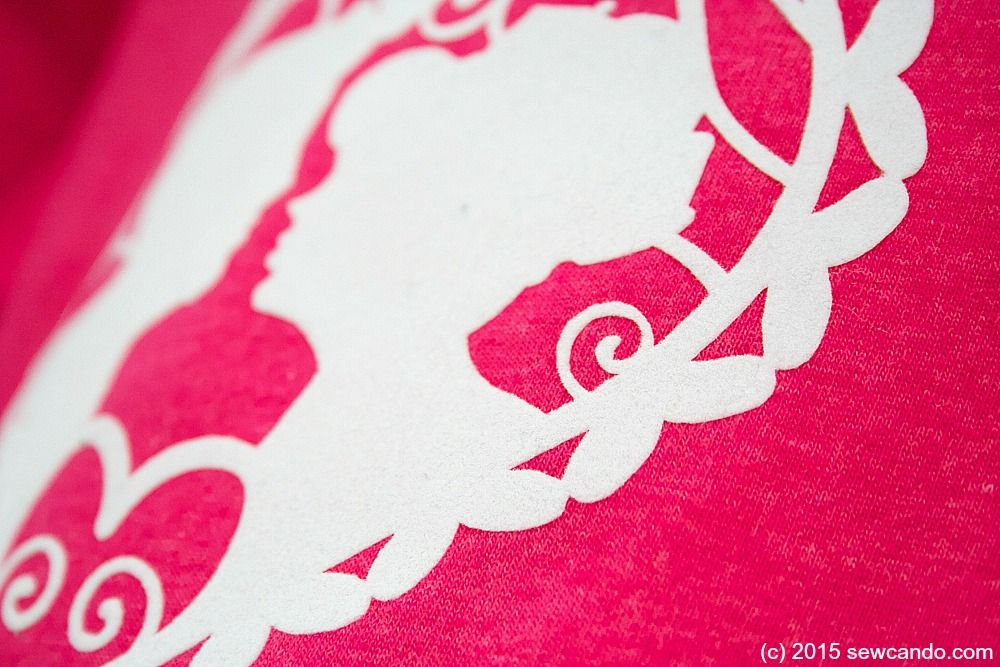
What makes this shirt a little "fancier" is what I used for the main design.  The cut-out heart is actually flocked heat transfer material.  I thought this would be nicer than the usual shiny plastic look of most iron-on transfers and give a richer, velvety finish:


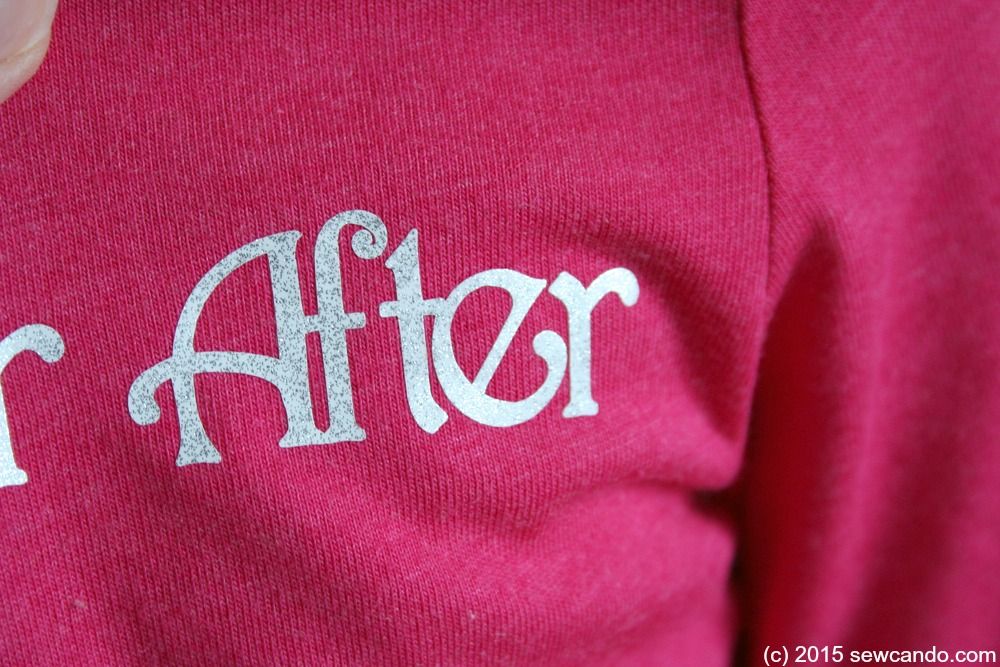
For the lettering I used glittered heat transfer material for a bit of sparkle.  It's hard to photograph glitter, but it looks more metallic and eye-catching in person:


Materials:
- Flocked and glitter heat transfer material 
- Blank t-shirt
- Iron and press cloth
- Cricut Explore or Expression or other cutting machine*
- Optional: weeding tool/pick

I don't get any sort of compensation from Cricut or Silhouette. I've always bought my own machines and have no vested interest in promoting any particular brand, so what you see here is a regular person experience.  No amped-up enthusiasm or over-simplified rave reviews from an affiliate/team member/recipient of free branded products.  Seriously, how objective is that opinion really going to be?  I'll be sharing more as I try things further and will do some brand comparisons + detailed reviews in the future too.

Design Info: If you want the same prince & princess heart shape, you'll need to buy it from Cricut's online design store or use the cartridge Love Struck 2010.  I bought myself a Cricut Explore a couple months back, when I saw a fantastic sale price under $200.  It even came with a free 3 month subscription, plus free bluetooth, so it's gotten me to try their designs more frequently than I had before.  Still trying to decide if I'm going to pay to keep the subscription when the freebie period is up...


In the Cricut Design Space online software you can select your project canvas, so I picked a shirt.  You can also specify general size.  I did Toddler (the custom size feature doesn't seem to work right) and picked a pink color close to my actual shirt.  This made it really easy to figure out my sizing for the lettering & heart.  I hid the background layer on the heart so only the lace bit remained.  For the lettering I used the font Nursery Rhymes.  I inched the spacing a bit closer so most of them could be welded together for easier placement on the actual shirt.  The lettering was also mirrored so it faced the correct side when cut.


The material goes face down on the mat, with the plastic carrier still on.  I set the machine to heat transfer and cut.  Even though the flocked one is a bit thicker, the Explore still did a good job cutting.  I was glad I had a weeding tool though, since it took a little patience getting all the tiny bits out of the nooks and crannies.  Then it was iron time. 


I'll be honest, I hadn't had success with heat transfers in the past. No matter how well I thought they were fused, they started coming off right away, & got worse after washing.  I gave up on them for years.  Then I got this machine and figured there had to be some tricks. I researched, then tested a few and found a couple of key tips that really work:

1. Iron the shirt first so it's warm when the iron-on is placed on it - this helps it adhere better.  Then use a press cloth between the iron and plastic carrier when adhering the transfer.  When cooled turn the shirt inside out and iron on that inner side too.  Peel the plastic off when totally cool.   


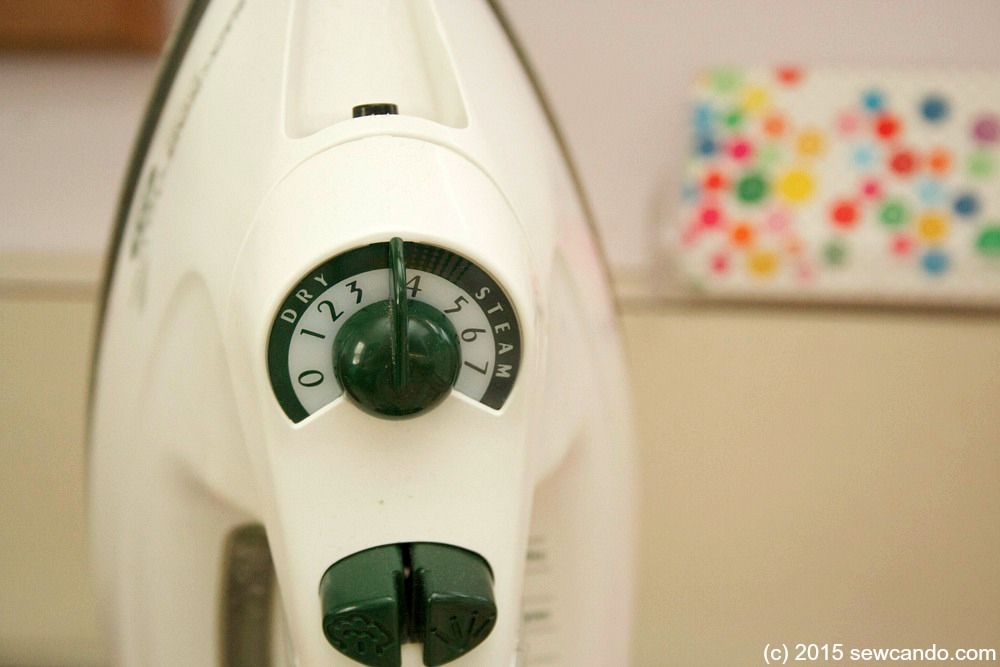
2.  Keep the iron temperature moderate - Cotton no steam.  It's better to make several passes (with cooling time in between) on that temp than going hotter and just melting the material. Higher temperatures won't make it stick any better - just wreck the transfer.


3.  Wash it on delicate, inside out and line dry.  Too much turbulence or hot temps in the washer & dryer are just going to stress the iron-on and make it peel off around the edges.  DIY versions using a home iron aren't just like manufactured shirts.  Nobody really mentions the longevity of their transfer shirts or shows how they look after a few washes, but here's ours after some washing:


4. Be prepared to re-iron a little.  After a full day of active wear on my daughter (aka rolling around on the ground, stretching like a maniac...aka a 5yr old being a 5 yr old), I noticed the tip of the heart coming up a little and re-iron it before washing it.  I also did a little lint rolling since she'd collected a lot of fuzz on the flocking from the aforementioned rolling around.  I examined it when it was dry & it looked just as good as when first fused. Heat transfer success at last!

My little lady's first comment when she saw the shirt was "It's you and Daddy!".  It's pretty nice to know she thinks of us as being Happily Ever After.  And to know this heat transfer shirt experience has a happy ending too:)


Thursday, August 7, 2014

FREE SVG File: Mini Muscle Man Freezer Paper Stencil Shirts


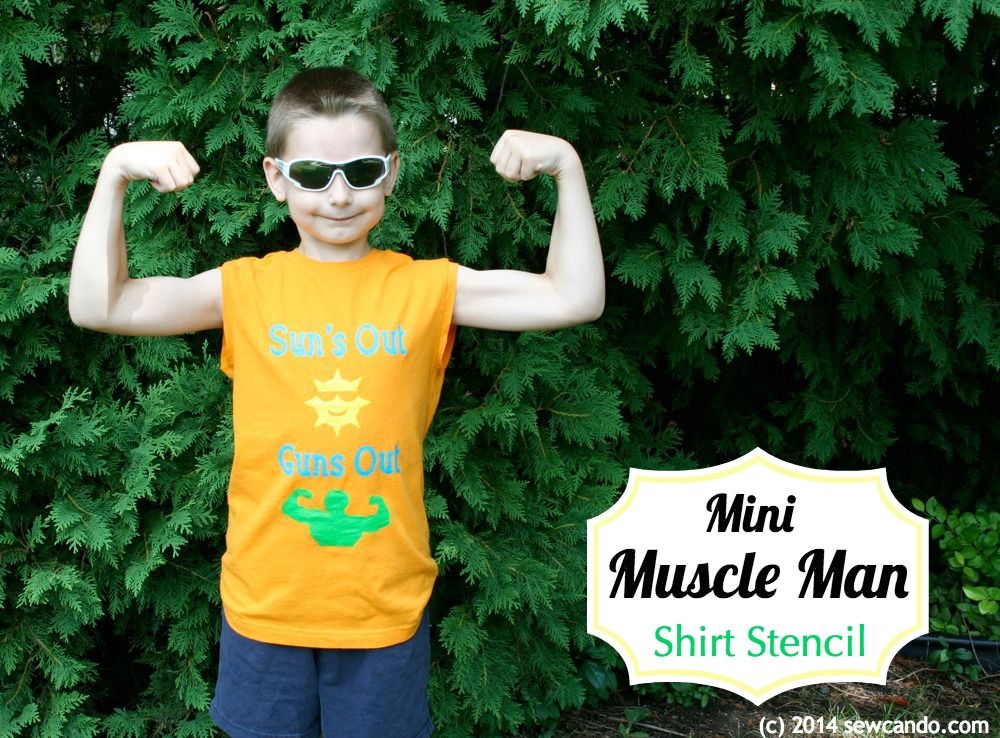
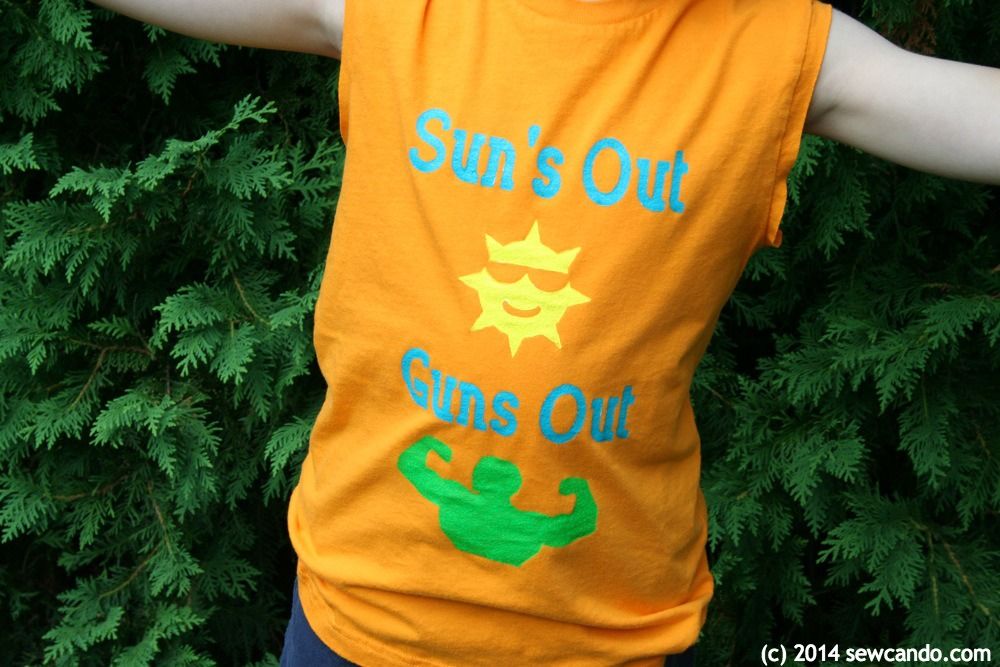
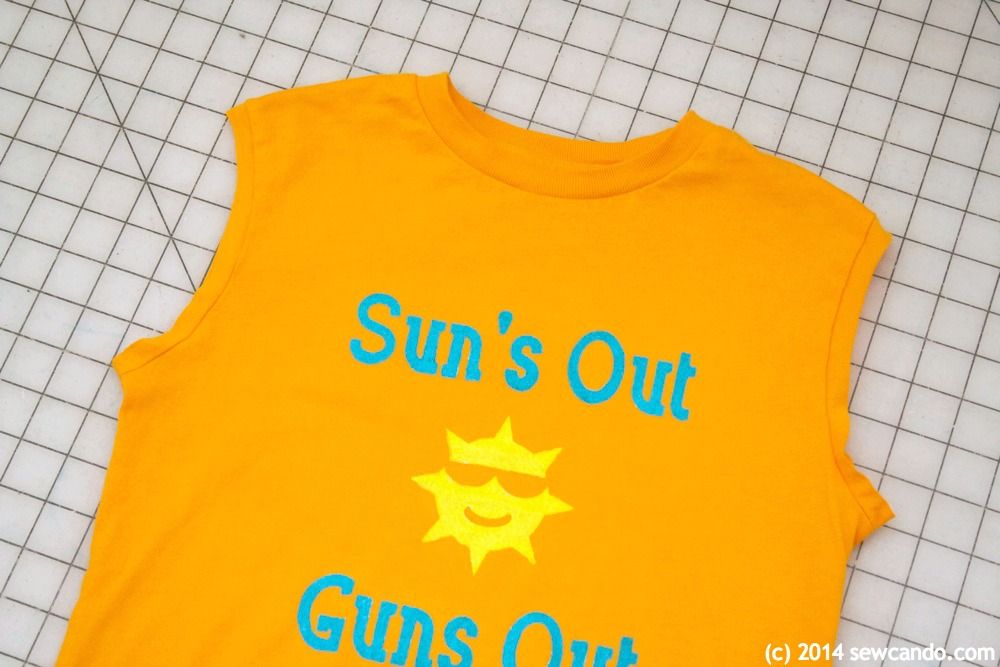
As much as I hate to admit it, I haven't done a lot of crafting this summer.  Between being sick on & off, a ton of home/yard improvements and all the kids' activities, there just hasn't been much free time.  And when I do get a little window I just haven't felt the creative bug like I usually do.  This project however, had been on my mind and got me out of my rut because my kids were so excited to have them: our Sun's Out, Guns Out Shirts!!


The idea for this came from some summertime people watching.  I saw a totally 80s looking guy when we were out one day.  He was wearing a neon pink tank top that said "Sun's Out, Guns Out" across the front.  He looked somewhat ridiculous (his muscles were practically non-existent), but the phrase stuck with me and I thought it could turn from cheesy to cute if done up right for a kid.  I think these "guns" are much more fun to see flexing than those on some middle aged dude with a mullet:


So, to bring our own version to to life I made a freezer paper stencil design and whipped up this baby.  Here's how you can too:

Materials Needed
- Freezer Paper
- Fabric paint or Acrylic paint + fabric medium
- Sponge pouncers
- Cardboard
- T-shirt
- Iron
- Cutting machine (Cricut, Silhouette, etc.) or an exacto blade + patience
- My FREE svg file: Download HERE

First, I created a design as an svg file using my handy Sure Cuts A Lot software.  I created the shades-wearing sun and modified a clipart bodybuilder silhouette I found online to be just the arms (aka guns) to go with my phrase.  I also reversed it so it would face the right way when cut out.


Then I cut out my design on freezer paper with my old Cricut Expression.  I know I'm "behind the times" since I'm not using a Silhouette here.  I actually have a new Silhouette Portrait I won in a giveaway in January, and hear everyone rave about all the projects they make with it, but I still find my Cricut/SCAL software combo to be easier to use for designing.  Maybe it's just because I'm lazy and don't want to spend hours relearning how to do everything on another tool.  Sooner or later I'll have to just bite the bullet and do more with it.  Much like I'll have to finally get a cell phone with a camera & texting.  Yes, I'm still using a prehistoric flip phone. Can you tell I'm a real technology wizard?

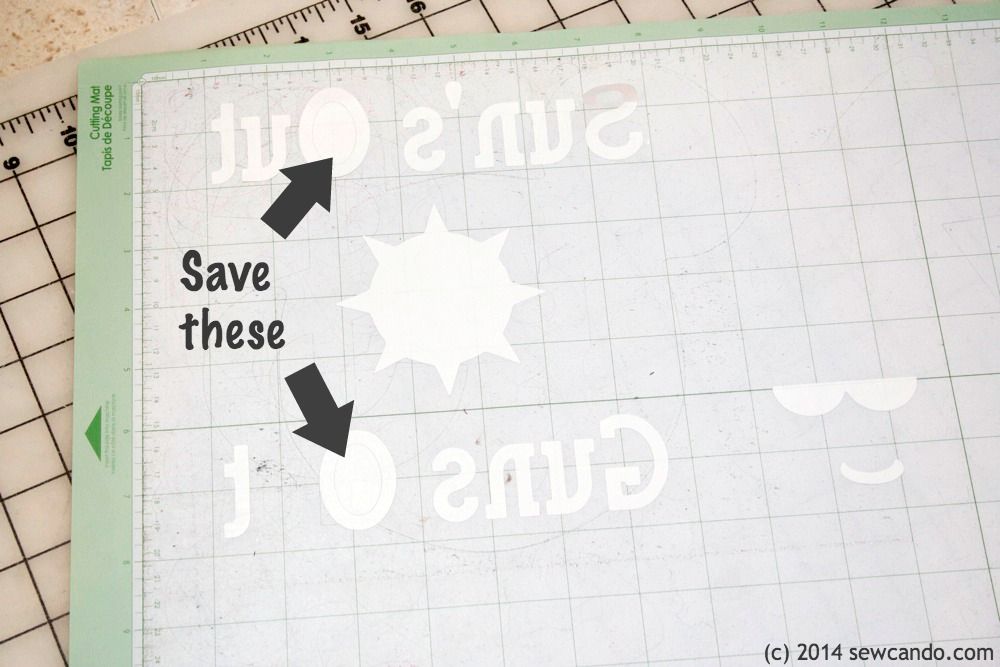
Anyway, in case you're not already a pro at machine cutting freezer paper stencils (I've only done a couple myself), it's key to load the paper shiny side up:


Also be careful when weeding (removing the excess paper).  You'll need the centers of the "O"s for the shirt:


Slip a piece of cardboard inside the shirt to prevent the paint from bleeding through:


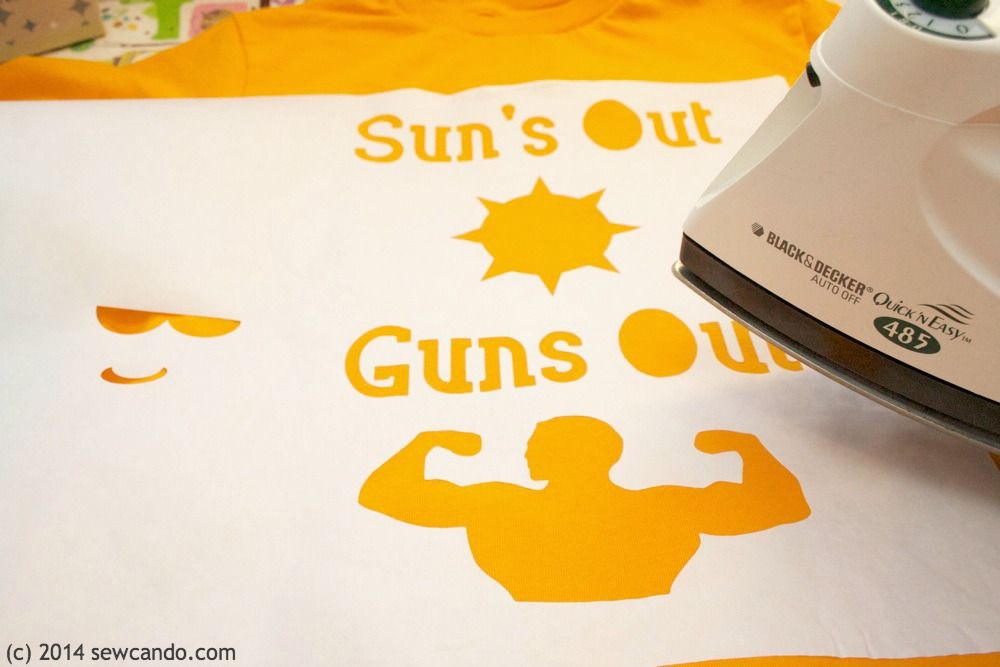
Iron on the freezer paper, shiny side down, using the cotton setting.  I added the shades and smile to the sun after the outline.


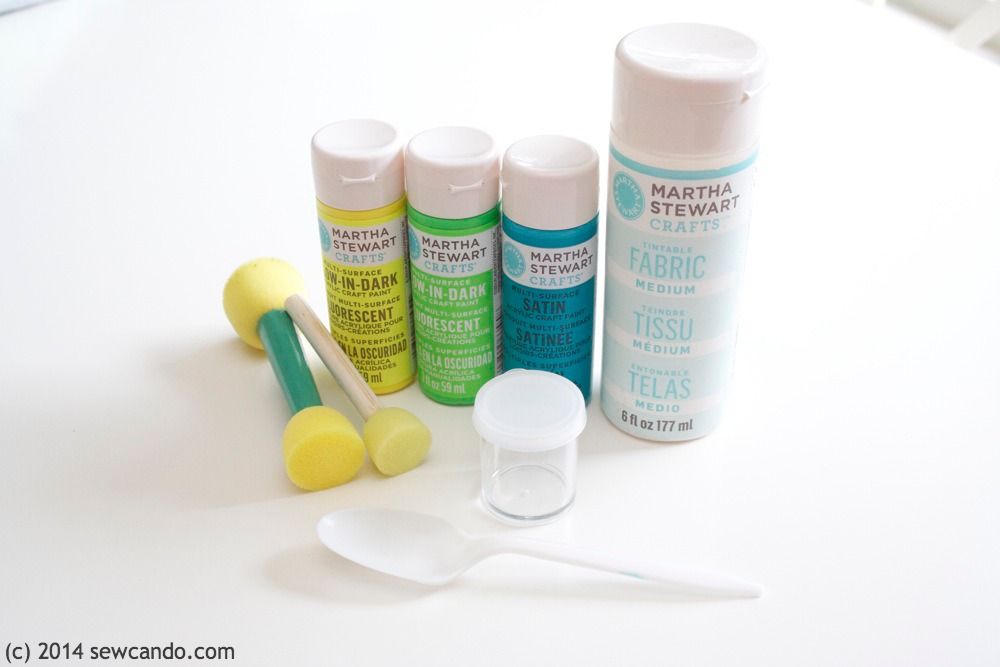
Now you could just start painting if you have fabric paint, but of course I never make it that easy for myself.  When I was shopping for the paint for this I fell in love with colors that weren't fabric paint.  I really liked the brightness of these and the fact they also glowed in the dark.  I figured I'd use them for other things besides fabric, so I bought them knowing I'd need to use fabric medium to make these washer-friendly.


To blend the paint & medium, I did one spoonful of medium to two spoonfuls of paint and mixed with a toothpick in some little plastic paint jars I found in the same aisle.  These were really handy because they have lids and can be reused.  Since I want to make more than one of these, it means no paint gets wasted and I can easily work on the second one a few days from now.


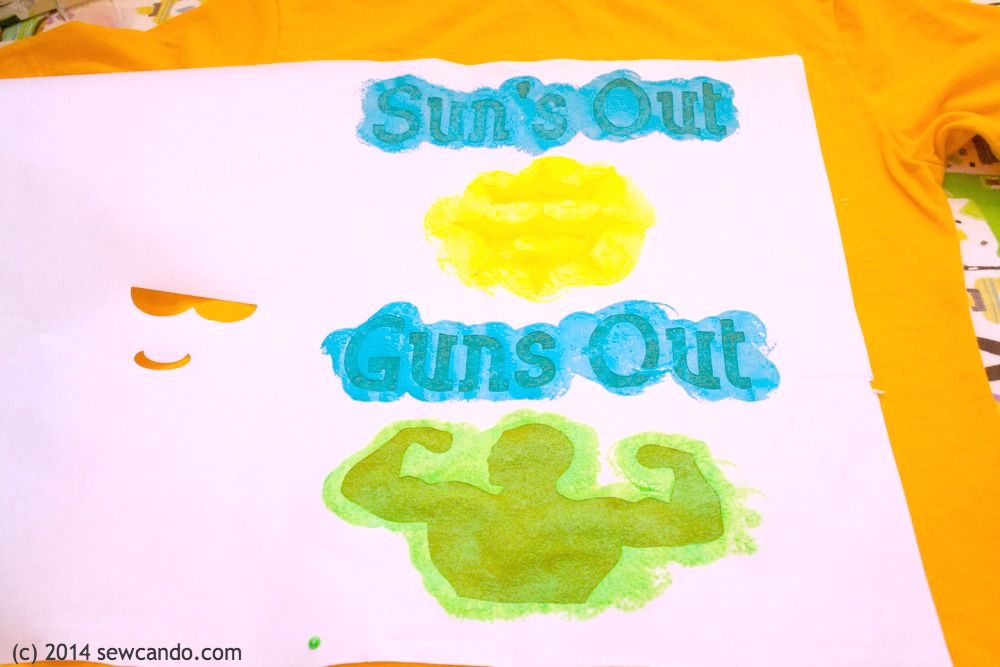
Once the paints are well mixed with the medium, grab some sponge pouncers and start painting.  I did several coats, with dry time in-between, to make sure the colors were nice and solid.


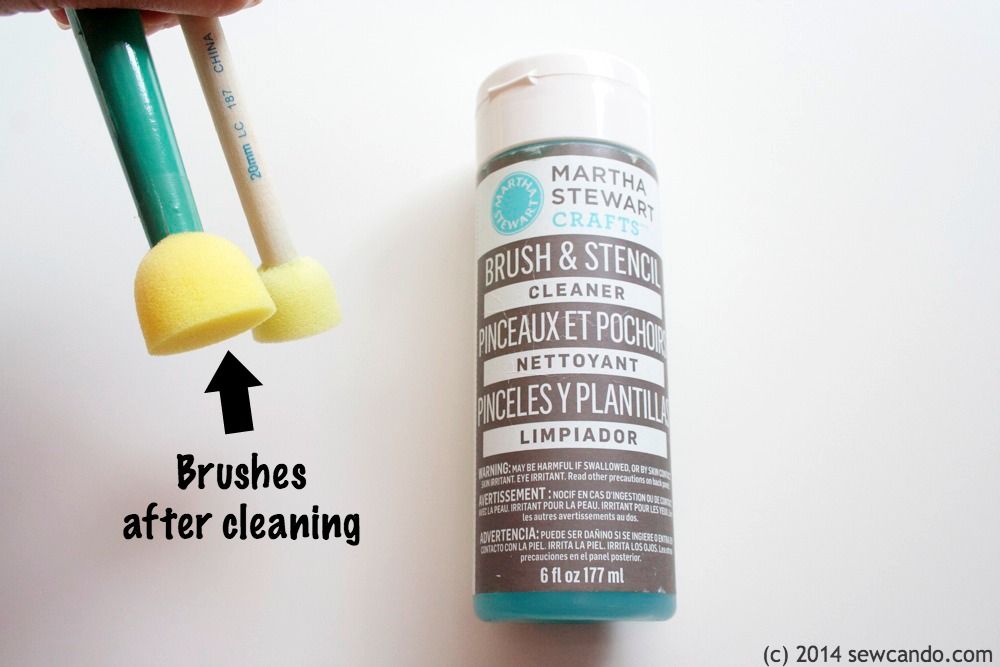
Side note: I wrapped my pouncers in cling film between coats to keep them moist and when all done I used brush cleaner to make them good as new.  I used to think that stuff was a waste of money "Soap & water works the same and it's practically free!", but I've realized the cleaner is totally worth it.  Sponge, bristle, whatever the brush is, the paint comes off easily and they look & feel like new.  No stiffness and I can use the same few over and over so it does save me money. I happen to like the Martha Stewart Crafts version, since I also like using those paints (and btw I'm not getting these for free or paid to talk them up, I just like 'em).  Any kind is better than having to throw away your brushes after one use!


When the last coat is dry, pull away the stencil and heat set the paint with the iron, using a press cloth in-between.  Now you can either roll up the sleeves or cut them off to fully expose the "guns".  I'd wanted to just buy a blank boy's tank top from the get-go, but it proved impossible to find (isn't it still summer?), so I just used t-shirts and cut the sleeves off with my rotary cutter:


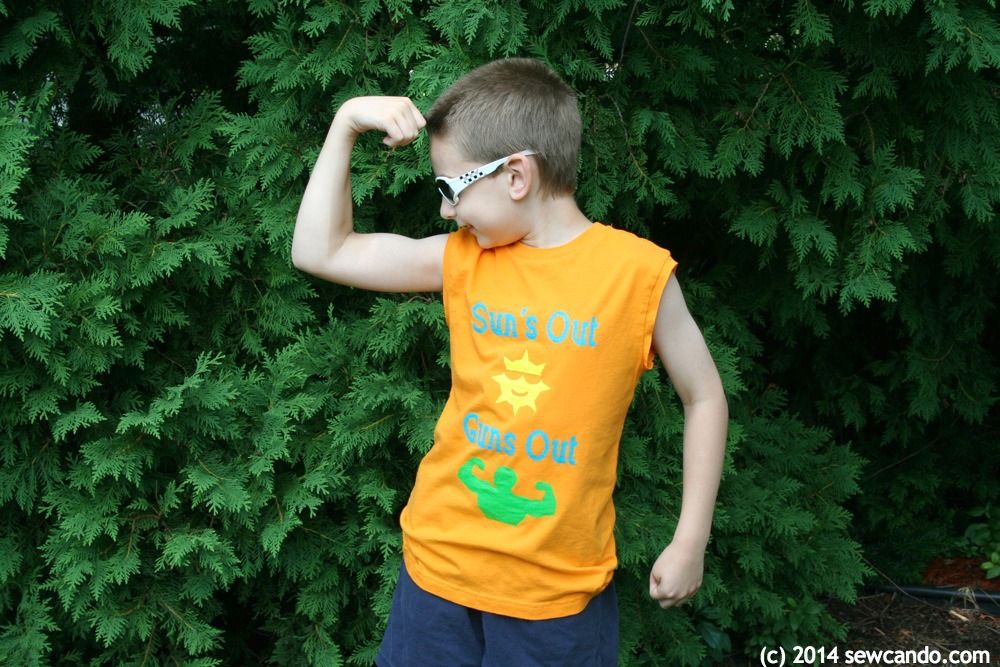
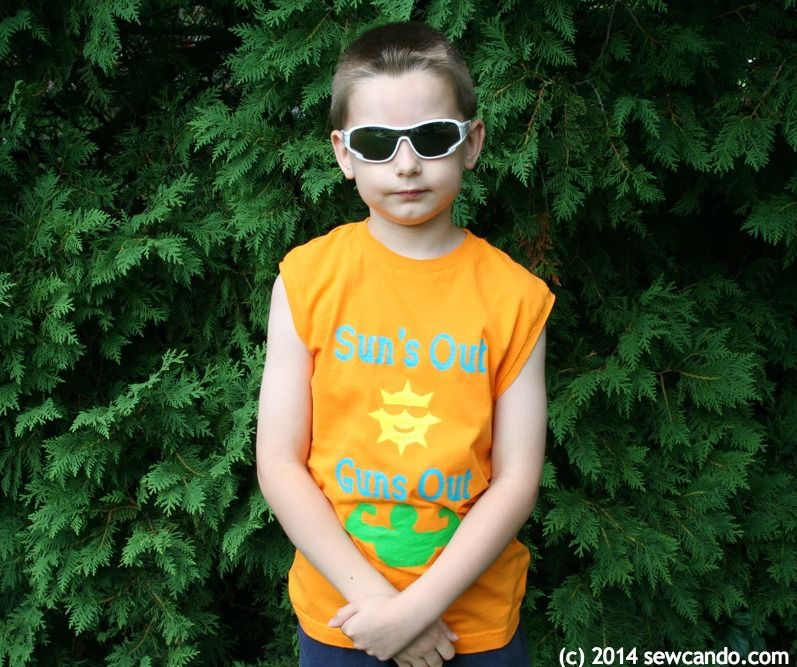
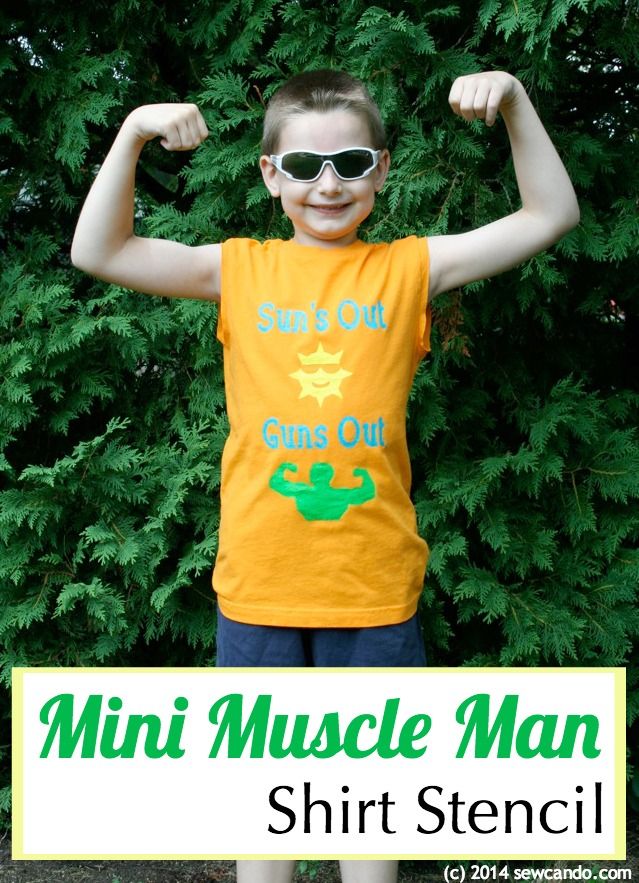
Now all we need is a little muscle man to rock the look.  This guy hopes you've got tickets 'cause he's about to start the "Gun Show"!


And it also works in serious mode, for when a tough guy doesn't need to flex his muscles to show he's strong:


But this look is definitely the most fun: 


Friday, June 13, 2014

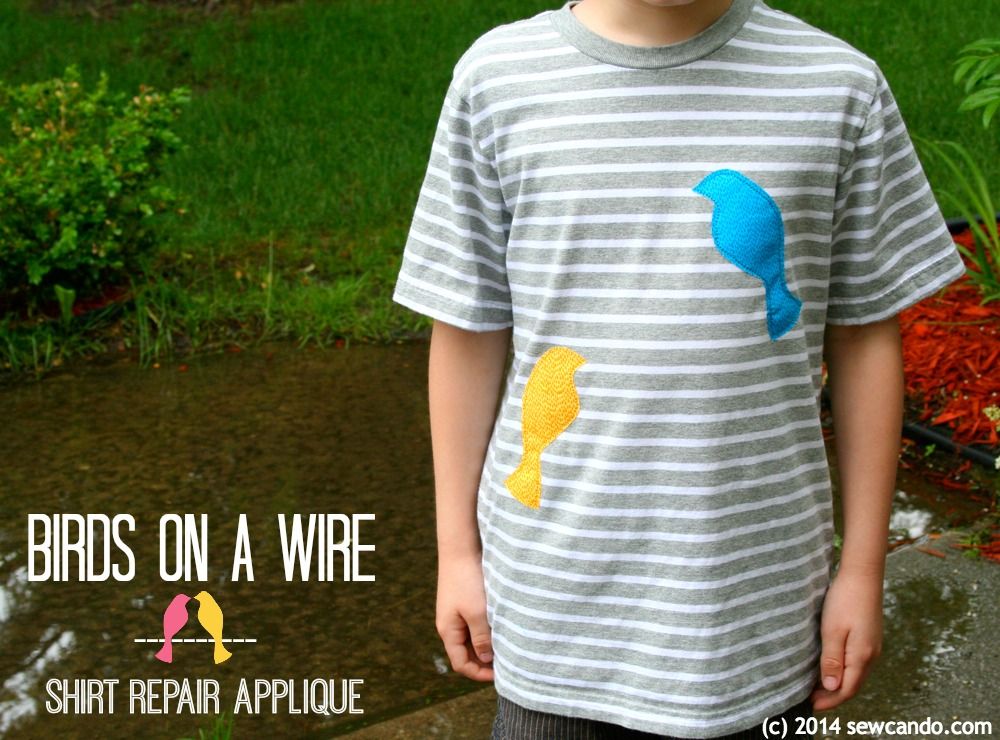
"Repair A Shirt" Applique: Birds On A Wire


Patching clothes usually isn't a fun project, but I can honestly say that today's how-to wasn't a total chore.  In fact, it made a kinda boring shirt look more interesting!  Here's the story:

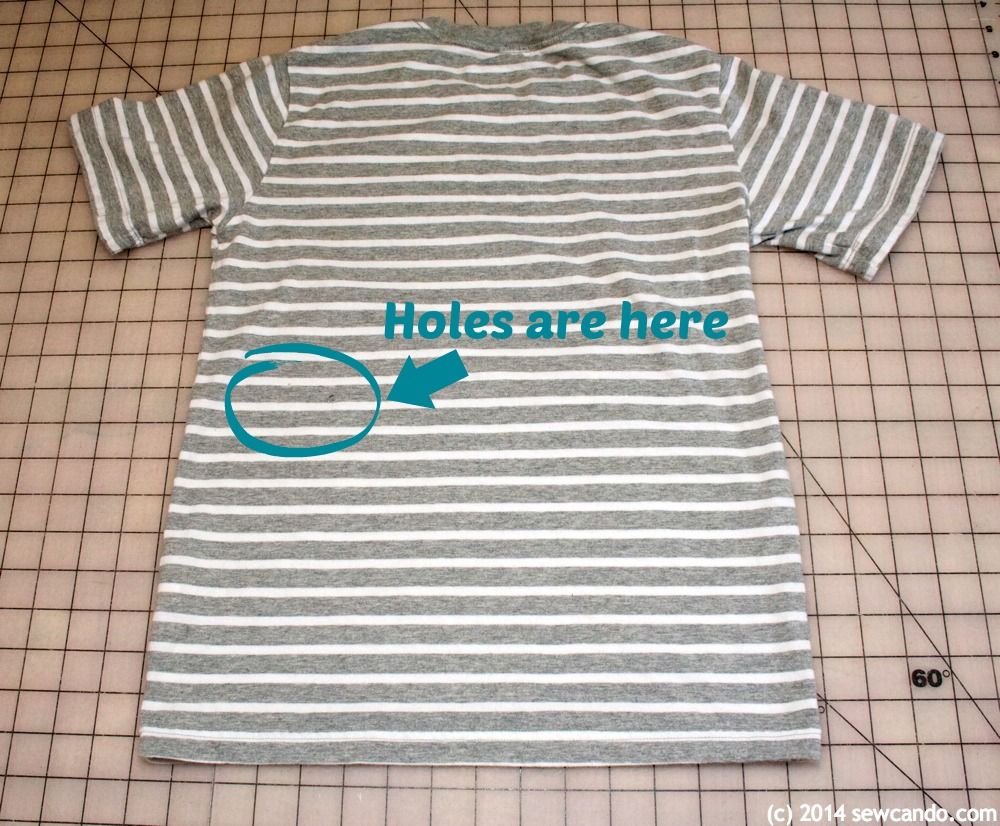
My 8yr old somehow got holes in the back of a new shirt.  I think he wore it one time and suddenly it had holes.  It's not like it was some special shirt, but I just couldn't bring myself to toss it when it was in great shape.  Of course he managed to make three of them (what do kids get up to that causes this stuff?!?).


However, the odd hole locations kind of stumped me at first.  


I needed a creative way to patch it that wouldn't look really obvious.  The stripes kind of made it a challenge.  Then it came to me how I could use them to my advantage - birds on a wire!

Materials:
- Holed-up striped shirt (or really anything with a narrow stripe for this look)
- Scrap fabric (mine was some Timeless Treasures Rain Basics quilting cotton)
- Paper-backed fusible
- Notions (Iron & ironing board, disappearing marker, disappearing marker, shears)
- Optional: Cricut or Silhouette

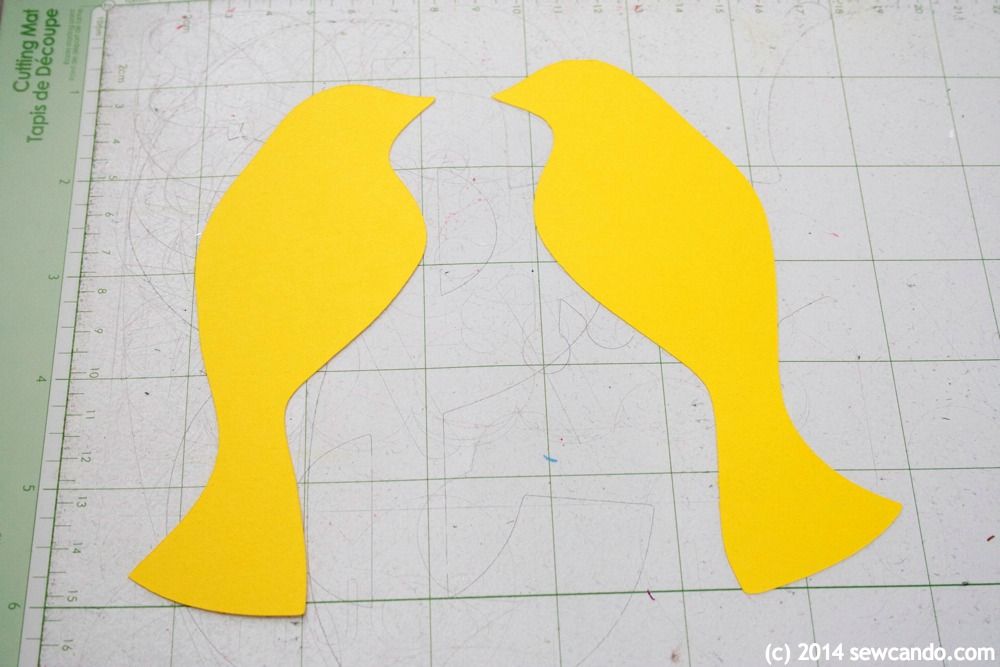
To make the birds, I searched around online and found this cute lovebirds image over on Clker.com:


Love birds clip art by: 1225design on clker.com

I just discovered this site and LOVE it.  It's full of free clip art you can download in a bunch of different file formats - including svg - so they'll work with a cutting machine like the Cricut or Silhouette.  

I enlarged the images slightly & cut 'em out on card stock to make my templates.  If you don't have a cutting machine you could just print it on card stock and cut by hand. 


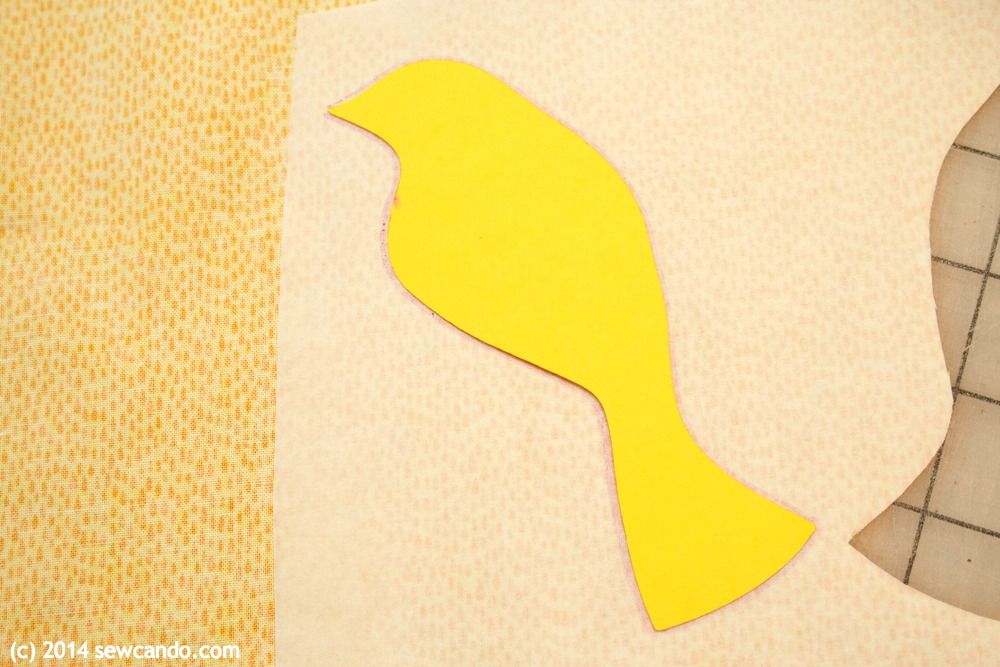
I traced around the templates with my disappearing marker on some scrap fabric and paper-backed fusible and cut them out.  I did two pairs of birds - one for the front & the other for the more critical back.  


You could also iron the fusible to the fabric first, then trace & cut.  I tried that with one to see if it was any faster...it wasn't, so it's really just personal preference.


I ironed the fusible onto the wrong side of each bird.  When they were cool, I peeled off the paper:


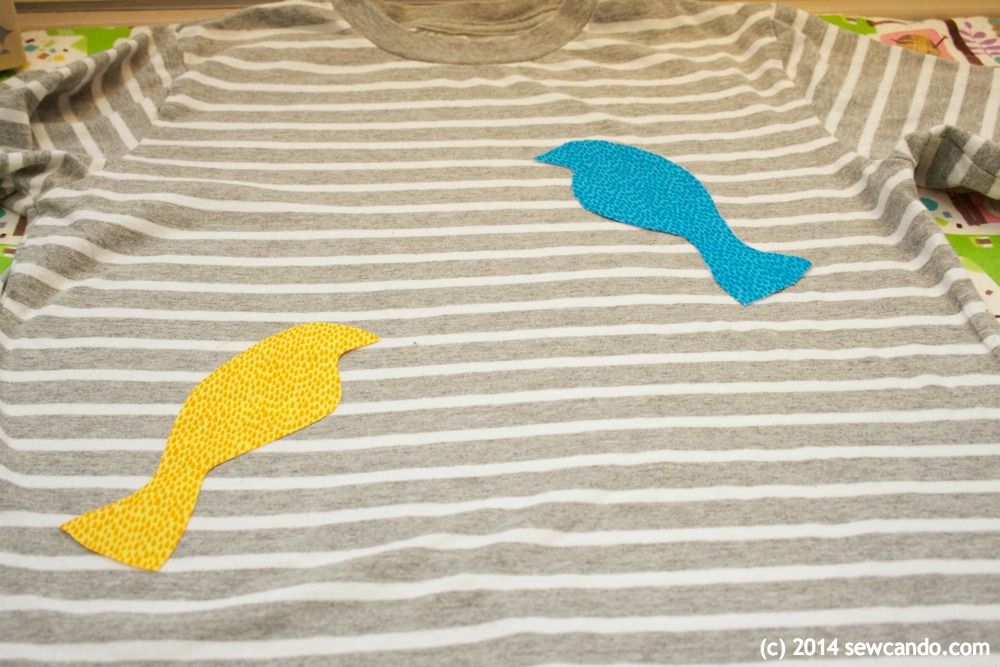
For placement, my birds needed to "perch" on the stripes and that key birdie on the back needed to completely cover the hole trifecta:


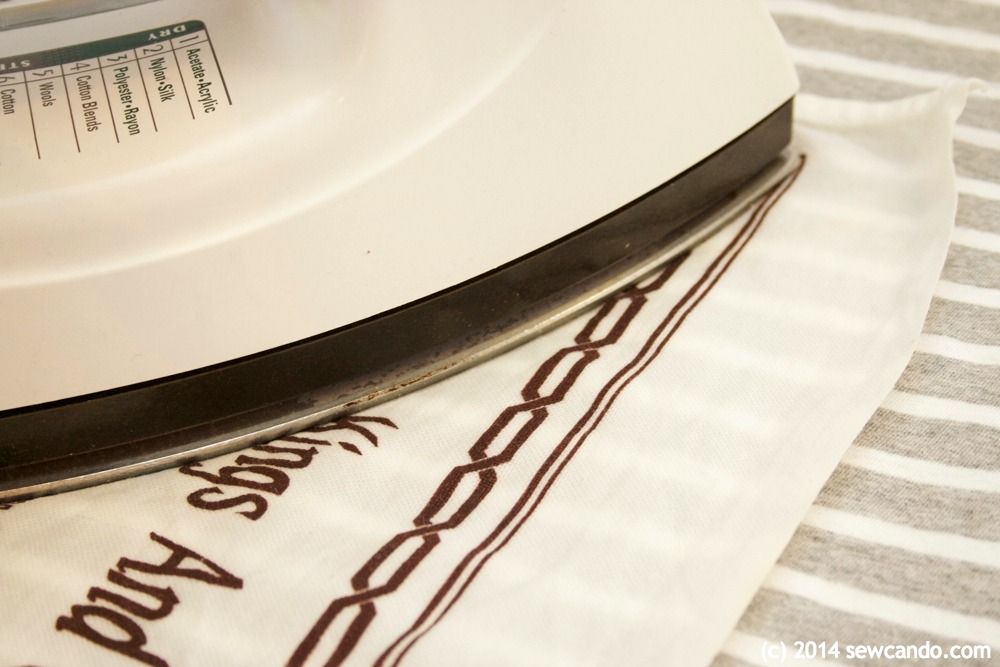
Then I fused them in place with a press cloth between them and the iron, using the wool setting.


For extra security and keeping the edges neat I topstitched around the edges.  


I used a triple stitch so it would and give a nice, thick, border stitch.


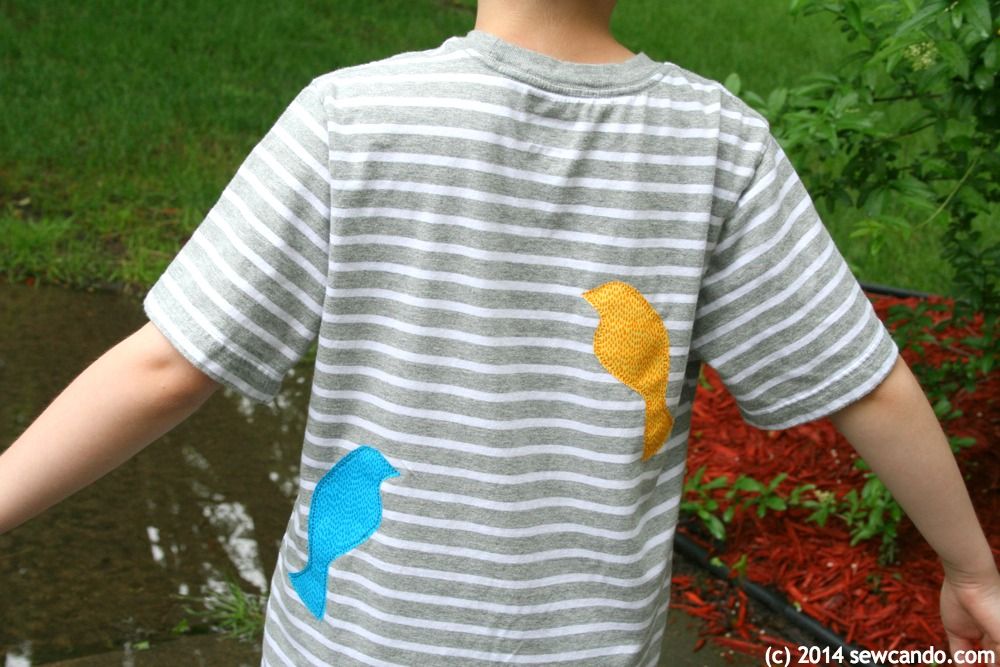
Now the holes on the back are all hidden, covert-style:


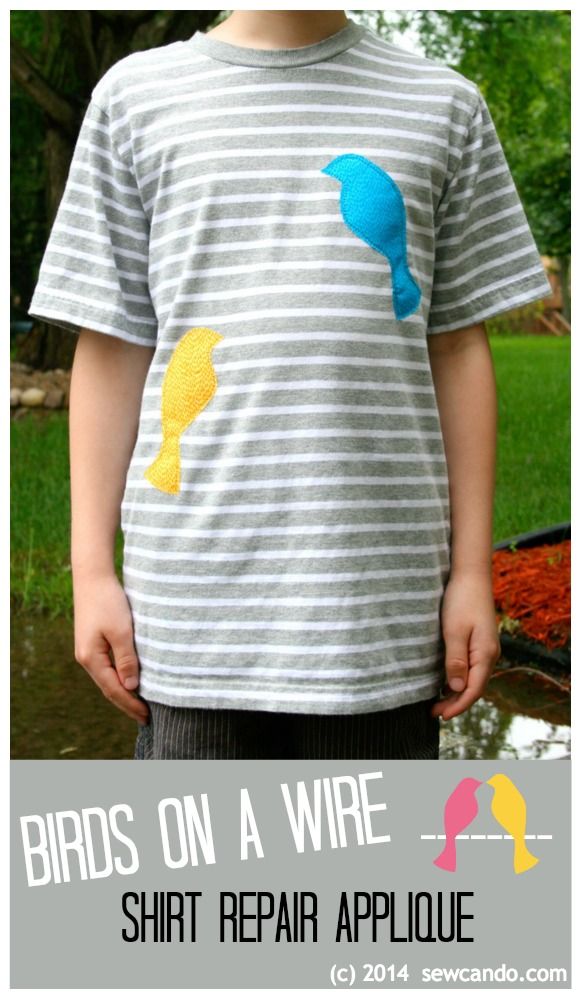
And our little shirt looks more fun and has loads more life left in it too.  I love it when a repair turns into something better than where it started!


LinkWithin

Related Posts with Thumbnails