Showing posts with label Fairy Tales. Show all posts

Wednesday, February 11, 2015

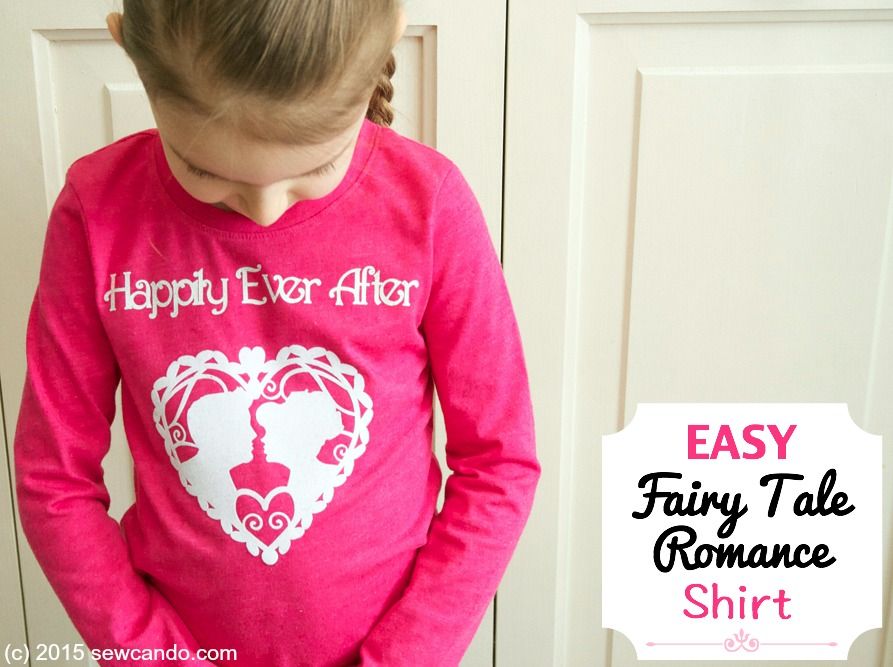
Easy Fairy Tale Romance Flocked Shirt


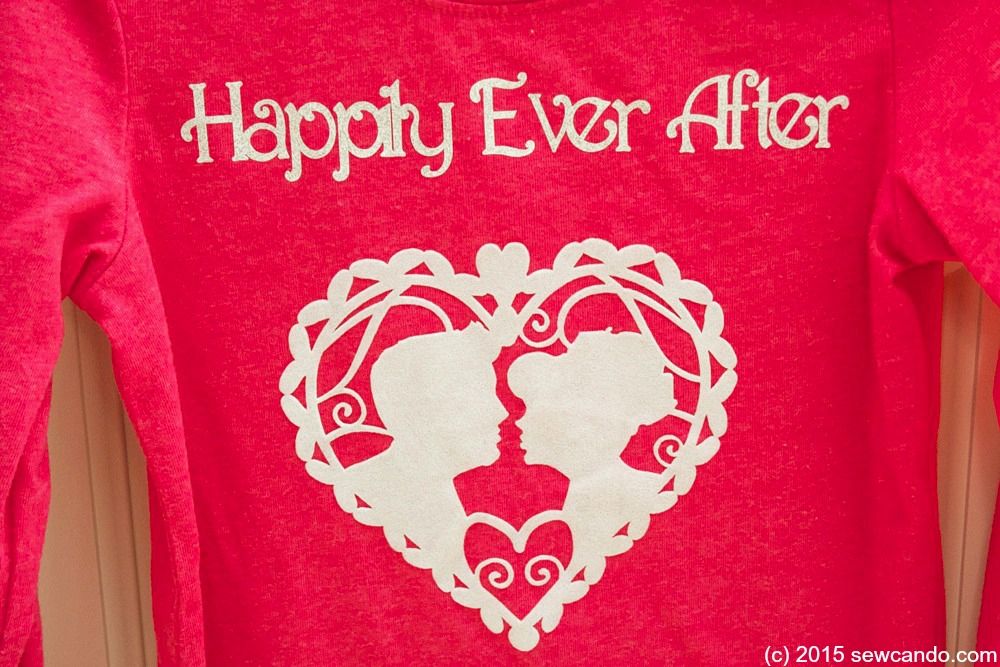
Do you love fairy tales?  Want to make a fast & easy Valentine's Day top that can be worn all year long?  Then today's project is for you: a super Easy Fairy Tale Romance Shirt!  
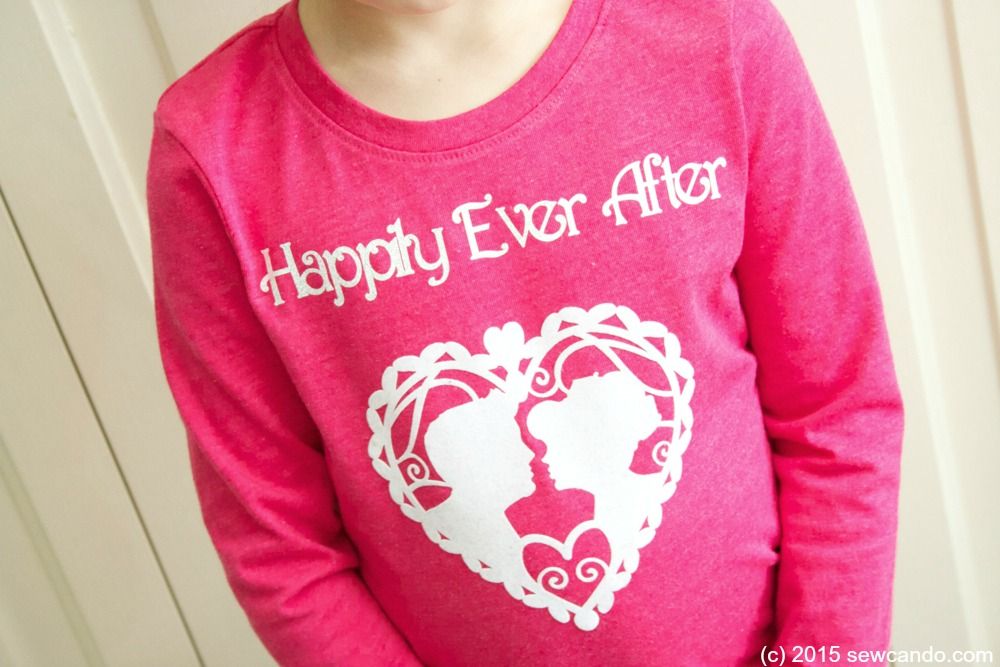


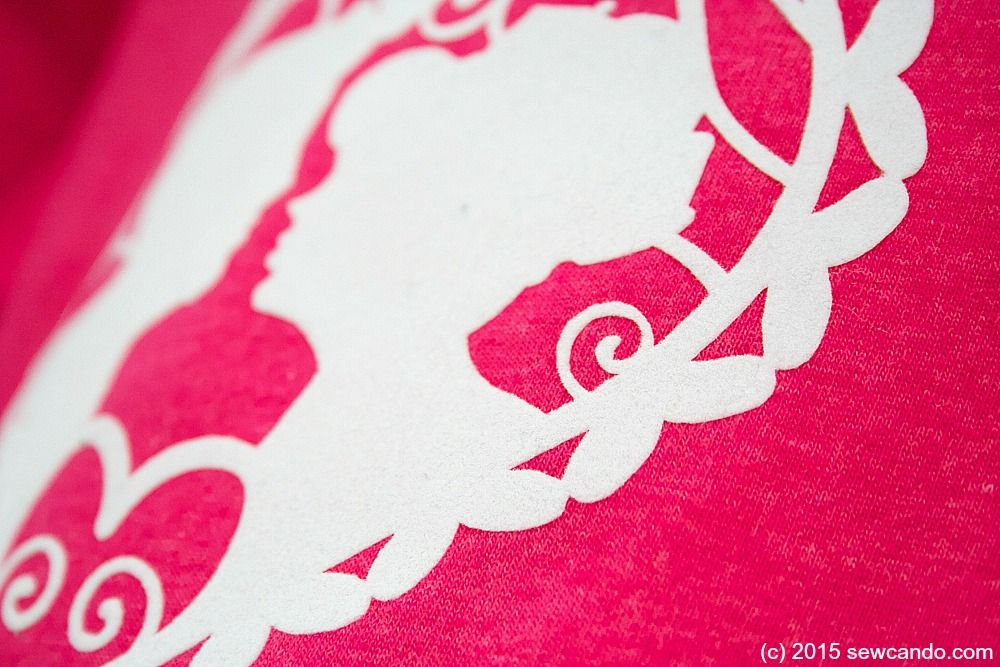
What makes this shirt a little "fancier" is what I used for the main design.  The cut-out heart is actually flocked heat transfer material.  I thought this would be nicer than the usual shiny plastic look of most iron-on transfers and give a richer, velvety finish:


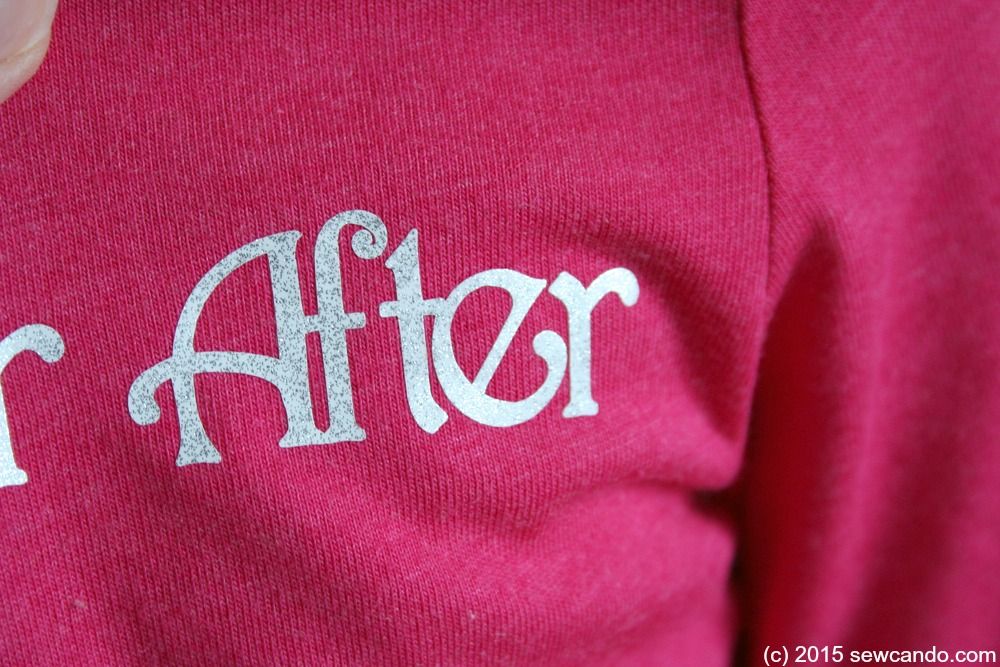
For the lettering I used glittered heat transfer material for a bit of sparkle.  It's hard to photograph glitter, but it looks more metallic and eye-catching in person:

Materials:
- Flocked and glitter heat transfer material 
- Blank t-shirt
- Iron and press cloth
- Cricut Explore or Expression or other cutting machine*
- Optional: weeding tool/pick

I don't get any sort of compensation from Cricut or Silhouette. I've always bought my own machines and have no vested interest in promoting any particular brand, so what you see here is a regular person experience.  No amped-up enthusiasm or over-simplified rave reviews from an affiliate/team member/recipient of free branded products.  Seriously, how objective is that opinion really going to be?  I'll be sharing more as I try things further and will do some brand comparisons + detailed reviews in the future too.

Design Info: If you want the same prince & princess heart shape, you'll need to buy it from Cricut's online design store or use the cartridge Love Struck 2010.  I bought myself a Cricut Explore a couple months back, when I saw a fantastic sale price under $200.  It even came with a free 3 month subscription, plus free bluetooth, so it's gotten me to try their designs more frequently than I had before.  Still trying to decide if I'm going to pay to keep the subscription when the freebie period is up...


In the Cricut Design Space online software you can select your project canvas, so I picked a shirt.  You can also specify general size.  I did Toddler (the custom size feature doesn't seem to work right) and picked a pink color close to my actual shirt.  This made it really easy to figure out my sizing for the lettering & heart.  I hid the background layer on the heart so only the lace bit remained.  For the lettering I used the font Nursery Rhymes.  I inched the spacing a bit closer so most of them could be welded together for easier placement on the actual shirt.  The lettering was also mirrored so it faced the correct side when cut.


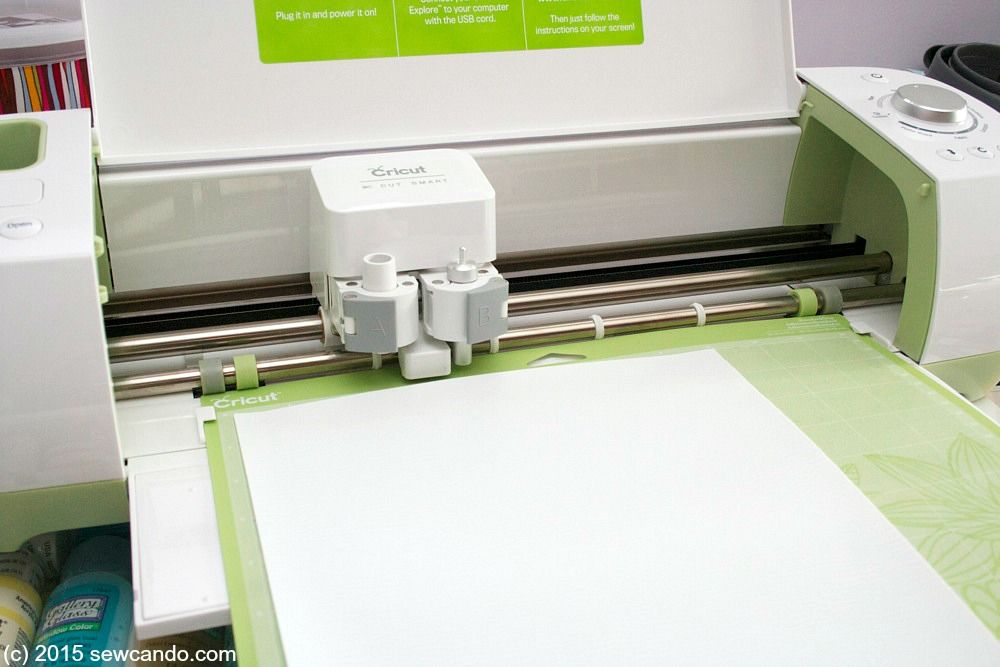
The material goes face down on the mat, with the plastic carrier still on.  I set the machine to heat transfer and cut.  Even though the flocked one is a bit thicker, the Explore still did a good job cutting.  I was glad I had a weeding tool though, since it took a little patience getting all the tiny bits out of the nooks and crannies.  Then it was iron time. 
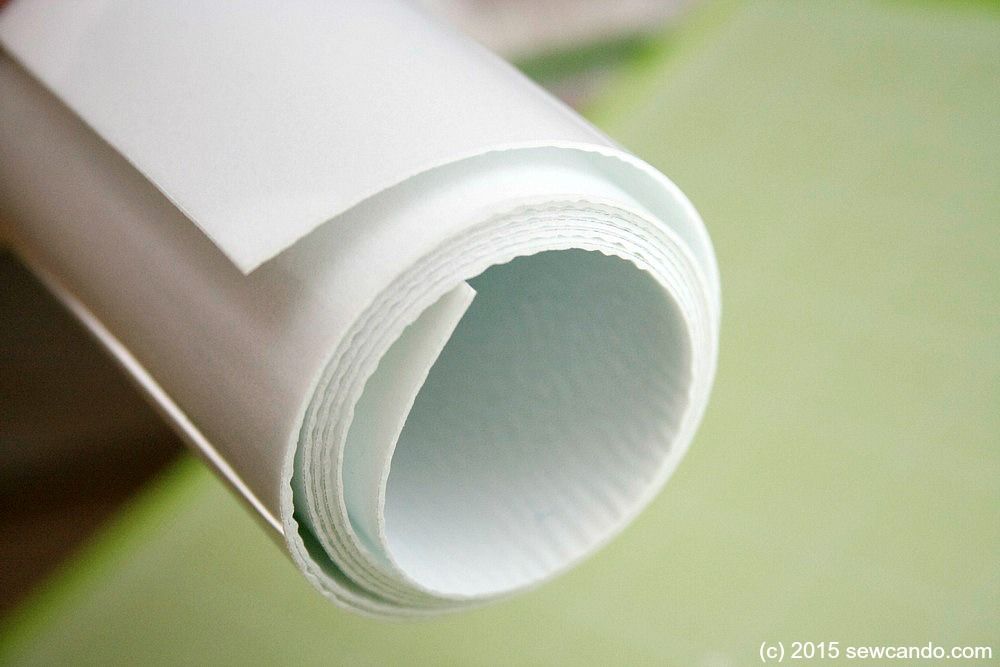


I'll be honest, I hadn't had success with heat transfers in the past. No matter how well I thought they were fused, they started coming off right away, & got worse after washing.  I gave up on them for years.  Then I got this machine and figured there had to be some tricks. I researched, then tested a few and found a couple of key tips that really work:

1. Iron the shirt first so it's warm when the iron-on is placed on it - this helps it adhere better.  Then use a press cloth between the iron and plastic carrier when adhering the transfer.  When cooled turn the shirt inside out and iron on that inner side too.  Peel the plastic off when totally cool.   
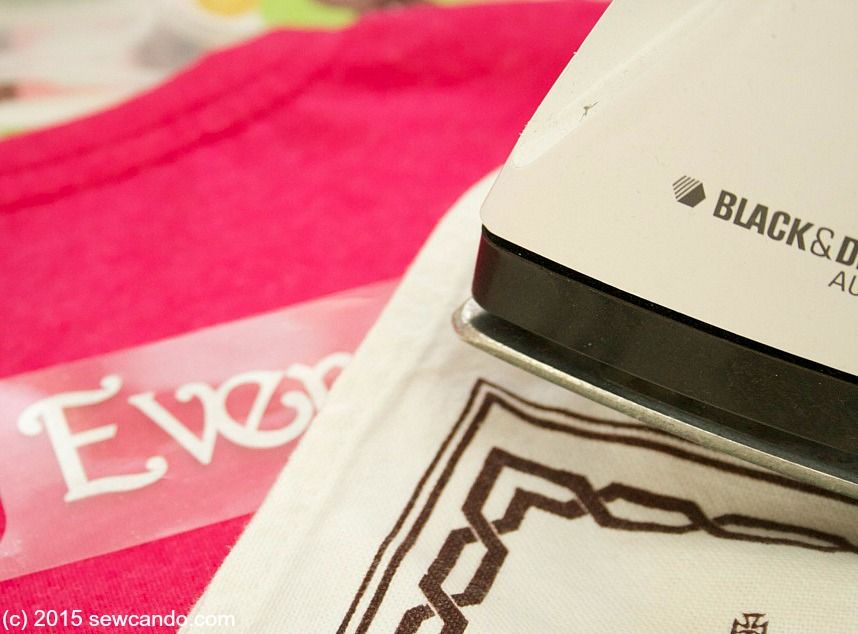


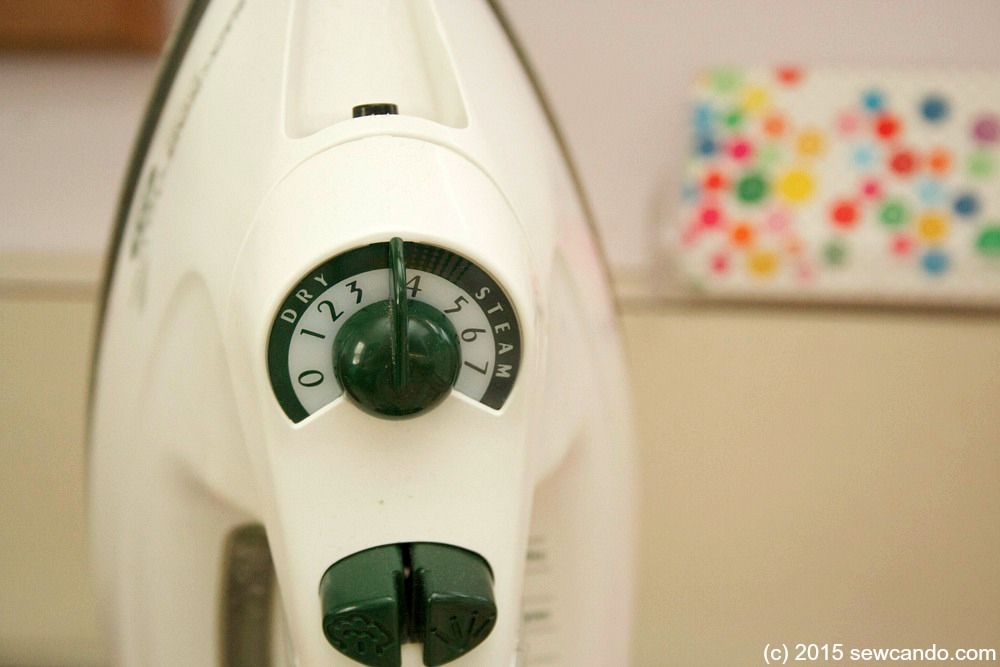
2.  Keep the iron temperature moderate - Cotton no steam.  It's better to make several passes (with cooling time in between) on that temp than going hotter and just melting the material. Higher temperatures won't make it stick any better - just wreck the transfer.


3.  Wash it on delicate, inside out and line dry.  Too much turbulence or hot temps in the washer & dryer are just going to stress the iron-on and make it peel off around the edges.  DIY versions using a home iron aren't just like manufactured shirts.  Nobody really mentions the longevity of their transfer shirts or shows how they look after a few washes, but here's ours after some washing:


4. Be prepared to re-iron a little.  After a full day of active wear on my daughter (aka rolling around on the ground, stretching like a maniac...aka a 5yr old being a 5 yr old), I noticed the tip of the heart coming up a little and re-iron it before washing it.  I also did a little lint rolling since she'd collected a lot of fuzz on the flocking from the aforementioned rolling around.  I examined it when it was dry & it looked just as good as when first fused. Heat transfer success at last!

My little lady's first comment when she saw the shirt was "It's you and Daddy!".  It's pretty nice to know she thinks of us as being Happily Ever After.  And to know this heat transfer shirt experience has a happy ending too:)


Wednesday, March 7, 2012

Let Down Your Hair: Rapunzel Hairdo Hat

Pin It


Today I thought I'd share something I completed a while back for a special customer: Rapunzel Hairdo Hats.  At Christmastime, a friend of mine asked if I could make some custom hairdo hats for her three little girls. They loved the movie Tangled & pretending to be Rapunzel, so I made them these hats for their favorite fairy tale playtime.


I originally designed an enchanted princess hairdo hat for my daughter, which you may remember from Halloween:


I modified my original design for a full-on Rapunzel feel.  My friend wanted something that would be long, but not drag on the floor. So I created hats with long, lovely fleece braids (ankle-length based on each girl's height), accented with silk flowers,


And satin bows to tie up the ends:


I made each one in a different shade of pink so they could tell their custom length hair apart, but they'd still be similar enough that there would be no chance of squabbling over who has what color (as one of 3 girls myself, I know all about that!)


Does it sound a little crazy to say even though I'm a grown woman I secretly want to wear one too?


These were a big hit with the three little princesses, so knowing they love wearing them is probably as good as being able to wear one myself!

Sharing this with my FAVE LINK PARTIES too - click HERE to check them out!

Monday, October 31, 2011

Happy & Crafty Halloween Costumes!


Ready for a little costume fashion show?  I'm really proud of this year's effort.  We decided on what everyone was going to be in advance, but I didn't actually start planning or working on them until last week after I'd gotten all my Halloween shop orders done.  Part of the enjoyment for me is designing the costumes myself so I really didn't want to go the store bought or store pattern route even though there wasn't heaps of time.  Strangely enough, once I had kicked out so many custom costumes & hats for the shop, making these as "something for fun" felt like a walk in the park!

Last year my trio had a Star Wars theme going:


So this year we went with a storybook adventure feel so they could kind of go together again.  Here's my little swashbuckler, the self-named "Captain Nightmare" (I don't even know where he got that from, but he's insisting we call him that).


But don't worry, he's a friendly pirate:


His costume was the easiest to throw together.  The Pint-Sized Pirate Hat & Eyepatch I made for him earlier this year.  I made a little sash with some striped quilting cotton and stitched some skull and crossbones buttons onto the fleece vest I made for his Han Solo costume last year.  Foam sword from the $1 section at Target.  Plain white shirt & pants from his closet.  Mustache courtesy of an eyeliner pencil and...Poof!  He's a swashbuckler ready for adventure.


My oldest son is another sort of adventurer - a knight in shining armor.  Ready to take on any dragons (or candy) he finds along the way:


Using materials from my stash, I made him a tunic from fleece using a simple kid's pullover vest pattern I lengthened.  I added some tapestry-style ribbon trim to the hem and a belt I made from silver pleather with some antique looking buttons for detail.  I made a collared cape from fleece that was a different shade of blue, added some silver cord at the opening and some knight-like buttons.  I found those at Joanns in a mad dash literally 2 minutes before they closed one night.  Fastest shopping trip there EVER.  And it was like they were made for this with their crests that say "Honor":


I modified my Little Vader hat design to make his helmet using silver pleather on the outside and blue fleece lining.  I reshaped the front part so it would have more of a face guard look like a proper knight:


And of course every knight has to have a shield, so I made this one with a fleur de lis applique in fleece, (also using the pleather) and with a loop on the back so he can have it on his arm, but still keep his hands free for trick or treating.  Used some grey thermal pyjamas & fleece sweatpants from the closet to go underneath.  Another $1 section sword and his costume was complete!


And what would two heroes be without a little damsel?


She's always willing to get a hand from her brothers, but she's definitely the "I can save myself" type.  And already very fond of dressing up at just 2 years old.  Last Friday's post showcased her majesty's costume in more detail, but I had to include a few pics here too.  Being all fleece means it she can keep a cool, regal gaze but the rest of her will stay toasty warm:


Hope you had fun checking these out.  Have a very happy & safe Halloween everyone!!

Sharing this with my FAVE LINK PARTIES too so click HERE to check them out!

LinkWithin

Related Posts with Thumbnails