Showing posts with label kid gifts. Show all posts

Wednesday, February 15, 2017

Free Pattern Finds: The Snapazoo Soft Toy


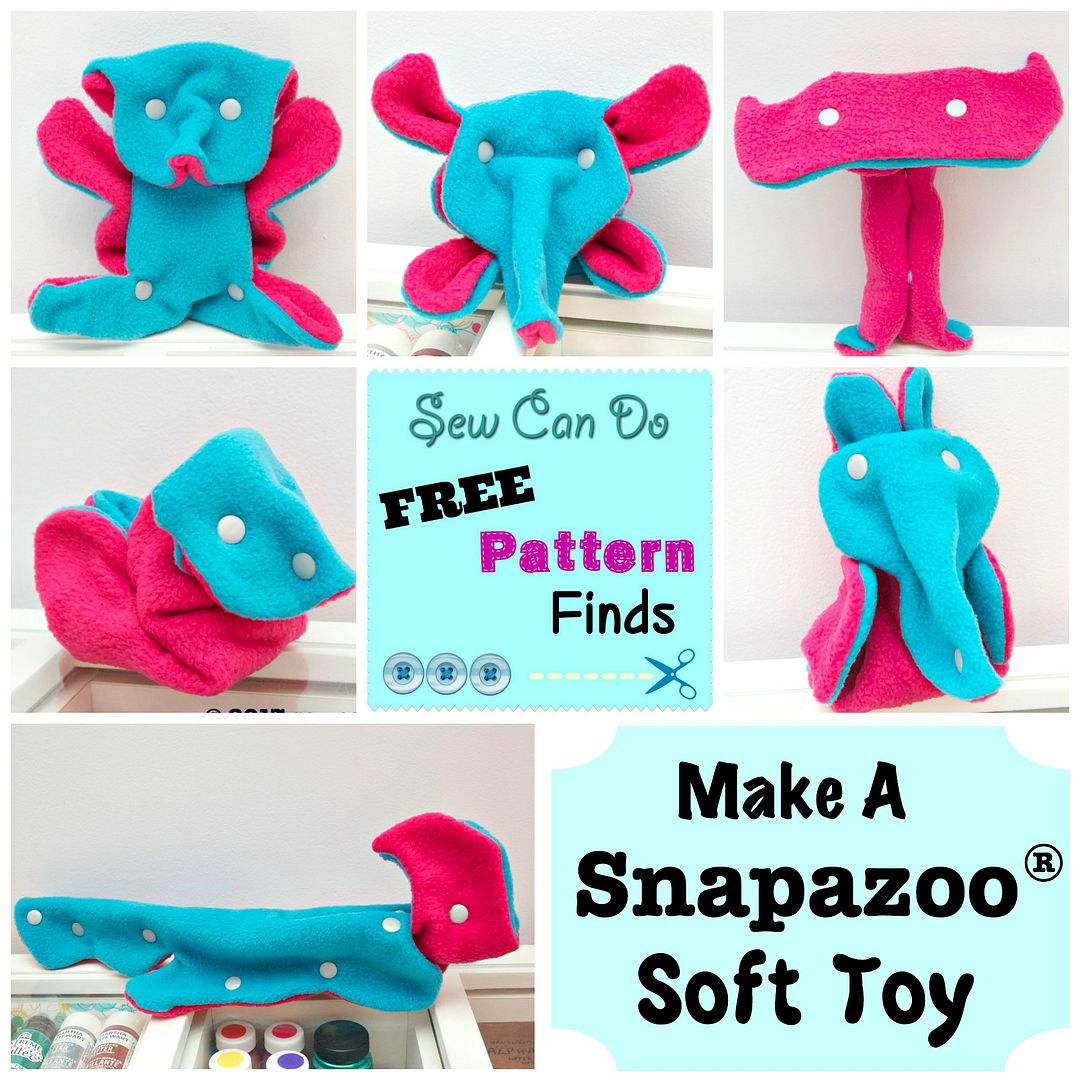
As much as I like making my own patterns and dreaming up designs with my imagination, sometimes it's relaxing to just start sewing.  And sometimes there are great ideas already created & ready to sew up, like this Free Pattern Find:  The Snapazoo®  Soft Toy.


Like all my Free Pattern Finds, this is a pattern that doesn't cost a thing, so you can go grab it yourself for FREE!   

The Snapazoo toy is clever design from Ross Miller Studio, Inc. that involves a two sided fabric shape and a boatload of snaps that can be folded and snapped into all sort of things.  Like this teddy bear:


or a little fox:


or a sting ray:  


Or some sort of bird/duck:


I think that's what I love most about this idea - the infinite play options.  It's been around for a while and was even sold as a finished toy years ago, as you can see from some of retro videos on the Snapazoo site.  There are links to different templates and how-to's for making it here.  For personal use only though - commercial selling is prohibited. 

This pattern is best suited for fabrics with some weight & a bit of stretch like heavy knits, minky, felt or fleece.  I used anti-pill fleece for mine.  It's a great way to use up scraps, since it's not very big.   

It's an easy sew, so a good project for a beginner.  Literally, just cut & mark based on the downloadable template:
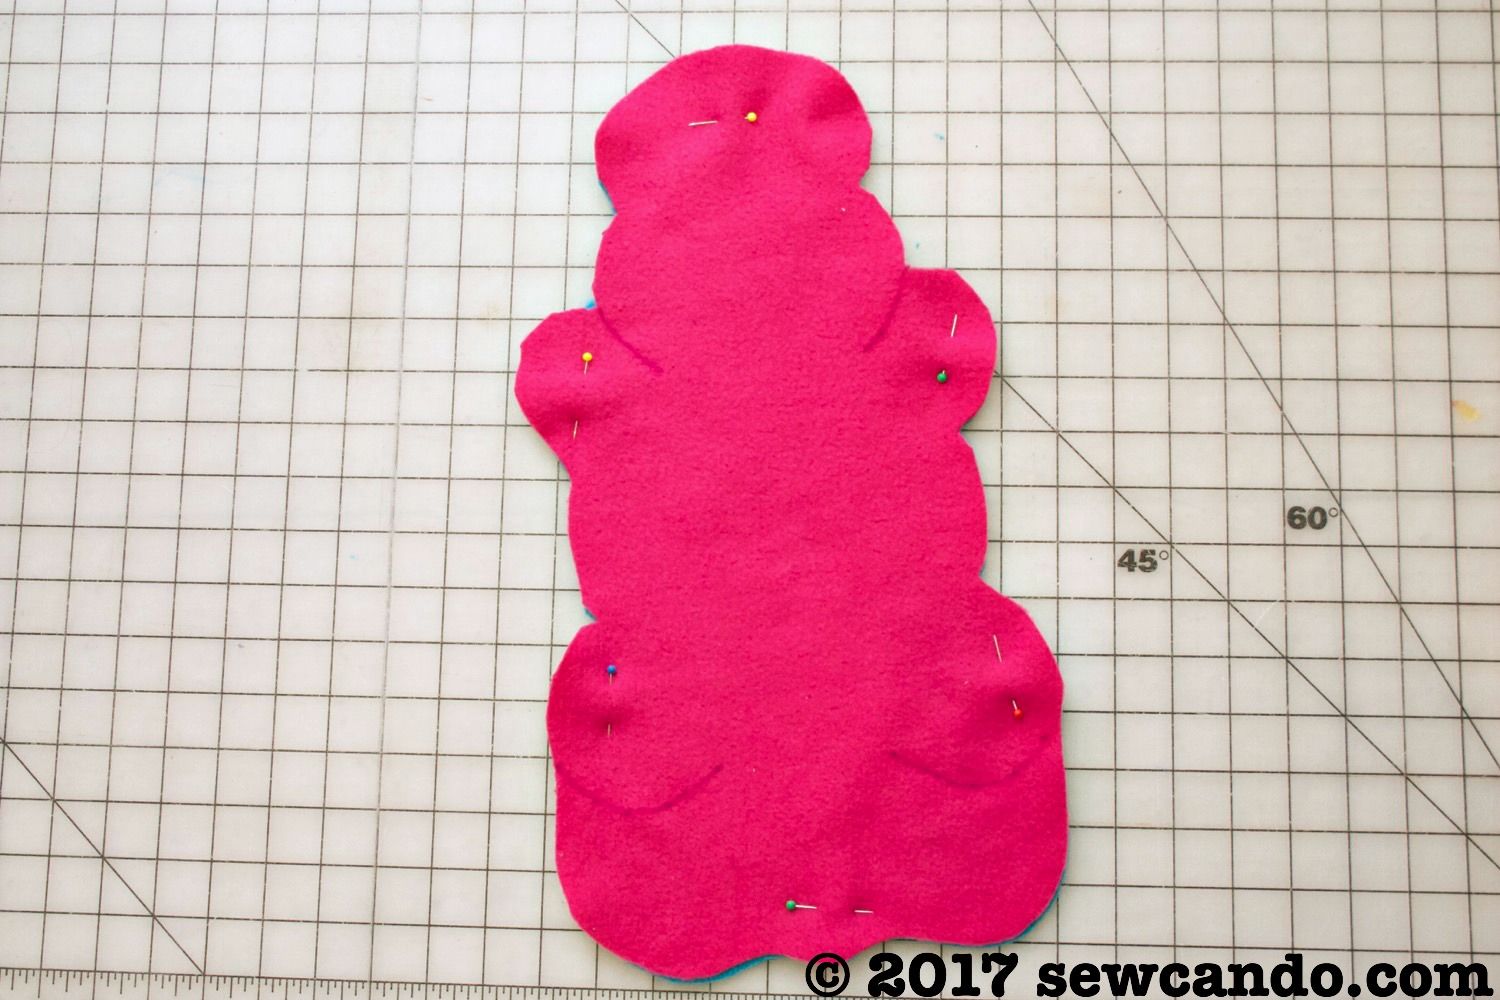


Then stitch:


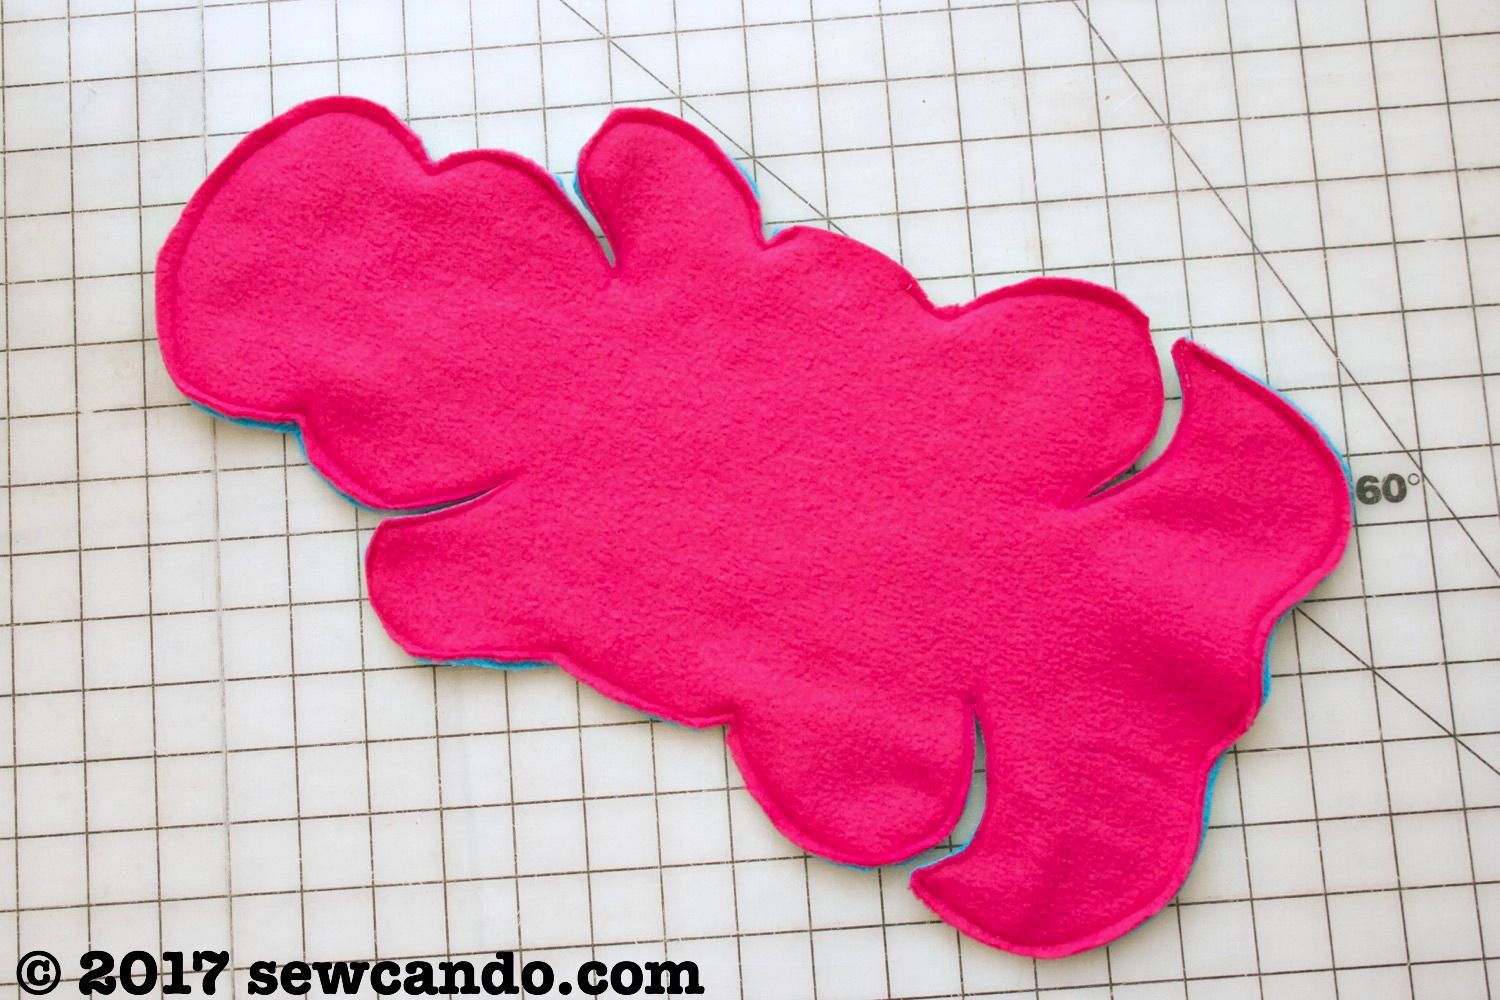
Turn right side out and set the snaps according to the instructions:


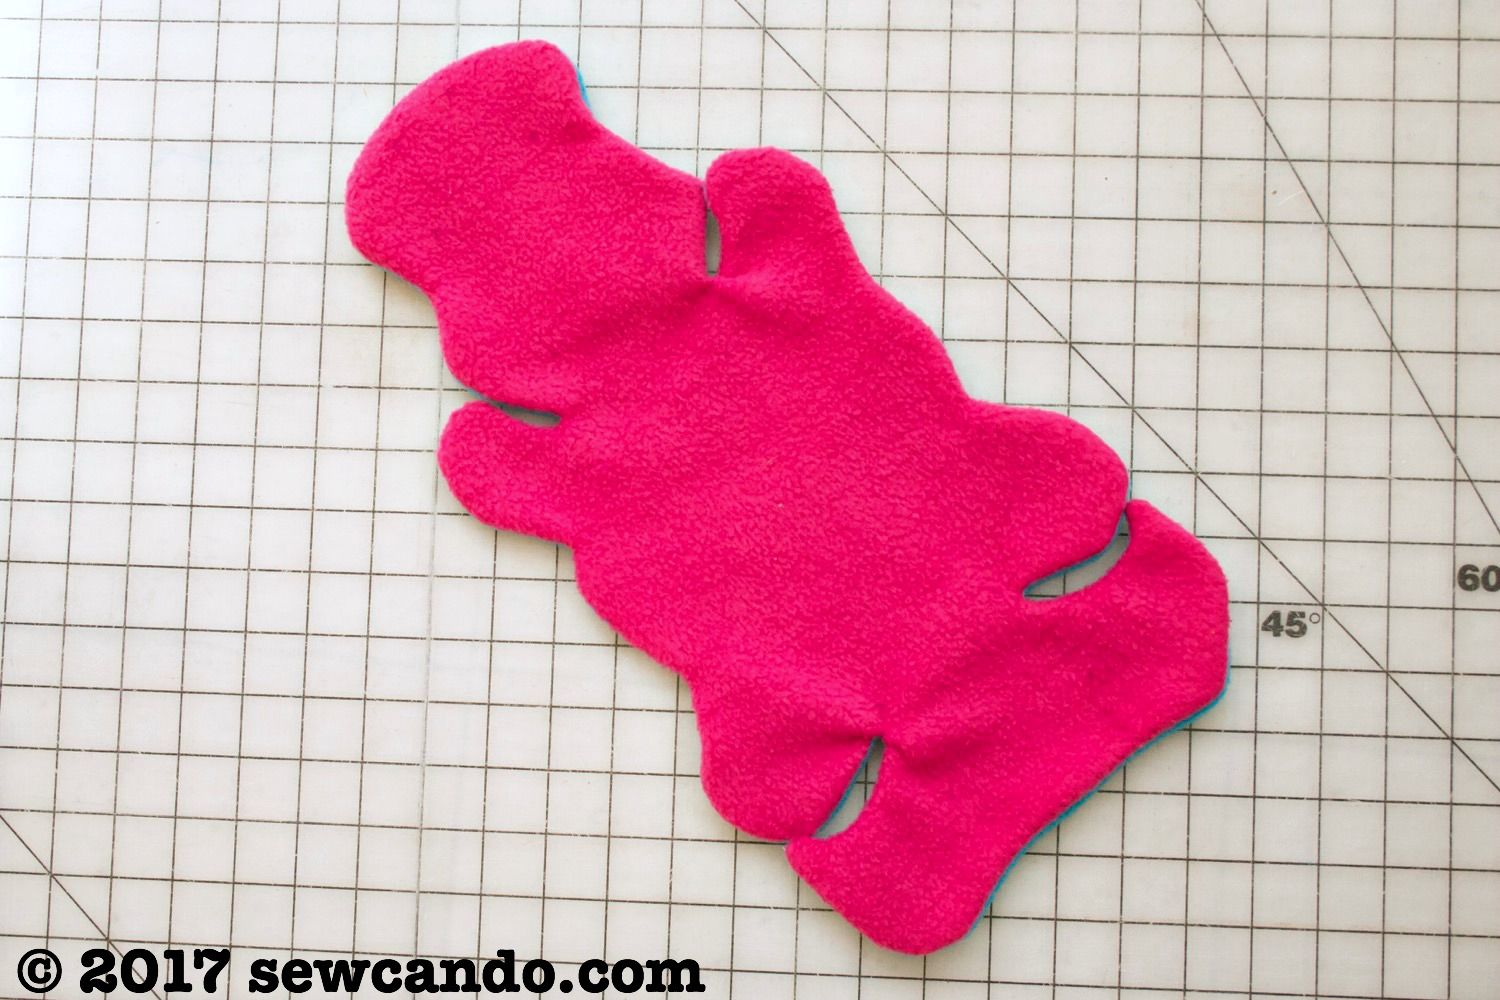
Plastic snaps are ideal because they are strong and you can get fun with the snap colors if you want.  I just used boring grey for our first one, but I feel like some of the shaped snaps in my stash, like stars or flowers, would look fun too.


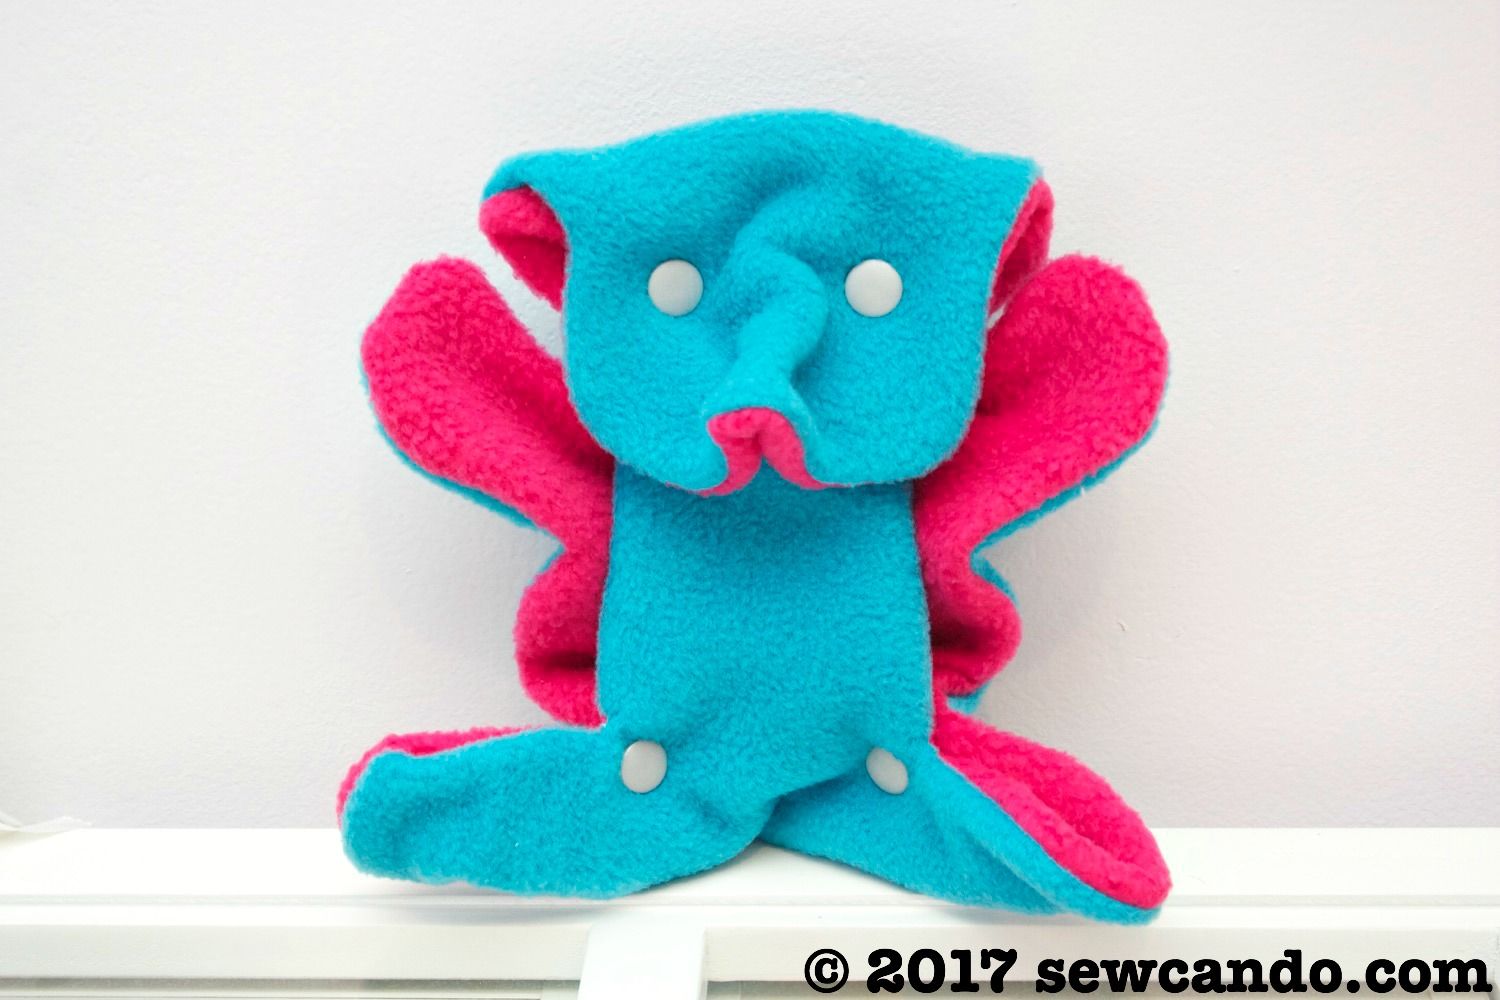
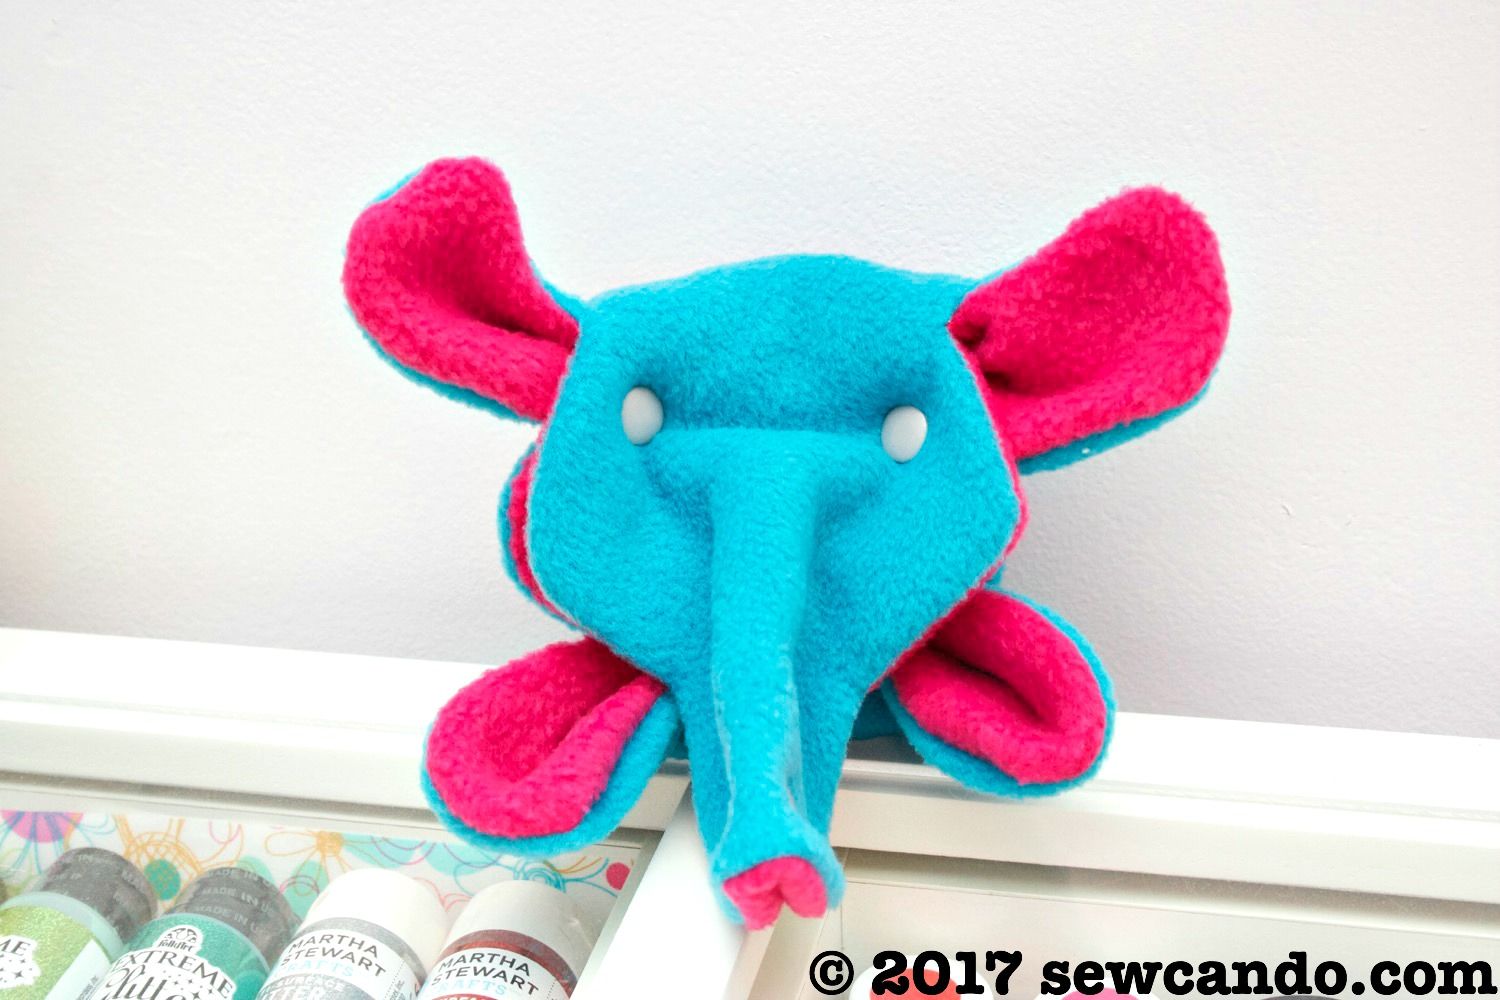
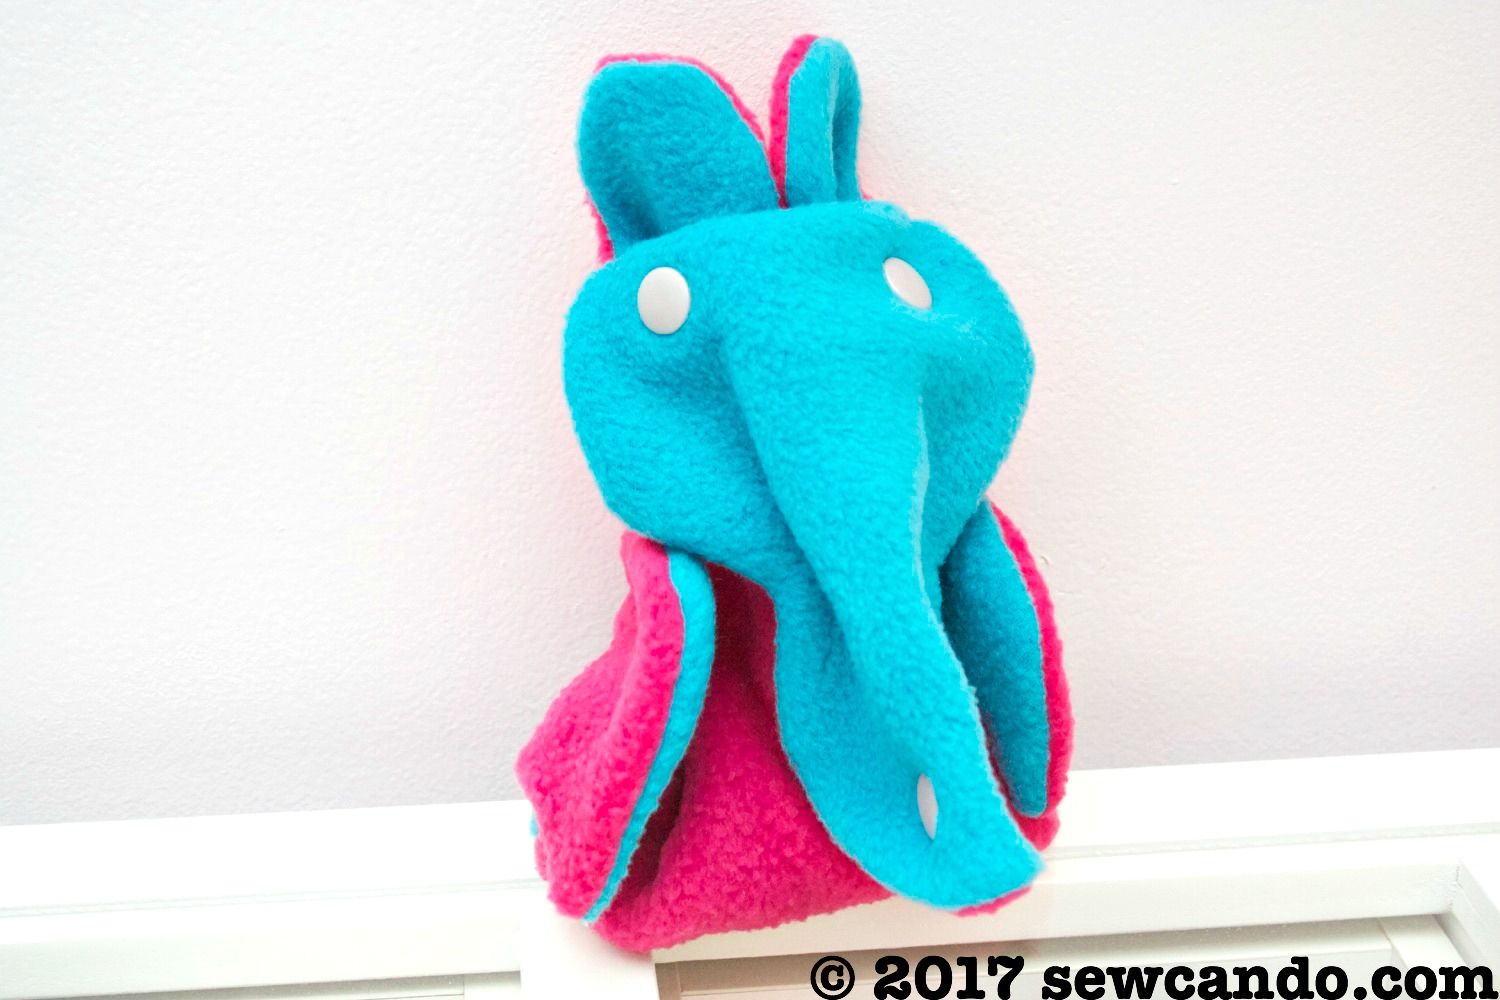
There are handy instructions here on how to make various animals with it.  Including this elephant and most of the critters shown earlier in my post:


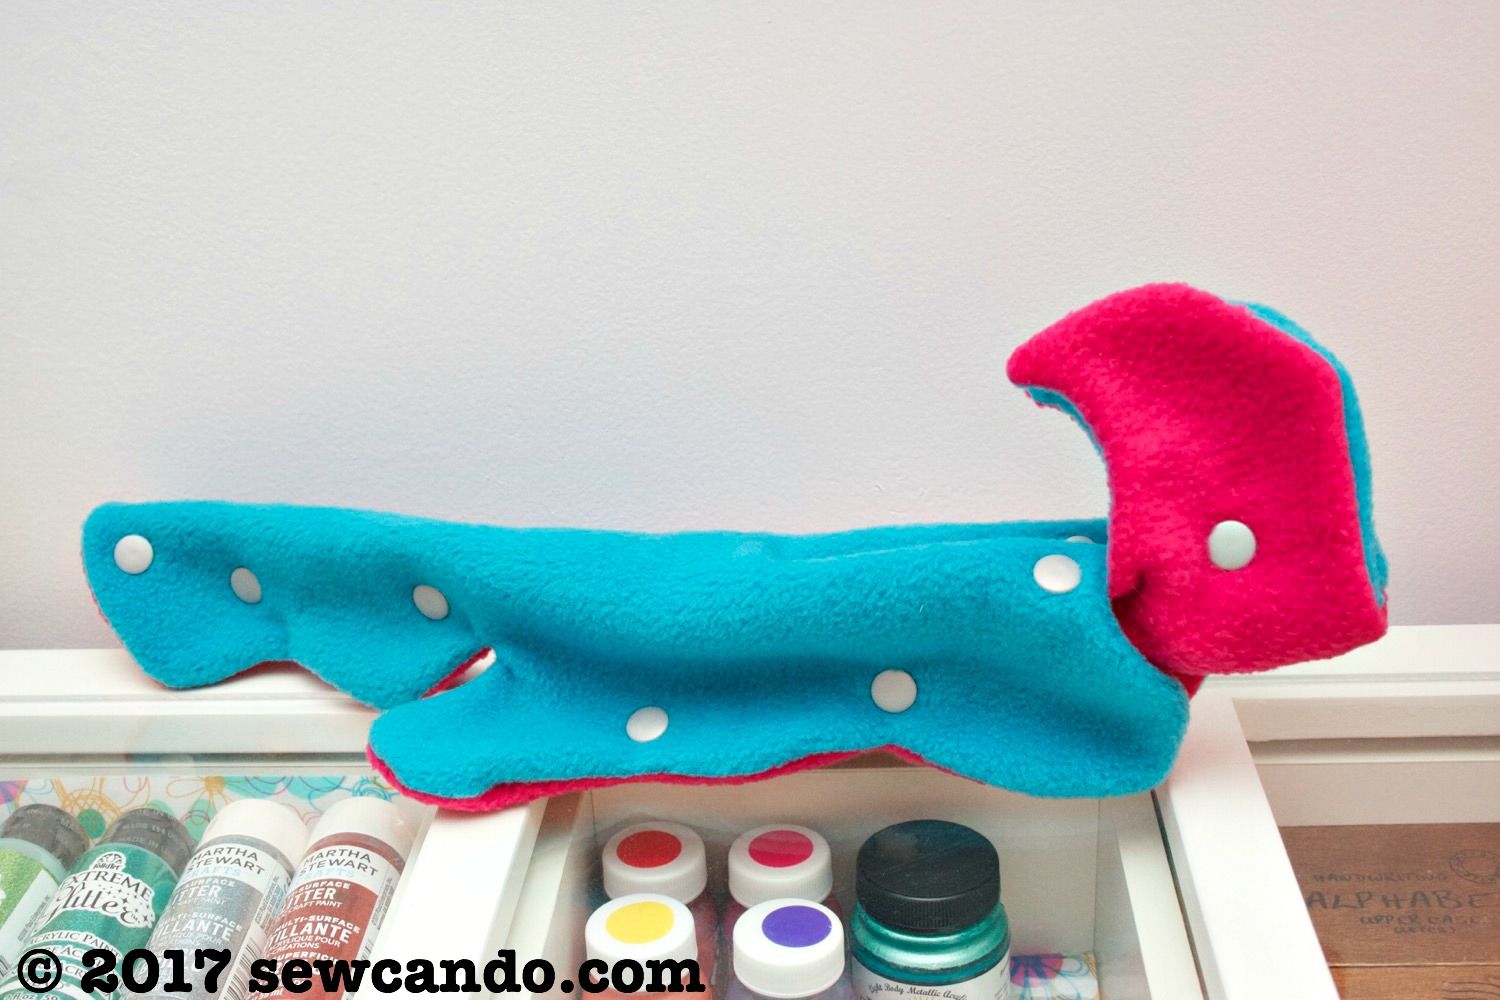
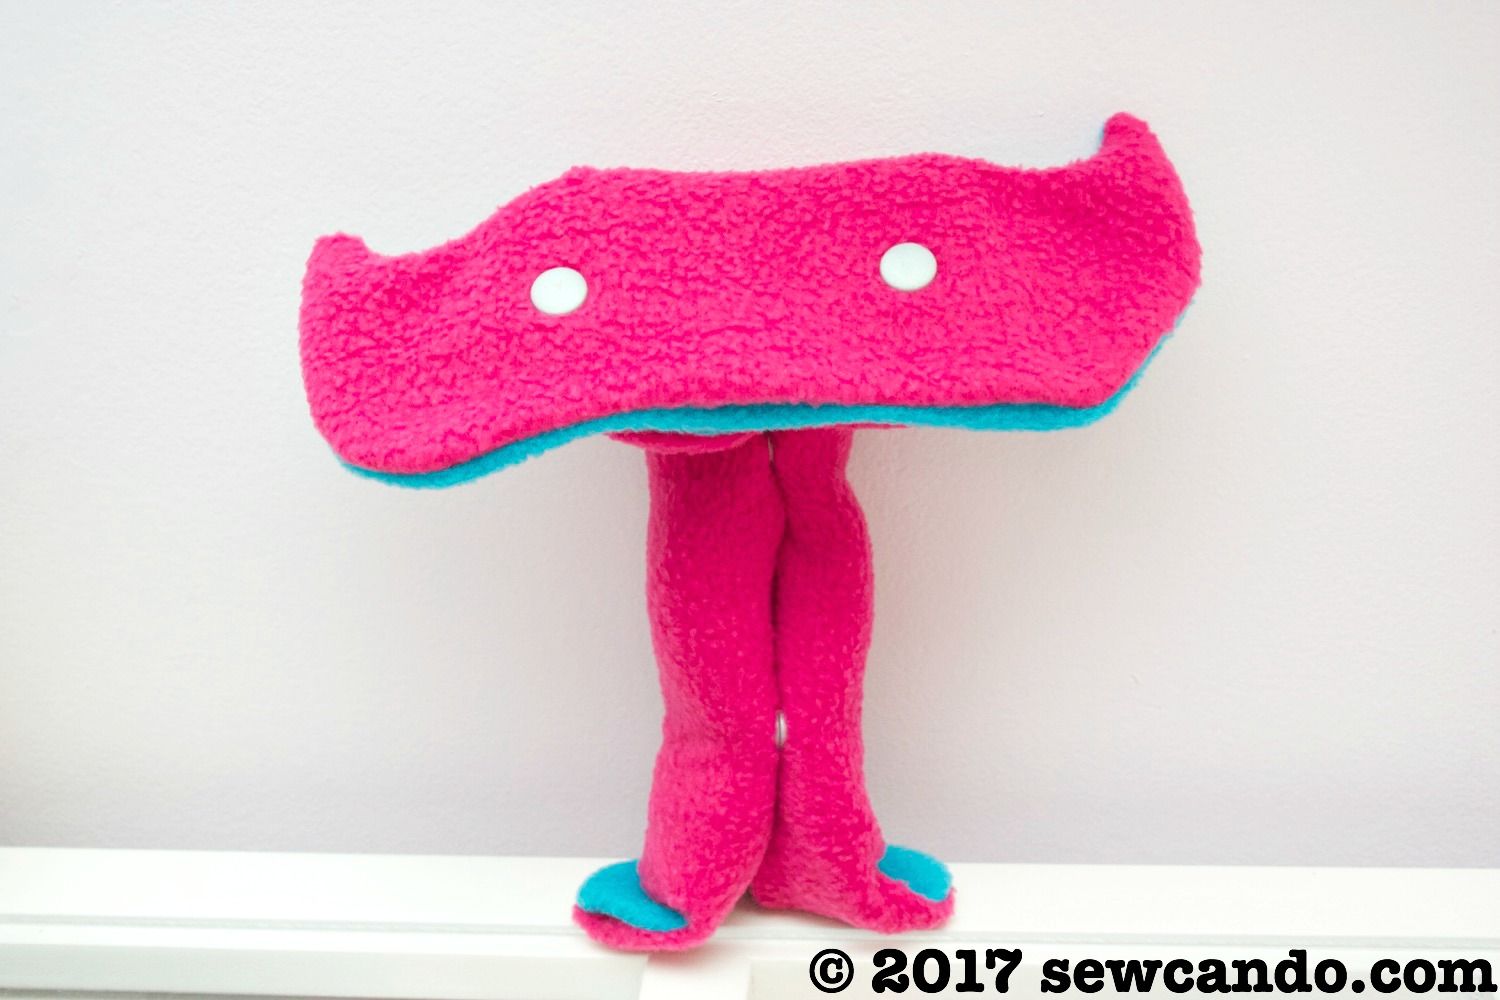
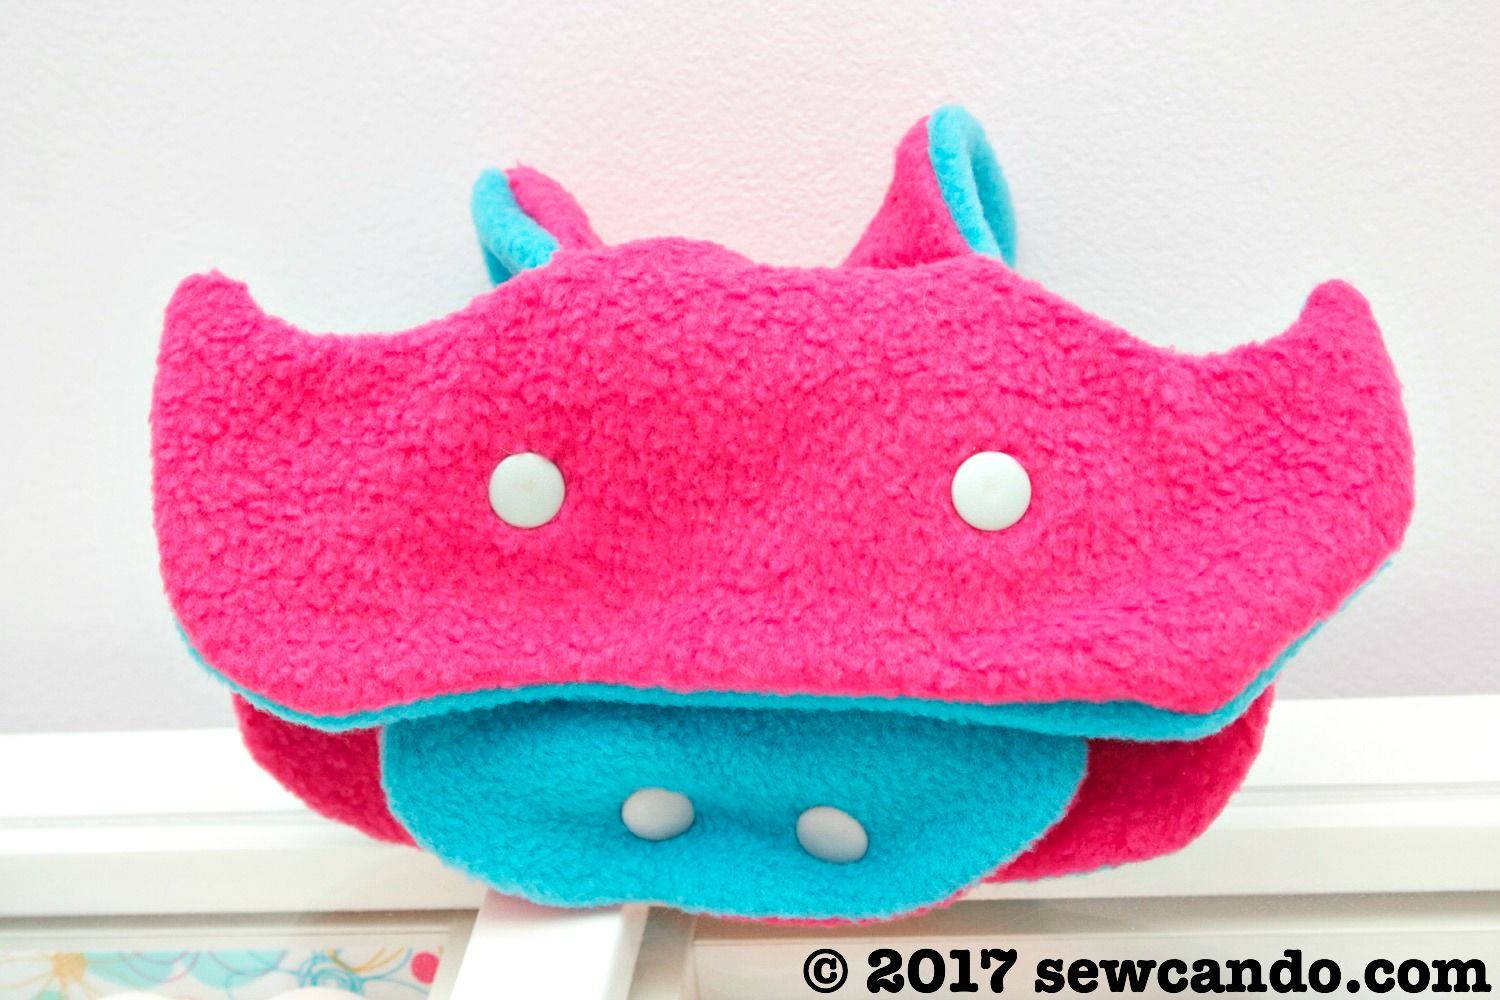
We had fun just making weird & wonderful creatures too, like this....well, I-don't-know-what:


Definitely a fun Free Pattern Find for us.  My kids love the Snapazoo, what about you??  

Got a freebie pattern find you love? Share it in the comments so we can all try it out!


SaveSaveSaveSaveSaveSaveSaveSave

Wednesday, December 3, 2014

Tutorial Time: Make An Indoor Snowball Fight Set


Now that December is here I'm feeling extra festive & thought I'd start the month with this fun winter-time how-to: a DIY Indoor Snowball Set!


I saw a similar idea in a catalog and thought it was cool.  Have snowball fight fun, but without the cold and wet mess?  I'm in!  I did not dig the sort of high price tag though.  I also discovered that the "realistic" snowballs were really just giant pom poms...which doesn't seem all that snow-like to me, so I came up with my own version.  I think these look & throw more like the real deal:


The best part is this project uses basic materials and is super quick to make.  It's also the perfect DIY holiday gift for kids (or kids at heart)!  Here's how to make 'em:


Materials:
- 2 skeins of fluffy white yarn (I used Bernat Pipsqueak)
- 10 to 12 golf practice or ping pong balls
- Crochet hook
- Small bucket
- Vinyl & adhesive cardstock
- Die cutting machine (or stencils and scissors)
- Optional: plastic needle

Most of the supplies were things I already had at home so it made this a quick & fairly inexpensive project.  I started by threading some of the yarn through two holes in the ball.  Used a plastic needle makes this easier. Then I knotted the yard to hold it in place on the ball.  


Then carefully wound the yarn around the ball, spacing it evenly.  I also did one with a regular ping pong ball by holding the end until I had things wound a few times which worked great too if you don't have the holed balls.


I wound until the ball was snowball sized as desired.  Staying tennis ball-sized or smaller so keeps the weight light enough for indoor play.


I cut a yarn tail a few inches long and then used a crochet hook to pull the tail under a few tightly wound strands.  I repeated this several more times until the tail is hidden and secure.  Then repeated it all with the rest of the balls.


The secret to the snowball's success is in the fluffiness of the yarn.  It means you can't see the individual strands so each snowball looks like downy soft snow and has a soft to the touch, yet firm feel like a real snowball:


For a cute container, I used a galvanized bucket and made sure sides were nice & clean. Using glittered adhesive card stock, I cut my lettering using my Silhouette Portrait.  I found some free holiday fonts (Alpha Shapes Christmas Balls and Grand Hotel) that were ideal.


I weeded with a toothpick to remove the portions I wasn't transferring:


I also cut an oval from some white vinyl (about 5in wide by 3 in high) for the background of my label.


I recommend applying the oval to the bucket with some transfer tape, smoothing that out with a credit card or scraper first, and then using transfer tape to apply the lettering.  I put my lettering onto the vinyl before I applied it and it meant fiddling around too much trying to get air bubbles out around some of the letters.  So learn from my mistake and don't do that!


The transfer tape made it easy to keep everything even.  After carefully peeling it away the bucket was looking pretty good:


I added those fluffy snowballs to the bucket & we were ready for a little indoor snowball action.


A few other tips:  Remove delicate or breakable items - these are quite soft, but could still knock something over.  Vacuum/sweep the floor first so your snowballs don't become dirty or collect a bunch of dust too quickly (dirty snow, real or fake, is not fun, nor easy to clean).  If any strands of yarn become dislodged from over-vigorous snowball throwers, aka kids, just use a crochet hook to snag them back into place.  Now, enjoy a snowball fight and stay warm & dry at the same time;)


Tuesday, April 23, 2013

Creative Design Shopping: My NotOnTheHighStreet.com Review


Besides making crafty things I love shopping for them.  I especially like finding things that are out of the ordinary, so I was really intrigued when NotOnTheHighStreet.com asked me if I'd like to pick out a few things and do a review.
This UK based online shop is really different than anything else I've tried.  It's like a treasure trove of creative boutiques and gorgeous catalog all rolled into an easy-to-use online shop. Things you won't find in the big chain stores.  They offer items from several thousand small, creative businesses - beautifully photographed and thoroughly described.


They have a strict application process for all their sellers, so they only offer small shops, designers and makers with style and high quality.  And it really shows - no Chinese resellers, flea market junk or questionable homemade...."creations" to sift through like Etsy or other so-called artisan sites.

There were so many lovely categories and items to choose from: Home & Garden, Clothing, Jewelry, Accessories, Toys, Weddings & Crafty Supplies.


There is something for everyone, so I felt like I'd stumbled on the answer to any gift giving situation. I also like that it's supporting small creative businesses.

I picked out a few items from their different sellers and even though I live in the US, I received all of them pretty quickly.  And they were all packaged beautifully too.  It felt like such a treat opening them!


I love this little wooden apple stamper set from seller Hannah Makes Things.  It even came with a free candy!


Not only does it look cute just sitting out in my craft room, but it's perfect for making gift tags or as a finishing touch on my handmade items:


The mini jelly mold set from seller Birdy Home seemed ideal as party cups for candies and maybe even to hold some of my small craft supplies.


And of course it works great for molding - this was my first try with a jelly mold & it turned out so retro fun:


This Goldilocks Playset from seller Jolly Fine really wowed my whole family.  Even my husband thought it was fabulous.  The plush furnished house completely opens up for a fun story-theme playscape.


The soft figures actually stand on their own so they're easier to play with too.  I totally love how the porridge bowls, beds and chairs flip up to say things like "Too Hot", "Too Cold", "Just Right" from the story.

It also came with a nice pop-up storybook and cd:

The kids have been playing with it non stop.  Heck, I've been playing with it too and everything fits right inside when not in use.  They even offer a lifetime guarantee to replace any pieces that get lost for FREE - when was the last time you saw that from a toy maker?? Seriously exceptional.

For the uniqueness and quality the prices on most things seem reasonable and there is a real element of high style and design in everything that makes it feel out of the ordinary.  I do wish the shipping to the USA was a little lower (but if you're in the UK it's great - many things even ship free!). Yet, even though I'm a cheapskate, I have to admit I'm willing to pay the extra shipping for items that have that special something.  Notonthehighstreet.com's offerings definitely fit in that category.  I'll be shopping them again in the future and so glad to have found out about them.


I was not financially compensated for this post.  I received free products to review.  The opinions are completely my own, based on my experience. 

Wednesday, February 6, 2013

Make Your Own Handmade Soaps Tutorial


There's something special about decorative soaps.  They look lovely, they seem fancy.  They make a great gift (everyone uses soap, right?).  My mom & grandma would always save any they got because they were "too pretty to use".  But why hide them on a shelf to get dusty?  I want mine to get noticed and used, so I make my own and never run out.  I actually make all our household bar soap too - it's been over 10 years since I bought any! Wouldn't you like to tell people you can make soaps like these:


You totally can.  It's easy.  Come on - I'll show you how.

You'll Need: 
- Melt & pour clear glycerin soap base*
- Cosmetic Grade Fragrance Oil*
- Cosmetic Grade Color Gel*
- Silicone molds & resin soap stamps
- Large Pyrex measuring pitcher
- Heat resistant spoon
- Hot pads
- Spray bottle of alcohol
- Waxed or freezer paper

*You can get basic soap making supplies at craft stores like Hobby Lobby or Michaels, but online places like Brambleberry.com and Wholesale Supplies Plus offer a lot more fragrance & color choices and their prices per pound for the bases are better.  I buy a single 24lb block which is enough for a year's worth of soap for my family of 5 (and costs about a third of the same amount of basic store bought soap).


First, cut desired amount of soap base and place into Pyrex container.  Cutting it up into chunks makes it melt a bit faster.  


Melt slowly in microwave (1 min intervals until melted) or in double boiler, stirring occasionally, until liquified.  You do not want it to get boiling hot, just smooth and pourable.


Add a few drops of cosmetic grade fragrance oil & stir with slotted spoon to mix thoroughly (a little goes a long way and it's easy to add a few more drops, but use less than ½ oz unless making several pounds at once).

Special Note – be sure that all fragrance oil & color gels used are labeled cosmetic grade. There are a lot of other types out there and while it's tempting to use them, they are not made to be safe for skin! 

Add soap gel coloring a drop at a time & mix until color desired is achieved.


I used a pearlized pink gel.  Just a few drops gave this vibrant color:


Carefully pour hot soap into silicone molds.  I prefer silicone molds over plastic because they can achieve a lot more details and sculpted 3D shapes.  They also don't require greasing and hold up a lot better over time.  I got mine from Wholeport - they've got a huge selection of silicone soap molds and the designs are really gorgeous.


Spray surface of soap with alcohol to remove any air bubbles.  This gives the backs a nice, smooth finish.  Let soap sit for a couple of hours to harden and then flip upside done and push soap out of molds.


The soap just pops right out.  What could be easier or more lovely-looking? This was the result from the Peace Dove Medallion mold:


But my favorite is the rose bouquets.  I used a 3D Rose Flower Trio mold and love the delicate details.  So intricate, but also goof-proof!


And I also tried something new to me: soap stamps.  It's a hard resin stamp you simply place over a flat bar of soap and gently hammer in.


The effect looks so fabulous and it is beyond easy to do.  I picked out this little love bird stamp since Valentine's Day is coming up:


It takes just a few minutes too, so this is an ideal project.  Almost as easy as the DIY lip balm I shared recently.  It feels great to stock up the bathroom with products you've made yourself.  Now there's nothing stopping you from making your own beautiful soaps any time you want!

I'm also sharing this with my FAVE LINK PARTIES.
Click HERE to check them out!

LinkWithin

Related Posts with Thumbnails