
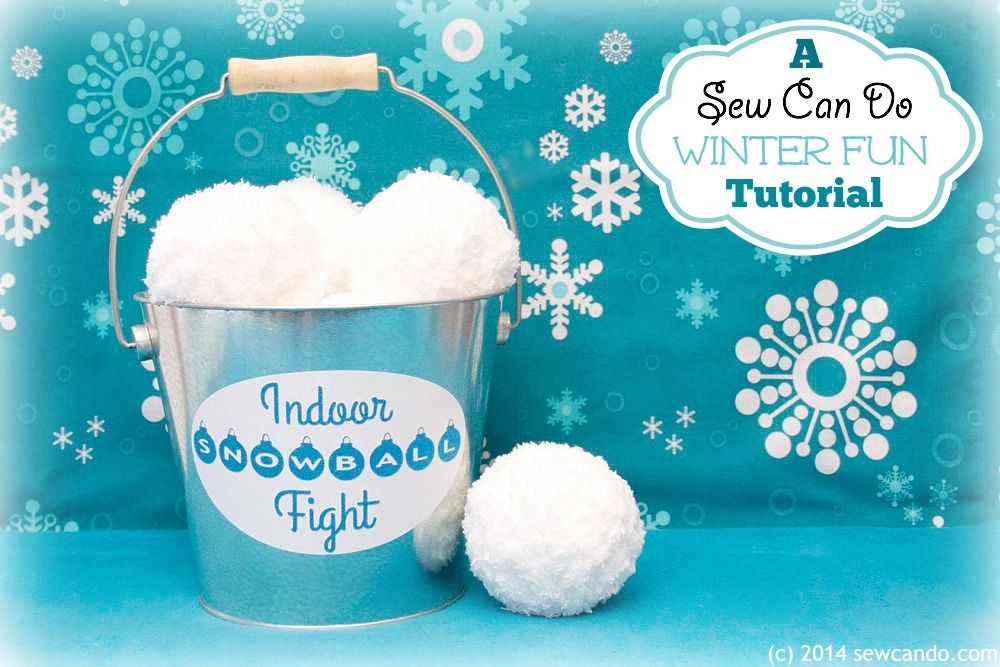

Now that December is here I'm feeling extra festive & thought I'd start the month with this fun winter-time how-to: a DIY Indoor Snowball Set!

The best part is this project uses basic materials and is super quick to make. It's also the perfect DIY holiday gift for kids (or kids at heart)! Here's how to make 'em:

Materials:
- 2 skeins of fluffy white yarn (I used Bernat Pipsqueak)
- 10 to 12 golf practice or ping pong balls
- Crochet hook
- Small bucket
- Vinyl & adhesive cardstock
- Die cutting machine (or stencils and scissors)
- Optional: plastic needle
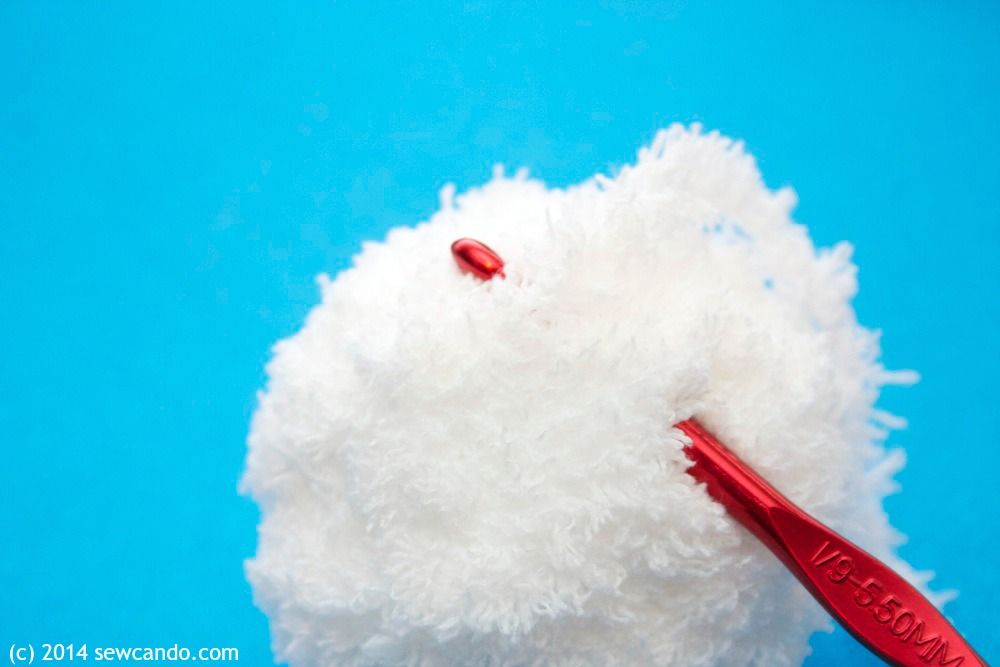
Most of the supplies were things I already had at home so it made this a quick & fairly inexpensive project. I started by threading some of the yarn through two holes in the ball. Used a plastic needle makes this easier. Then I knotted the yard to hold it in place on the ball.
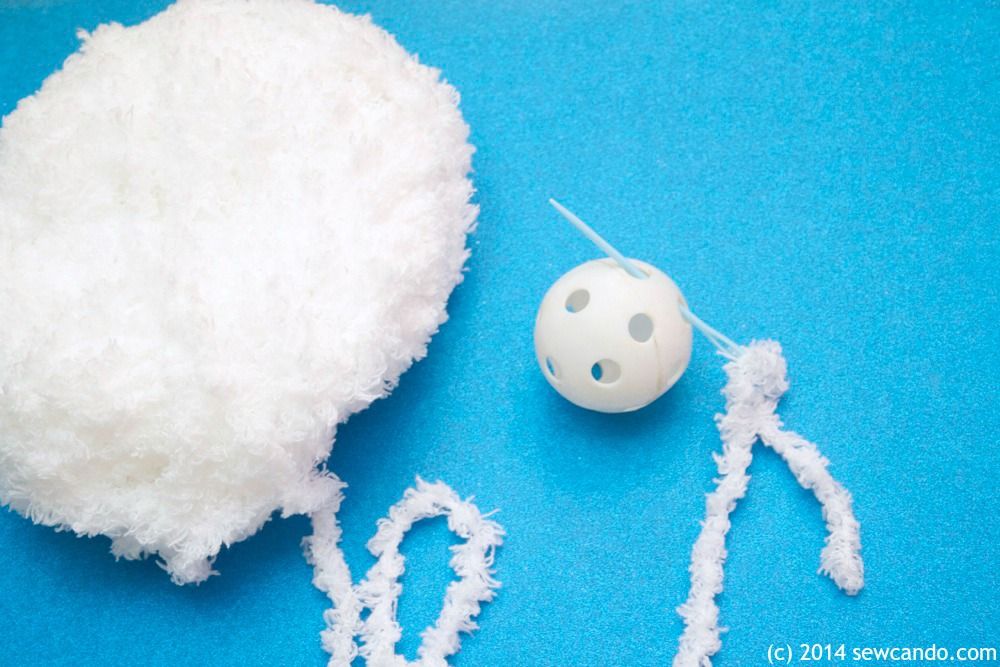
Then carefully wound the yarn around the ball, spacing it evenly. I also did one with a regular ping pong ball by holding the end until I had things wound a few times which worked great too if you don't have the holed balls.

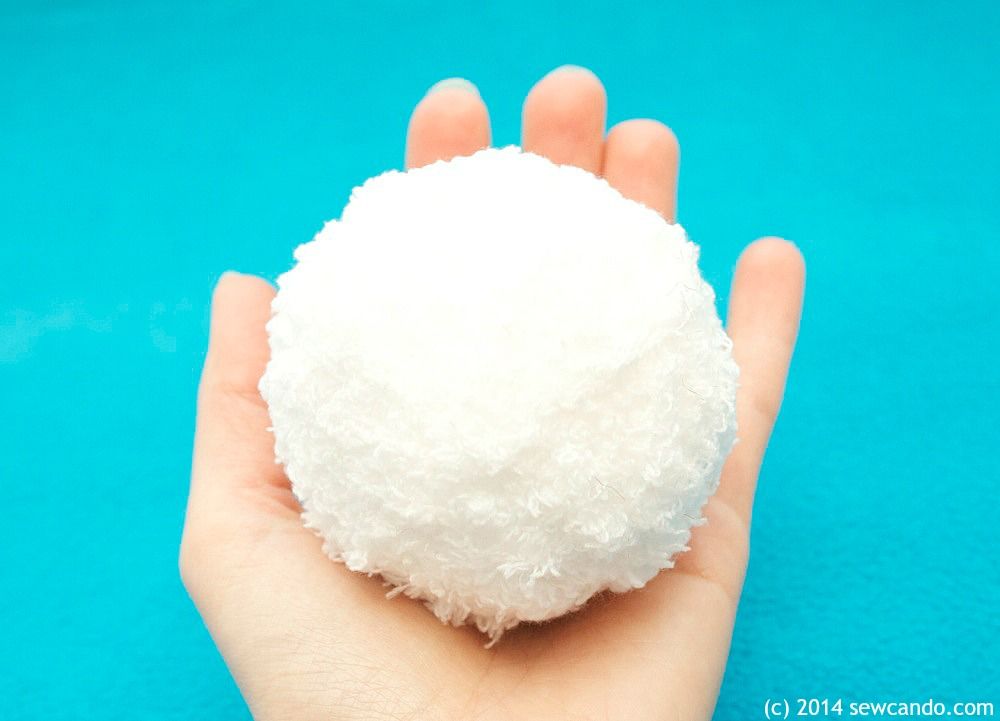
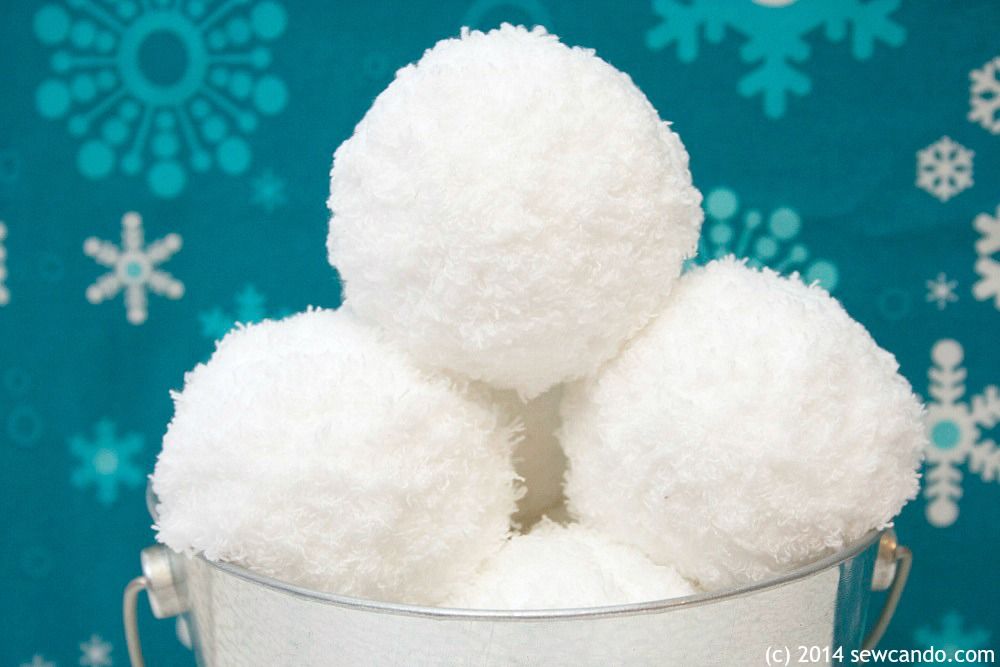
I wound until the ball was snowball sized as desired. Staying tennis ball-sized or smaller so keeps the weight light enough for indoor play.
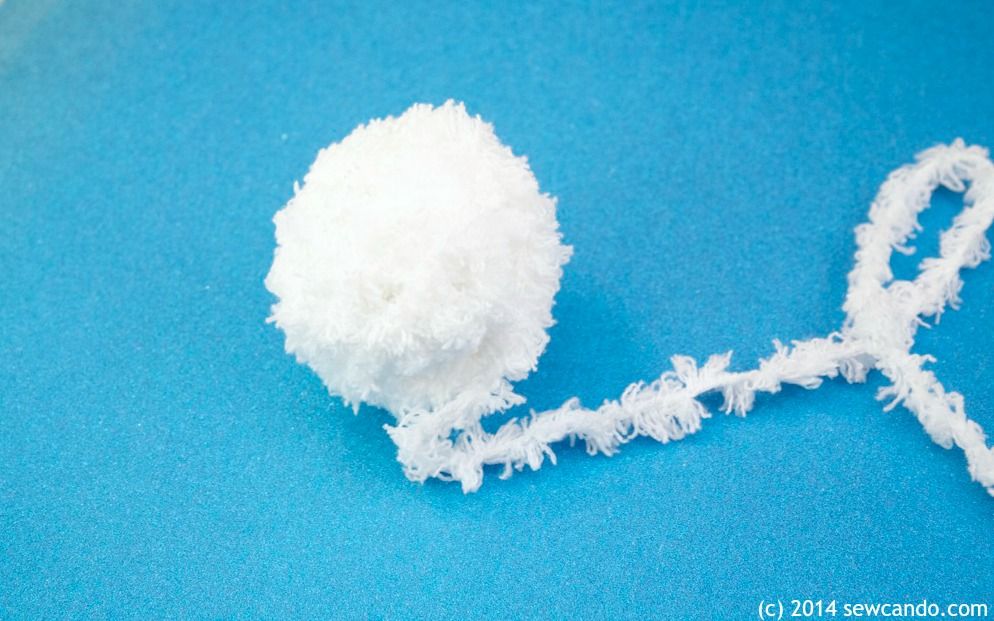
I cut a yarn tail a few inches long and then used a crochet hook to pull the tail under a few tightly wound strands. I repeated this several more times until the tail is hidden and secure. Then repeated it all with the rest of the balls.
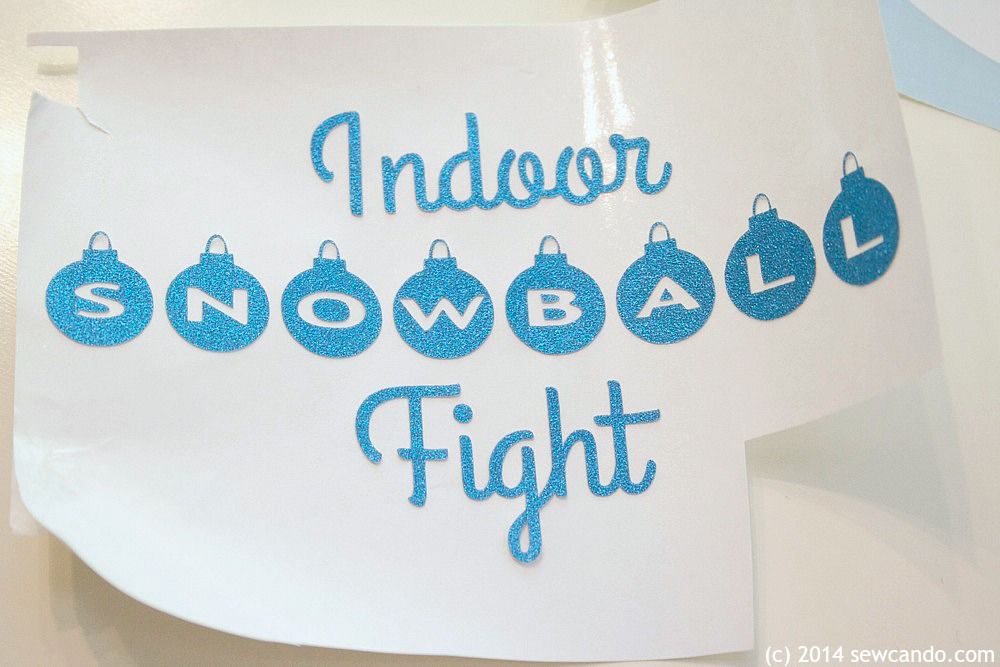
For a cute container, I used a galvanized bucket and made sure sides were nice & clean. Using glittered adhesive card stock, I cut my lettering using my Silhouette Portrait. I found some free holiday fonts (Alpha Shapes Christmas Balls and Grand Hotel) that were ideal.

I weeded with a toothpick to remove the portions I wasn't transferring:
I also cut an oval from some white vinyl (about 5in wide by 3 in high) for the background of my label.

I recommend applying the oval to the bucket with some transfer tape, smoothing that out with a credit card or scraper first, and then using transfer tape to apply the lettering. I put my lettering onto the vinyl before I applied it and it meant fiddling around too much trying to get air bubbles out around some of the letters. So learn from my mistake and don't do that!
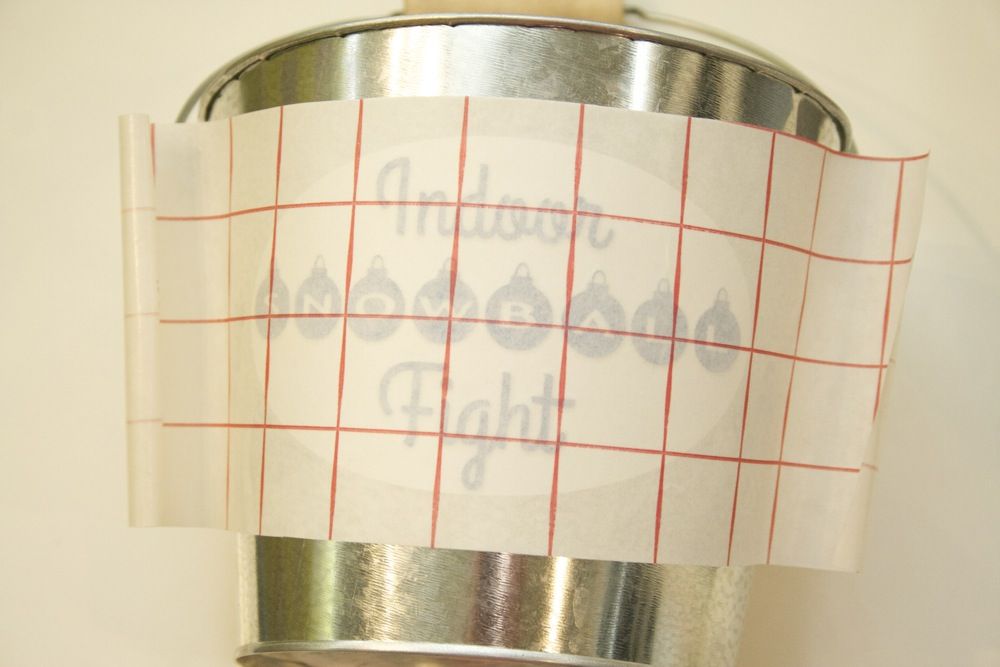
The transfer tape made it easy to keep everything even. After carefully peeling it away the bucket was looking pretty good:

I added those fluffy snowballs to the bucket & we were ready for a little indoor snowball action.
A few other tips: Remove delicate or breakable items - these are quite soft, but could still knock something over. Vacuum/sweep the floor first so your snowballs don't become dirty or collect a bunch of dust too quickly (dirty snow, real or fake, is not fun, nor easy to clean). If any strands of yarn become dislodged from over-vigorous snowball throwers, aka kids, just use a crochet hook to snag them back into place. Now, enjoy a snowball fight and stay warm & dry at the same time;)


OH NO! If only you had posted this a week or so ago. I bought one (not an expensive one - the prices seem ridiculous for what they are) but I would have much rather made my own. Perhaps I'll add a few homemade snowballs to the bucket. xx
ReplyDeleteMaybe you can return that one? If not, you can definitely add some bonus snowballs with my method:)
DeleteI love this. The only time you put the yarn through the holes is at the beginning? Do you wrap yarn in circular or crisscross? No glue?
DeleteExactly. Wrap it tightly in a criss-cross, kind of alternating way so no section is thicker than another as you wind it. No glue required - just make sure the yarn is snug and to pull the tail through a few different spots to secure it. We had a few strands to re-hook after some very vigorous throwing, but it takes just a second to stick them back in for the next round:)
DeleteAdorable!!!
ReplyDeleteThis is so cute! I will be using this idea. Thank you for sharing this.
ReplyDeleteDebi @surroundingsbydebi.com
I hope you do Debi - I love the idea of others having indoor snowy fun too.
DeleteWhat a fun idea, we don't have snow so this would be perfect to have some fun playing in the house with kids. Pinned this and stopping by from Wake Up Wednesday.
ReplyDeleteThese are so fun & easy to make.
DeleteI love this, and I'm sure my kids will, too! Although they enjoy the cold weather, I don't. And since they always want me to play along with them, now we can play together and stay warm. win/win :-) Thanks for sharing this.
ReplyDeleteThat was my thought too - now we can enjoy it all together, but without any of the inconvenience!
DeleteOMG Cheryl, this is AWESOMENESS! I Pinned on like 4 of my boards!! Do you mind if I share this on my Facebook page? I will wait for your answer but it WONT be easy!!! TeHee
ReplyDeleteThanks for the idea, I think Hubs & I will be havin' a snowball fight this weekend, followed by spiked cocoa, some cuddling on the couch & a Christmas movie or 2!! I will have to make a set or two for the Grand Kiddos, they will LOVE this also!! Girl, You ROCK!!!!
I would LOVE if you did Chelle! Thanks so much for the kind compliments. I knew my kids would love it and am so glad to hear others do too:)
DeleteTHAT is a great idea! We so seldom get packing snow but the kids want to do this. Will have to try it!
ReplyDeleteApple Pie
sisterswives.com
The added bonus is it's just as fun to make as it is to use AND the kids can help make them. It's a win-win;)
DeleteVery cute and easy! Thank you!
ReplyDeleteIt's a super easy holiday craft Brooke - I hope you have fun making some!
Deletethis is amazing! I don't sew but I can still do this!! Thanks - I will definitely share this idea w/ friends it is great. Pinned!
ReplyDeleteThat's why I really wanted to spread the word about this how-to. EVERYONE can do it, so it's easy and fun!
DeleteToo cute!
ReplyDeletewww.designbyrobinsnest.blogspot.com
Really cute winter gift idea!
ReplyDeletetotally fun idea! Love this and need to make a zillion :) just for me to throw and then hide lol
ReplyDeleteLove that idea. I'm thinking about making a few more as gifts.
Deletethis is fantastic!!! Thank you for sharing at the Thursday Favorite Things blog hop. I will be featuring your craftiness on Monday xo
ReplyDeleteThank you Katherine - I'm giving your feature some love on Google+ & FB too:)
DeleteFabulous! I agree, pom poms don't really seam at all like snow, your idea is much better! thanks for sharing on craft schooling Sunday!
ReplyDeleteThanks very much. I've seen a few other methods since I posted this, but the fluffy yarn still looks the snowiest to me:)
DeleteThis is just too cute!! Snowball fights are the best! Thank you for sharing on Monday Funday Link Party! Pinning this to our group board.
ReplyDeleteAnd no one gets a face full of snow so it's a win-win!
DeleteThis is so cute! I have a cousin with three sweet little girls in Virginia who hardly ever see snow. I know what I'm sending them for Christmas!
ReplyDeleteThat's the best part - no cold weather required;)
DeleteHow cute Cheryl! I would never have guessed that your snowballs were made like that.
ReplyDeleteEven when you look up close you can't really see that it's wound, just fluffy & snowy.
DeleteFeaturing Friday!
ReplyDeleteThat's very appreciated Mindie - thanks!
DeleteI love this! What a fun idea!
ReplyDeleteAw Susie, that is fantastic to hear. So glad this helps - I hope she loves it too.
ReplyDeleteSo very nice:)
ReplyDeleteGREAT IDEA!!!!!
ReplyDeletethank you, xxxxx Ale
Adorable! I know how I'm spending my Christmas break! My first graders will LOVE this when we return in January. Thanks!
ReplyDeleteAbsolutely LOVE this for our Frozen-themed party. Didn't have time to get the ping pong balls so I just rolled some tissue paper into balls and wrapped the yarn around that. Turned out perfectly. In Australia, I found a beautiful, cheap yarn at Spotlight called Parade Baby. GORGEOUS!!! Thank you so much for this great idea.
ReplyDeleteThat's fantastic to hear Janice! So glad it helped your party:)
Delete