Showing posts with label Christmas Presents. Show all posts

Wednesday, January 4, 2017

Bird Is The Word: A Cuddly Fleece Bird Softie


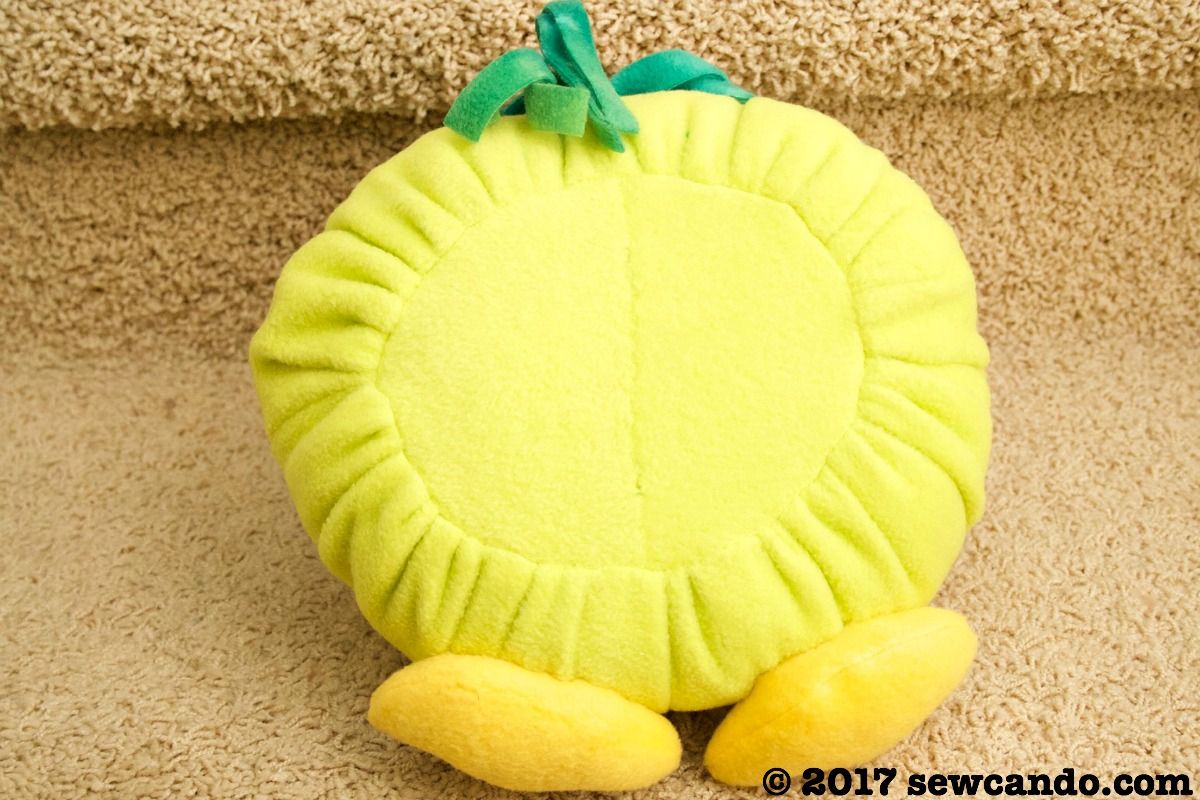
This is Doopy Bird.  At least that's what my kids have named him.  He's cute and weird and handmade so he deserves a fun name for sure.  
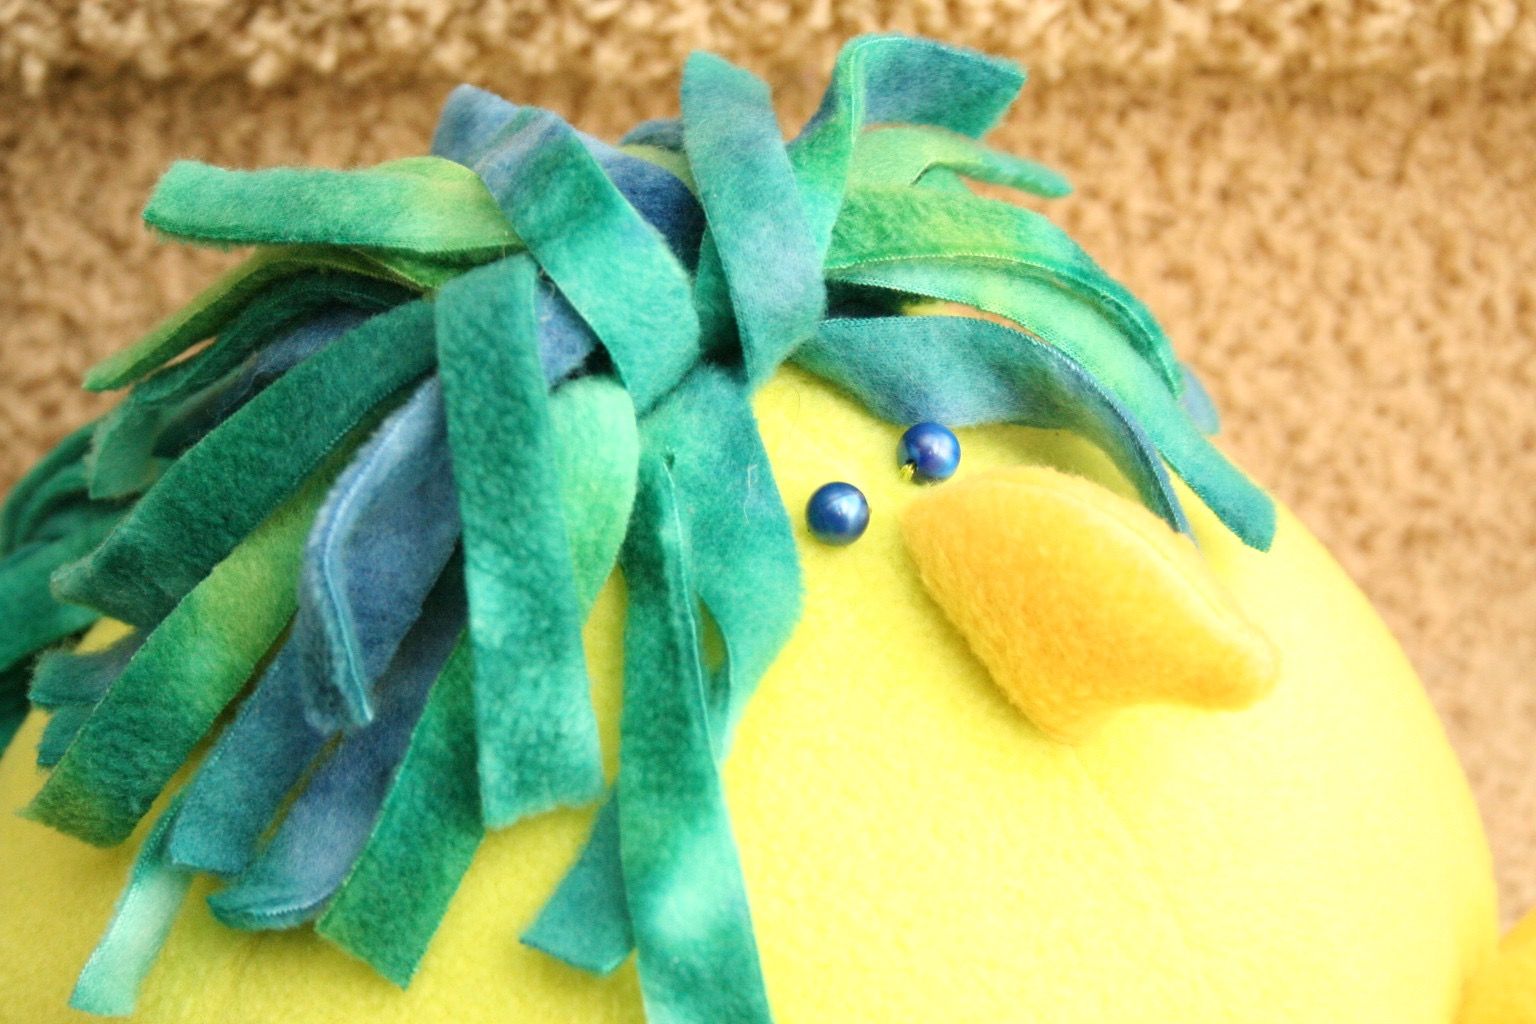

For Christmas I wanted to focus less on buying and more on making, so I made fleece plush toys for each of my kids.  I was a bit short on time to completely design 3 new patterns from scratch, so I finally broke open some softie pattern books I'd bought ages ago and still never used (aka typical craft hoarder scenario).  This fleece bird was one of them. His actual pattern name is Bitty Bird, but I think I prefer Doopy myself.


He's from the book, Fleece for Kids by Mary Emery Vollertsen.  I bought the book when I was new to sewing and just starting with fleece.  Fleece is the ideal fabric for making plush toys and for sewing beginners by the way.  8 yrs later I'm finally using it and no longer a beginner, but it was just what I needed in the holiday hurry.  There are a number of cute soft toys like dinosaurs, birds and a bee puppet included, plus lots of hats and tops. I liked it because it came with paper patterns, not the usual "here's a line drawing, now try to magically scale this up on your printer.  That was the the big plus of the book.  The second plus is a good sized section with technique info on smocking, tucking, fabric sculpting and appliqués.

The big minus?  Those handy paper patterns only applied to the toys in the book, not any of the clothes heavily featured, which was the main reason I wanted it in the first place. Showing a bunch of cute tops and hats, but then in the instructions saying "find a basic garment pattern" and then just some minor steps to embellish it with was a bit of a let down. As was the fact that said embellishments were for a single size.  Even if you found the ideal pattern to do the adorable smocked coat and bonnet, her measurements for the smocked bit were for newborn size only.  Not very helpful.

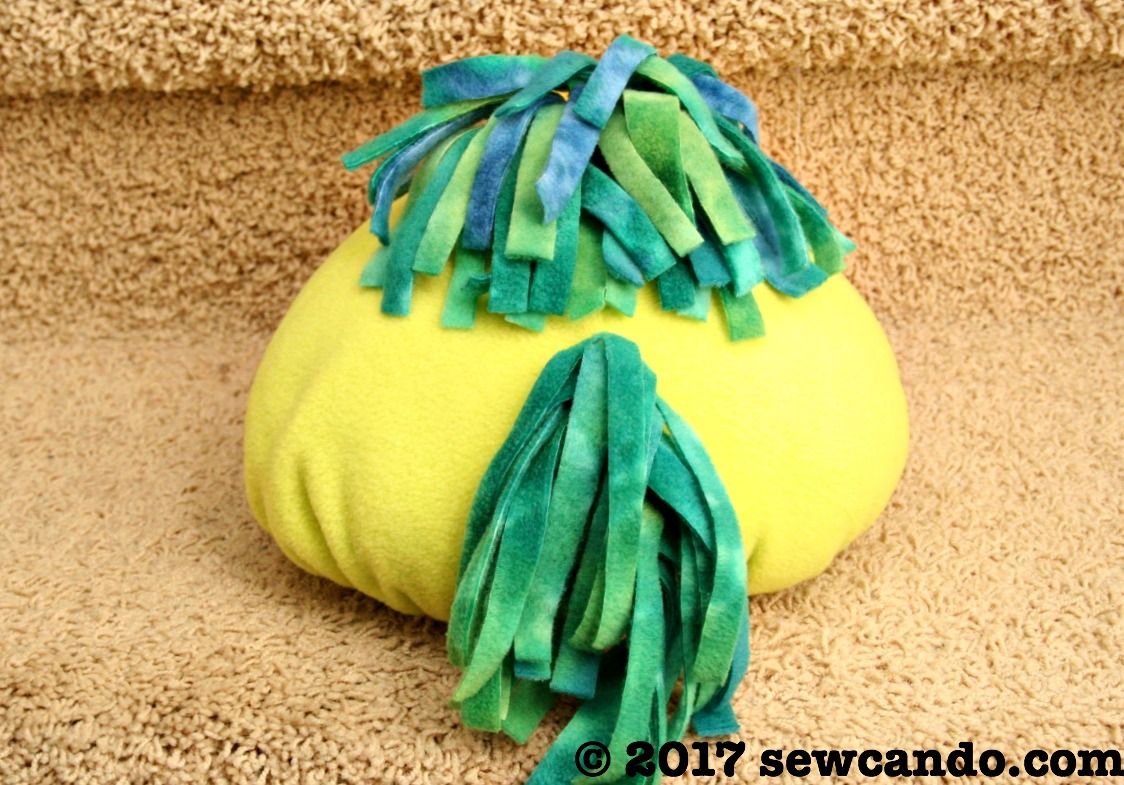
However, Doopy Bird was a pretty quick sew.  I made him in an afternoon.  The pattern and instructions were basic and easy to follow and it would be simple to change his look with different colors, prints and eyes.  He's got some fun tassel-y top and tail feathers that really make him interesting.  I'd definitely make him again.  
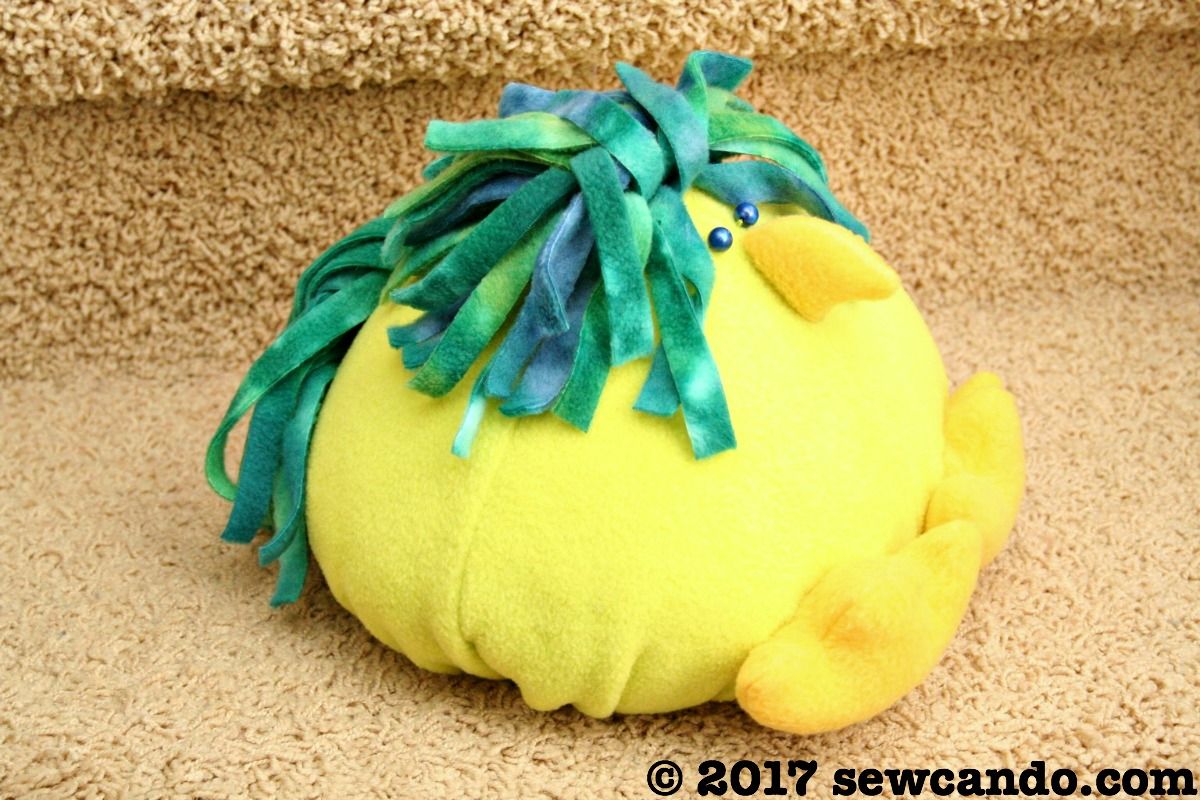

Right now, he's enjoying hanging around, being a fun bird and chilling out with my doopy kids.  Since he sewed up so fast, it gave me time to draft my other two softies, which will be coming up soon.


Thursday, December 22, 2016

Machine Embroidered Felt Hoop Ornaments


Well, there's just 3 days to go until it's Christmas and I've literally just finished all my handmade gifts.  Note to self: either start 2 months sooner or do half as many next year so you keep your sanity.  Seriously.  But hey, it's not like it's 2am on Christmas Eve and I'm still sewing, right?  I know I'm not the only one that's done insane things like that.

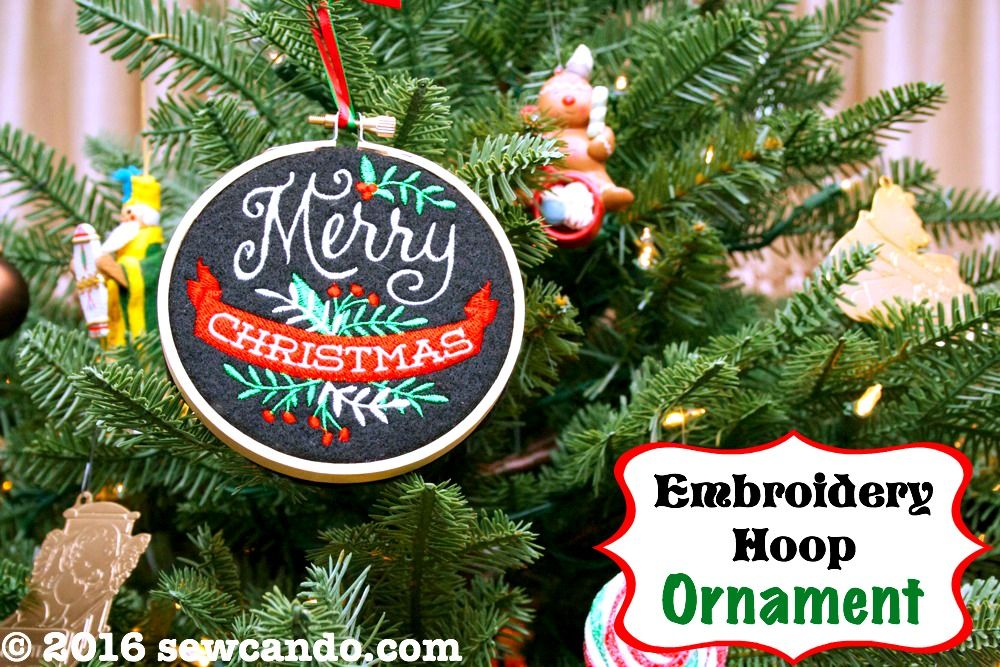
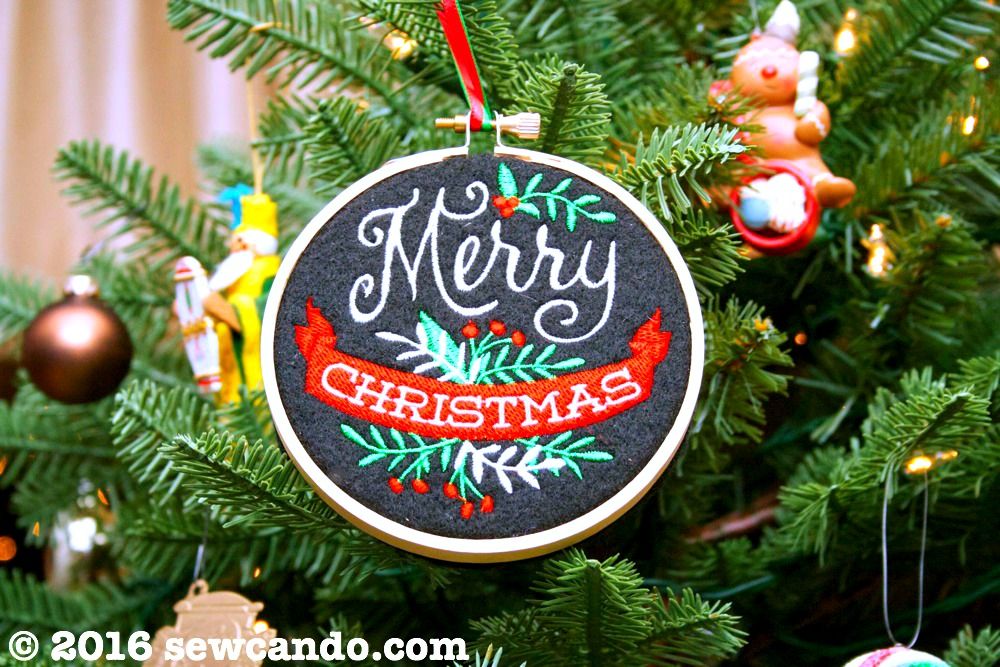
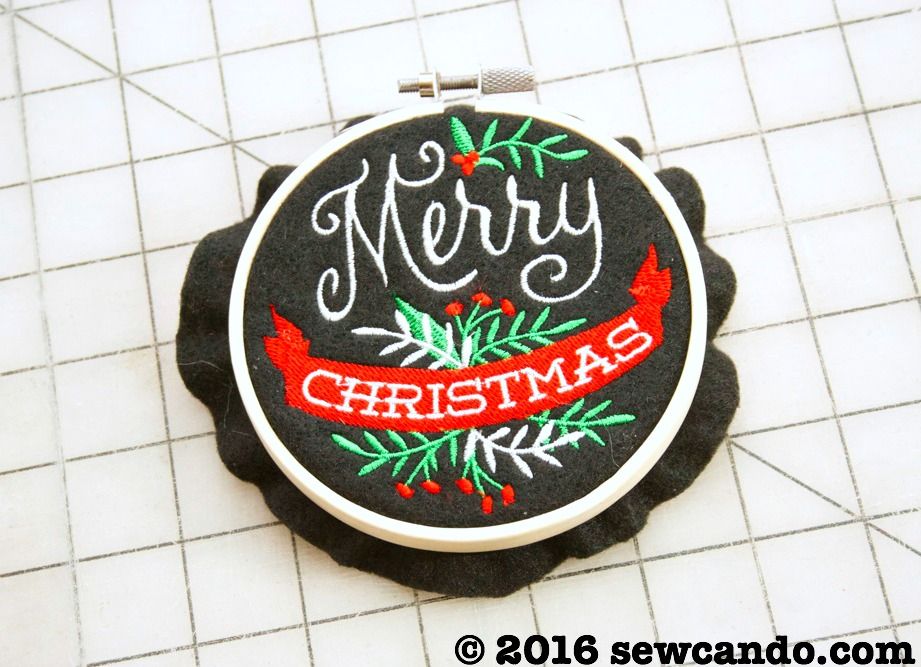
This was literally the first thing I wanted to make, but saved for last because it was the simplest: some pretty Hoop Ornaments.  I'd seen the hand embroidered kind before, but since I've got zero patience and minimal talent in that department I decided to use my embroidery machine to make 'em look gorgeous in record time.  It did not disappoint:


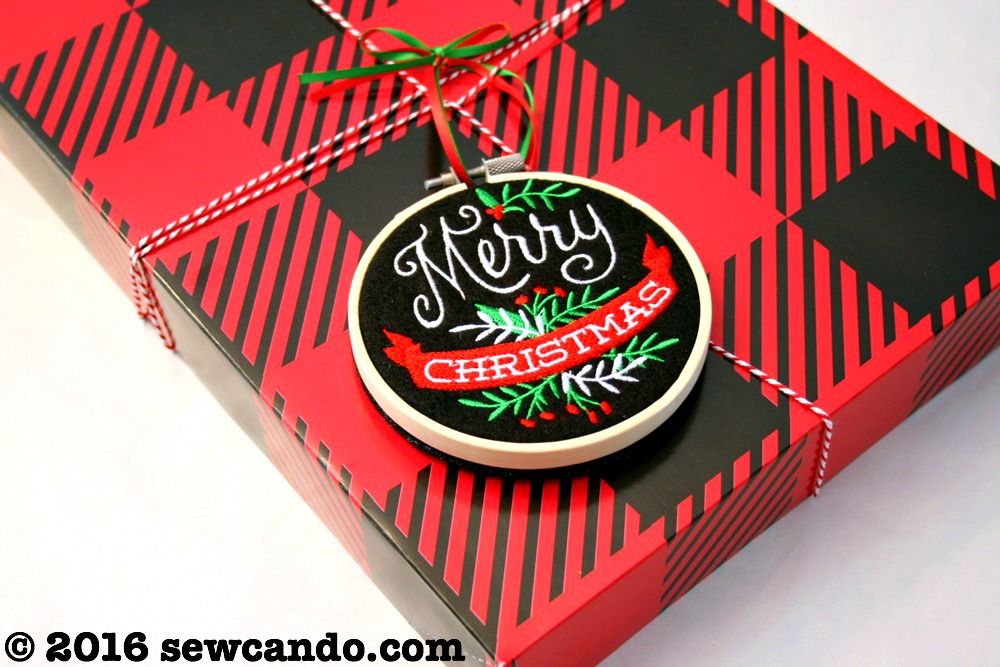
Besides being a nice little present the recipients could use on their trees in years to come, I thought these would make a great gift topper decoration too.  Why spend ages making beautiful bows when so many people just tear them off & toss them?


Making these is pretty inexpensive and they look really pretty.  I even made one for our tree, so the more you make the cheaper the piece price becomes too.


Materials:
- Embroidery File & Thread
- Felt (I buy 1/4yd off the bolt - it's cheaper than sheets!)
- Tearaway stabilizer
- Wood embroidery hoop
- Thin ribbon
- Hot glue


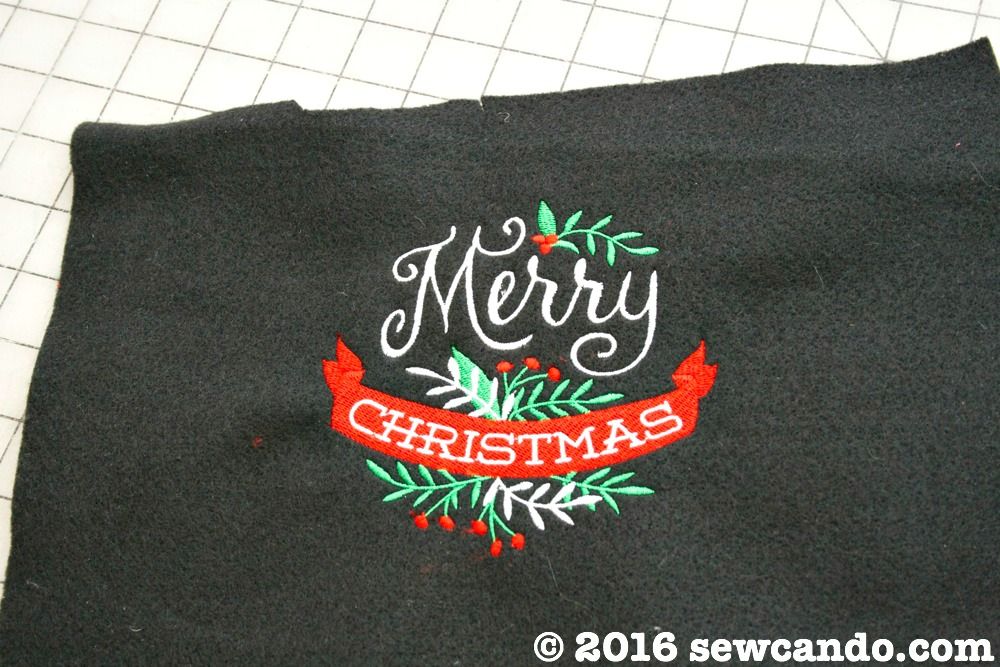
I found this cute Merry Christmas Chalkboard embroidery file on sale and bought the smaller size (just under 4" square) to upload to my machine.  I embroidered it on some black felt to really make the colors stand out.   Felt is very easy to machine embroidery on, so with just that and a piece of tear away stabilizer it was good to go.  After a few minutes and a few thread color changes, it was ready.


Next I cut it out as a 5 inch circle to fit in my 4 inch hoop and cut another plain circle the same size as the inner hoop (this will be for the backing).


I hooped the design with the screw at the top.  


Next I ran a line of hot glue on the inside of the inner hoop


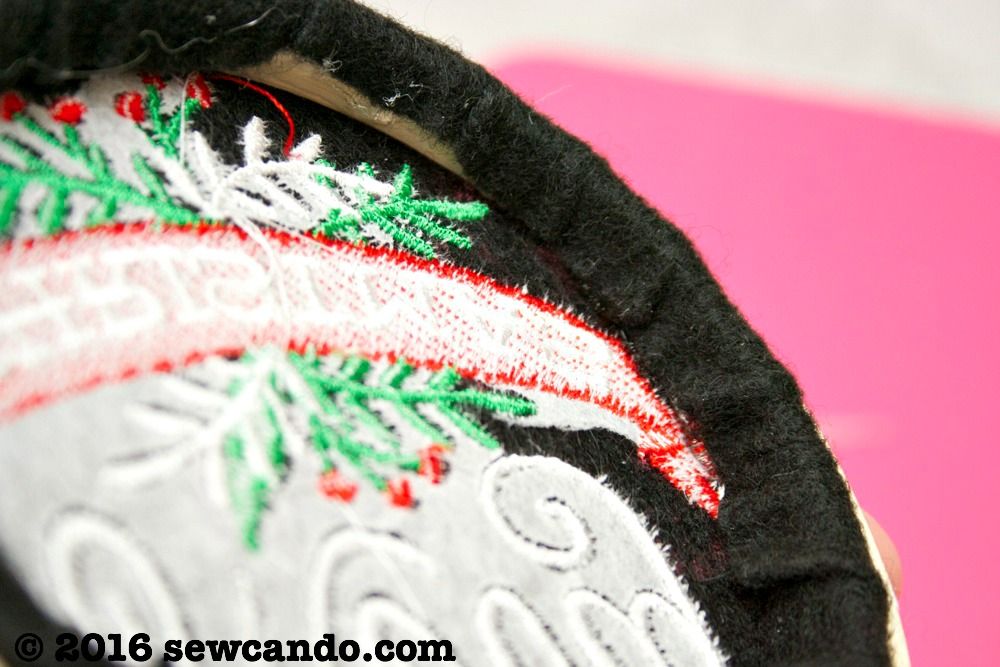
I folded the excess felt inward and pressed it into the glue to stay put.


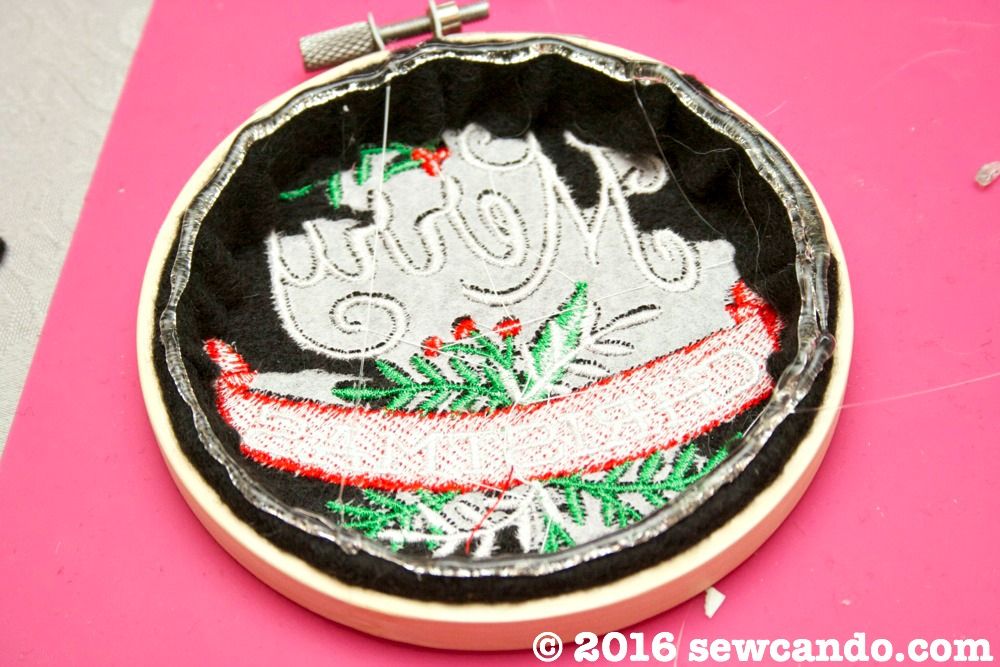
I ran another line of glue around the edge 


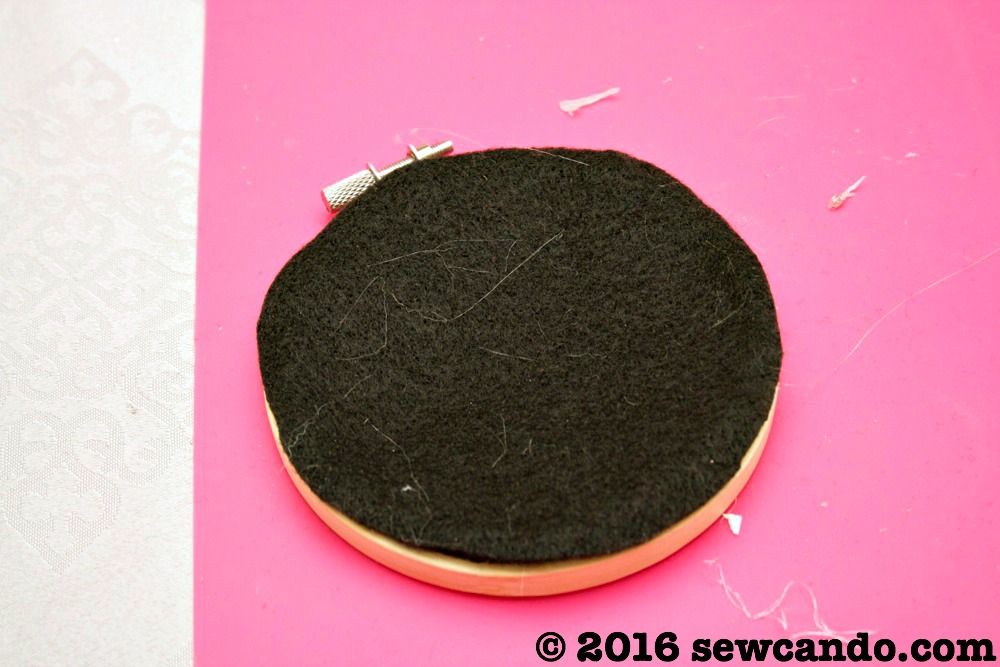
and put my plain felt circle over it to seal up the back for a nice finish.  Please excuse the weird fur strands in my pic - I'd been cutting white faux fur for another project right before so it stuck to everything.  Keeping it real with the crafting over here people!


Last was to just tie on some ribbon to make a hang loop and the ornaments were ready.  I really enjoyed doing these, so this may become an annual tradition in the Sew Can Do house!


Merry Christmas Everyone!


SaveSaveSaveSave
SaveSave

Tuesday, November 22, 2016

Warm for Winter: Faux Fur Lined Muff Tutorial


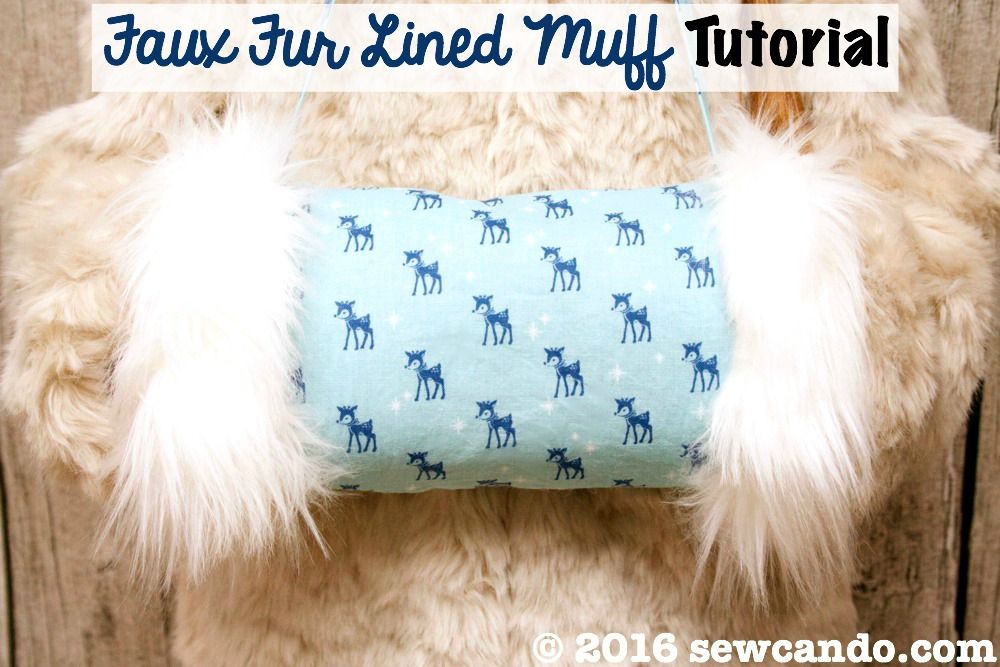
With chilly weather upon us, what better way to stay warm, than with a classic look from the winters of past eras: A Faux Fur Lined Muff!

Muffs are such a nice, warm and toasty alternative to mittens.


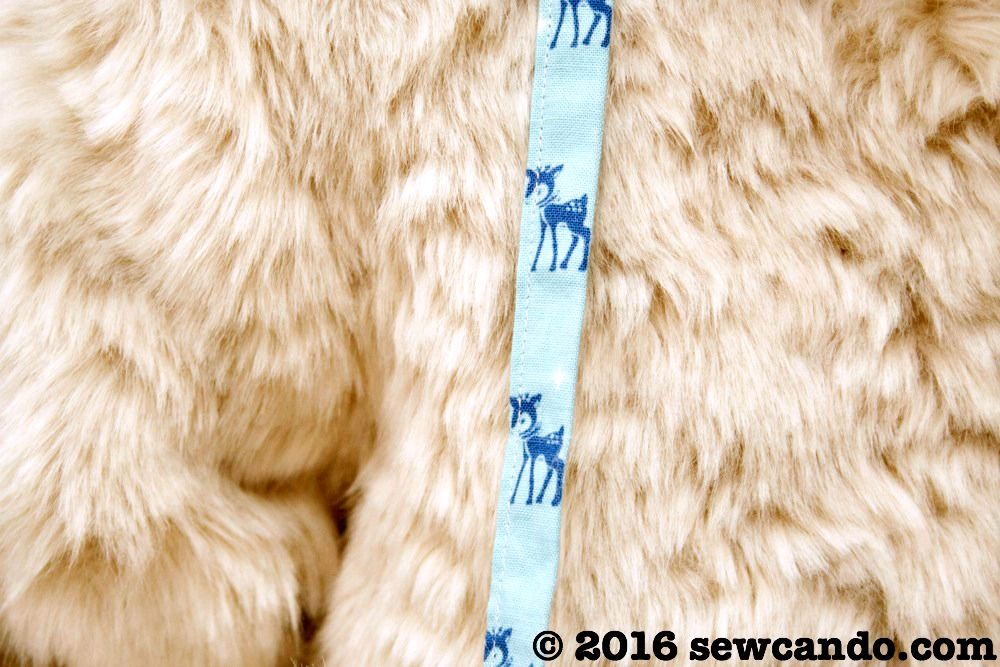
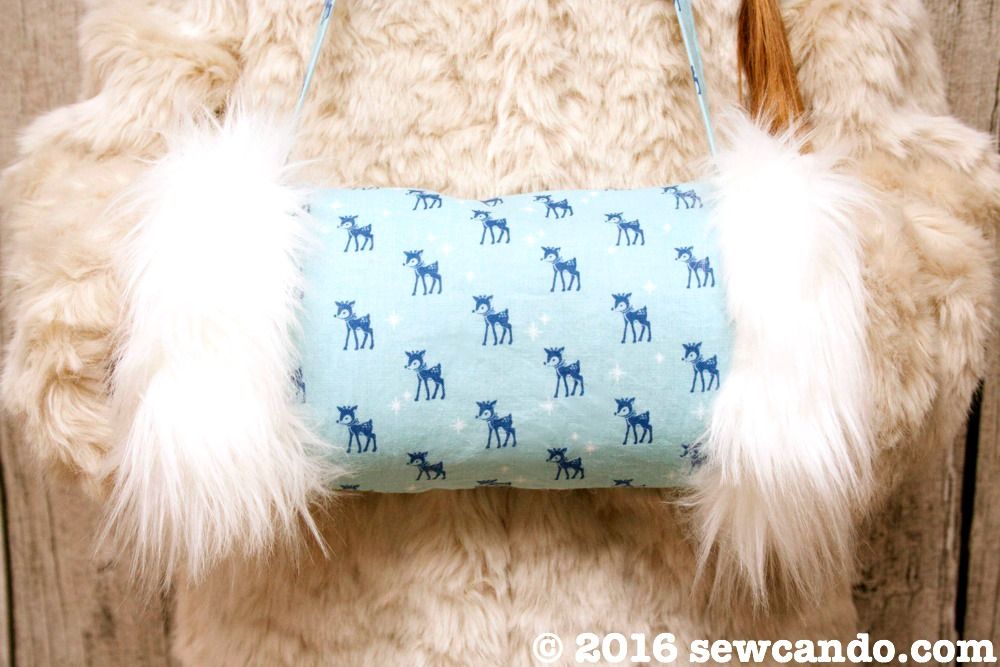
Added bonus - they're a lot harder to lose than gloves or mittens thanks to being a single piece and having a handy neck strap (which is a way to show off even more of the little deer print cuteness too):


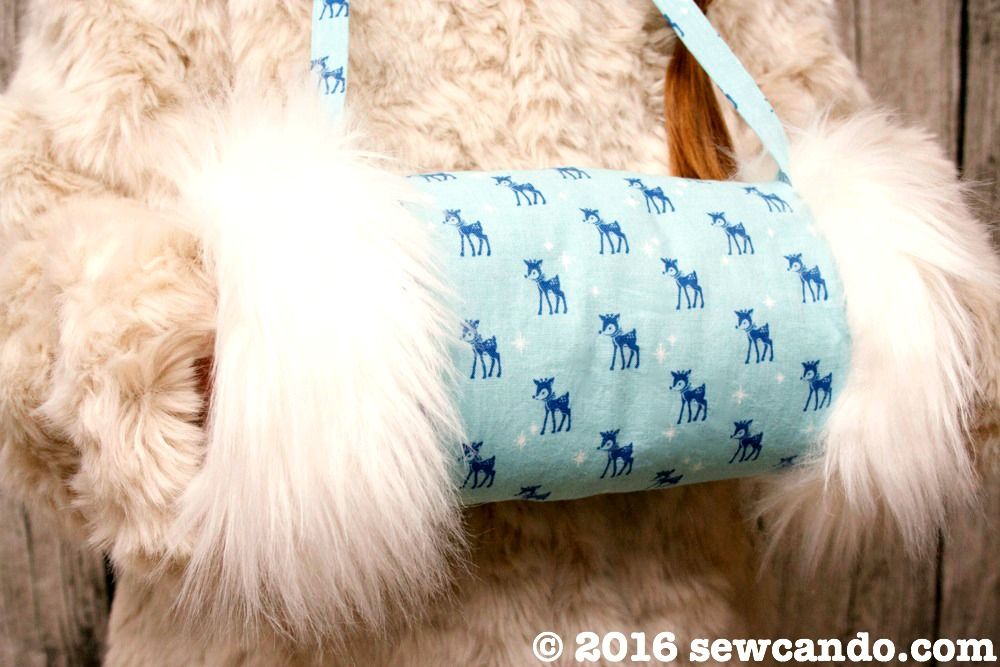
I used some cute reindeer print cotton for my decorative outer fabric and ultra soft faux fur to coordinate.  The cuddly faux fur not only looks pretty trimming up the ends, but it continues its coziness inside as a full lining.  There's also a insulated batting interior between them that means the muff isn't just for looks.  It keeps hands as warm as thick gloves, only now with a retro feminine style:  


The nice thing about this wearable is it doesn't require a lot of fabric either, so there's plenty to use on other winter projects like stockings, gift bags or quilts.  A big thanks to Kawaii Fabric for providing me with the cotton reindeer Christmas fabric.  They have loads of high quality festive prints over there, so whether you like classic, retro, rustic, modern or kawaii (aka cute), they'll have the holiday season fabric you want!    


~~How To Make A Fur Lined Muff~~

Materials:
- Cotton fabric (I used Cozy Christmas Reindeer
- Faux Fur  (I used Luxury Shag in Ivory) 
- Insulated batting
- Ruler, rotary cutter/shears, pins, iron, hand sewing needle

Mine is child-sized at 9 inches in circumference and 11 inches wide when finished.  If you want adult sized, just add a few inches to the width and height. 

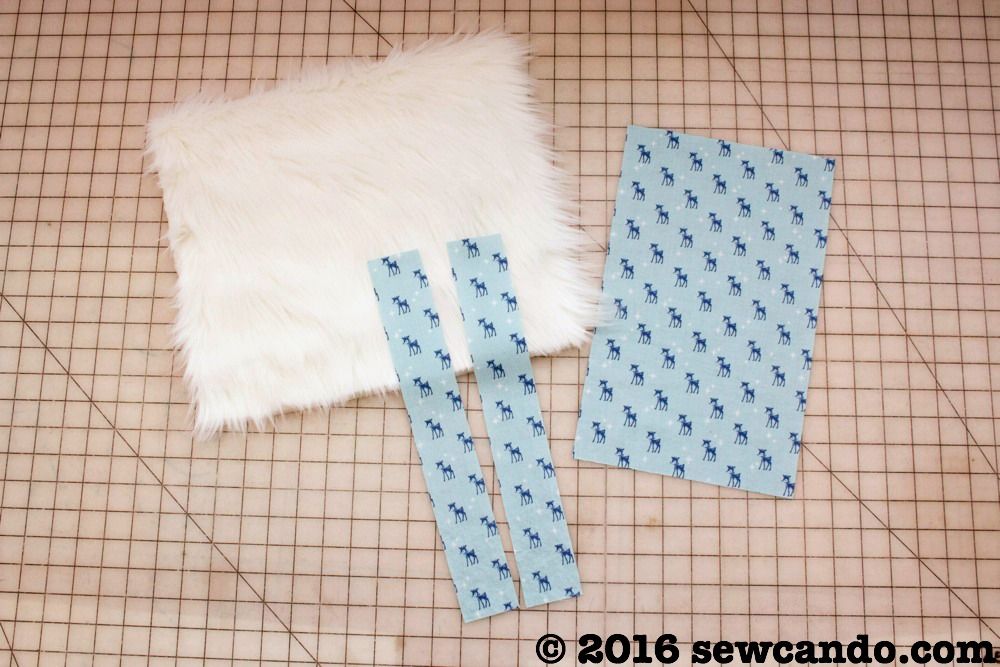
Cut the following pieces:

- From the cotton, cut a rectangle 8 inches wide by 13 inches high and two vertical strips that are 2 inches wide by 13 inches high.

- From the faux fur, cut a rectangle 14 inches wide by 13 inches high.


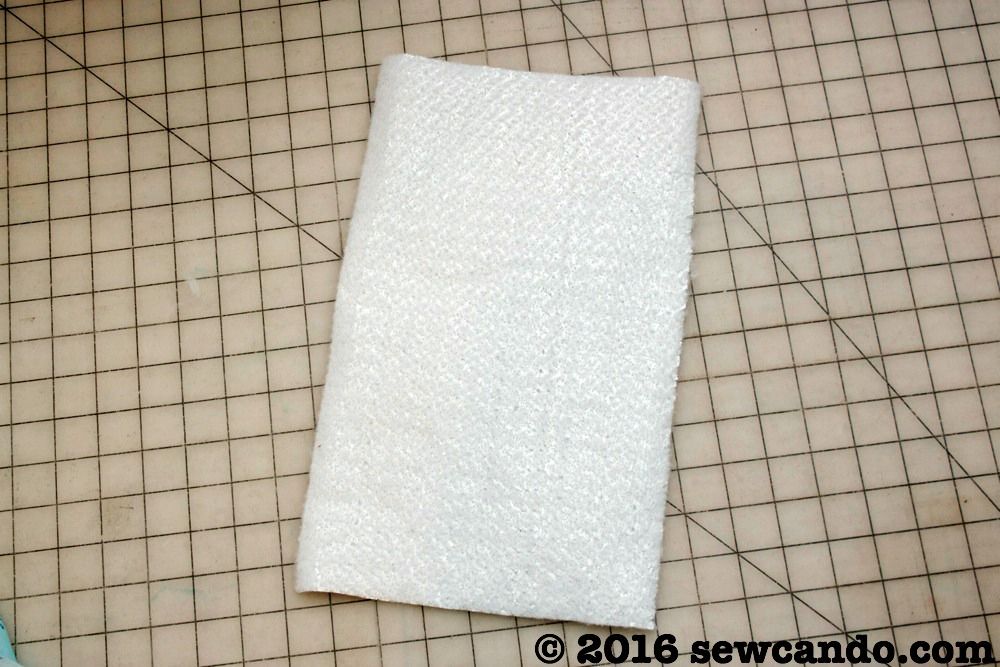
Cut a piece of insulated batting to the same dimensions as the outer fabric as well.  This is usually available in the stabilizer section.  It's polyester batting that is needle punched with mylar, which makes it great for retaining heat:


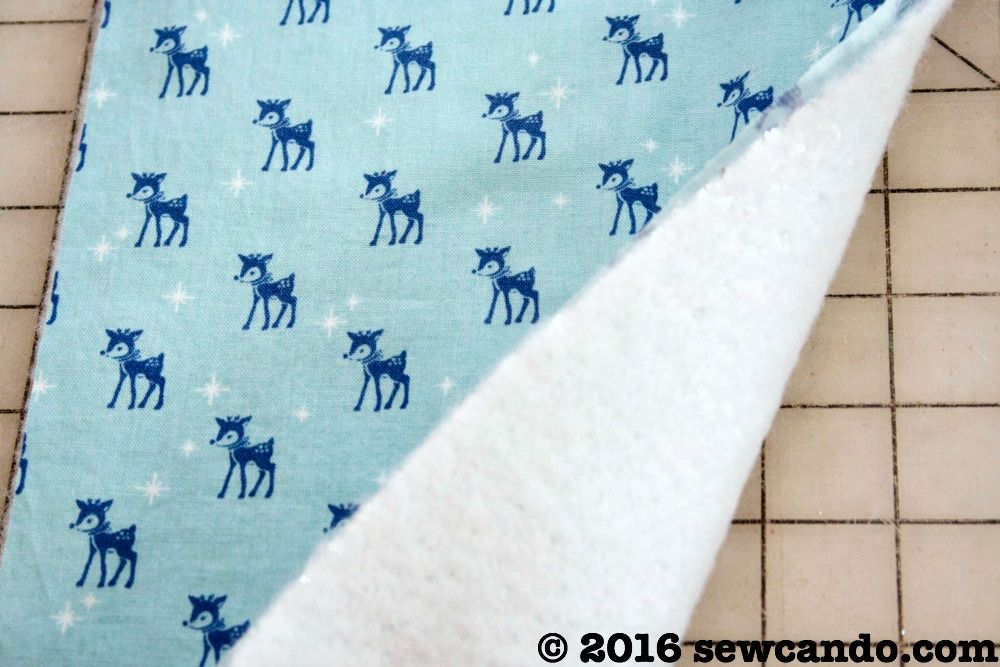
Place the insulated batting behind the wrong side of the outer fabric.  I find that the texture of the batting clings to cotton well enough not to need to baste them together:


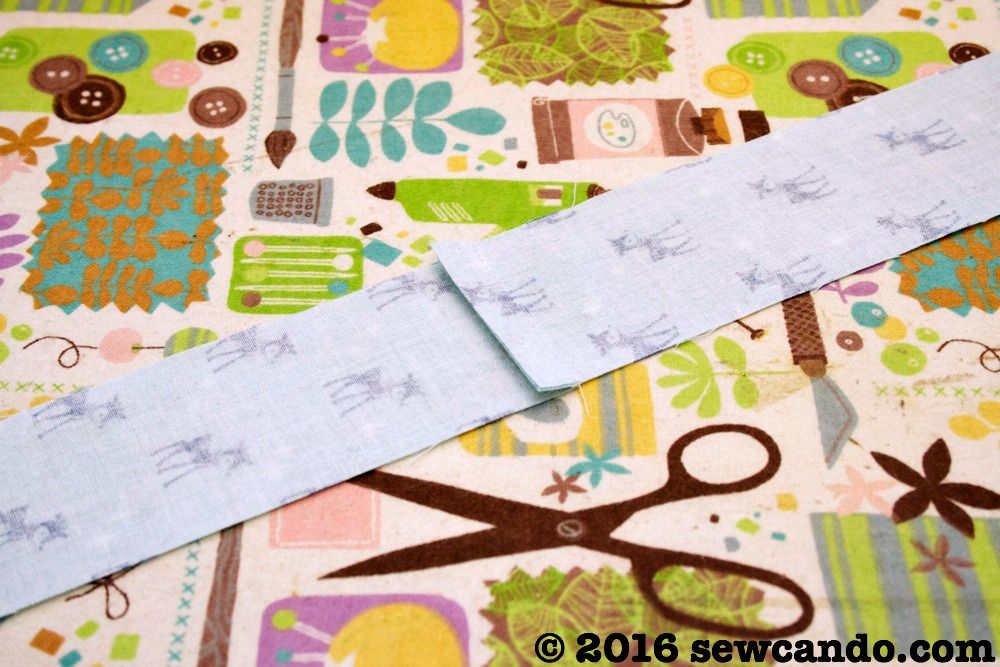
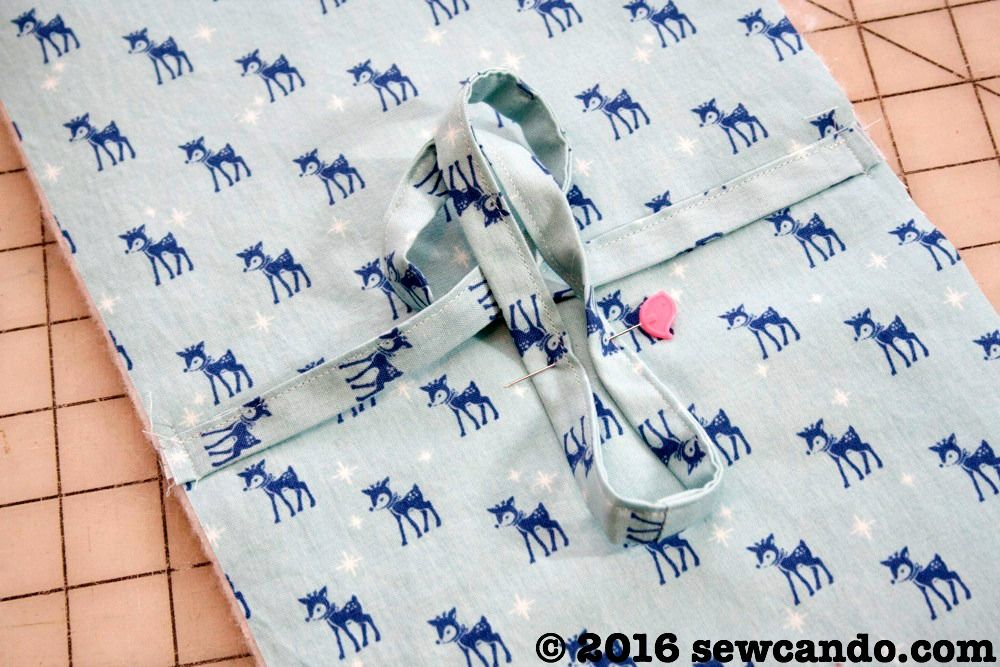
With right sides facing, stitch together one short end of each of the neck strap pieces with a 1/4 inch seam allowance.  I made sure to have the direction of the print going downward on both, so one side of the strap wouldn't look upside down when done:


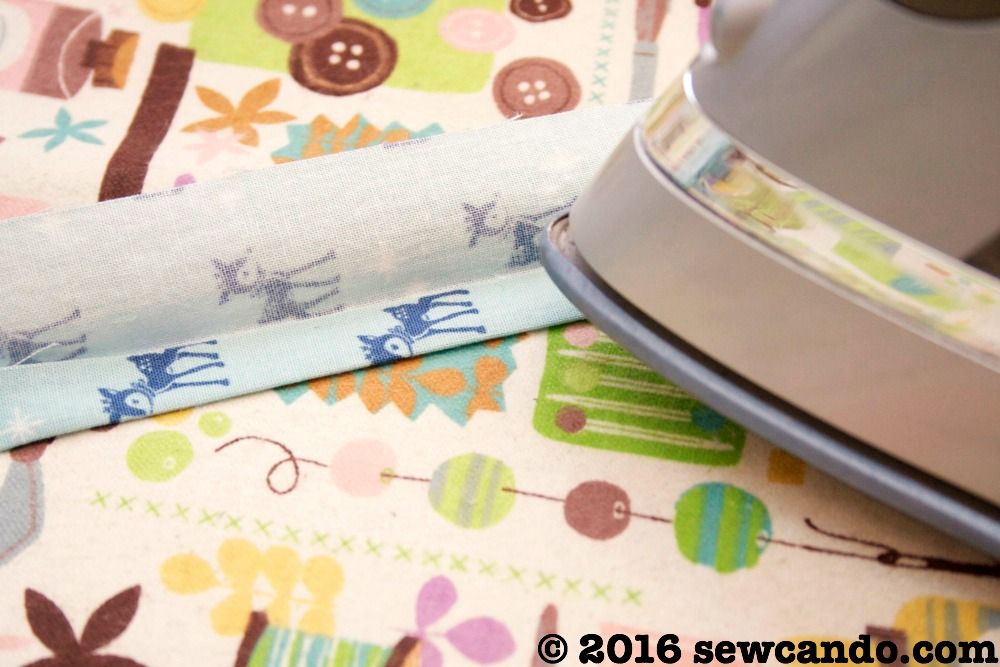
Fold the strap in half lengthwise, wrong sides facing, and press, then open and fold each raw edge inward and press (as you would make double fold bias tape):


Edge stitch down the open side to finish the neck strap:


Find the midpoint of the fabric and baste the raw edges of the neck strap to either raw edge at the middle of either side:


With right sides facing (and fur nap direction going downward), clip, then stitch together the length sides of the outer fabric to the length sides of the faux fur, using a 1/2 inch seam allowance.


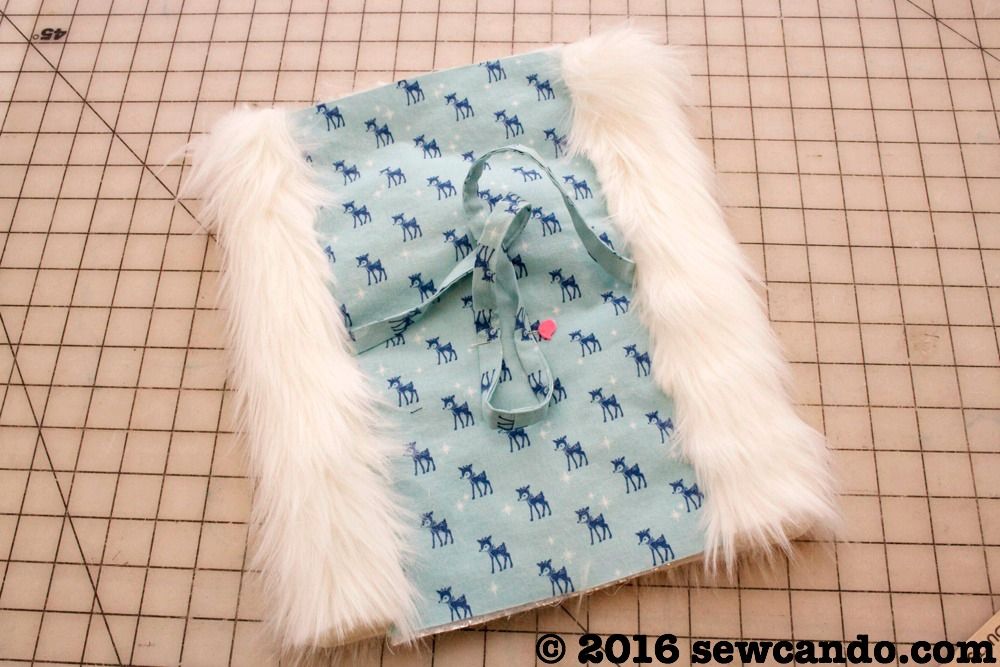
Now a long tube has been created:


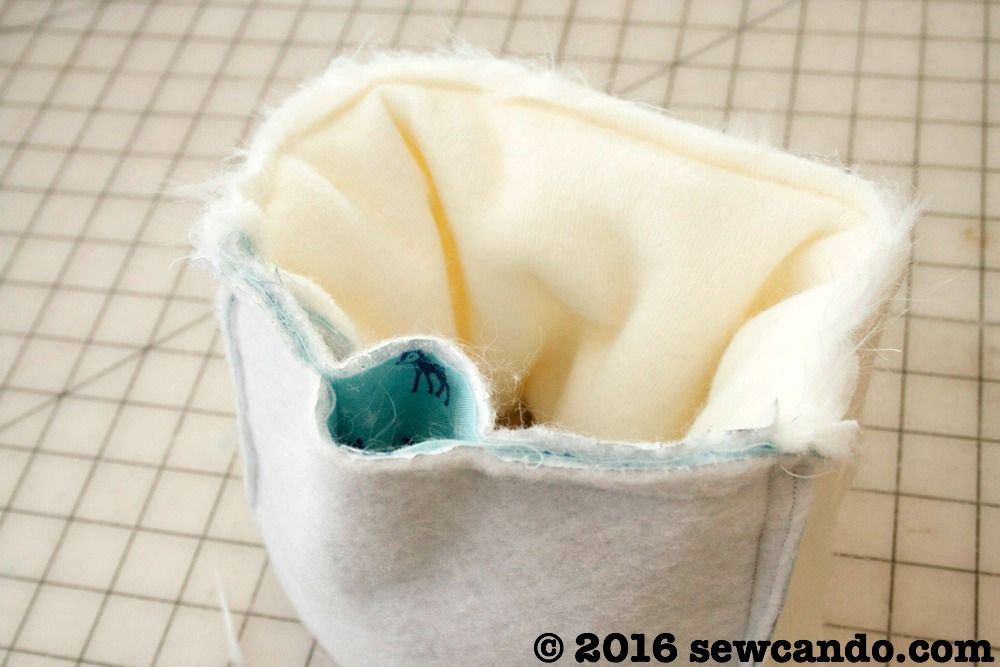
This is what it will look like turned right side out:


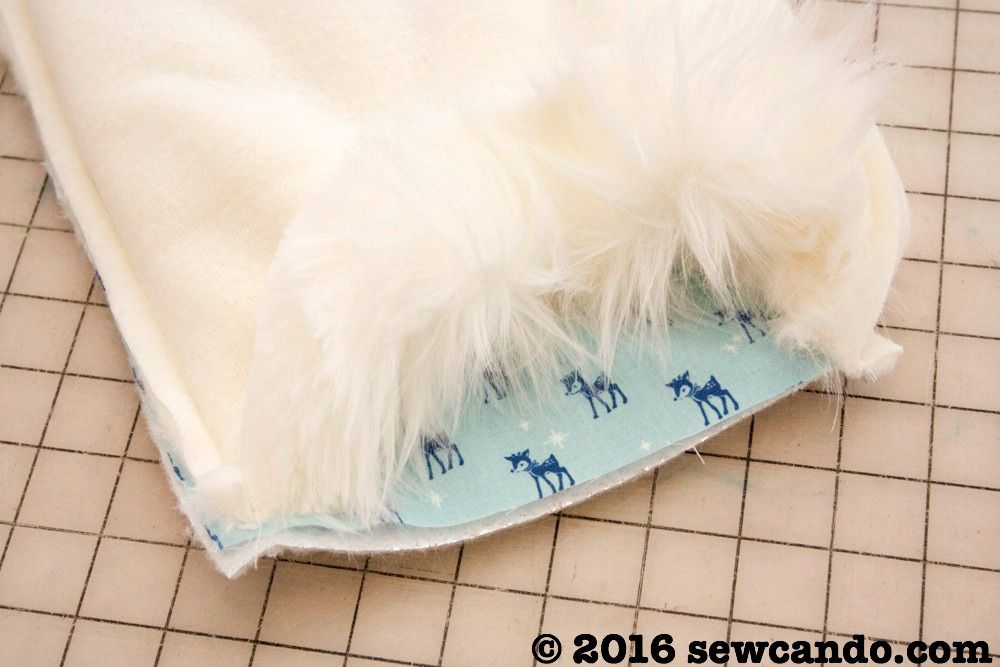
To do the seam turning into a cylinder: with the muff wrong side out, match up the raw edges of the faux fur and outer fabric and clip/pin together to form a short tube like this:


Stitch all the way around, but leave a several inch gap on the outer fabric bit for turning.  Turn right side out when done.


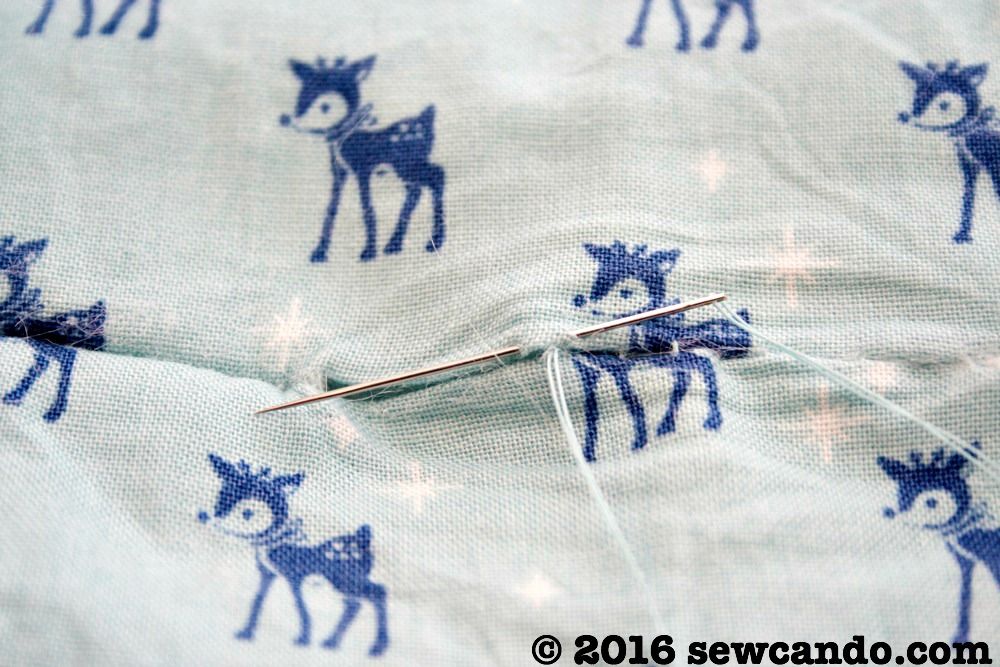
Then slipstitch the opening closed and the muff is done.


Now this cozy muff is ready to keep hands warm:


It's a perfect companion to the new Veruca Faux Fur coat I recently got for my little lady too. In case you're wondering, it's from Mini Boden's Charlie and The Chocolate Factory Roald Dahl collection.  We're huge fans, so it only seemed right to make a cute fur muff to go with it!


I was not financially compensated for this post.  I received fabric from Kawaii Fabric, to review & use as I desired.  The opinions are completely my own based on my experience.   For my complete disclosure policy, click here. 

Wednesday, December 3, 2014

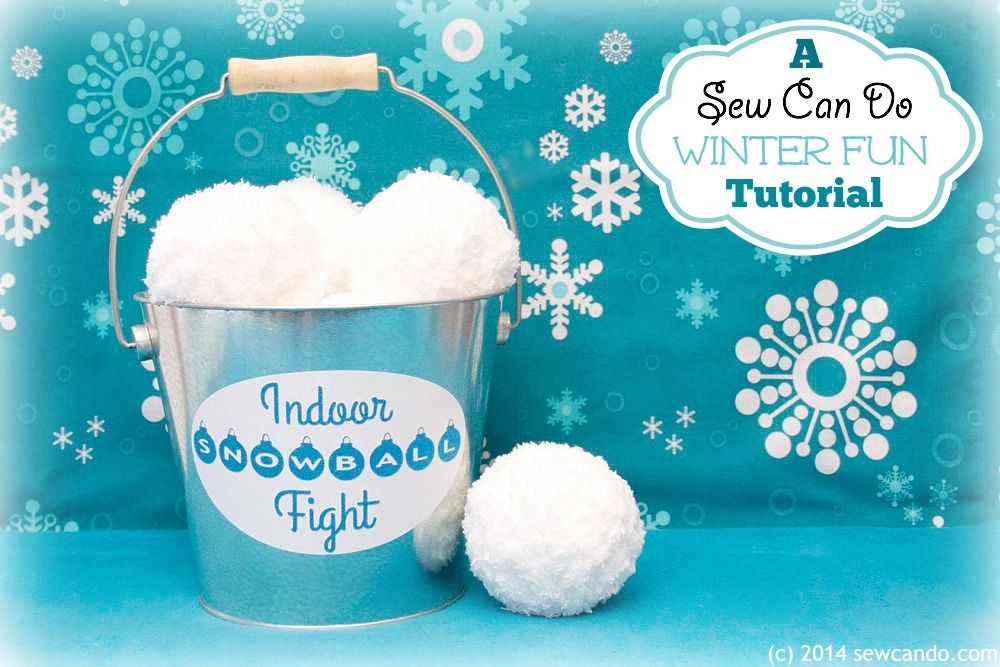
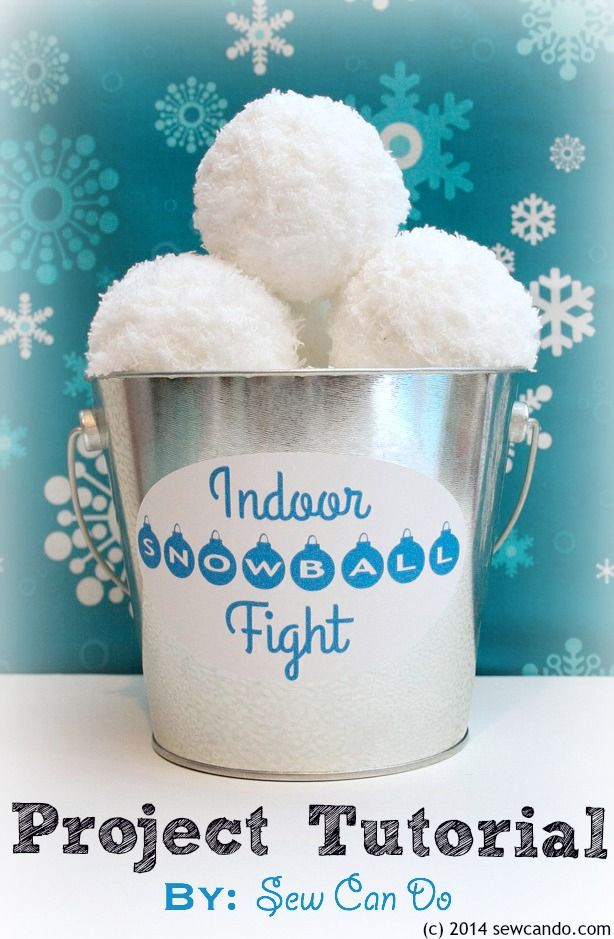
Tutorial Time: Make An Indoor Snowball Fight Set


Now that December is here I'm feeling extra festive & thought I'd start the month with this fun winter-time how-to: a DIY Indoor Snowball Set!


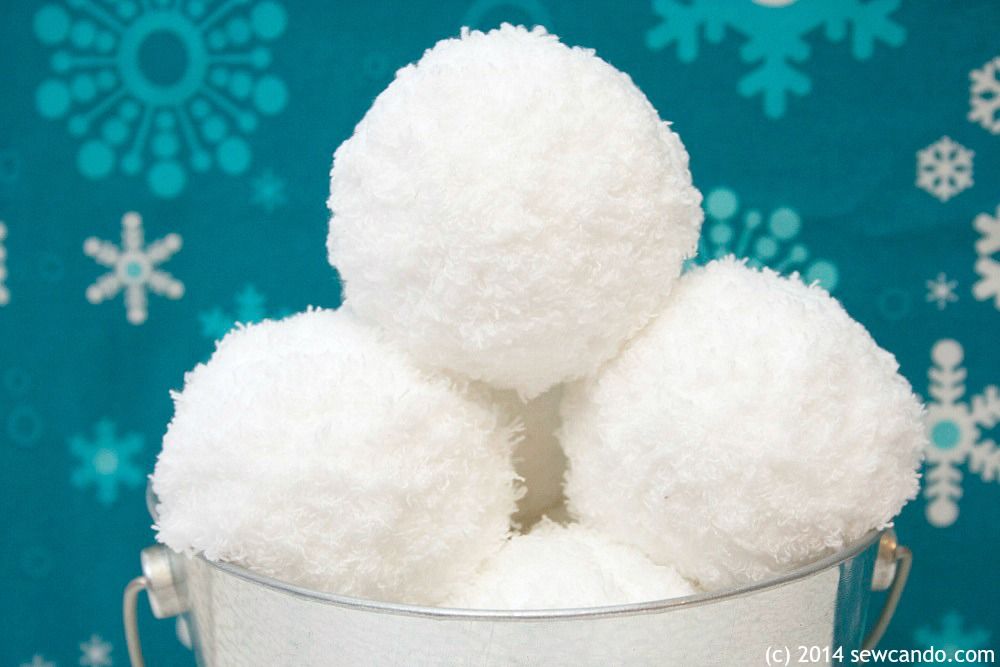
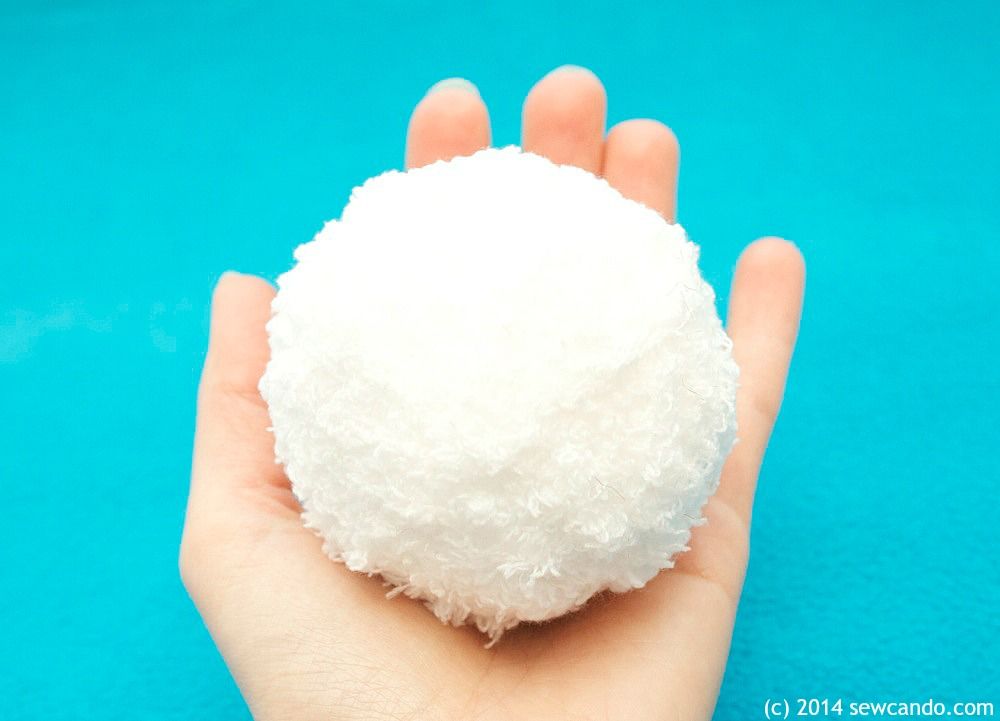
I saw a similar idea in a catalog and thought it was cool.  Have snowball fight fun, but without the cold and wet mess?  I'm in!  I did not dig the sort of high price tag though.  I also discovered that the "realistic" snowballs were really just giant pom poms...which doesn't seem all that snow-like to me, so I came up with my own version.  I think these look & throw more like the real deal:


The best part is this project uses basic materials and is super quick to make.  It's also the perfect DIY holiday gift for kids (or kids at heart)!  Here's how to make 'em:


Materials:
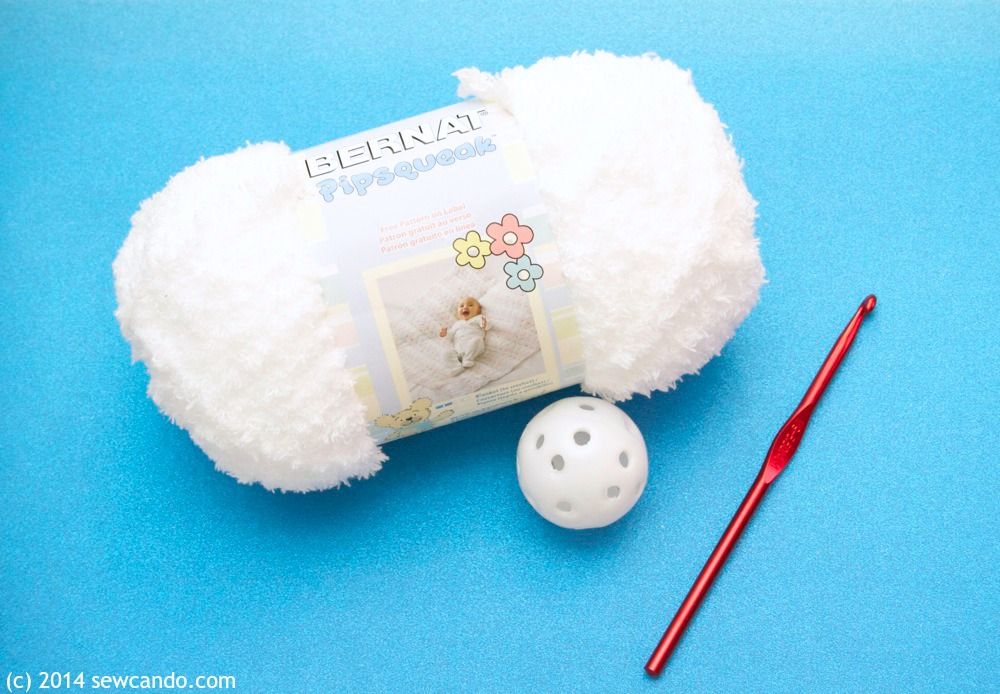
- 2 skeins of fluffy white yarn (I used Bernat Pipsqueak)
- 10 to 12 golf practice or ping pong balls
- Crochet hook
- Small bucket
- Vinyl & adhesive cardstock
- Die cutting machine (or stencils and scissors)
- Optional: plastic needle

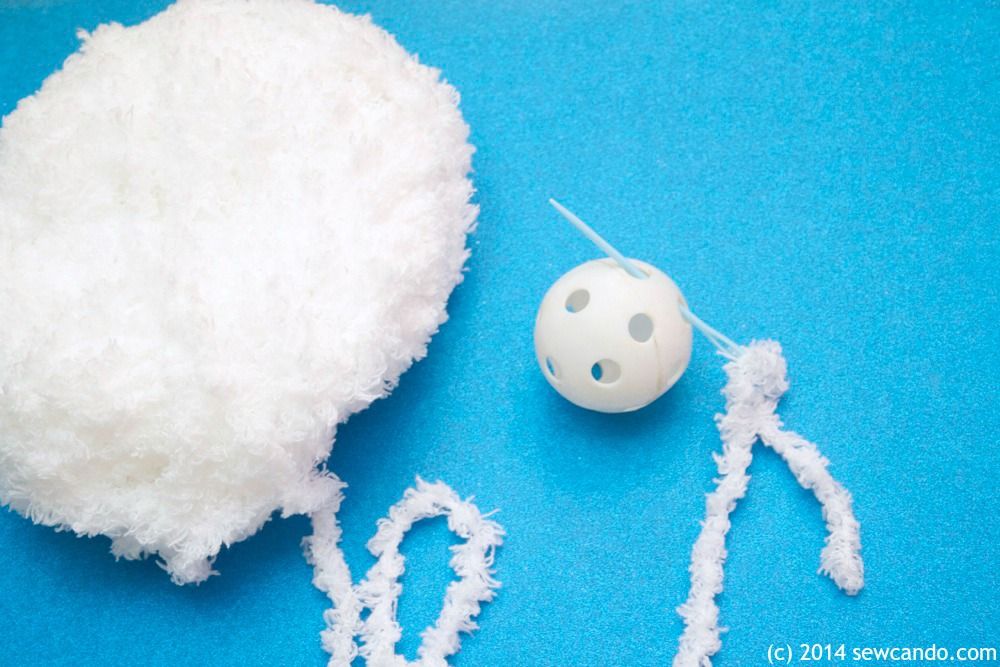
Most of the supplies were things I already had at home so it made this a quick & fairly inexpensive project.  I started by threading some of the yarn through two holes in the ball.  Used a plastic needle makes this easier. Then I knotted the yard to hold it in place on the ball.  


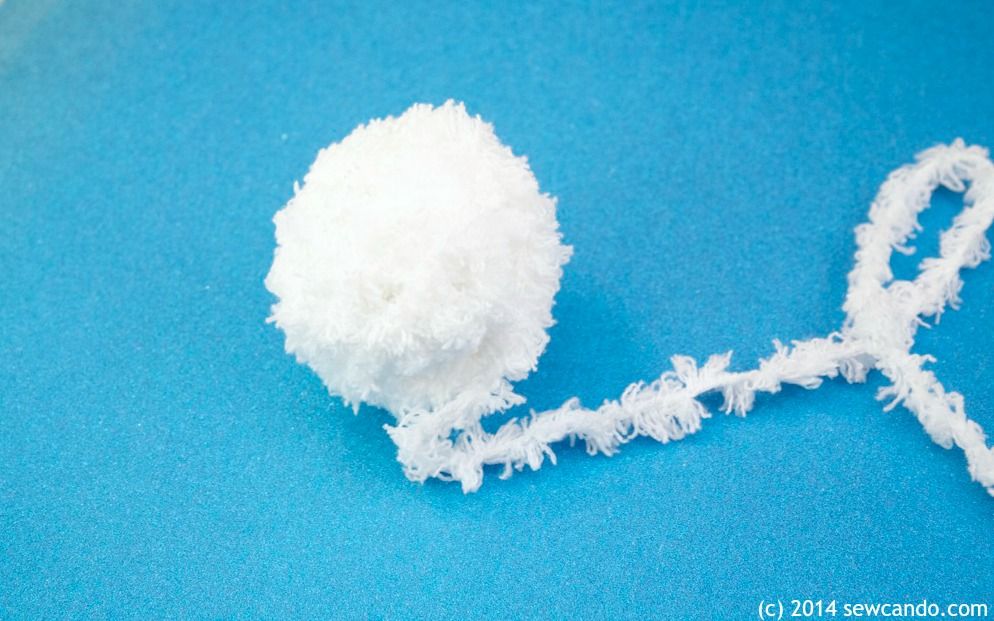
Then carefully wound the yarn around the ball, spacing it evenly.  I also did one with a regular ping pong ball by holding the end until I had things wound a few times which worked great too if you don't have the holed balls.


I wound until the ball was snowball sized as desired.  Staying tennis ball-sized or smaller so keeps the weight light enough for indoor play.


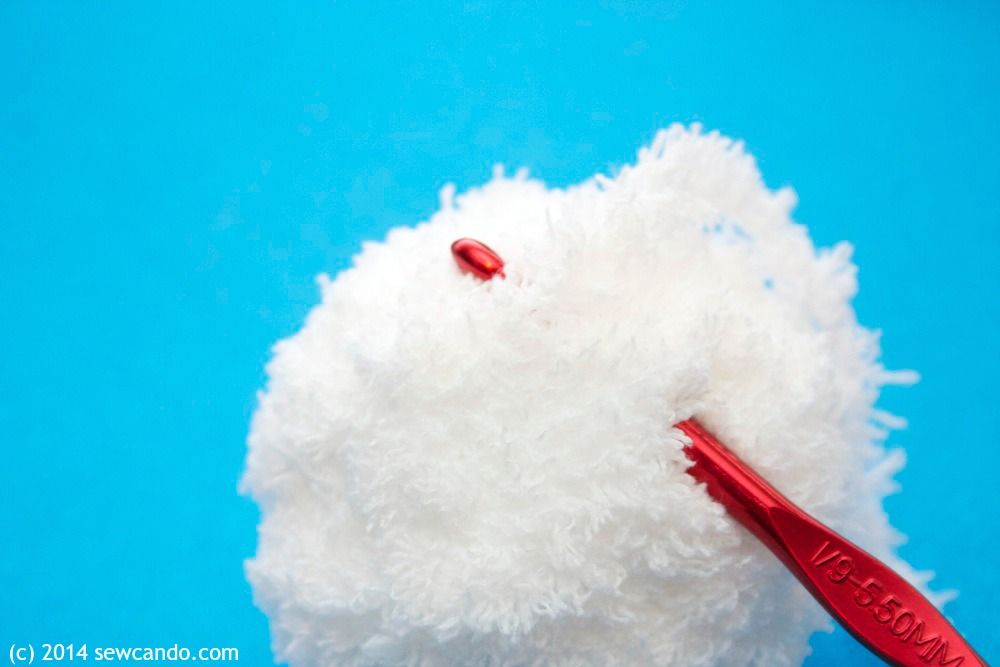
I cut a yarn tail a few inches long and then used a crochet hook to pull the tail under a few tightly wound strands.  I repeated this several more times until the tail is hidden and secure.  Then repeated it all with the rest of the balls.


The secret to the snowball's success is in the fluffiness of the yarn.  It means you can't see the individual strands so each snowball looks like downy soft snow and has a soft to the touch, yet firm feel like a real snowball:


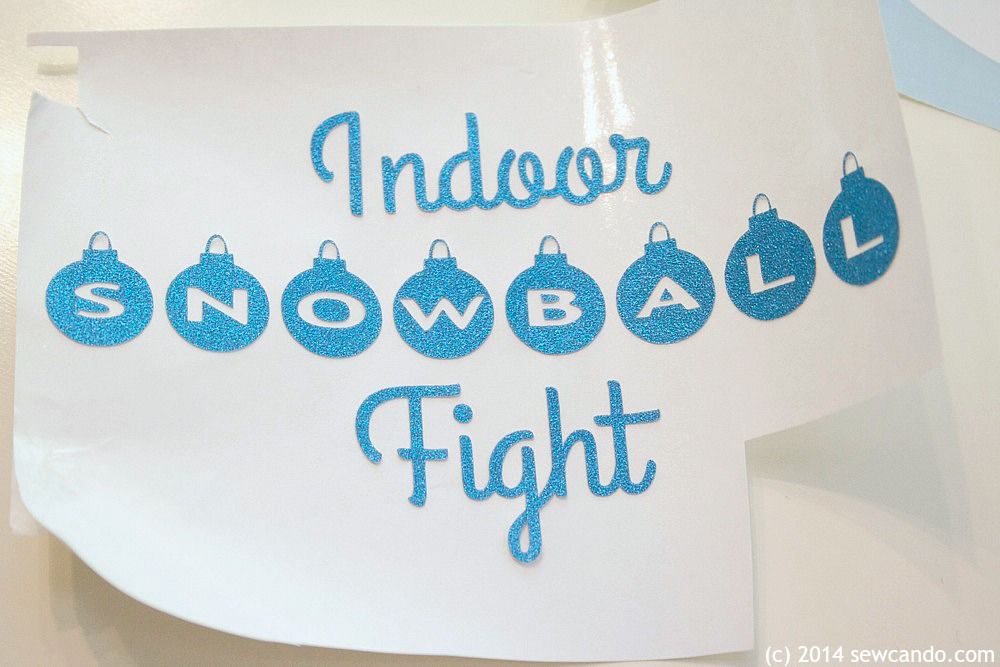
For a cute container, I used a galvanized bucket and made sure sides were nice & clean. Using glittered adhesive card stock, I cut my lettering using my Silhouette Portrait.  I found some free holiday fonts (Alpha Shapes Christmas Balls and Grand Hotel) that were ideal.


I weeded with a toothpick to remove the portions I wasn't transferring:


I also cut an oval from some white vinyl (about 5in wide by 3 in high) for the background of my label.


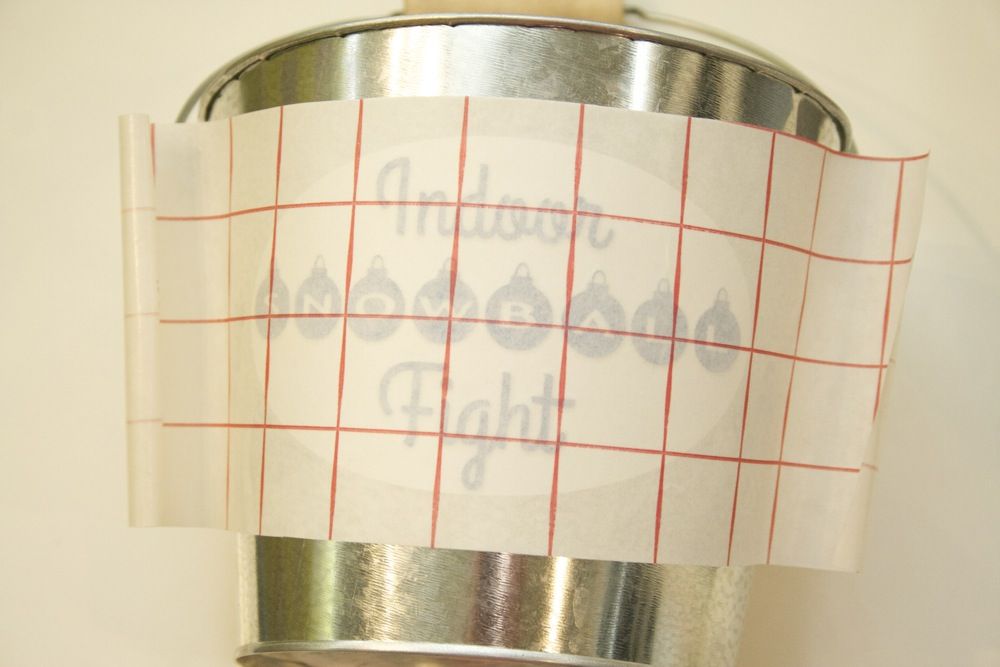
I recommend applying the oval to the bucket with some transfer tape, smoothing that out with a credit card or scraper first, and then using transfer tape to apply the lettering.  I put my lettering onto the vinyl before I applied it and it meant fiddling around too much trying to get air bubbles out around some of the letters.  So learn from my mistake and don't do that!


The transfer tape made it easy to keep everything even.  After carefully peeling it away the bucket was looking pretty good:


I added those fluffy snowballs to the bucket & we were ready for a little indoor snowball action.


A few other tips:  Remove delicate or breakable items - these are quite soft, but could still knock something over.  Vacuum/sweep the floor first so your snowballs don't become dirty or collect a bunch of dust too quickly (dirty snow, real or fake, is not fun, nor easy to clean).  If any strands of yarn become dislodged from over-vigorous snowball throwers, aka kids, just use a crochet hook to snag them back into place.  Now, enjoy a snowball fight and stay warm & dry at the same time;)


LinkWithin

Related Posts with Thumbnails