Showing posts with label Machine Embroidery. Show all posts

Wednesday, January 25, 2017

Machine Embroidery 101: Getting Started


Machine embroidery.  A couple of months ago I shared my new love affair with it.  It seems like crafters either are regular embroiderers or figure it's just too complicated, specialized or expensive for them.  I feel like it's one of the crafting mediums that gets ignored on most crafting blogs.  When done right it can make a plain item look amazing, add personalization and rival embroidered items sold for high prices in stores.   I extolled many of the fabulous things about it here.


So my next step is a new series, beginning with this post, to take the mystery out of machine embroidery.  Speaking from my own experience, it seems like you already need to know a lot about machine embroidery before you even begin it.  Figuring out what's needed and what to do can seem pretty overwhelming & that makes it tough for a newbie. I'm hoping by sharing this series it'll make it a littler easier for others to jump into and enjoy as much as I now do.  Now let's get to the info!


Starting Machine Embroidery: The Gear

The Machine: There are a wide range of embroidery machines out there - starting from reasonable sewing+embroidery combos that are just a couple hundred dollars, like my Brother SE400...


Up to giant 6 needle leviathans that need serious square footage to use and a bank loan to buy.  Most embroidery machines come programmed with limited designs & fonts, some have slots for branded design cards you can buy separately and/or usb capability to upload individual designs from the internet or use design software to make your own.  I'll share more on all those in a future post.  Brother machines have a reputation for being really user friendly & well featured so that's what I've always purchased.  I can attest to the learning curve being pretty short and the results being good overall.


My Brother PE770 Embroidery Machine
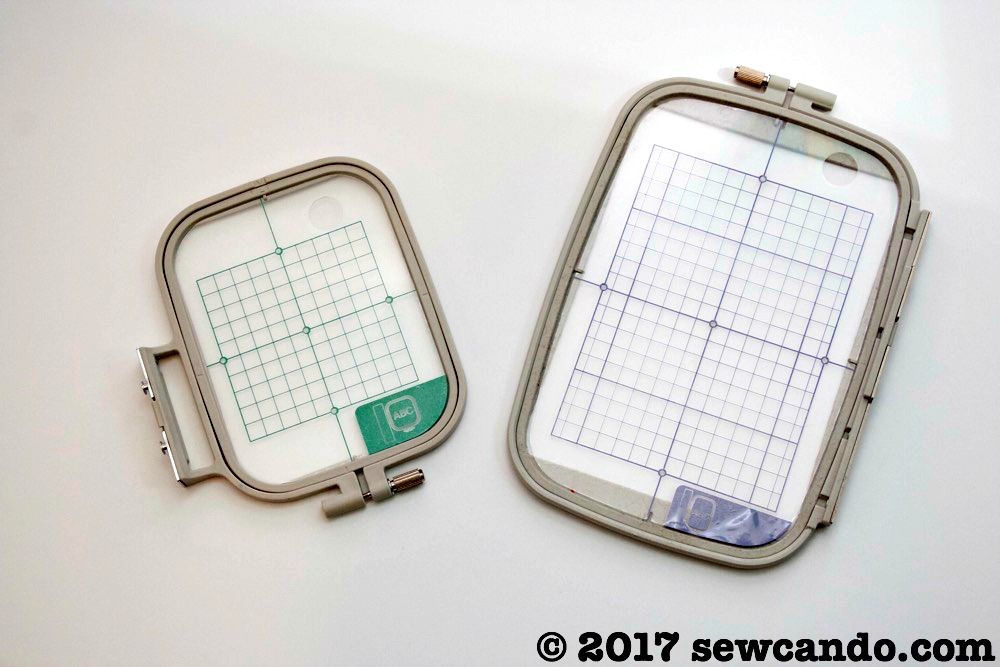
Hoop Size: The larger the embroidery size range, the more expensive the machine, so what hoop sizes a machine can manage is important:


Left: 4in x 4in hoop, Right: 5in x 7in hoop

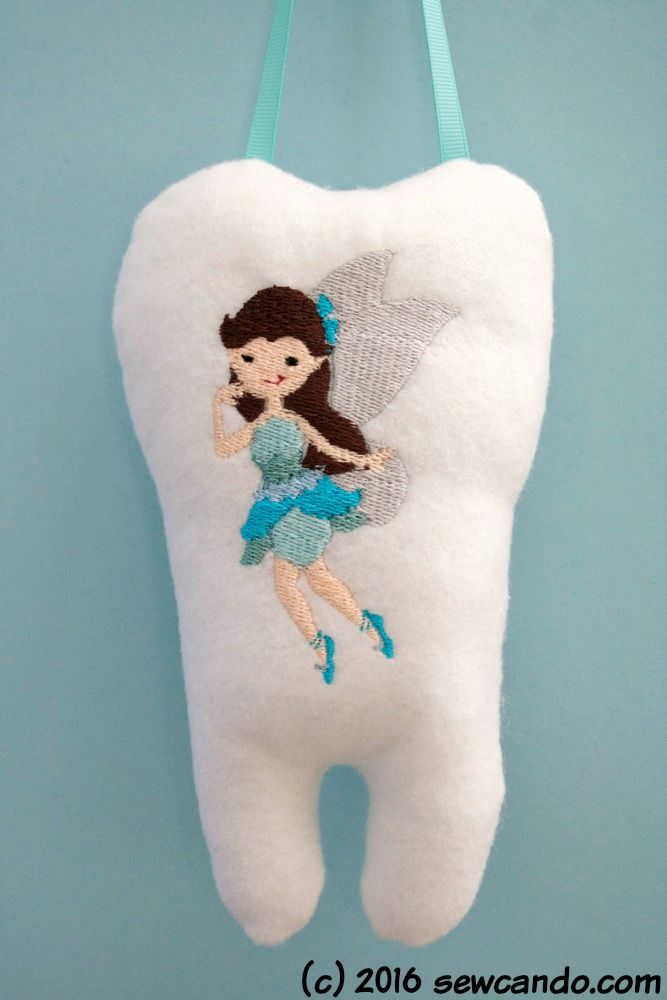
If you're not sure how much embroidery you're going to do, I'd advise to start small.  Unless you're going into the embroidery business, a single needle machine is probably fine and for most beginners a 4in x 4in hoop size is versatile enough.  I started with a sewing+embroidering machine several years ago that had a basic set of designs and 4in hoop which was fine for projects like my Felt Tooth Fairy Pillow.
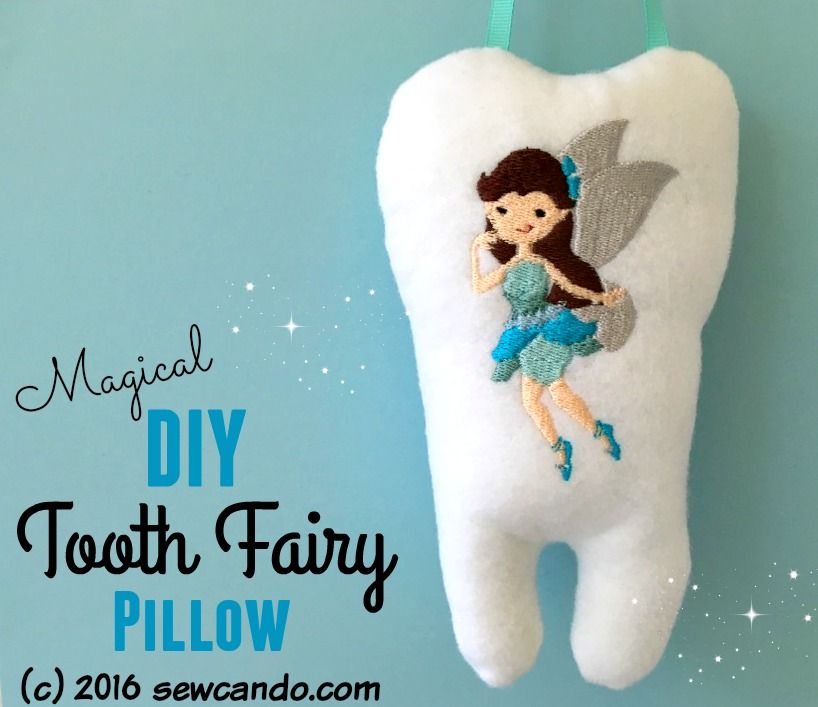


and some smaller personalized projects like this tote bag:


I upgraded this year to one that goes up to 5 in x 7 in since I wanted to be able to do larger designs across shirt fronts like this:
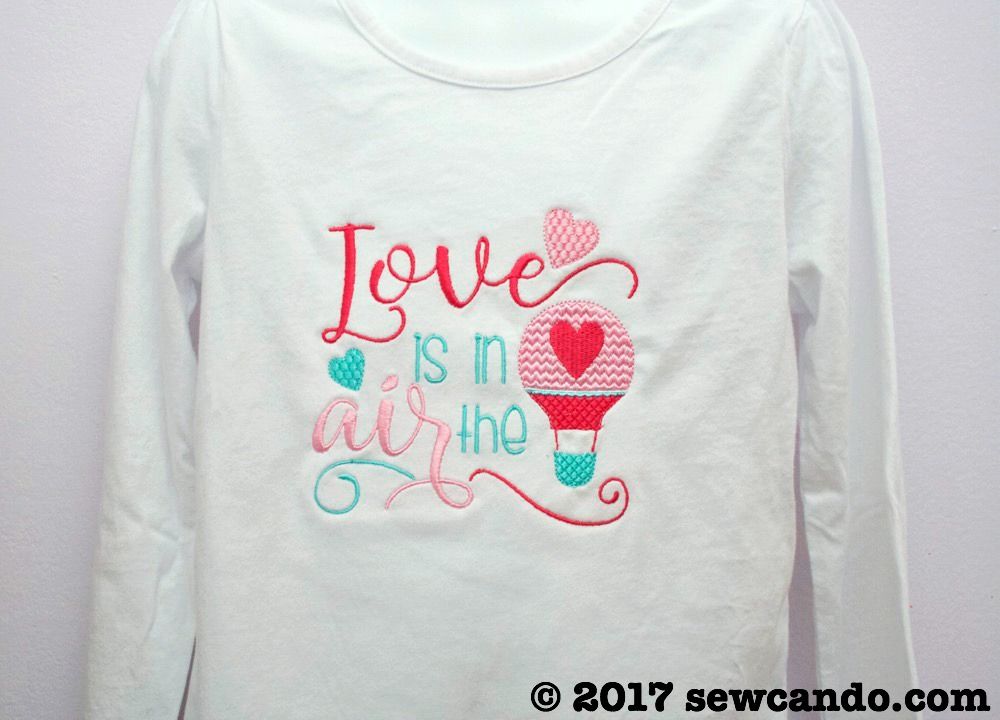


and this:
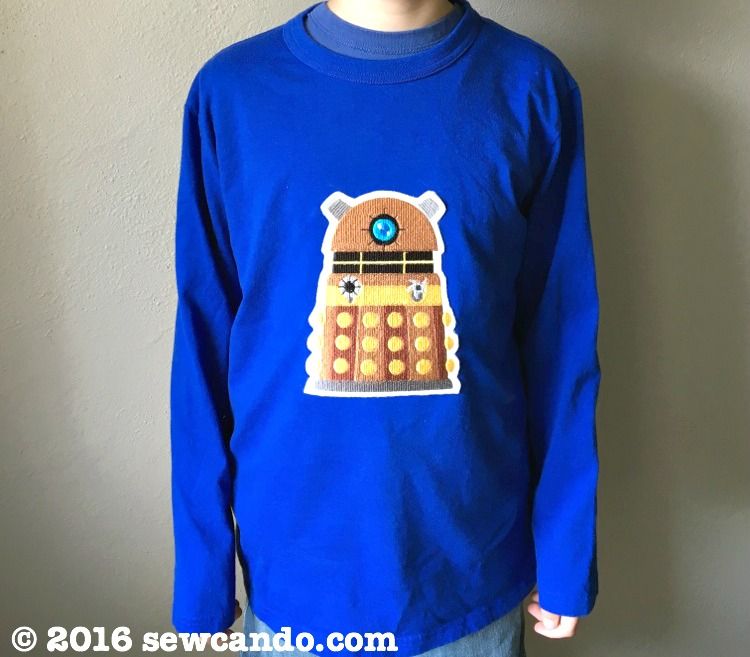


As well as bigger bags, towels and the like.  The machine can still use a 4x4 hoop for smaller designs too.

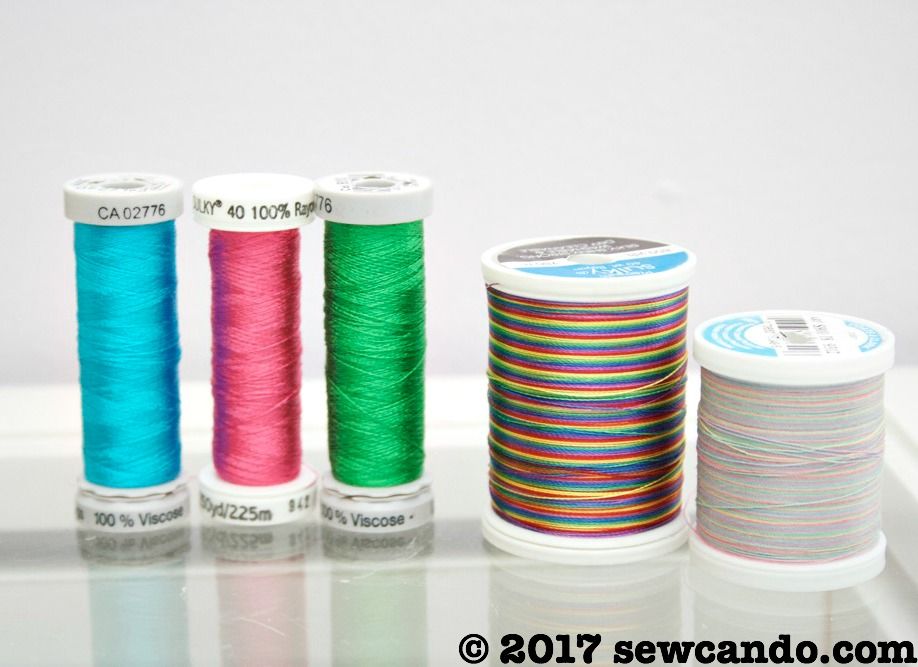
Embroidery Thread:  You'll need distinct embroidery thread for machine embroidery.  The weight and twist is different than what you normally use in a sewing machine - 40wt is usual.  They have a bit more sheen to them than standard thread.  


Polyester & rayon types are used most, but there are also specialty varieties like metallic, mylar and silk.  There are a number of brands and prices are all over the place.  I've used mainly the Sulky and Gutermann and found them to be very affordable and give nice results.


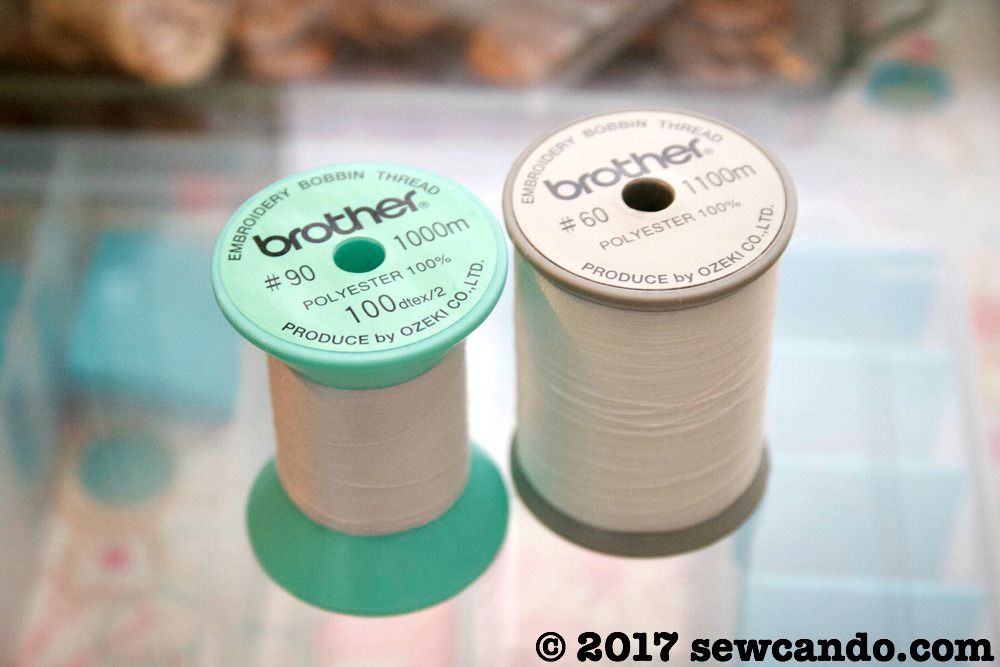
Bobbin Thread Is Key:  This is important - every machine has a recommended bobbin thread weight that should be followed.  You don't just wind the same upper thread on a bobbin like with sewing.  My Brother SE400 needs 60wt bobbin thread, but my Brother PE770 needs 90wt.  Both came with a spool of the requisite thread (which thankfully lasts forever).  I once found a cool lace design file that recommended using the upper thread in the bobbin so it looked nice from both sides, like it was no big thing.  Seconds after starting, my machine was a bird's nest mess, it took 15 minutes to untangle everything and I'd wasted precious thread in an unusable bobbin.  Never again.


Stabilize!!  There are TONS of different stabilizers, all for different uses, and this element can make or break the quality of your stitching.  In the past I thought my machine was the issue when a design didn't turn out smooth.  Turns out it was the stabilizer not being right.  Bizarrely, none of the machine manuals I've ever seen actually tell you this or give any info other than "use stabilizer".  Thanks, that was super helpful guys (insert eye roll).  I'll get into more details in a future post of what key types are most needed/useful, but there's a handy guide here that gives loads of info on what types go with what fabrics to get the best results.  
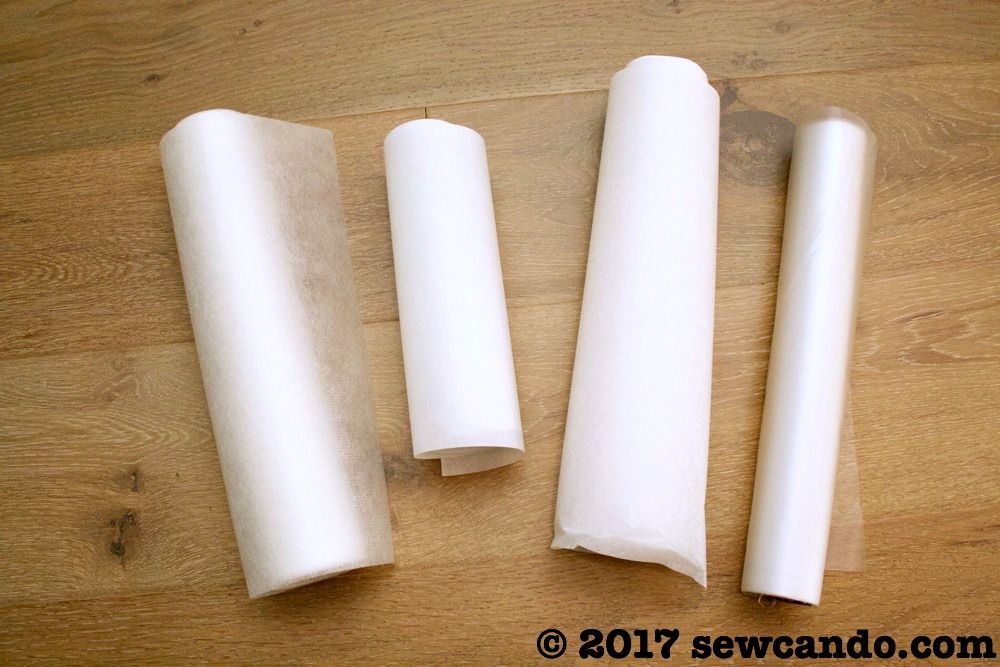

From left: Cutaway fusible for knits, general cutaway, tearaway, soluble film
Extras: These are the accessories that help for all sorts of embroidery situations.


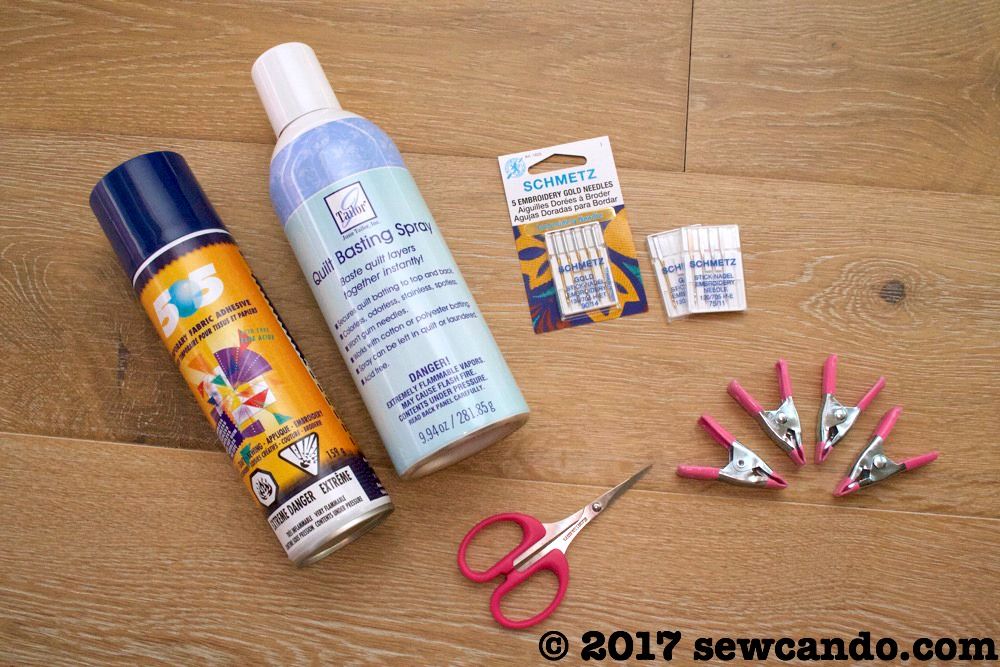
Needles - a lot of people use whatever needle corresponds to the fabric they use and say it's just fine.  Others use embroidery needles that have a larger eye to keep the the thread from shredding on woven and a standard ball point for knits.  I've found using universal embroidery needles (I get the Schmetz Gold Titanium 75/11) work great on all the various fabrics and keep it simple so I don't have to buy or switch needles for every project.

Thread scissors - good snips are a lifesaver for removing the jump threads connecting design parts.  

Adhesive Spray - very handy for keeping layers of fabric & stabilizer together when you can't hoop them all.  This has been critical when embroidering on blank shirts or thick items that would be impossible to hoop.  Small clips are also key for keeping those bunched up bits of clothing out of the way of the needle.

It may seem like a lot to get together upfront, but once you do, sky's the limit with project possibilities!  In my next installment, I'll share more info like ways to use machine embroidery to save money and where to find cheap & free designs.  Happy Embroidery Crafting!

Next Up, How Machine Embroidery Save $, Where To Find Cheap Files & a FREE Design Download!


Thursday, December 22, 2016

Machine Embroidered Felt Hoop Ornaments


Well, there's just 3 days to go until it's Christmas and I've literally just finished all my handmade gifts.  Note to self: either start 2 months sooner or do half as many next year so you keep your sanity.  Seriously.  But hey, it's not like it's 2am on Christmas Eve and I'm still sewing, right?  I know I'm not the only one that's done insane things like that.

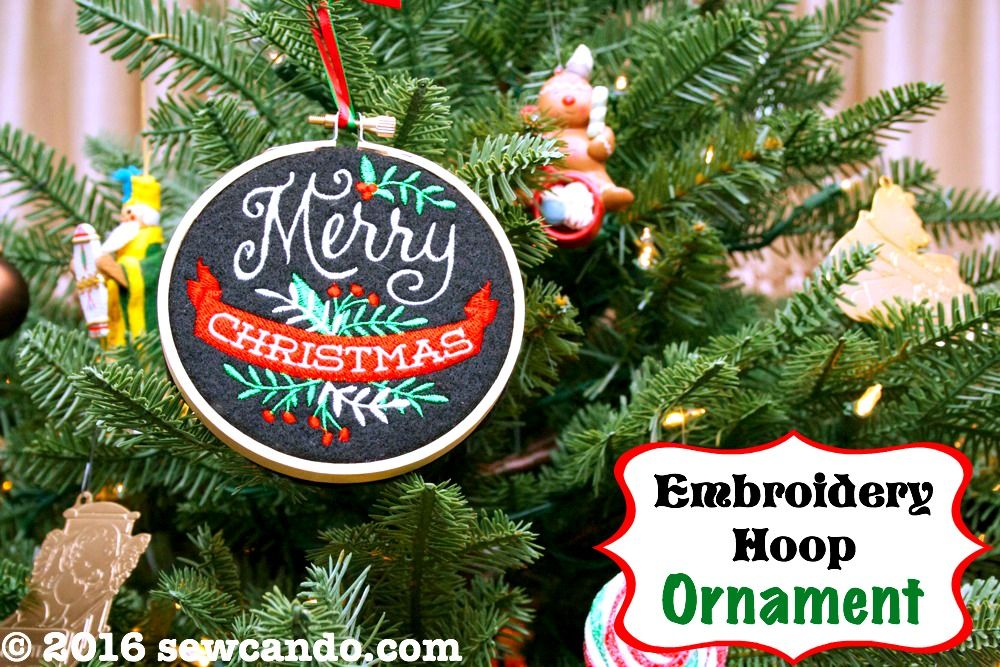
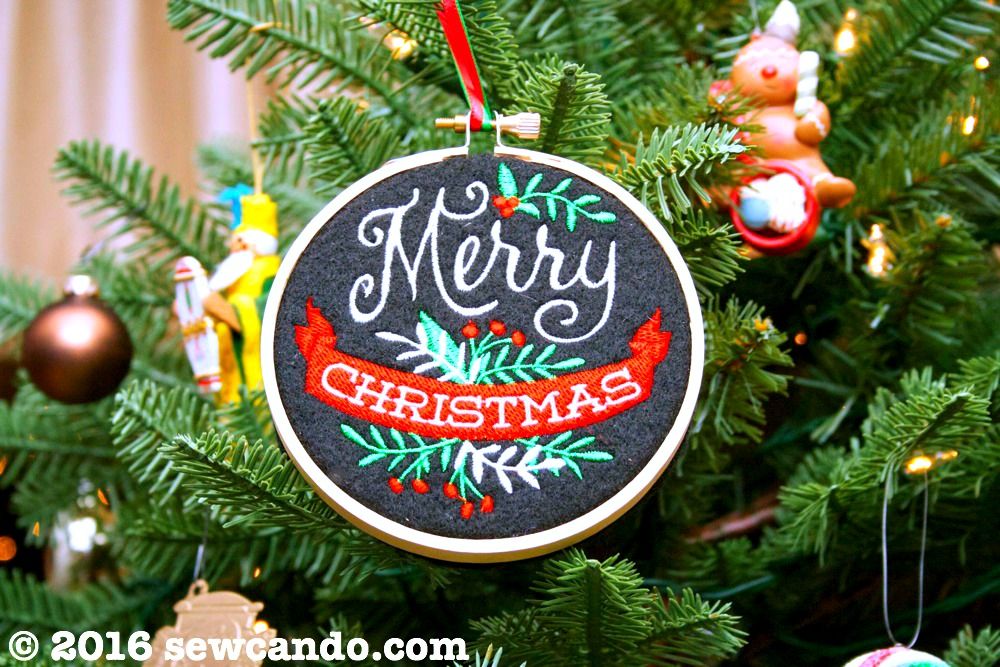
This was literally the first thing I wanted to make, but saved for last because it was the simplest: some pretty Hoop Ornaments.  I'd seen the hand embroidered kind before, but since I've got zero patience and minimal talent in that department I decided to use my embroidery machine to make 'em look gorgeous in record time.  It did not disappoint:


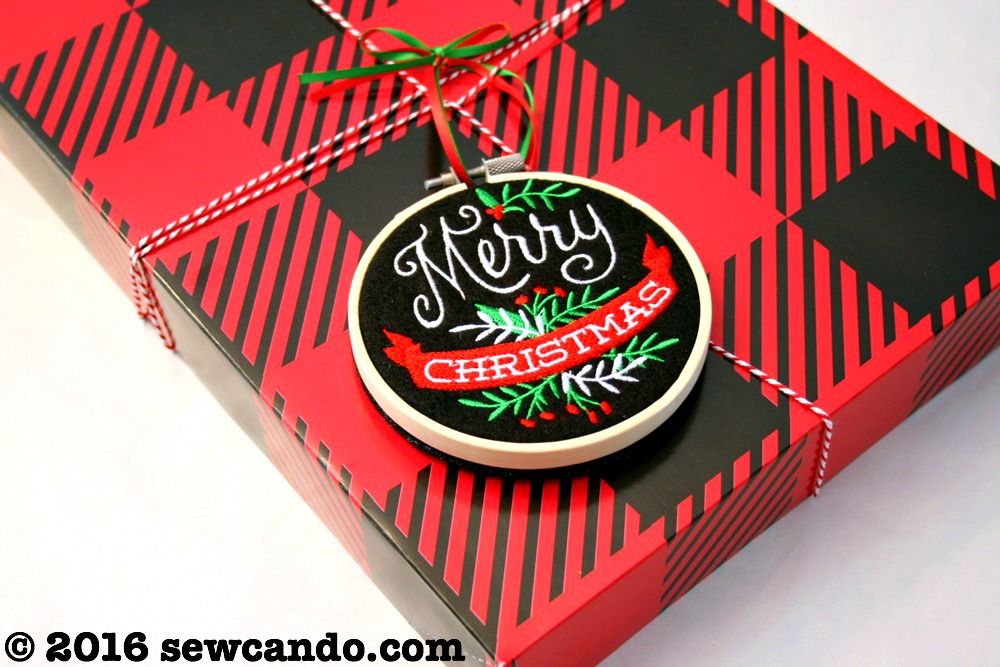
Besides being a nice little present the recipients could use on their trees in years to come, I thought these would make a great gift topper decoration too.  Why spend ages making beautiful bows when so many people just tear them off & toss them?


Making these is pretty inexpensive and they look really pretty.  I even made one for our tree, so the more you make the cheaper the piece price becomes too.


Materials:
- Embroidery File & Thread
- Felt (I buy 1/4yd off the bolt - it's cheaper than sheets!)
- Tearaway stabilizer
- Wood embroidery hoop
- Thin ribbon
- Hot glue


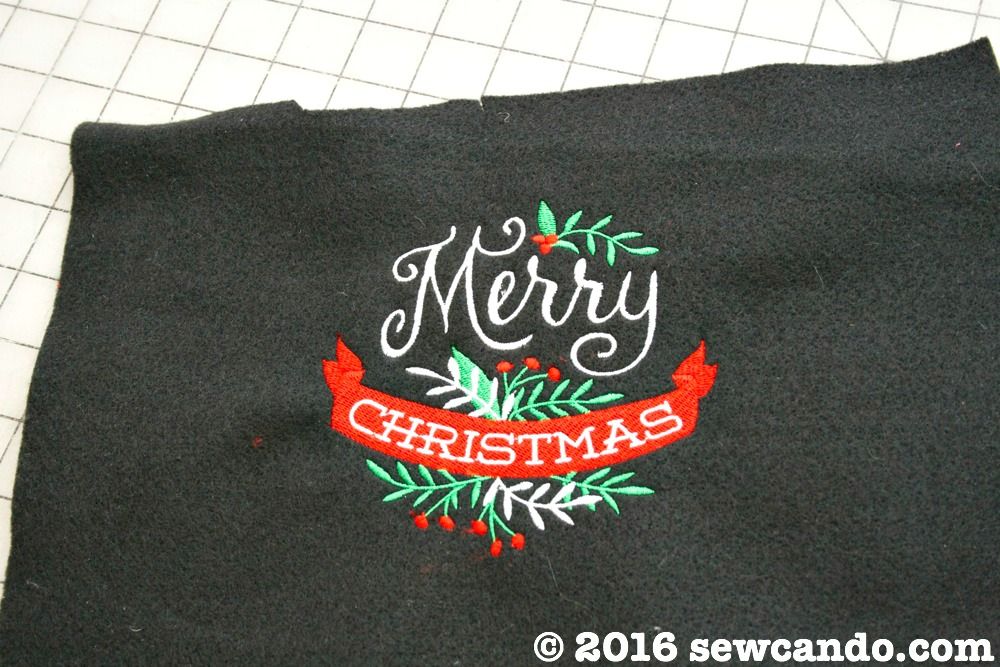
I found this cute Merry Christmas Chalkboard embroidery file on sale and bought the smaller size (just under 4" square) to upload to my machine.  I embroidered it on some black felt to really make the colors stand out.   Felt is very easy to machine embroidery on, so with just that and a piece of tear away stabilizer it was good to go.  After a few minutes and a few thread color changes, it was ready.


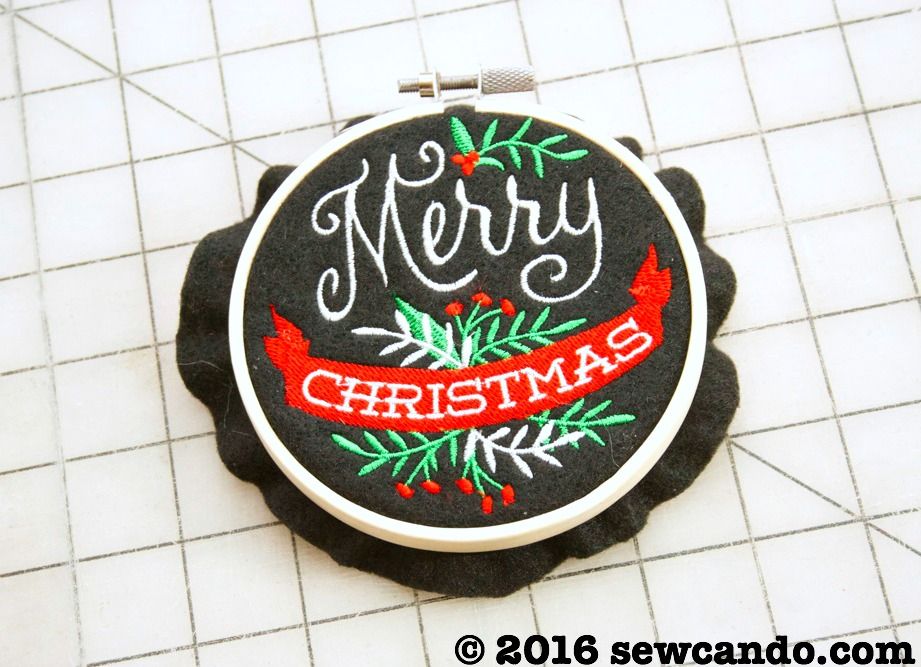
Next I cut it out as a 5 inch circle to fit in my 4 inch hoop and cut another plain circle the same size as the inner hoop (this will be for the backing).


I hooped the design with the screw at the top.  


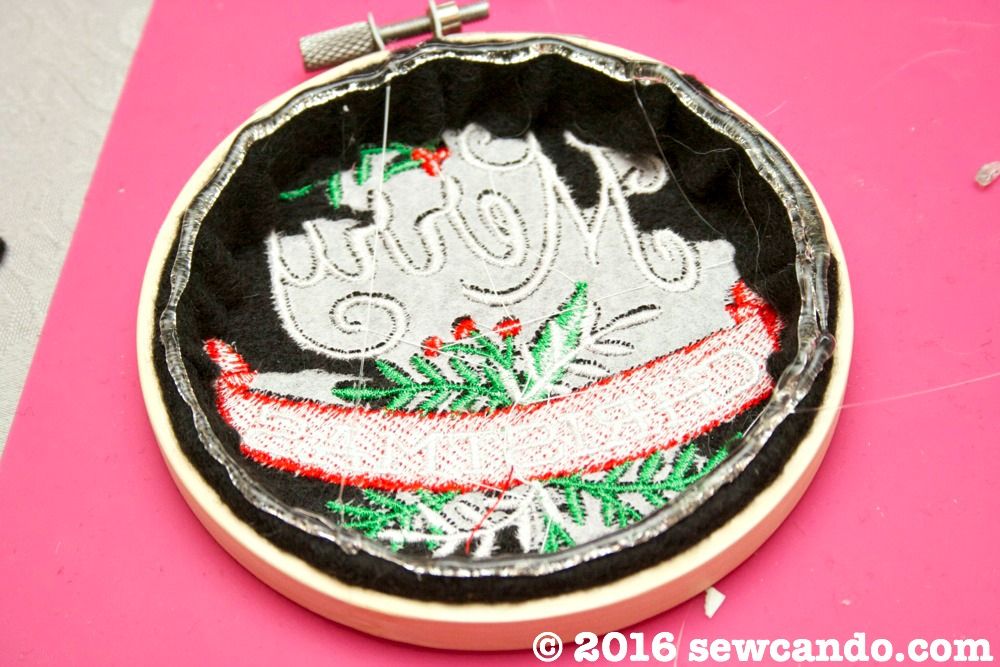
Next I ran a line of hot glue on the inside of the inner hoop


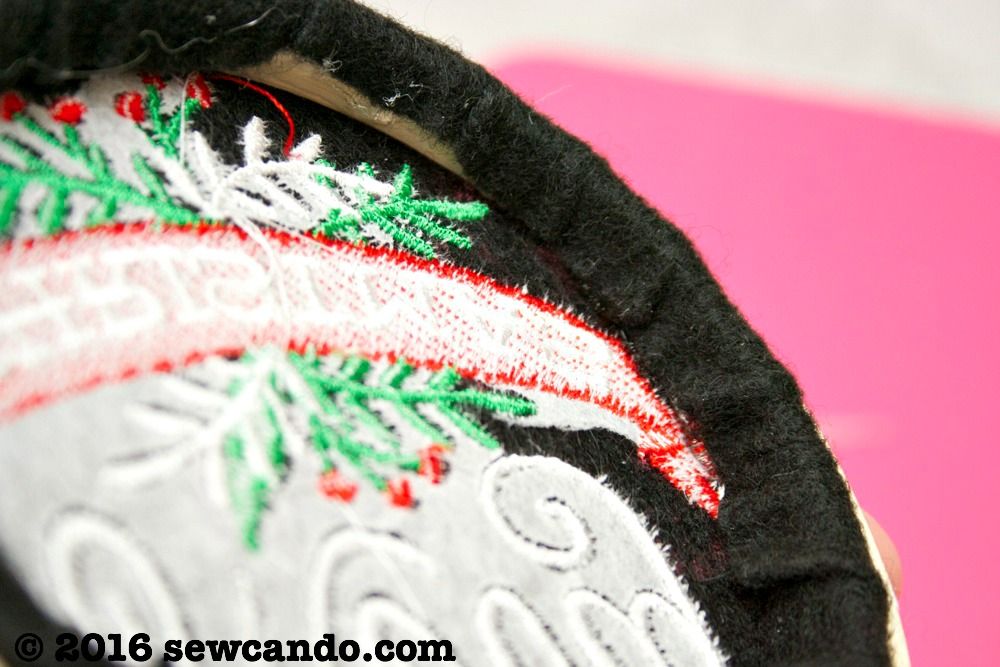
I folded the excess felt inward and pressed it into the glue to stay put.


I ran another line of glue around the edge 


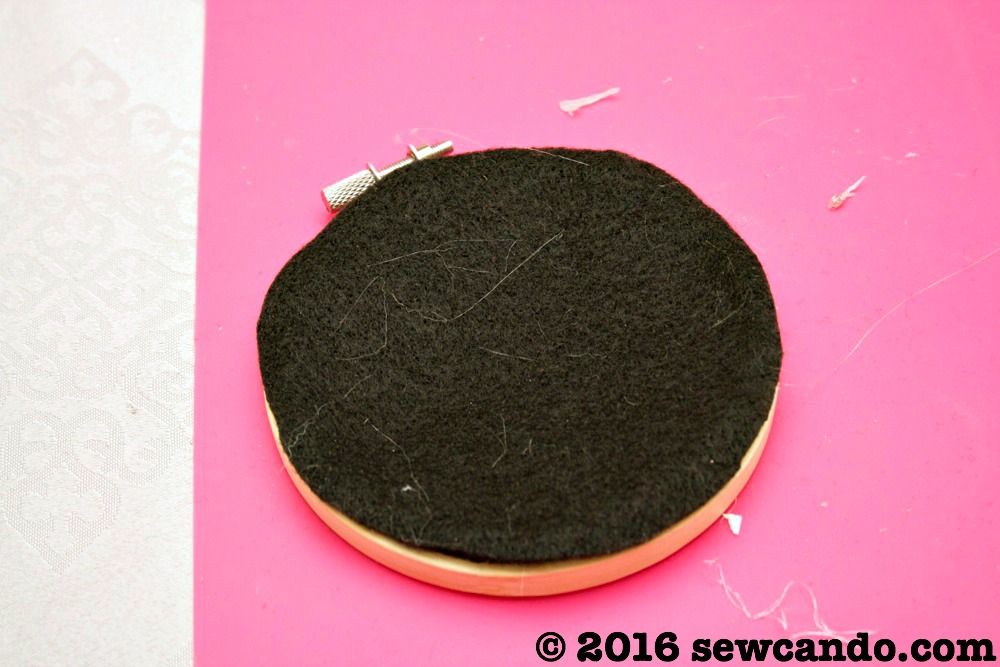
and put my plain felt circle over it to seal up the back for a nice finish.  Please excuse the weird fur strands in my pic - I'd been cutting white faux fur for another project right before so it stuck to everything.  Keeping it real with the crafting over here people!


Last was to just tie on some ribbon to make a hang loop and the ornaments were ready.  I really enjoyed doing these, so this may become an annual tradition in the Sew Can Do house!


Merry Christmas Everyone!


SaveSaveSaveSave
SaveSave

Thursday, November 10, 2016

New Crafting Possibilities: Doing Machine Embroidery


I'm always looking to expand my crafting horizons and acquire new skills.  I've spent the past couple of months honing my latest crafting love & finally got my act together to share it: Machine Embroidery.


Yes, that is a giant Dalek I embroidered on my little guy's shirt.  He LOVES it.  In between my other usual sewing/crafting projects, I've been busy making lots of machine embroidered lovelies like these:


and these:


It's become super addicting!  Not only is it lots of fun to do, it feels so good to be able to create such professional looking things in my own little craft room.  It's really gotten my creative juices flowing with more project ideas too!

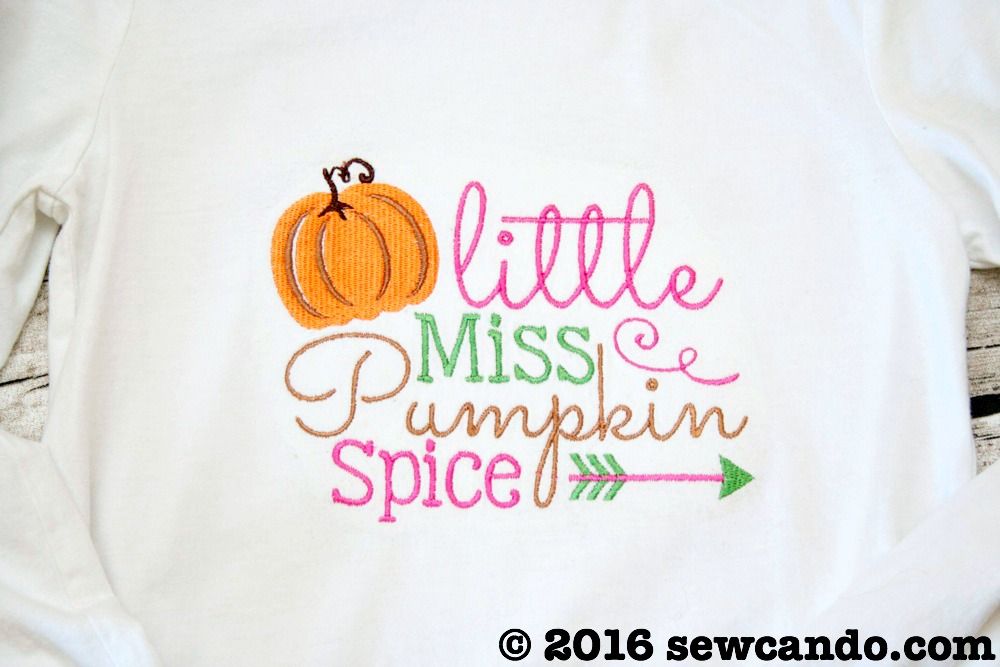
What I'm loving most though, is how I've been able to make cute things that rival what's in the shops, but for a fraction of the price, and in my own preferred color schemes to turn blank shirts & the like into goodies like this:


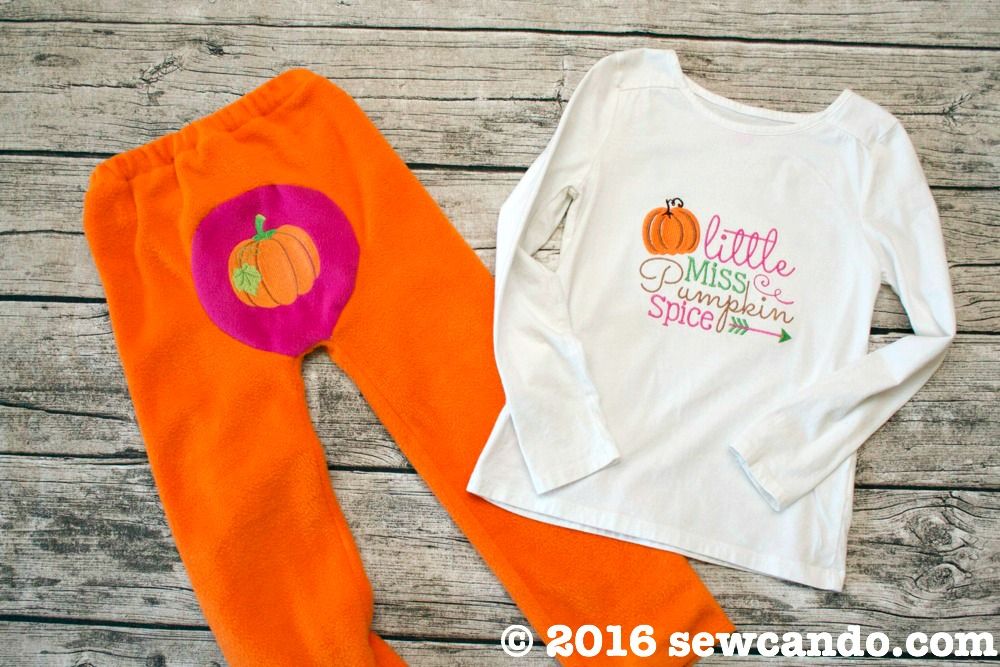
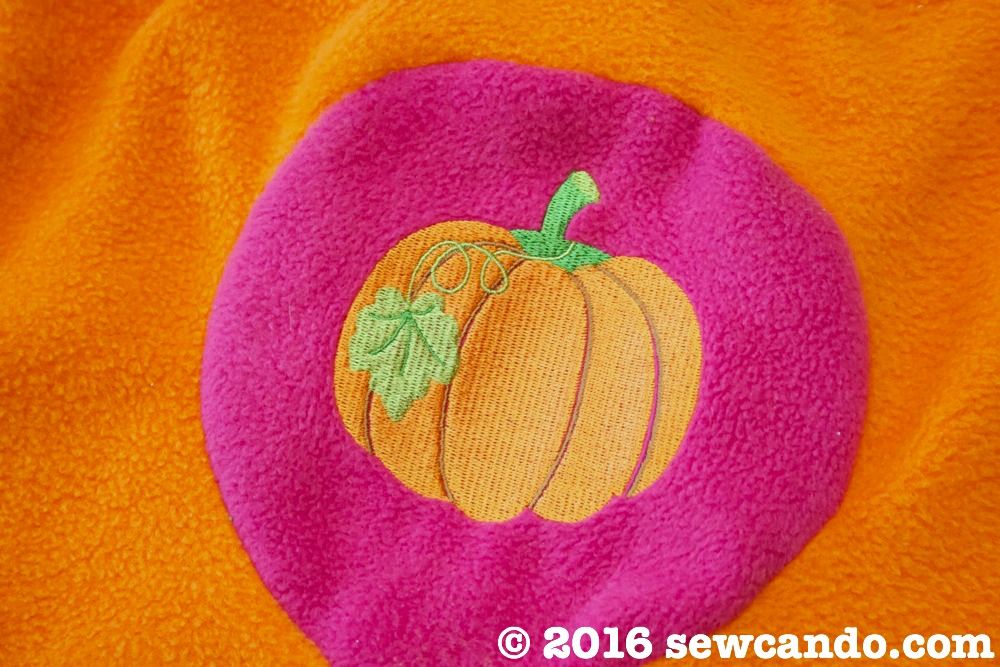
I've created custom matched goodies from scratch as well, like these fleece pants with a fun embroidered pumpkin bum:


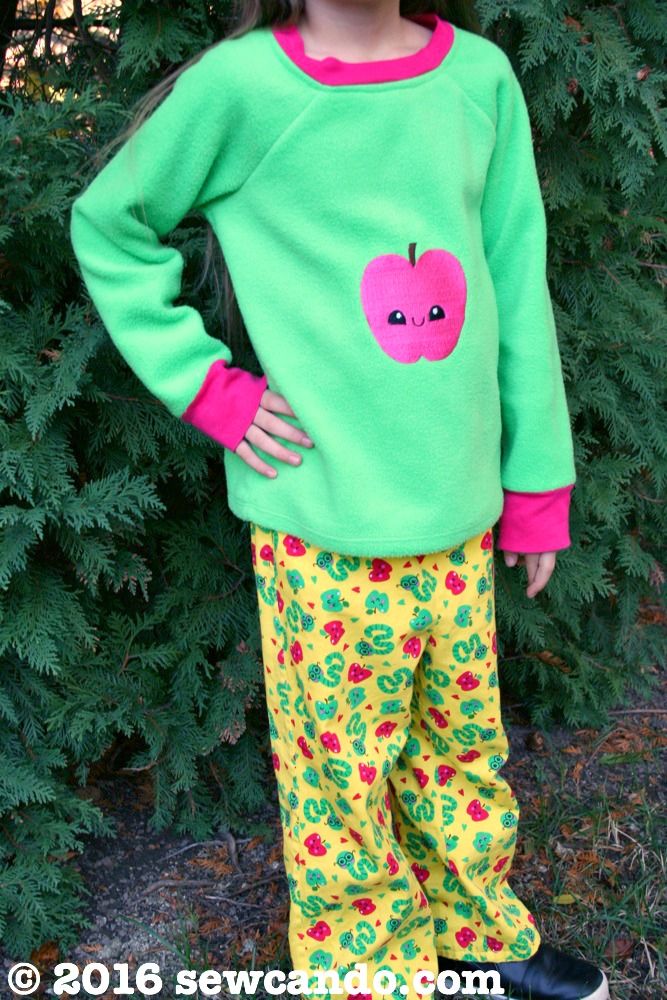
It's also come in handy when trying to work with tricky fabric prints too.  I'd bought this worm & apple fabric a few years back, but the color scheme was hard to pair with anything... until I found a kawaii-style apple embroidery design.  I made the fabric into some pants and whipped up a fleece shirt for the apple design to turn it all into a matching outfit. The embroidery totally kicks sewing projects up a notch:


My Embroidery Backstory: My very first sewing machine from 8 years ago was a hybrid Brother sewing/embroidery machine (originally an SE 270-d, now SE400).  In fact, the idea of doing machine embroidery was what drew me in to even trying to sew in the first place.   Yet, it seemed intimidating and still took me a few years to finally try some pre-programmed designs on the machine:


They turned out pretty nice and I gained some basic know-how (shared here), but I did have a few flops and frustrations that held me back. I always felt like I was tempting fate trying to do more & was pretty baffled at out how to wriggle a store-bought item onto my hoop without disaster. Plus, I was limited by the size it could do (nothing bigger than 4in x 4in), so I kind of paused my machine embroidery dreams.

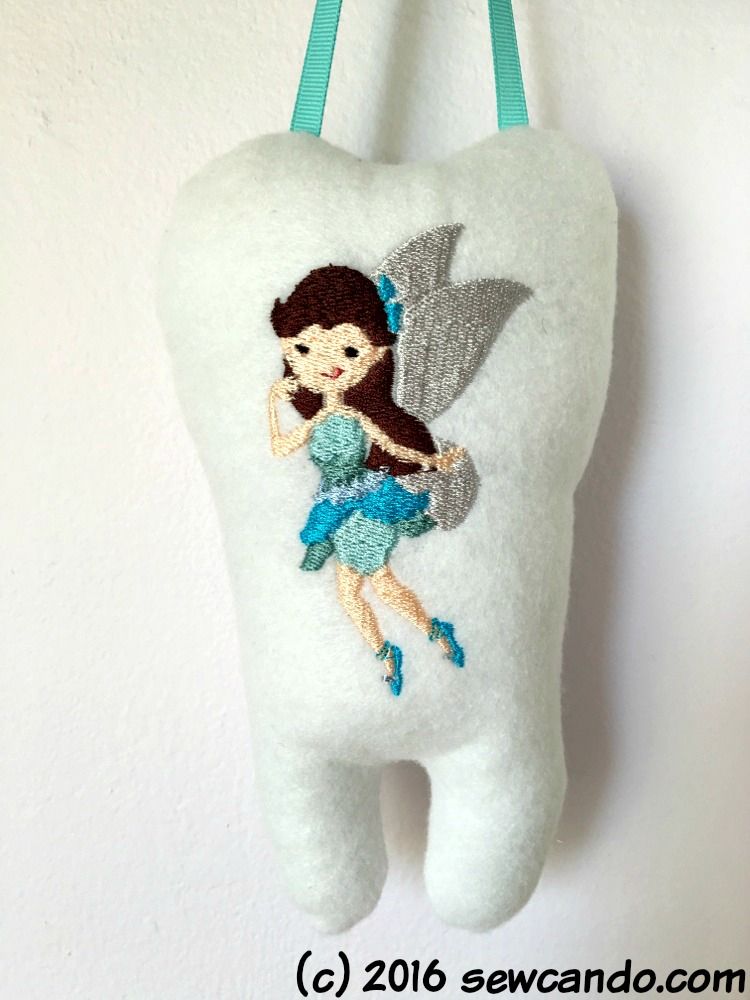
Then a couple of months ago I made my impromptu little Magical DIY Tooth Fairy Pillow and I got the itch to try embroidery again:


I thought maybe if I had a machine that did bigger designs, I could get serious about putting in effort to getting better at it and then just make all the kinds of fun stuff couldn't find in stores or that just cost too much.  I saved up a bit & decided to take the plunge and get this lovely Brother PE-770:


This machine wasn't too pricey and had all the key features I wanted - namely, minimal learning curve, can do 5x7 hoop size and the ability to upload design files.  Nearly all the cheaper models only do the smaller 4x4 like I had or required expensive (and limited choice) design cards.  I nearly fell over when I saw how many 5x7 or bigger machines go for over $1,200 or a require a serious several thousand investment (like multi-needle machines), so this was definitely more my budget speed at this point.  Its size also fit in my limited-free-space small craft room a lot better too.     

I think the big misconception out there for most crafters is that doing machine embroidery must be expensive or complicated.  Sure, it can be, but like any craft, there are many options and for this thrifty crafter, I think it's becoming a money saver.  And, you don't even need to know how to sew to do it!  

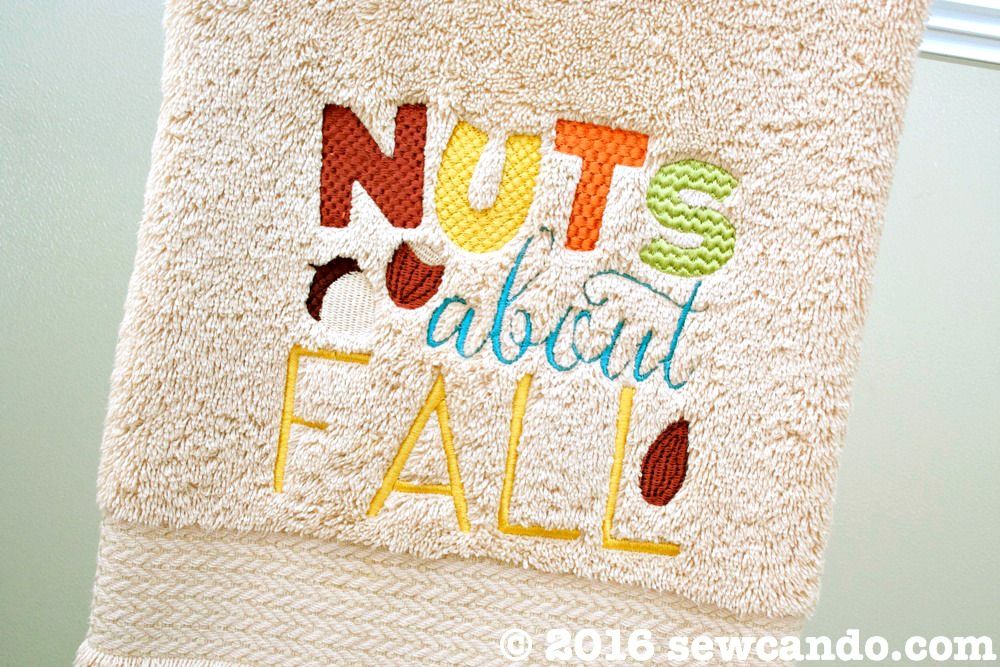
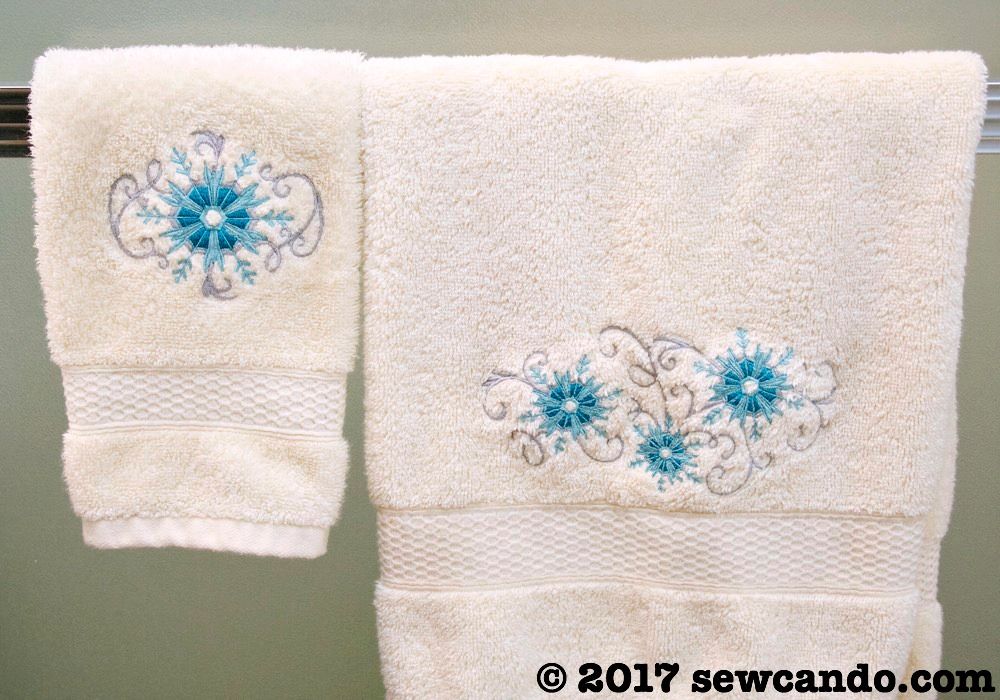
Key example, besides my lack of fun and inexpensive wearables, I couldn't find hand towels in the style & color I wanted (or any good quality decorative ones that were reasonably priced), so I made some instead.  It took less than an hour, saved me some $ and wasted shopping time and they're just what I want:


I've been practicing, researching and trying out materials and what's surprised me most is how much key info is pretty hidden if you're just starting out.  You can save a lot of time, materials & frustration if you just know how to do things right at the start, but there isn't one key place to easily find it.  I've been compiling my findings so I can share them and help make it easier for others starting out. Today's just a bit of a preview, but I plan to do a series of machine embroidery posts with what I've learned and all the crafty know-how, like:

- How to get started machine embroidering

- Ways to use machine embroidery (that save you money)

- What stabilizers give the best results 

- Great embroidery-friendly sewing patterns 

- Where to find awesome designs (design cards, files, subscriptions for FREE or a bargain price) 

- How to embroider on all kinds of materials and shapes

- Where to get blank items for CHEAP


I can't wait to share more & hope I'm not the only one out there all excited about doing embroidery.  If you've got any particular questions or info you want to know, let me know in the comments and I'll try to add that in!  

Wednesday, June 29, 2016

Magical DIY Tooth Fairy Pillow Tutorial


Sometimes the best projects are literally the ones done with barely any planning and at the last minute.  This project was done hours before we needed it in action and I winged it the whole way, but I love it: my DIY Magical Tooth Fairy Pillow.

There's no mistaking who it's for.  Even if you can't read you just know;)


And of course there's a little pocket on the back for the teeth:


This pillow has quite a backstory too.  My littlest one was finally losing her first tooth, which also happened to be the same day her biggest brother was having two teeth extracted at the dentist.  We discovered the one tooth pillow we had wasn't going to work.  The tooth fairy forgot to come when all three teeth were in the one pillow the first night (sometimes she falls asleep waiting for them to fall asleep....), so it was critical to them that we have a separate pillow for the next night.  Of course Mom will make one, right?    

And, of course, I procrastinated until evening and realized I needed to rock something out ASAP.  I wanted to make it a little different than all the others I'd seen, so I thought making making it a tooth and adding the fairy would make it extra special.


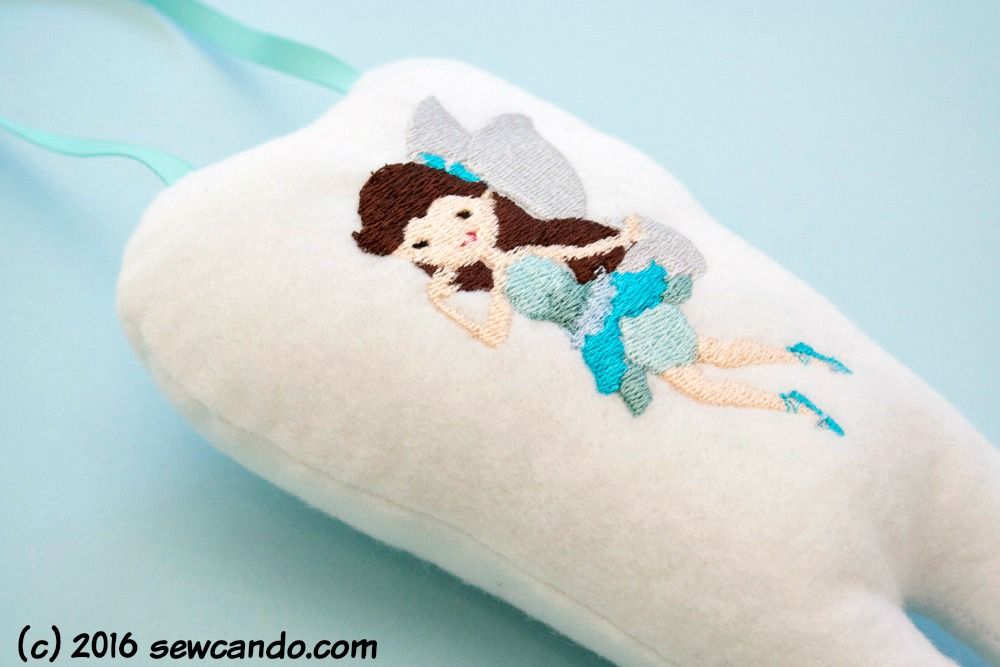
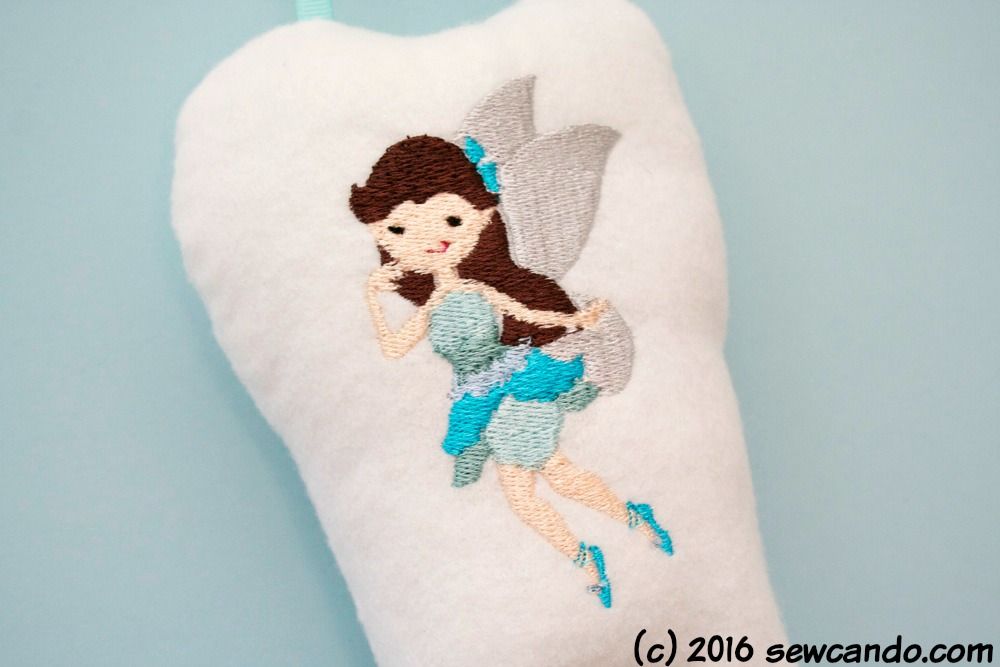
I'd actually bought this adorable fairy embroidery file a couple of years ago, but never figured out what I wanted to do with it and now here was the perfect use for it!  


Materials:
- White felt
- Embroidery thread
- Fairy embroidery file* (mine was from Breezy Lane Embroidery)

- Ribbon  
- Notions: disappearing marker, pencil or knitting needle for turning, hand sewing needle


*Note: If you don't have a machine that does embroidery you could always buy a patch or appliqué a fairy from fabric on it or, if very ambitious, hand embroider one, but investing in being able to make your own machine versions is so worth it.  You can make them whatever colors you want, whenever you want.  I made our tooth fairy brown haired to match my brunette daughter:


New to machine embroidery?  I've got a basic how to HERE.   I might do a more in-depth, updated version if there's interest (let me know in the comments if you want to see that). For machine embroidery I have a Brother SE-400.  It's both a sewing AND embroidery machine, so it's very useful and also very reasonably priced. Bought mine years ago and I've used it for loads of projects with embroidery and without:

Machine Embroidery How-To, Vintage Strawberry Shortcake Hat Tutorial, Happy Mushroom AppliqueBunnykins Dress

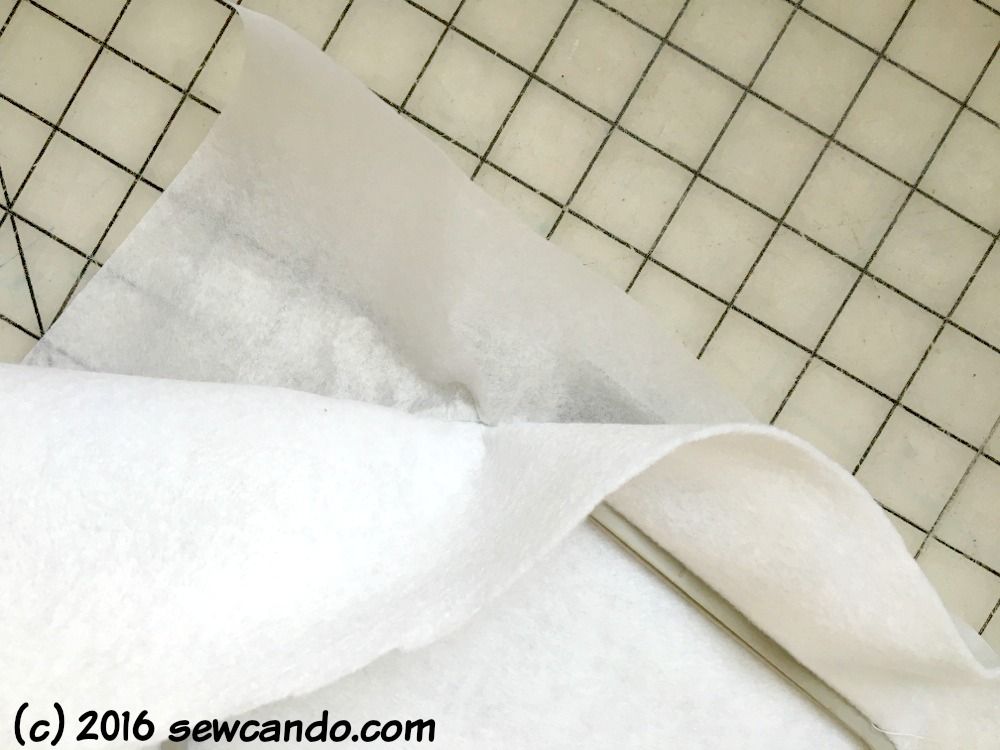
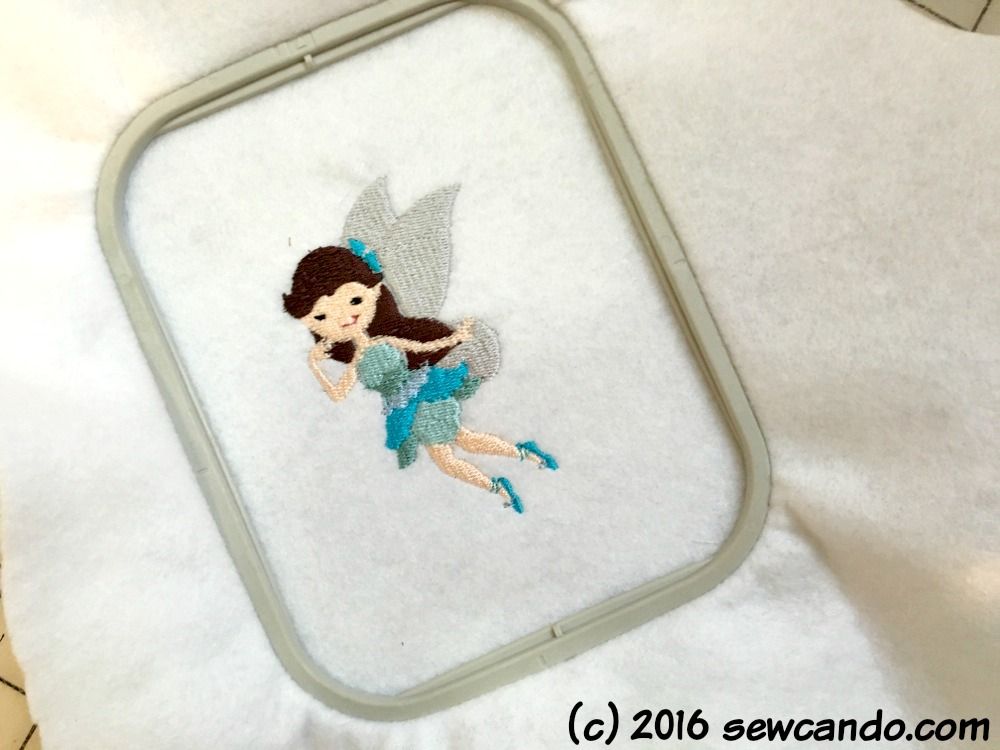
For the pillow, I did the embroidery first - even before cutting anything out.  It's way easier that way.  I find embroidering on felt turns out great and I already had some white felt in my stash.  I used tear away stabilizer on the back when I hooped it:


For my machine I use a usb cable to transfer the files from my laptop to the machine.  It walks you through each thread color as a separate step and usually the files come with a jpeg listing them all out separately.  I picked out a bunch of blue shades from my embroidery thread collection.

I am not exaggerating when I say I was literally stirring a pot on the stove, then running down switching to a new thread color, and leaving the machine to stitch up the next section. Not a method I recommend, but desperate times, desperate measures.


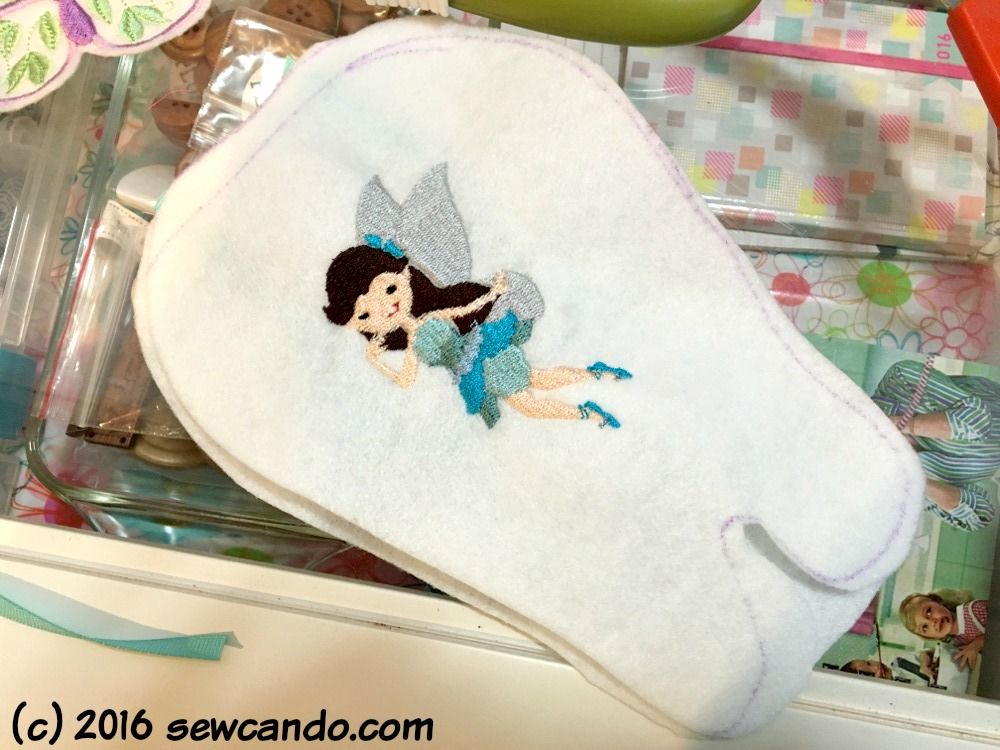
Once my pretty fairy was ready I freehand drew a tooth shape on the felt with disappearing pen and cut it & a matching back piece out.  I know my photos aren't super magazine quality, but when you're working at the 11th hour, in the evening, a perfectly lighted & staged photo shoot isn't top of mind:


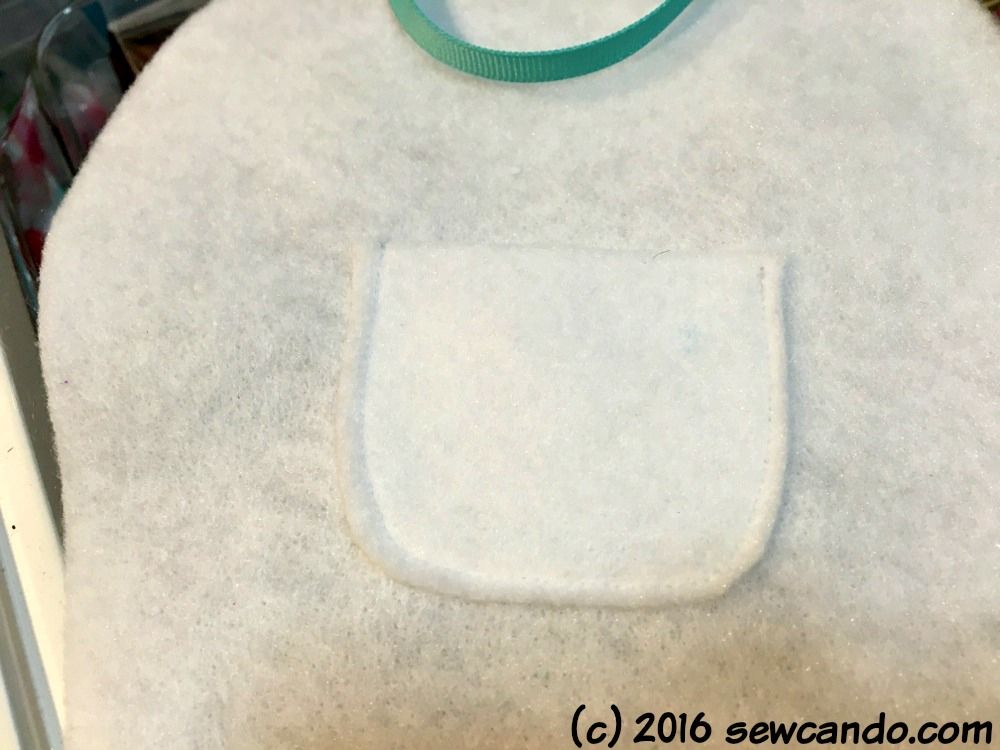
I took cut a little rounded pocket from the scrap and stitched that to the middle of the back piece.  


I also basted a length of ribbon to the top.


With right sides facing, I pinned the tooth layers together:


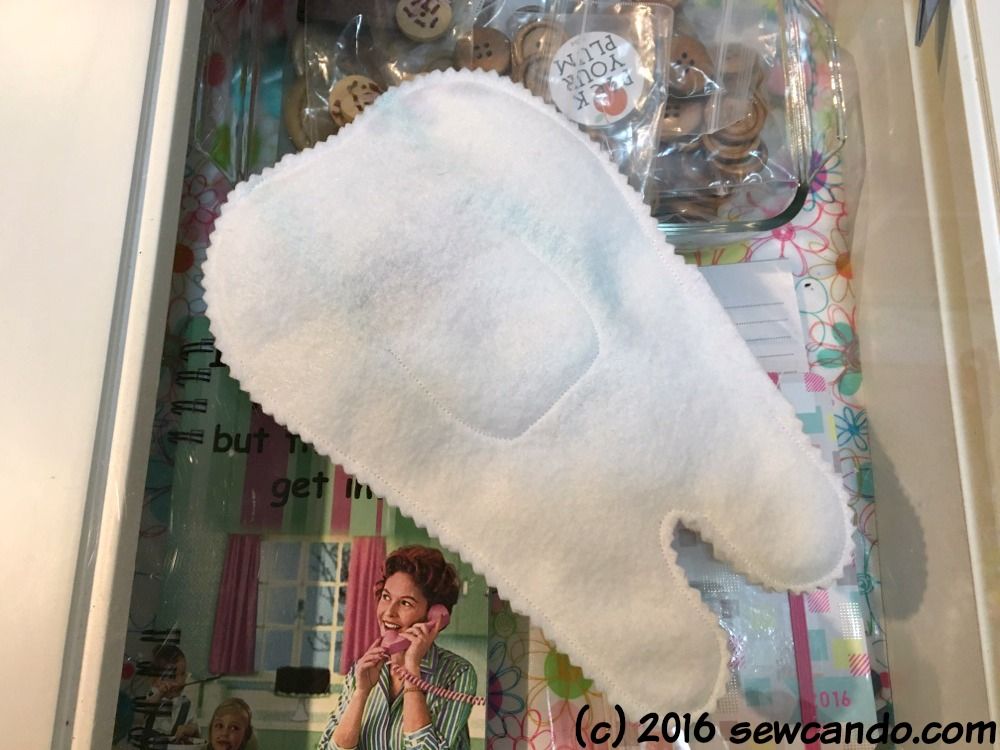
I stitch all the way around, leaving a 2 inch gap on one side.  To easily clip the edges so it'll turn right side out nicely around the curves, I always use pinking shears.  Much easier that doing a million little clips and no chance of accidentally cutting the stitches either:


I turned it right side out and stuffed nice & full with poly-fil.  I slipstitched the opening closed by hand and the pillow was ready for it's inaugural tooth:


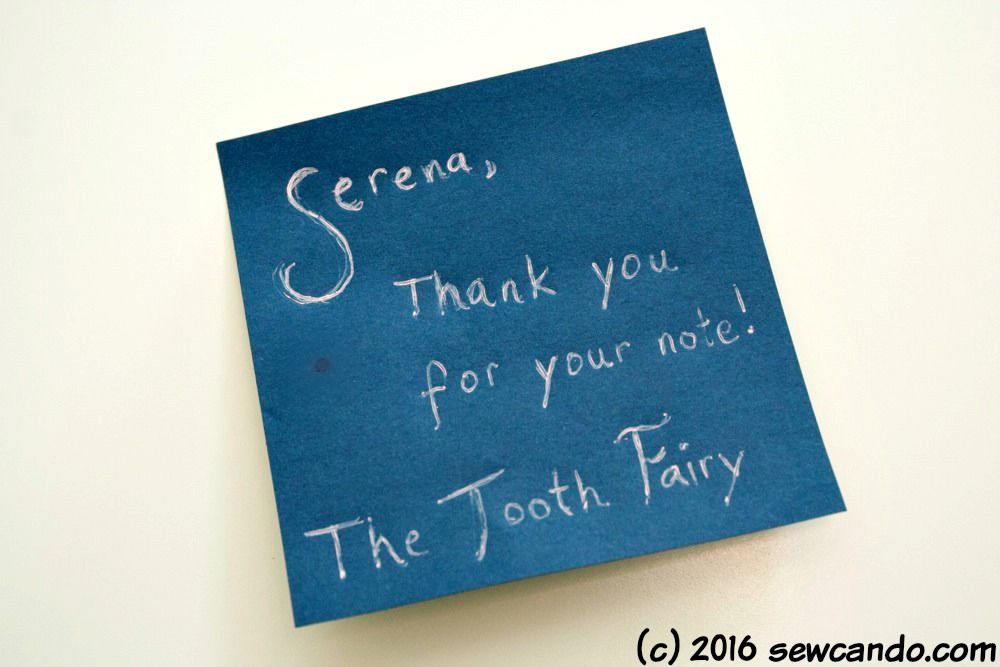
And my little lady was thrilled that mom had saved the day and cooed over her pretty new tooth fairy pillow.  She left a note explaining her tooth was here.  We know the tooth fairy was digging it too when the next morning the teeth were gone from both pillows and some shiny coins were left instead.  She even left a note back:


It looks like magic can be done at the last minute!


LinkWithin

Related Posts with Thumbnails