
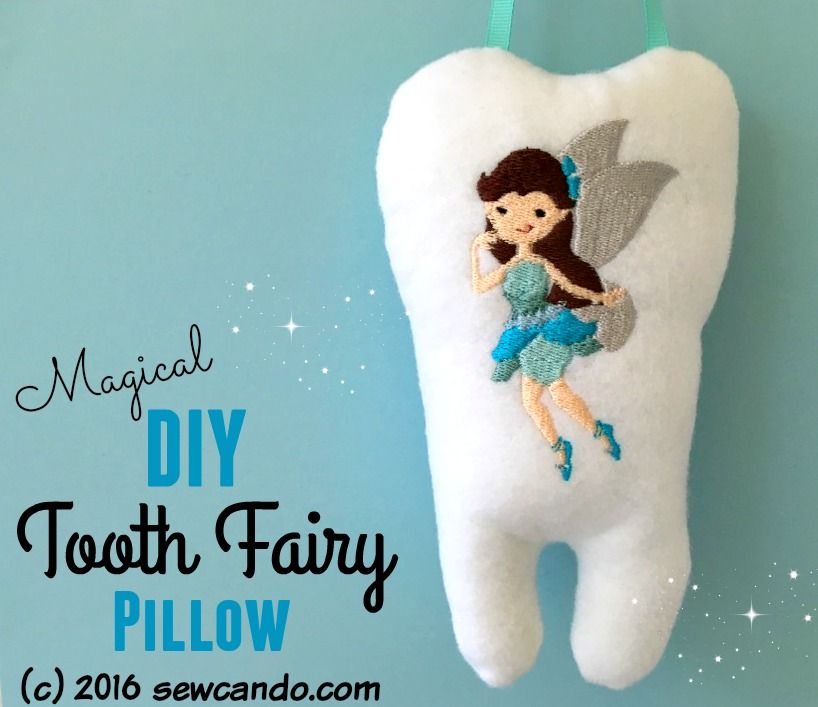
Sometimes the best projects are literally the ones done with barely any planning and at the last minute. This project was done hours before we needed it in action and I winged it the whole way, but I love it: my DIY Magical Tooth Fairy Pillow.
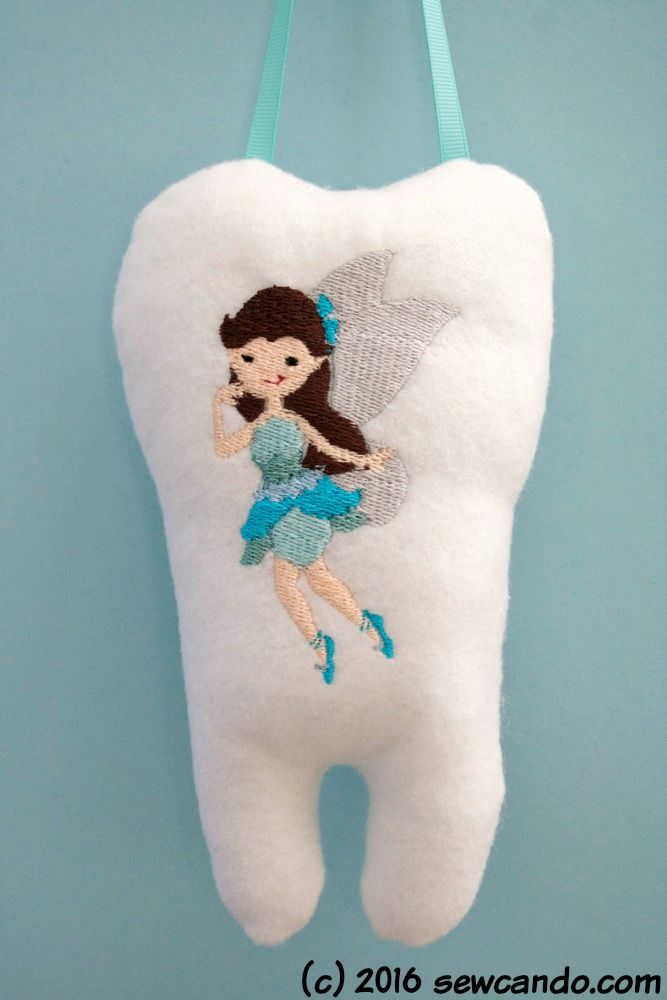
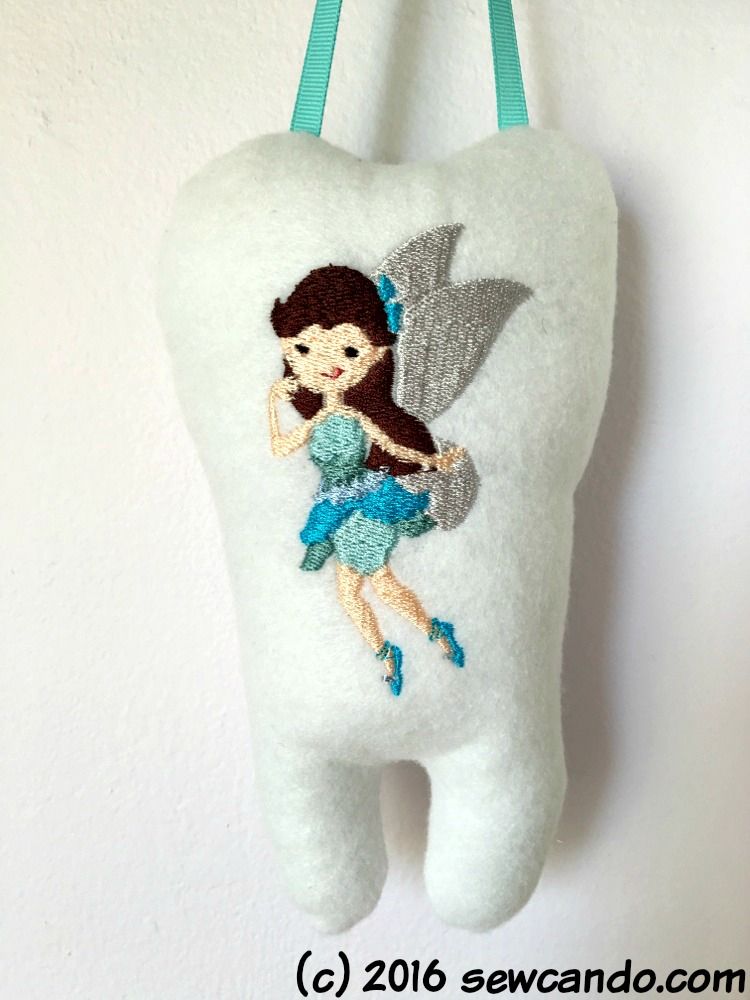
There's no mistaking who it's for. Even if you can't read you just know;)

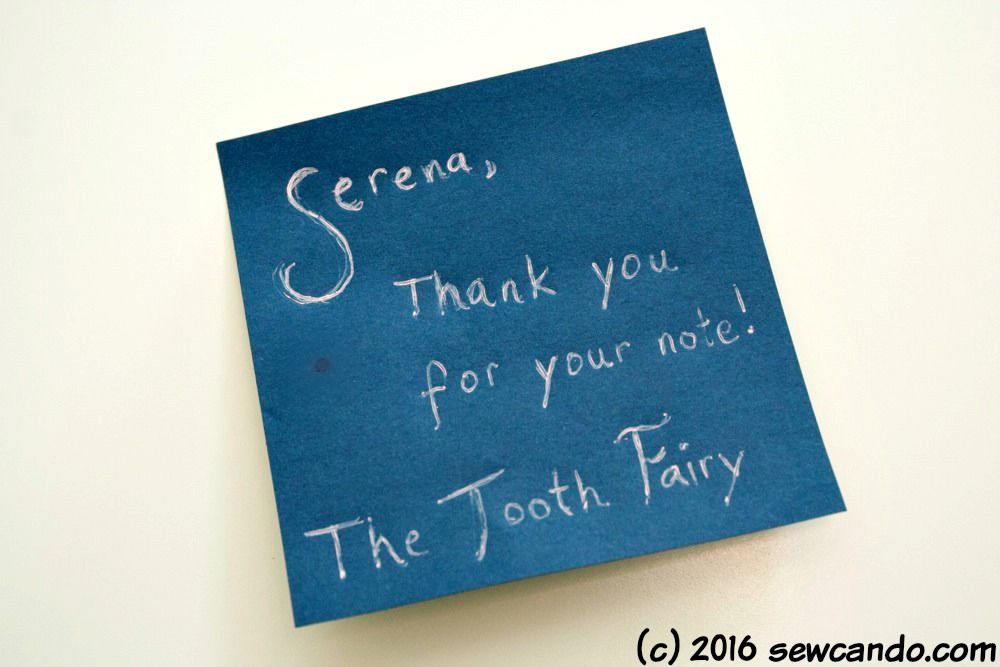
This pillow has quite a backstory too. My littlest one was finally losing her first tooth, which also happened to be the same day her biggest brother was having two teeth extracted at the dentist. We discovered the one tooth pillow we had wasn't going to work. The tooth fairy forgot to come when all three teeth were in the one pillow the first night (sometimes she falls asleep waiting for them to fall asleep....), so it was critical to them that we have a separate pillow for the next night. Of course Mom will make one, right?
And, of course, I procrastinated until evening and realized I needed to rock something out ASAP. I wanted to make it a little different than all the others I'd seen, so I thought making making it a tooth and adding the fairy would make it extra special.
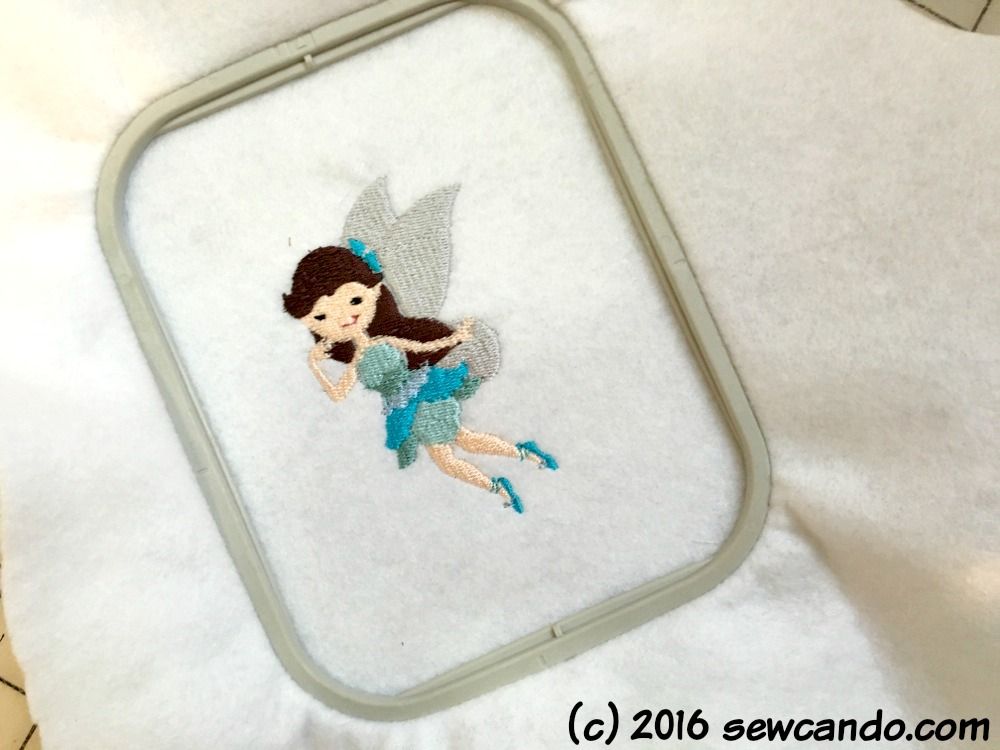
I'd actually bought this adorable fairy embroidery file a couple of years ago, but never figured out what I wanted to do with it and now here was the perfect use for it!

Materials:
- White felt
- Embroidery thread
- Fairy embroidery file* (mine was from Breezy Lane Embroidery)
- Ribbon
- Notions: disappearing marker, pencil or knitting needle for turning, hand sewing needle
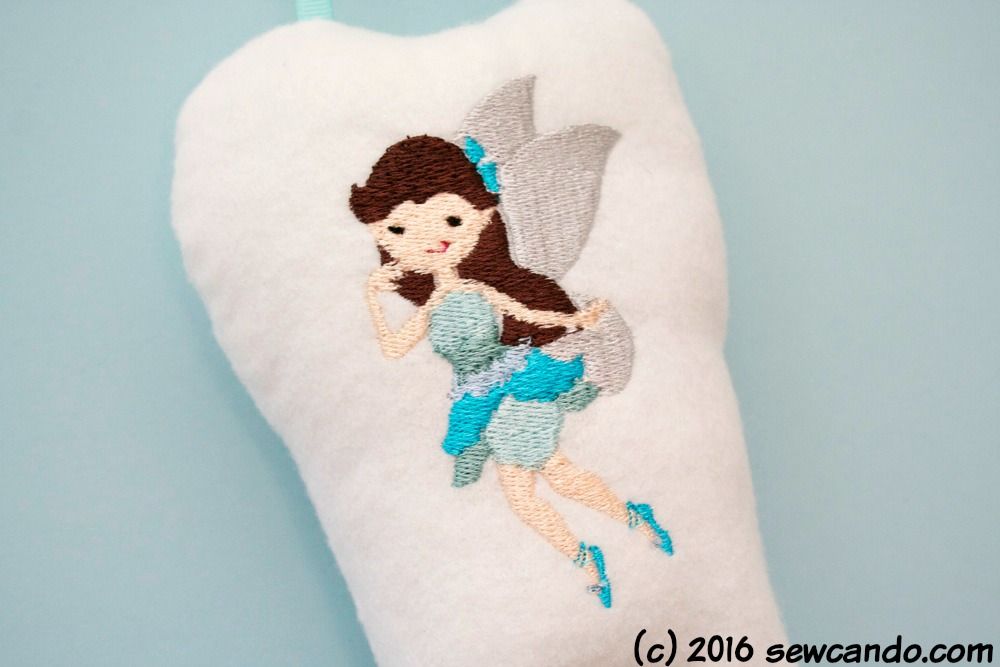
*Note: If you don't have a machine that does embroidery you could always buy a patch or appliqué a fairy from fabric on it or, if very ambitious, hand embroider one, but investing in being able to make your own machine versions is so worth it. You can make them whatever colors you want, whenever you want. I made our tooth fairy brown haired to match my brunette daughter:
New to machine embroidery? I've got a basic how to HERE. I might do a more in-depth, updated version if there's interest (let me know in the comments if you want to see that). For machine embroidery I have a Brother SE-400. It's both a sewing AND embroidery machine, so it's very useful and also very reasonably priced. Bought mine years ago and I've used it for loads of projects with embroidery and without:
 |
| Machine Embroidery How-To, Vintage Strawberry Shortcake Hat Tutorial, Happy Mushroom Applique, Bunnykins Dress |
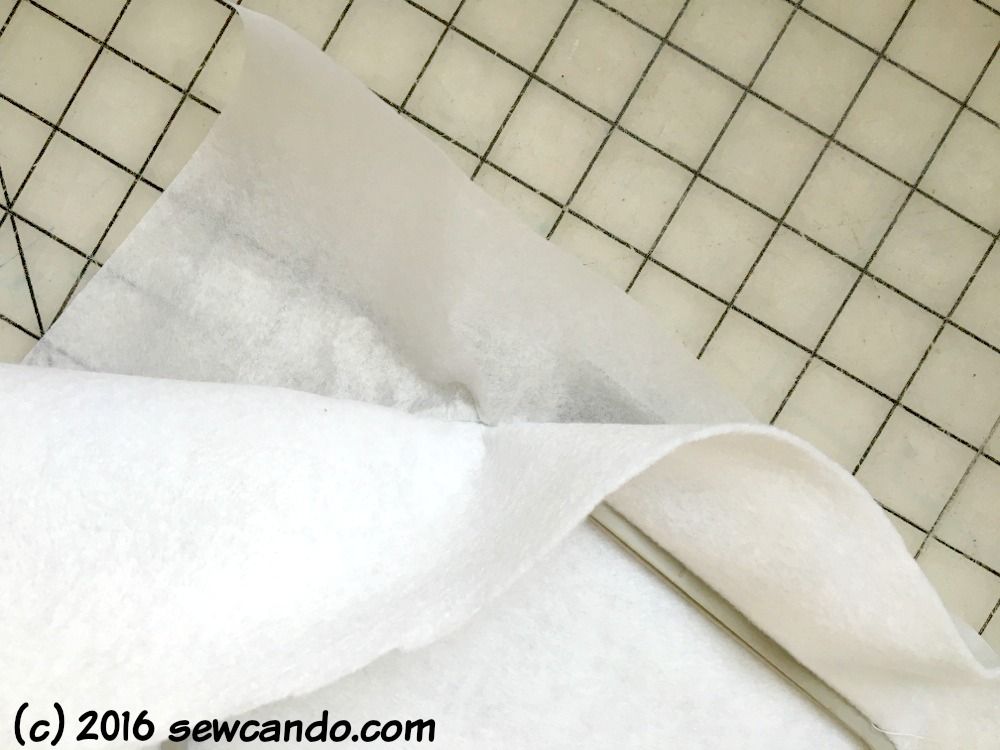
For the pillow, I did the embroidery first - even before cutting anything out. It's way easier that way. I find embroidering on felt turns out great and I already had some white felt in my stash. I used tear away stabilizer on the back when I hooped it:
For my machine I use a usb cable to transfer the files from my laptop to the machine. It walks you through each thread color as a separate step and usually the files come with a jpeg listing them all out separately. I picked out a bunch of blue shades from my embroidery thread collection.
I am not exaggerating when I say I was literally stirring a pot on the stove, then running down switching to a new thread color, and leaving the machine to stitch up the next section. Not a method I recommend, but desperate times, desperate measures.
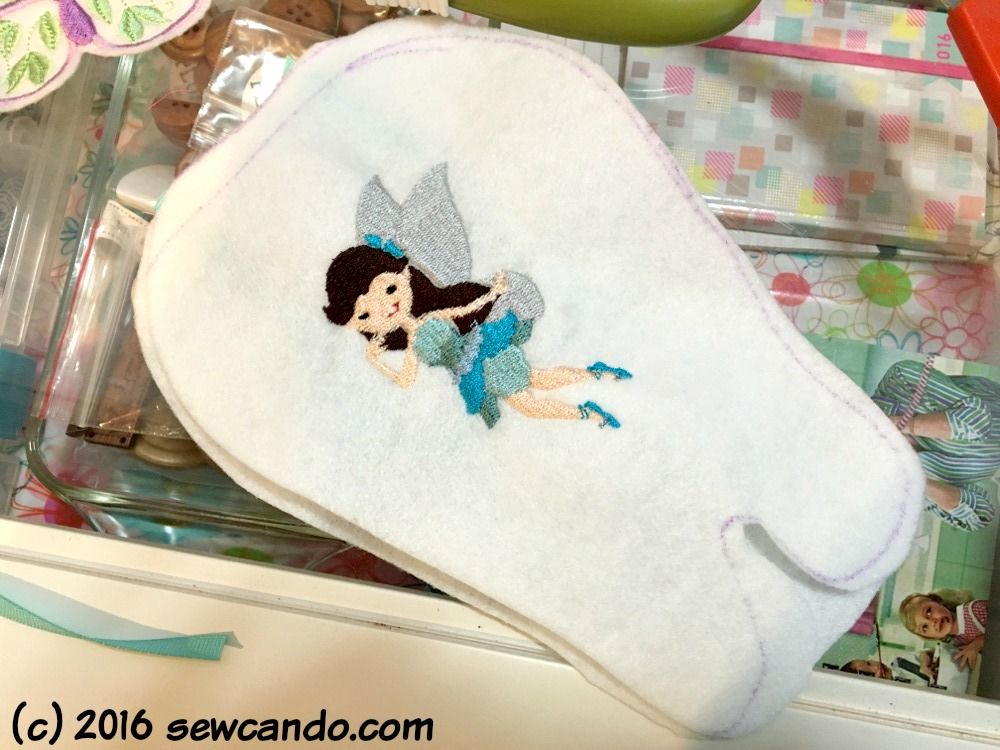
Once my pretty fairy was ready I freehand drew a tooth shape on the felt with disappearing pen and cut it & a matching back piece out. I know my photos aren't super magazine quality, but when you're working at the 11th hour, in the evening, a perfectly lighted & staged photo shoot isn't top of mind:
I took cut a little rounded pocket from the scrap and stitched that to the middle of the back piece.
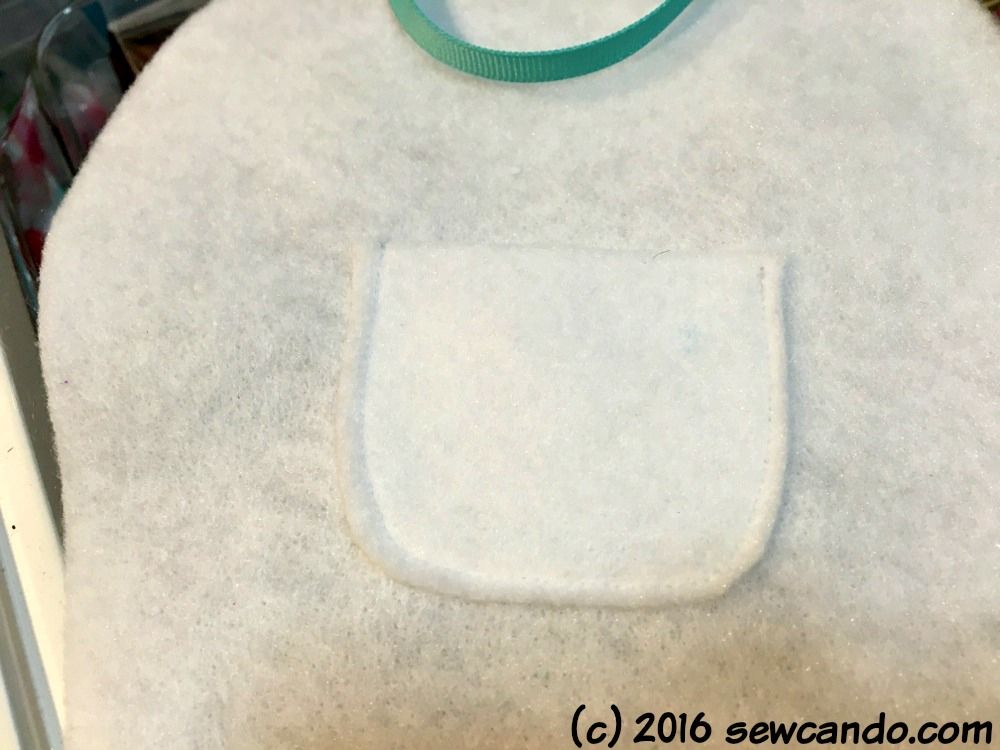
I also basted a length of ribbon to the top.

With right sides facing, I pinned the tooth layers together:

I stitch all the way around, leaving a 2 inch gap on one side. To easily clip the edges so it'll turn right side out nicely around the curves, I always use pinking shears. Much easier that doing a million little clips and no chance of accidentally cutting the stitches either:

I turned it right side out and stuffed nice & full with poly-fil. I slipstitched the opening closed by hand and the pillow was ready for it's inaugural tooth:
It looks like magic can be done at the last minute!

This is adorable! Thanks for sharing, Cheryl!
ReplyDeleteBlessings,
Edye | Http://gracefulcoffee.wordpress.com
That is the cutest tooth fairy pillow, Cheryl. Had to smile at the tooth fairy not coming the first night. Our kids used to leave their teeth in a glass of water. One year I emptied the glass of water down the drain, together with the tooth. My daughter was devastated, however, we reassured her the tooth fairy would understand if my daughter wrote her a note, which she quickly did.
ReplyDeleteThanks Pam and yikes on the tooth down the drain. Luckily the tooth fairy has scuba gear, right? ;)
DeleteThat is a cute idea! I remember when I was little we would put our tooth under our pillow. I have no idea how my mom snuck it out and put the money while I stayed asleep. Thanks for joining the Family Joy link party!
ReplyDeleteSame here Samantha. Luckily these days it's a little easier on the tooth fairy!
DeleteThis would be a cute idea even without the embroidery on it! My daughter made a similar thing form a kit my mom bought her. Much cheaper to cut out your own, but hers had perforated holes to make it easier to see where to go. She is only four, so I guess that was perfect. Thanks for sharing at the Family Joy Linkup Party!
ReplyDeleteIt's sweet that she was able to make it herself - definitely makes it special.
DeleteGreat article on how to make your own Tooth Fairy pillow! It's important to take care of our children's dental health, and visiting a local dentist can help keep their smiles healthy and bright. If you are in the Rego Park area, consider visiting this dentistry for regular checkups and cleanings.
ReplyDelete