
Well, there's just 3 days to go until it's Christmas and I've literally just finished all my handmade gifts. Note to self: either start 2 months sooner or do half as many next year so you keep your sanity. Seriously. But hey, it's not like it's 2am on Christmas Eve and I'm still sewing, right? I know I'm not the only one that's done insane things like that.
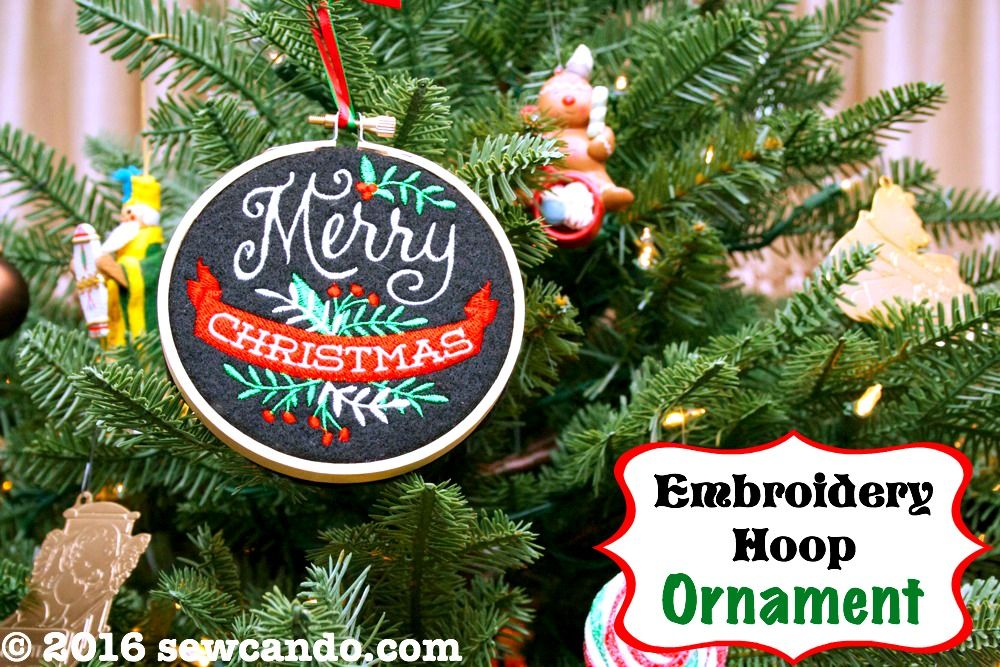
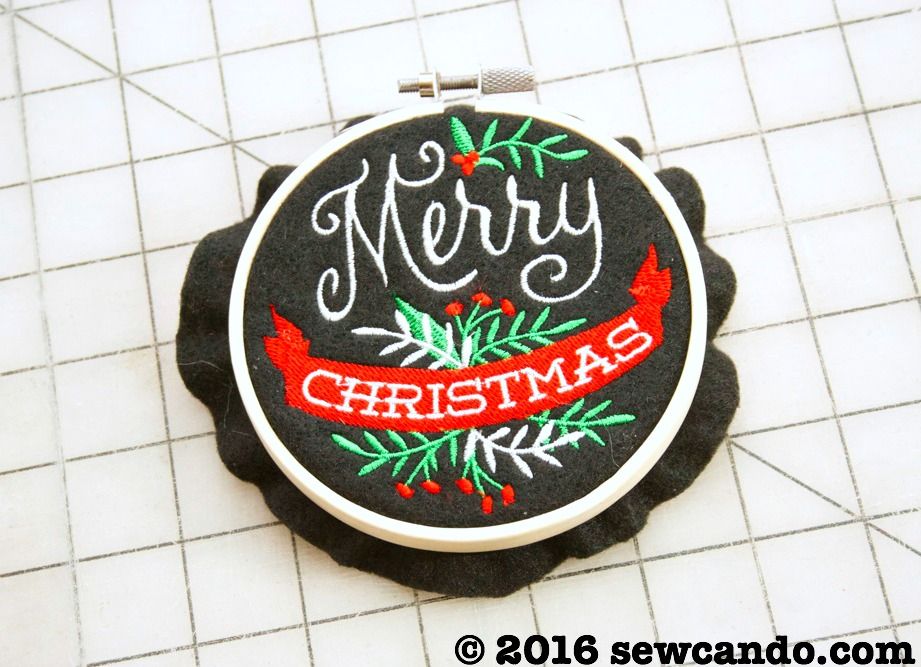
This was literally the first thing I wanted to make, but saved for last because it was the simplest: some pretty Hoop Ornaments. I'd seen the hand embroidered kind before, but since I've got zero patience and minimal talent in that department I decided to use my embroidery machine to make 'em look gorgeous in record time. It did not disappoint:
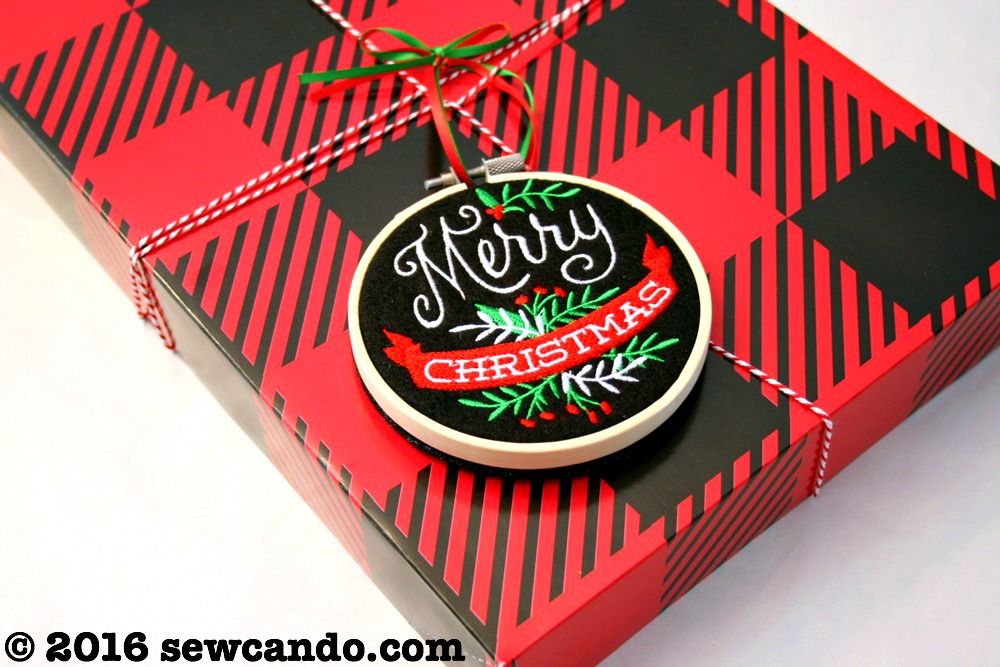
Making these is pretty inexpensive and they look really pretty. I even made one for our tree, so the more you make the cheaper the piece price becomes too.

- Embroidery File & Thread
- Felt (I buy 1/4yd off the bolt - it's cheaper than sheets!)
- Tearaway stabilizer
- Wood embroidery hoop
- Thin ribbon
- Hot glue
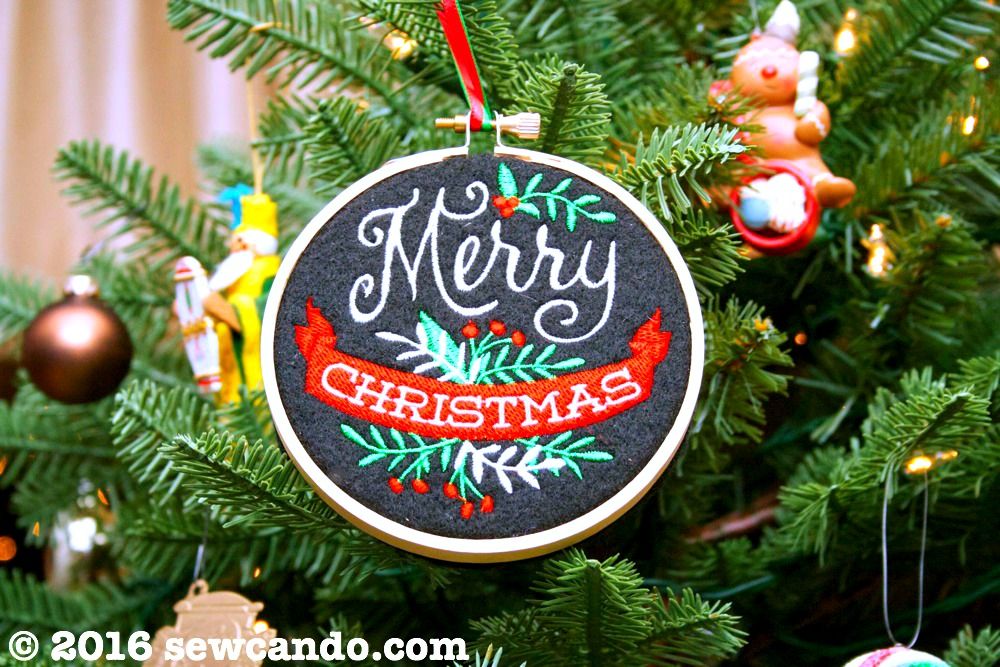
I found this cute Merry Christmas Chalkboard embroidery file on sale and bought the smaller size (just under 4" square) to upload to my machine. I embroidered it on some black felt to really make the colors stand out. Felt is very easy to machine embroidery on, so with just that and a piece of tear away stabilizer it was good to go. After a few minutes and a few thread color changes, it was ready.
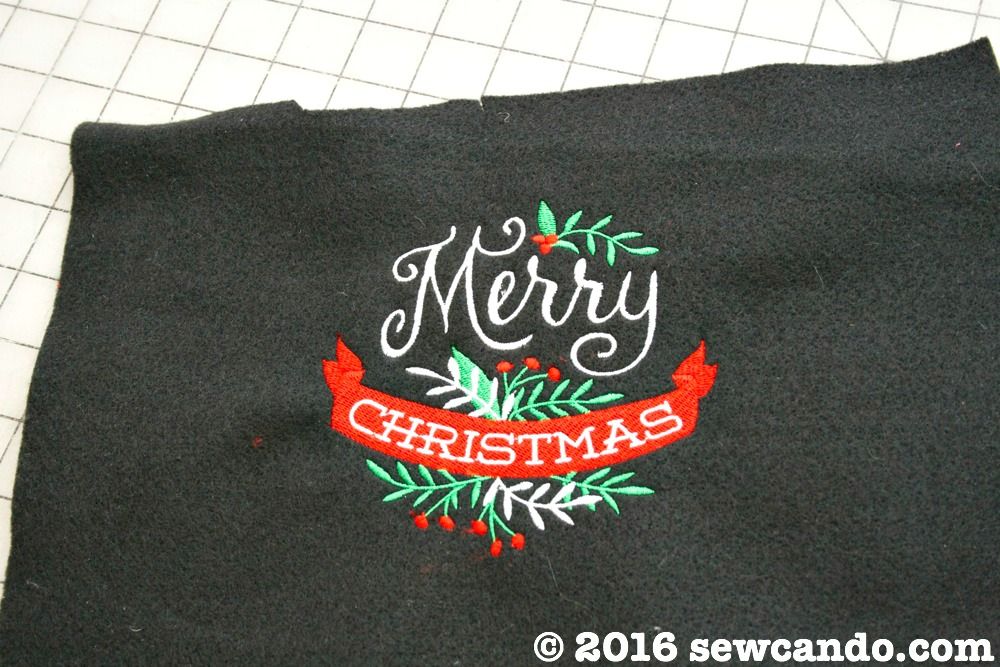
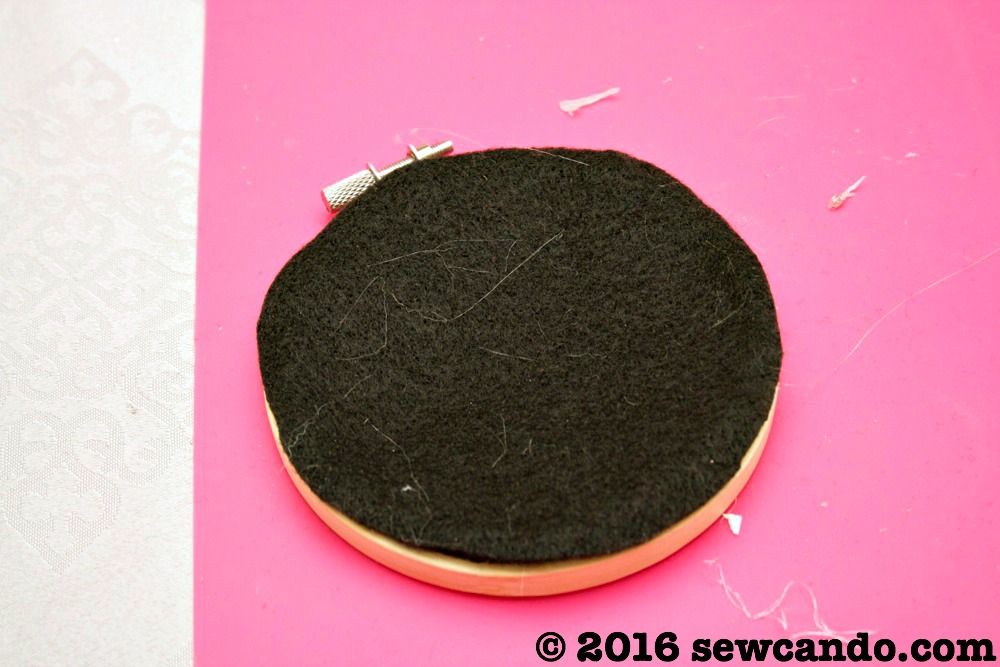
Next I cut it out as a 5 inch circle to fit in my 4 inch hoop and cut another plain circle the same size as the inner hoop (this will be for the backing).

I hooped the design with the screw at the top.
Next I ran a line of hot glue on the inside of the inner hoop

I folded the excess felt inward and pressed it into the glue to stay put.
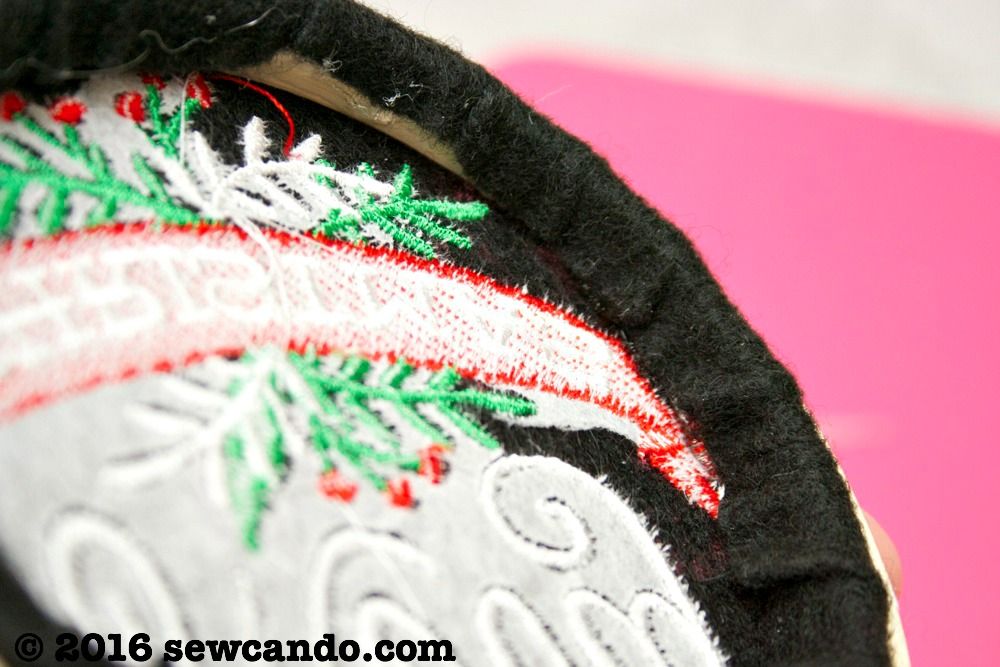
I ran another line of glue around the edge
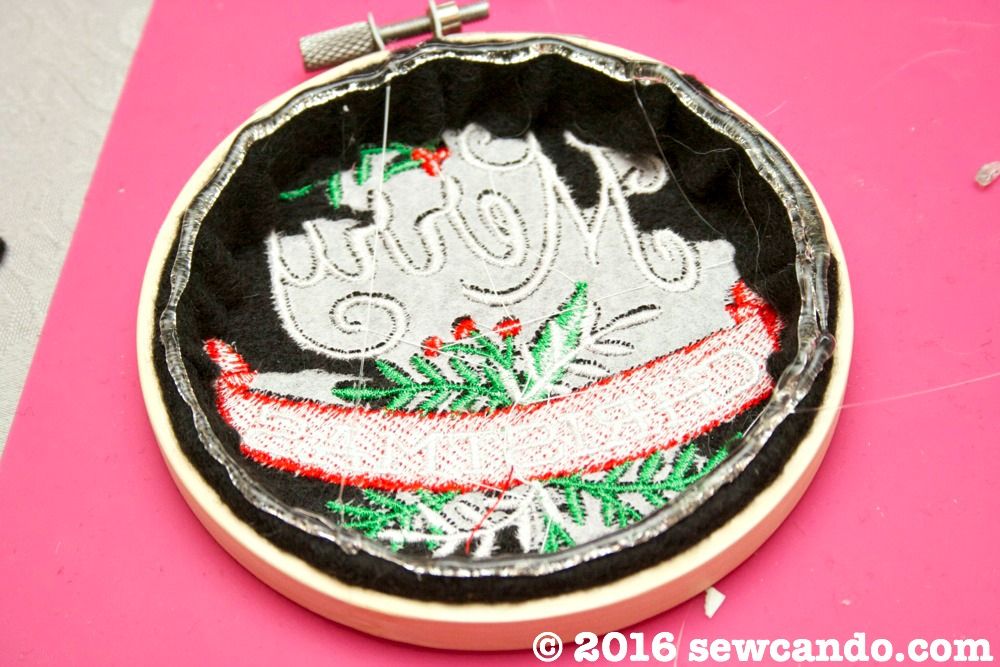
and put my plain felt circle over it to seal up the back for a nice finish. Please excuse the weird fur strands in my pic - I'd been cutting white faux fur for another project right before so it stuck to everything. Keeping it real with the crafting over here people!
Last was to just tie on some ribbon to make a hang loop and the ornaments were ready. I really enjoyed doing these, so this may become an annual tradition in the Sew Can Do house!
Merry Christmas Everyone!

This is gorgeous! It makes me wish I had an embroidery machine! I have a friend who has one so I'm sending this blog post to her, thank you so much for the wonderful tutorial! Merry Christmas and God bless, Jennifer XO
ReplyDeleteMerry Christmas to you too my friend and you should put one on your list next year. I've enjoyed it so much in the few months I've had this one and it's made the holidays even more fun!
DeleteThis is an excellent idea. I can embroider my kids names to them and have permanent gift tags! I'm so glad I stopped by
ReplyDeleteThanks Betsy and I LOVE your idea too. I was just lamenting last night as I wrapped how I didn't have enough gift tags and had to resort to writing on scraps of wrapping. Definitely going to make some personalized ones for next year now! Merry Christmas!!
Delete