
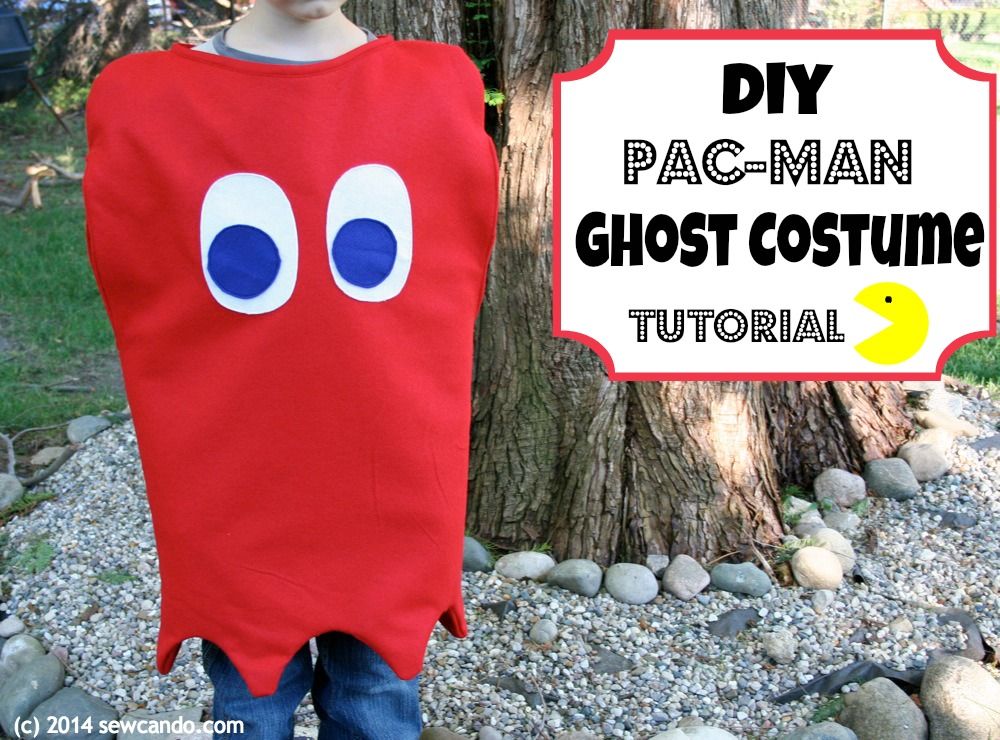

The past 2 weeks have been all about Halloween costumes around here. I have to get to get them done early in the month, since we usually go to a special Halloween walk the second weekend every year. This year all 3 wanted something pretty different from what I'd ever made before & my middle son asked to be the red ghost from Pac-Man.
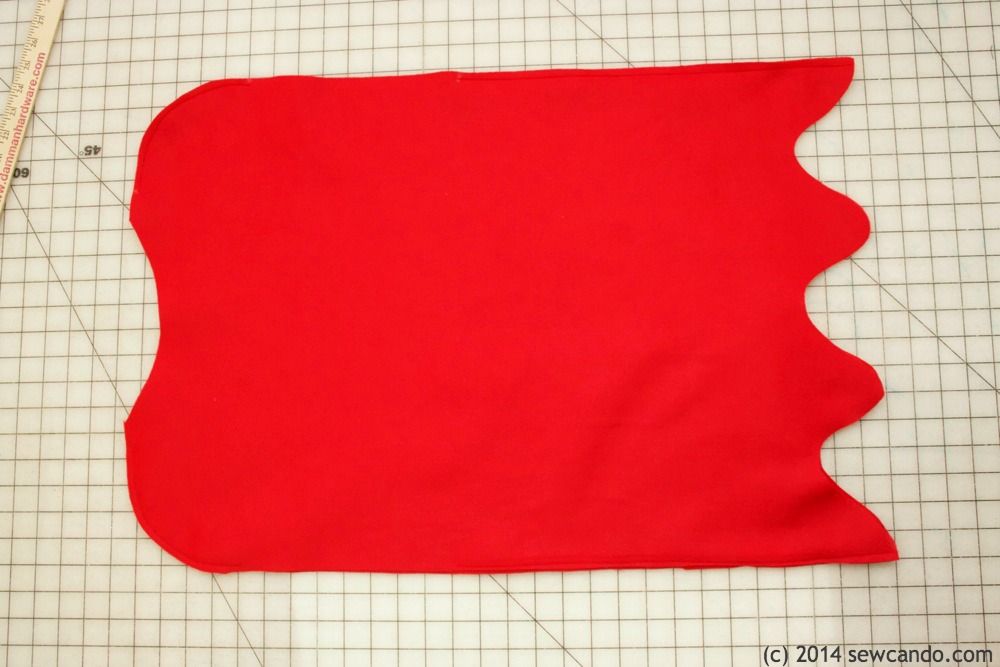
The nights here are pretty chilly so I needed it to be warm, but I didn't want to put too much work or money into this since it's not likely to get used for dress-up as much as past costumes like the pirate or Star Wars. Felt made the ideal material choice. I started by measuring my son from shoulder to shoulder and from shoulder to thigh to figure out the width and length. I added 4 inches to each measurement and cut 4 rectangles for my front & back + lining. I used about 1 3/4 yds, plus scraps for the eye parts.
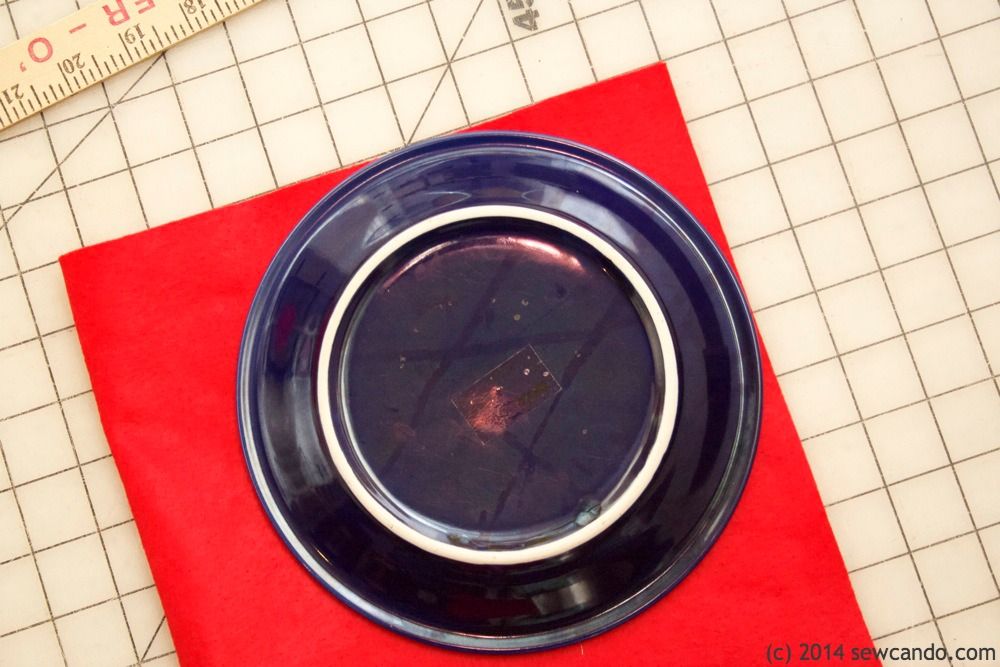
I used a dinner plate to get the shoulder curve. If I did this one again, I'd probably have done something less rounded (like my French curve ruler), so the curves would slope down more at the top. Hindsight is 20/20, right? It kind of bugs me that it's not perfectly the way I want it, but tearing it all apart to fix that just isn't worth the effort for something that's going to get worn 2, maybe 3 times tops. But, that's why I'm sharing my goof - so no one else makes the same mistake if they ever make one. On the plus side, use white fabric and you've got the perfect shape for a DIY tooth costume!
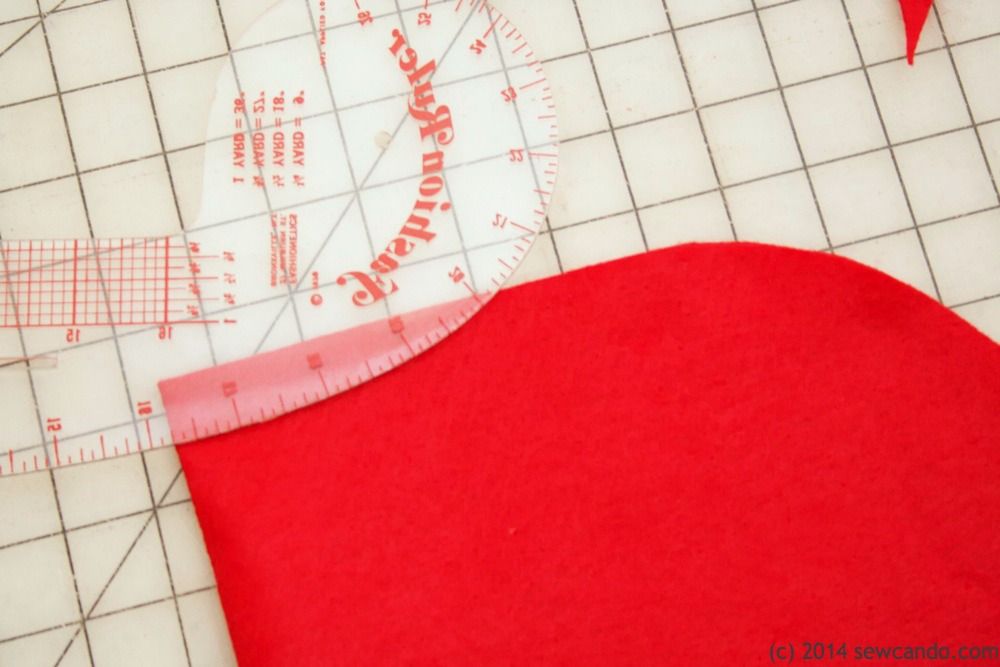
I used my French curve ruler (which I should have used above as well), to cut the neckline in the center, but anything with a slight curve will do. I made it to be about 8 inches wide in total on each piece.
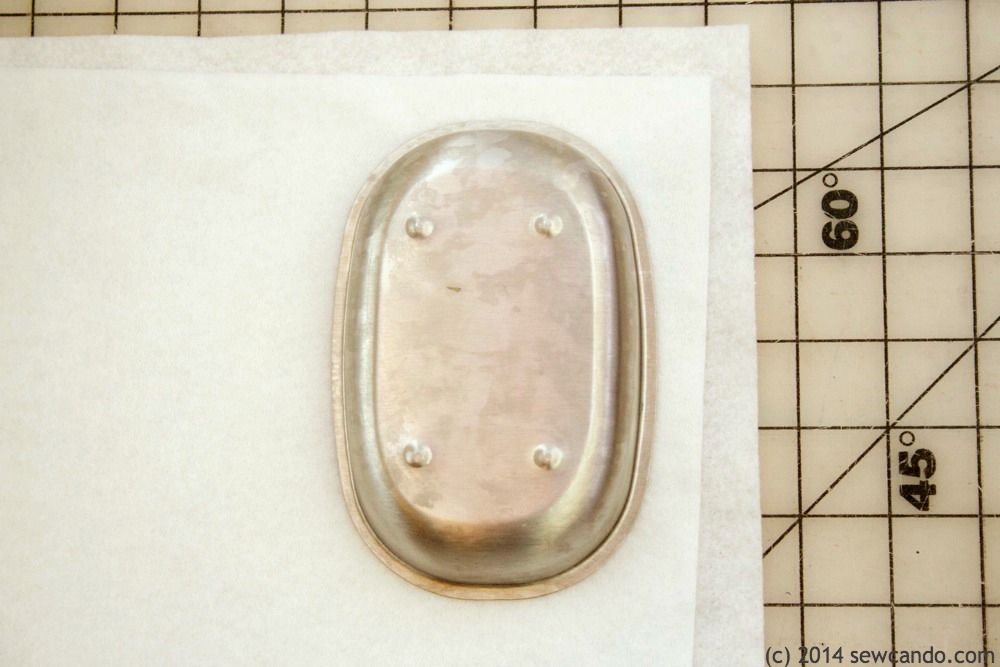
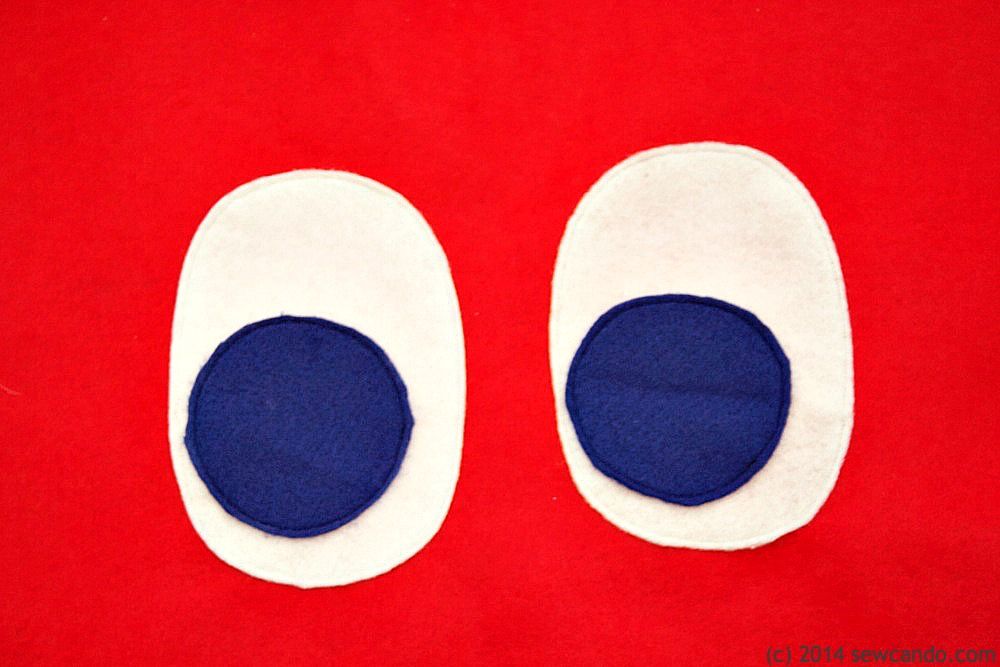
I traced a soap dish to get my idea oval shape for the white of the eyes and then a small glass to cut the blue pupils.
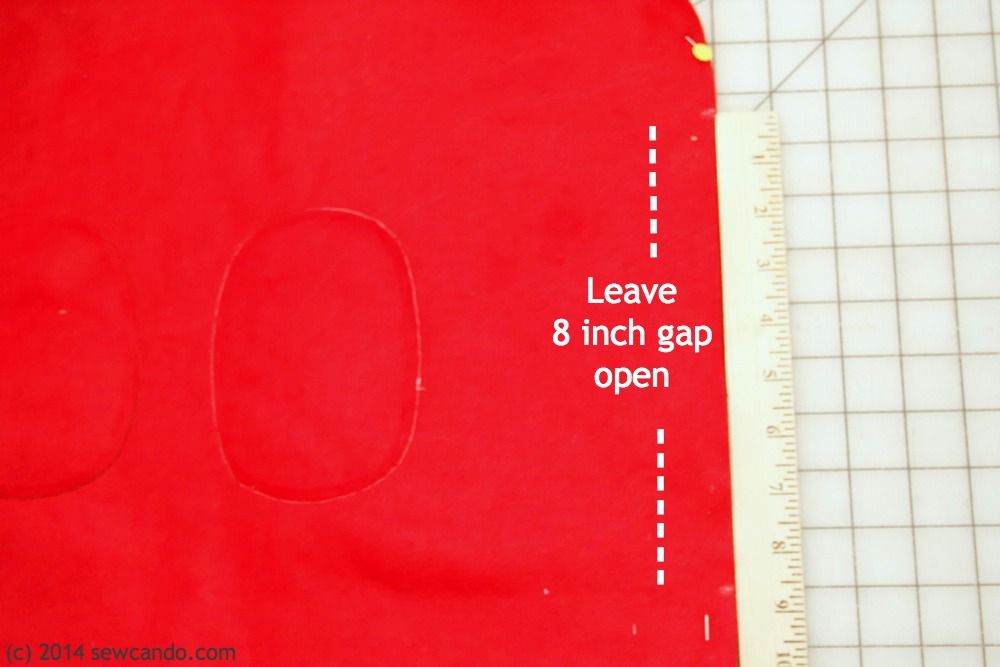
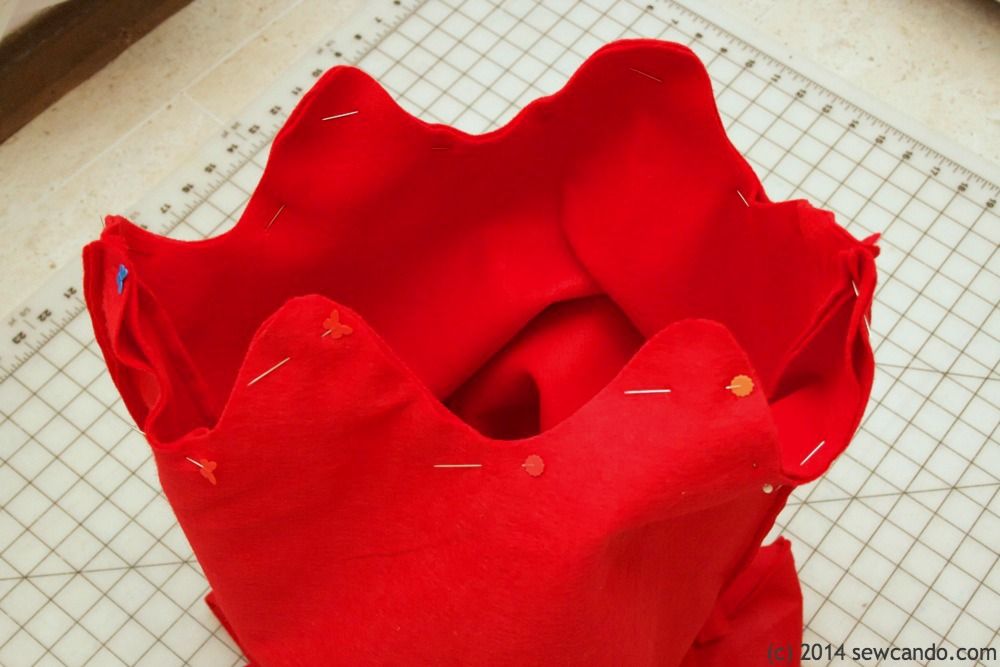
I pinned the front & back together along the shoulders and sides, leaving a gap in each side for the armholes:
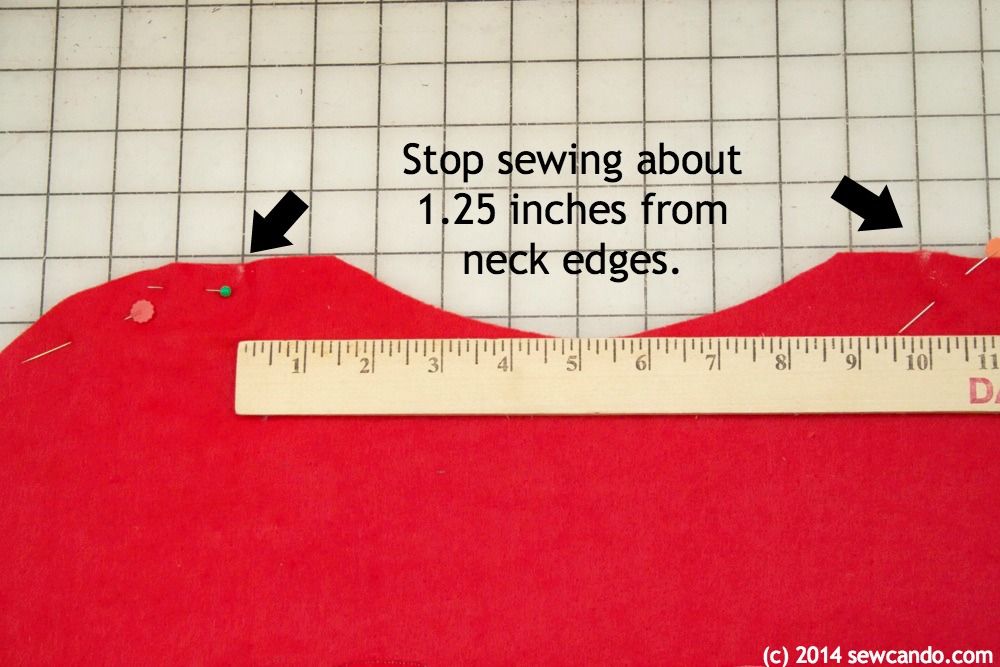
I then stitched up each side (except the armholes) and stopped 1.25 inches from each of the neck hole edges. I tried it on my little guy to make sure the neck opening was big enough. He needed just a little more room, so I trimmed the curve a little wider in that bonus space. If you don't need it, just stitch directly up to the edge. I played it safe since didn't want to go blind trying to unpick red thread stitching on red felt.
I actually just eyeballed the curves at the bottom - I drew them on with tailor's chalk and then cut them out with my rotary cutter:
I repeated everything with the lining except the eye bit. Then I flipped the lining right side out and inserted it into the outer, lining up the side seams and pinning along the bottom curves and then stitched them together all the way around. I clipped the seam allowance down with pinking shears really close to my stitching so the curves would turn nicely.
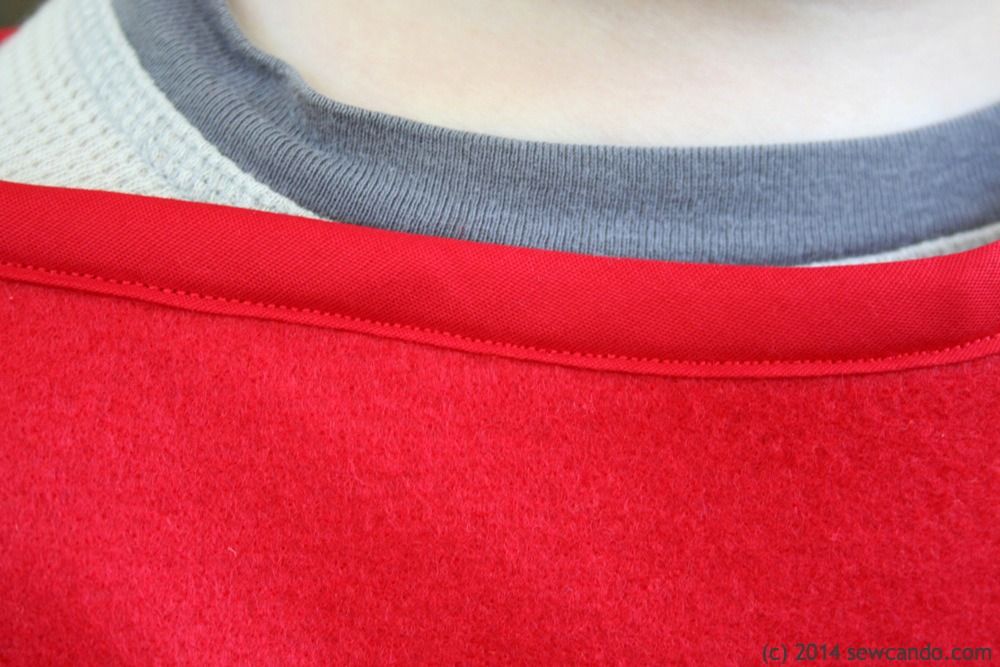
I pull the outer right side out via the neck opening and poked out the curves at the bottom with a knitting needle. I pinned the raw edges of the neckline together:

And then encased it with red double fold bias tape - from far away it's practically invisible:
For the armholes I folded the raw edges inward and pinned them together, then stitched close to the edge:

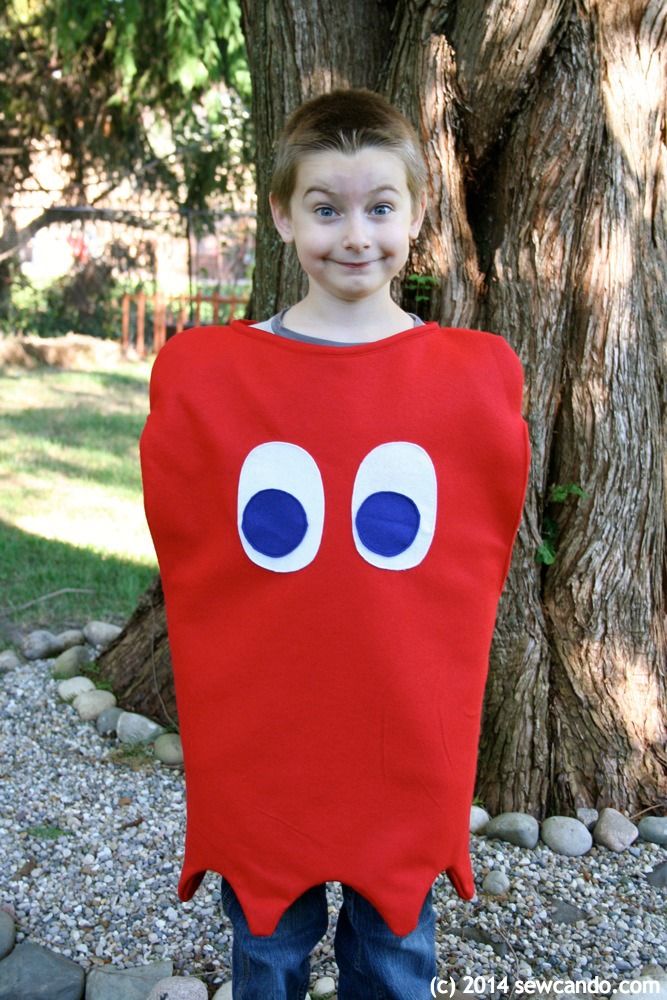
Then my little Blinky was ready to go:

I'm also sharing this project with my FAVE LINK PARTIES.
Click HERE to check them out!
How cute! It would be amazing if you had multiple kids would would dress similar and then you dressed up and Ms Pacman (or Mr Pacman)!
ReplyDeleteThat's a great idea Steph...maybe next year. I'd be 1/5 done already;)
Deletethat is SO cute!! I'm pinning this because it would be so fun {and easy} to make next year!!
ReplyDeleteThanks Emily - it's definitely a "take it easy on Mom" kind of home-sewn costume!
DeleteGreat costume---simple and really cute!
ReplyDeleteAfter a full 4-piece George Washington, this was a relief!
DeleteI love this and thank you sew much for sharing. Hugs, Beverly
ReplyDeleteThanks Beverly! And I'm glad you commented - I'm enjoying checking out your blog too!!
Delete