Showing posts with label Ghost costume. Show all posts

Tuesday, October 14, 2014

DIY Pac-Man Ghost Costume Tutorial


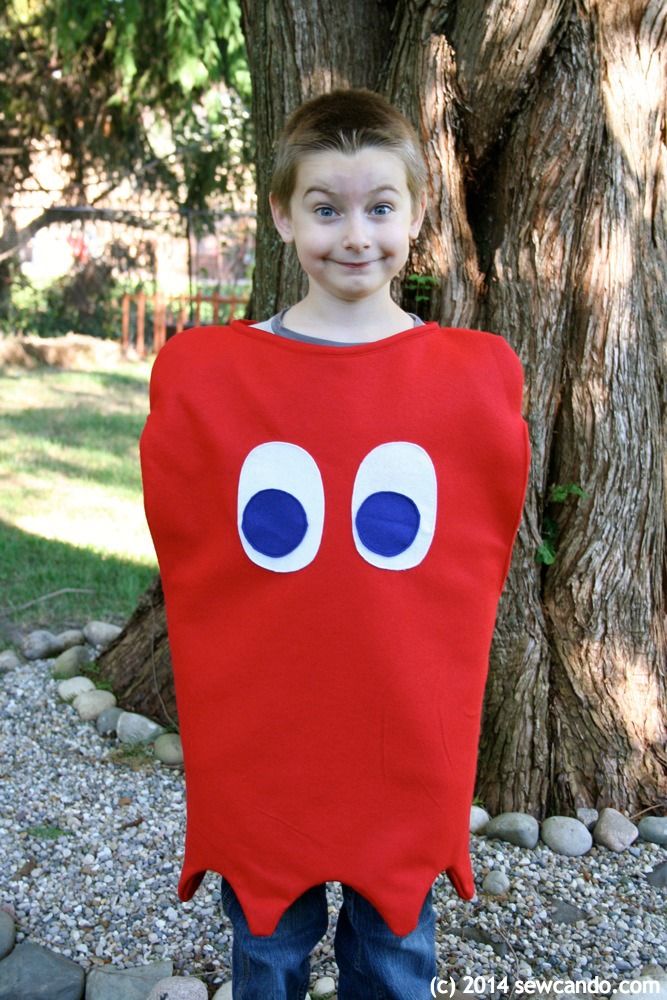
The past 2 weeks have been all about Halloween costumes around here.  I have to get to get them done early in the month, since we usually go to a special Halloween walk the second weekend every year. This year all 3 wanted something pretty different from what I'd ever made before & my middle son asked to be the red ghost from Pac-Man.  

The nights here are pretty chilly so I needed it to be warm, but I didn't want to put too much work or money into this since it's not likely to get used for dress-up as much as past costumes like the pirate or Star Wars.  Felt made the ideal material choice.  I started by measuring my son from shoulder to shoulder and from shoulder to thigh to figure out the width and length. I added 4 inches to each measurement and cut 4 rectangles for my front & back + lining.  I used about 1 3/4 yds, plus scraps for the eye parts.


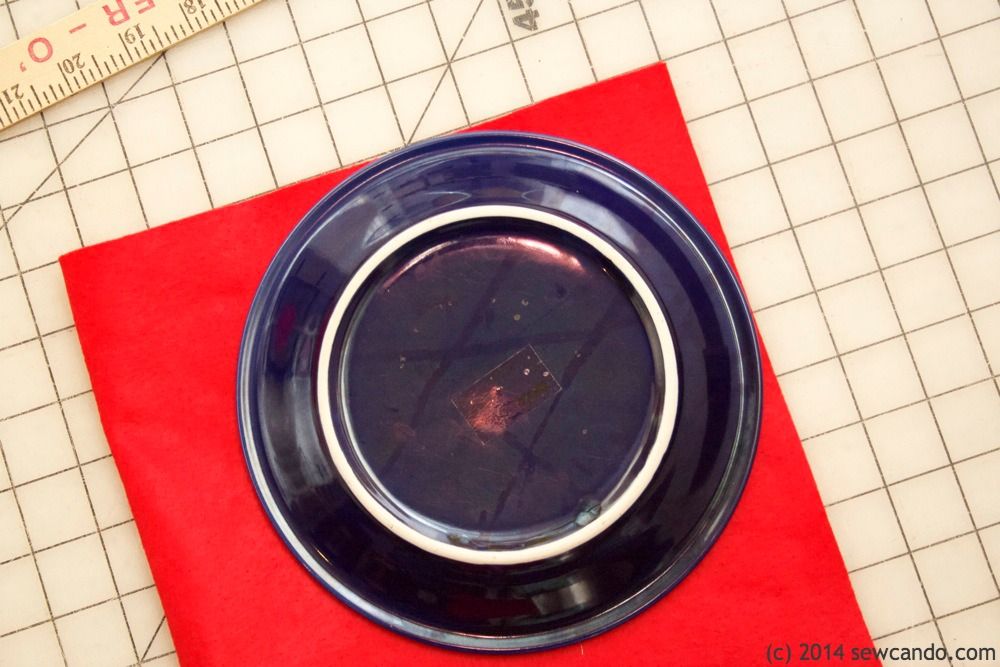
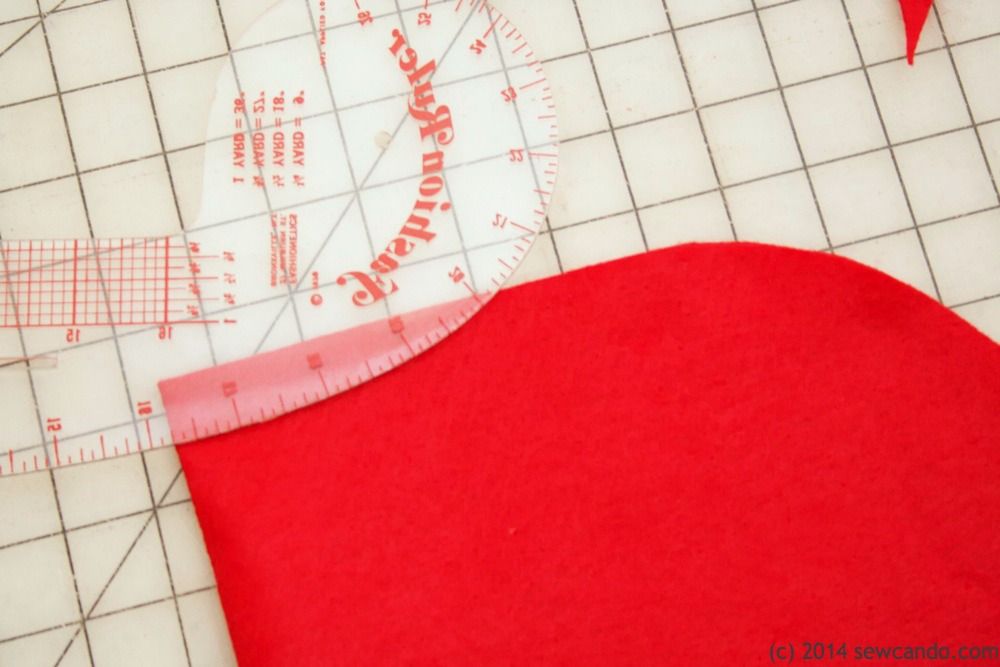
I used a dinner plate to get the shoulder curve.  If I did this one again, I'd probably have done something less rounded (like my French curve ruler), so the curves would slope down more at the top. Hindsight is 20/20, right?  It kind of bugs me that it's not perfectly the way I want it, but tearing it all apart to fix that just isn't worth the effort for something that's going to get worn 2, maybe 3 times tops. But, that's why I'm sharing my goof - so no one else makes the same mistake if they ever make one.   On the plus side, use white fabric and you've got the perfect shape for a DIY tooth costume!  


I used my French curve ruler (which I should have used above as well), to cut the neckline in the center, but anything with a slight curve will do.  I made it to be about 8 inches wide in total on each piece.


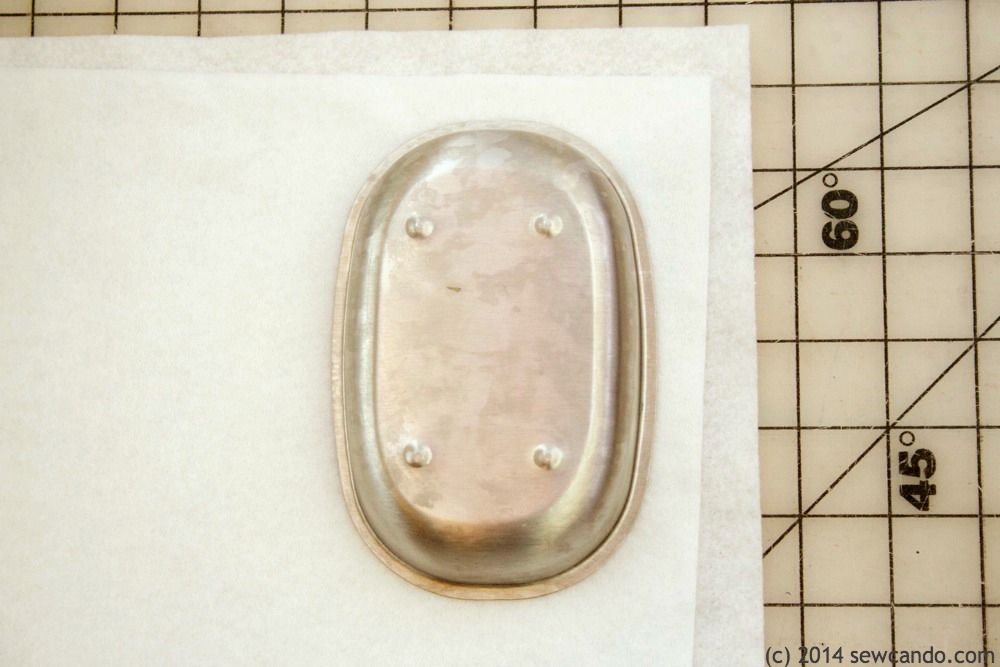
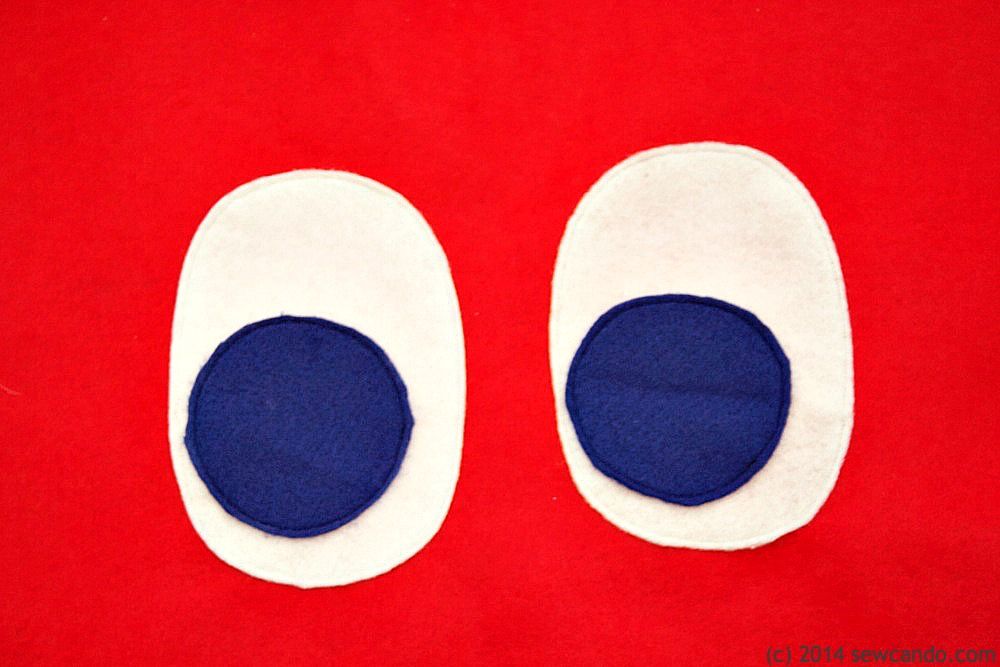
I traced a soap dish to get my idea oval shape for the white of the eyes and then a small glass to cut the blue pupils.


I topstitched the blue to the white and then the white to the front of the ghost:


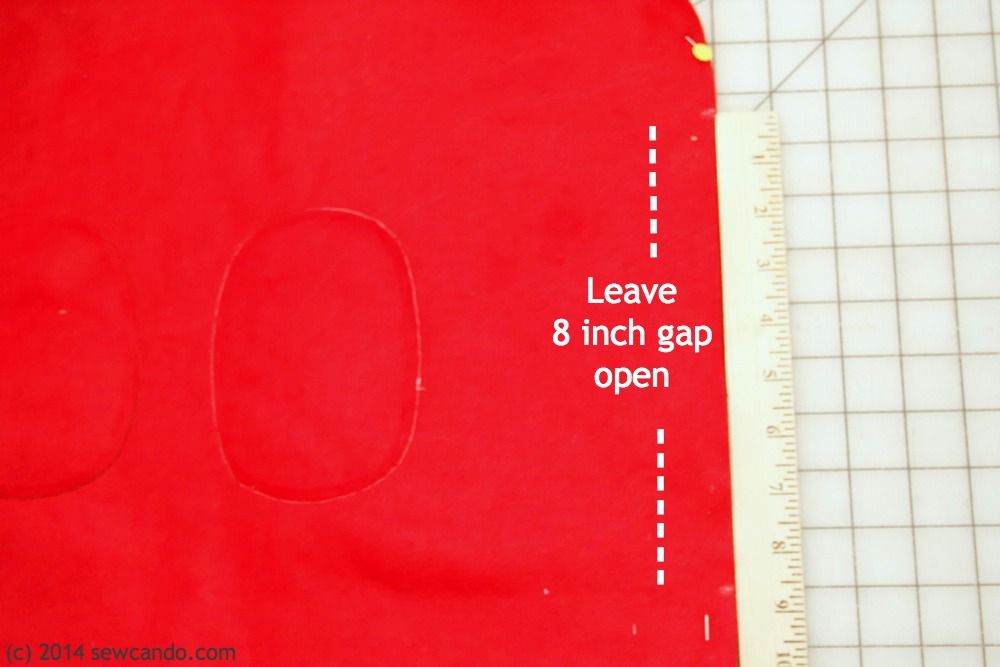
I pinned the front & back together along the shoulders and sides, leaving a gap in each side for the armholes:


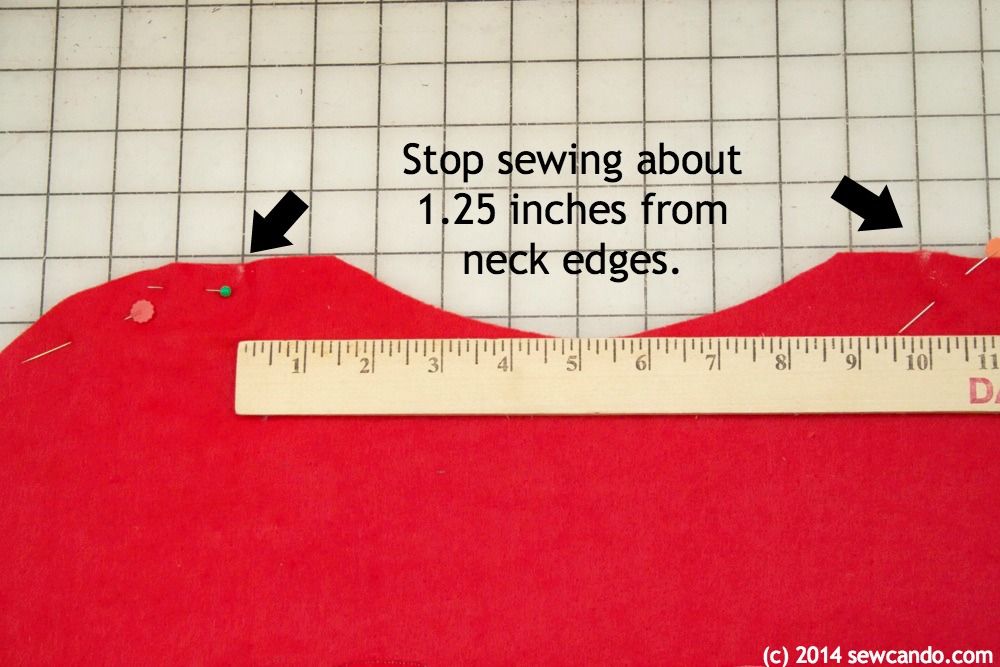
I then stitched up each side (except the armholes) and stopped 1.25 inches from each of the neck hole edges.  I tried it on my little guy to make sure the neck opening was big enough. He needed just a little more room, so I trimmed the curve a little wider in that bonus space. If you don't need it, just stitch directly up to the edge.  I played it safe since didn't want to go blind trying to unpick red thread stitching on red felt.


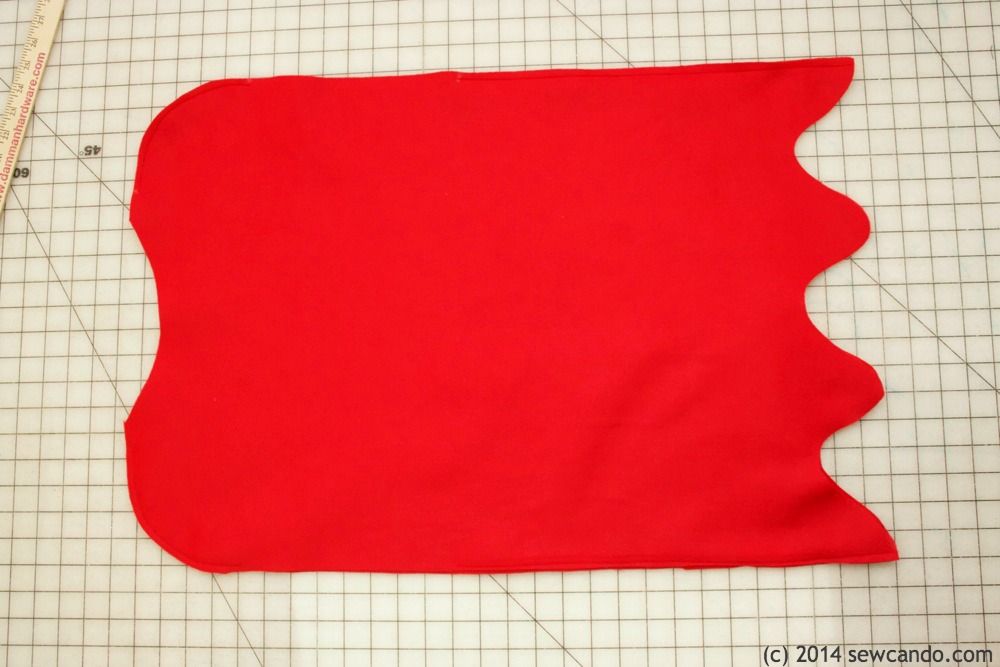
I actually just eyeballed the curves at the bottom - I drew them on with tailor's chalk and then cut them out with my rotary cutter:


I repeated everything with the lining except the eye bit.  Then I flipped the lining right side out and inserted it into the outer, lining up the side seams and pinning along the bottom curves and then stitched them together all the way around.  I clipped the seam allowance down with pinking shears really close to my stitching so the curves would turn nicely.  


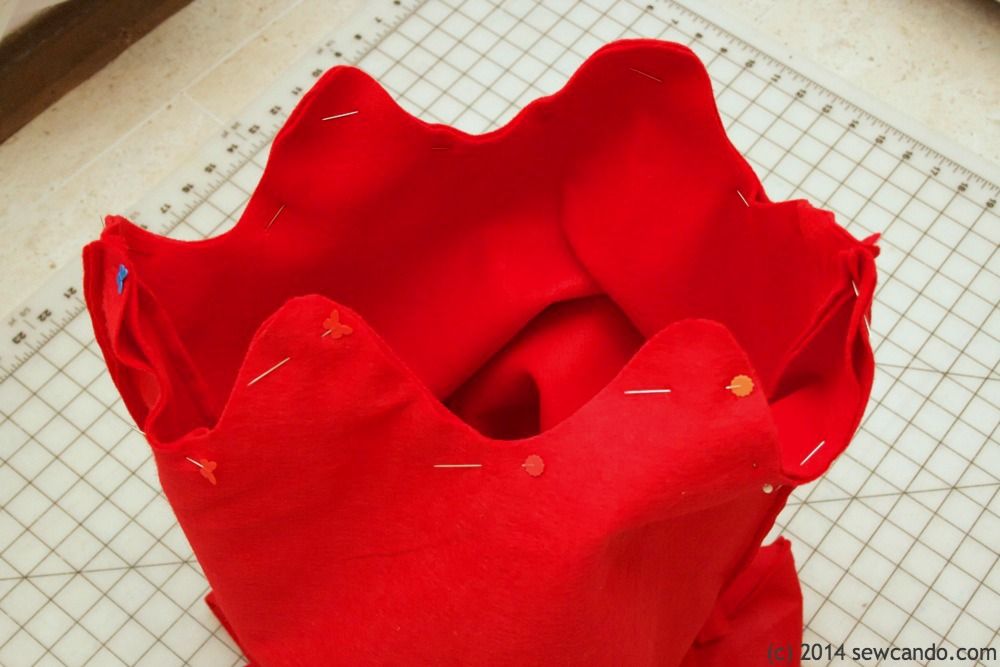
I pull the outer right side out via the neck opening and poked out the curves at the bottom with a knitting needle.  I pinned the raw edges of the neckline together:


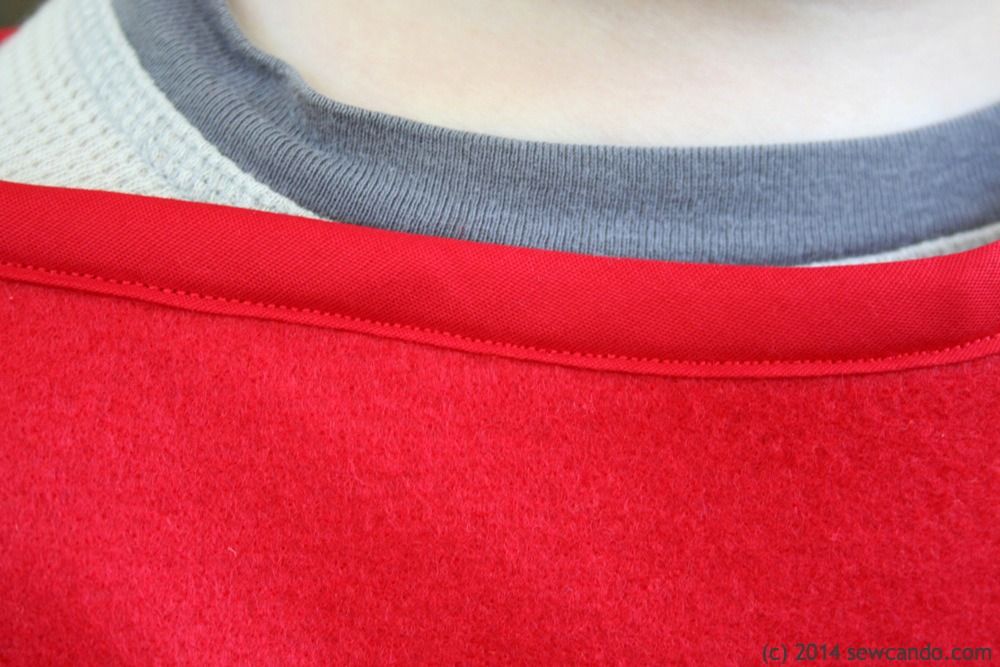
And then encased it with red double fold bias tape - from far away it's practically invisible:


For the armholes I folded the raw edges inward and pinned them together, then stitched close to the edge:


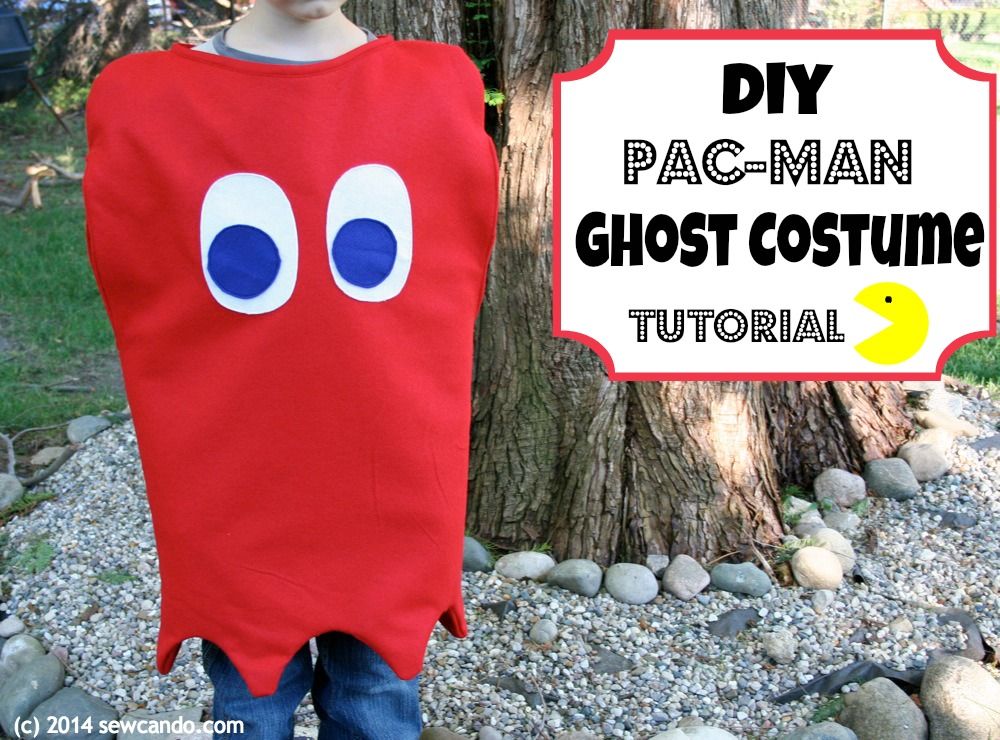
Then my little Blinky was ready to go:


I'm also sharing this project with my FAVE LINK PARTIES.
Click HERE to check them out!

Tuesday, October 29, 2013

DIY Halloween Costume Round-Up


Halloween is just few days away so I thought a little Sew Can Do costume how-to round-up would be good for those last minute costume needs and fun like a virtual costume party too!  
 Costume Tour Time!

My Princess Merida tutorial was a big hit last year and has been really popular this year too. I've seen some fabulous "I made it!" pics from readers looking for true-to-the-movie style. I show how to modify a basic dress pattern to get the classic Brave look, how to make a quiver & belt and, of course, a wild red yarn wig to make your little Merida complete.


Go vintage cute with my classic Strawberry Shortcake hat how-to.  Add a red dress, apron & striped tights for a complete berry girl look.


Give a little pirate some extra sense of adventure with my Argh! Pirate Eyepatch tutorial.  


I also share how to put the rest of the costume together HERE.


Holy Smokes!  It's a Batman Mask & Gauntlet Pattern!  Use my free downloadable patterns to make these classic Batman accessories.  Toss in some grey pajamas & a cape and the look is complete.


And modify the mask pattern and add some other basic items to turn it into either the Old Time Bank Robber:


Or a BOO-tiful Secret Message Ghost:


Use my Just A Giraffe Coat tutorial to turn a basic jacket pattern into a wild-animal wearable:


While this isn't a free pattern here on the blog, my Dynamite Dinosaur Cape PDF Pattern makes a super warm and comfy costume:


It fits ages 3 & up and is easy to customize in whatever colors desired for boys & girls.


And for some other costume inspiration ideas, here are a few other creations I've made over the years and links to more info on them:

Shining Knight & Enchanted Princess:


Classic Roman Soldier (includes link to an amazing helmet how-to):


Our Star Wars Trio: Yoda, Han Solo & Princess Leia.  The Leia hairdo hat & gown patterns can be found in my shop.


This walk down Costume Memory Lane almost makes me want to make some more;)

And for more fun costume ideas, check out my DIY Halloween Costume board on Pinterest:


Wednesday, October 23, 2013

Easy DIY Costumes: Old Time Bank Robber & BOO-tiful Ghost


My kids took it easy on me this year and came up with some simple costume requests. And let me tell you, I am seriously grateful.  Costume hat orders for my shop have kept me super busy so there hasn't been a lot of time to design and create complicated costumes for my own kiddies.  My 7yr old's was the most elaborate one and still super easy to do: An Old Time Bank Robber.  


Even non-crafty types can pull this one together and it makes a nice change from all the usual licensed characters kids get obsessed with these days.  My little guy was inspired by some Lego City guys he had - he loved the old school bank robber with the striped shirt.  The actual clothes were easy. A pair of dark jeans we had + a grey & black striped shirt (found for $6 at Target). I made him a basic fleece beanie hat in black and folded up the hem.  It's also a cheap & easy ready made item to buy if you're short on sewing time.


The mask was made with a modified version of my downloadable Batman mask pattern.  I trimmed off the bat points on my pattern and used the same black cotton, interfacing & elastic and assembly steps as before (see that post for the full mask making how-to).  Now he looks properly stealthy:


For my little burglar's money bag I got a plain drawstring canvas bag and painted on a giant dollar made from a freezer paper dollar sign stencil I whipped up (thanks to my SCAL software and Cricut).  Then I stuffed it full of empty plastic bags to look like a full bag of loot, but super light weight:


Add in a Mag flashlight and he's ready to prowl...well until he gets caught anyway:


My 4 yr old had the simple request of being a ghost.  This was great since I already had a white fleece ghost cape I'd made for robber boy when he was that age.  But of course when she saw her brother's mask, she wanted one too, so I went all ghosty on it and made her this:


I made hers out of white felt and used glow in the dark thread to embroider it with BOO! Now she'll have something spooky to say even when she gets too shy to say trick or treat:


The cape was just a basic circular design with hood, but I'd lined it with some cute Halloween cotton so it would look sweet.  


It's ideal because it's big enough to wear a coat underneath, but not too constraining and paired with the mask much safer for unsteady little feet than a long sheet with eyeholes.  


Add in my oldest wearing the pirate costume I made 2 years ago (which in and of itself was a partial recycle of a previous Han Solo ensemble), my trick or treaters are good to go. And mommy gets to breathe a sigh of costume relief this year.  Ahhh.....


I'm also sharing this with my FAVE LINK PARTIES.
Click HERE to check them out!
LinkWithin

Related Posts with Thumbnails