
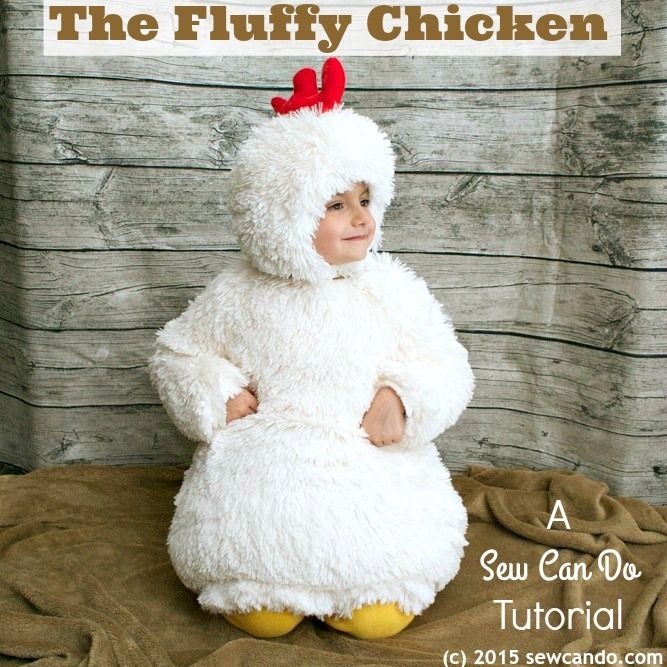
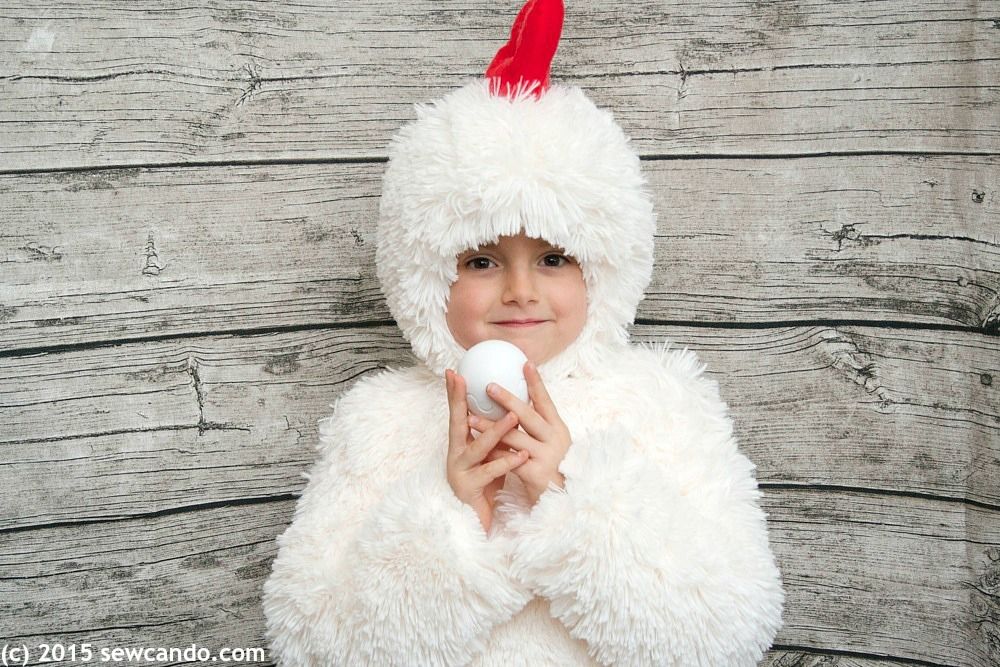
And....it's also a pattern recycle, so it saved a ton of time since I didn't have to design it all from scratch! It's got all the things for that cute chicken look...including fluffy feathers,
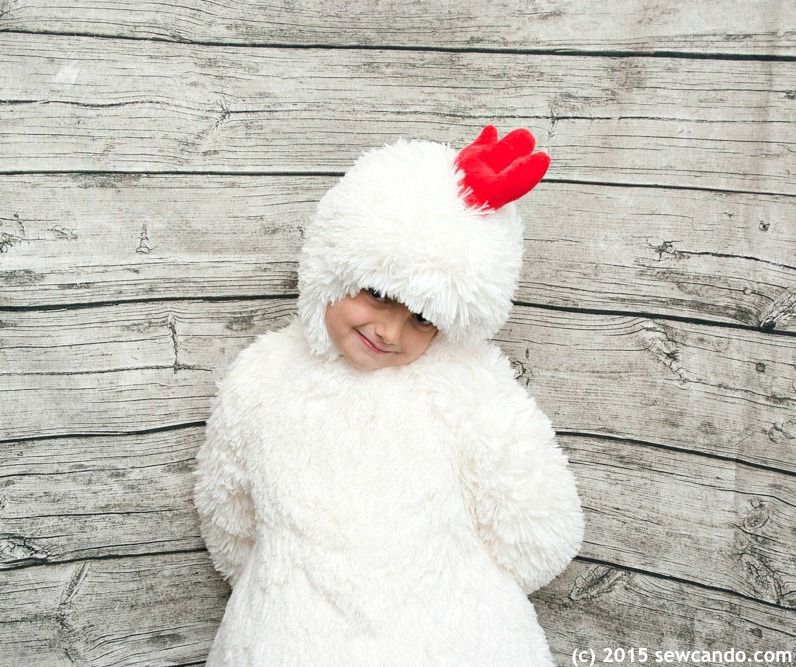
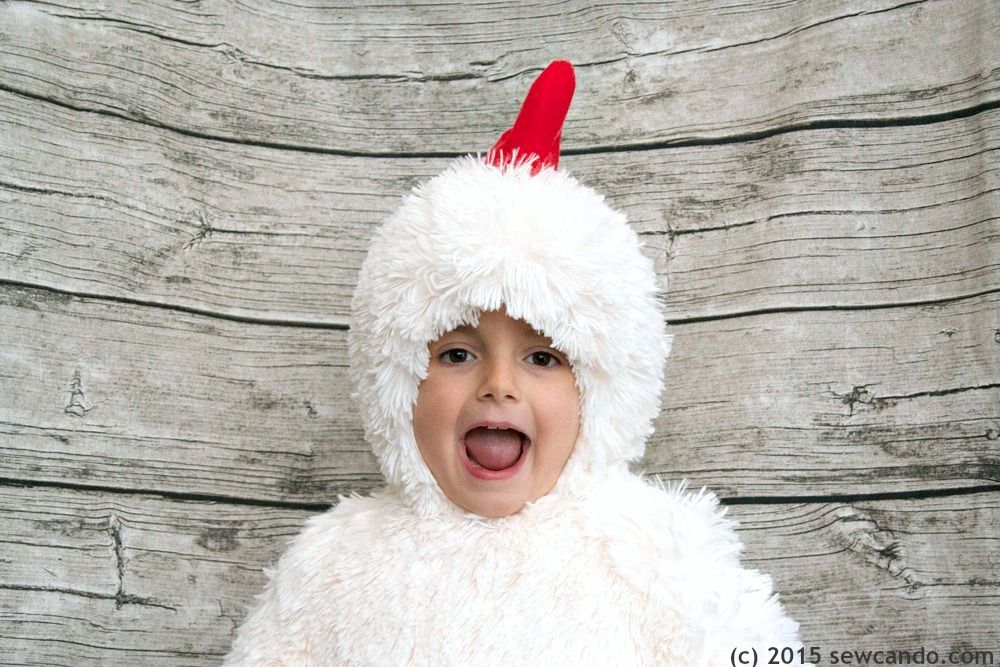
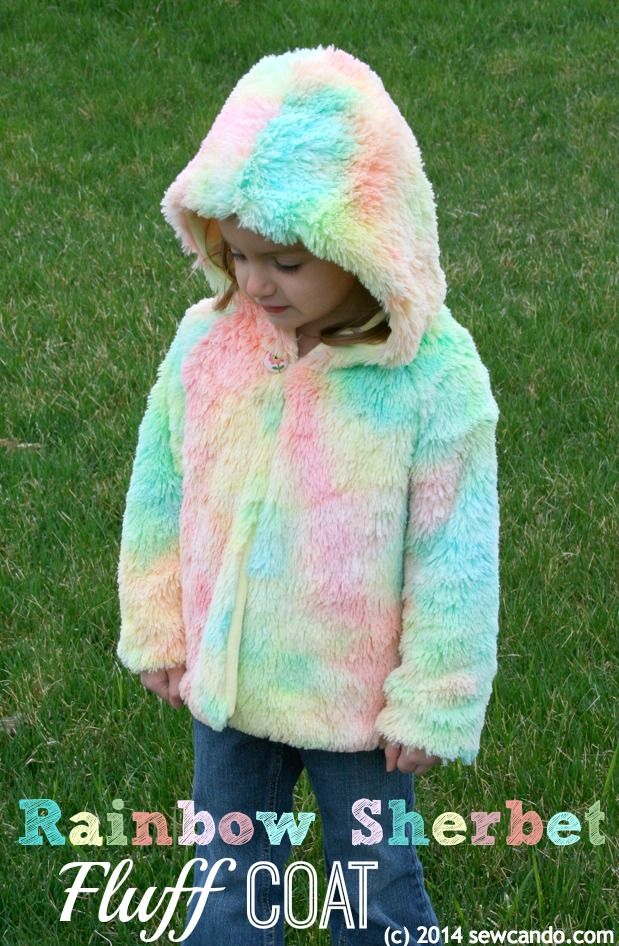
a colorful comb,

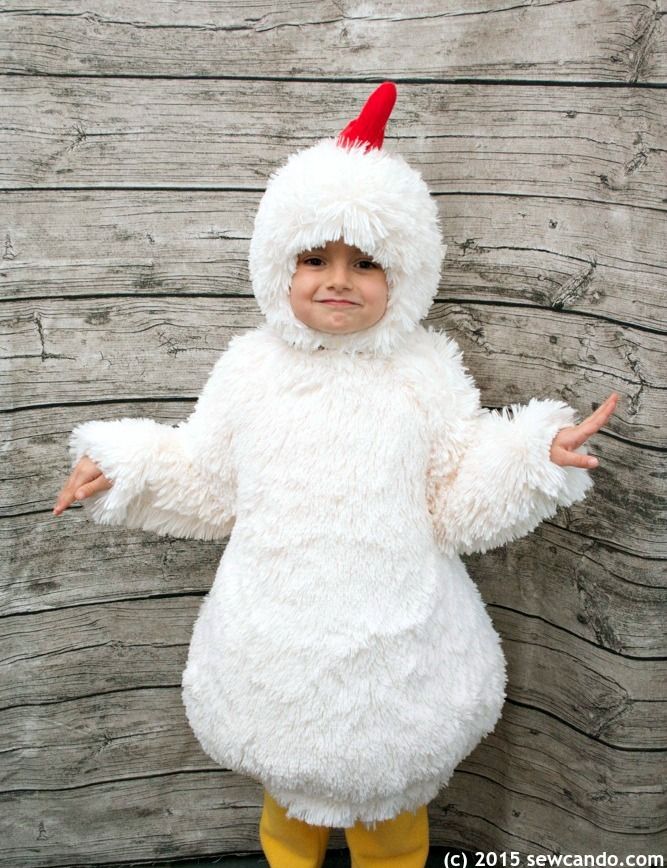
and the classic, plump, chicken body:


I'd been saving the cream fabric to make a plush two-sided blanket, but I could never find the right fabric to pair with it. It seemed stupid to go out and spend more $ on something else to make the costume when I had this right here at home. I'm so glad I stopped fabric hoarding and used it!

Here's how I made it...

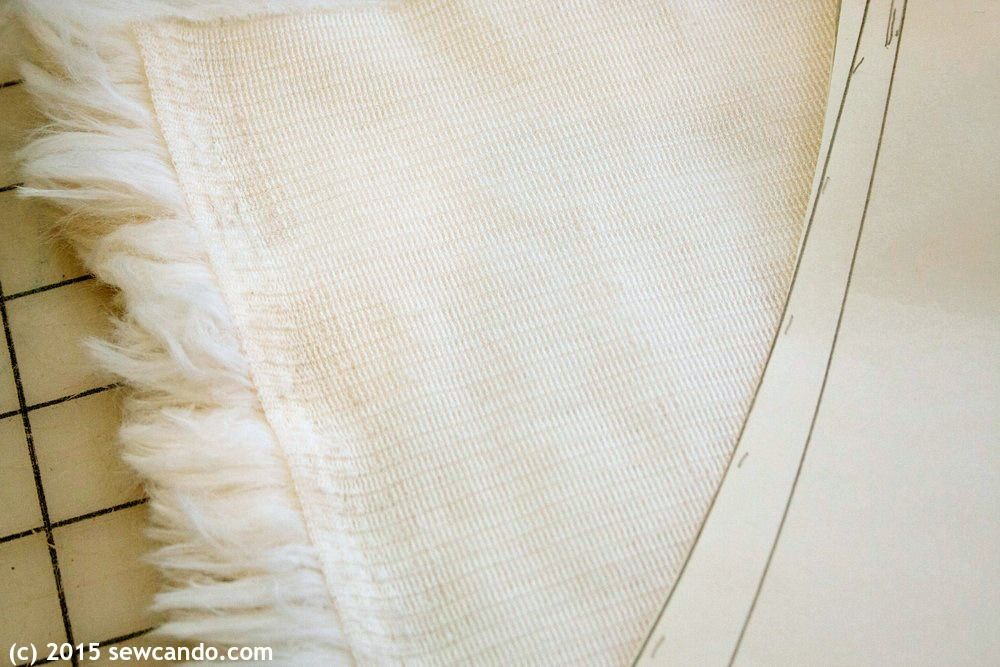
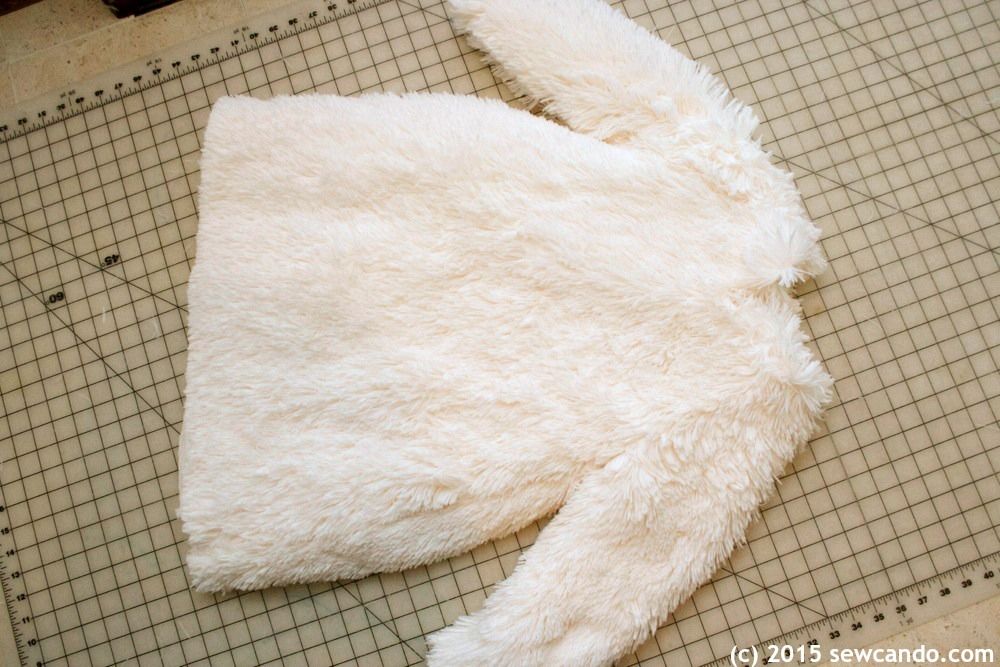
Since I wanted to use what I had, I cut both the outer and the lining sets from the shag. It was 2yds total (which also included the hat).
Sewing Pearl Of Wisdom: This fabric look amazing when the project is done, but cutting it means serious fluff everywhere. A vacuum on standby is a must and it's best to suck up the shedded bits after cutting each piece and running hands over it to pull off loose strands. Also make sure to wear jeans and shoes so you don't track it all over the house or end up covered in fluff yourself. I have done both - save yourself the experience.
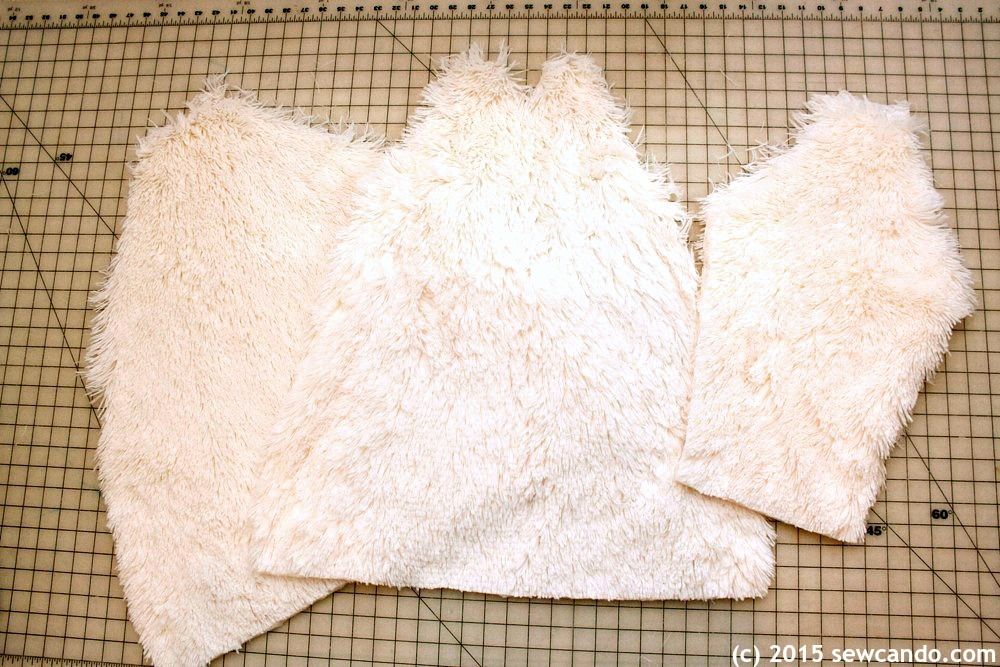
Sewing it together was pretty straightforward - I stitched the sleeves to the front & back pieces:

Then brought together the sides and stitched from the sleeve cuff to the bottom end on each side. Repeated with the lining.
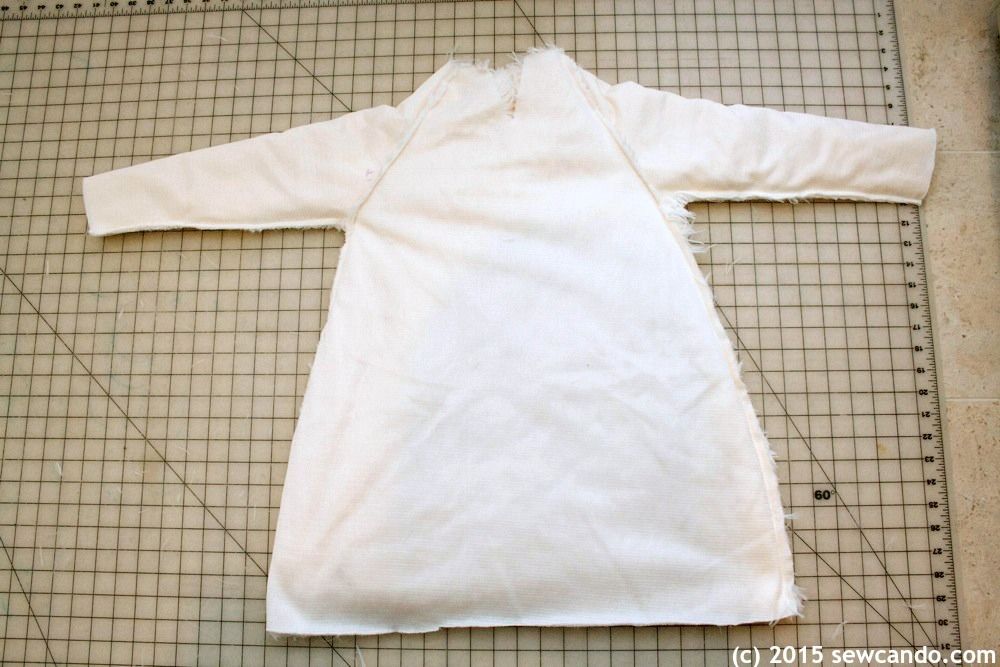
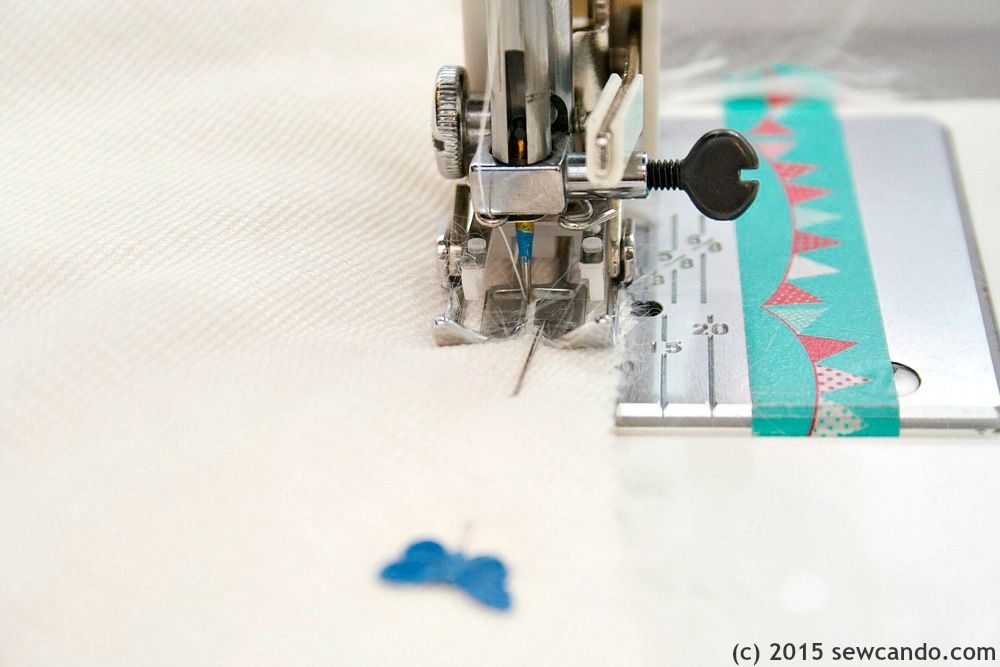
I highly recommend using a walking foot when working with this or other furry fabrics. It really helps keep the pieces from shifting. This is key when it's hard to see the fabric edge because of all the fur:
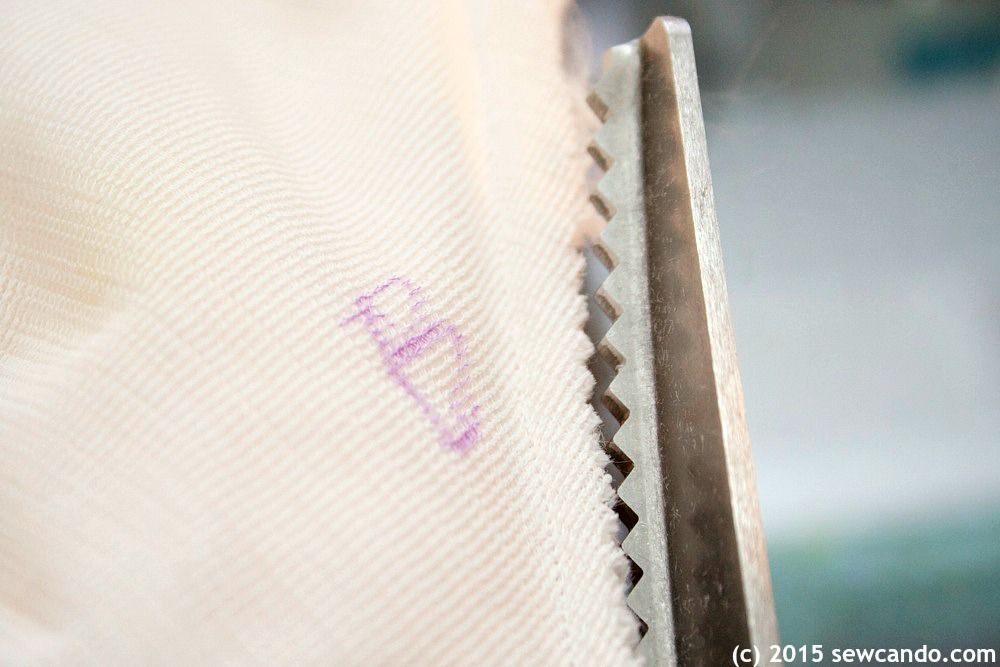
Trimming down the raw edges with pinking shears helps minimize the shed factor as well:
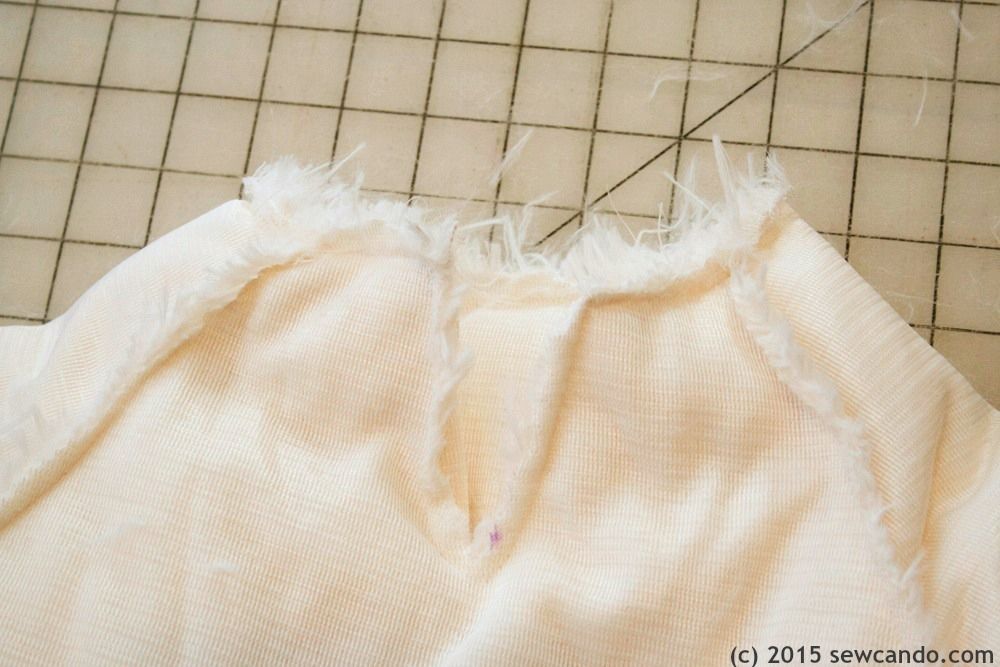
Then I turned one layer right side out and inserted it into the other, pinning around the neck opening and stitched it all together.
Everything got flipped right side out so the lining was inside the outer.
I folded the raw edges of the sleeves inward and stitch them together. This was impossible to show with the high fluff, so this is what it looked like on the pumpkin version:

I did the same with the bottom hem, except left a 3 inch gap, so I could stuff in some polyfil to get a nice rounded shape:

Then I shook the filling away from the bottom and stitch a line about 1.5 inches from the bottom hem to make a casing. I snaked some 1 inch elastic in to cinch the bottom. I cut it about 30 inches wide so she could easily walk. Then stitched the ends together and closed up the gap. Again, hard to see it all with the light fluffiness, so this is what it looks like on the pumpkin:

To make the headpiece I raided my pattern stash and used the lined Turtle Dove cap pattern from the Winter 2009 issue of Ottobre Design. Their's was meant to end at the jawline and have a ribbon tie, so I modified it to extend & overlap under the chin with a snap closure.
I hand drew a comb shape, cut two sides from some red fleece and stitched them around, leaving the bottom open:
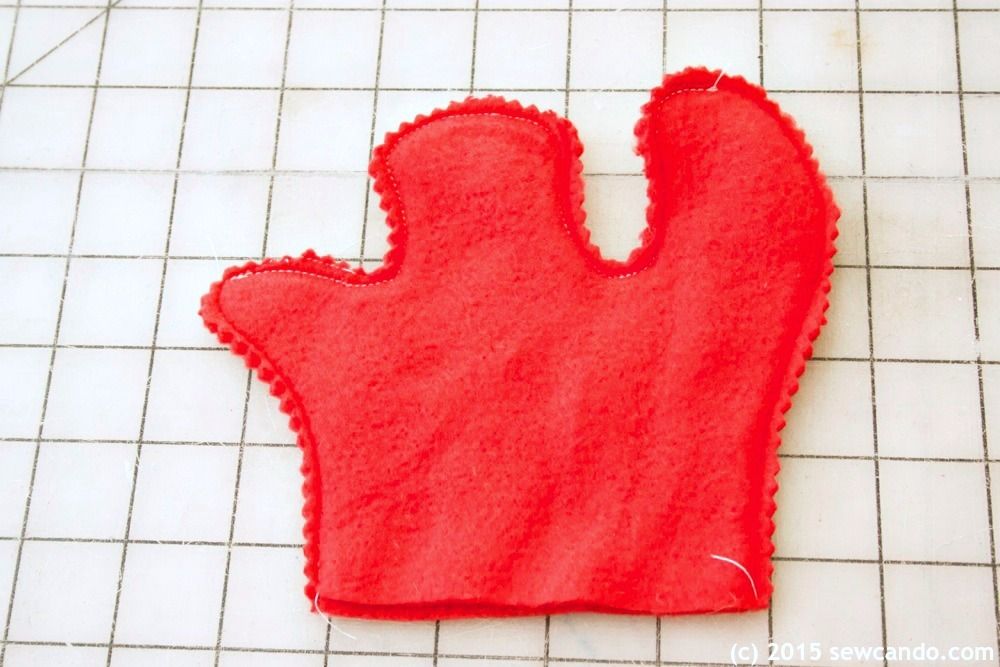
I turned it right side out and stuffed with some polyfil:

After stitching together the main pieces of the cap, I marked a line down the center of the top that was the same length as my comb and cut it open.
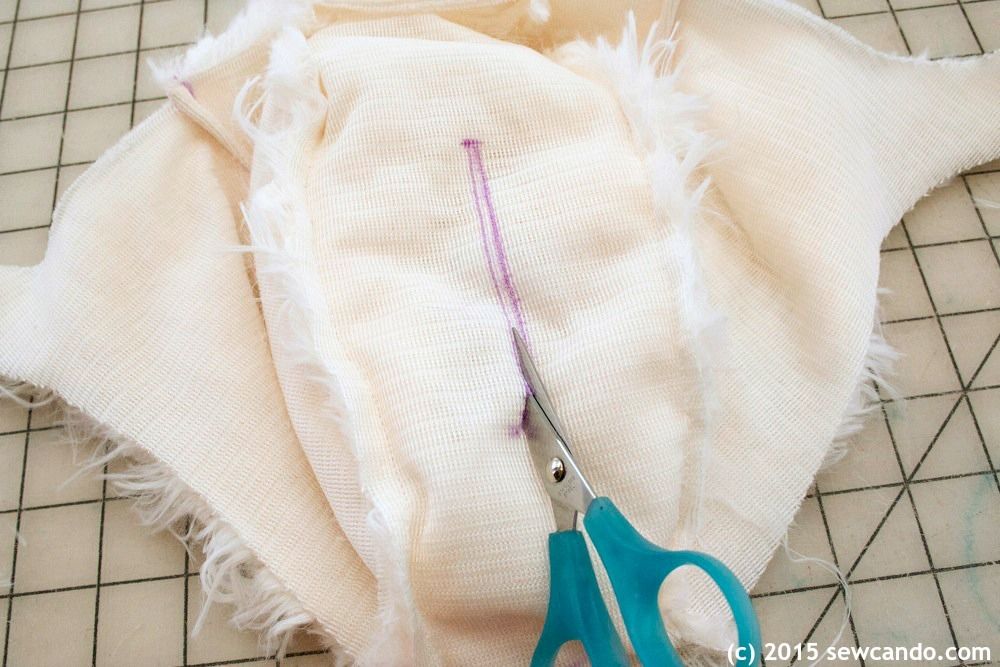
Then I inserted the comb and stitched them together close to the raw edges and then attached the outer & linings and installed my snap.

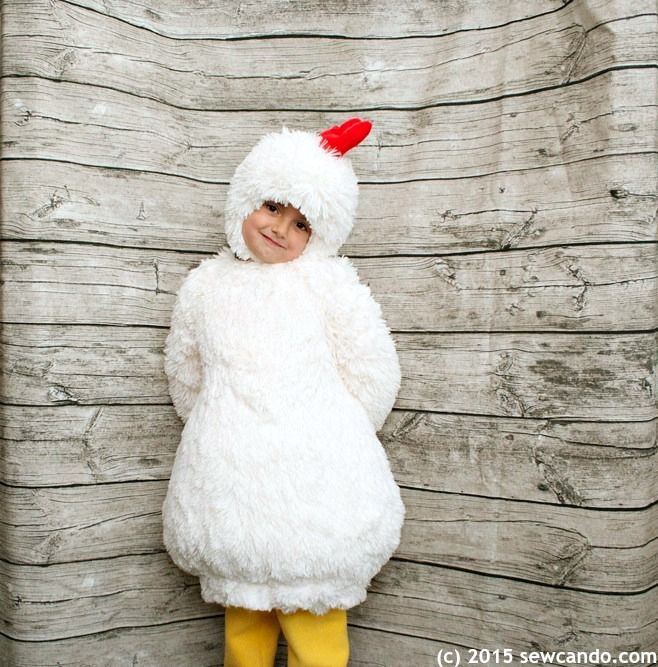
I used a basic pant pattern (Simplicity 1511) to make the yellow fleece leggings for her "bird legs". I considered making feet, but the weather here tends to be muddy this time of year and, having several costume-wearing activities ahead, it seemed like a waste to make something that would get filthy or not be able to be worn outside. That, and I'm now tired of making costume stuff;P Now I just need to get myself some overalls and a flannel shirt so I can be a farmer to her chicken!

This is so cute. Makes me wish mine were still little enough to put in a costume.
ReplyDeleteThanks Jessica and that's the very reason why I'm willing to go the extra mile making them - these days won't be here forever!
Deleteoh my gosh, so stinking adorable!
ReplyDeleteb
Thanks so much. It makes me laugh out loud every time I see her in it.
DeleteThat is so cleaver and too darn cute, but your daughter is why it is.
ReplyDeleteWish I had little ones to make this.
Thanks. She really does embrace the role;)
DeleteThis is just the cutest thing!!! And that face! Oh my goodness! Pinned and scheduled to share on Facebook!
ReplyDeleteFound you on Thursday Favorite Things!
Trisha @ Home Sweet Homemade
Thanks for sharing it Trisha! And for switching me on to your yummy blog too!!
DeleteCute!! I've got a Craft Gossip post scheduled for later today that features your tutorial: http://sewing.craftgossip.com/?p=85076 --Anne
ReplyDeleteFantastic - thank you Anne!
DeleteExtreme cuteness!! Thank you for sharing at the Thursday Favorite Things blog hop. Watch for your feature tomorrow xo
ReplyDeleteThanks so much Katherine!
DeleteThank you for hosting, this is my first time here!
ReplyDeleteSo cute! I love it!
ReplyDeleteSo,so cute!! It is great that she has her own original idea of what she wants to be for Halloween. The cutest chicken ever!
ReplyDeleteI love that too and I know I'm biased, but I think she's the cutest chicken ever too!
DeleteGood freaking grief - that is ADORABLE! You do lovely work. That costume is terrific.
ReplyDeleteThank you so much Sally - it was a lot of fluff but well worth it:)
DeleteOh my goodness....this is the cutest costume ever.....love it.....
ReplyDeleteThanks! I know she's thrilled that everyone loves it as much as she does.
DeleteMy son has been asking to be a chicken for 2 years!! I can do this!!!
ReplyDeleteThank you so much !! She looks great !!
I'm thrilled to hear that - now we just need a coop for them. LOL!
DeleteWhat a cute, cute costume and great tutorial!!
ReplyDeleteThanks very much Connie!
Deleteoh wow soooo cute thanks for sharing this my daughter is chicken in her schools christmas play (don't ask!!!) so i will be using this tutorial to make her a costume - i think she will be the best dressed chicken on the stage..ha
ReplyDeleteThat's fantastic to hear Lindsey and I LOVE that she'll be a Christmas chicken. Definitely send me a picture when you make it!
DeleteWhat pattern reference do you recommend if you don't have a dress to trace? (All boy house= no dresses)
ReplyDeleteI'd recommend using a raglan shirt then and just extending the length out into an A-shape.
Delete