Showing posts with label Crochet. Show all posts

Wednesday, May 21, 2014

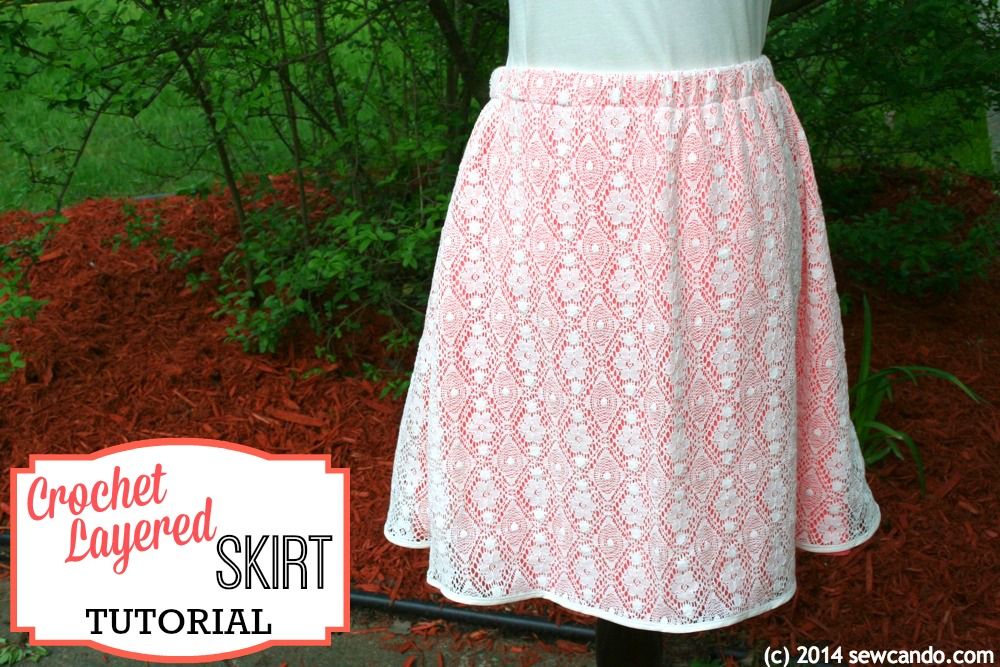
DIY Pattern: Crochet Lace Layered Skirt Tutorial


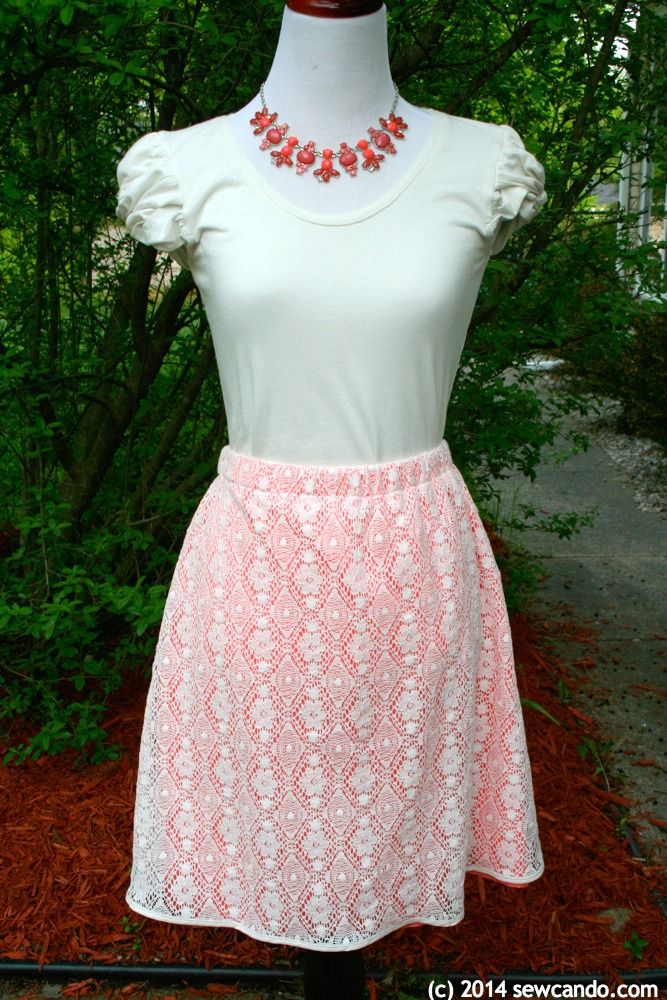
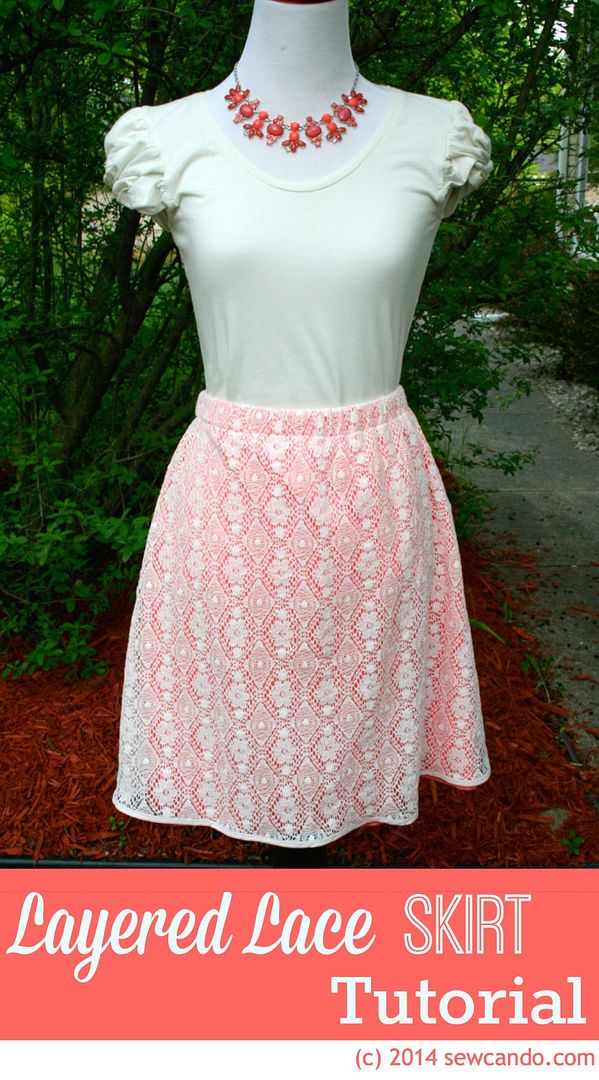
Crochet lace is making a big reappearance on the fashion front this summer.  I like it because it can be both casual and dressy just by changing what you wear with it.  Pair it with a dressy top & jewelry for a night out or just a breezy t-shirt for a lazy day with the kids. I wanted to make something colorful with an overlay of crochet lace and came up with this Crochet Layered Skirt.  The best part is no purchased pattern required!!


This is also a great way to add some bright colors to your wardrobe without feeling like a neon sign. The overlay softens the color and adds some nice texture:
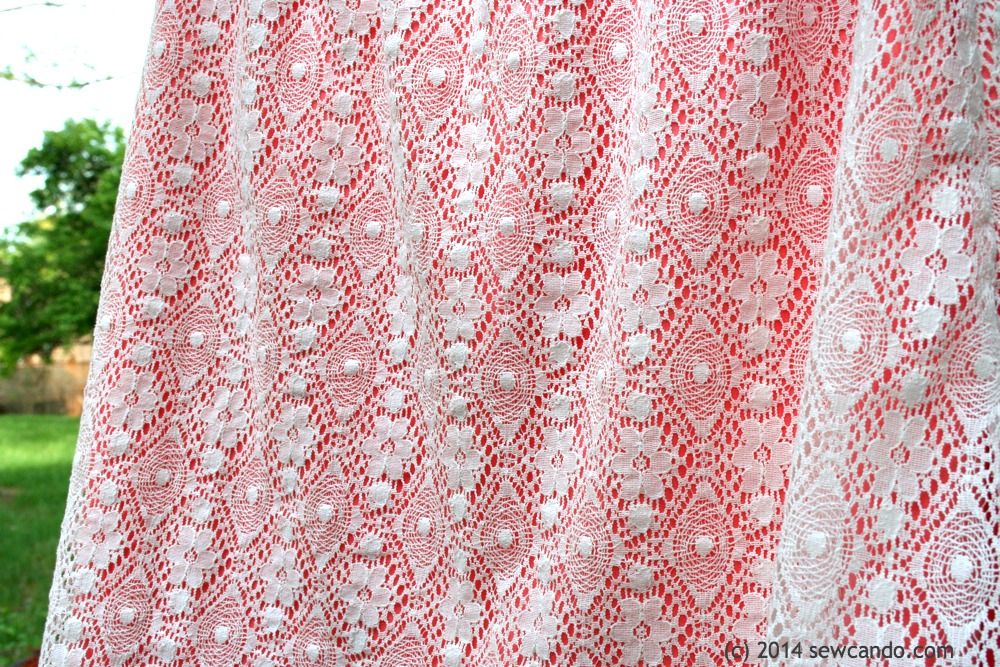


Here's how to make one...

Materials:
- Colorful lining fabric (this could be something silky or just plain cotton)*
- Crochet lace fabric 
- 1/4 inch wide double fold bias tape
- 1 inch wide, no-roll elastic
- Paper, pencil, yard stick, tape measure
- Sewing notions (pins, matching thread, safety pin or bodkin)

* Exactly how much fabric you'll need depends on desired the length and size of your skirt.  I'm about a size 4 and wanted mine to be 18 inches long, so about 5/8yd was enough.

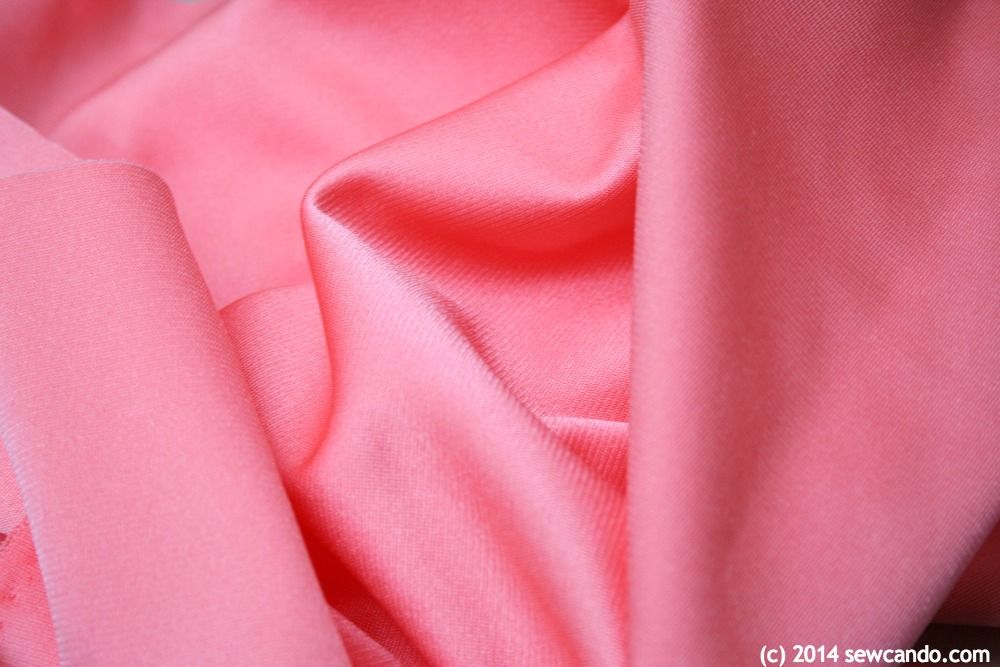
For my lining I used some scraps of peachy-pink vintage fabric leftover from a dress my mom had made years ago.  It was some sort of synthetic with a silky sheen and a little bit of stretch.  On it's own it would have been a bit too much as a primary fabric, but it was perfect as the under layer for this skirt.  Don't be afraid to try a color or fabric outside your usual comfort zone!


To start, we'll need to make a paper pattern based on measurements.  It's quick & easy - I promise!  Start by taking a hip measurement and deciding on your skirt length.

To calculate the waist, take your hip measurement and add 4 inches (this is seam allowance + ease), then divide by 4.  So for a 34 inch hip, the measurement would be 9 1/2 inches. Make a mark on the edge of the paper and this number of inches to the right of the edge.  
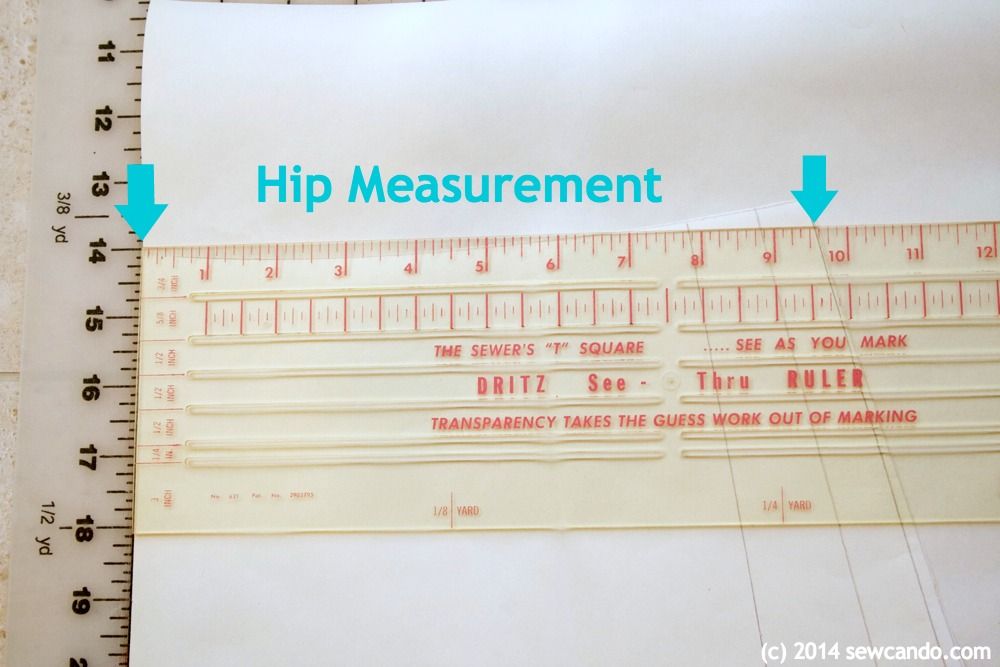


Then mark 1/2 inch above the outer marking: 
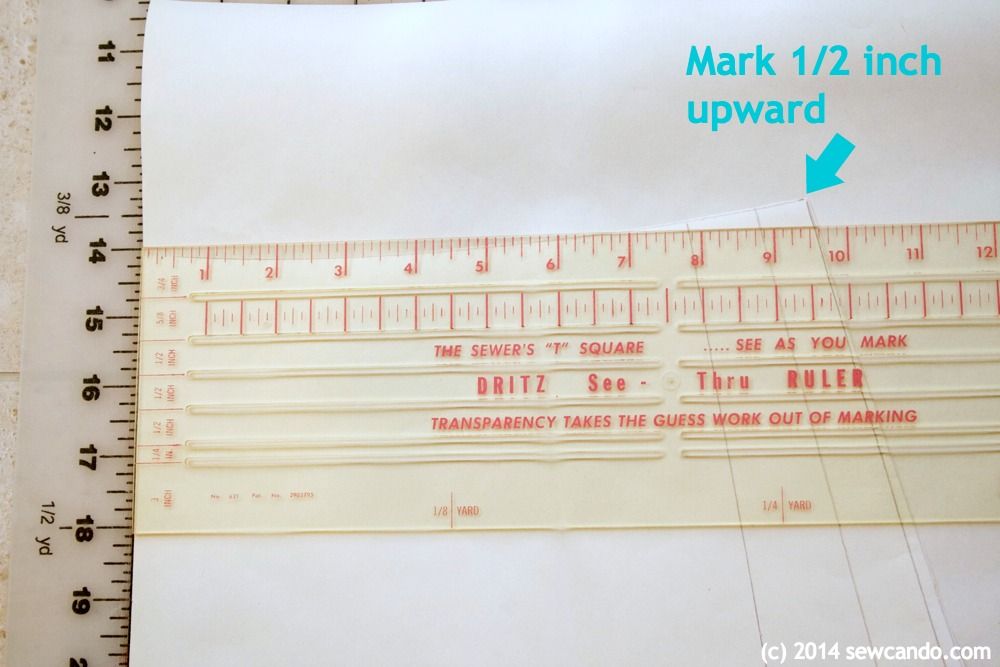


Next, connect the edge mark and top mark with a curved line to create the waist (a design ruler can make this super easy, you can find more info on those here).
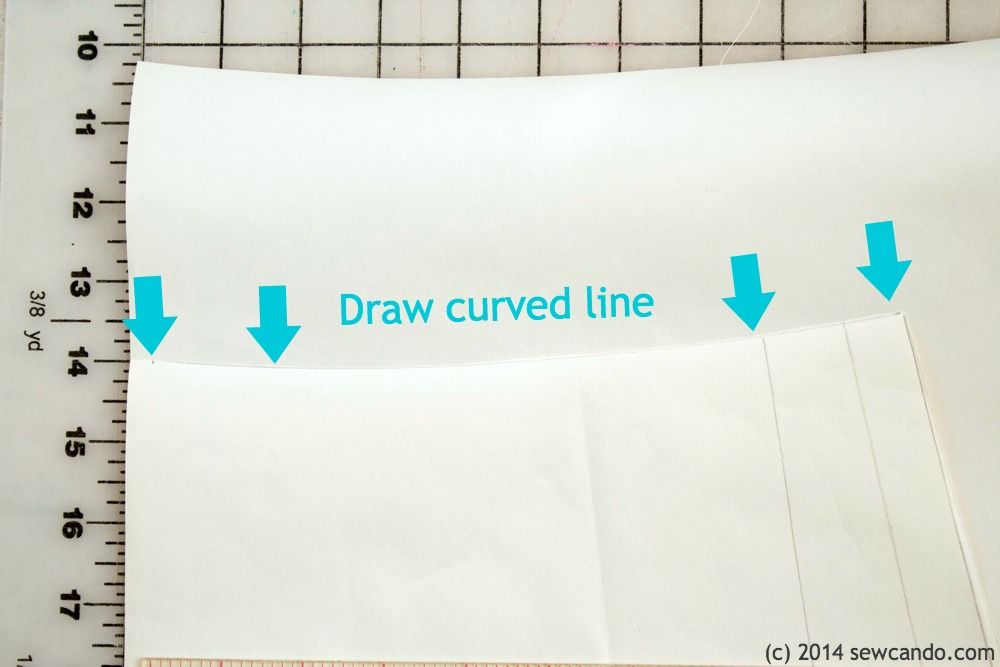


Take the desired length measurement and add 3 inches for the waistband and mark this far down from the waist.  Use a yard stick to make and flare out as much or as little as desired from the outer edge.  Cut out and your new, custom fit, skirt pattern is ready to use.
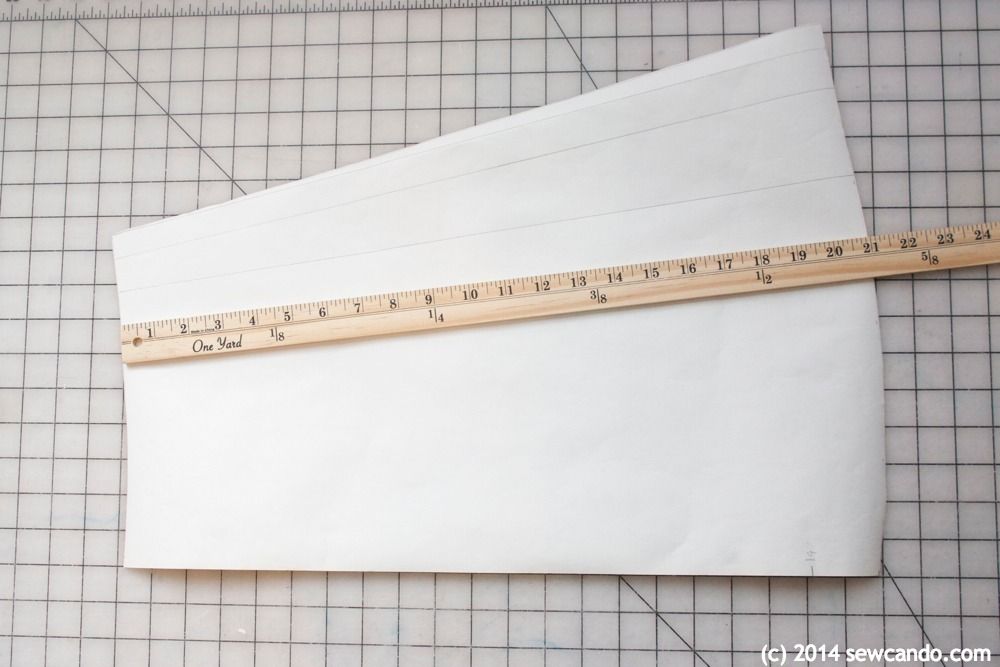


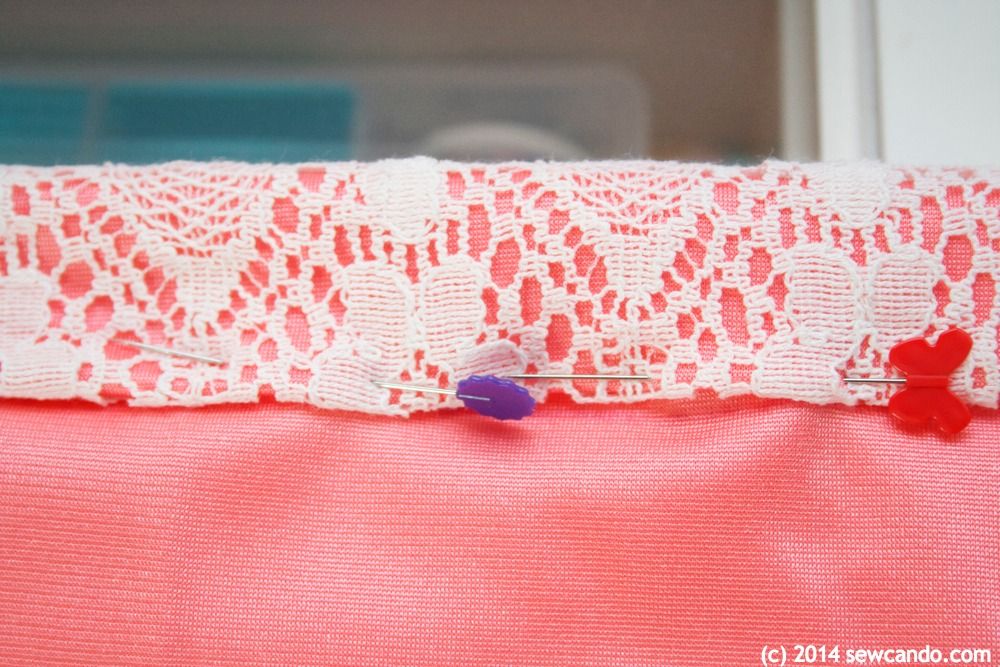
Now cut out two pairs of skirts - one from the lining, the other from the crochet lace.  Each piece will need to be cut on the fold.  I stuck a pin through the wrong sides of my lace since it can be tricky to see which side is which after you've cut off the selvage.
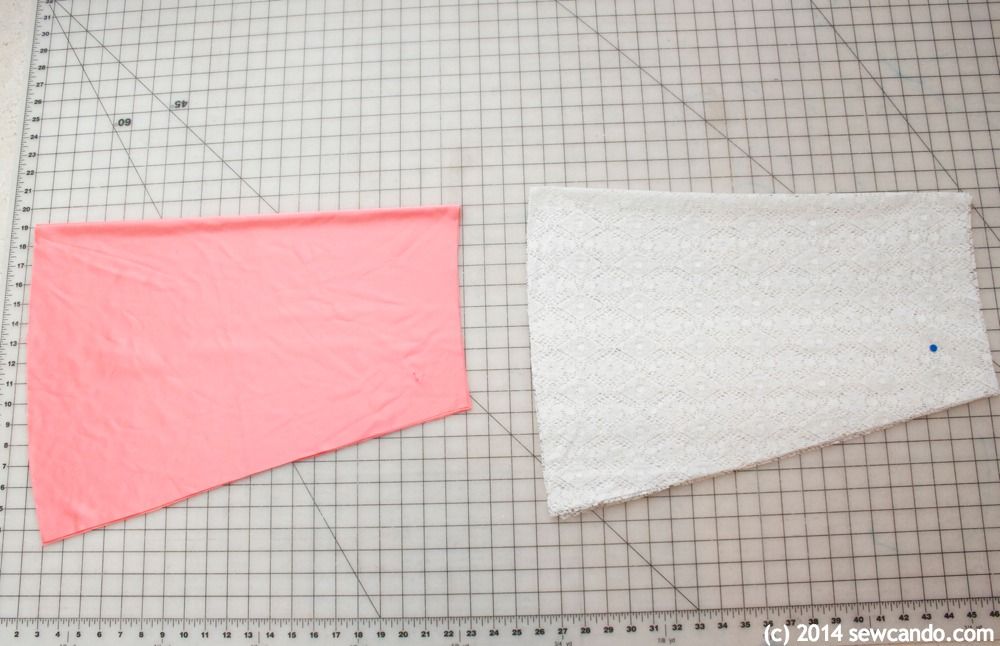


With right sides facing, stitch together the side seams of each pair with a 1/2 inch seam allowance.  
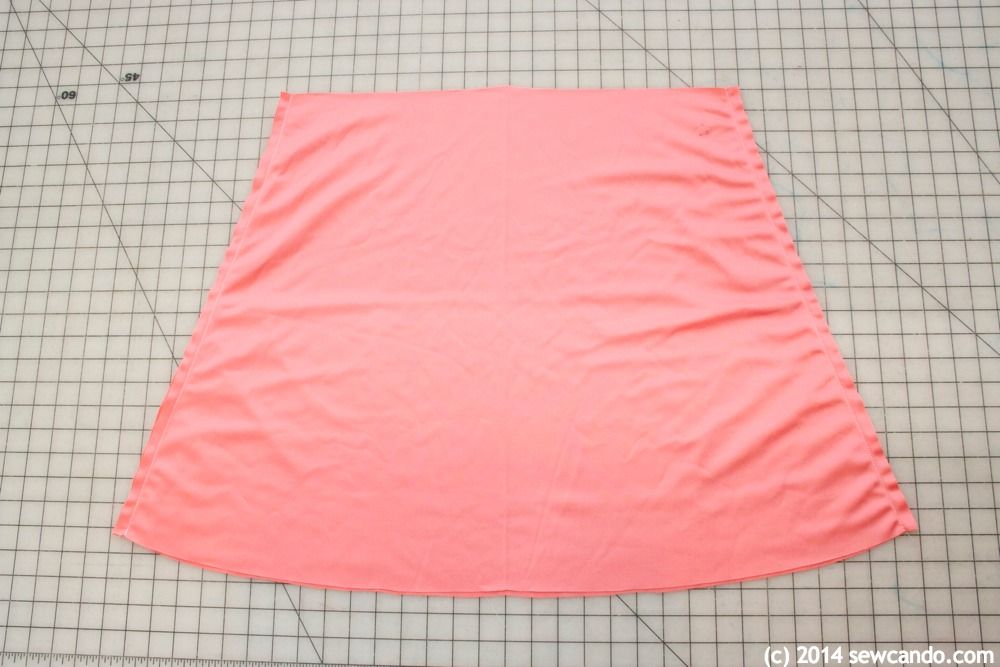


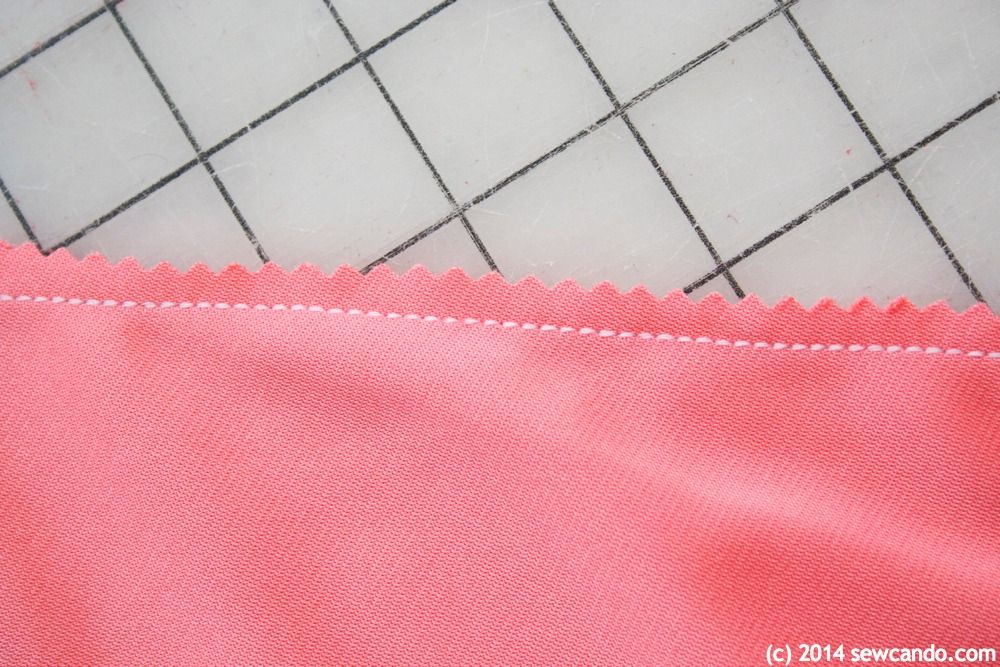
On my lining I just trimmed my raw edge with pinking shears since that fabric was no-fray.  I trimmed and then did a short zig-zag over the edge of the lace to keep that from fraying.  I'd show it, but it's impossible to see the thread through the lace (which is good since it makes the seams pretty hidden).


Now pull both skirts right side out and place the crochet lace over the lining and pin at the waist.  Baste all the way around 1/4 inch from the edge.


Time to do the waistband!  Since my lining fabric was vintage scraps, I wasn't sure how iron-friendly it was to press the waistband folds & didn't want to risk ruining it.  I measured 3 inches down from the edge and drew a line all the way across each side with my disappearing pen.  
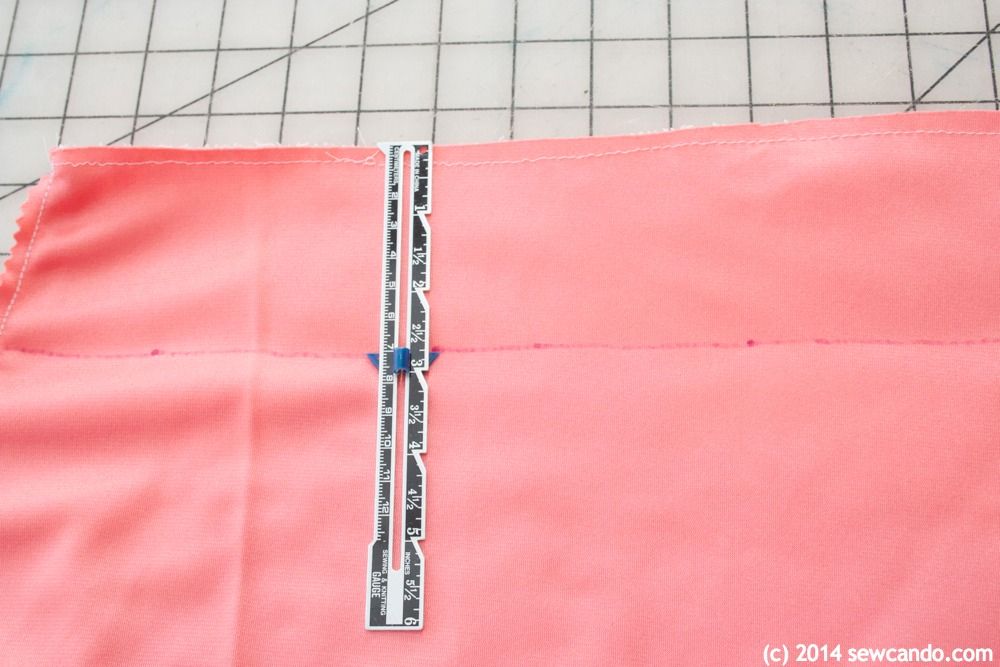


Then I folded the raw edge down 1/2 inch by hand and then folded down again to the marked pin and pinned.  


I stitched all the way around, 1/4 inch from the fold edge, and left a 1 inch gap to snake my elastic through (using a safety pin on one end).  Then I overlapped & stitched the elastic ends together, then stitched the gap closed.
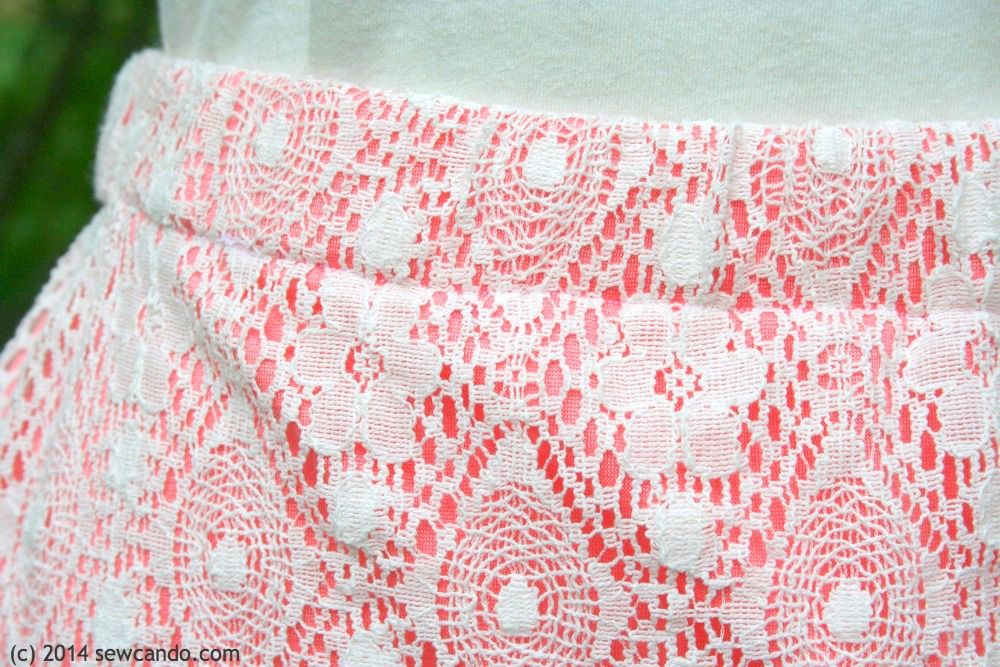


To finish off the hem I kept it simple.  Since the lining won't fray I left it raw.  It's underneath so it's not noticeable.  For the crochet overlay I used some cream colored 1/4 inch wide double fold bias tape.  I worked slowly to make sure the lace was well and truly encased all the way around.  
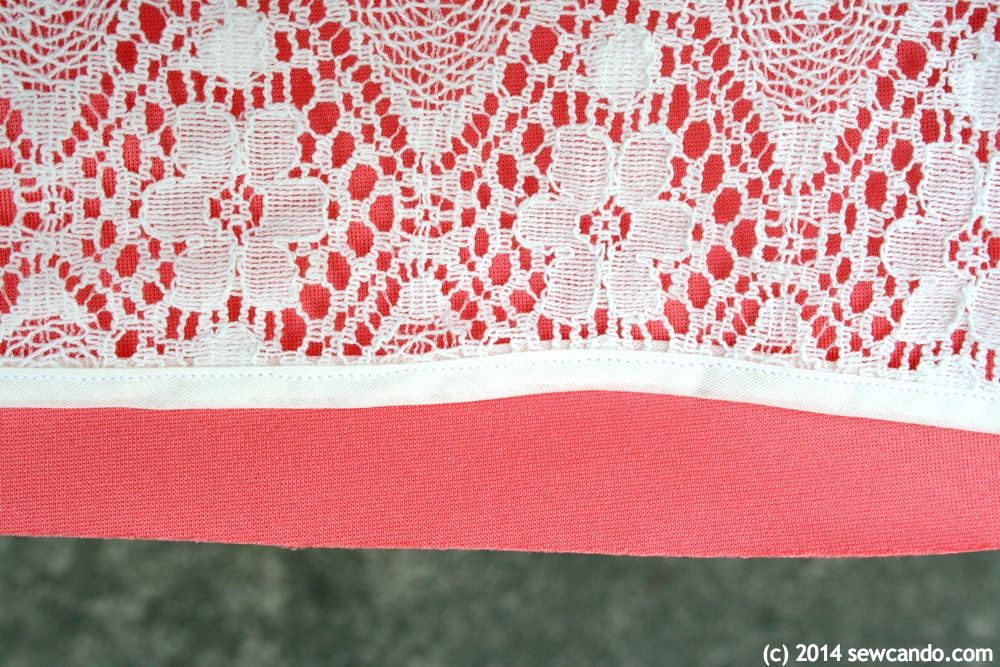


I really like how it looks and it also gives a nice effect so the skirt's folds flare slightly instead of just hang straight down.  By changing the length, flare of skirt, lace style and lining color you can make loads of different versions.  Summer fashions sorted!


I'm also sharing this project with my FAVE LINK PARTIES.
Click HERE to check them out!

Thursday, February 14, 2013

Anthropologie Style Tee Shirt aka Save Yourself A Bundle On Tops


Do you ever look at the embellished knit shirts from boutique places or stores like Anthropologie and find yourself shaking your head at the prices?  Those $48 & up prices.  I mean seriously, who wants to pay that for a t-shirt?!  I'm constantly rolling my eyes at the mark-up for a basic tee that just has a few cute details on it.  So, I decided to just go for it and do some for myself for about $10.  And it's totally do-able.  

You'll Need:
- Basic t-shirt
- Crochet/lace collar
- Wooden/antique style buttons
- Sewing notions: sewing machine, pins, hand sewing needle
- Optional: Tailor's dummy

I got a basic long-sleeved tee at Target for about $7:

If you crochet you can make your own collar, but if you're like me and don't, you can snag a ready made one pretty cheap.  Mine is from Wholeport and cost a mere $1.99.  They seem to be out of this particular one right now, but there have several other cute styles & all are bargain priced.


Start by pinning the upper and lower edges of the collar around the neckline of the shirt.   It's easiest to do this using a tailor's dummy or have someone very nice wear it while you pin it (promising not to stick them with a pin of course).  And unless the shirt buttons up (aka the neckline opens), I'd recommend setting the collar below the ribbing edge of the neck hole so you don't risk not being able to get your head through it once it's sewn on.


Now set the sewing machine to a mid length, mid-width zig-zag stitch (around 3, 3):


Using thread that matches the collar collar, zig-zag stitch around the edge of the entire collar.  Do one collar side at a time.  Remember to go slow so you don't stretch the shirt fabric (you don't want to end up with bunching or puckers).


Decide how you want to space the buttons and hand sew a small one at the center of the collar.  That little pearly pink one was from a button stash of my grandma's.  Then sew two larger ones below.

The ones I used are wooden ones and about the size of a quarter.  I love that they already had this cute colored thread running through them in a heart shape (so cute!!).  These were also from Wholeport and also nice & thrifty.    For a little extra detail I stitched one near each sleeve cuff too.


Now the shirt is ready to wear.  $10 folks.  And just as unique & hip as the fancy places.  Except with an extra gold star for being totally one of a kind and with a lot of money left in your wallet.  Consider this a little Valentine's gift for treating yourself today.  Happy Valentine's Day everyone!!


I'm also sharing this with my FAVE LINK PARTIES.
Click HERE to check them out!

Friday, July 6, 2012

A Review & Giveaway With Crochet By Allie


Today I'm thrilled to introduce a new favorite shop of mine, Crochet by Allie:
Crochet By Allie
Allie, the amazing crochet artist behind this business, contacted me about reviewing her crochet hats & hair accessories.  Her shop offers hand crocheted hats, headbands, barrettes and other lovely items for babies and children of all sizes.  
What makes Crochet by Allie's shop so special?
  • All of her items are handmade to order with amazing craftsmanship
  • Her adorable designs are available in a wide range of colors, styles and sizes
  • She welcomes custom orders, so you can match a special outfit, favorite sports team or school colors
  • Her creations make great, unique gifts for things like birthdays and baby shower and look fantastic as photography props  
Let me tell you, I was wowed with my experience.  I fell in love with her tiny crochet crowns and asked if Allie could make a larger version for my 2yr old.  Without hesitation Allie came up with a new design in the perfect size.  
Ordering on her site was quick and easy - I was able select my crown style, size and choice of pale gold metallic and received updates when my order was ready and shipped.  To top that off it was made in record time.  And when it arrived - it was absolutely adorable:
It goes perfectly with the princess costume I made for my daughter last Halloween.
       

And she absolutely loves it.  She's literally worn it every day since it arrived:
The crochet hair bow barrette she sent is terrific too - especially given the fact my daughter has very wispy hair.  It holds amazingly well:
If you are looking for cute hats or hair accessories, Crochet by Allie is the ideal place to shop.  Special, made-just-for-you styles and really reasonable prices.  As the designer and creator of all items in her shop, Allie says her goal is to fill each customer with joy when their order arrives.  She perfects each of her designs so they are charming and flaw-free for keepsake quality.  
I know it's made for some fantastic photos for us and plenty of enchanting pretend play too.
Would you like a chance to win some Crochet By Allie goodies for yourself? One Winner Will Receive:

~A $25 Gift Certificate to Crochet by Allie!~

To Enter:
Check out Crochet by Allie, then leave me comment saying your favorite item.  Be sure to include an email address if it's not on your profile.

For Additional Entries (leave a separate comment for each one):
- Like Crochet by Allie on Facebook
- Follow Crochet by Allie's blog
- Follow Crochet by Allie on Twitter- Follow Crochet by Allie on Pinterest
- Follow Sew Can Do
- Like Sew Can Do on Facebook
- Follow Sew Can Do on Twitter
- Follow Sew Can Do on Pinterest
- Link to this giveaway on your blog, Facebook or Twitter

Giveaway IS CLOSED will be open until 11:59PM EST July 13th, 2012. Giveaway is open to residents of U.S. and Canada only.  Void where prohibited.  The winner will be chosen at random and announced later that week.  Good Luck Everyone! 


Thursday, May 10, 2012

Crochet The Adorable Way! Introducing: One & Two Company


Today I'm excited to introduce an all-new Sew Can Do Sponsor to you: One & Two Company


This talented designer learned to crochet as a child and started creating her own fun designs after her daughter was born.  Using her easy to follow patterns, you can make loads of sweet and adorable crocheted creations yourself.  One & Two Company crochet patterns are great for lots of reasons:

· Easy to follow instructions
· All Applique Crochet Patterns have images to go with the explanations
· No designs have beads, buttons or pieces of jewelry, so all are small-child safe
· One & Two Company is happy to answer questions and provide help via email
· The finished products can be sold by you - no licensing fees to worry about!
And there seriously cute designs!  I am ready to get my crochet skills going to start making some of these myself:)  Use them to embellish your bags, hats, t-shirts, blankets... anything that comes to mind.   Just think what you could do with these sweet birdies:
How cute would these little monsters be on a mobile?
Or some classically lovely butterflies:
 
Make some amigurumi creatures...
Even use the patterns to create unique rattles, rugs and baskets.  Use your imagination and these fantastic crochet patterns for infinite ideas!
They also offer bundle discounts for buying multiple patterns at once.  Choose from tons of gorgeous designs and save some $$ at the same time.


One & Two Company is currently doing a great giveaway on Facebook for reaching 1,000 fans. The winner will receive an assortment of cute patterns.


AND, just for being a fan of One & Two Company, you can get an Exclusive Applique Crochet Pattern of a cute Dachshund, absolutely FREE!  


Just click HERE to go become a fan of One & Two Company and hear about all the latest designs and special offers!


LinkWithin

Related Posts with Thumbnails